


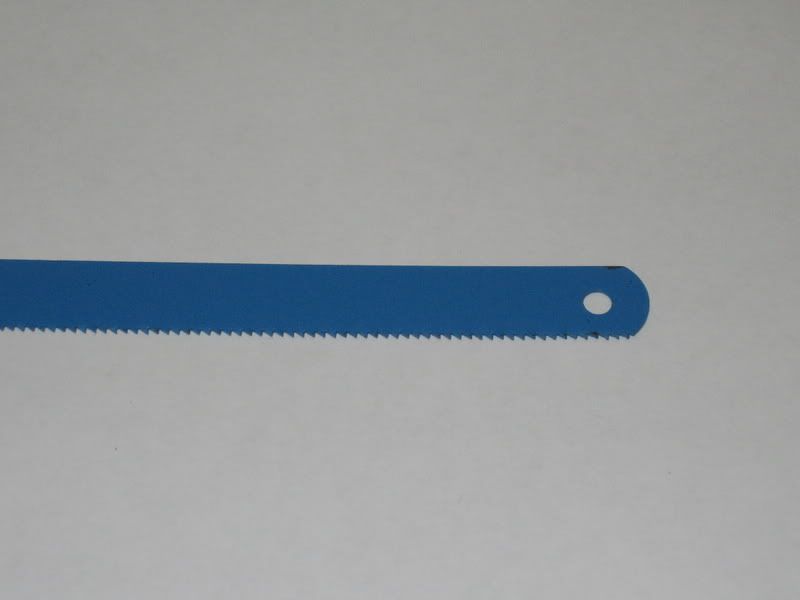
Materials needed:
Hacksaw blade
Masking Tape
Black Sharpie marker
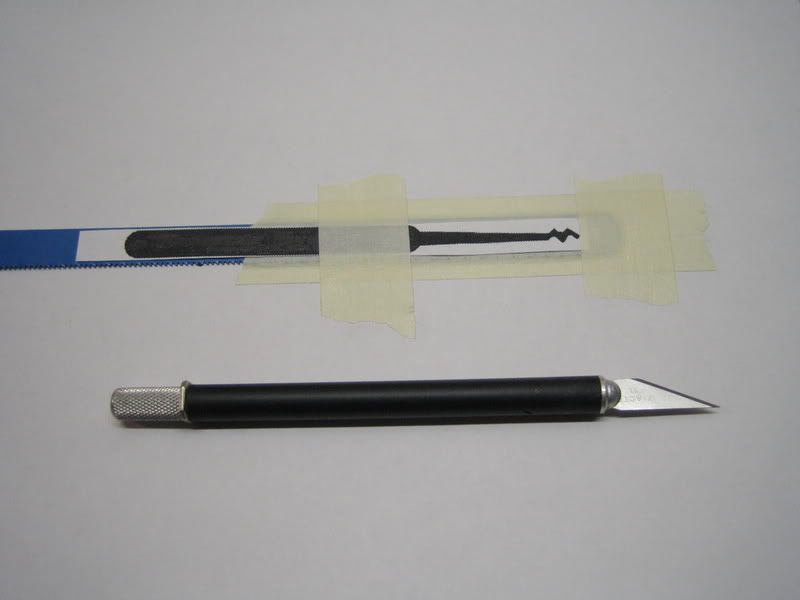
Exacto knife
Template
Here we go.
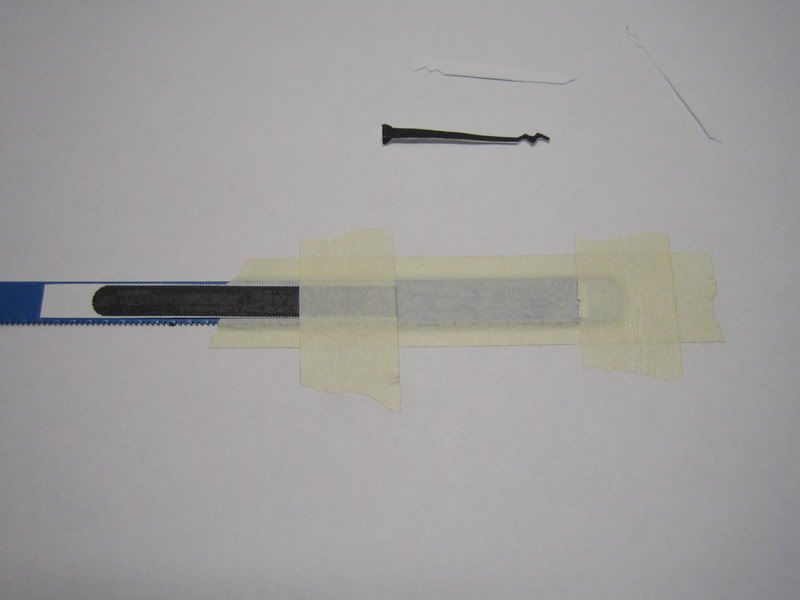
Step 1:
Tape hacksaw blade down to working area.
Step 2:
position template onto hacksaw blade.
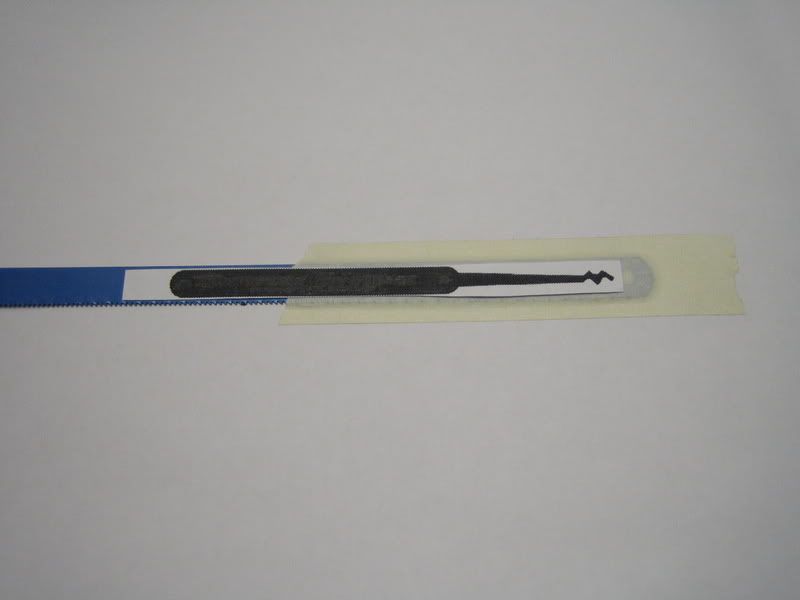
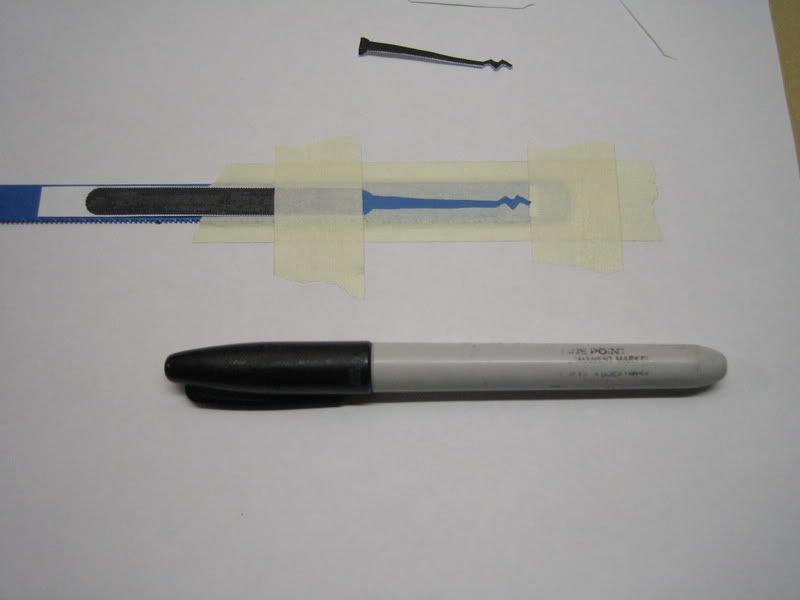
Step 3:
Add additional tape to hold template in place. Use knife to trace the outline of the template, cutting through the template and the masking tape.
Step 4:
Remove cut up part of template, leaving masking tape alone.
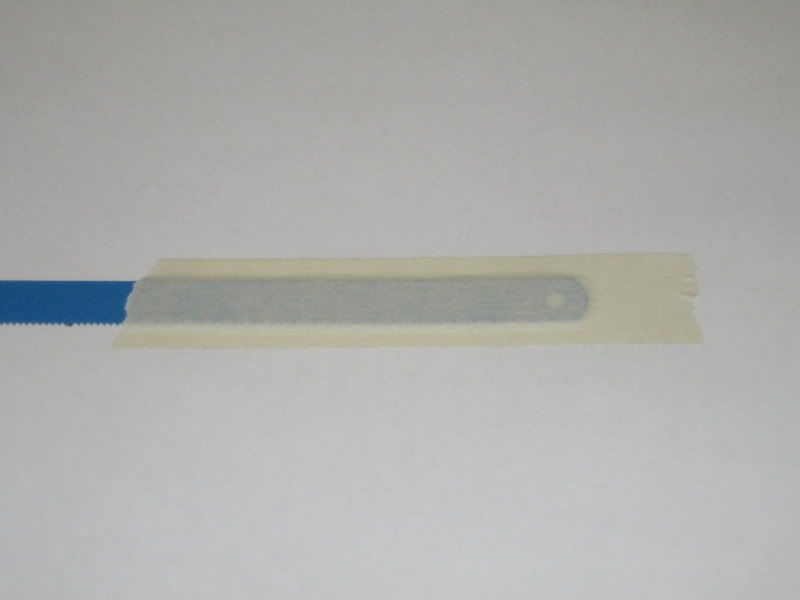
Step 5:
Remove the masking tape to reveal template outline on blank material.
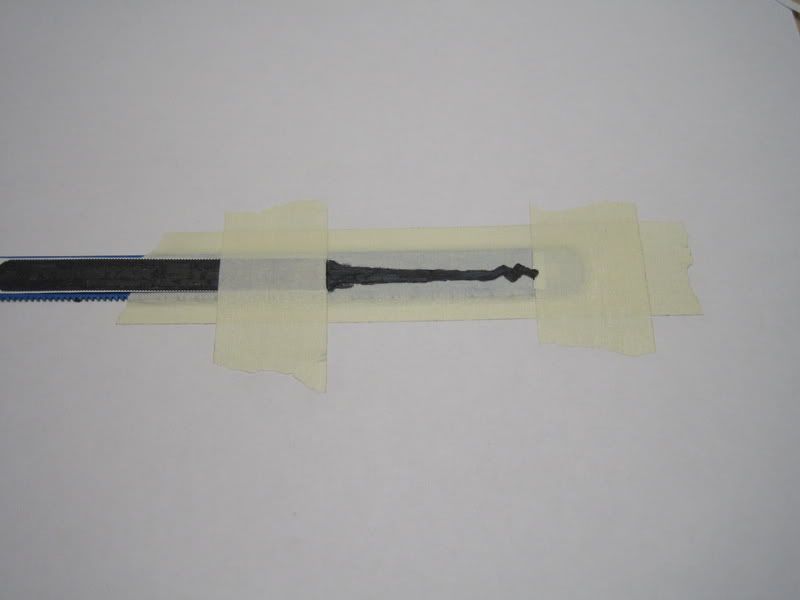
Step 6:
Color blank with sharpie.
Step 7:
Remove all tape from blank.
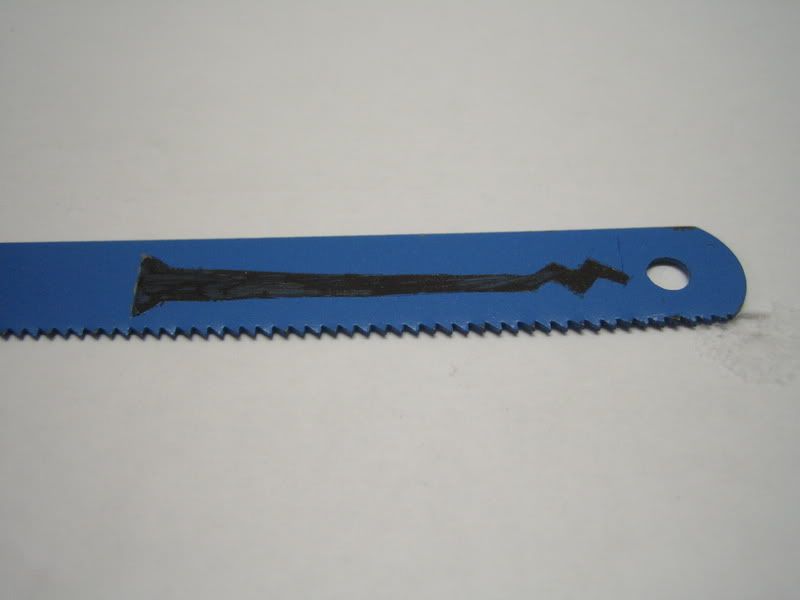
The sharpie is permanent and survives the quenching.
Hope this helps all you homebrewers to make some nice picks.

