Here it goes --
First, to prep the key you need to file off the guiding tip, as Biaxial Ranger noted. You then file along the top of the key very shallow cuts at 25 degree angles, so you can more easily read the marks. I found that reading the marks on a tubular key was actually a bit easier than with a pin tumbler.
The impressioning handle holds the tubular key and has notches with the correct spacing for you to insert the file. The shiny silver parts are where I accidentally filed off some of the blue paint


Here it is with a key inside:
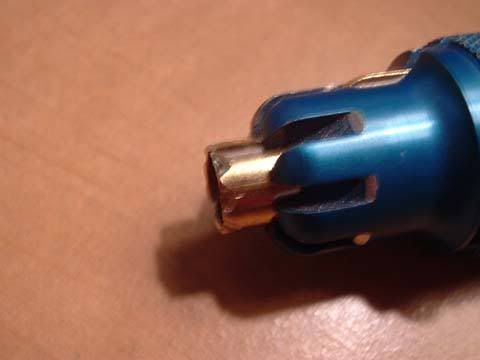
The filing is done at a 25 degree angle -- again, the notches in the impressioning handle help to guide you with this as there is a sort of "ramp" that guides the file to rest at that angle. The two sides of the file that touch the sides of the notch in the handle are smooth, so you don't accidentally file the handle itself. It was a bit tricky for me to figure out how to not accidentally file the bottom part of the handle, but that just took a little bit of practice.

And finally the finished key:
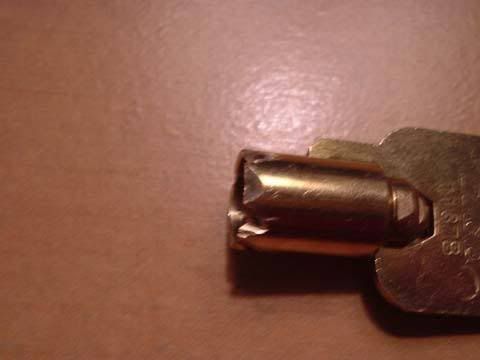
There are many, many problems with creating a key this way. First off, if the cuts in the key need to be very deep, it's pretty hard to file without chipping off the top of the key/making the key too thin.
Secondly, and this is the main problem I think, is that since the cuts do not have a solid "bottom" so to speak, like with a machine-cut key, you can't really decode the cuts very accurately.
So, all in all, this is a pretty useless skill, as I assumed it would be from the get-go, but that didn't make it any less satisfying when I popped the lock open


