


Before we jump into this I want to thank unbreakable for the inspiration to make my own bump hammer.
You can find his "How To" HERE
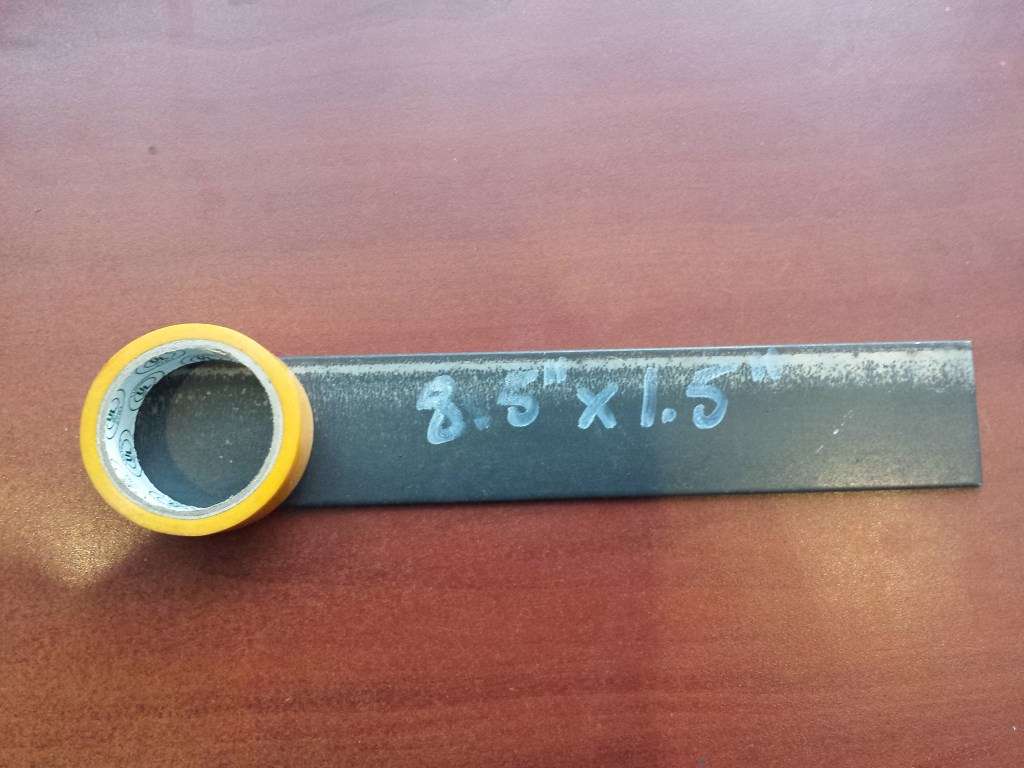
This is my 2nd DIY Bump Hammer, the first I made from 3/16" A36 steel plate. This one here is a little thinner, 12ga to be exact, I would recommend you choose a thickness below 3/16".
I choose 1-1/2" because it fits my hand well and also my rubber stoppers were available in that size. But you can adjust the material width/length and rubber bumper to your liking.
Required Materials:
1-1/2"x8-1/2" Steel Plate (I prefer 12ga .109")
Threaded Rubber Stopper (HERE is the one I used)
5/16"-18 Bolt
3/8" Drill bit & Drill (I used a 50ton Piranha to punch the hole)
Belt/Bench/Dremel any kind of grinder you can use to shape the metal (I used a large belt sander)
Saw or metal shear to cut material (I used our 10' pneumatic shear)
Optional Materials:
Plasti Dip (Handle dip)
Center punch
Sandblaster or Sand Paper
1: First thing you need to do is cut a piece of plate at 1-1/2" x 8-1/2". Then trace out a 1-1/2" Diameter along one edge of the plate, then its off to the grinder to get the shape you want.
This step is optional but I prefer to have the radius matching my rubber puck. I used a common roll of electrical tape to trace, or you can use your rubber puck or anything else you can find.
2: After you have shaped the radius on your grinder you can now layout the mounting hole for the rubber pad.
From that radius edge we will come down 3/4" as well as 3/4" from 1 side. Double check its centered before you hit it with a center punch, then pull out your 3/8" drill bit and goto town making your hole. If you have dull bits you may want to start with a 1/4" hole before drilling the 3/8". I have a large iron worker that shears and punches 3/4" plate instantly so I avoided drilling all together. ;D
Pro Tip: If you would like to hang your hammer off a work bench or add a lanyard just drill another hole on the other end of the plate now.


3: Next thing we do is de-burring the hole and cleaning any sharp edges from our plate, you can do this with a file, sand paper, bench or belt sander.
I choose to sandblast mine for better adhering the paint & handle dip. This is probably overkill but I had it available so might as well.
Now before we move to painting we need to clean any oil or dirt off our plate. So take some rubbing alcohol, denatured alcohol, anything you got that wont leave a residue behind and wipe'r down.

4: Now mask off wherever you want your handle to end at. (I went with 5" of dipped handle)
This step is completely optional, if your not doing plasti dip than just move on to painting.
And paint it whatever color your little picker heart desires. (Since my 3/16" hammer is black; I had yellow or bronze to choose from)


5: Now clean your handle with rubbing alcohol again and proceed to dip per plasti dip instructions.
Pro Tip: Don't buy the primer they recommended for using with steel, in my experience rubbing alcohol works 1000x better.

6: Once your handle has dried your ready to goto town with your bump hammer!
Remember to be safe and only pick your own locks!

