


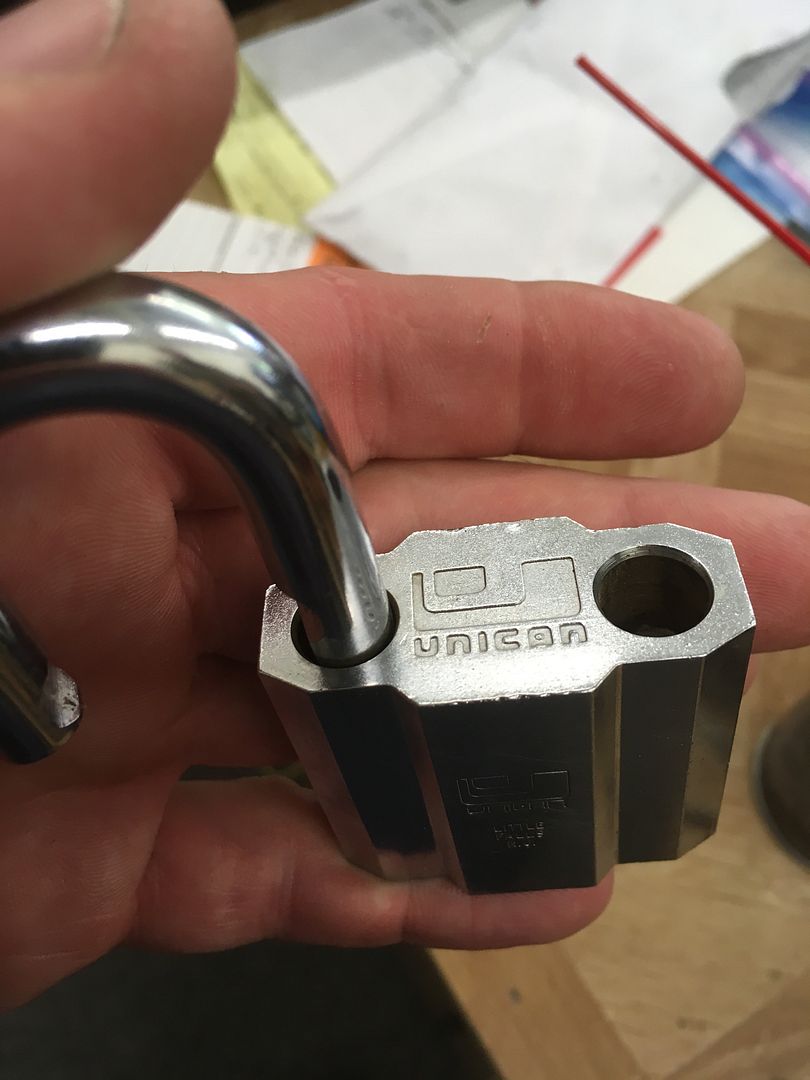
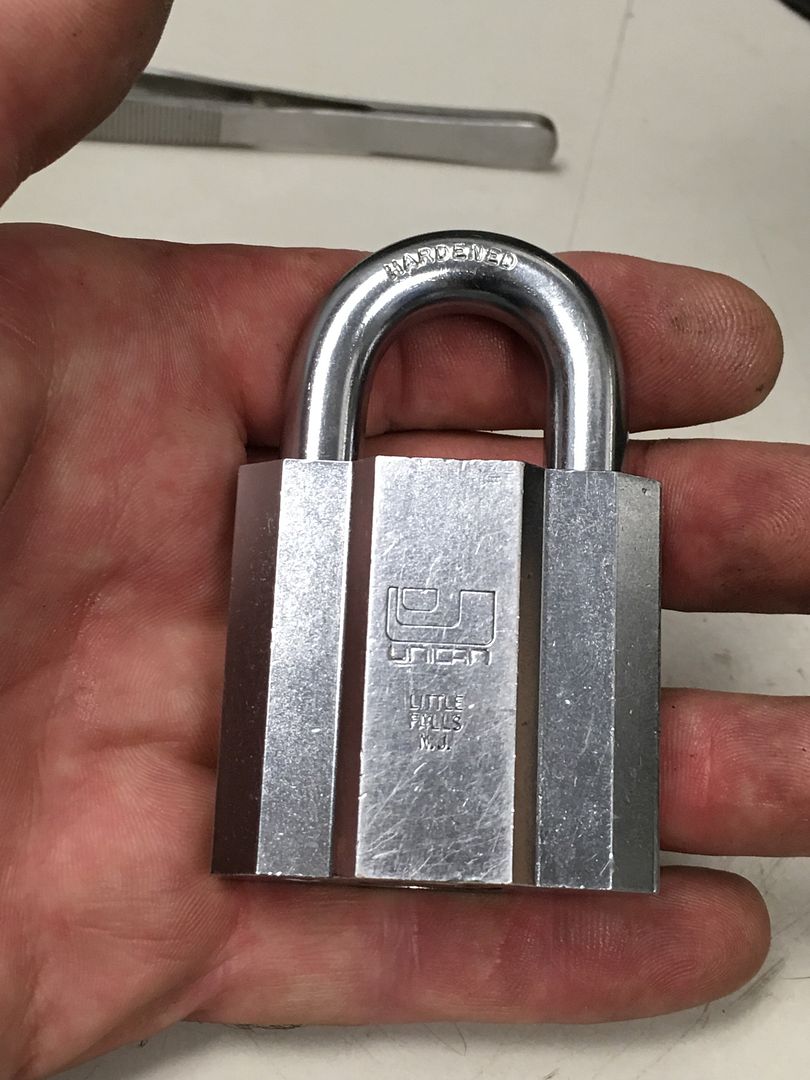
Unable to find info on this lock, worked out how it comes apart and thought it should be shared. The lock originally had lots of dirt, grime and gunk in it, preventing it from working properly. Got it picked open. This thread starts at that point.
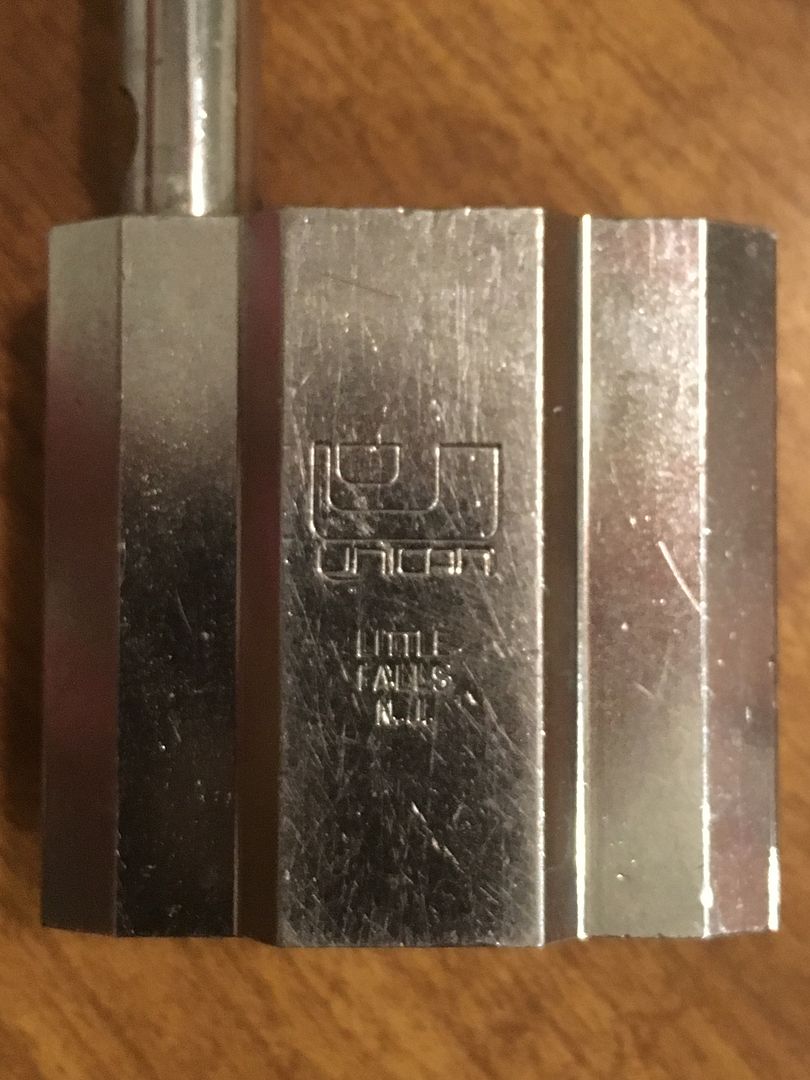
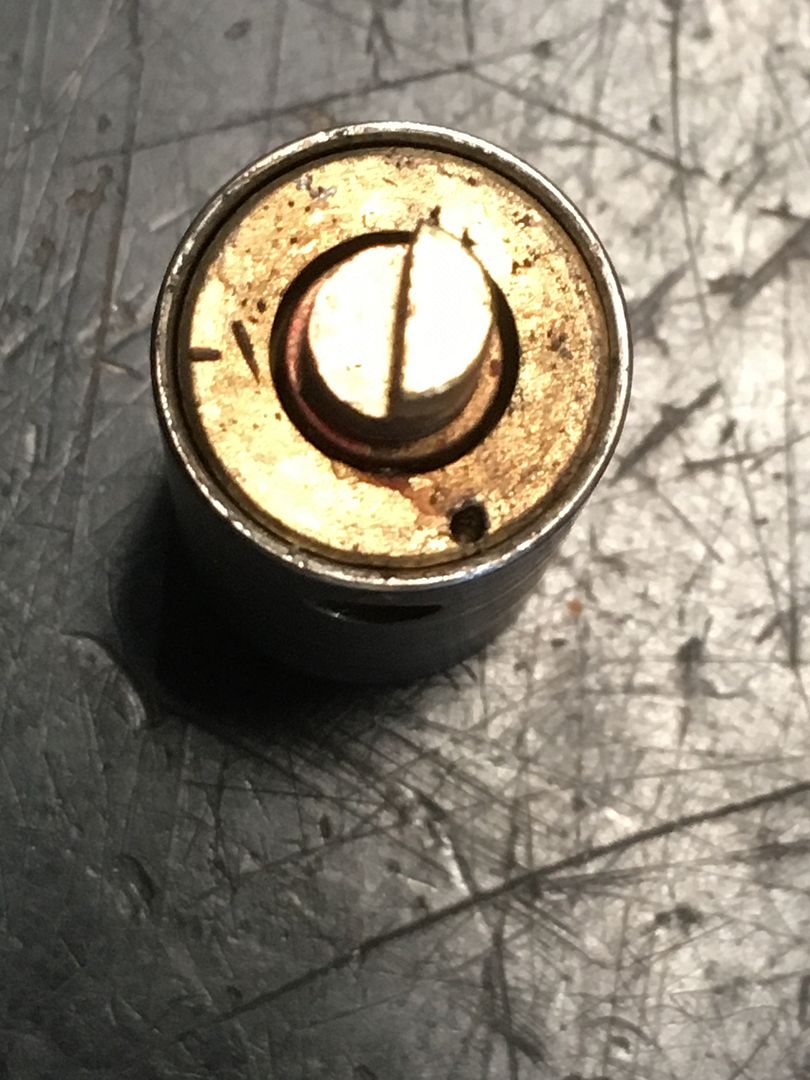
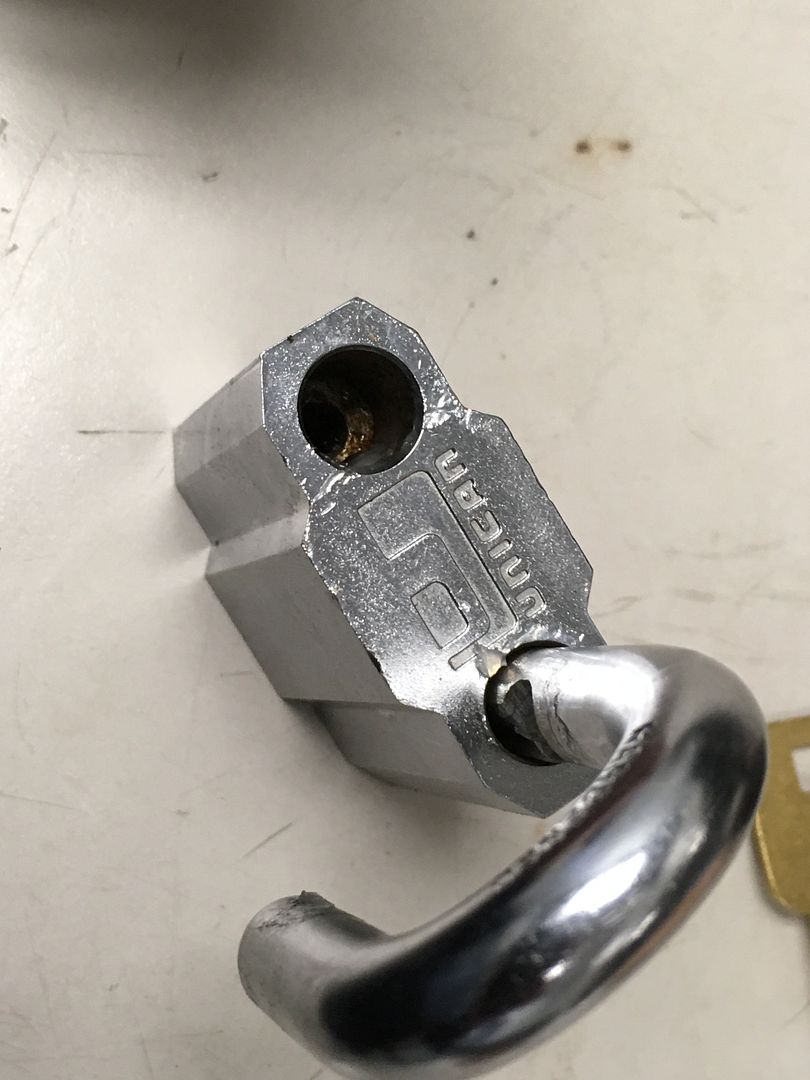
As stated, this is a Unican tubular padlock.
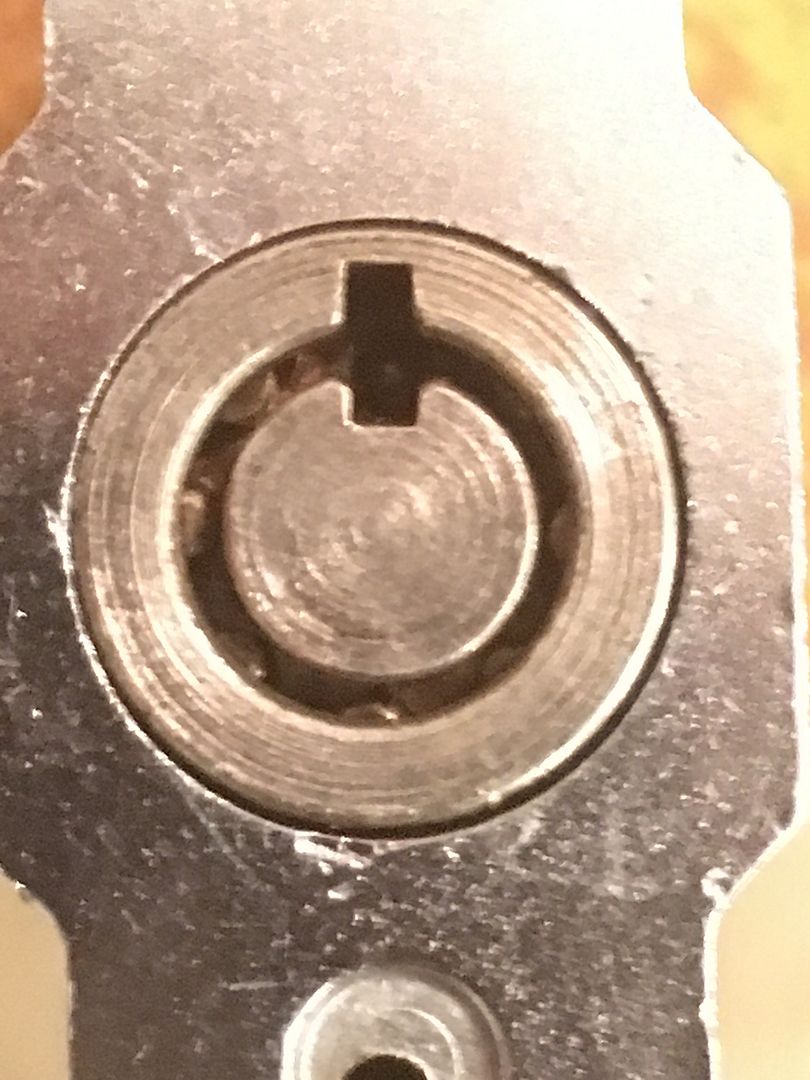
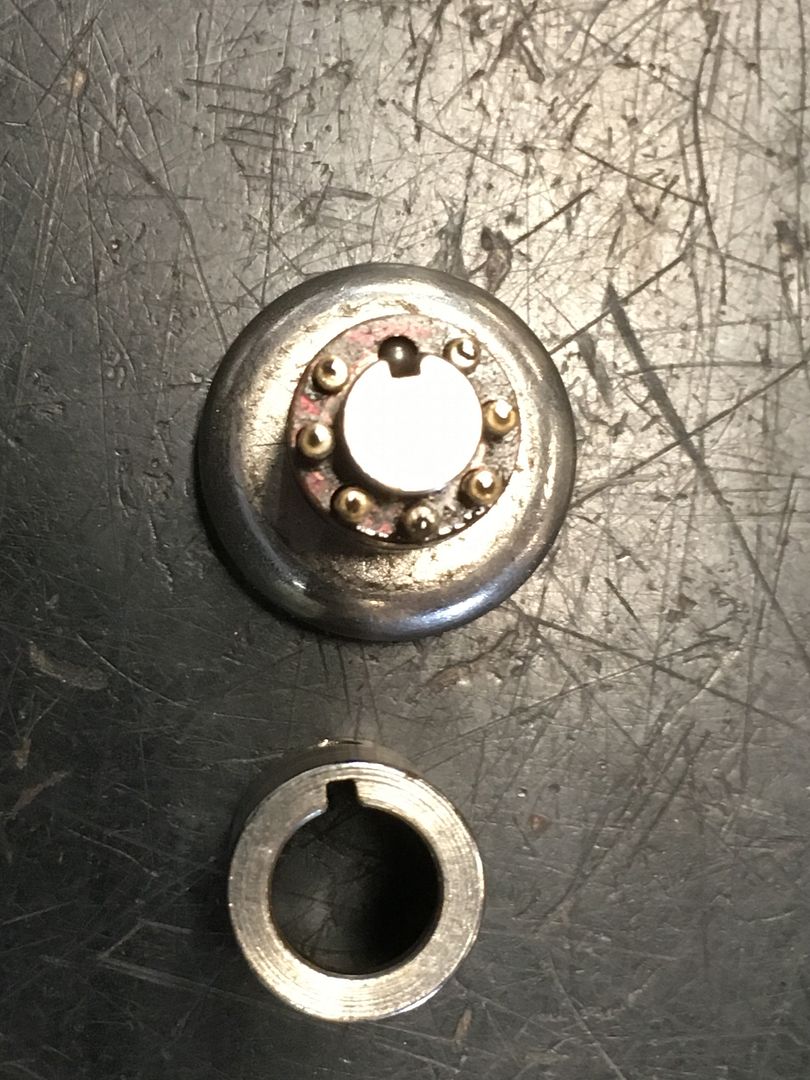
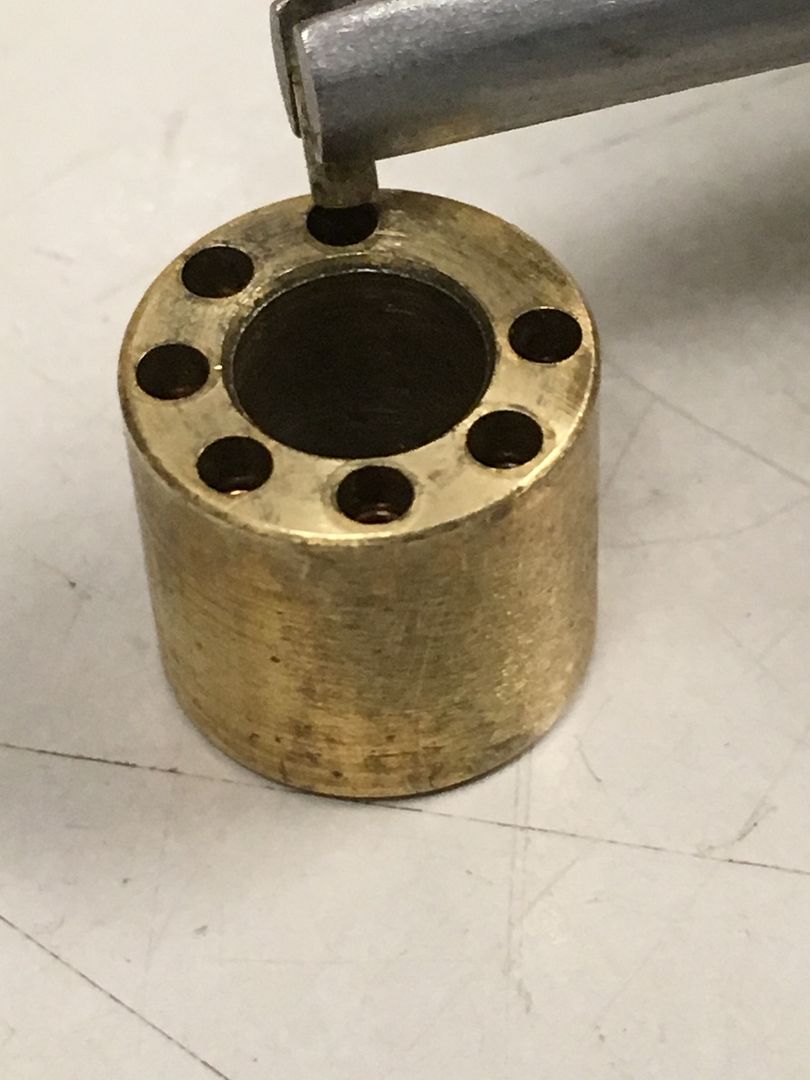
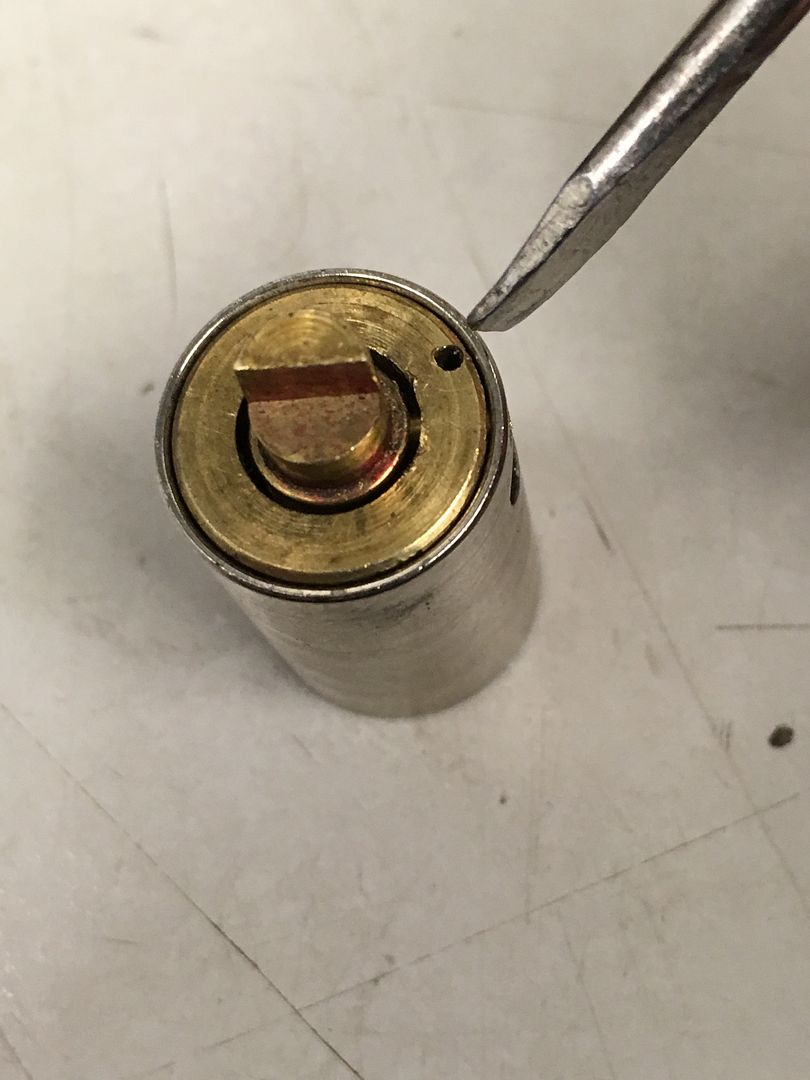
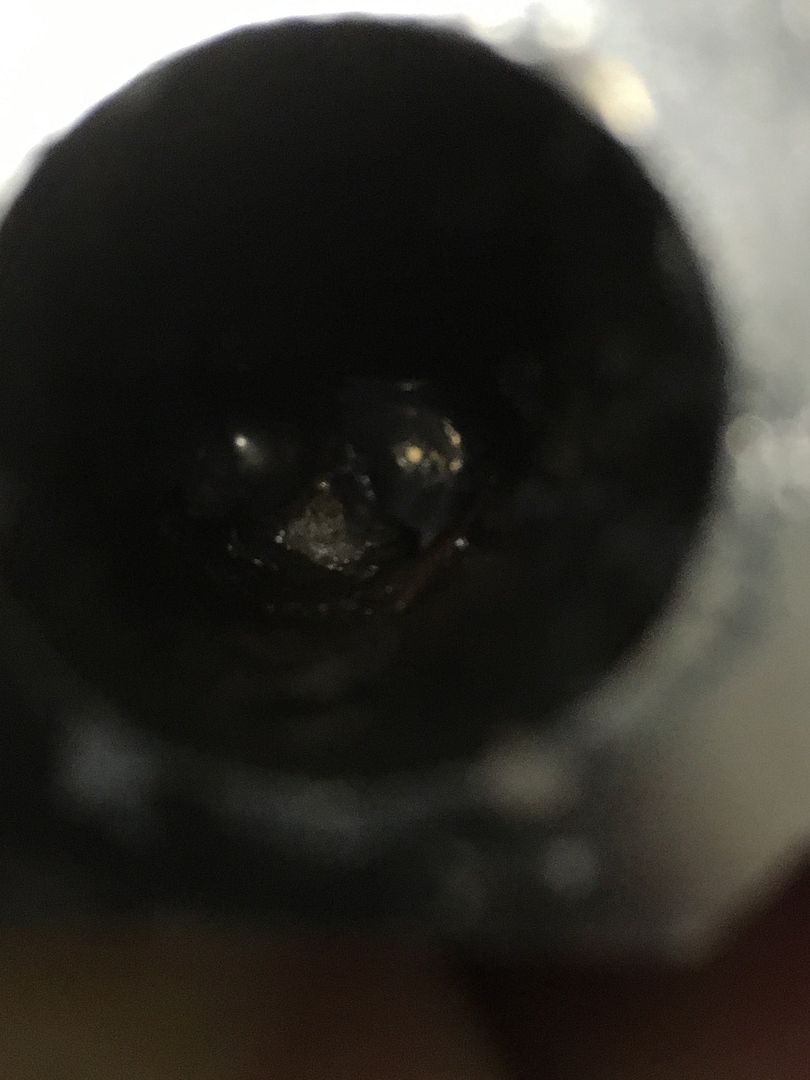
Standard seven pin tubular lock. However, if you look closely at the top of the keyway, you can see what looks like a steel bearing, which might be mistaken for a pin. Figure it is there for drill protection.
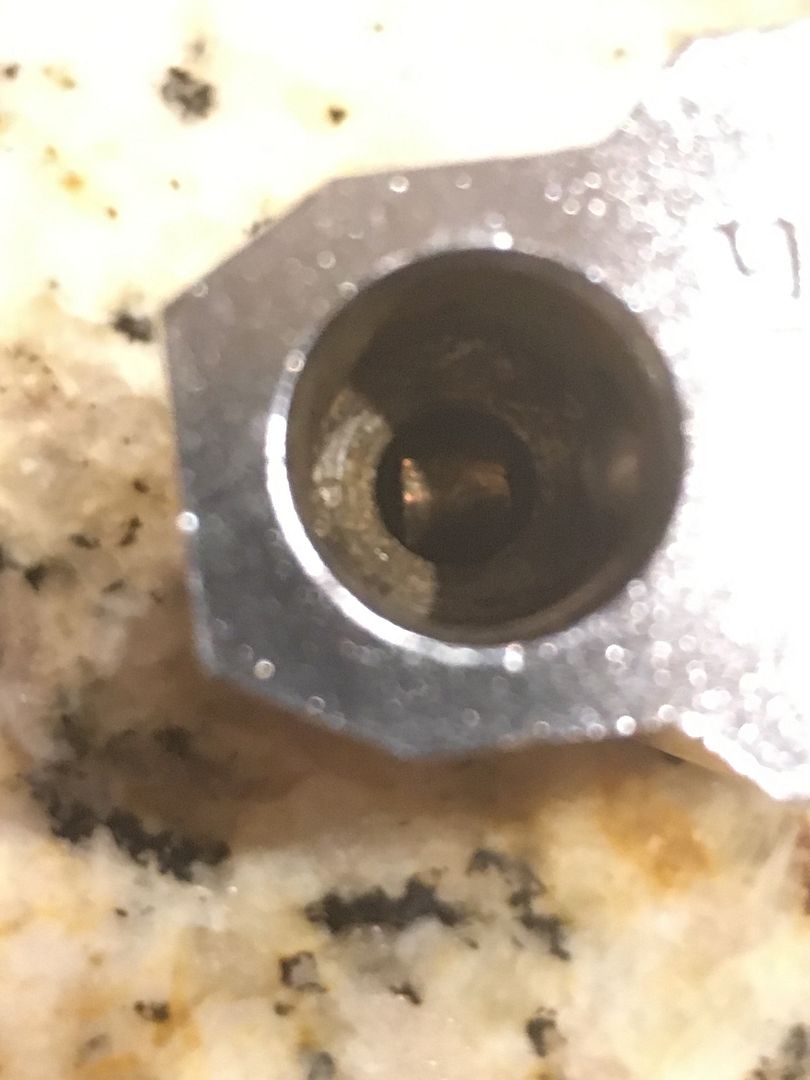
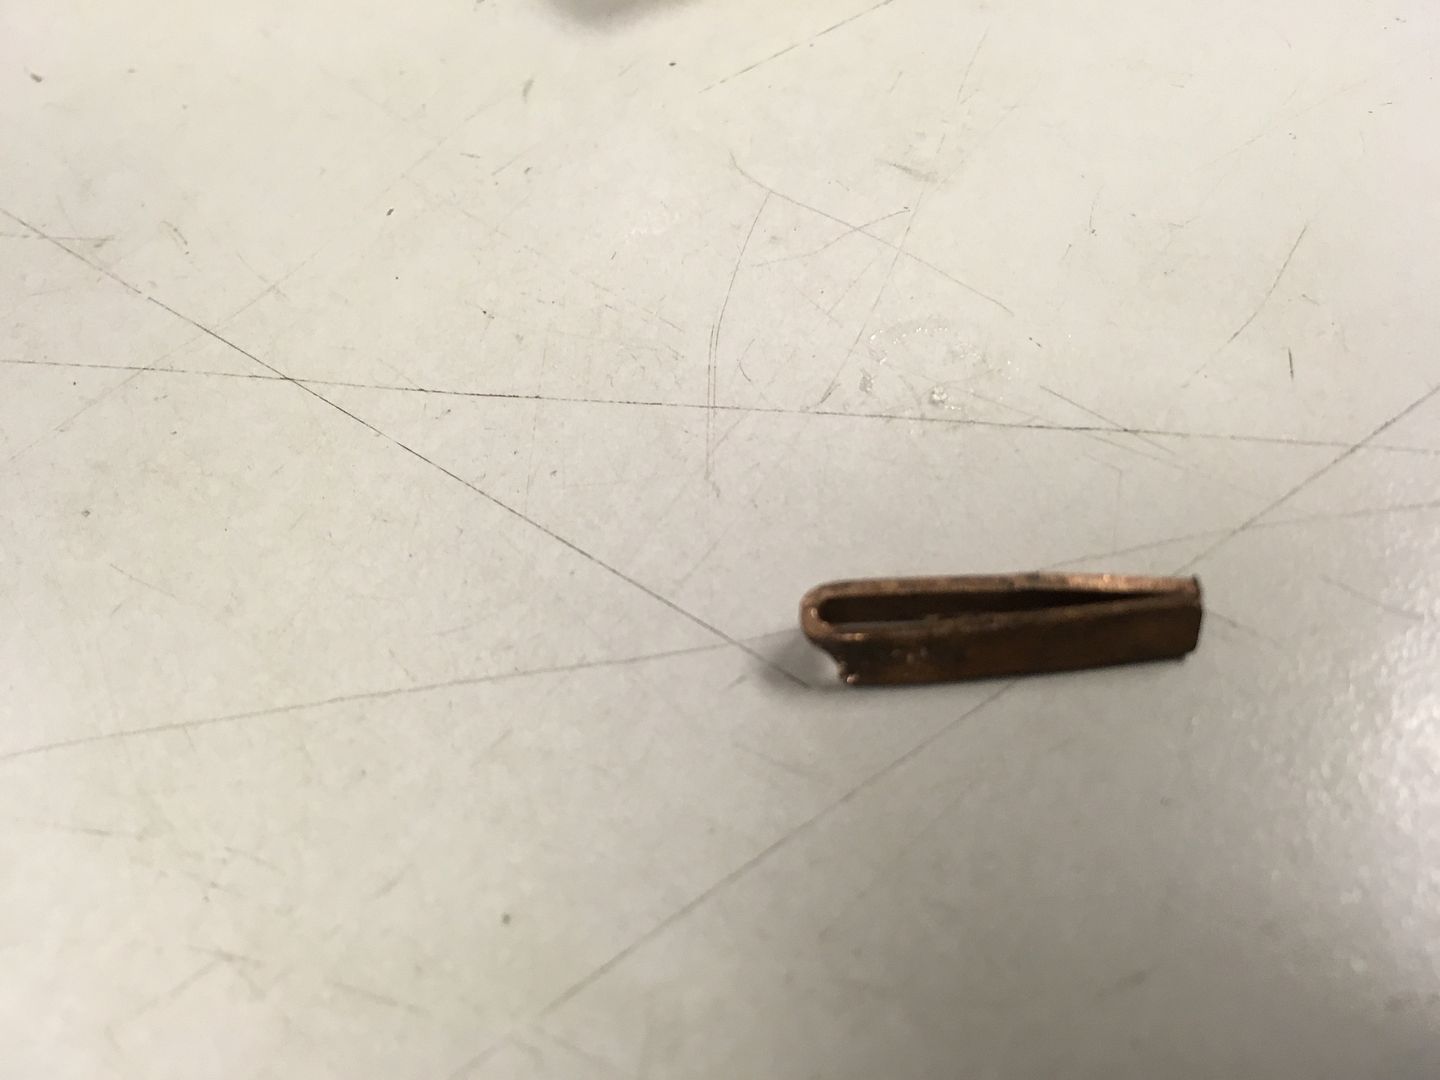
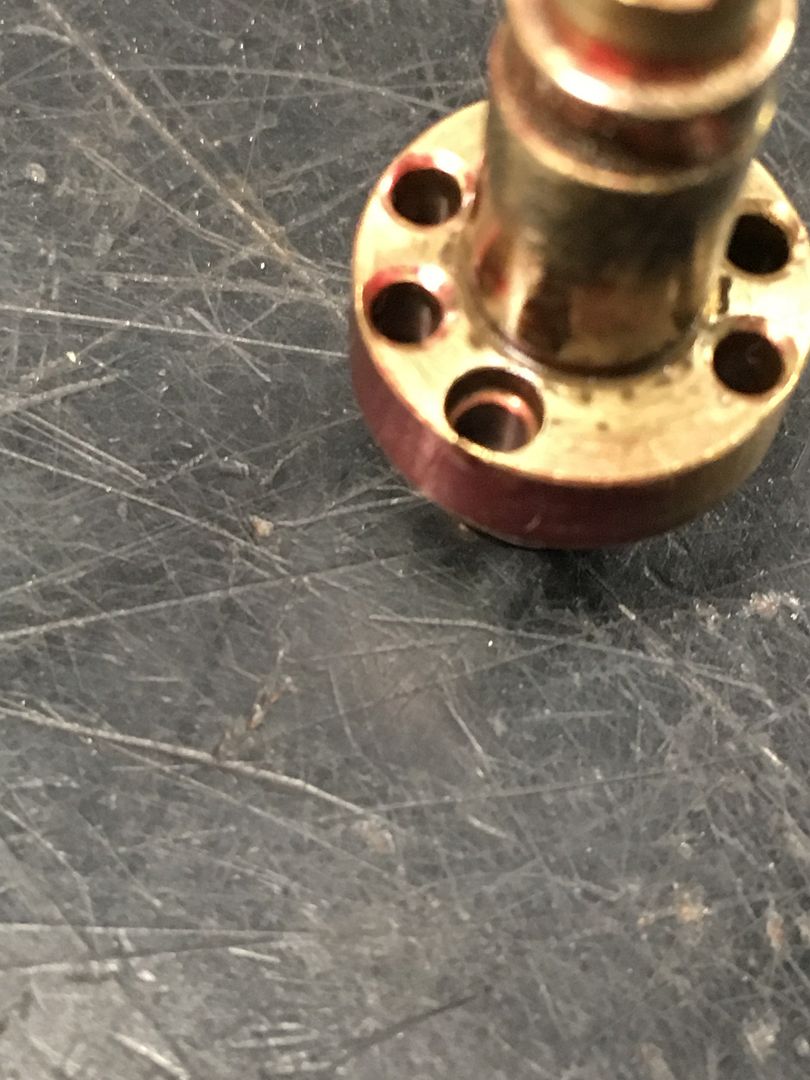
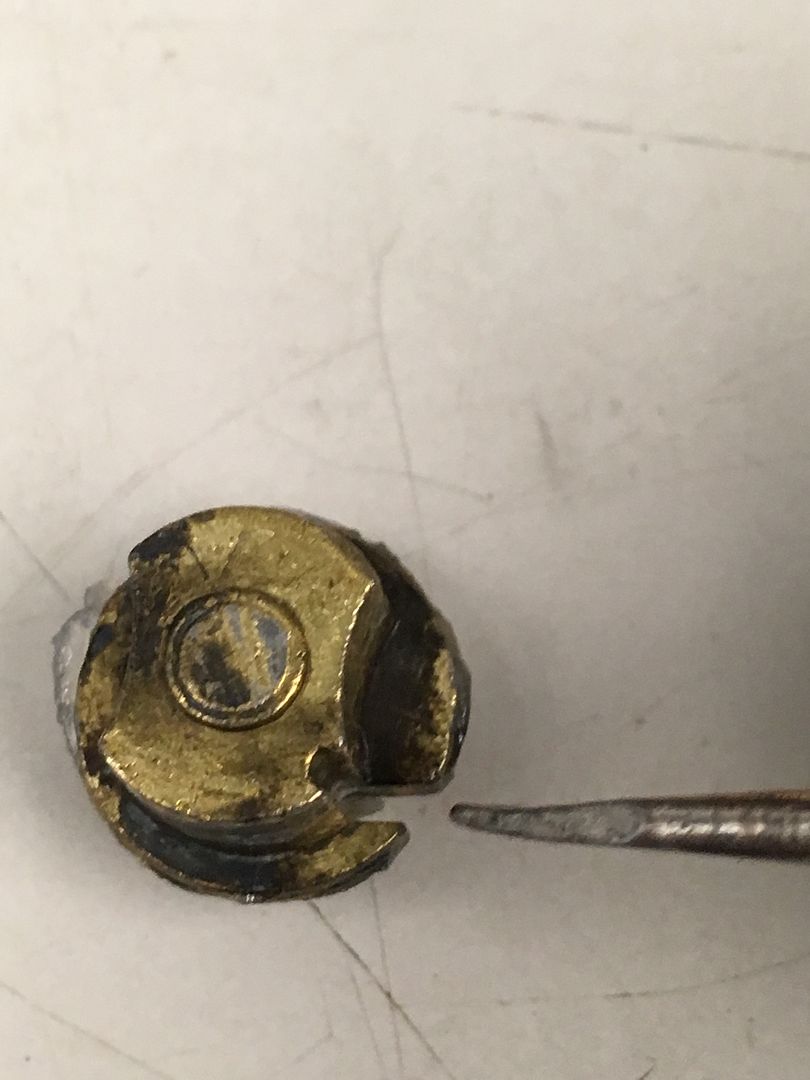
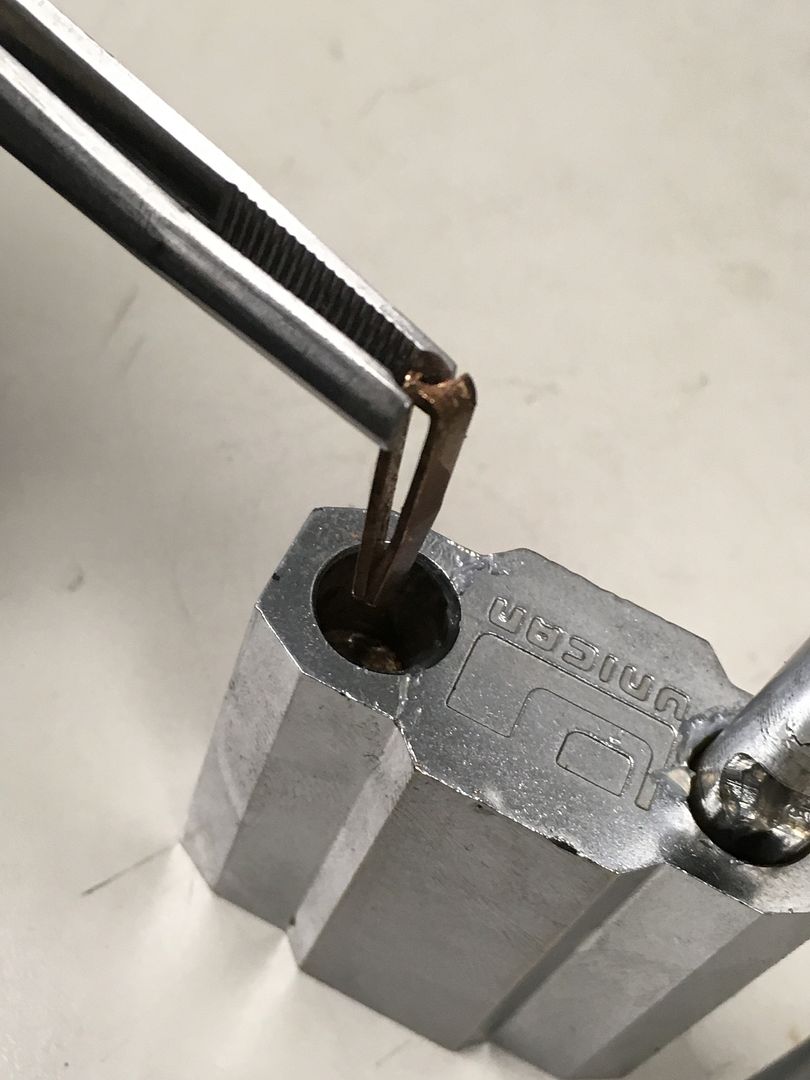
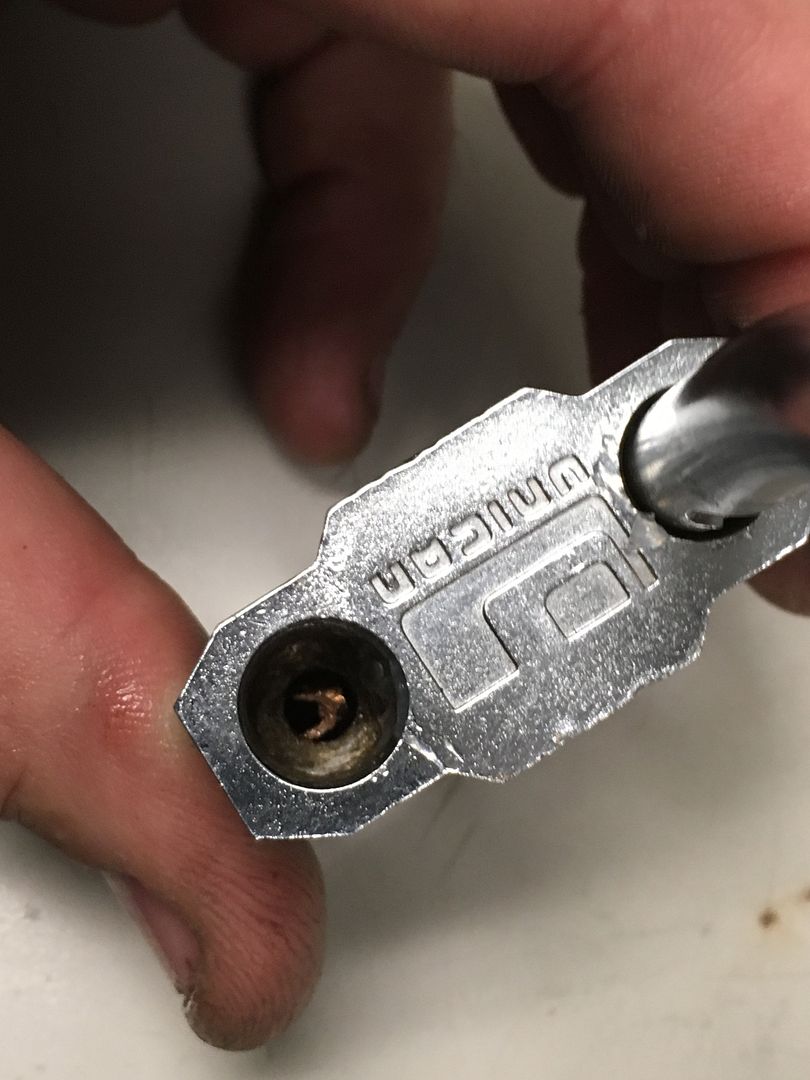
If you look in the hole in the lock body where the shackle toe goes, you can see a piece of folded copper. This needs to be removed for disassembly. Use a center punch to make a divot in the top of the folded copper, or your drill bit will wander off, drop between the copper and the lock body, and break a drill bit. Trust me, it will.
When it comes out, it looks like this:
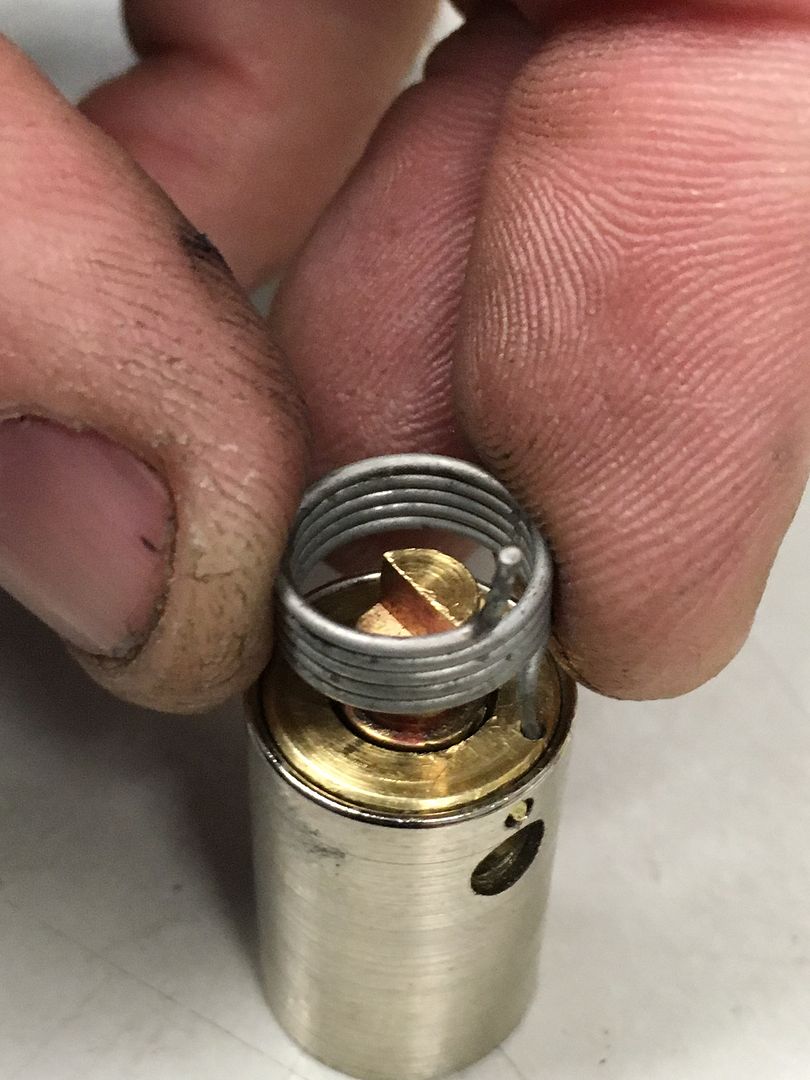
Once that copper is out, turn the lock so the side of the lock where that copper was located is down, and rap it a couple of times on a table or block of wood. This is to make the cylinder retaining pin slide away from the cylinder. The copper is what normally prevents this from happening. Here you can see the pin is sliding away from the cylinder.
Tap the lock bottom on an angle, and the cylinder with spring and drive cam will come out!
Once the cylinder/drive cam assembly is removed, the locking ball bearings will fall out and drop onto the floor permitting you an exciting game of hide-and-seek which should last for several minutes.
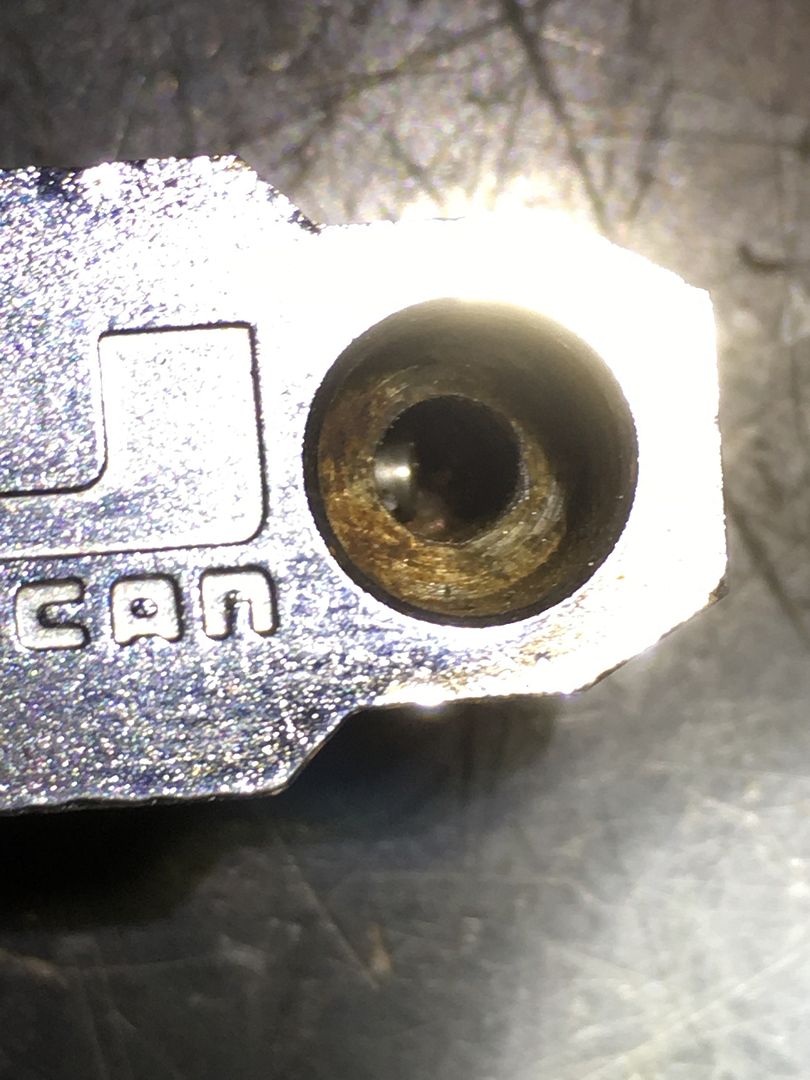
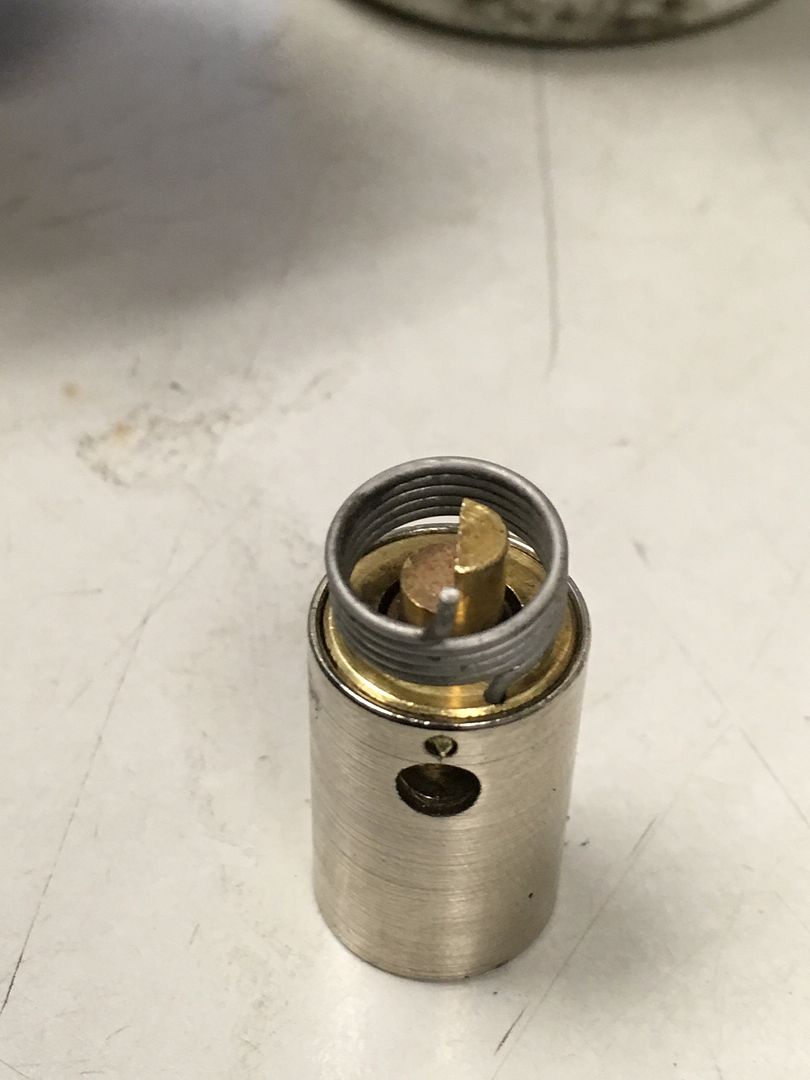
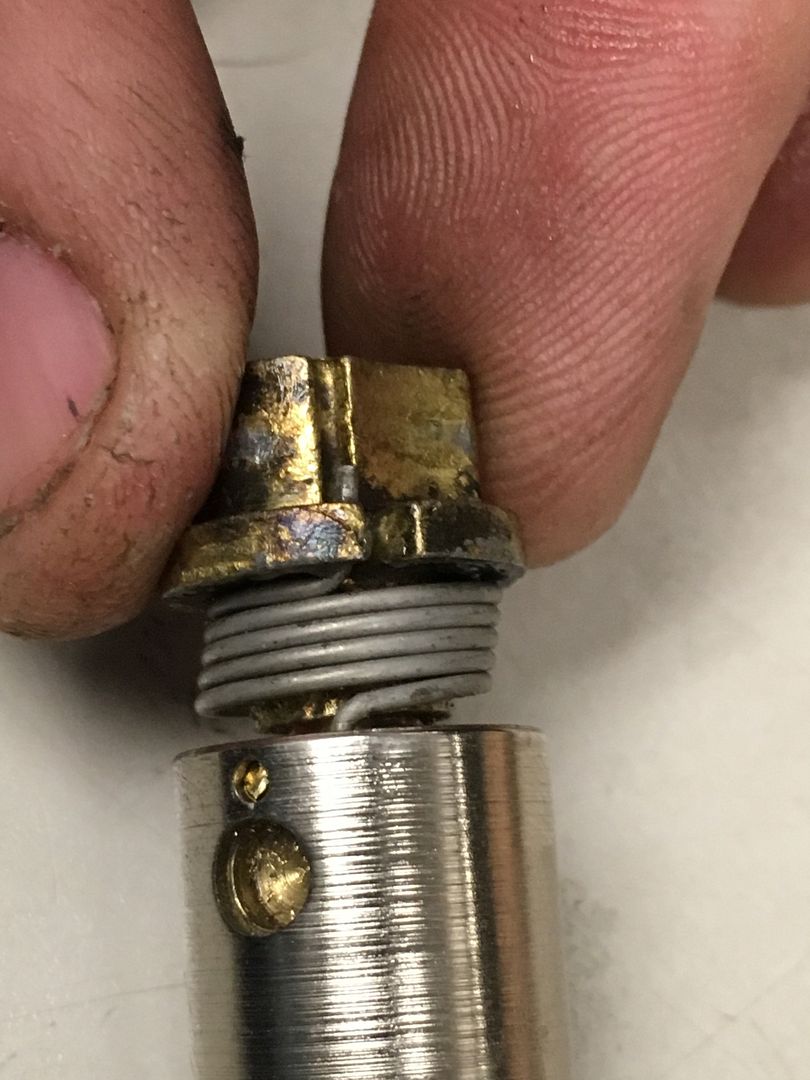
About halfway into the cylinder bore, you can see the retaining pin.
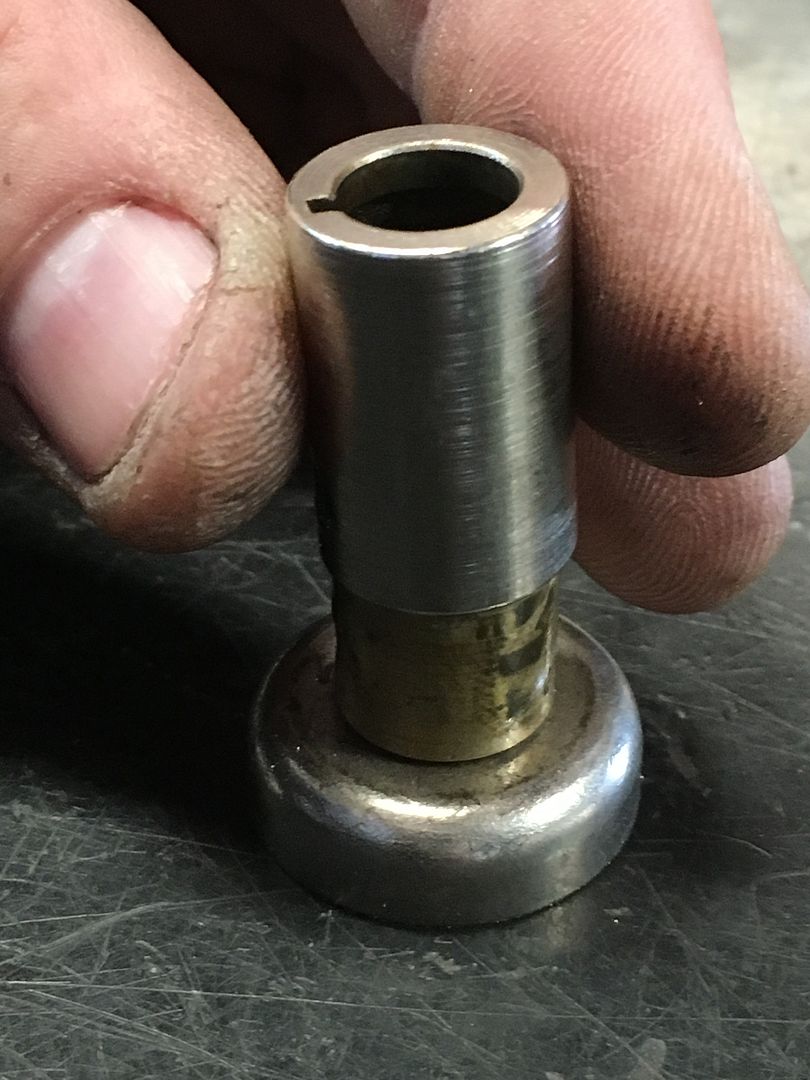
Here is the cylinder retaining pin. It is rather sizeable.

The cylinder has a large hole for it to hold onto.

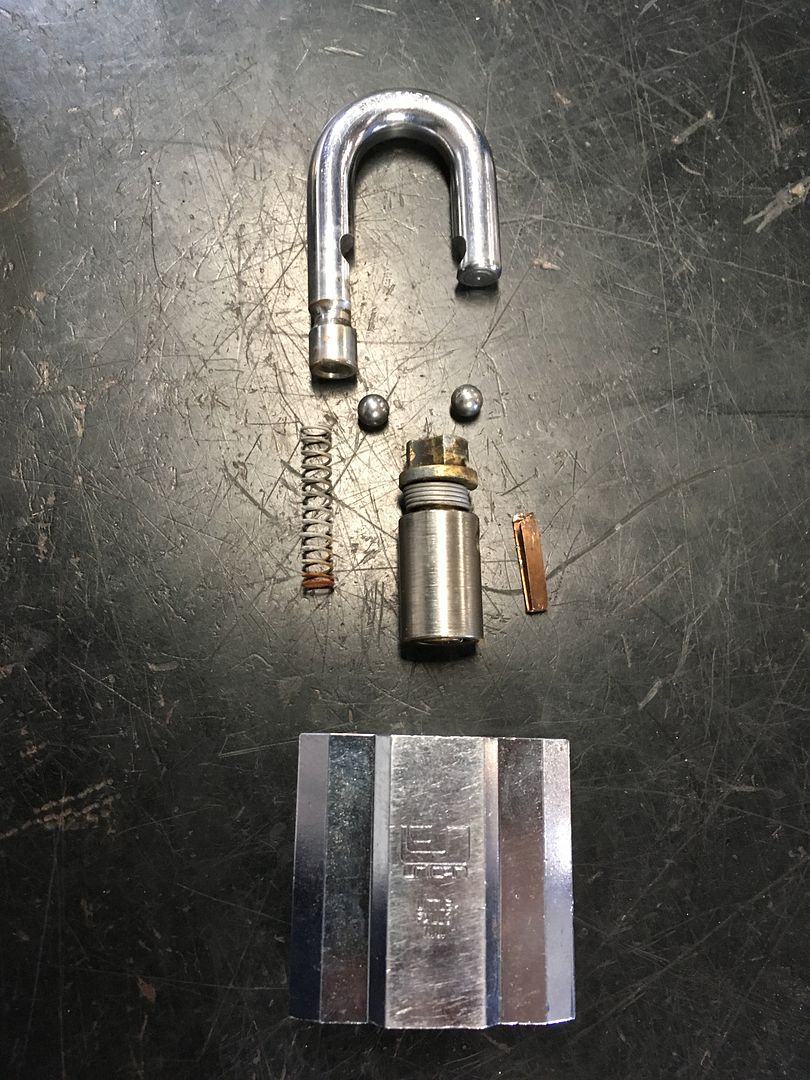
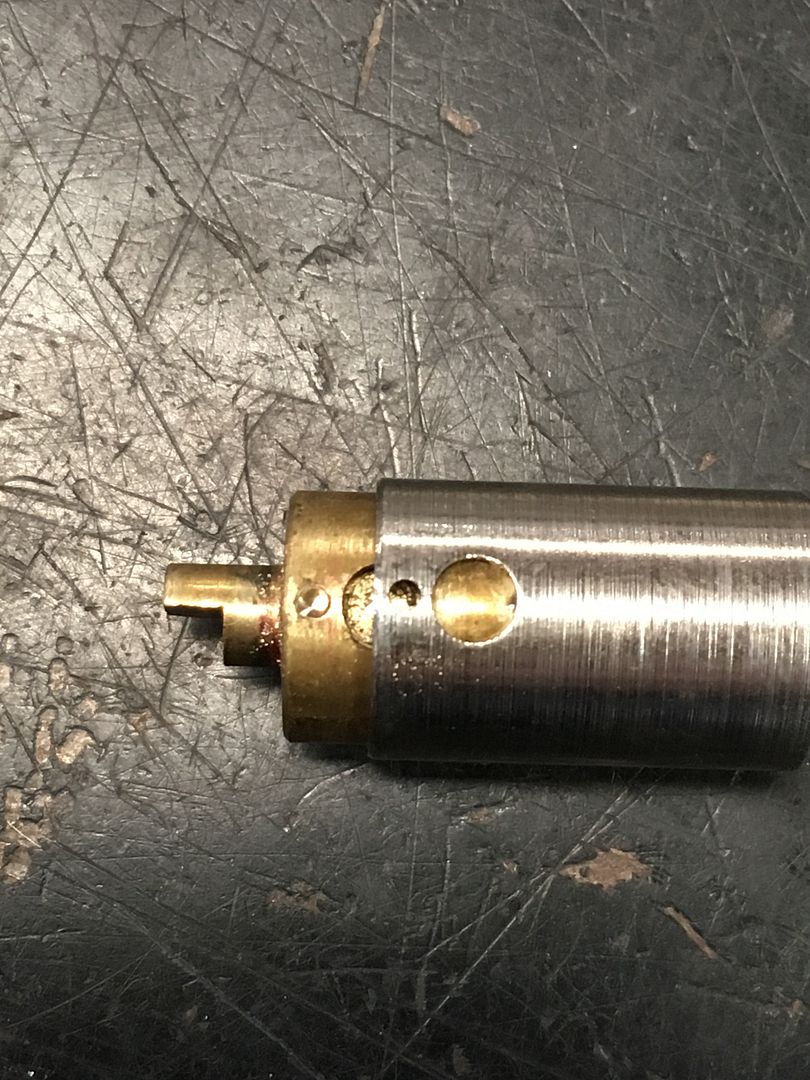
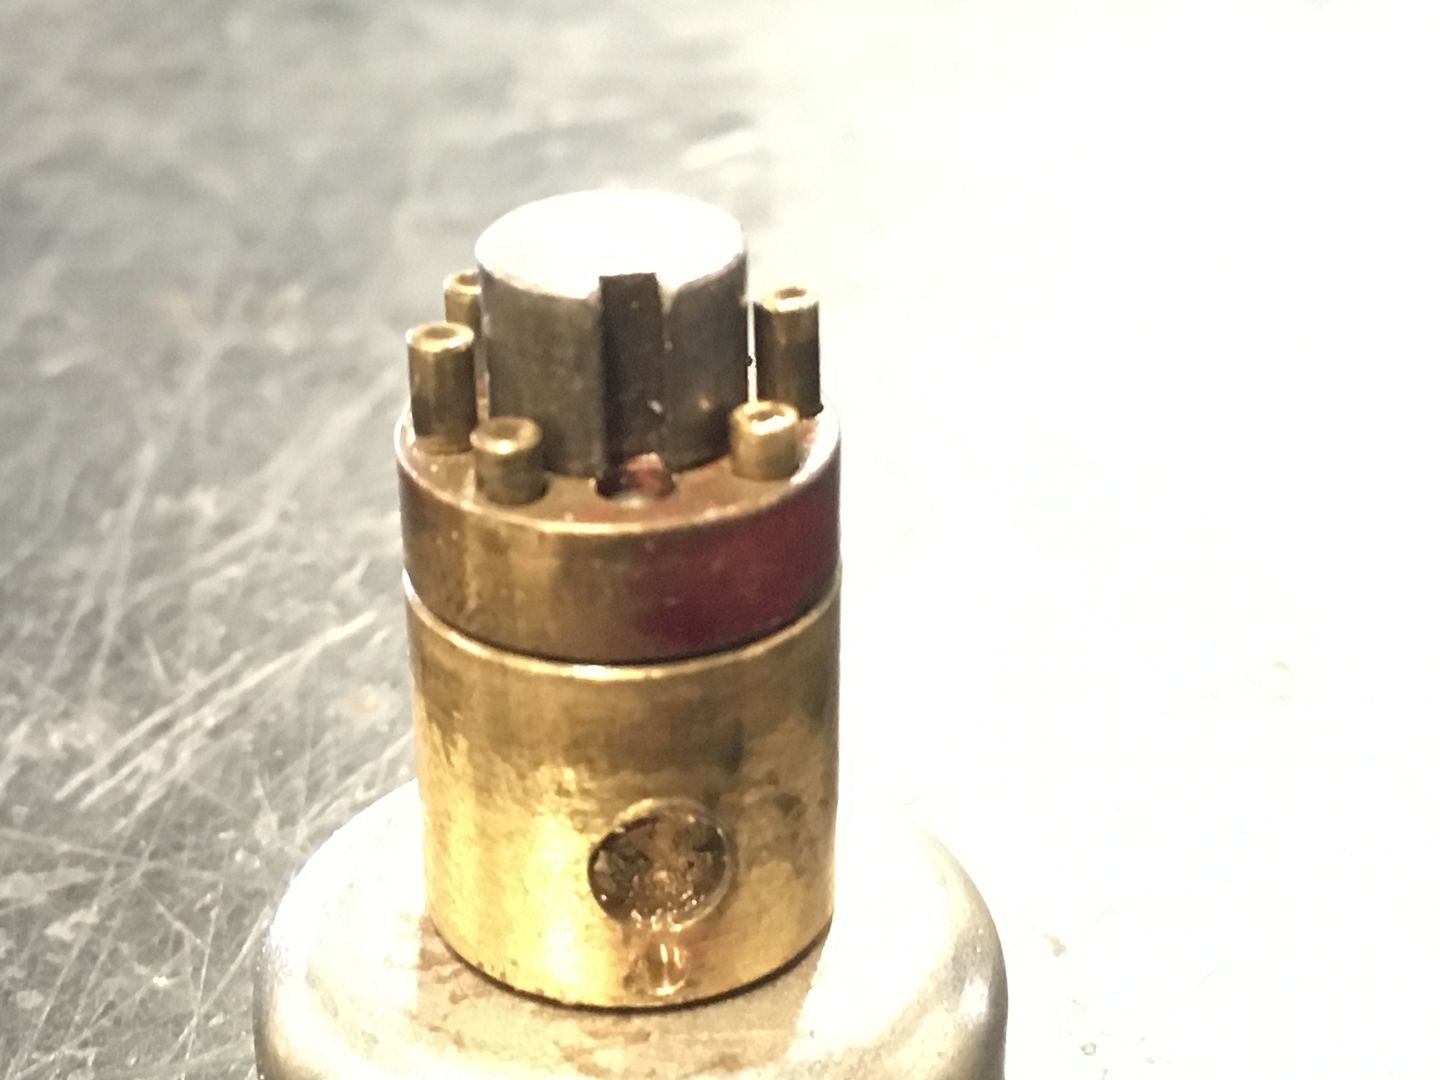
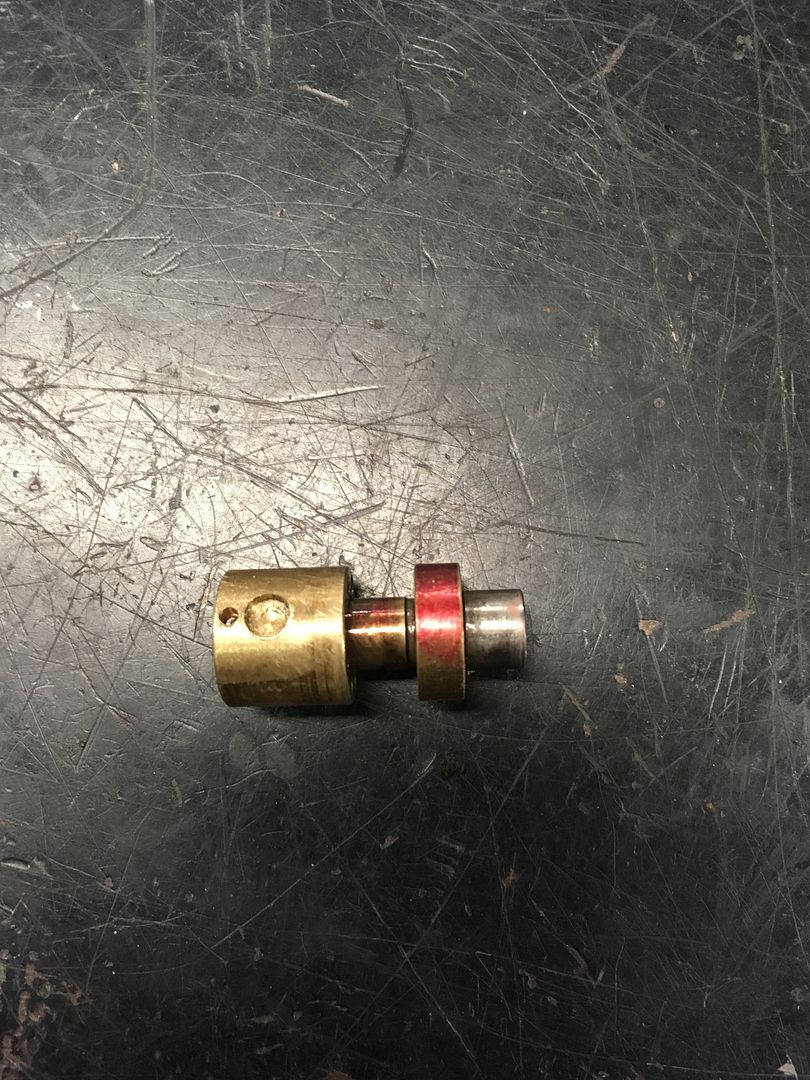
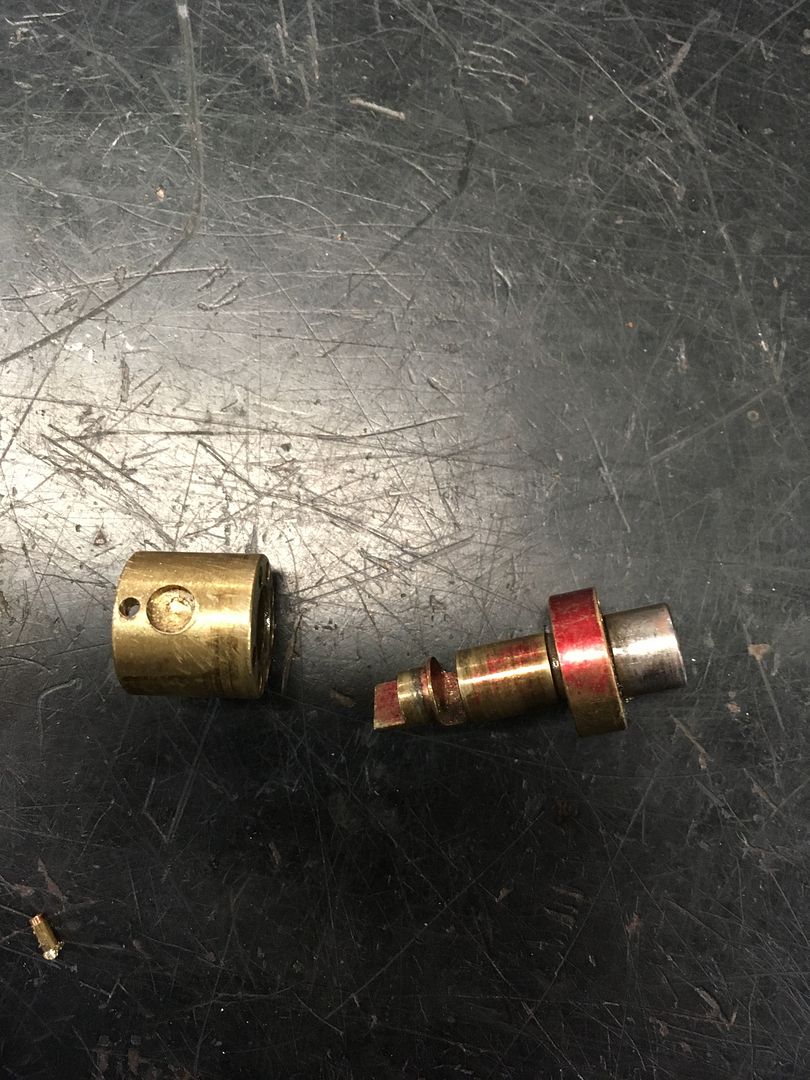
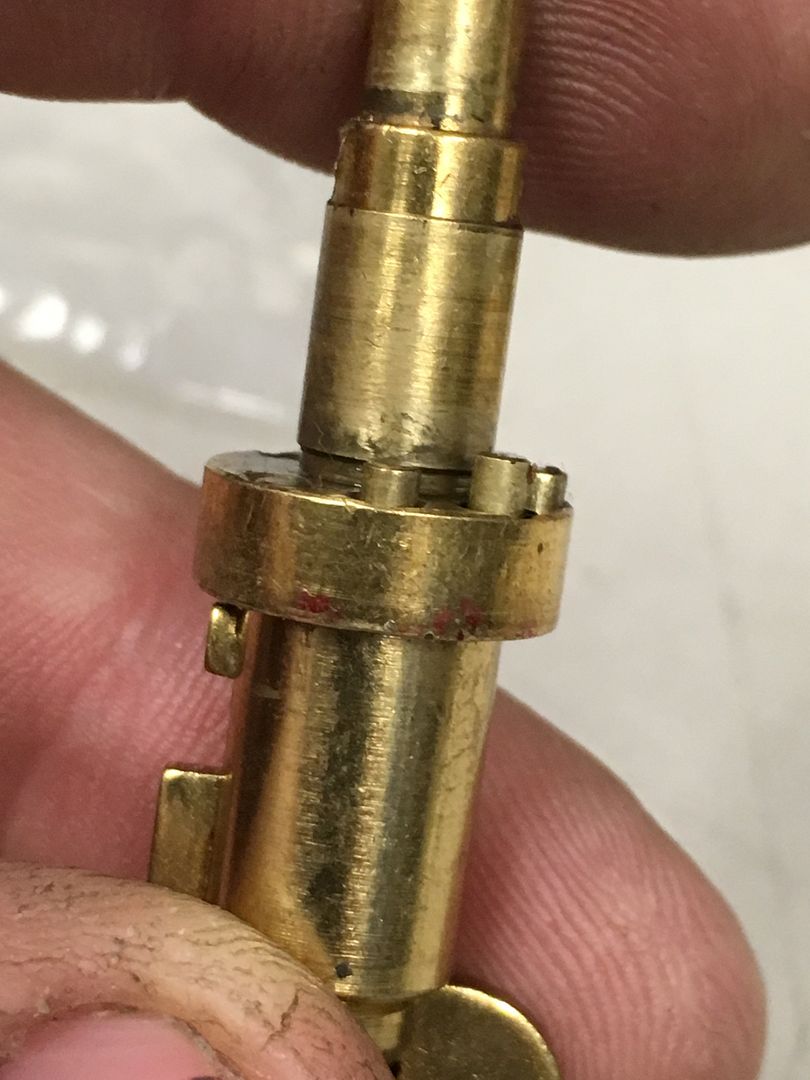
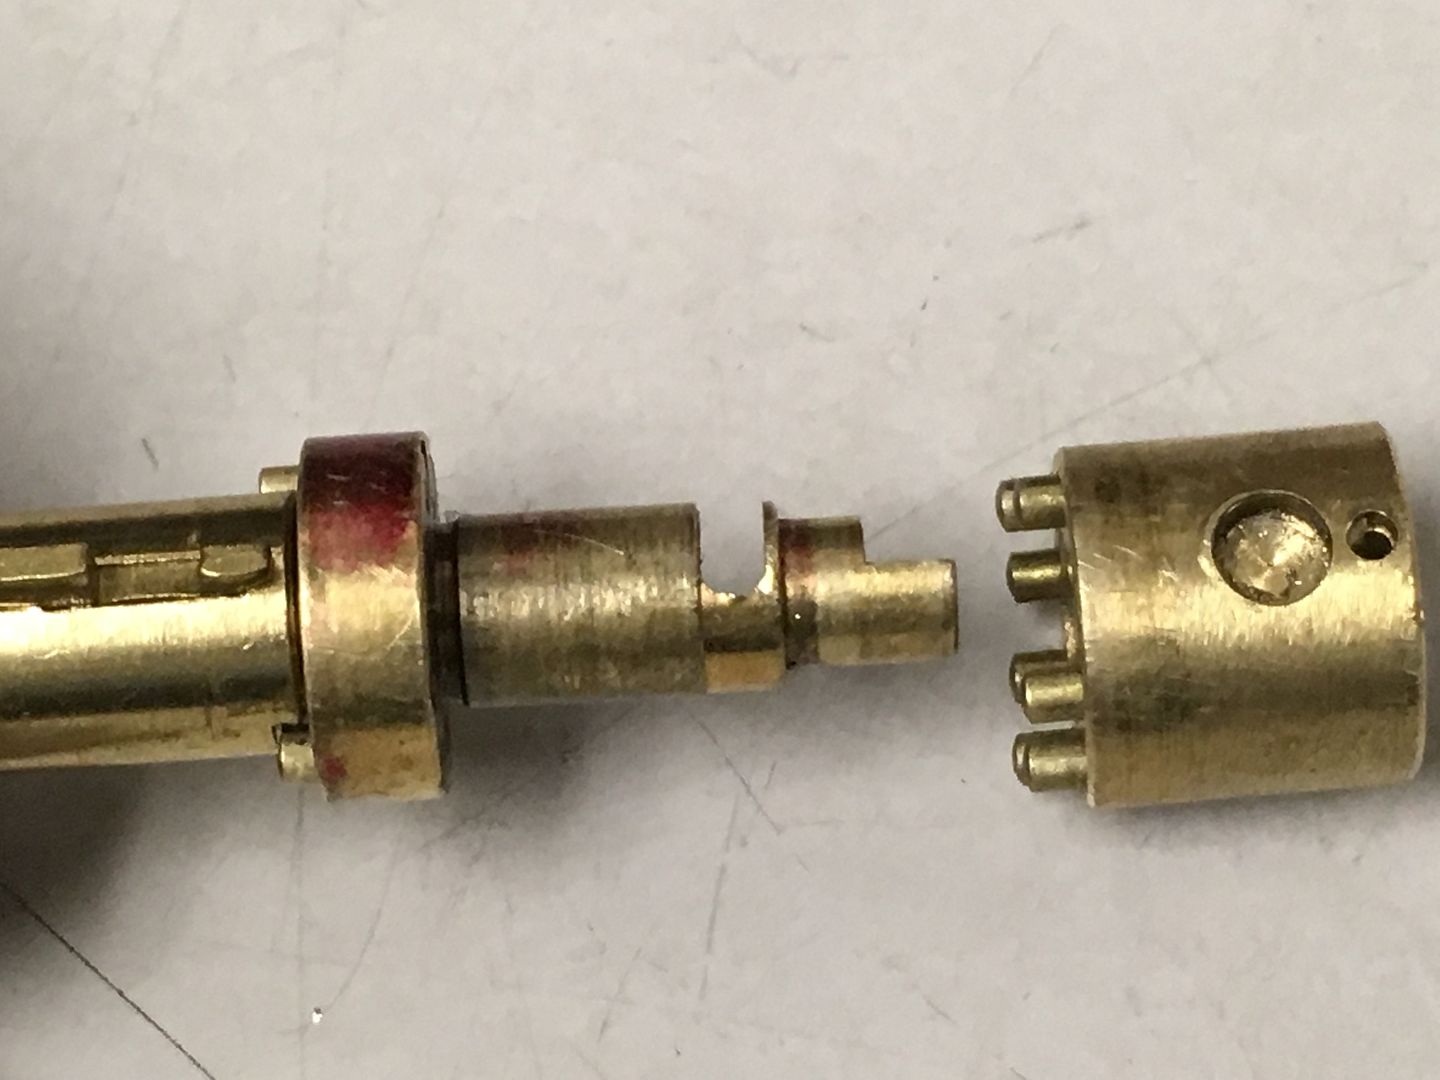
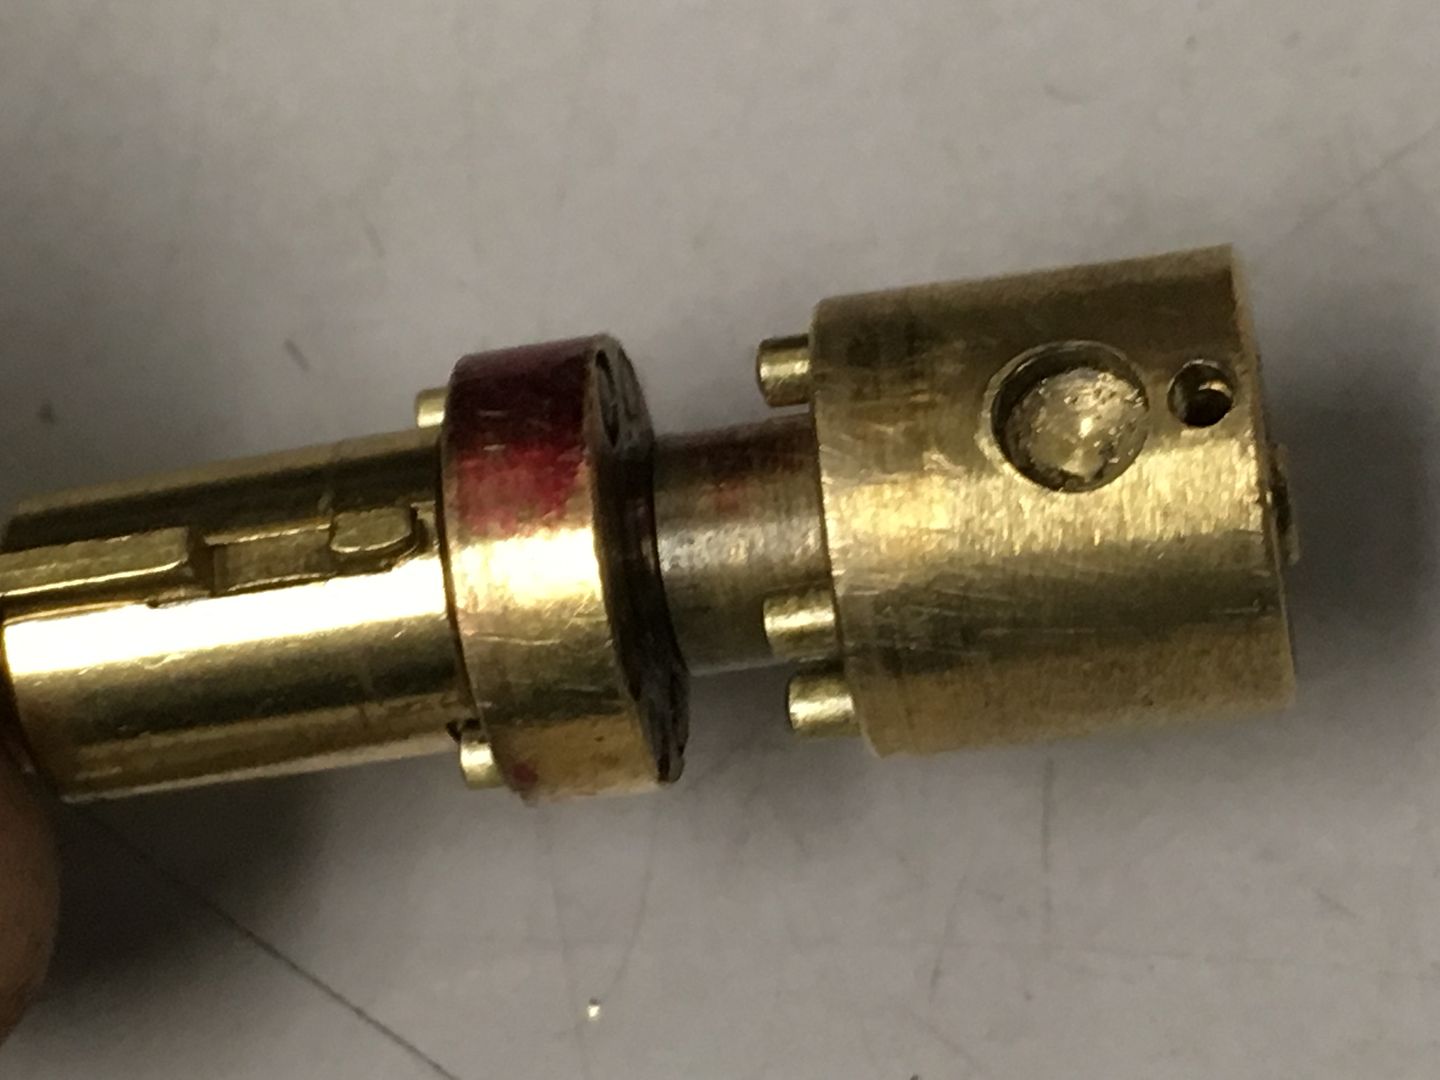
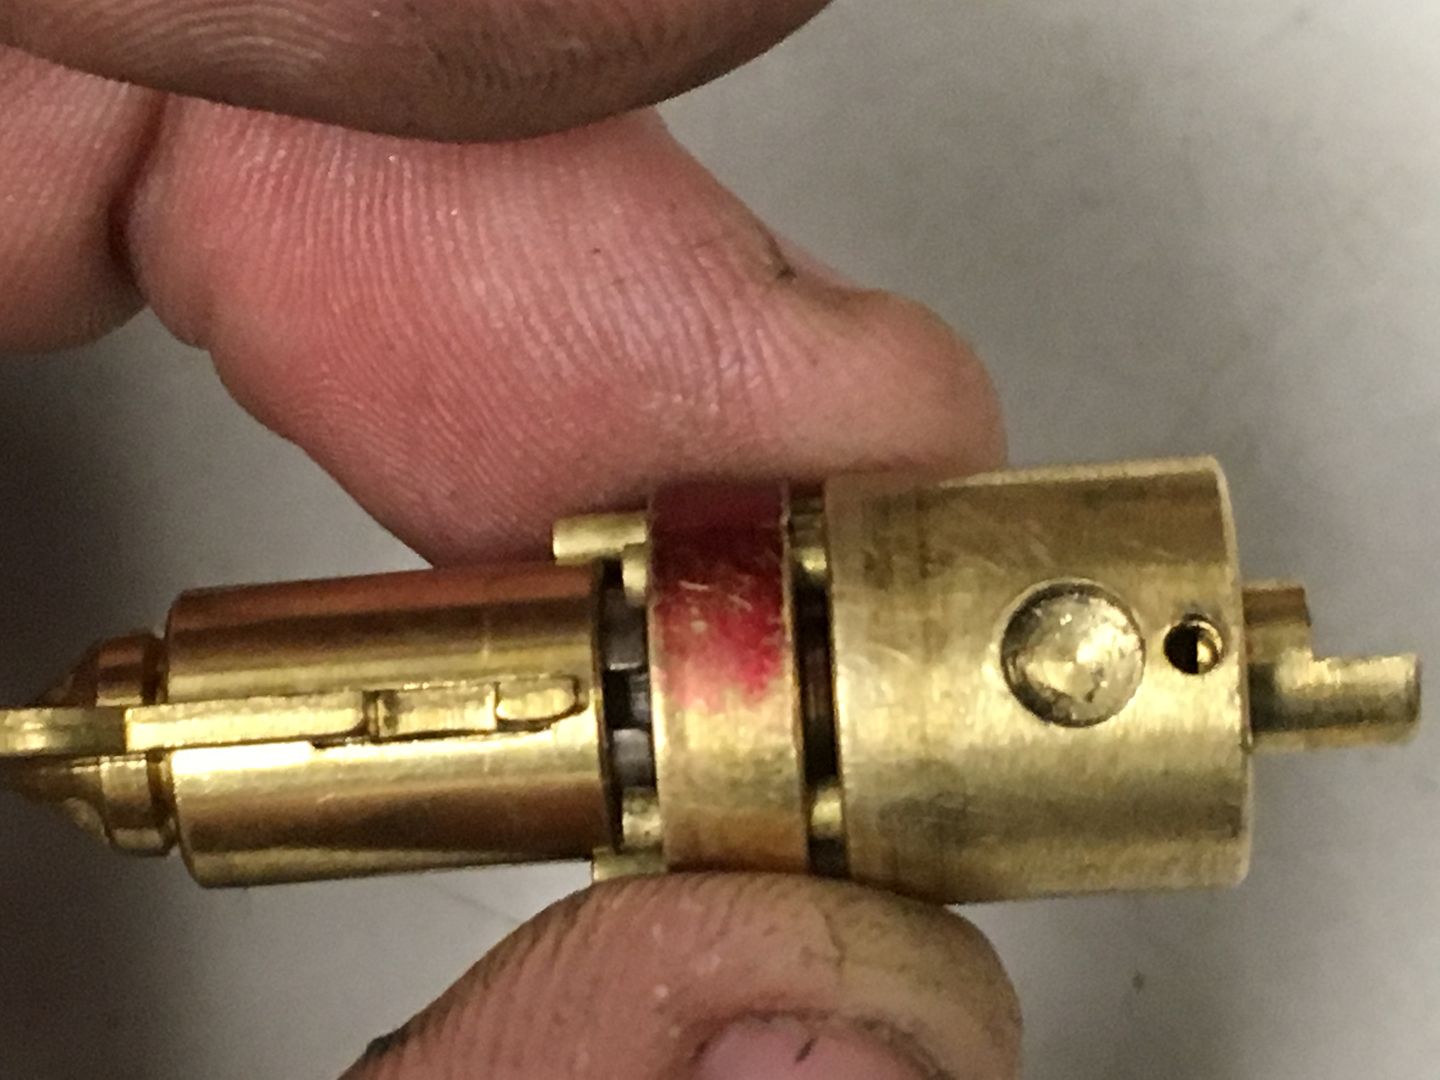
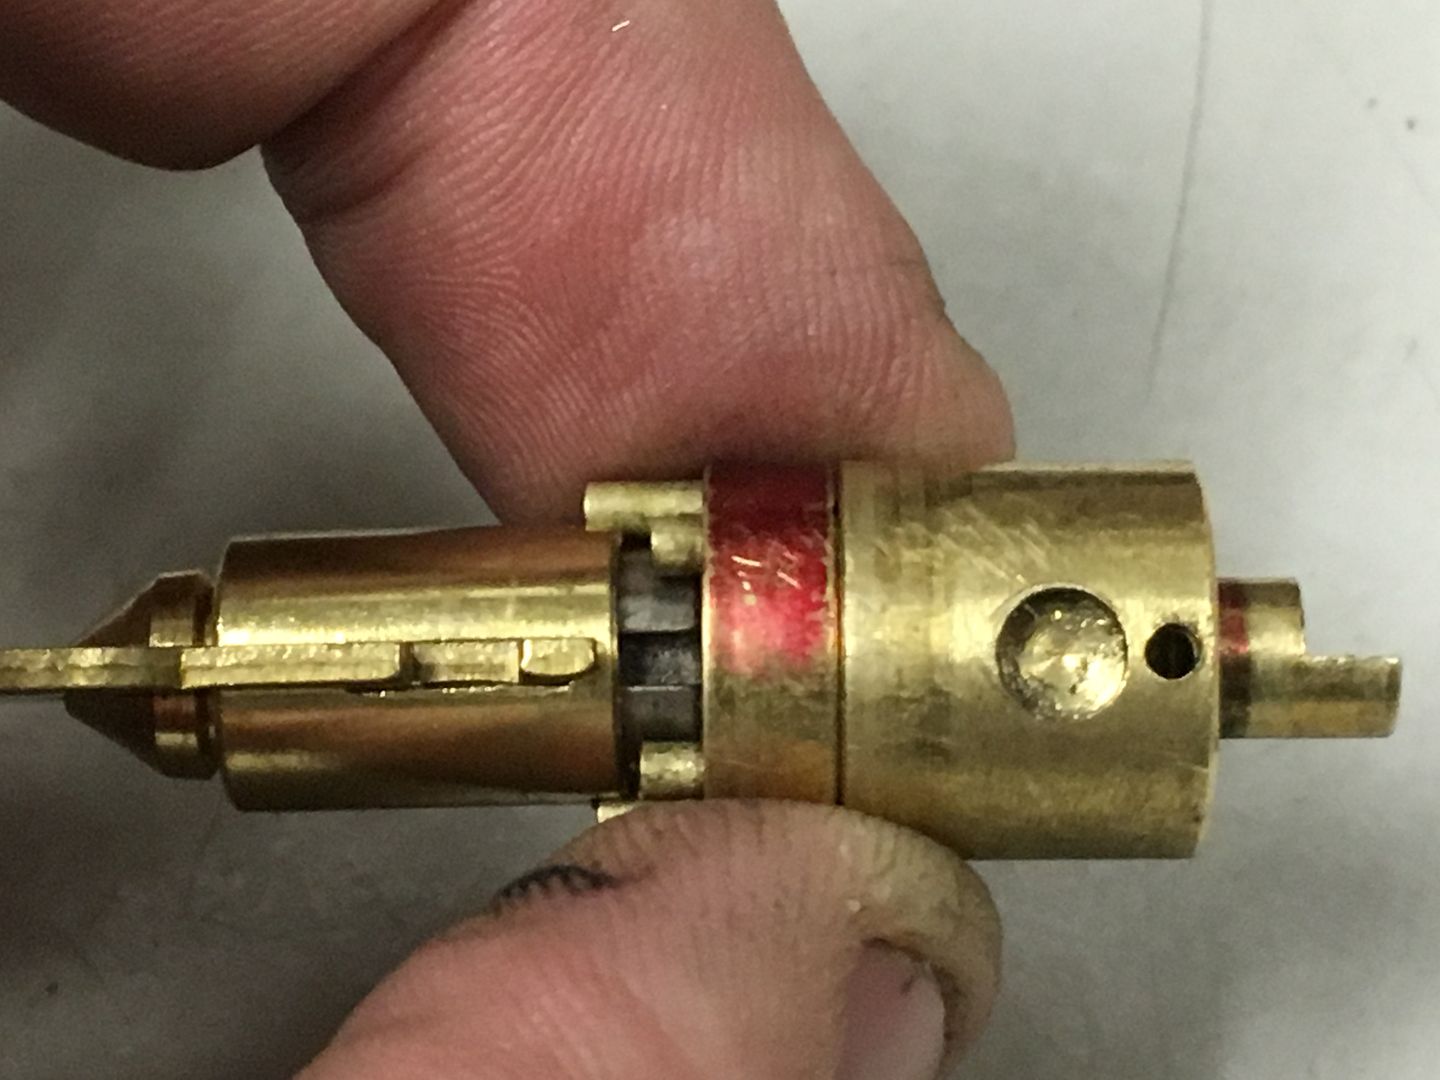
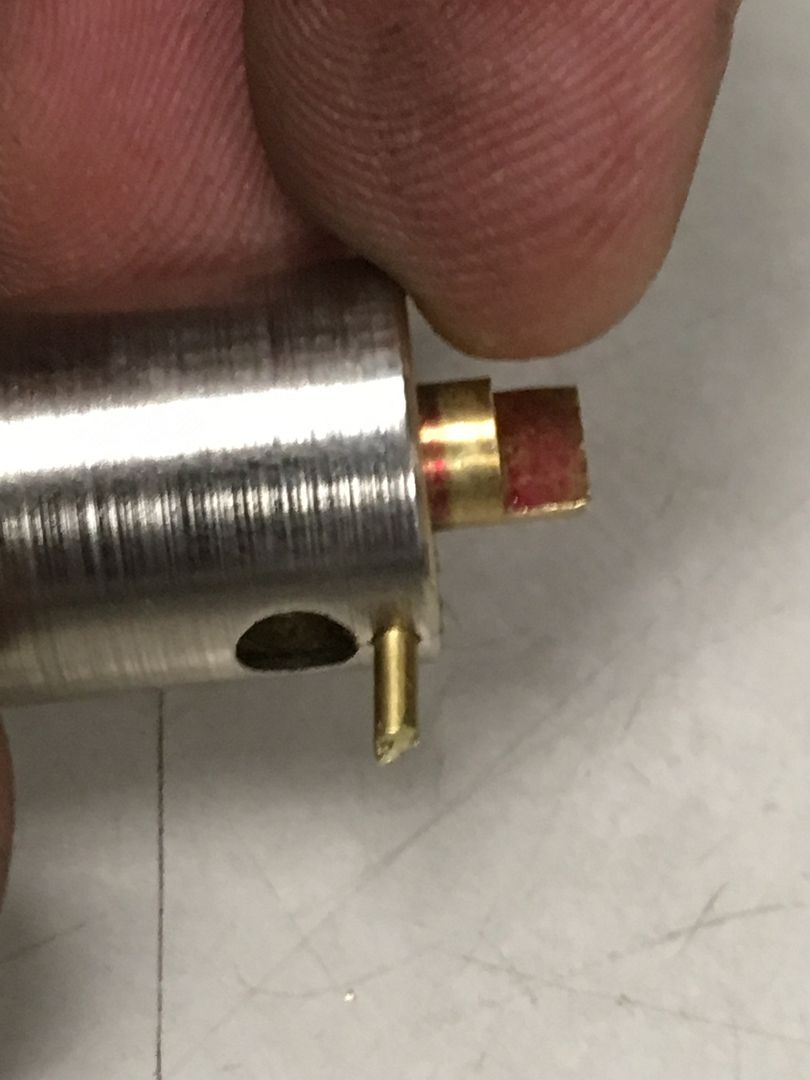
OK, back to the cylinder and drive cam, since they are the only parts remaining for disassembly. Here is the assembly:
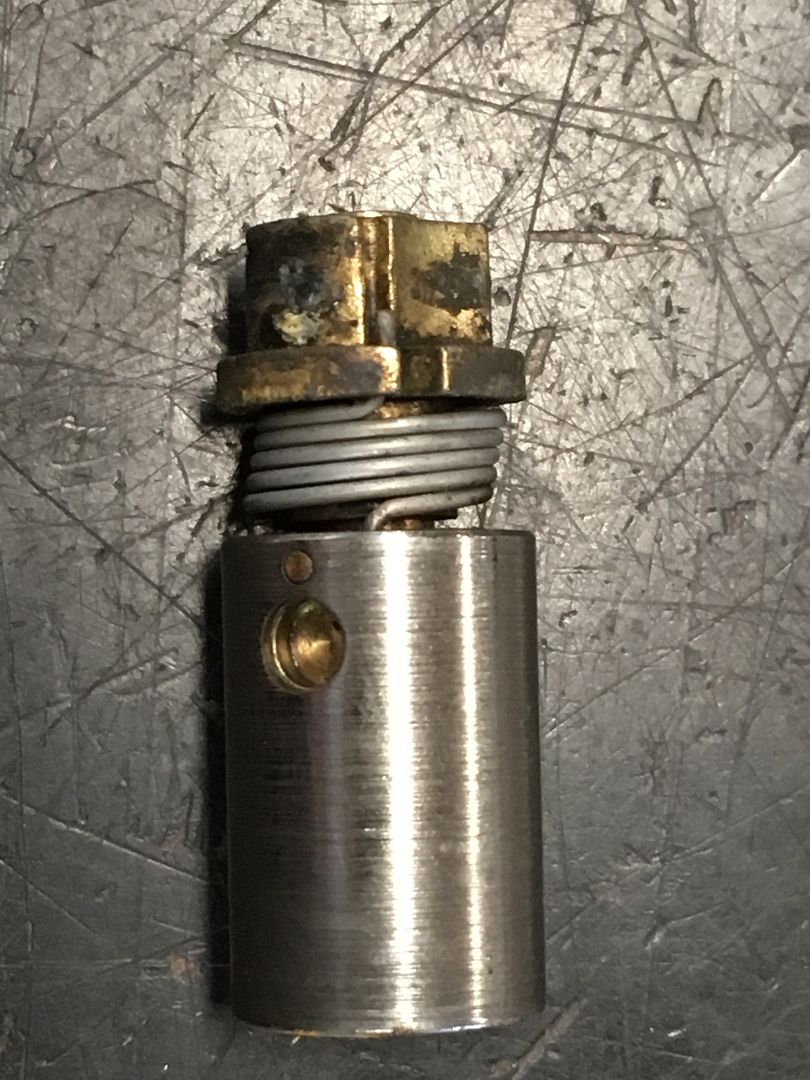
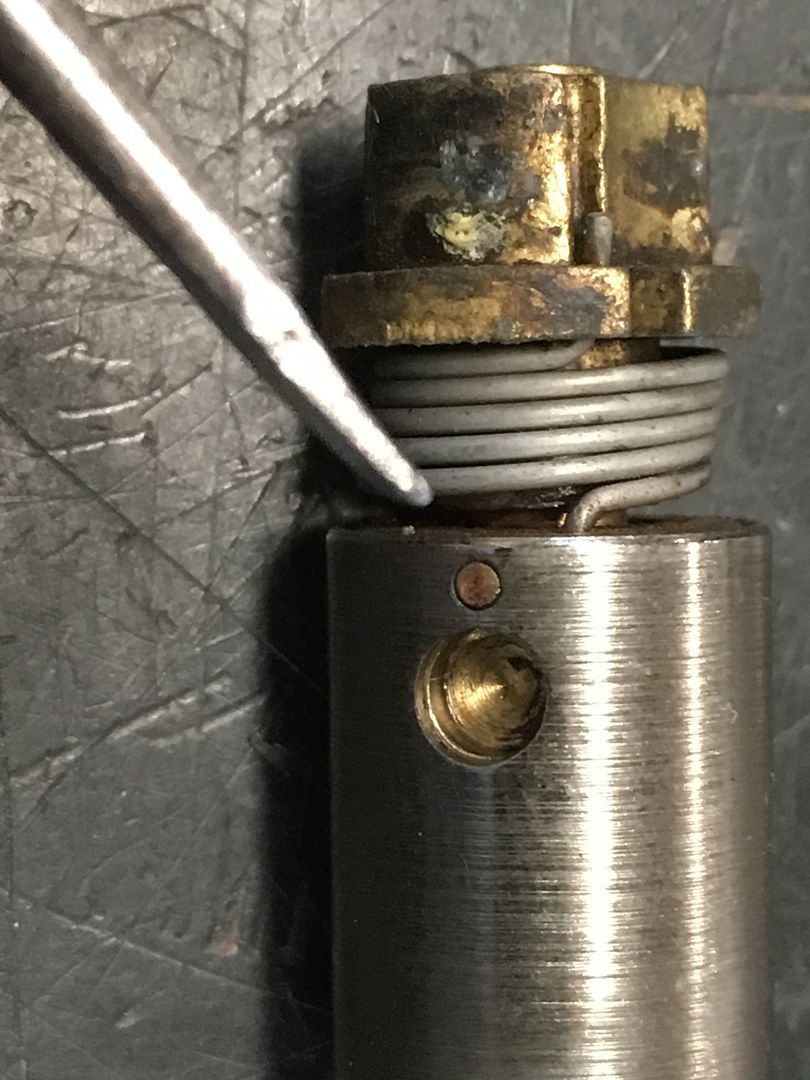
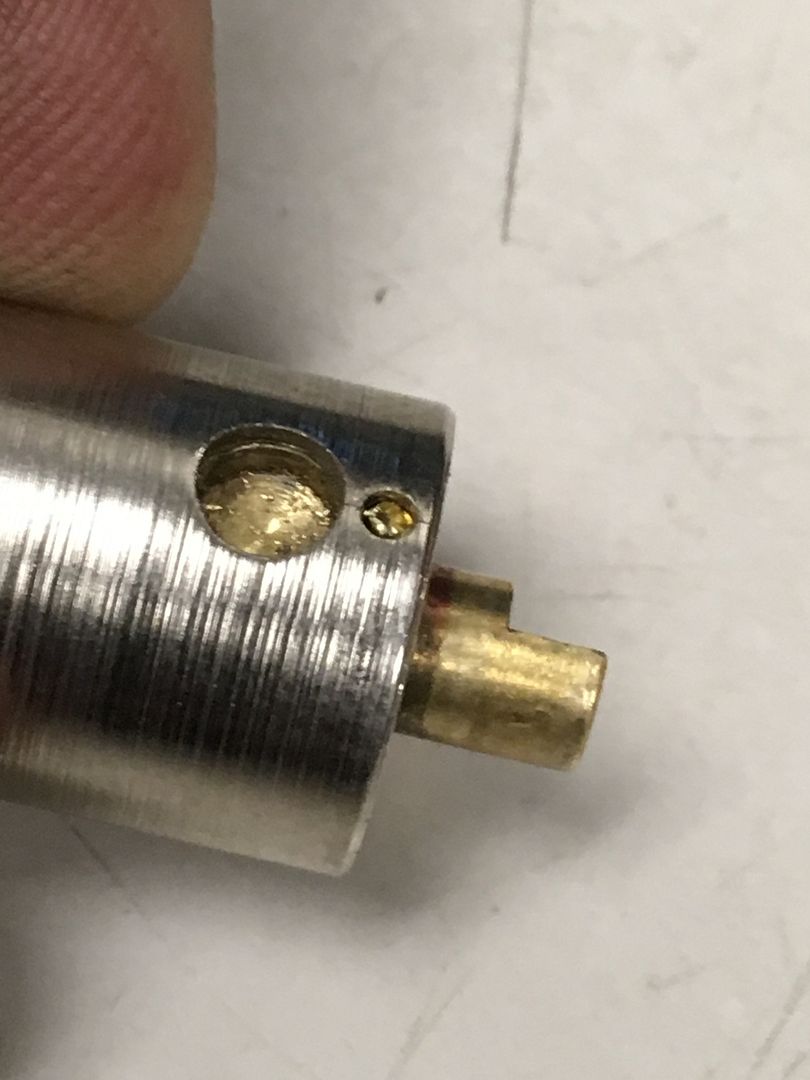
It is retained by a small brass pin that goes through the steel housing, through the tubular brass body, and into a slot in the tubular plug. The hole below the pin is for the cylinder retaining pin.
Slide the drive cam off the cylinder body and remove the spring.

Now drill out that small brass pin. In this picture, the pin is at the bottom, just to the left of the tiny hole for the drive cam spring.

Now, with the memory of my delightful game of hide-and-seek fresh in mind
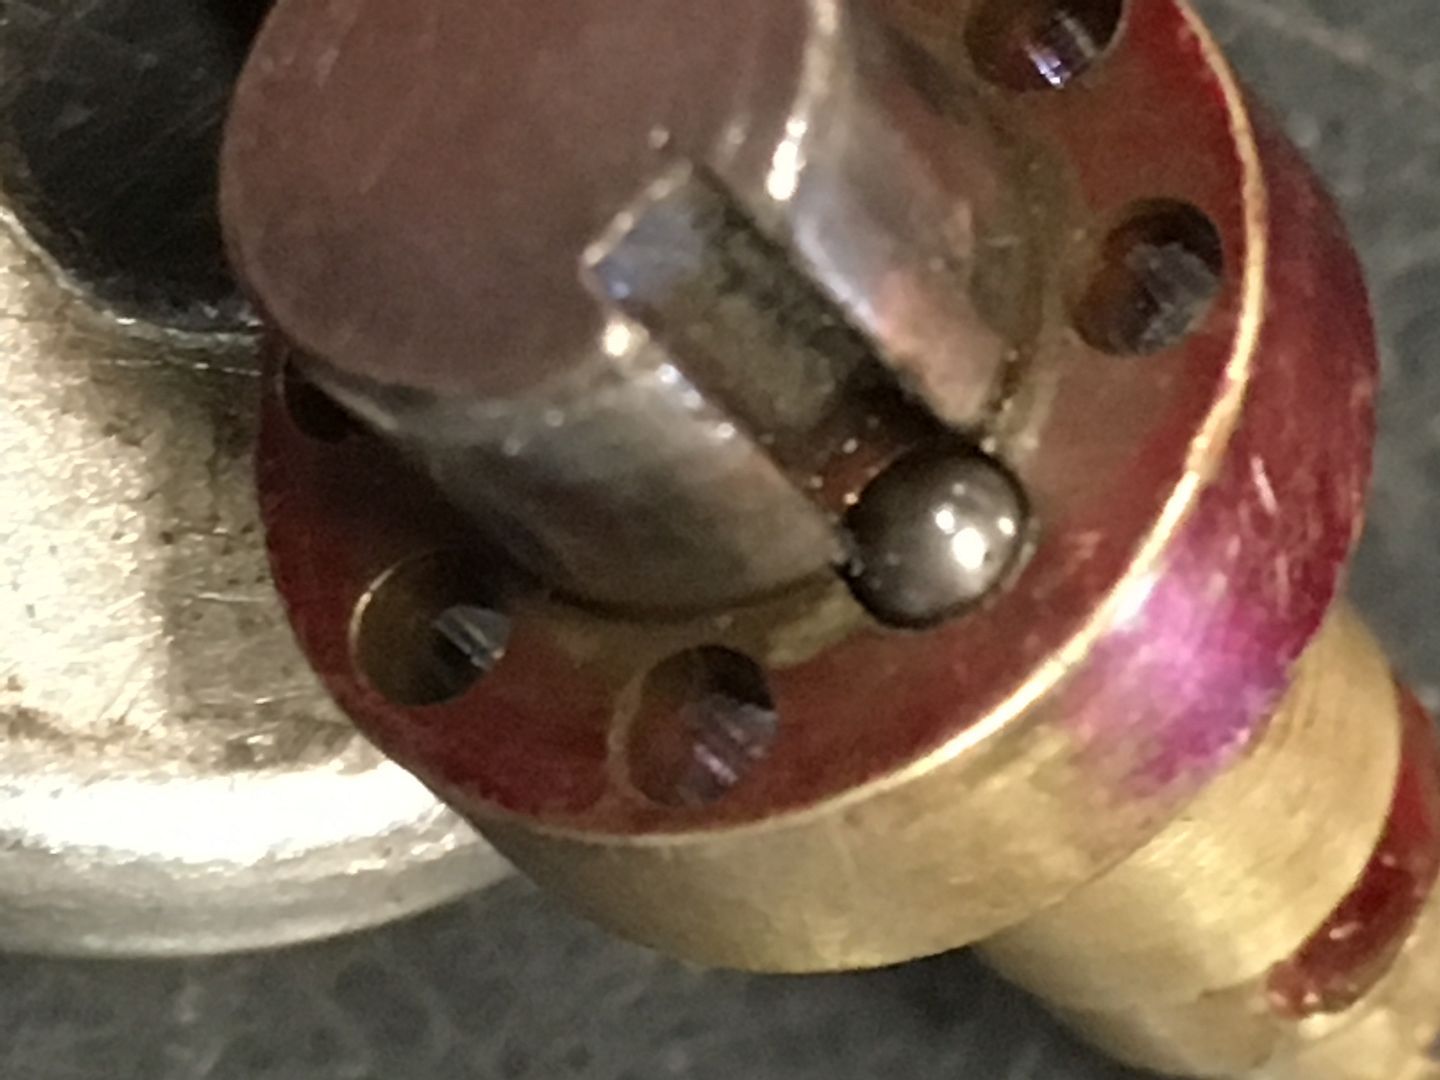
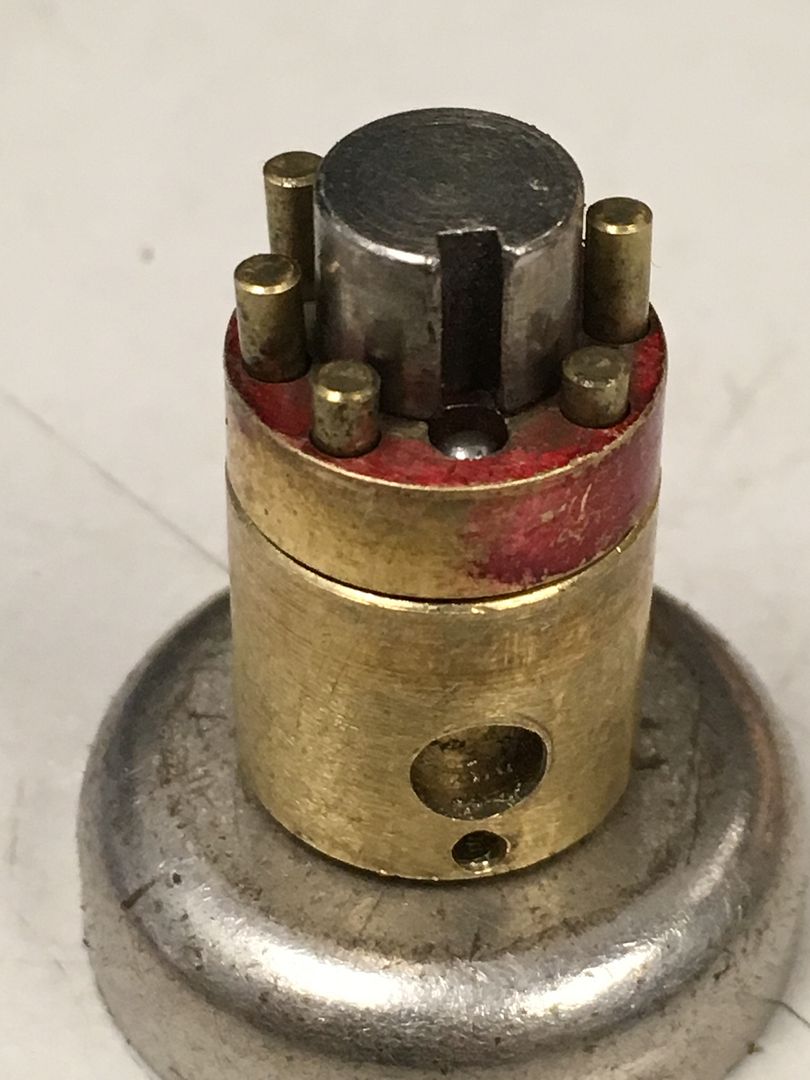
Here is a top-down view. you can see that ball bearing at the 12 o'clock position. Remember, the inner parts of the lock are barely wider than the pins. The larger look is from the magnet.
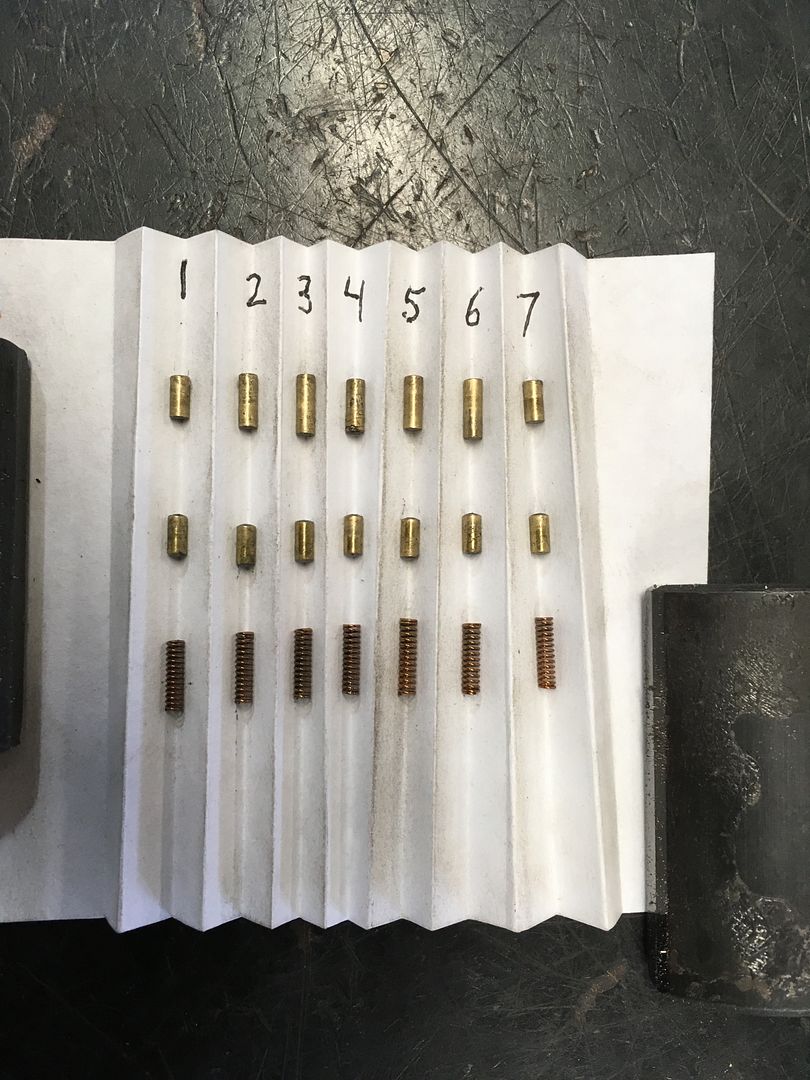
You can see the key pins here. While it looks like the pins for bittings 1 and 7 on either side of the alignment slot may be stuck down or have broken springs, it turns out they are not. Just short key pins and driver pins.
Remove the pins and springs. Set them in order (if you care about retaining the same bitting on reassembly).
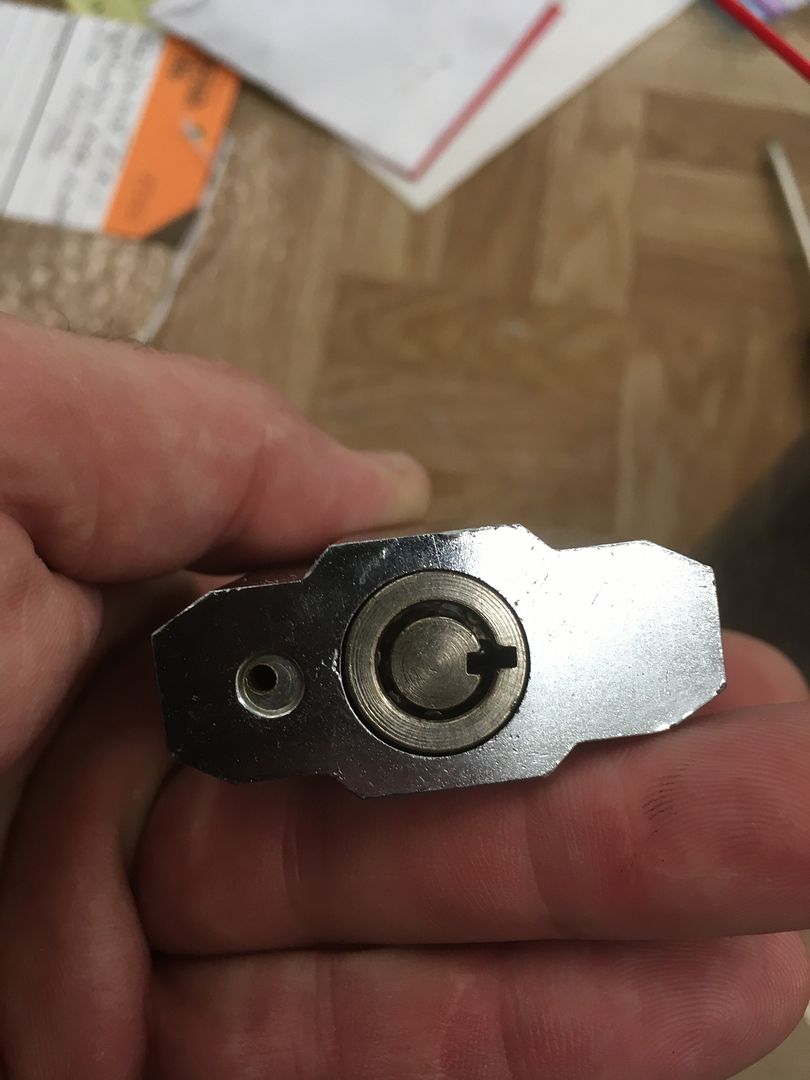
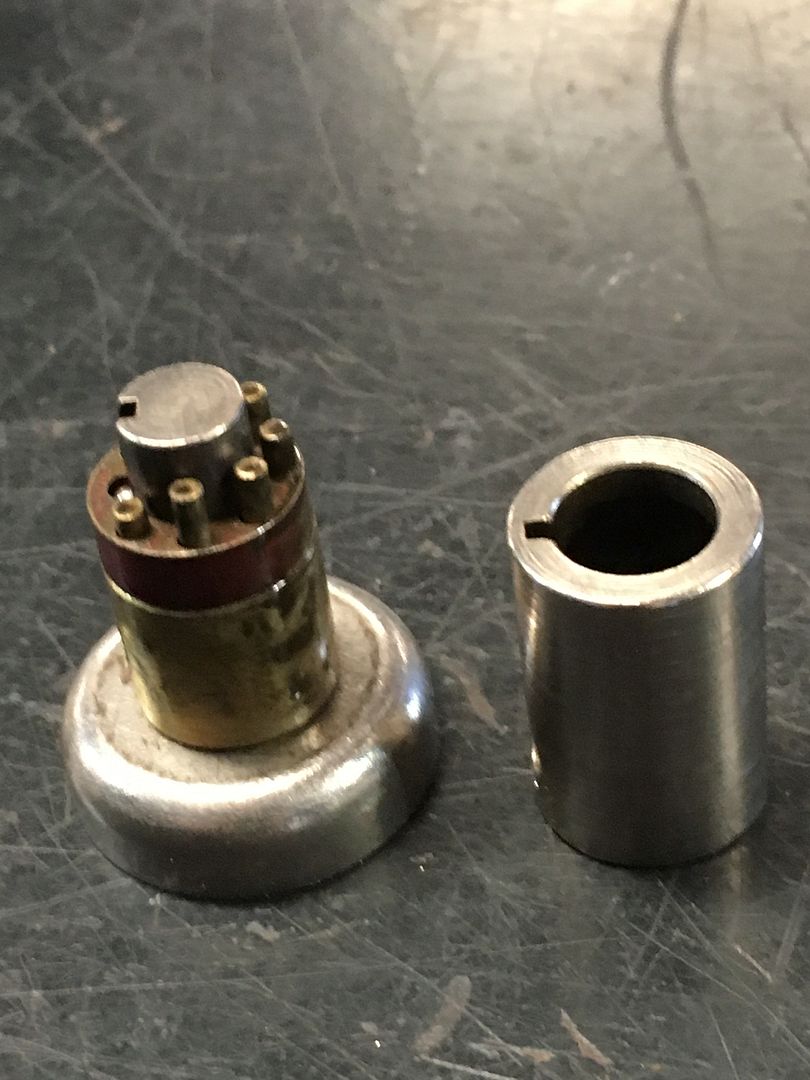
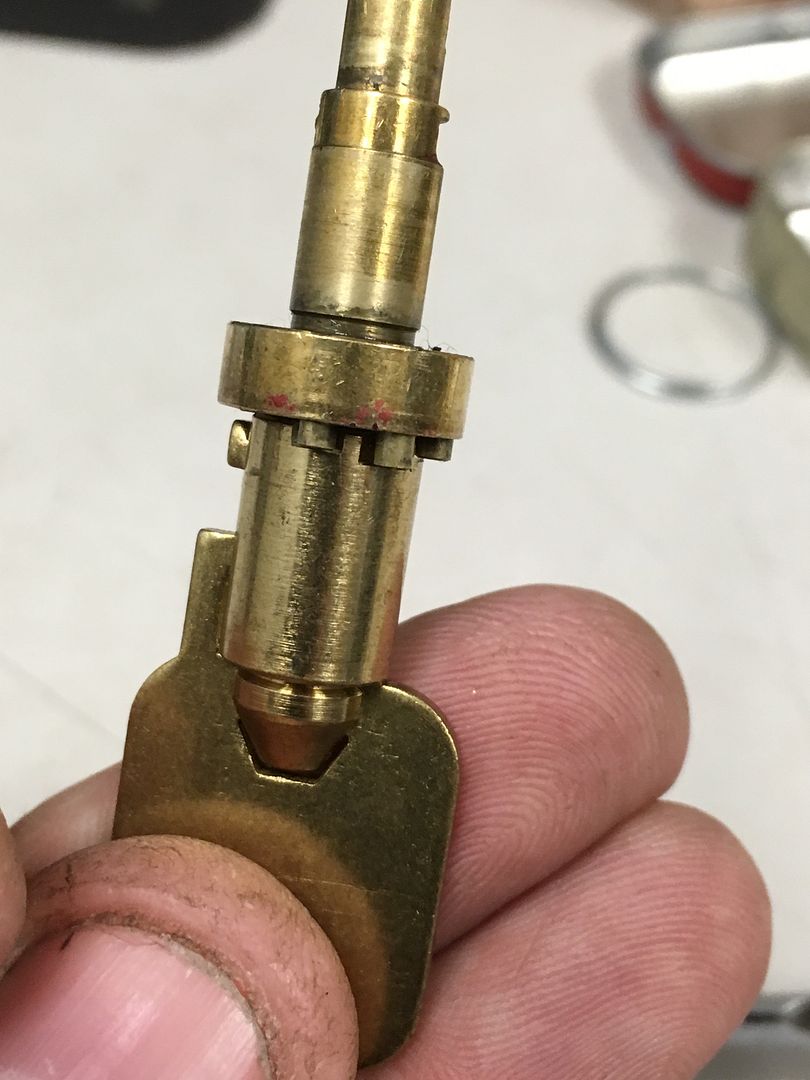
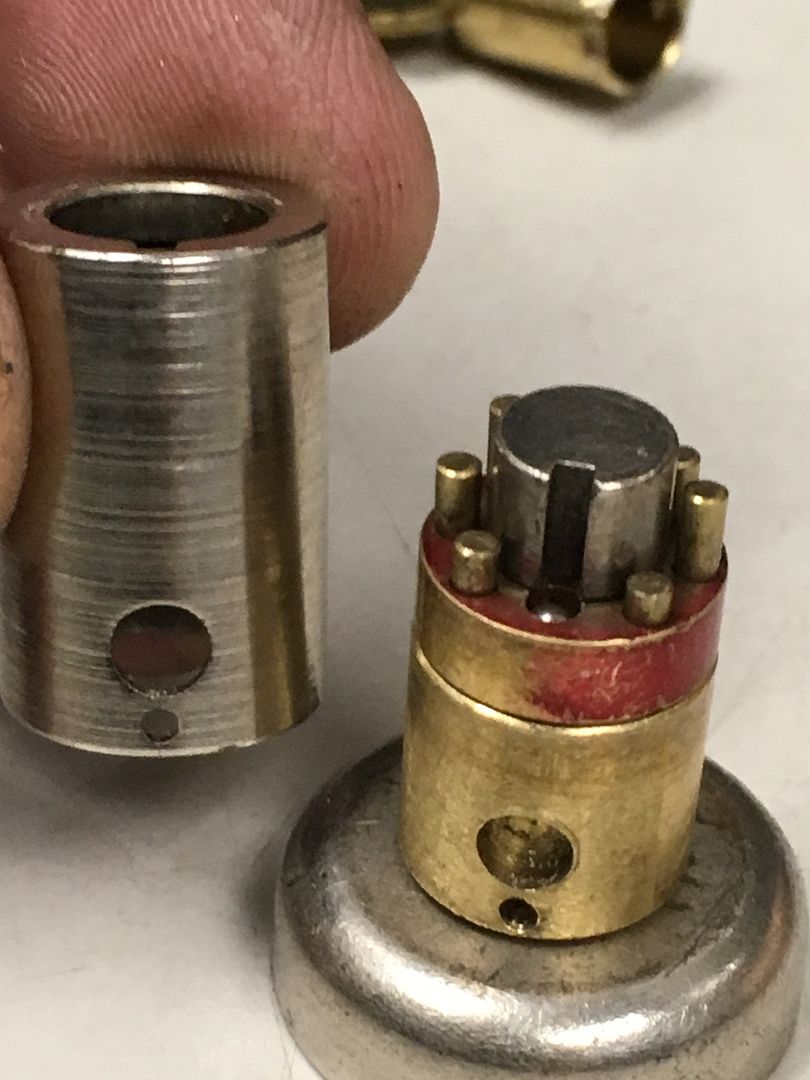
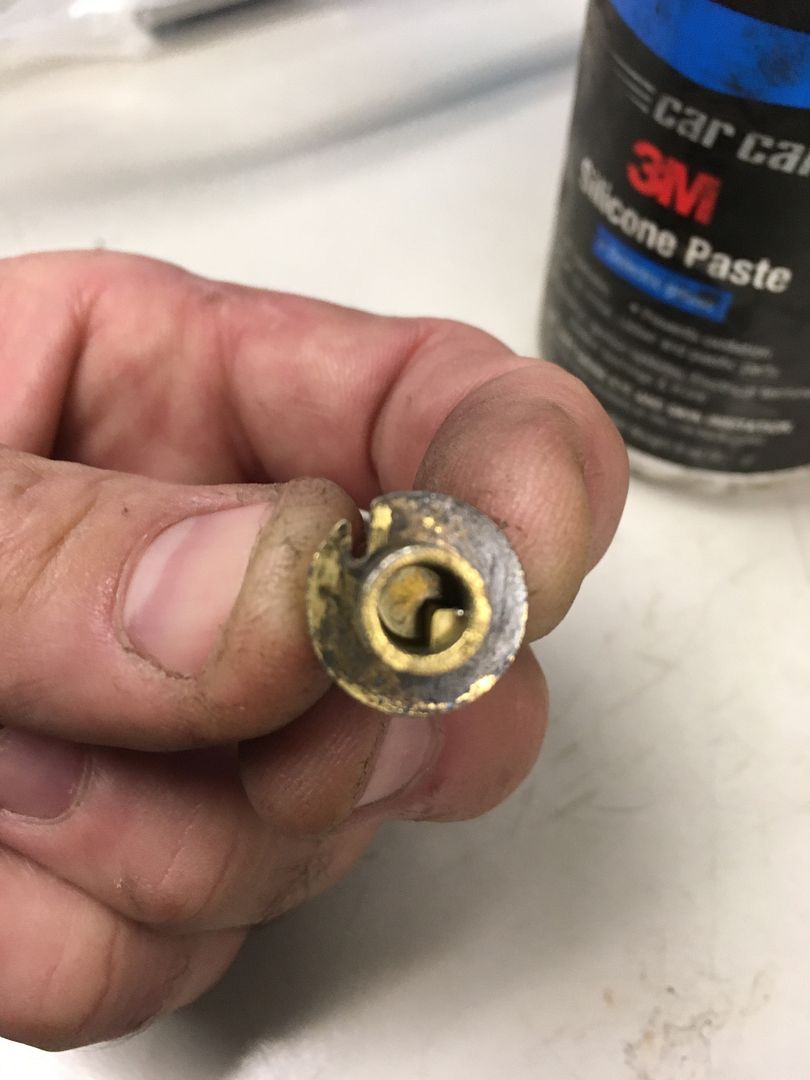
Now you are left with the tubular body and plug. Excuse my not using the right terminology, my brain is not working very well today. Or ever for that matter. Feel free to correct the part names, guys.
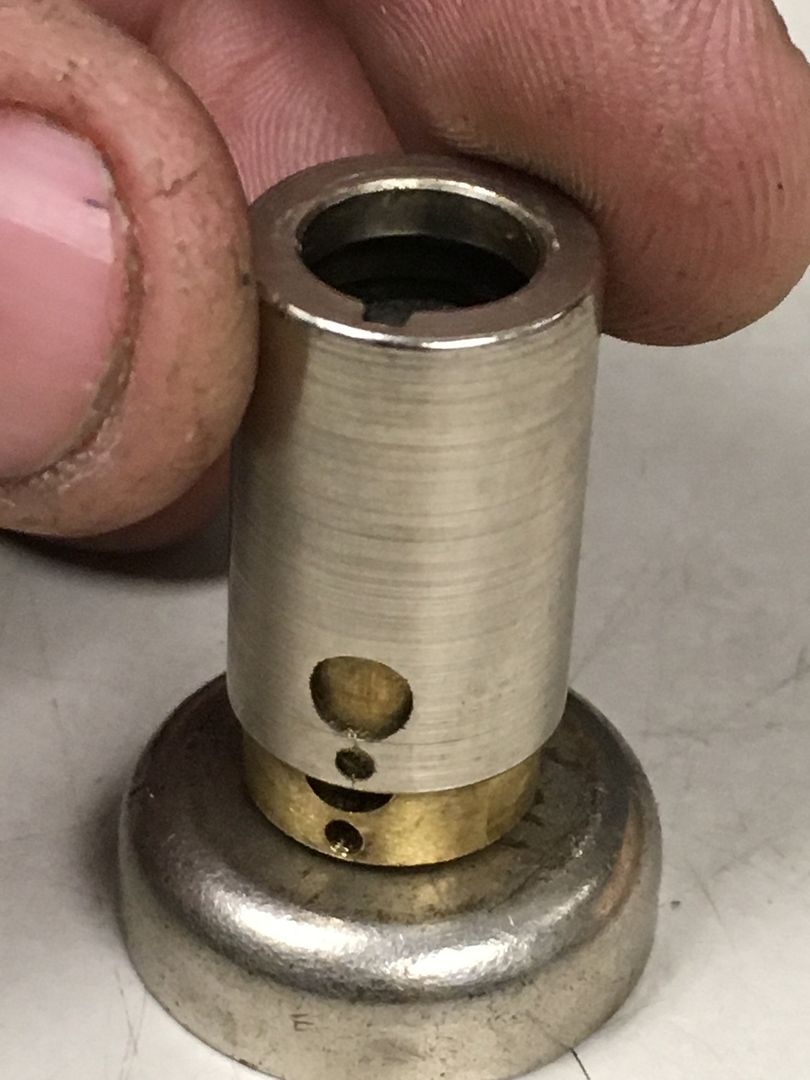
Slide the tubular body (which normally houses the springs and key pins) off the plug.
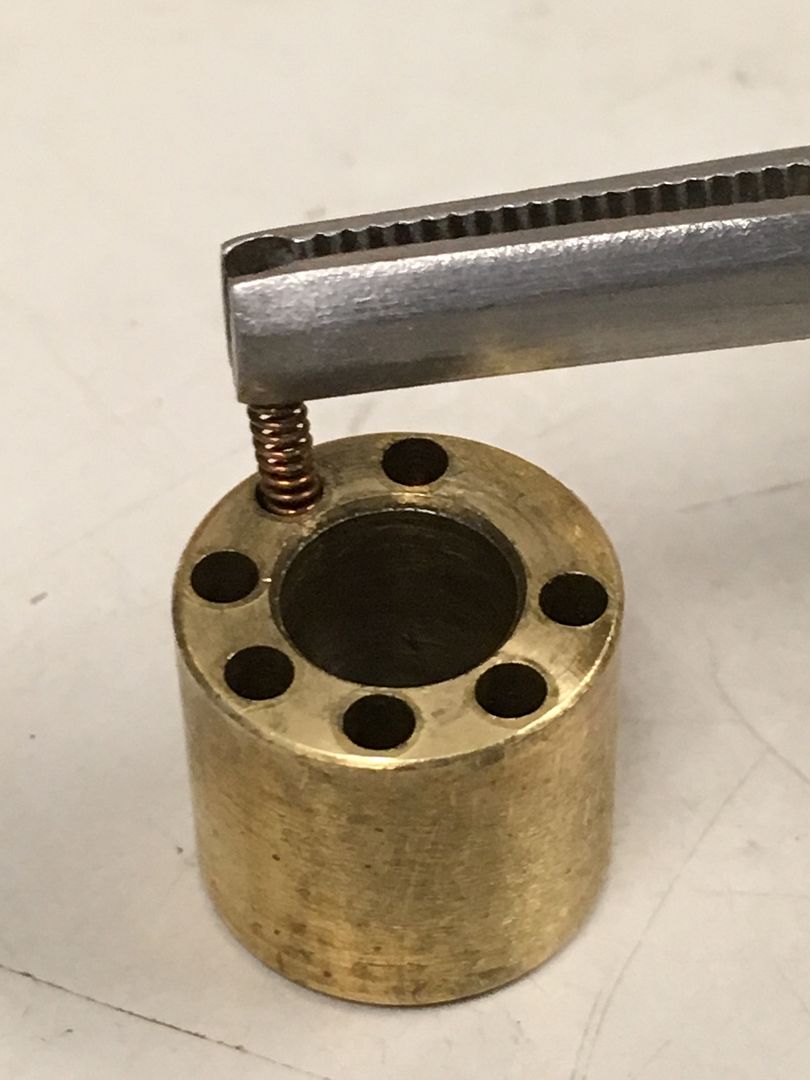
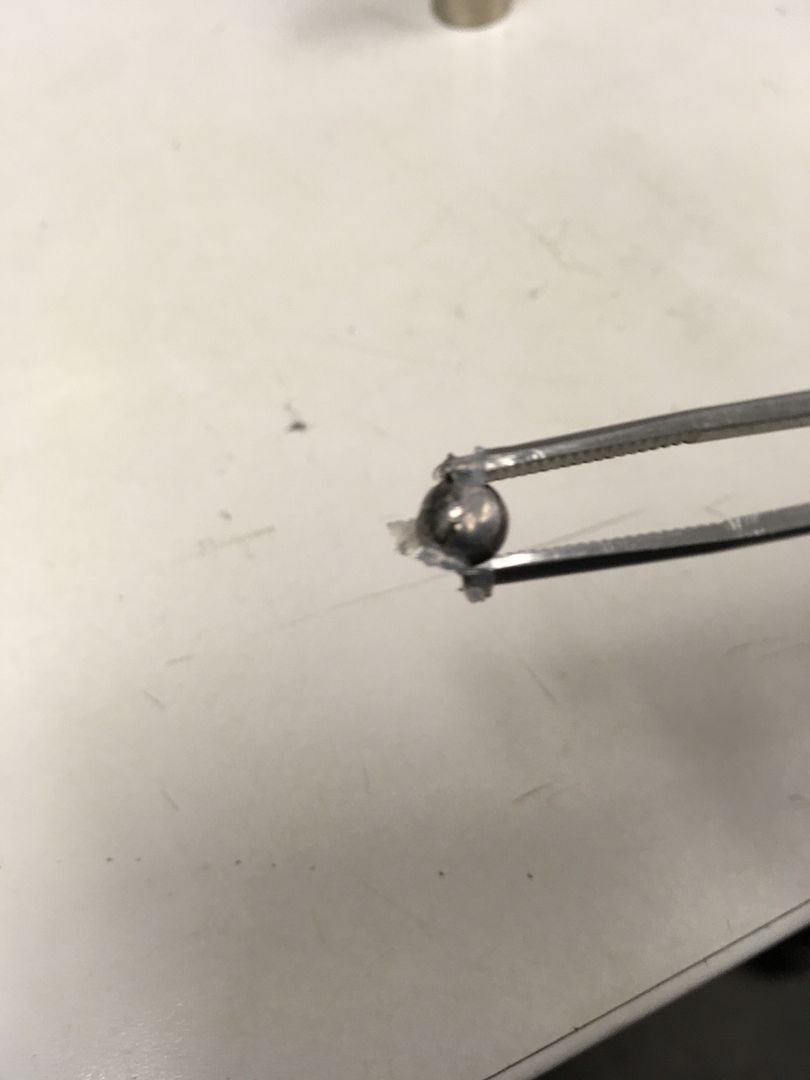
All that is left is the bearing. It is held in place by the steel part that aligns the key and provides drill protection.
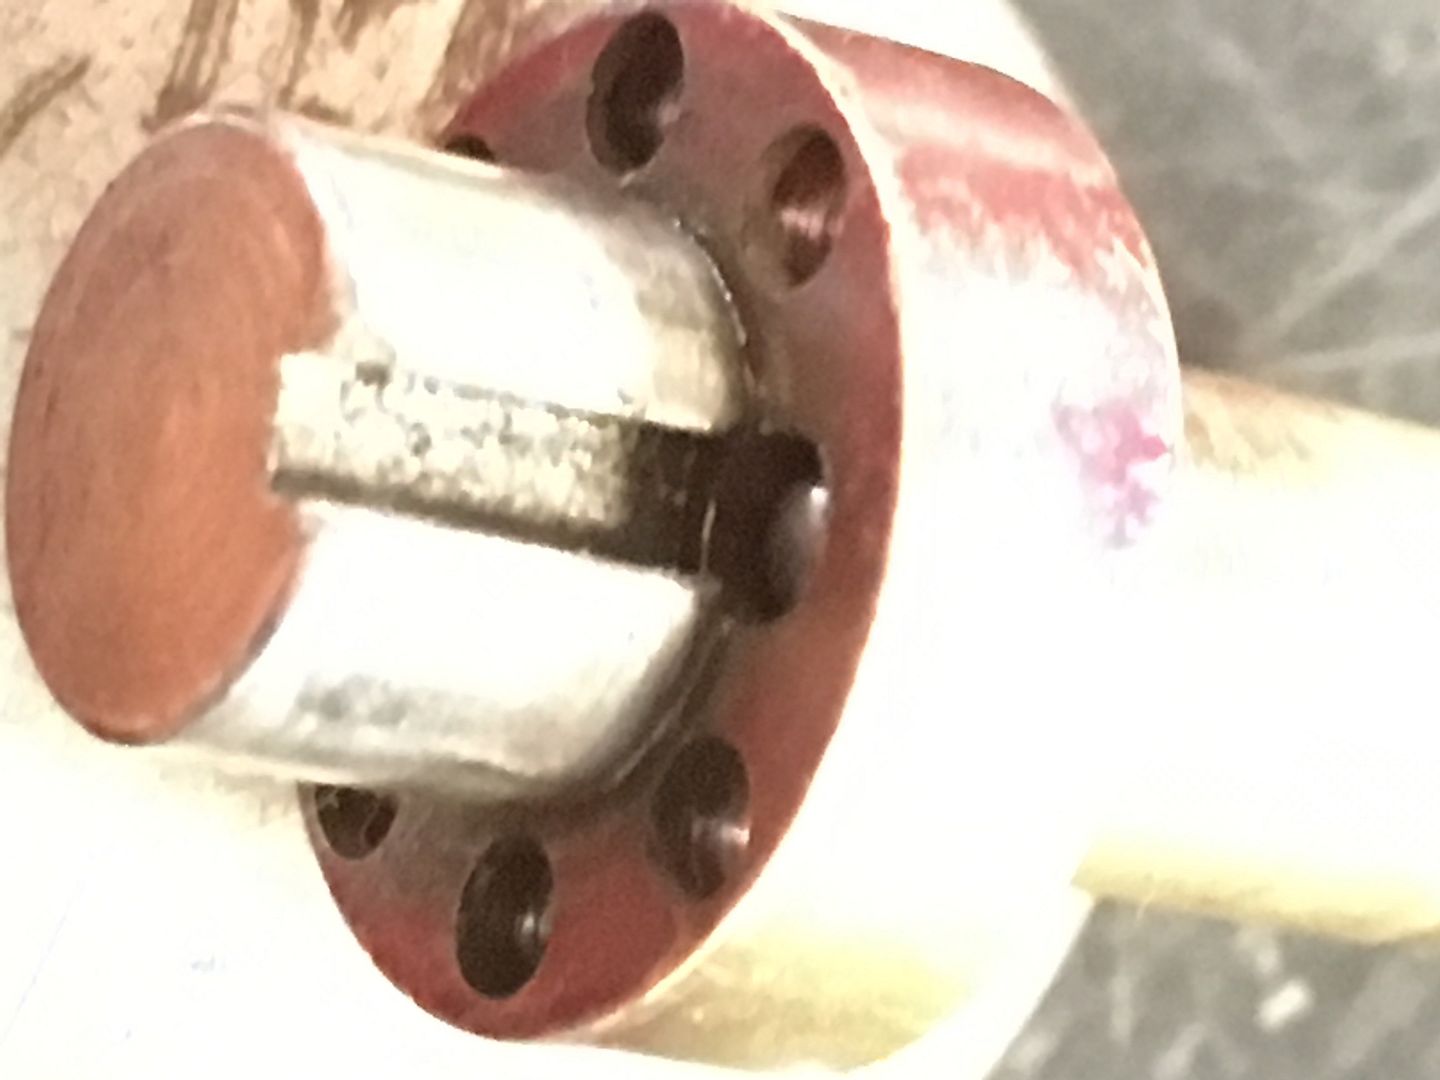
The bearing is actually loose and able to move in the short channel where it is located. Used a magnet to pull the bearing up to demonstrate.
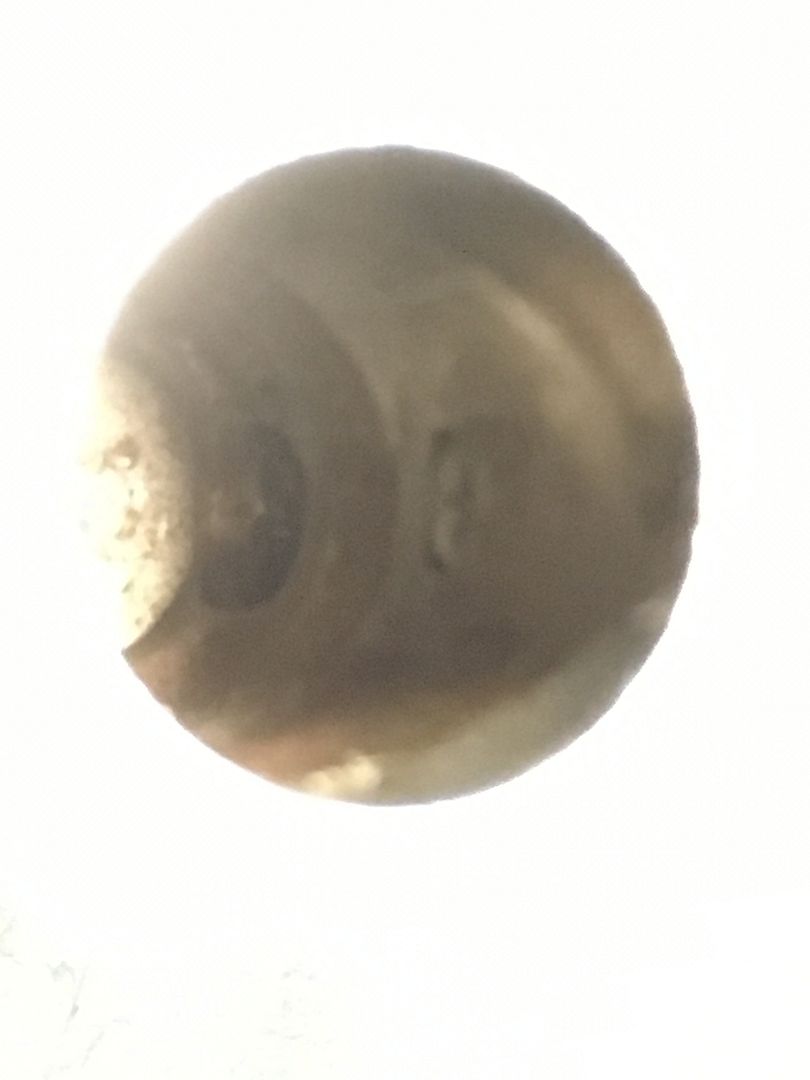
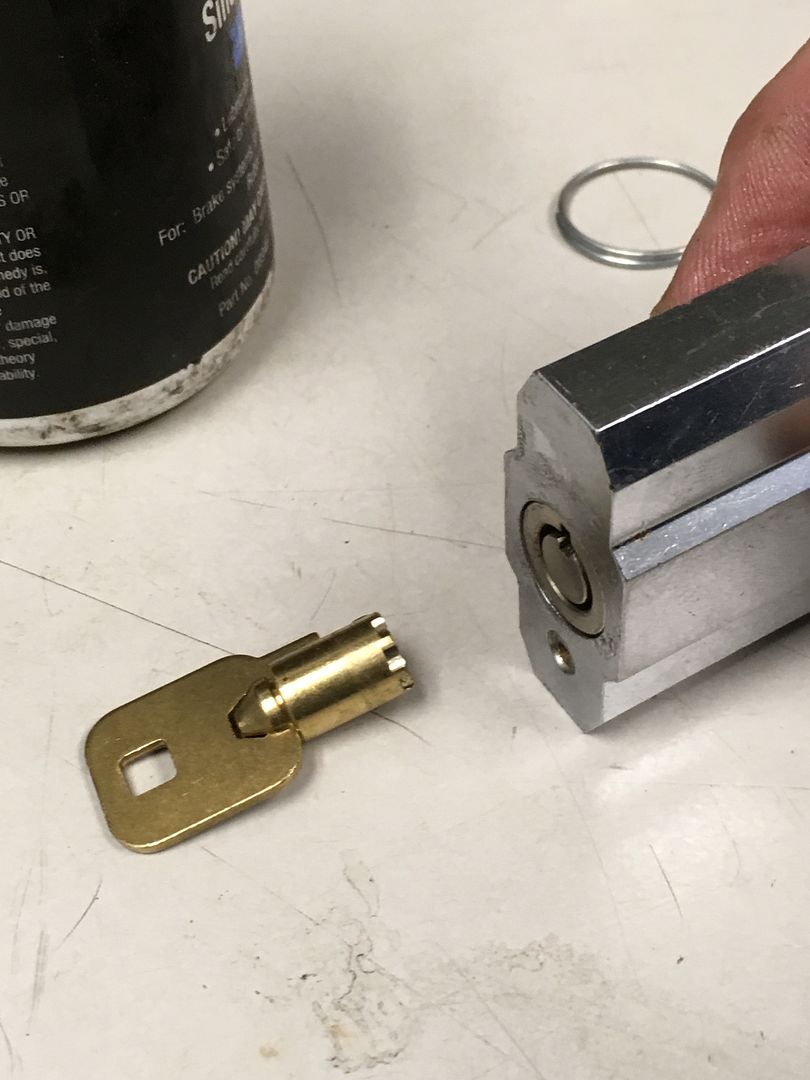
Now for a small surprise. The back of the plug pin channels has some of the channels countermilled, providing a bit of pick resistance.
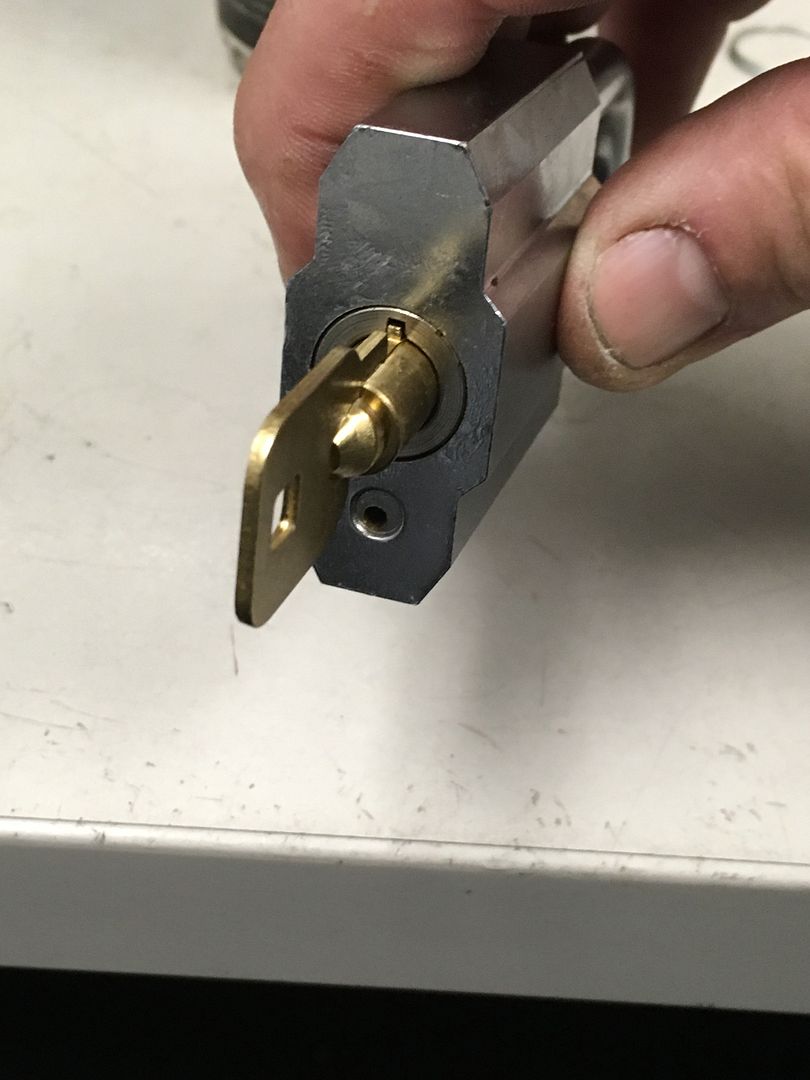
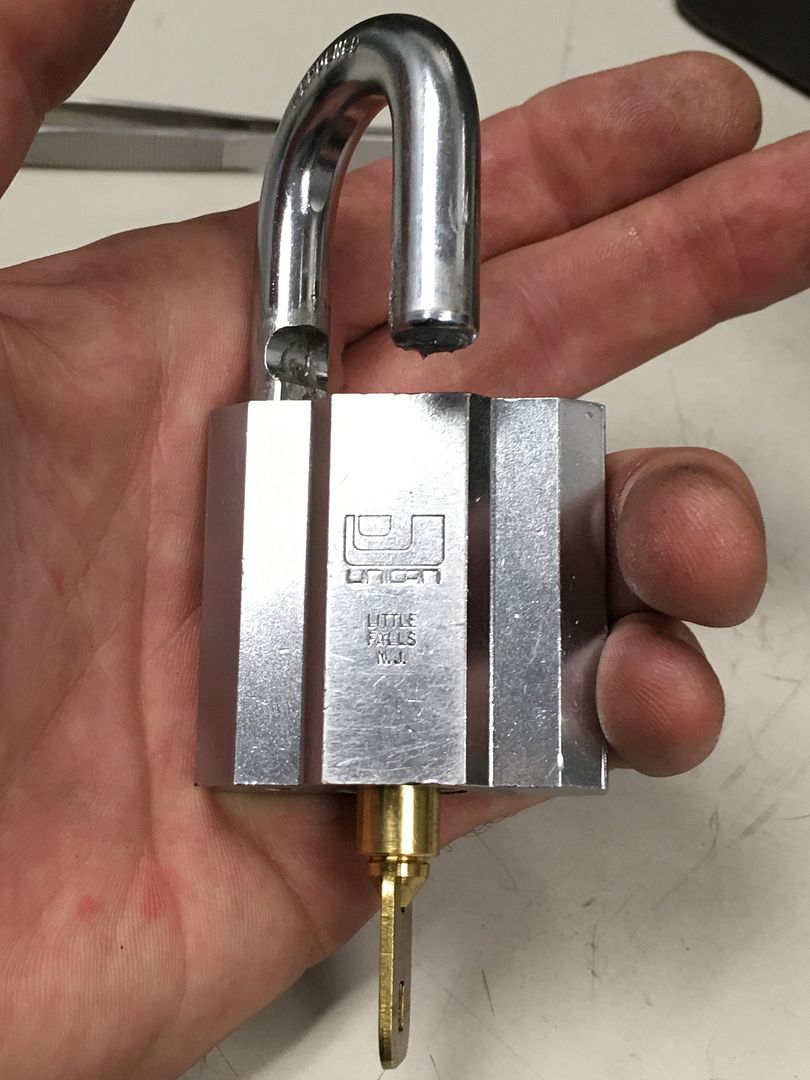
OK, time to make a key. While I did bring my tubular key cutter, I did not bring anything that would tell me which pin lengths match what depth. So here is what you do... Put the blank onto the plug as if you were going to use it to open the lock. Now install the key pins in their correct locations. You can now see how much each key bitting will need to be cut down to get the key pins to reach the shear line!
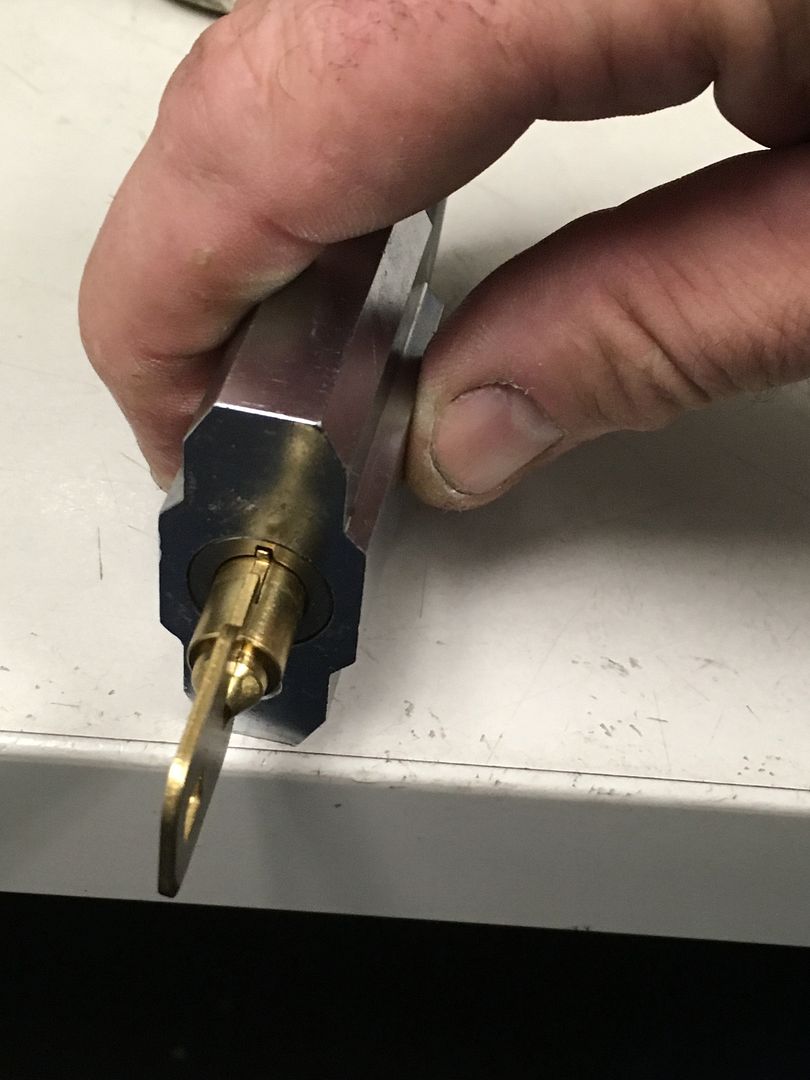
Now cut the key and recheck the fit.
Perfect!
OK, reassembly time. Put all the driver springs in the cylinder body.
Now all the driver pins.
Thing of beauty!

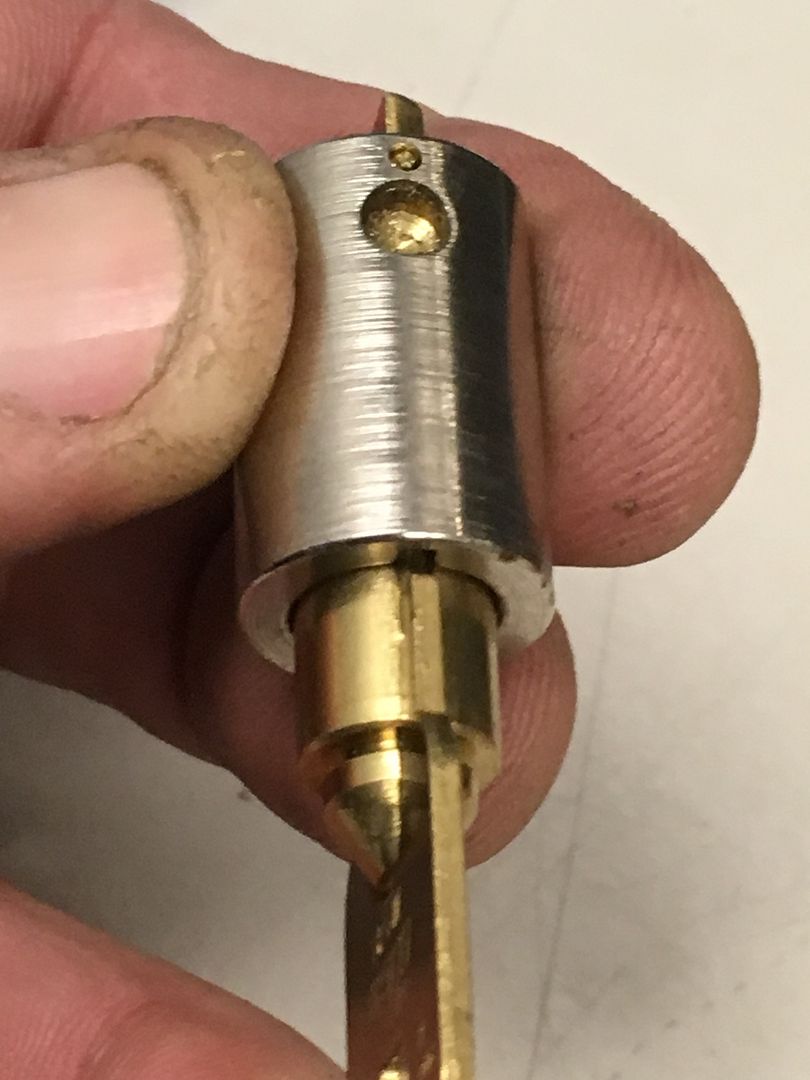
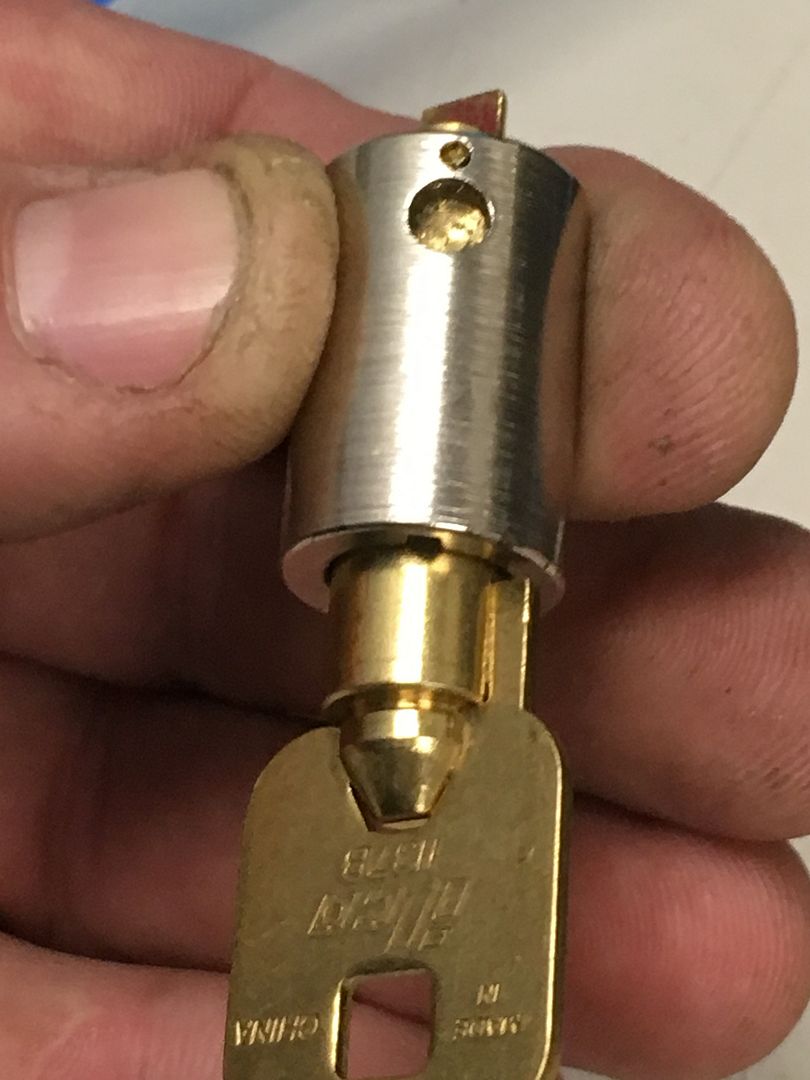
Now carefully slide the plug (with the key pins and key already in place) horizontally into the cylinder body.
Keep going until you see the key pins starting to push the key up. This is a good way to see that you have the pin channels lined up, since the driver pins won't push the key pins unless lined up.
Now place the assembly vertically upright into something that won't let it fall over.
Now take the housing...
... and install it onto the cylinder parts.

Start the replacement pin (replacing the one drilled out) in the hole.
And press it in flush with the housing side.

Retest your key. Better to try it now!
Locate the spring hole on the back of the cylinder.
Install the spring.
Look at your drive cam. This is the end that fits onto the back of the plug.
And this slot is where the other end of the spring will go.
Put the drive cam onto the back of the plug and make sure the spring is properly in place.
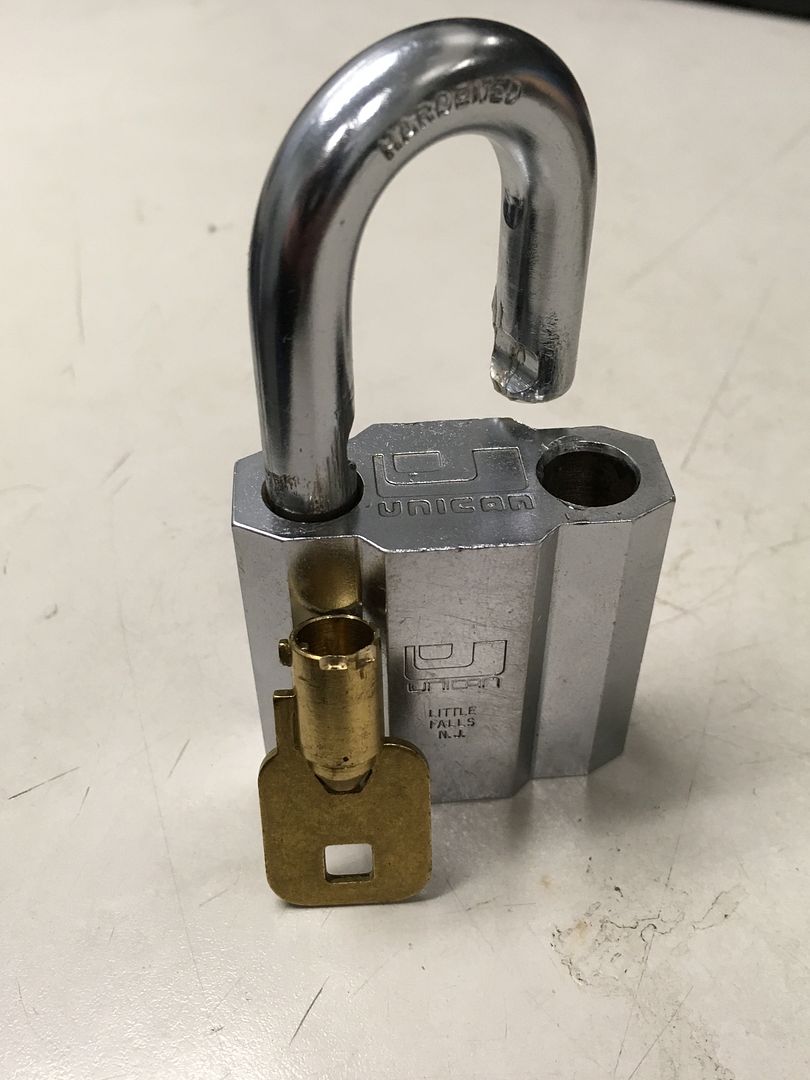
Make sure the cylinder retaining pin is installed back in the lock body on the side away from the shackle heel, with that side facing down. Then lube and install the shackle spring and shackle.

Press the shackle down firmly.
Put some lube on the shackle locking balls. Am using silicone dielectric grease.
And put them in the cylinder hole.
Use a screwdriver to push the balls into their proper channels. The grease will not only lubricate the locking balls, it will help hold them in place while you install the cylinder/drive cam assembly!
Now install the cylinder/drive cam assembly. Be sure the alignment tab of the keyway is facing the side with the cylinder retaining pin. (That side is opposite the drain hole with the shackle heel).
Once the cylinder is inserted flush with the bottom of the lock with the keyway aligned with the retaining pin, turn the lock so the side with the retaining pin is facing up.
Now rap it on the table a few times, using the key as a handle to adjust cylinder depth and rotation until the retaining pin has dropped into the hole in the cylinder, securing it in place. It is a bit easier said than done, since the cylinder can be pushed in too far or not far enough and can be rotated almost every way but correctly. It will take a minute or so.
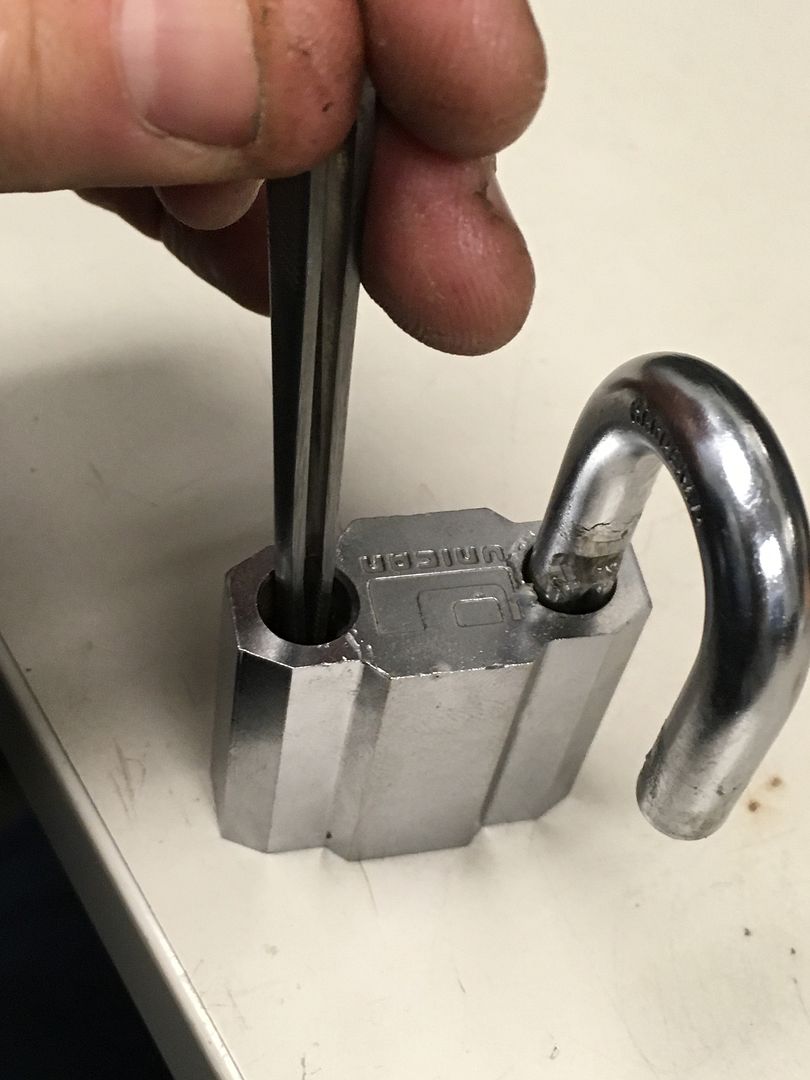
Test the key to be sure it is operating the lock correctly before closing the shackle. If it works, then unlock the shackle and remove the key.
Now set the lock upright on the table and move the shackle to the side, allowing access to the shackle toe hole.
Install the bent copper that keeps the cylinder retaining pin secured in place.
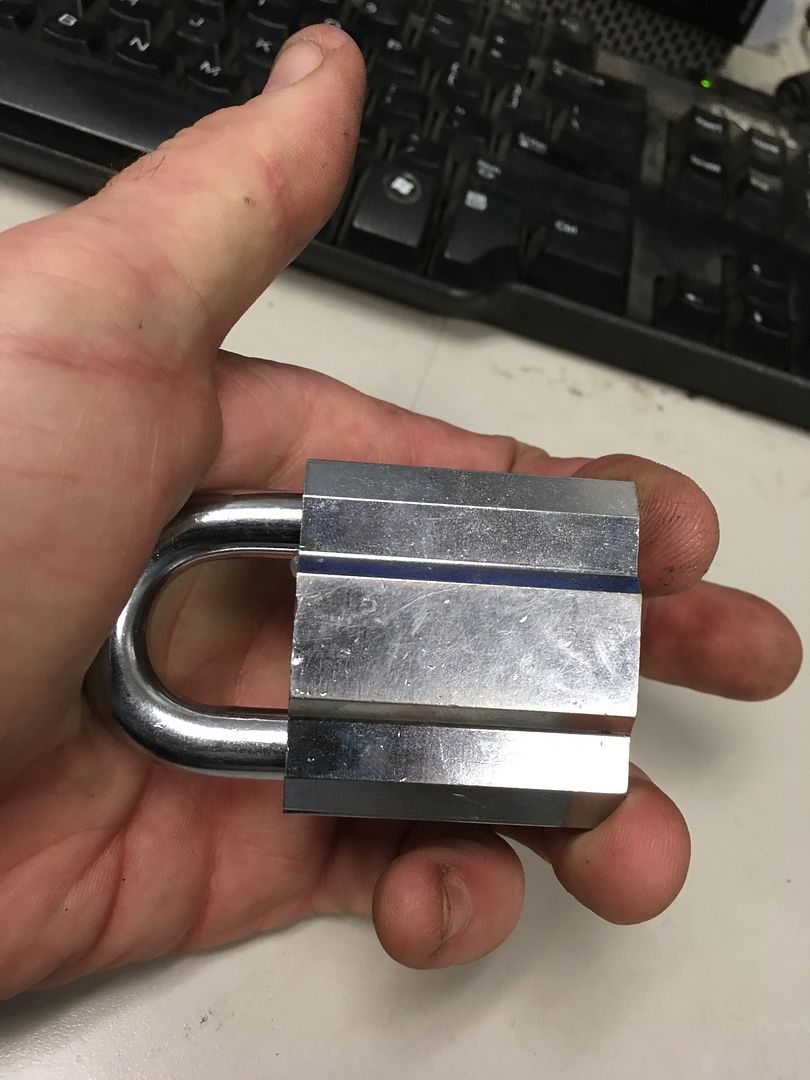
Lock the padlock.
Test your key again.
Looks good!
Hope it is worth the read. Maybe someday someone will use this thread!
Gordon


