|
When it comes down to it there is nothing better than manual tools for your Lock pick Set, whether they be retail, homebrew, macgyver style. DIY'ers look here.
 by Squelchtone » 31 May 2013 8:15 by Squelchtone » 31 May 2013 8:15
femurat wrote:Thanks Squelchy, I try to do my best. Your shelf is clean and simple, but very cool. Cheers 
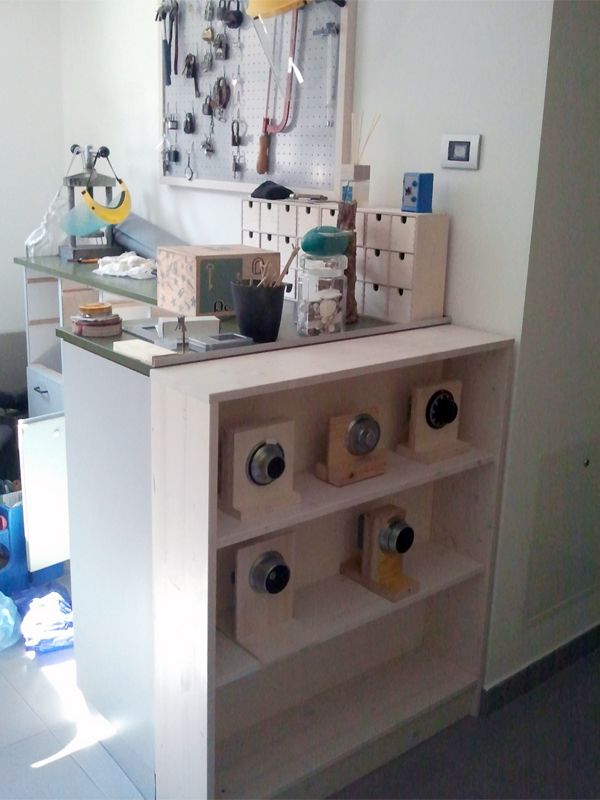
Thanks, it's from IKEA. First a steel bracket is secured to the wall with 10 screws, then the shelf is mortised for 2 big support pins that are welded to the bracket, and the wooden shelf slides onto the bracket, so the mounting hardware is hidden. From bottom, 2 set screws keep shelf attached to the 2 rods. $20 US.  Here's that shelf: http://www.ikea.com/us/en/catalog/produ ... #/30193733In case anyone is interested in the desk/table... I have 4 of them in the office, great for paperwork, workbench, lock work, etc. each desk was $20, and they make one long work surface =) You choose white surface, then choose leg colors, white, black, red, etc. Legs are metal and screw into metal plates under the table. http://www.ikea.com/us/en/catalog/products/S29932181/
-

Squelchtone
- Site Admin
-
- Posts: 11335
- Joined: 11 May 2006 0:41
- Location: right behind you.
 by femurat » 3 Jun 2013 3:53 by femurat » 3 Jun 2013 3:53
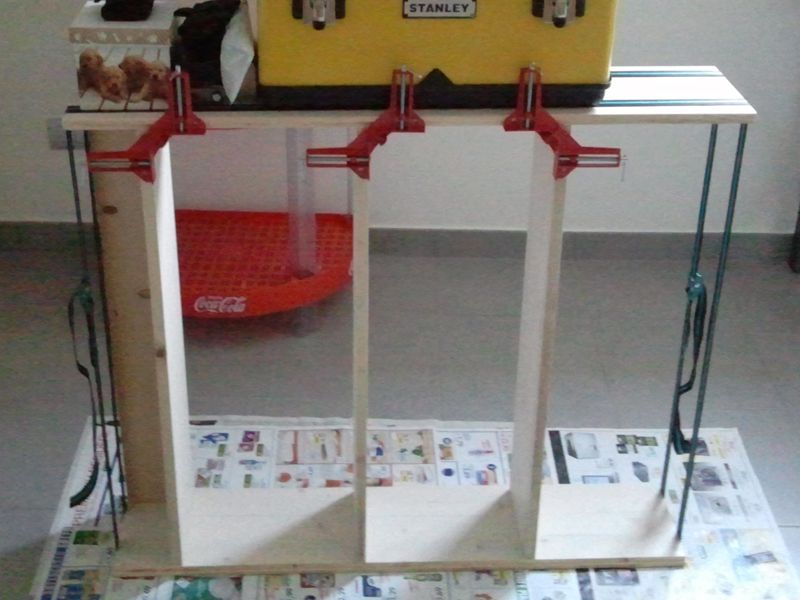
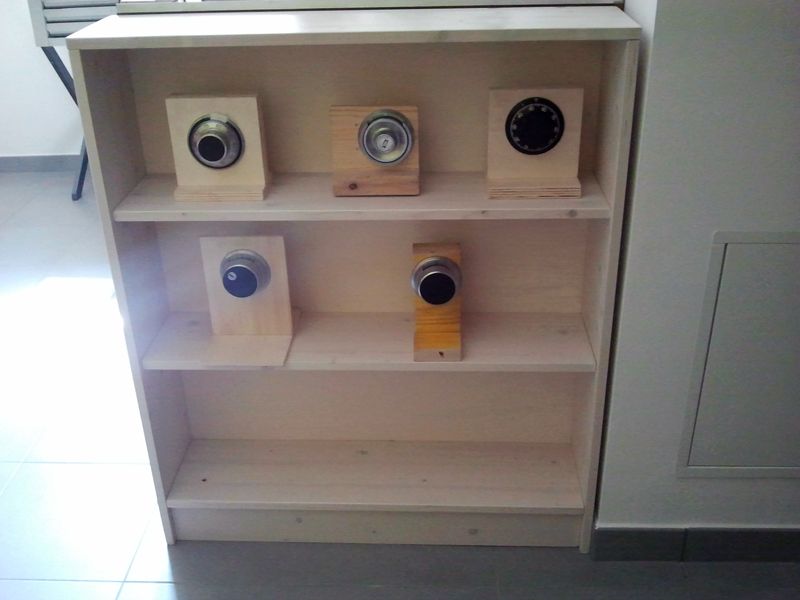
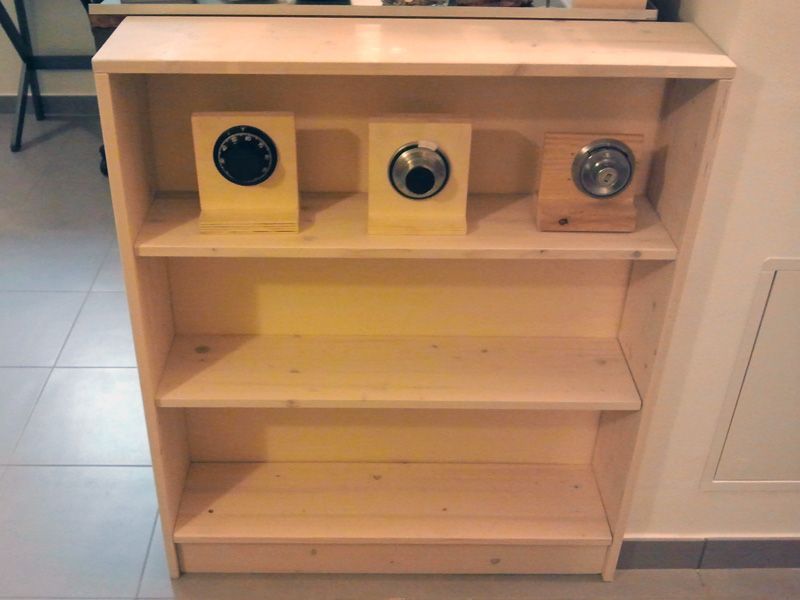 Here is the safe lock display assembled to test it before gluing. Looks like the dowels friction is enough to keep it from falling apart. I added three safe locks before shooting the picture for your pleasure. I'll disassemble it, sand everything, give the second layer of paint and then finally glue it. Cheers 
-

femurat
- Site Admin
-
- Posts: 3762
- Joined: 22 Sep 2008 9:06
- Location: Italy
 by fgarci03 » 3 Jun 2013 3:56 by fgarci03 » 3 Jun 2013 3:56
Nice!
Looks like a proffesional made one. You really go into detail man!
Very good work!
Go ahead, keep plugging away, picking on me! You will end up on bypass or with rigor mortise.
- GWiens2001
-
fgarci03
-
- Posts: 1009
- Joined: 18 Dec 2012 21:38
- Location: Porto/Portugal
-
 by femurat » 18 Jun 2013 5:23 by femurat » 18 Jun 2013 5:23
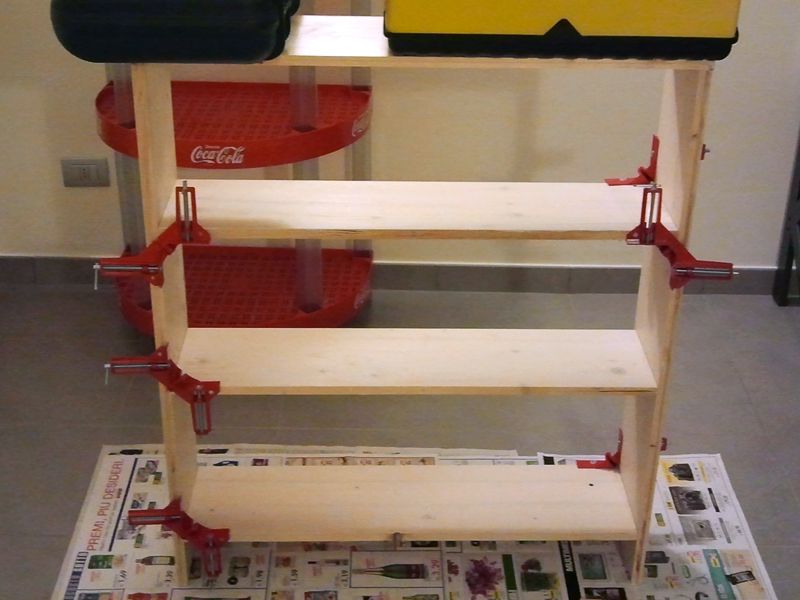
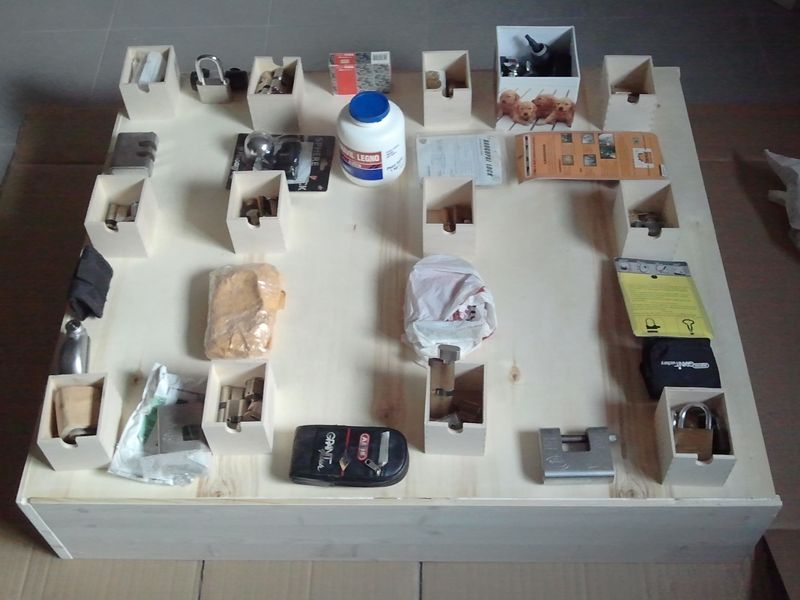
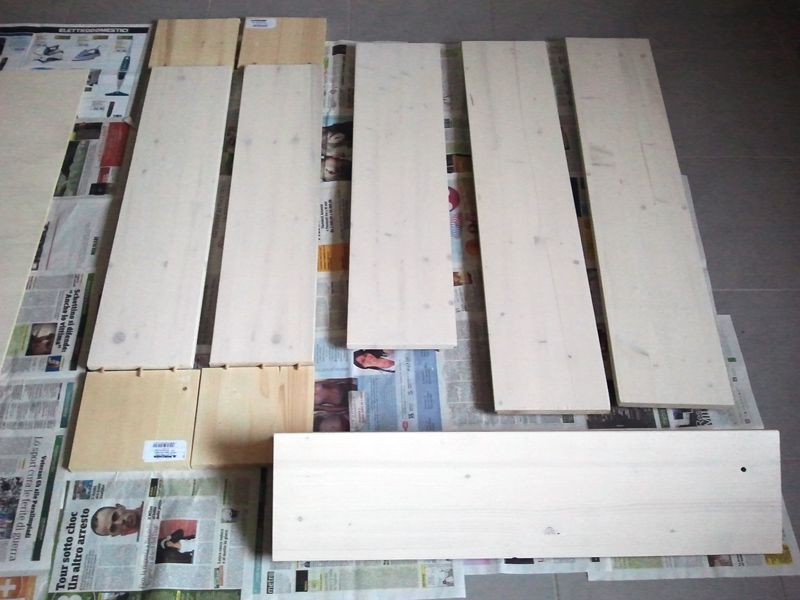 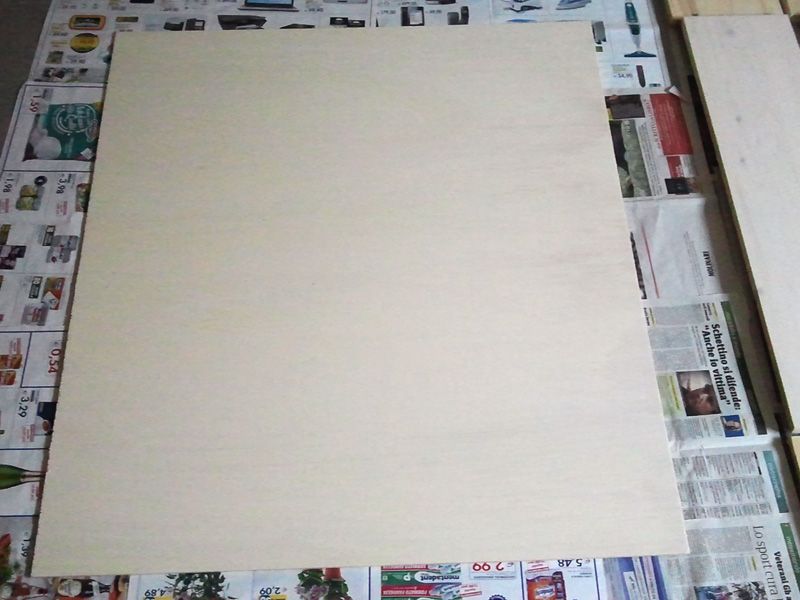 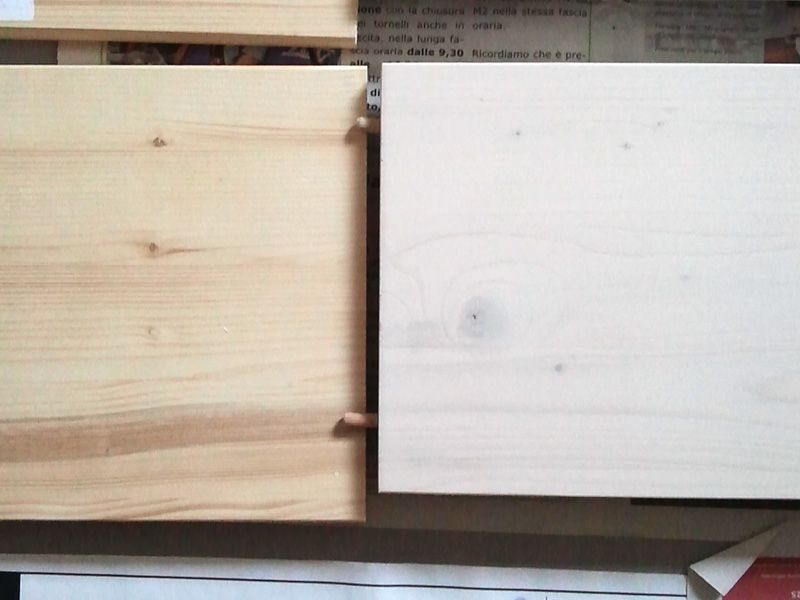 Thanks for the compliments fgarci03  Here are the pieces after a little sanding and a second layer of paint, the plywood back and a detail of the wood color and texture natural vs painted. Hope to glue everything this weekend... Cheers 
-

femurat
- Site Admin
-
- Posts: 3762
- Joined: 22 Sep 2008 9:06
- Location: Italy
 by femurat » 3 Jul 2013 8:10 by femurat » 3 Jul 2013 8:10
-

femurat
- Site Admin
-
- Posts: 3762
- Joined: 22 Sep 2008 9:06
- Location: Italy
 by fgarci03 » 3 Jul 2013 8:24 by fgarci03 » 3 Jul 2013 8:24
Dude! I love it! Fits really nicelly on the spot, very simple and functional! I want one of those now!  Go ahead, keep plugging away, picking on me! You will end up on bypass or with rigor mortise.
- GWiens2001
-
fgarci03
-
- Posts: 1009
- Joined: 18 Dec 2012 21:38
- Location: Porto/Portugal
-
 by phrygianradar » 3 Jul 2013 11:27 by phrygianradar » 3 Jul 2013 11:27
I have to say, I am a bit jealous! Looks really nice, especially since I do all my lock work in the garage at night which attracts lots of moths, beetles and other critters! Now I am moving to a bigger house, so maybe I will get a little corner somewhere to set up a work station... right now all my locks and toys are in boxes,  but don't cry for me; this too shall pass! Nice work, I have been following your progression and I will say that when I do set up a better bench, I am also going to use peg board; it looks very, very nice and organized! 
-
phrygianradar
- Supporter

-
- Posts: 471
- Joined: 2 Feb 2013 0:57
- Location: San Diego, CA
 by radical rob » 18 Feb 2015 19:03 by radical rob » 18 Feb 2015 19:03
raimundo wrote:for making picks a 'bench pin' (look that one up in jewely making books) is the best thing, this is a piece of wood that takes the file cuts and scars so your fancy table top dosent have to. you can probably see one in that video that deviant ollam made of me making picks,
check youtube for raimundo making picks or something like that.
the bench pin has grooves cut in it at angles that are personalised for you, and it is usually custom made for the job you usually do
You can see what I mean at any local jewelers bench.
This can also be made so that it can be taken down and put away so the gf dosent have a fit.
seriously go to a jewelers and ask to look at the workbench, there also a drop tray where filings are saved (precious metals) and you will probably see other useful innovations.
The bench pin can make pickmaking much easier.
Raimundo that is exactly why I got on here, a Bench pin huh, in your 7:44 min bogota tutorial on youtube, what did use to put the saw lines on the wedge shaped piece of wood??? that you were using as your bench pin???? i used a hack saw and there to wide to hold my LP material to get good hardy passes w/ my file????? Life's hard....
But it's a lot harder when your STUPID!!!!
-
radical rob
-
- Posts: 19
- Joined: 9 Nov 2014 20:52
 by deolslyfox » 18 Feb 2015 20:30 by deolslyfox » 18 Feb 2015 20:30
I got a steel workbench with wooden top, pegboard across the back and a small flourescent light attached. It has a storge bin at the top, three drawers and a storage shelf on the bottom. An electrical outlet strip across one side rounds out the rig. One of those Home Depot / Lowes / Harbor Freight pre-made things that sells for about $150 .... It shares double duty .... Lock picking area and reloading bench. It does everything I need it to do. I don't display my locks. I find 'em, pick 'em and throw 'em in a box. When times are slow I re-pin / slick 'em up and pass 'em along for my buddies to have a crack at. There's an obscure rule that says something like - "Regardless of the amount of space you have, the number of tools you own will always exceed that space ...." 
-
deolslyfox
-
- Posts: 128
- Joined: 15 Feb 2015 17:01
Return to Lock Picks
Who is online
Users browsing this forum: No registered users and 7 guests
|


