I just finished 2 more today (and I made 2 last week that I haven't shown).
Sorry for posting so many pictures (hope none of you guys are on dial-up, lol) - hopefully it's worth it though.
If the color looks 'off' in some of the pictures, I didn't spend much time on them, and I did pretty much no editing. And my sensor is dusty and needs cleaned...
This one broke while I was forming the handles (it was vibrating like crazy, and the tip flew off) - I had to figure out something else to turn it into...
(It works great too - very small, but very strong (titanium) - great feel with it.)


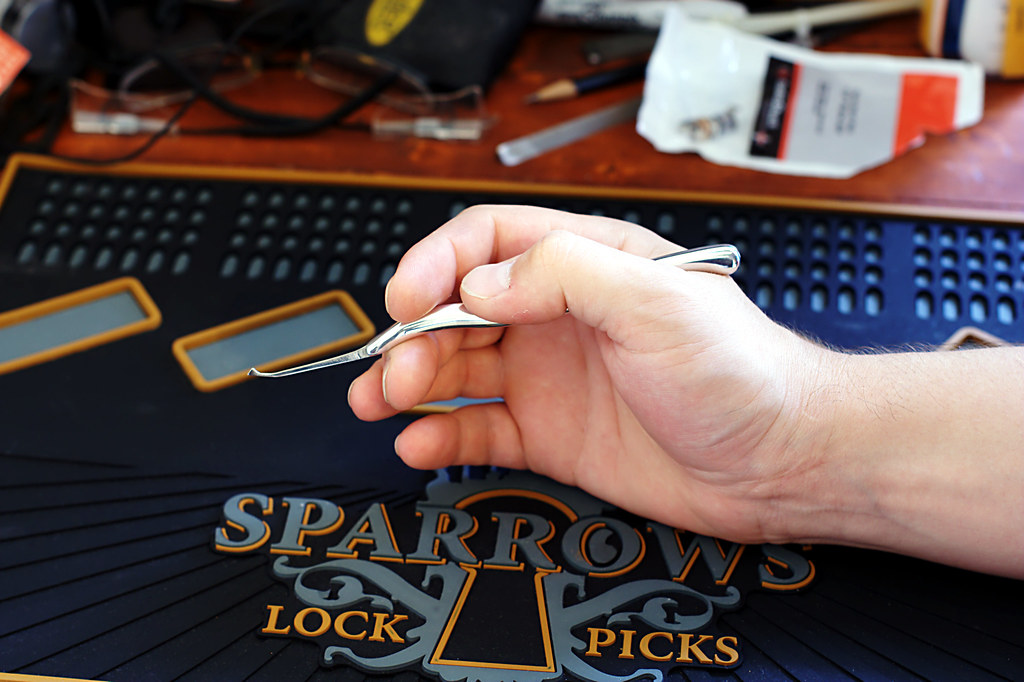
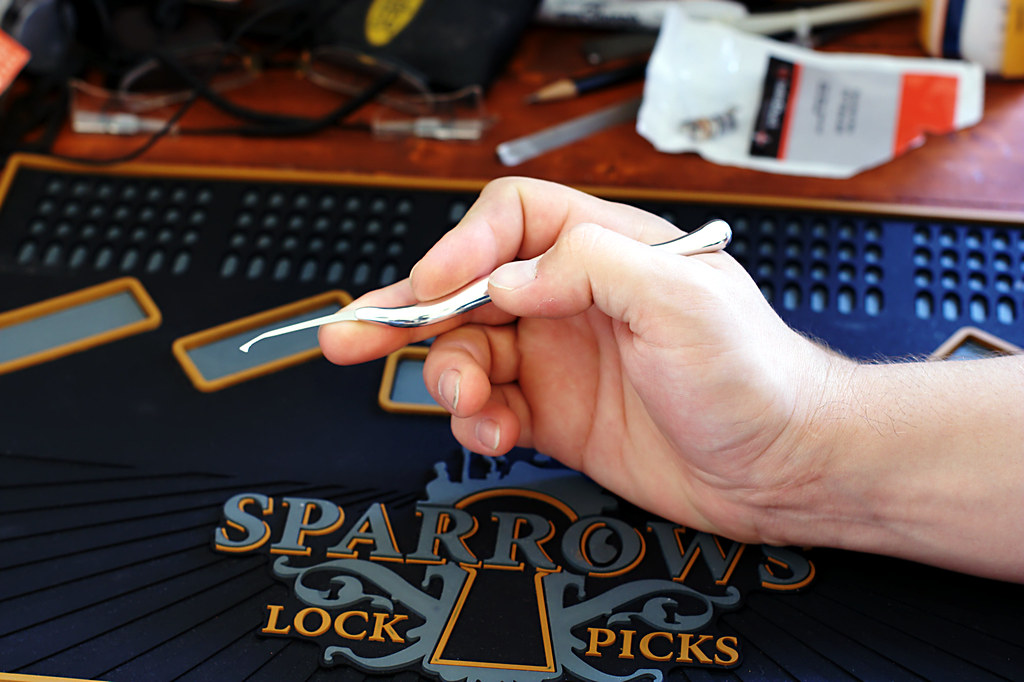
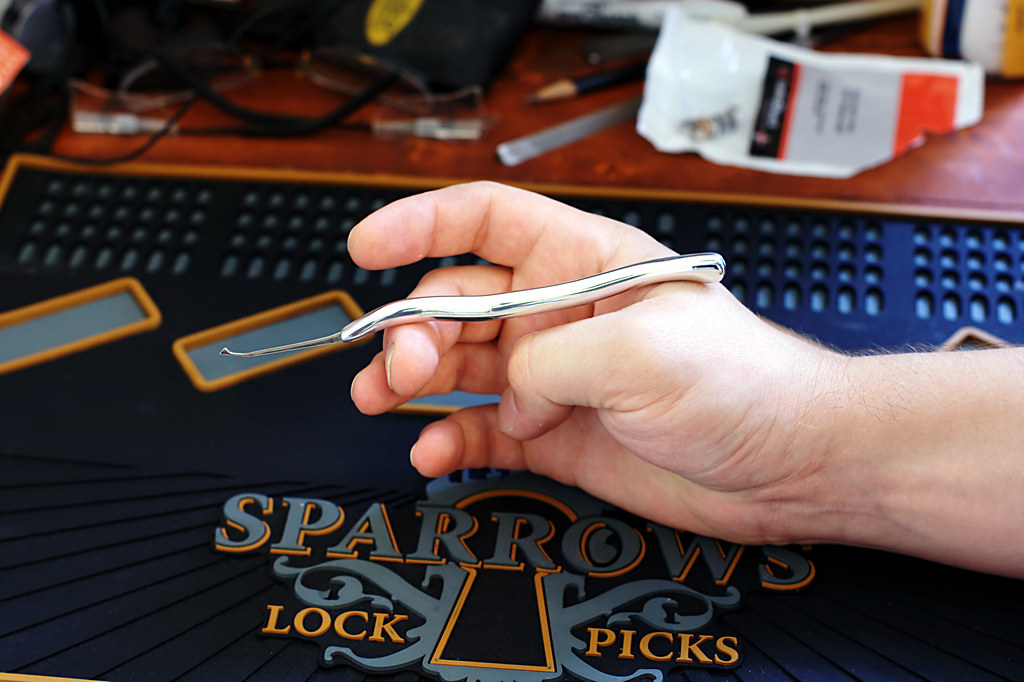
This one came out really cool. It's kind of hard to tell in the pictures, but the handle is wide and flat near the pick end. Basically the opposite of how a regular handle would be. If you hold it with the handle flat in your hand, the pick points up (or down).


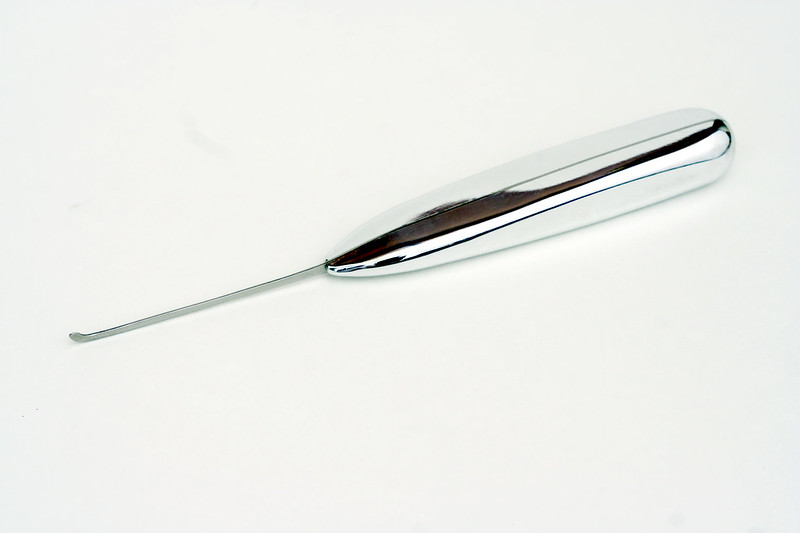

A new rake:
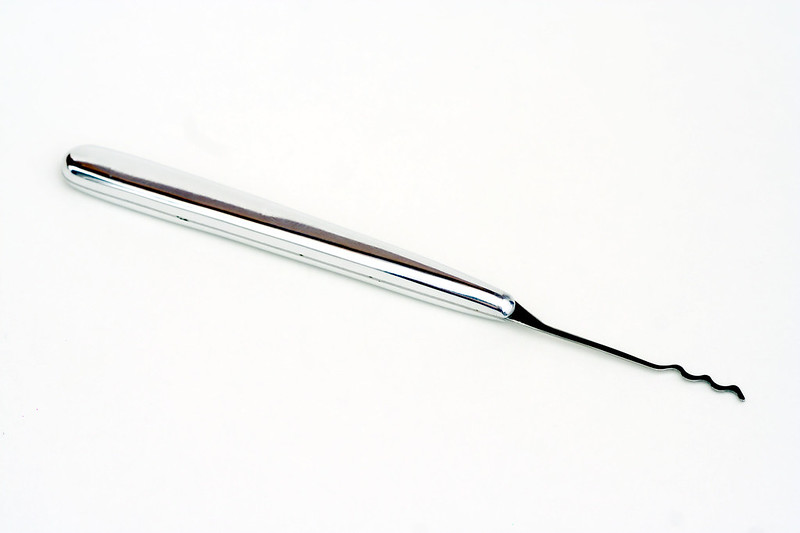
And an old rake that didn't have handles:

I explained earlier a little on how I make them. I wish I could take pictures as I go, but I do a lot of the work on my free time at work (and I'm not allowed to take pictures there - even with my phone).
I guess I 'could' do step-by-step pictures, but each 'step' would have to be shot at home - making it take a few days to finish one. As soon as I get an air compressor that's quiet enough to run inside an apartment, I'll be doing all of the work at home. step-by-step pictures will be much easier then.
Anyway - here's a little more detail on how I make them. First, I cut/file out the 'blanks', and then drill 3 or 4 (depending on how long it is) equally spaced holes through the handle area. I use either a #30 (.1285") or #40 (.098") drill bit - for 1/8" and 3/32" rivets, respectively.
Next I get the material I'm going to use for the grips. I drill a hole in it (the first hole doesn't have to be in exactly the right spot - just close), then cleco the pick on. If you don't know what a cleco is, imagine a clamp that goes inside a hole - there are different sizes for common hole sizes. Then I drill another hole, cleco it, drill another hole, cleco it - so on. After it's all drilled up, I outline the pick with a fine point sharpie (any 'marking instrument' would work fine).
Then I flip the pick over and repeat all of that. After that's done, I cut them out on the band saw - leaving a little extra material.
After that, I cleco the whole assembly together and sand down the "nose" (where the pick sticks out from the handles) till I get to the pick material. Now, I take the clecos out, take the pick out, then cleco the handles back together (without the pick). Now I round off the nose and shape it a little. I do it this way because it's much easier without having to risk hitting the shaft of the pick.
After that's done, I rivet (double-flush - countersunk rivets, with a countersink on the tail side too, shoot it till the tail fills the countersink) the whole thing together - everywhere but the nose is still rough at this point. I found that it's easier than trying to work around the clecos. Now I just sand the edges down till I get to the pick material all the way around.
Now the fun part starts - I do all of the shaping and round everything off.
Now you have a lot of sanding, and then a lot of polishing to do. And then you're done!