


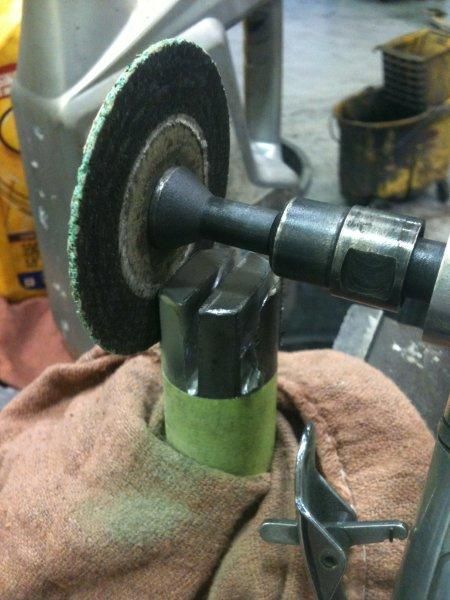
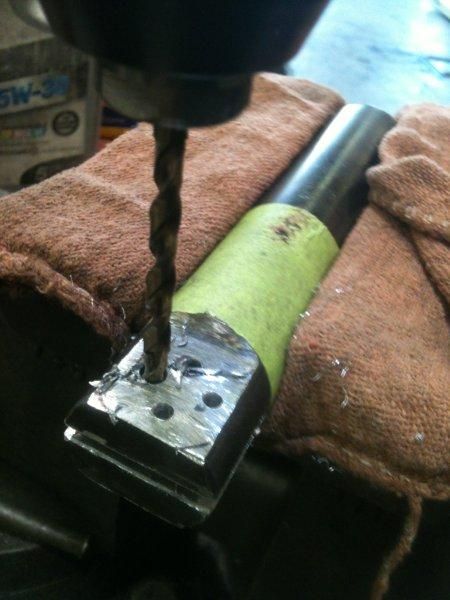
First, use tape to mark off 1 inch (2,54cm) to keep from cutting too deep. Draw lines on the top and sides for the key slot and the width of the sides, then cut it with a cut-off wheel.
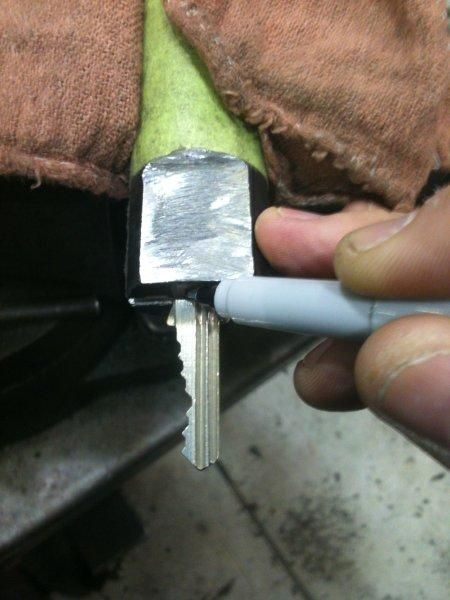
Then put a key into the slot, and mark the key blade to show the depth the key would be inserted into the handle.
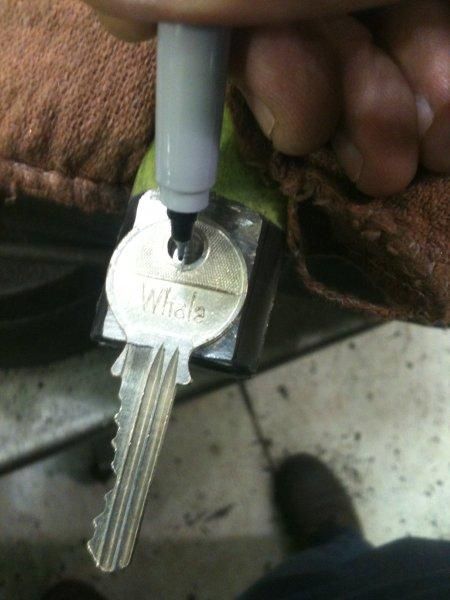
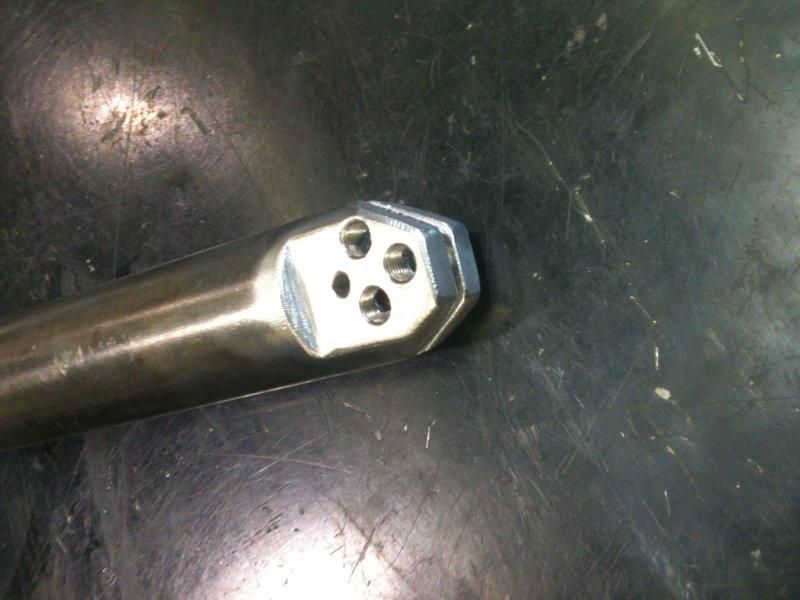
Moved the key on top, and marked where the hole in the bow is located, and the location of the front of the bow.
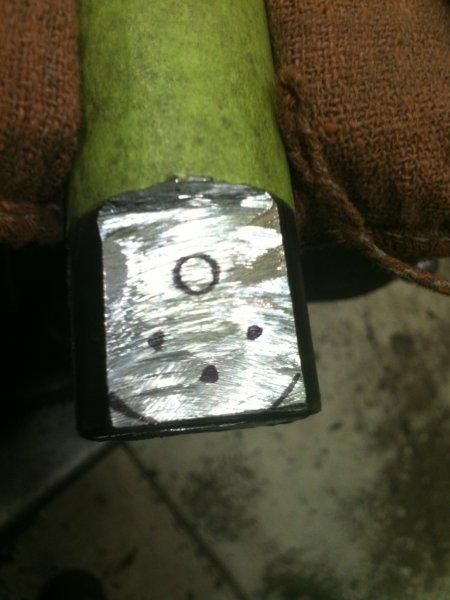
No, this is not a smiley face with a bullet hole in the forhead, just 3 more locations for holding screws.
Next, drilled out the holes. At this point, the service manager walked by, and asked what I was doing. "Making a tool", I responded. He said that was ok, and walked on his way.
Used the tap to know how deep to drill the holes and still get them fully threaded.
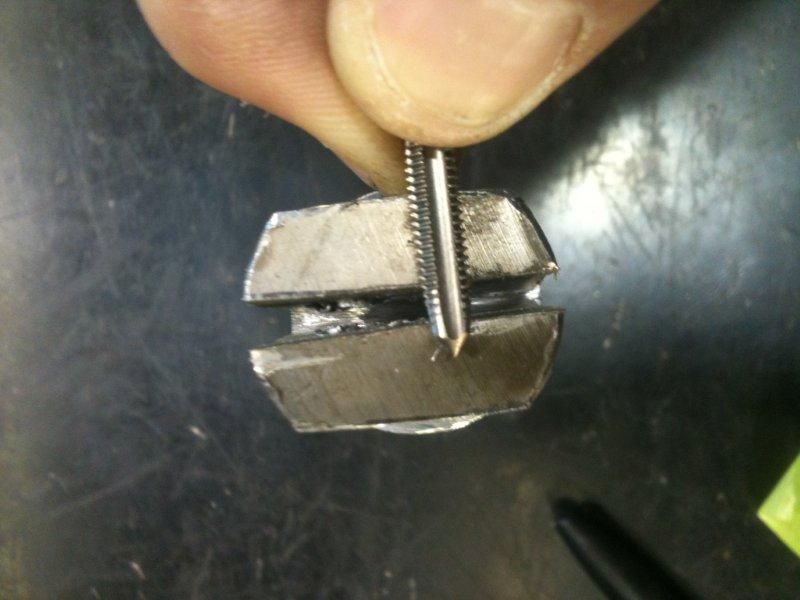
And tap the holes. Don't forget to use lubricant!

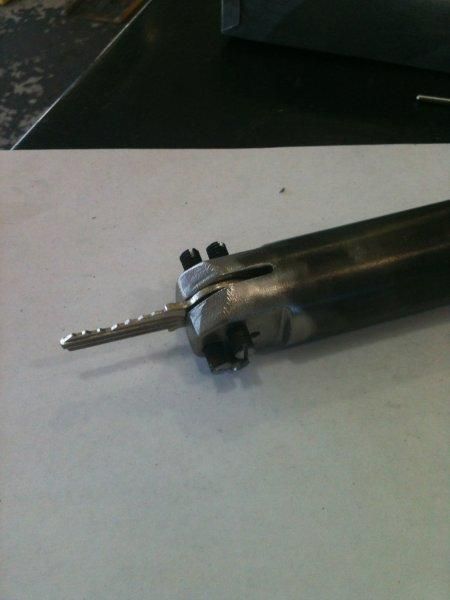
Trim the front of the handle to angle where they key goes with the cutoff wheel, then use the wheel to cutoff wheel to clean up the slot where the key goes due to drilling and tapping, then bevel the edges. Then use a wire wheel to buff the worst of the grinding marks away. Then clean up the hole threads with the tap again. I do this the second time so the threads are neat, but do not leave hanging parts where the key goes.
Grip the bolts firmly with vice grips...

And grind the ends into sharp points.
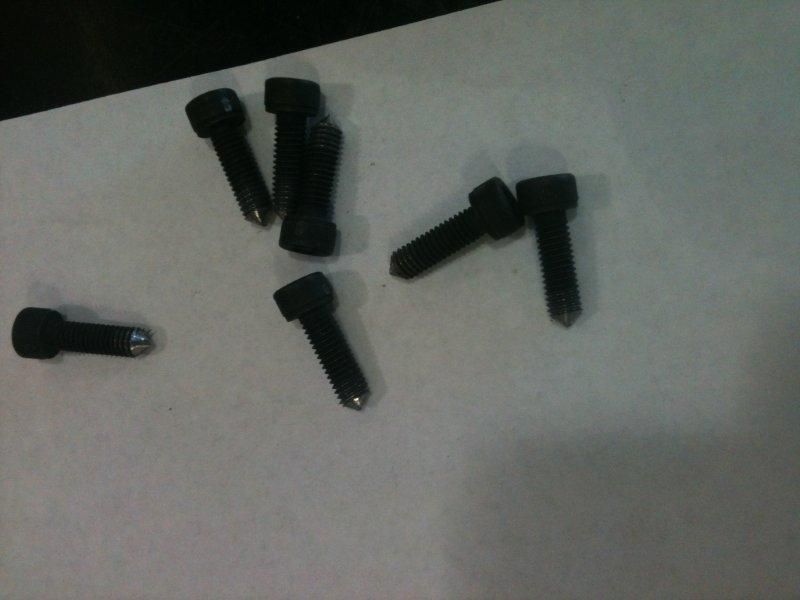
Cut off the heads, and use a dremel tool to cut slots into the tops. These are now the holding screws.

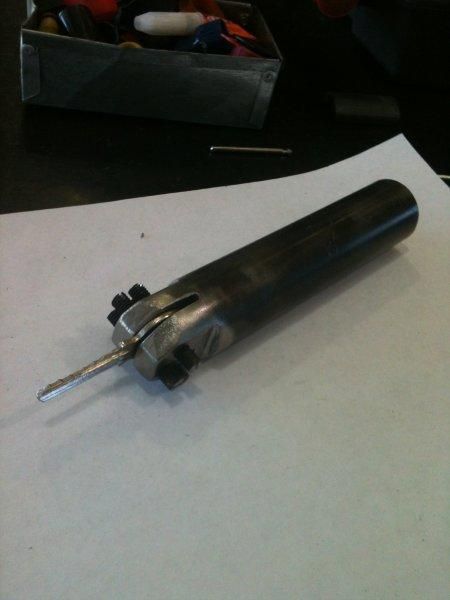
Assembled and holding a key. The top hole is smaller and not threaded. I slip a cotter pin inside this hole through the hole in the key bow and pull the key outwards and inline as I tighten the holding screws. Once one side is tight, I remove the cotter pin. Just using moderate, but not heavy, tension on the screws lets them bite into the key's bow. Tighten all of the screws on one side first, to keep the key flat in the slot. Then tighten the other side.
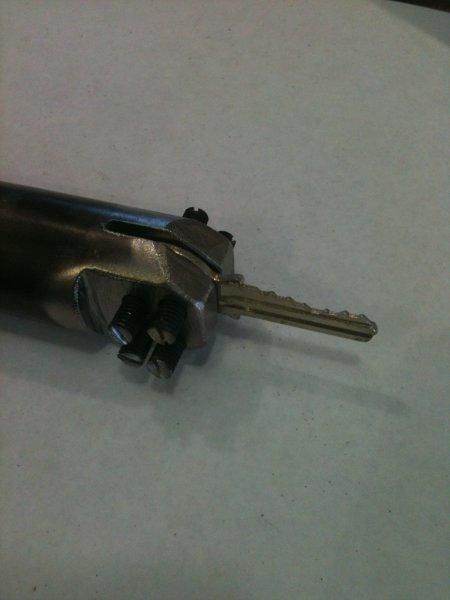
As you can see, I put 4 screws on one side and 3 on the other. Why? So they don't press on the same part of the bow.
Hope this gives a few ideas to you. Many people have better ideas than I do, and I'd like to hear suggestions for improvements from you!
By the way, being solid steel, this handle has a lot of mass. Be gentle when you first use it for impressioning, especially if you are used to vice grips, as I am. Broke off the first blank (which I rarely do) when making the first marks for a commercial Master #3.
