|
Having read the FAQ's you are still unfulfilled and seek more enlightenment, so post your general lock picking questions here.
Forum rules
Do not post safe related questions in this sub forum! Post them in This Old Safe
The sub forum you are currently in is for asking Beginner Hobby Lock Picking questions only.
 by Rodfather23 » 4 Jul 2007 2:34 by Rodfather23 » 4 Jul 2007 2:34
I own a nice set of wire snips, but I don't want to mess them up cutting wiper inserts. I usually just bend the length I want to cut back and forth with one set of regular pliers until it breaks. Then when I get to my dremel I either grind or use a cut off wheel to take care of the 2 or 3 mm that got bent in the process........no biggie
I know some people will ask why I don't use the cut off wheel just to cut it in the beginning and my answer is....... its easier (for me anyways) to just mess with cutting or grinding off 2-3 mm rather than using the cut off disk on a whole insert. I guess it would be easier to do if you had a flew shaft or whatever.
-
Rodfather23
-
- Posts: 141
- Joined: 23 Apr 2007 21:09
- Location: USA
by UWSDWF » 4 Jul 2007 2:36
yeah... linemens pliers FTW
 DISCLAIMER:repeating anything written in the above post may result in dismemberment,arrest,drug and/or alcohol use,scars,injury,death, and midget obsession.
-
UWSDWF
- Supporter

-
- Posts: 4786
- Joined: 27 May 2006 13:01
- Location: Toronto, ON. Canada
by raimundo » 4 Jul 2007 8:10
you can also cut lengths of wiper blade simply by scoring a notch with the edge of a tricorner file accross it so that when you bend, the stress concentrates on the weakend spot and it breaks exactly where You want it to. there is no need to cut all the way through, the notch just creates the weakend spot and bending does the rest.
Wake up and smell the Kafka!!!
-
raimundo
-
- Posts: 7130
- Joined: 21 Apr 2004 9:02
- Location: Minnneapolis
by zhouluyi » 4 Jul 2007 8:15
Thanks raimundo, that in seems to be the best solution so far. Simple, efficient and clean.
When we hear about a solution this neat and simple is hard to believe ourselves didn't think of it before... 
Luiz Borges
-
zhouluyi
-
- Posts: 20
- Joined: 29 Jun 2007 14:24
- Location: Araraquara - Brazil
by zhouluyi » 4 Jul 2007 17:12
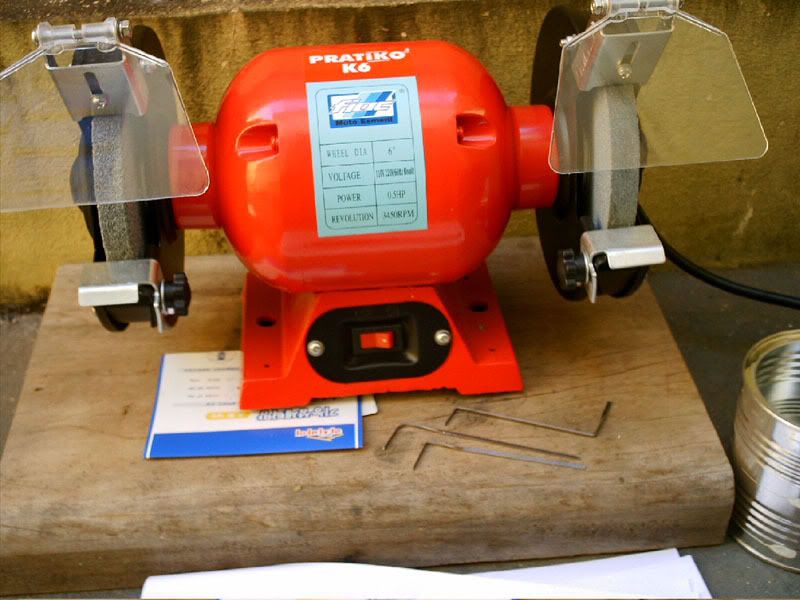
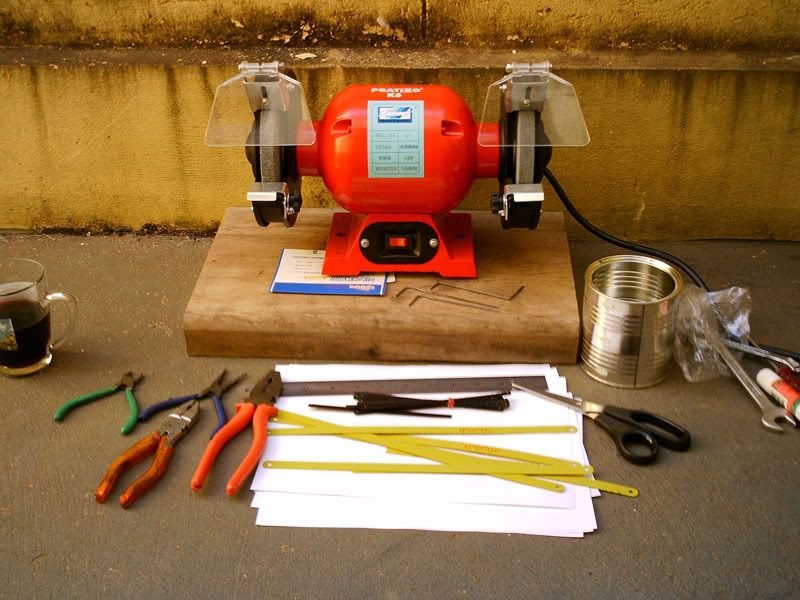
I bought the grinder today, here it is, and the picks I made.
Grinder:

Grinder, pliers, hacksaw blades, coke, scissors, water....

Picks and tension wrenchs after sanding:

Regards,
Luiz Borges
PS: It may sound stupid, but when should I use the course (36) grit, and medium (60) grit??
I got the impression that the medium grit "eats" more metal than the course one...[/url]
-
zhouluyi
-
- Posts: 20
- Joined: 29 Jun 2007 14:24
- Location: Araraquara - Brazil
by Legion303 » 5 Jul 2007 5:34
The higher the number, the finer the sanding. You should start with lower numbers and go up. 60 grit it too rough to finish with...I usually do my finishing work with 600 grit or even finer (1500) for a mirror finish.
-steve
-

Legion303
-
- Posts: 2348
- Joined: 6 May 2006 6:52
- Location: Denver, CO
by zhouluyi » 5 Jul 2007 15:29
Legion303, for sanding I used 180, 360 and 1200... I asked about the grit on the grinding wheel, I guess you understand the grit on sandpaper...
Luiz Borges
-
zhouluyi
-
- Posts: 20
- Joined: 29 Jun 2007 14:24
- Location: Araraquara - Brazil
by Afisch » 5 Jul 2007 15:37
Corse grit takes more material and should therefore be used before the finer grit. course (36) grit, and medium (60) grit??
It sounds as though those also mean higher number finer grit so a low number would remove more material quicker while medium will give less scratches but take longer. Does anyone have any idea of what the numbers refer to? Number of something per inch maybe...Thanks. Nice looking picks, did you use a template?
-
Afisch
-
- Posts: 461
- Joined: 18 Apr 2007 8:12
- Location: Devon, England
by unjust » 5 Jul 2007 16:22
quick adn safe(ish) grinder stand--
materials:
piece of 3/4" plywood. ~18"x18"
~6' of furring strip (~1/2" x 1.5" cheap pine board)
~18" of angle iron or ~6 metal L brackets.
2 book shelf brackets.
piece of scrap plywood
appropriate bolts, washers and nuts
several hearty c clamps
bolt the grinder to the heavy ply, edge the bottom of the heavy ply with the furring strips and put a few bits in the middle.
use the angle iron or small L's and another piece of furring strip to make a lip to slide over the front of your table.
use the shelf brackets to make a back stop behind the grinder, and add some side walls depending on how things go.
if you'll use it on one specific table, make the front into a C so it'll nest around the edge snugly.
i've seen this done with several grinder/polishers where bench space was limited, so you could swap out the high power one for the wet one, etc.
-
unjust
-
- Posts: 372
- Joined: 7 Nov 2006 15:19
- Location: Minneapolis MN
by Legion303 » 6 Jul 2007 1:47
zhouluyi wrote:Legion303, for sanding I used 180, 360 and 1200... I asked about the grit on the grinding wheel, I guess you understand the grit on sandpaper...
Oops. You're right--I misunderstood you. But the idea is the same: higher numbers mean less cutting of material and a smoother finish.
-steve
-
Legion303
-
- Posts: 2348
- Joined: 6 May 2006 6:52
- Location: Denver, CO
Return to Got Questions? - Ask Beginner Hobby Lockpicking Questions Here
Who is online
Users browsing this forum: No registered users and 14 guests
|