


Won a padlock on eBay without a key. Blanks for this model are a little hard to come by, so decided to make a key from scratch.
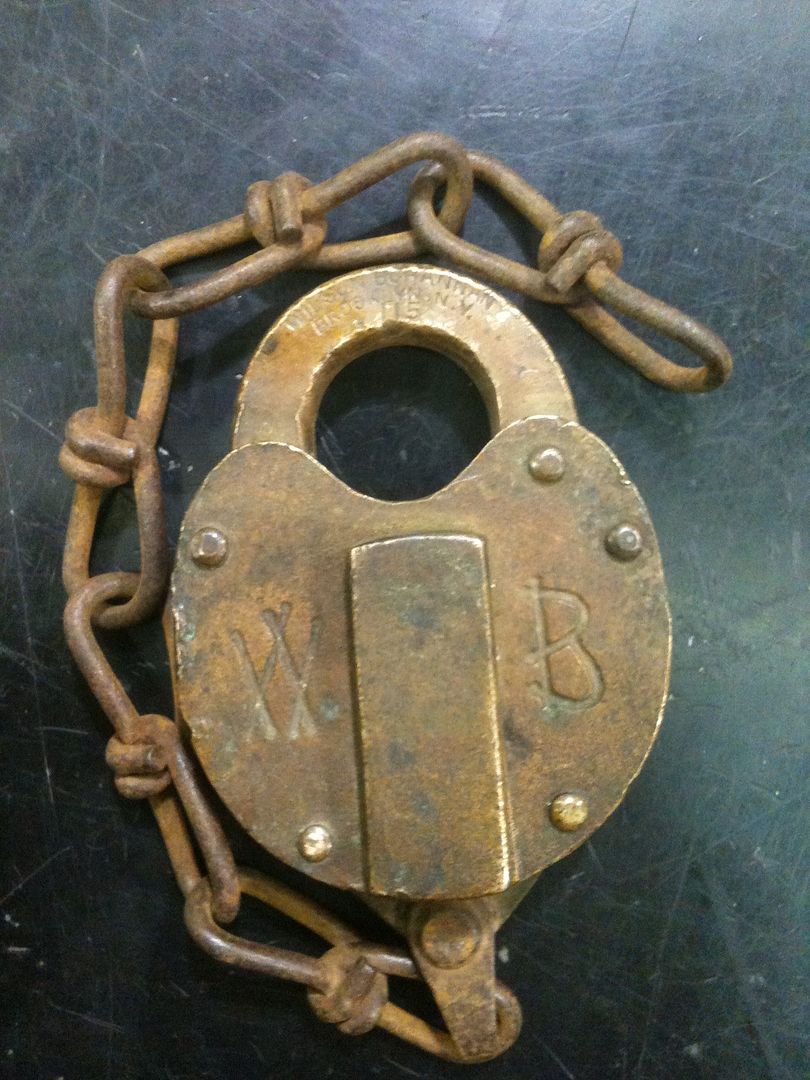
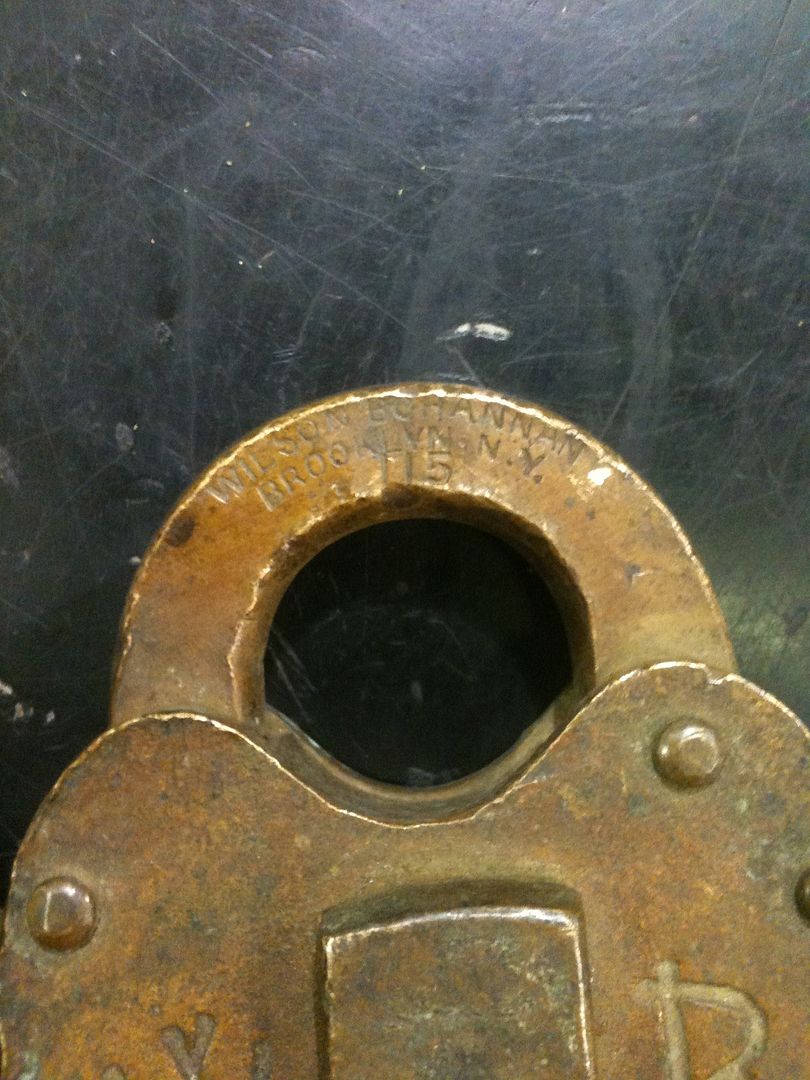
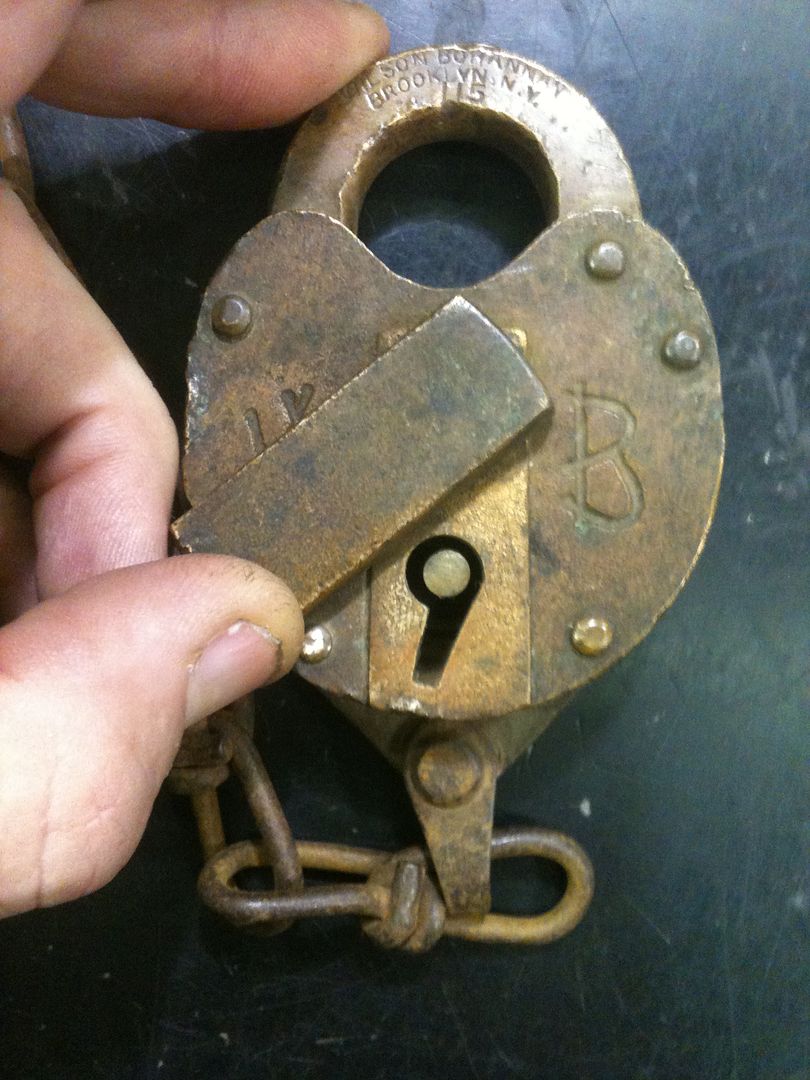
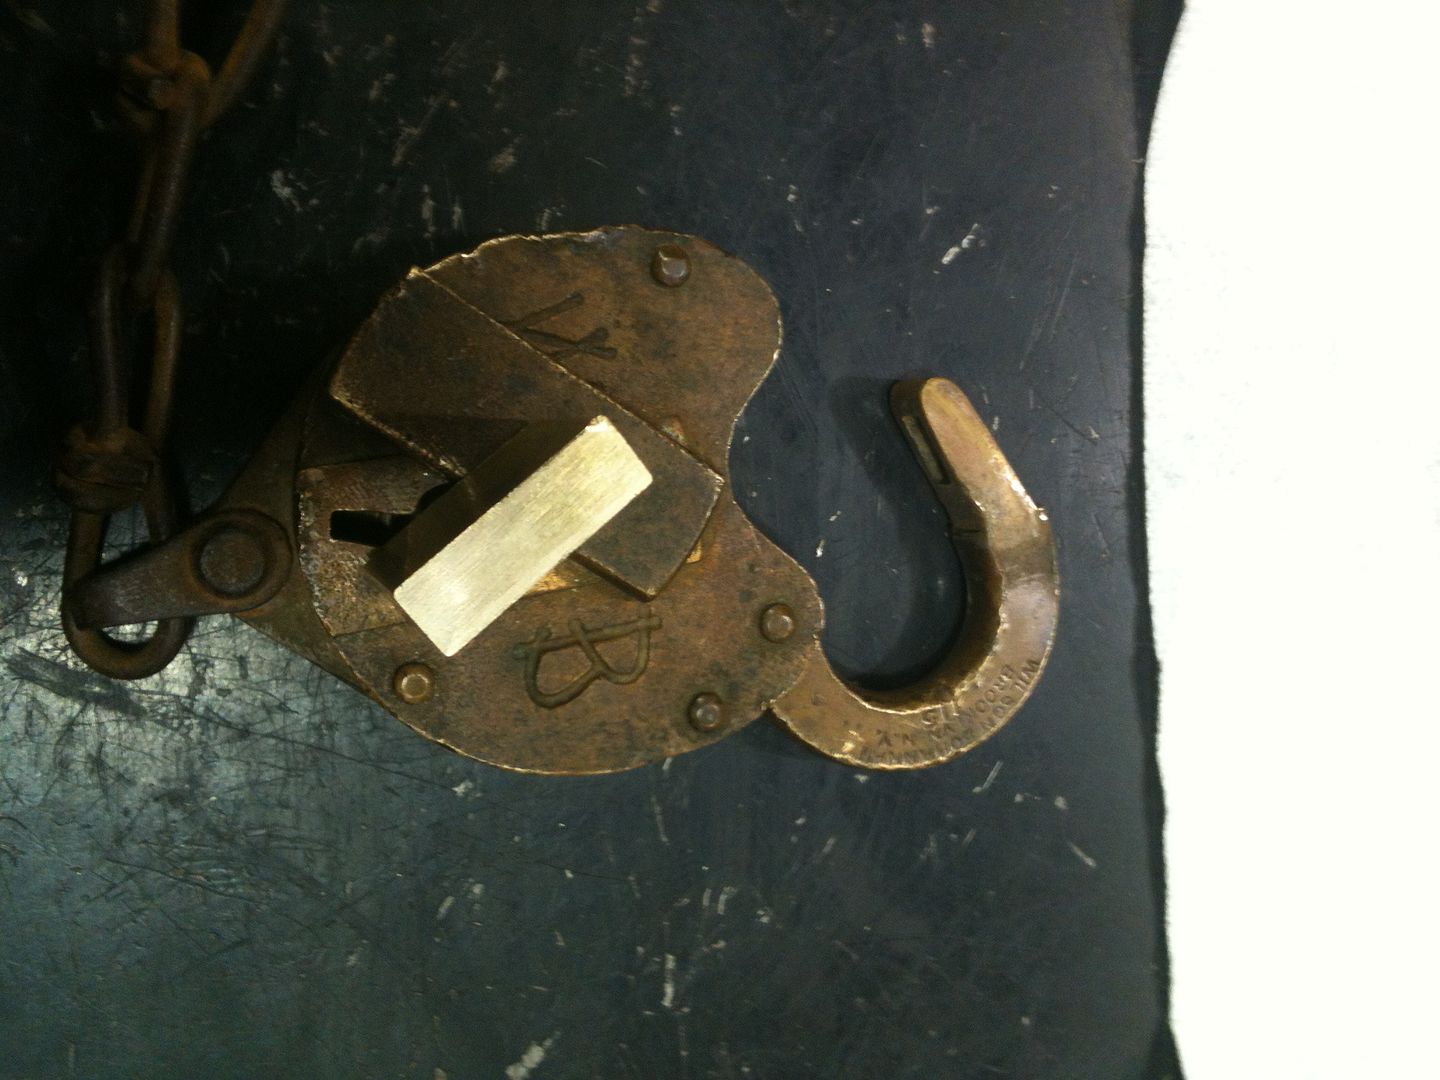
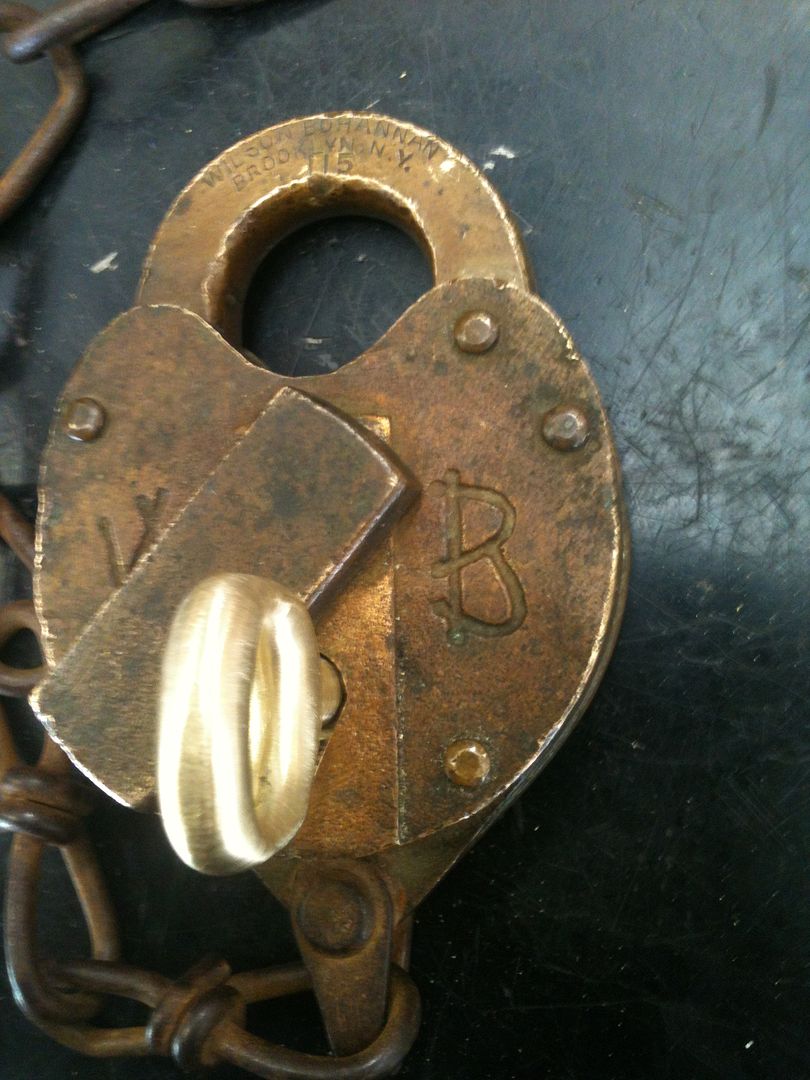
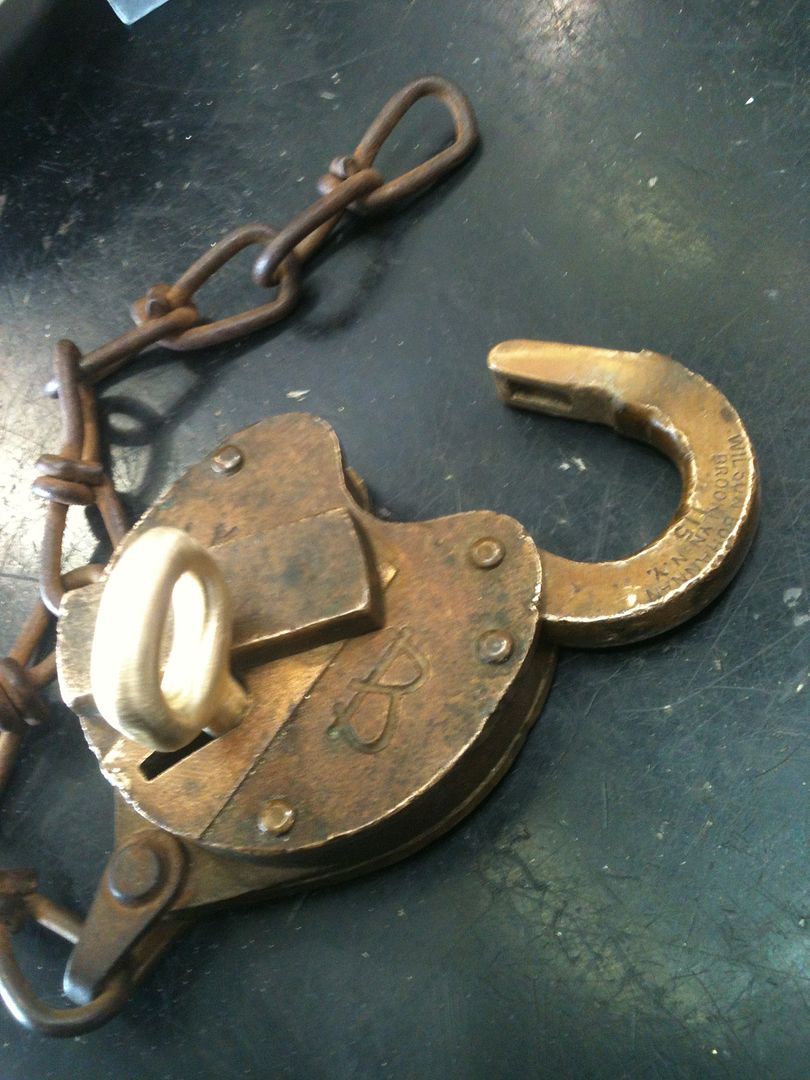
It is an older Wilson Bohannan padlock:
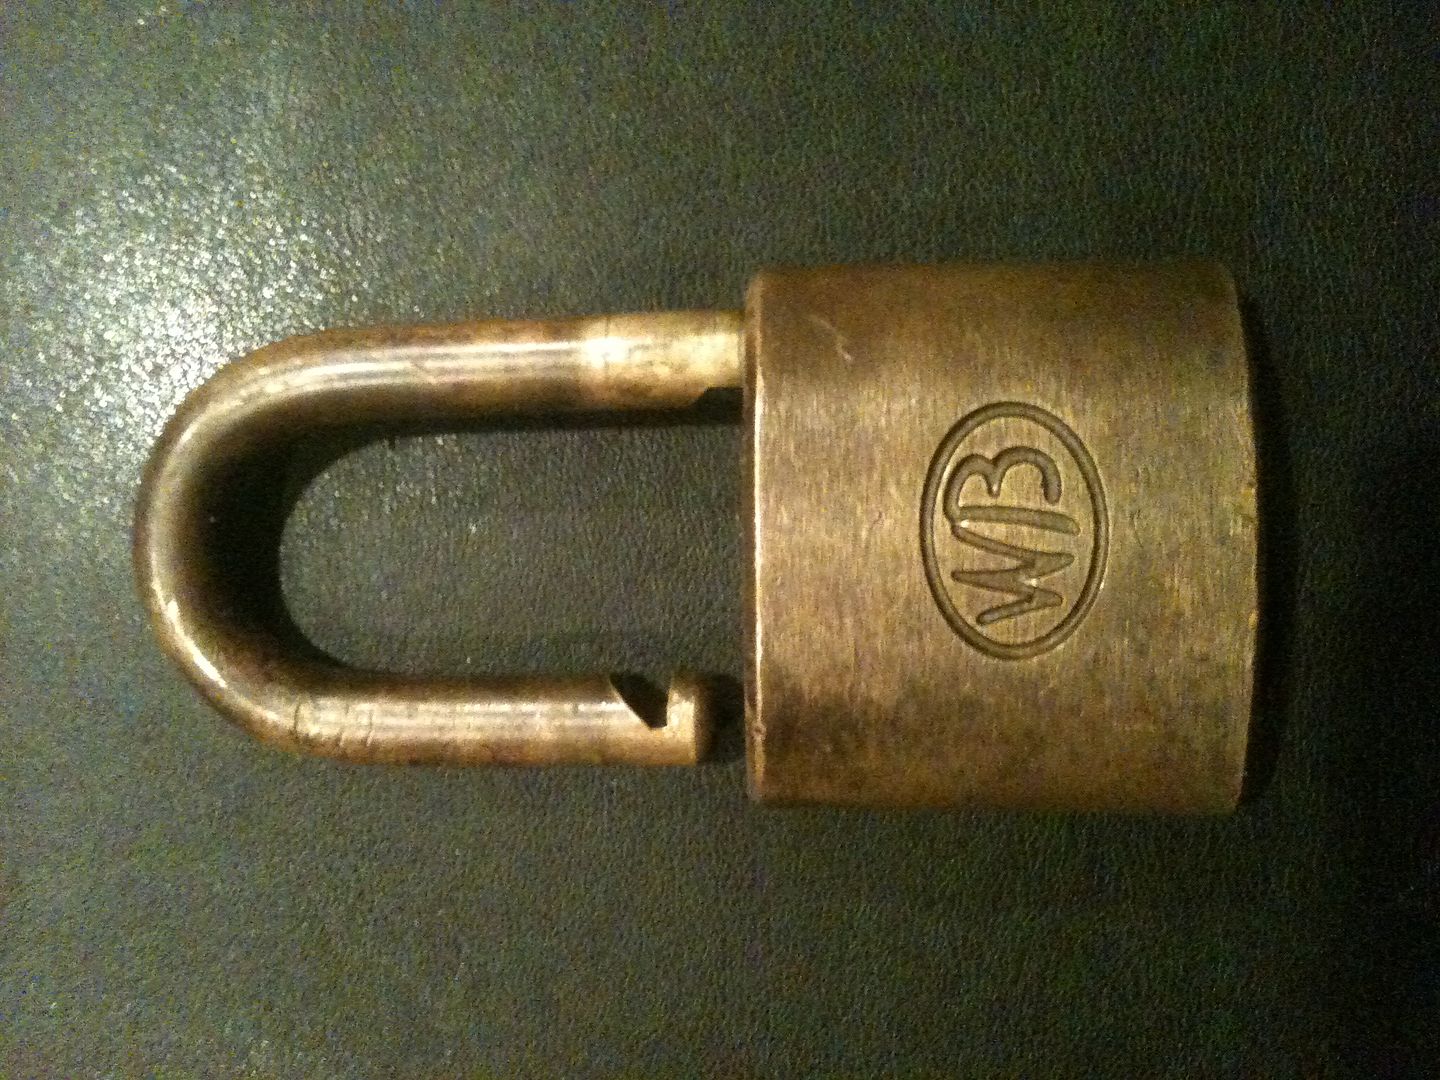
Wait a second. That ain't that old, and key blanks are not terribly difficult to get.
Did I say an older Wilson Bohannan? Silly me.
Yeah, that's more like it.
Like I was saying, Home Depot doesn't carry blanks. The local lock shops claimed they didn't have them either.
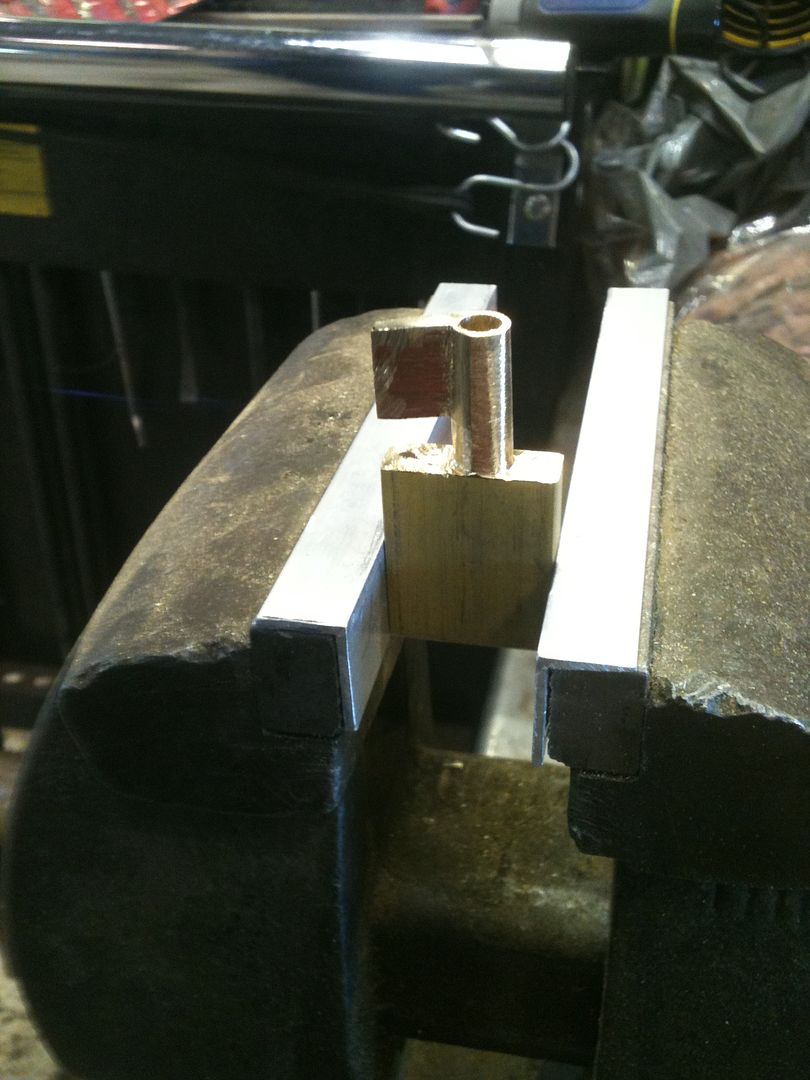
Started with some 5/16"x1" (8mm x 25.4mm) rectangular brass stock.
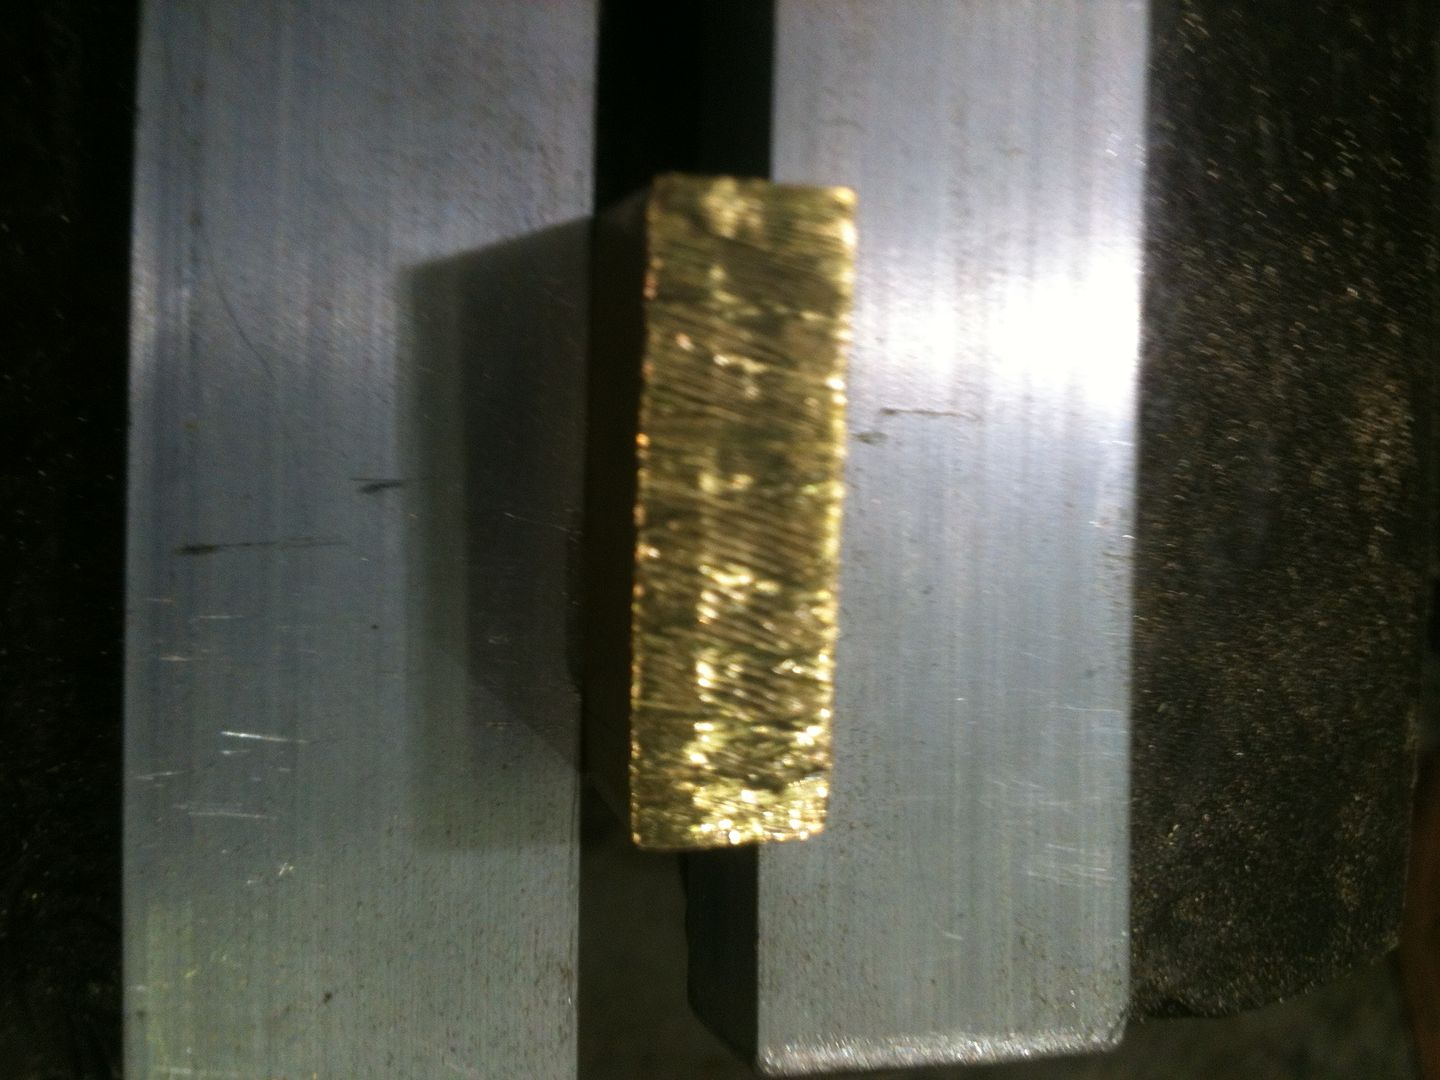
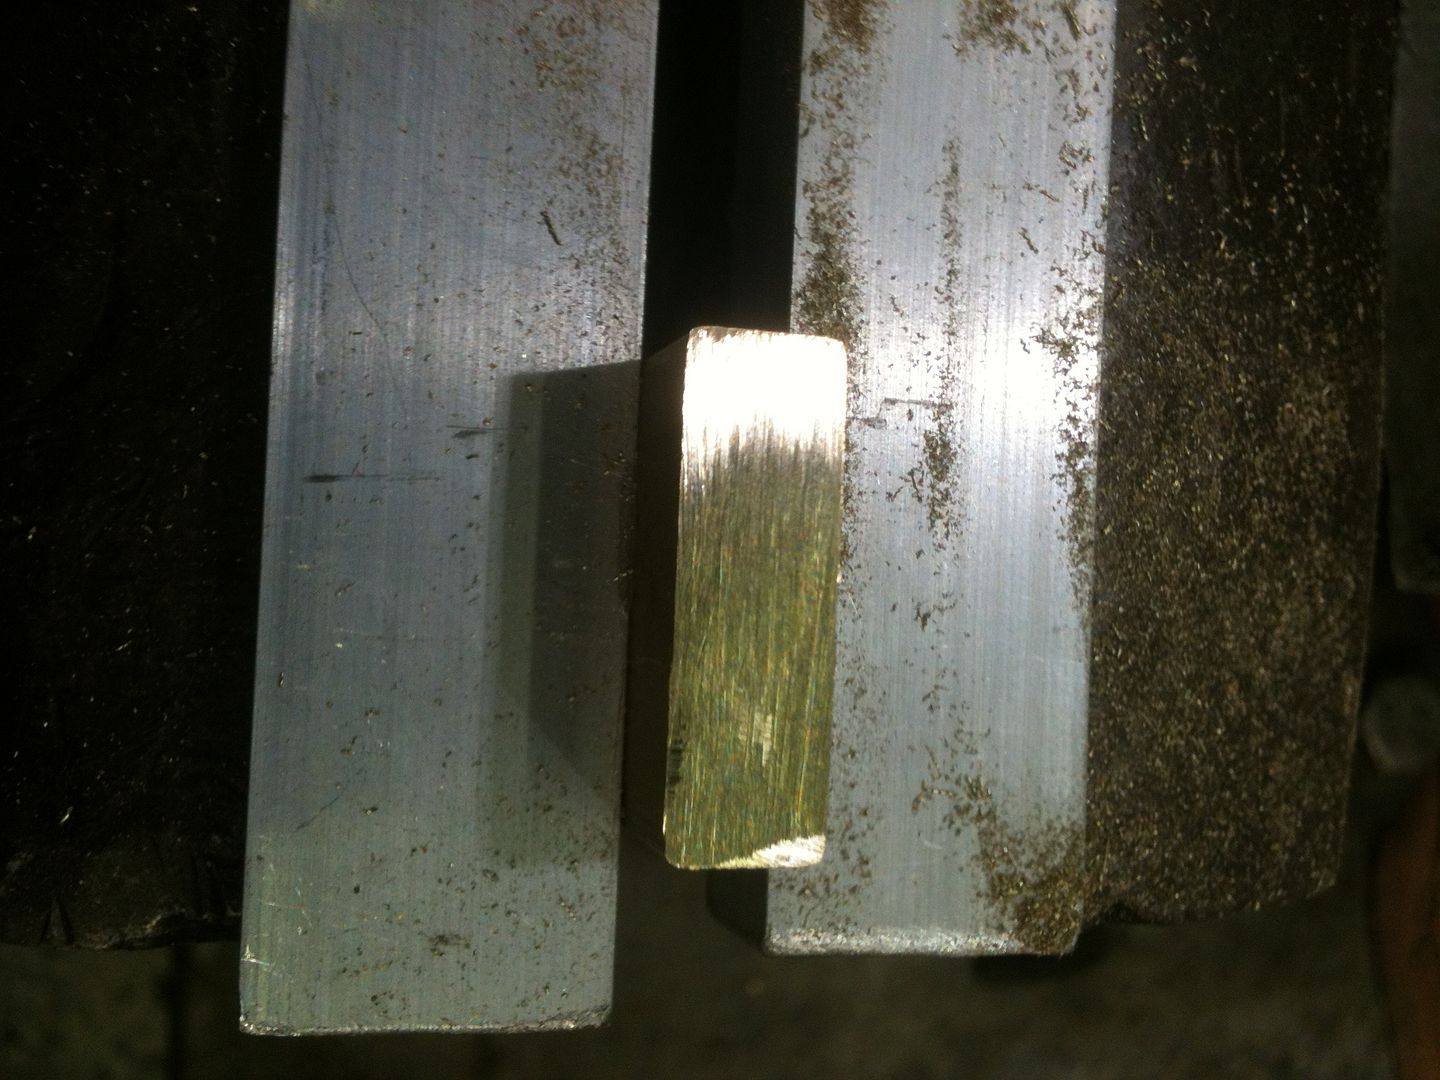
Filed it to a nice flat surface on the end.
Now, we need to trace the keyway. Easiest way is to place some paper over the keyway, and press it down with your thumb to get an impression.
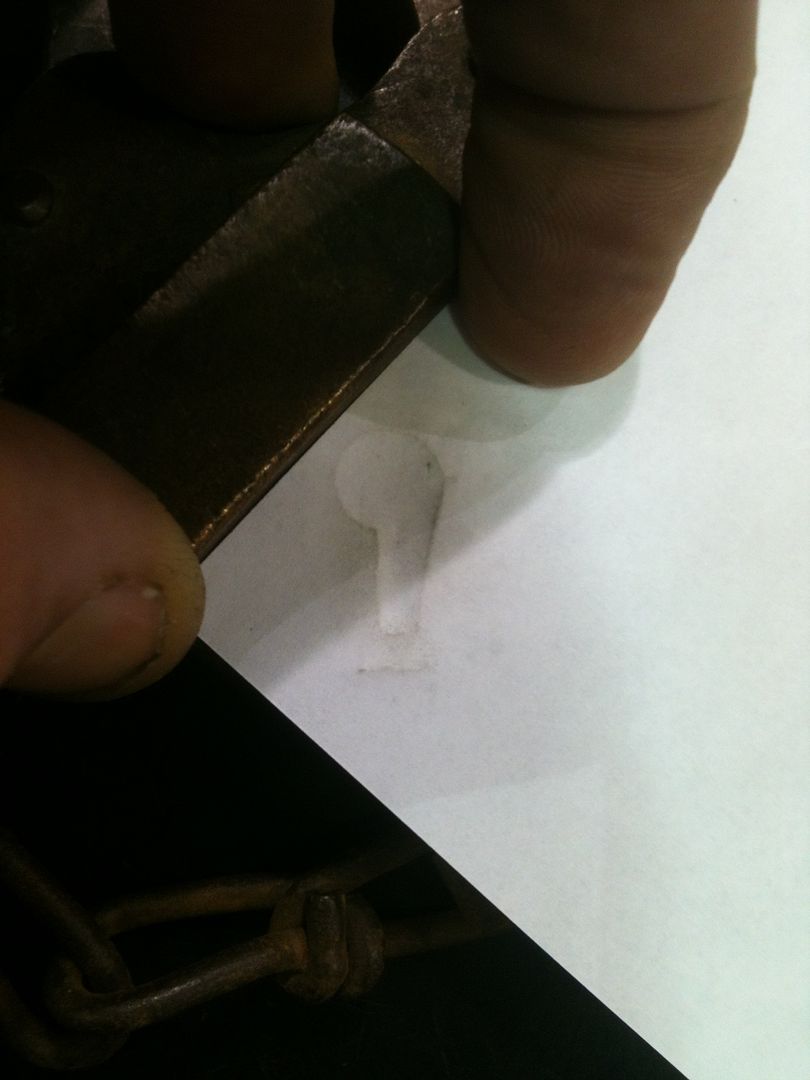
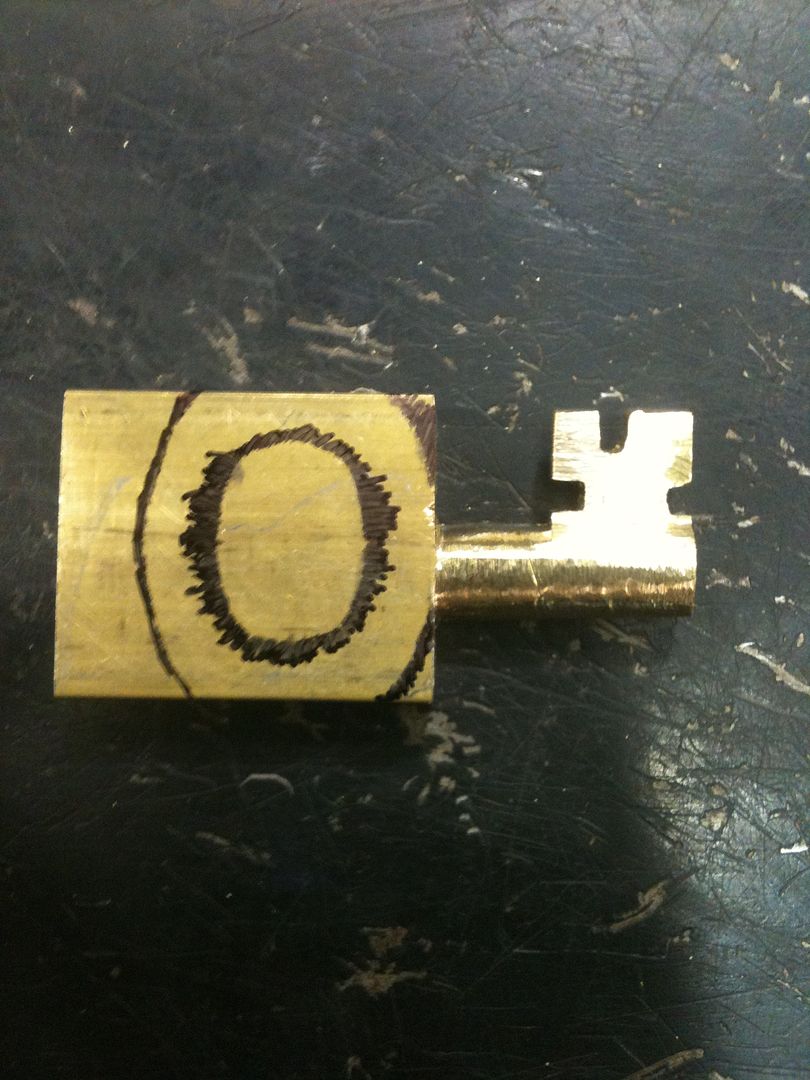
Now cut it out and place it on the flat end of the brass stock.
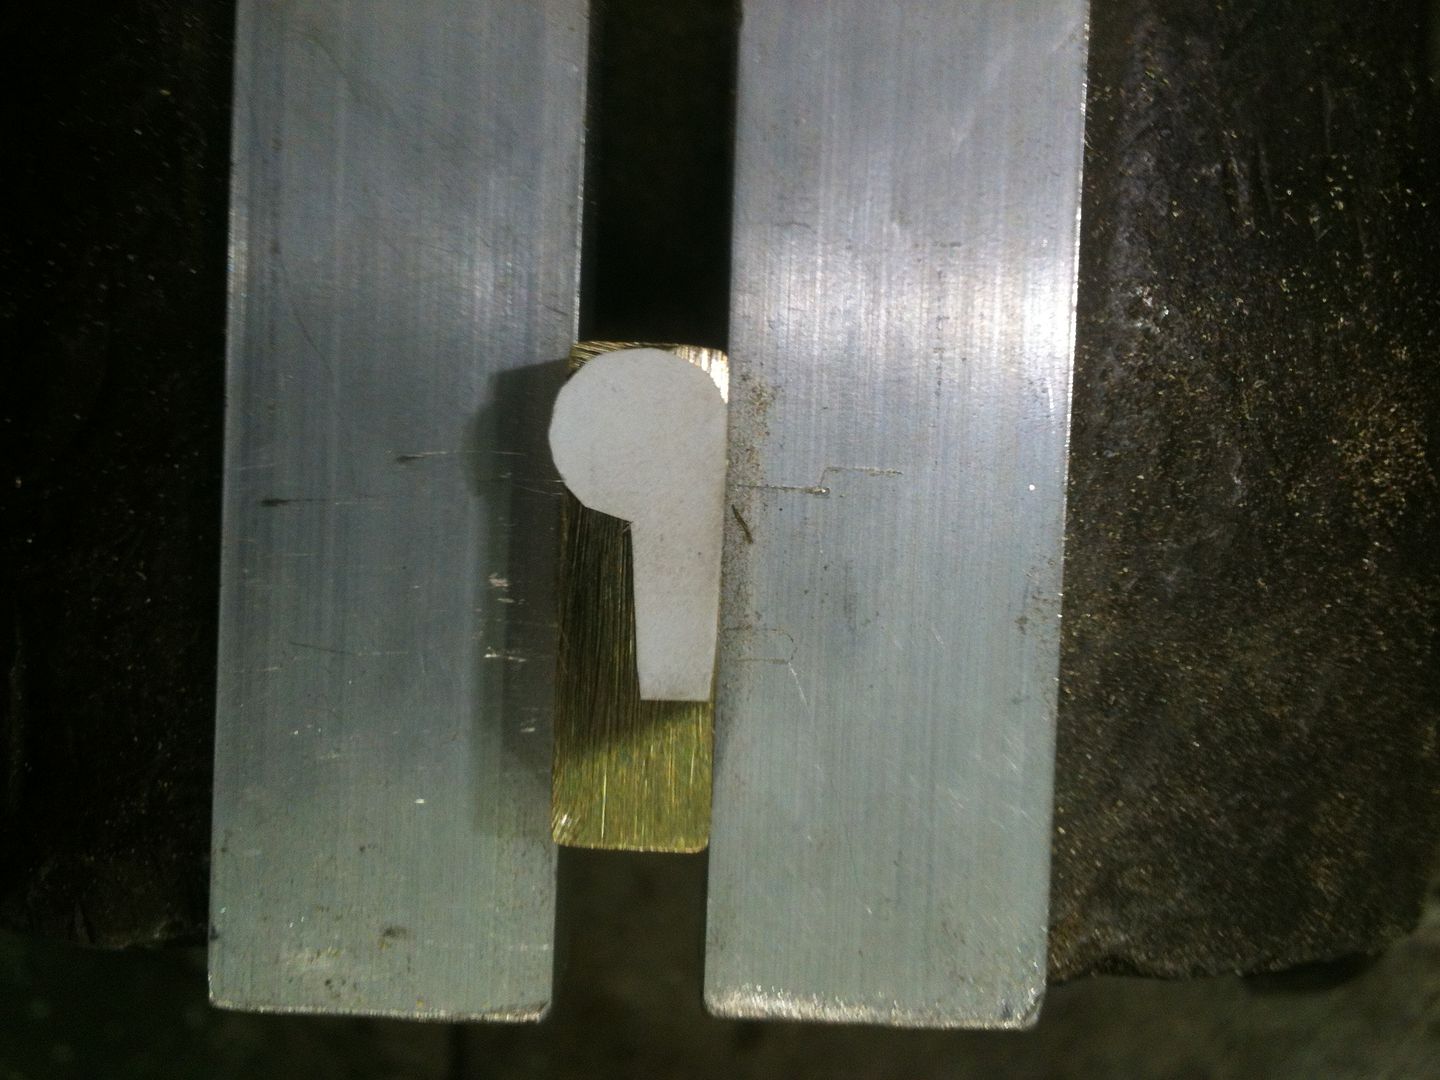
Trace the keyway onto the brass. (Decided to angle it so the key bow would still be straight up and down when the key is put into the lock.
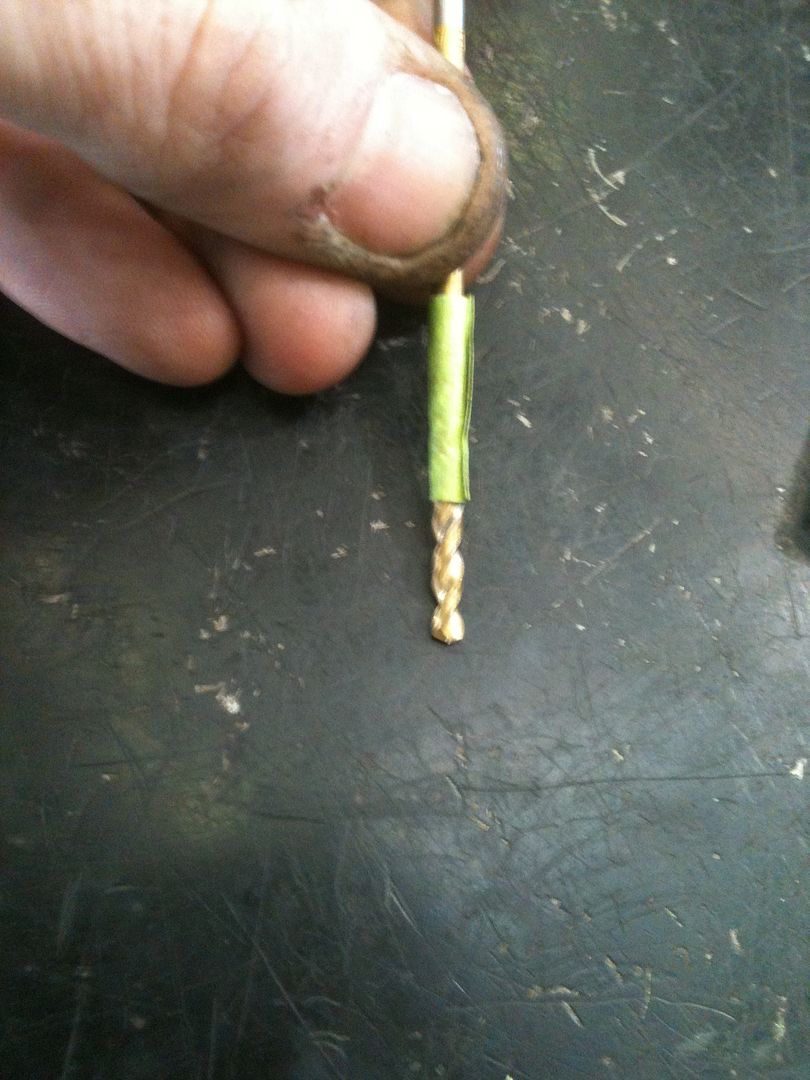
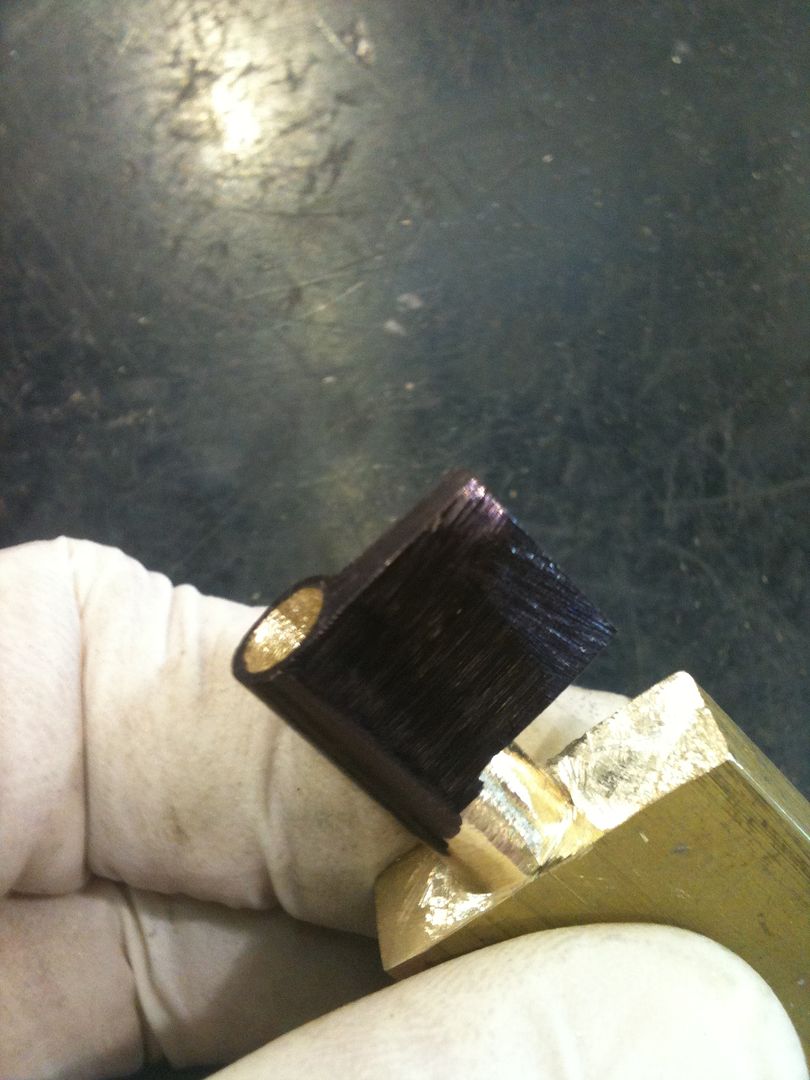
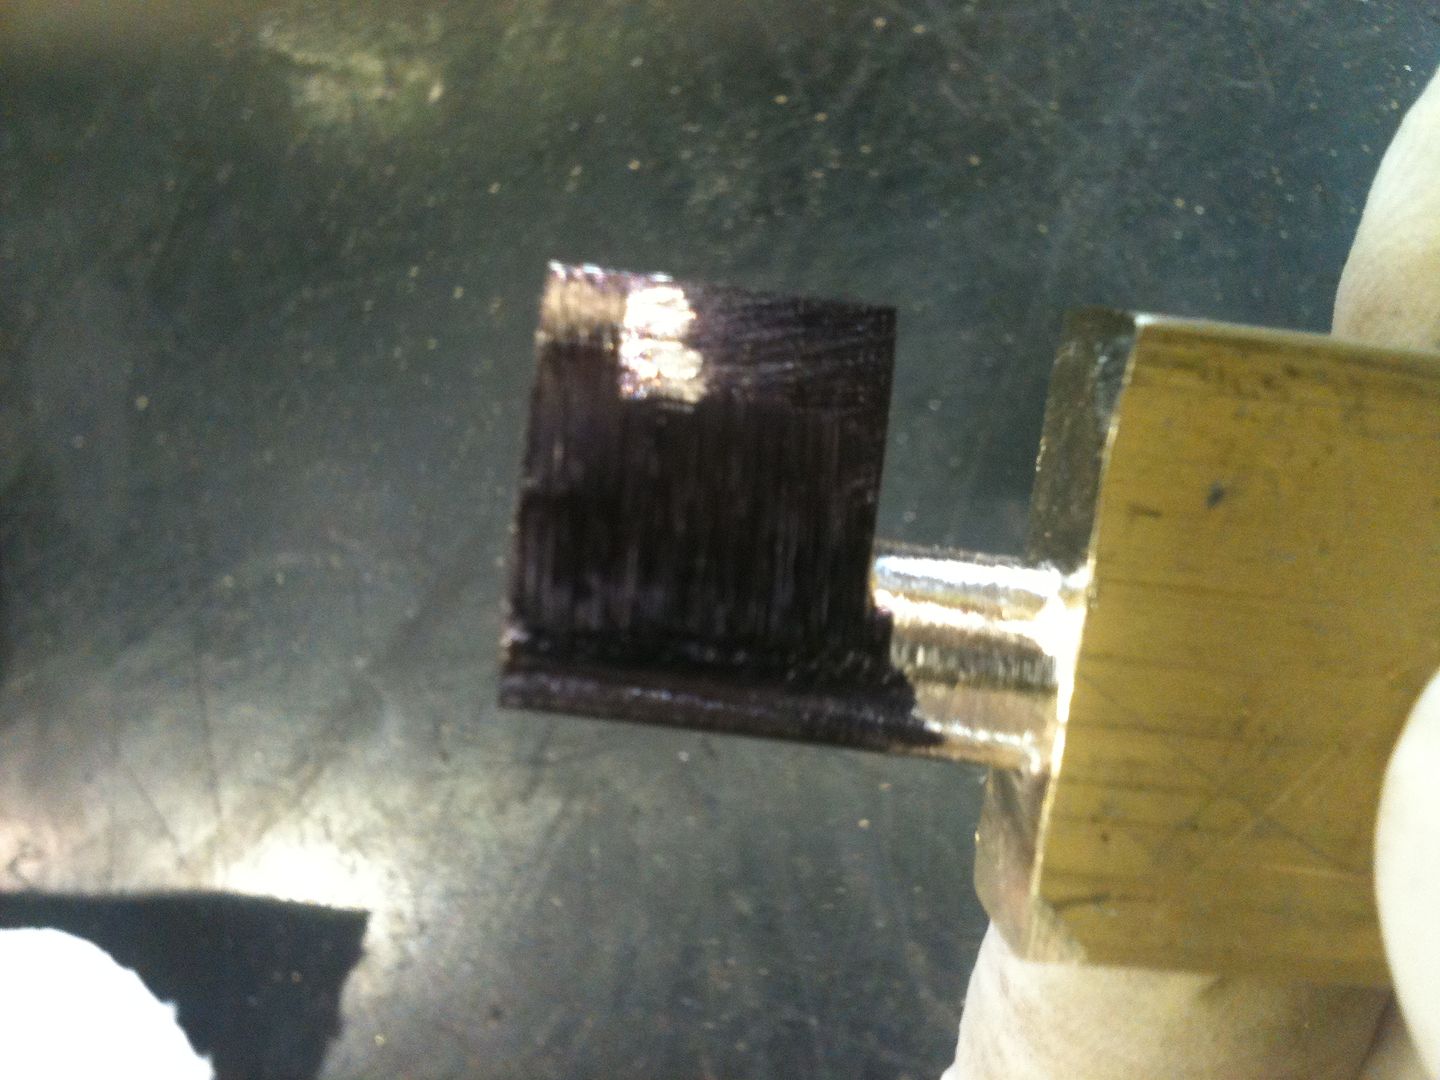
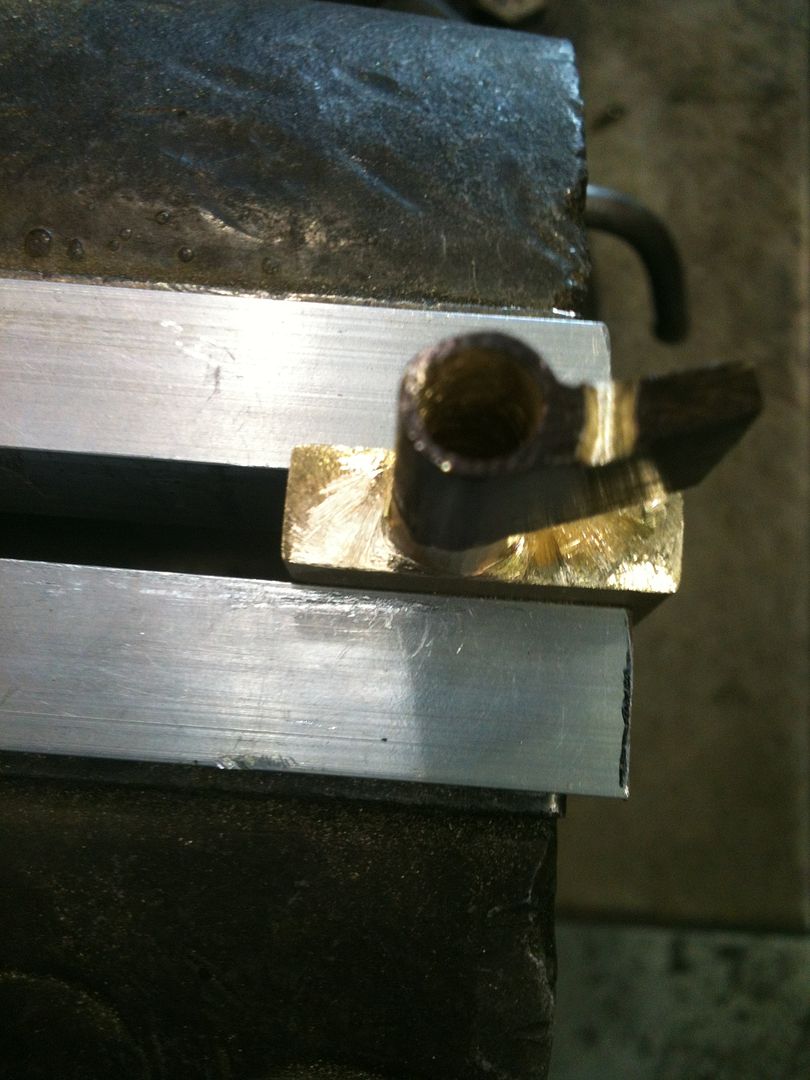
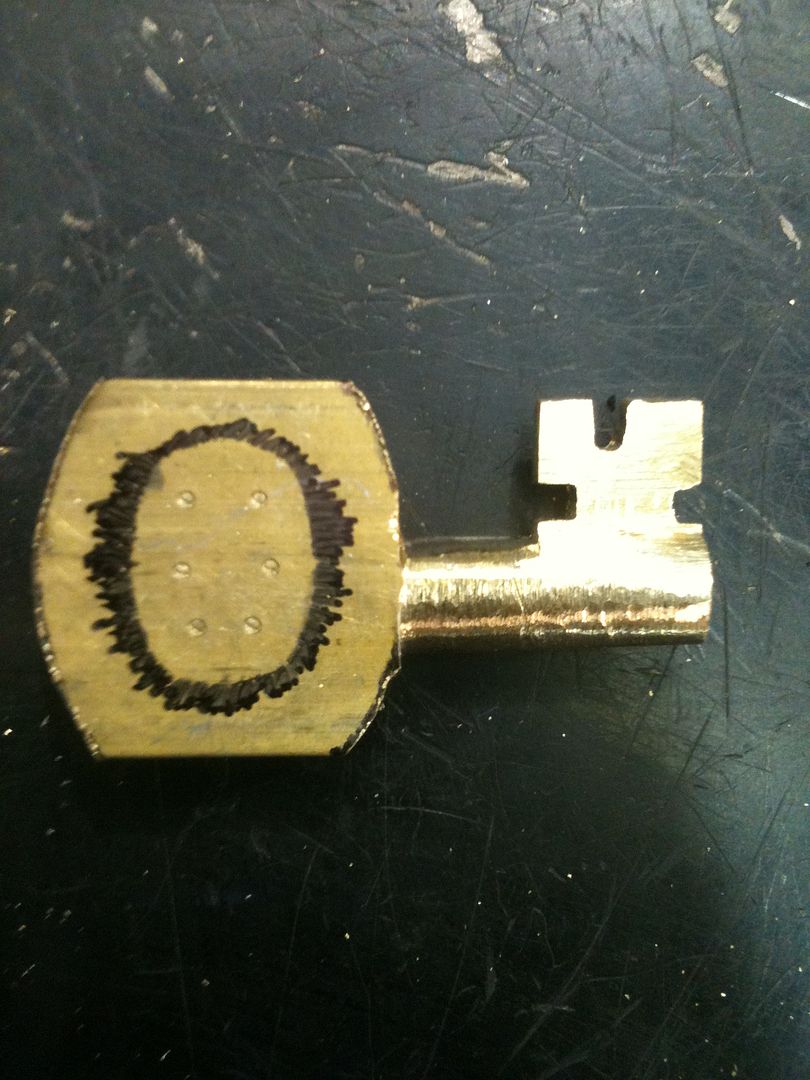
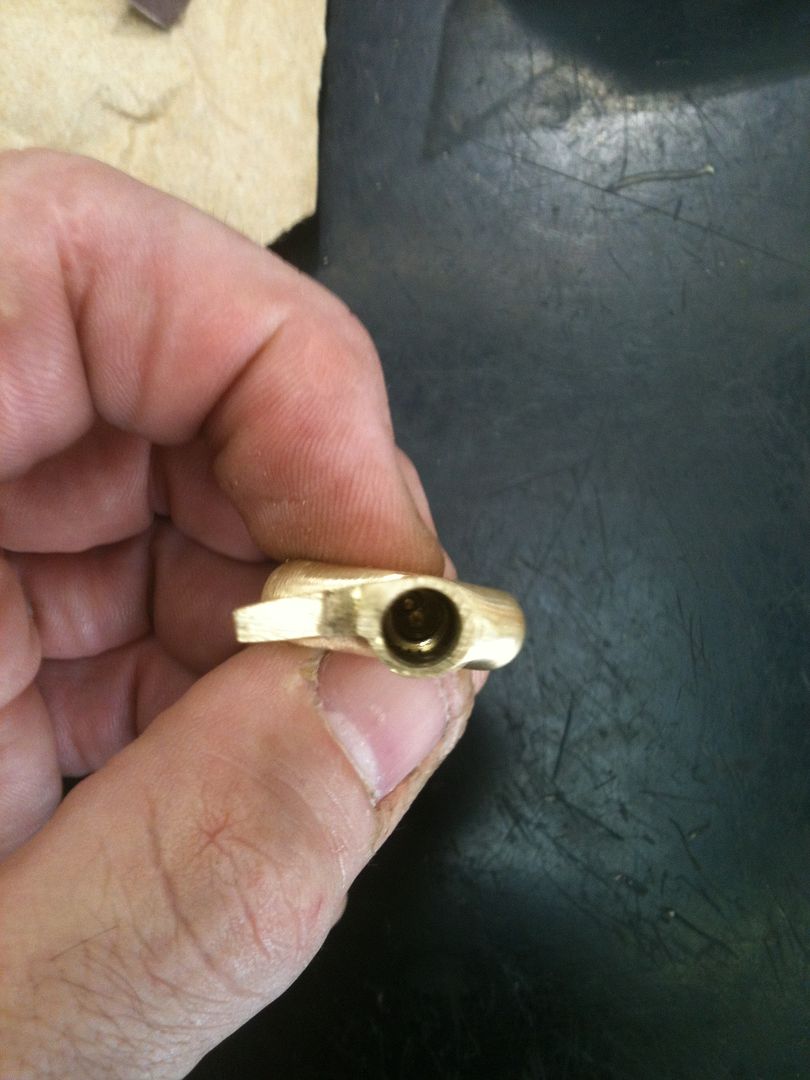
Now before cutting, need to get the hole drilled in the key shaft. Measure the diameter of the post in the keyway.
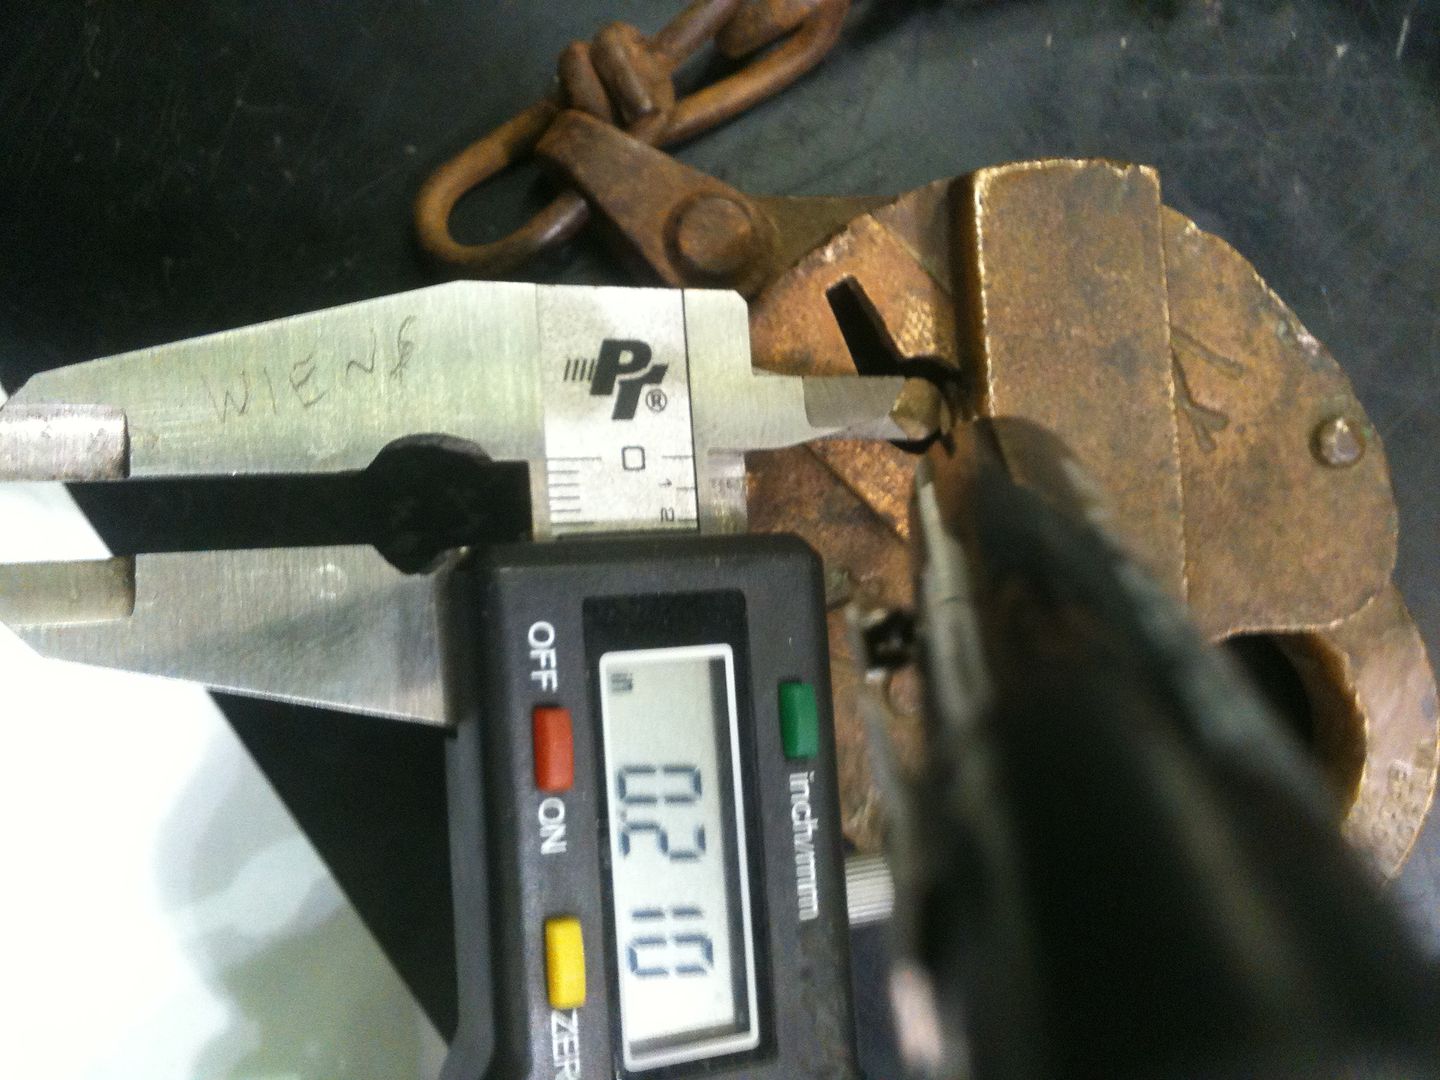
Find a drill bit that is slightly larger in diameter:
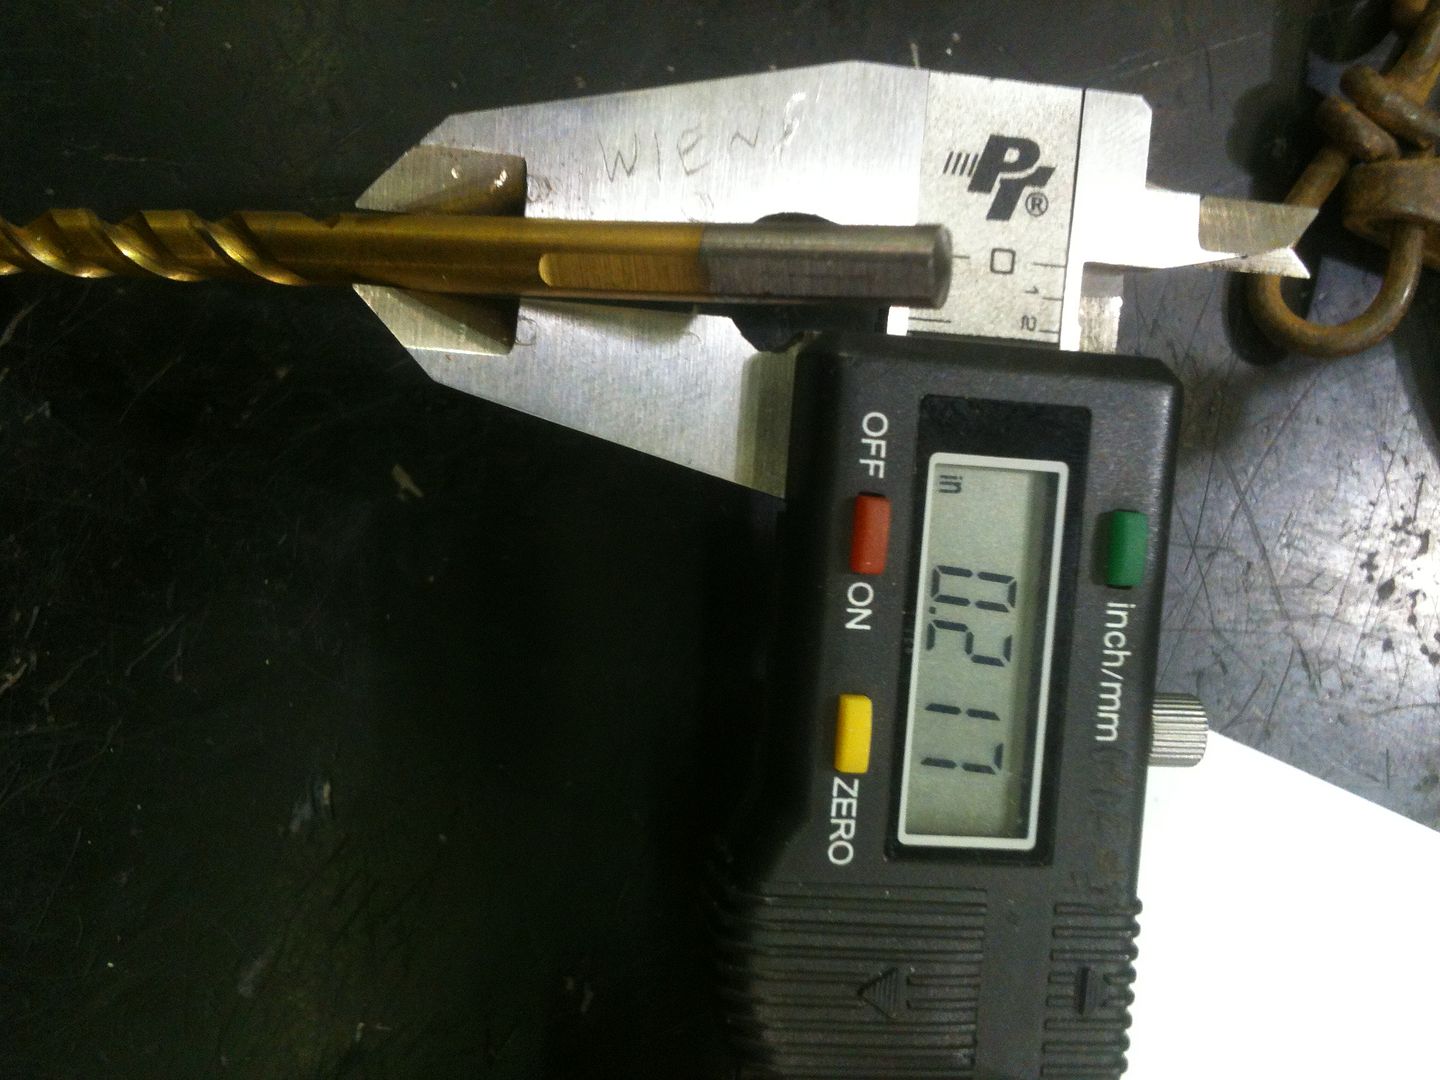
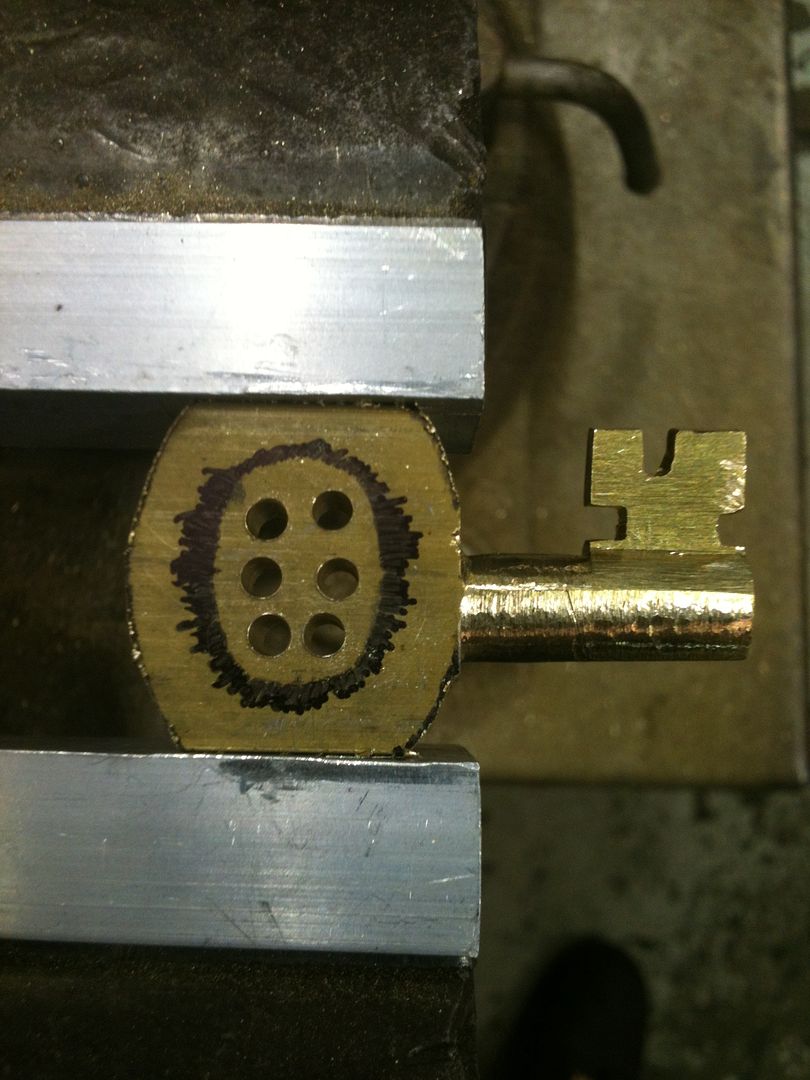
Use a drill bit and tape to determine how deep to drill.
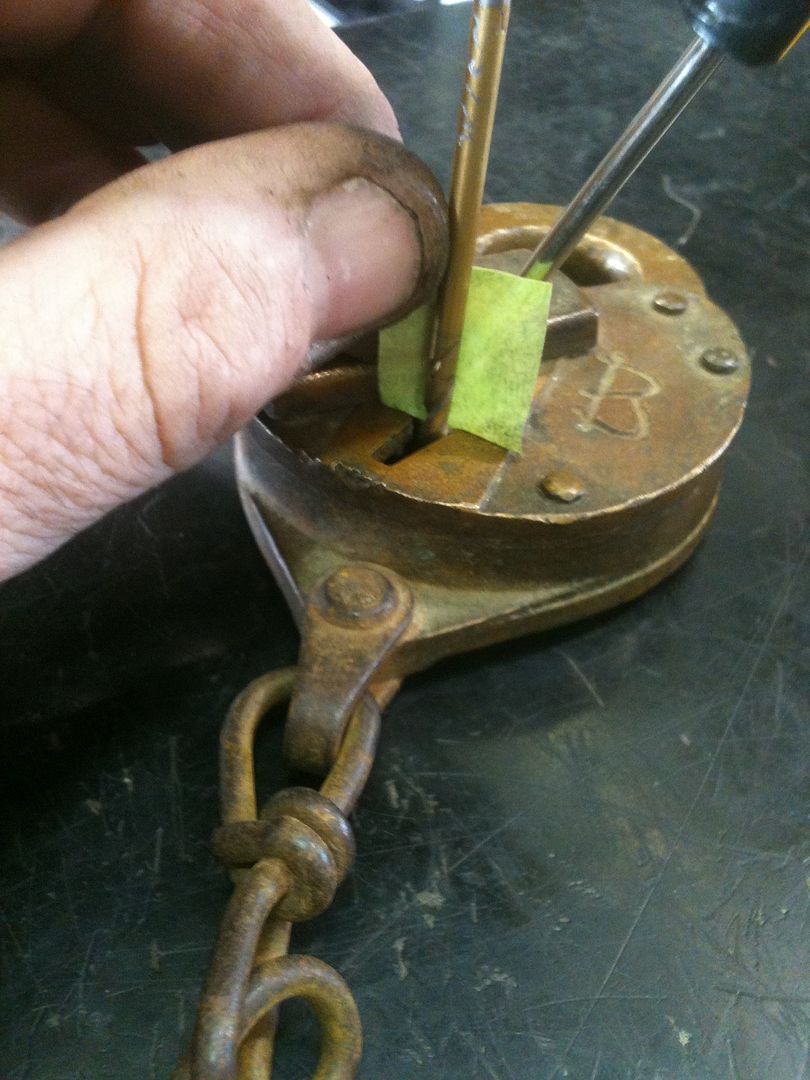
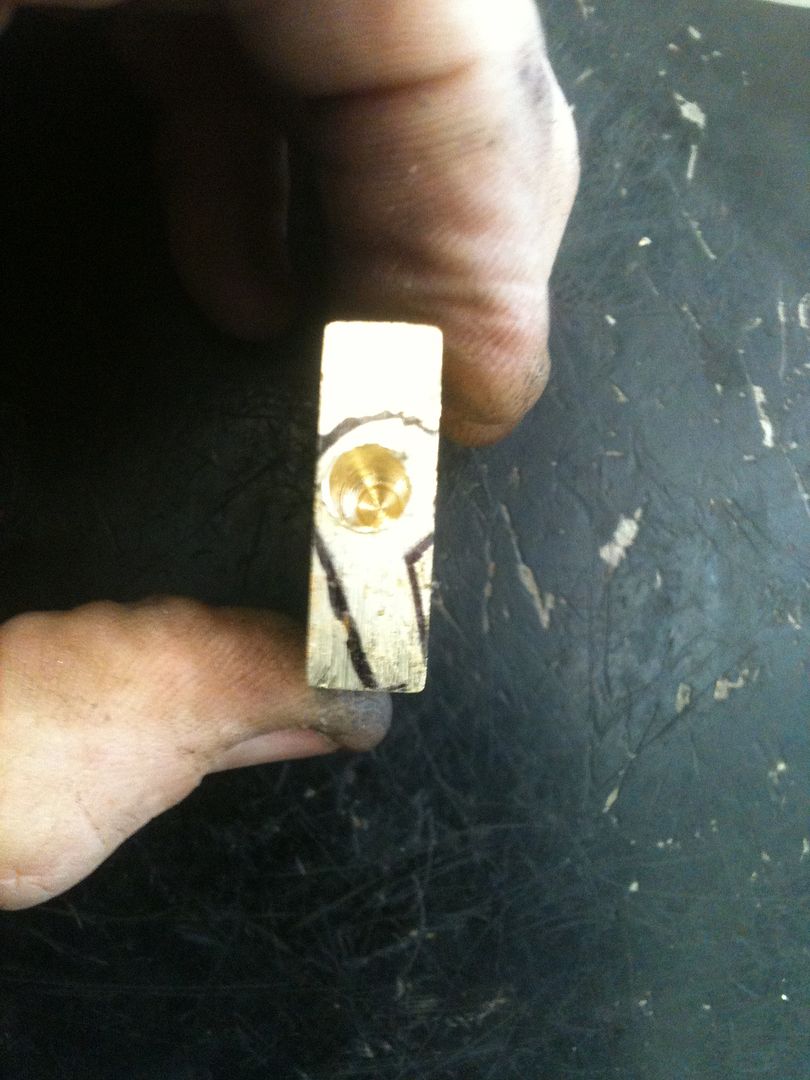
Now drill the hole. Start with a small drill bit and gradually increase diameter until the right drill bit size is reached. Make sure the hole is absolutely straight. And if you look at the keyway above, the post is slightly off center, so it is no accident the hole is drilled off center as well.
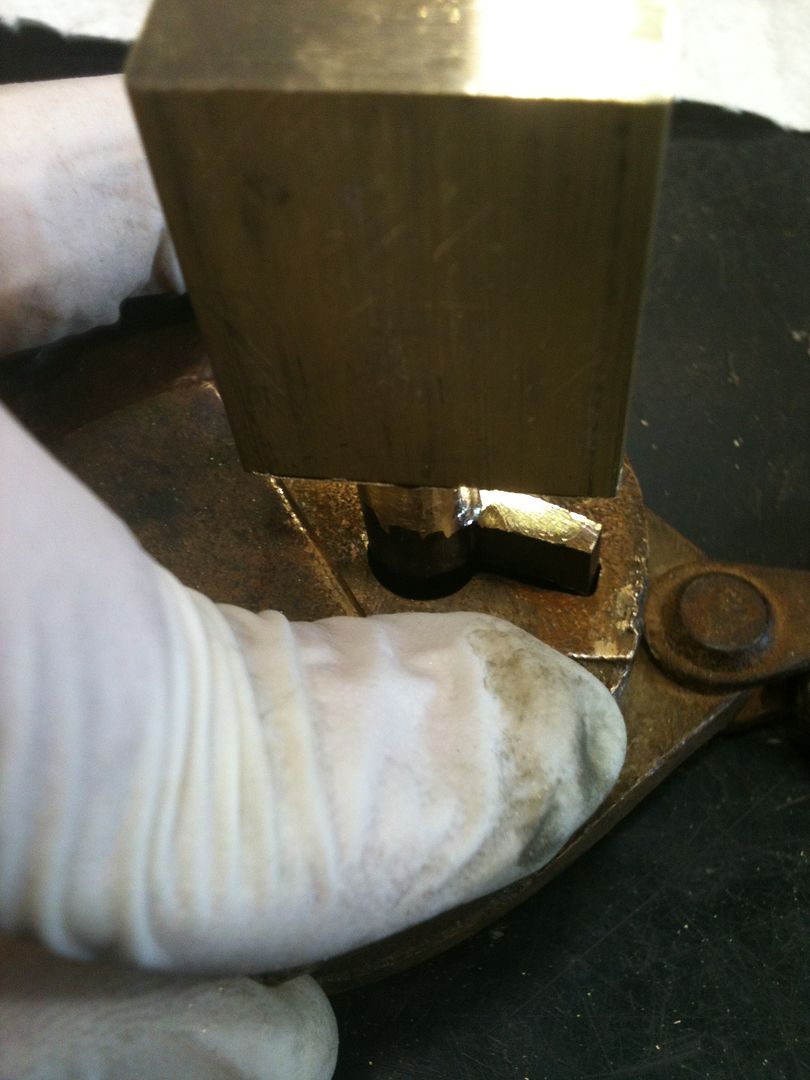
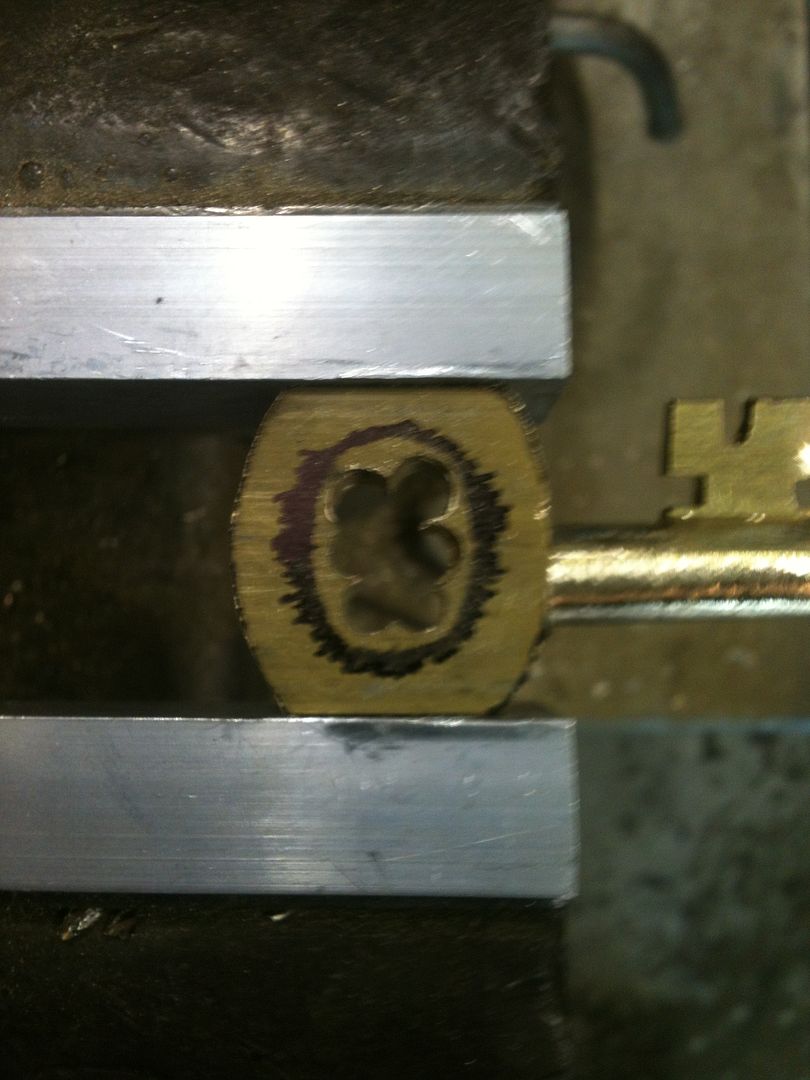
Now mark the estimated key shaft length. You can use the lock body to help.

Now draw lines straight down to show where the key needs to be cut (and not cut).

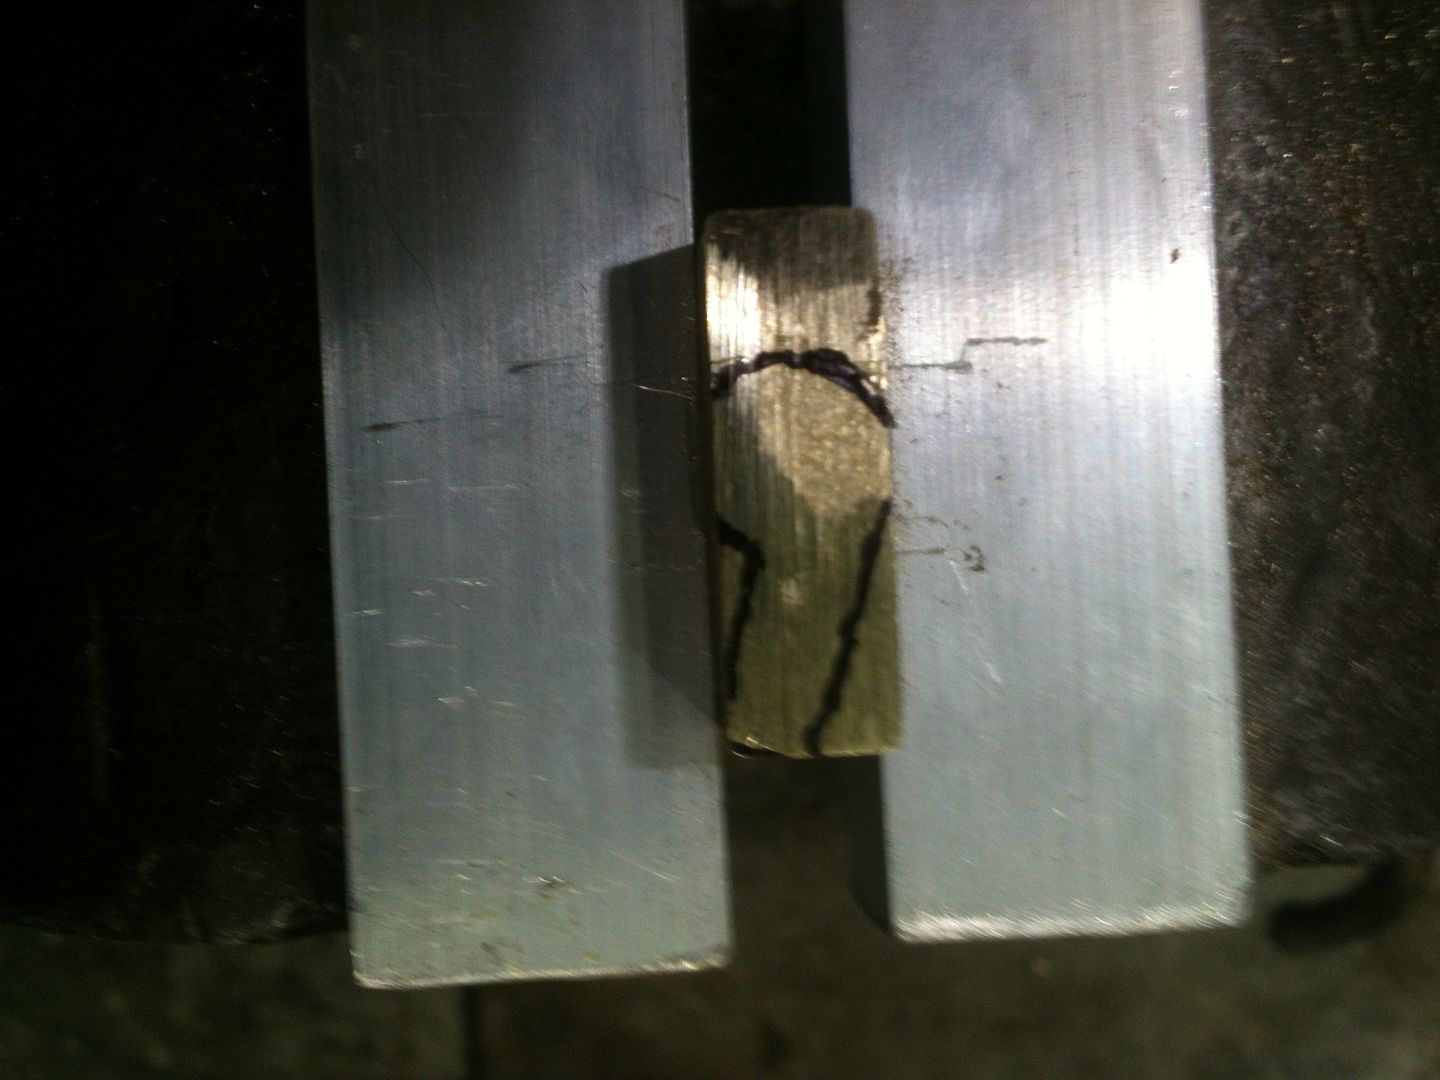
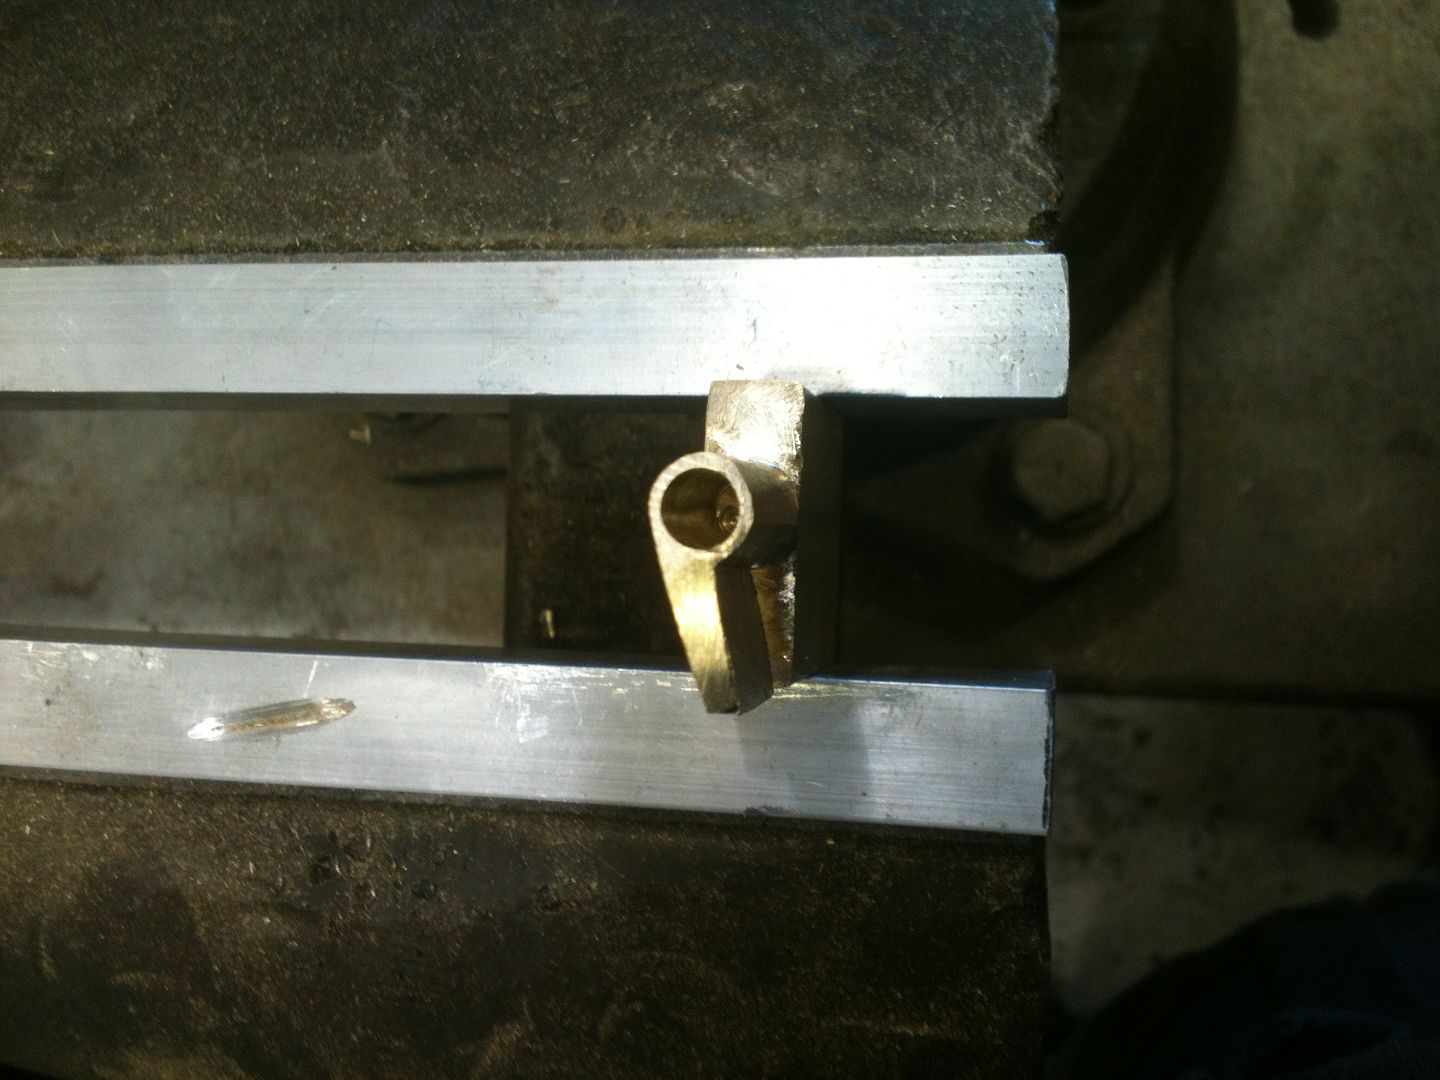
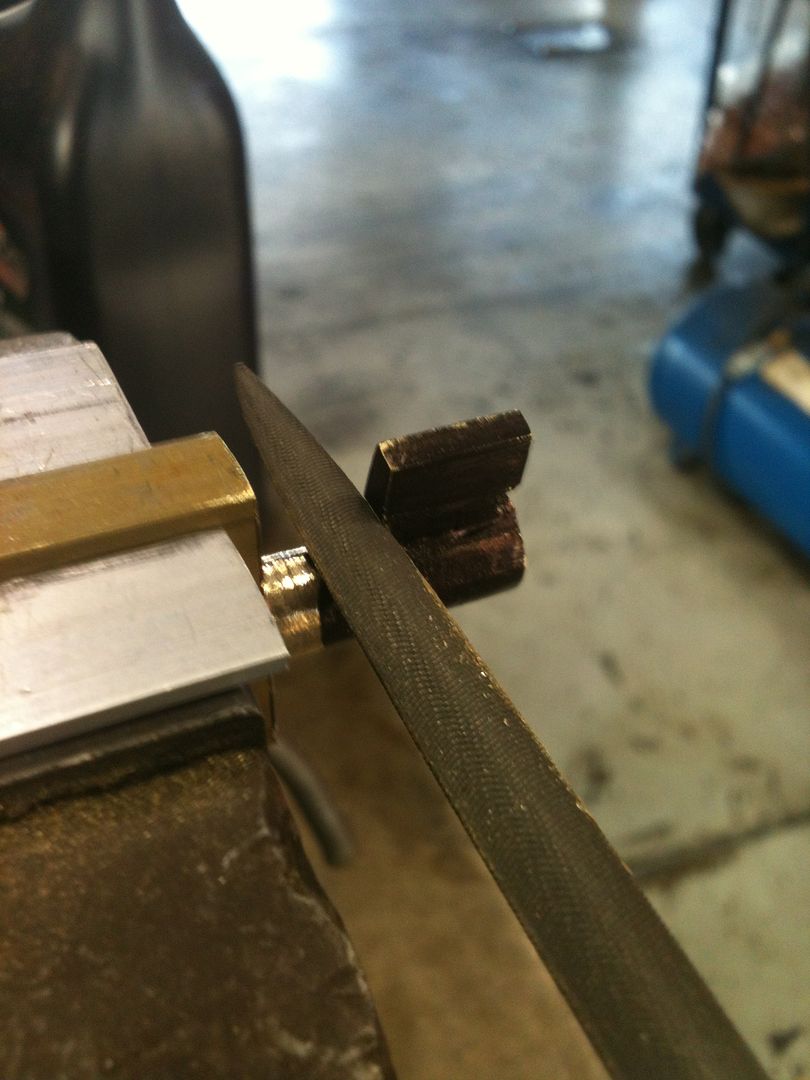
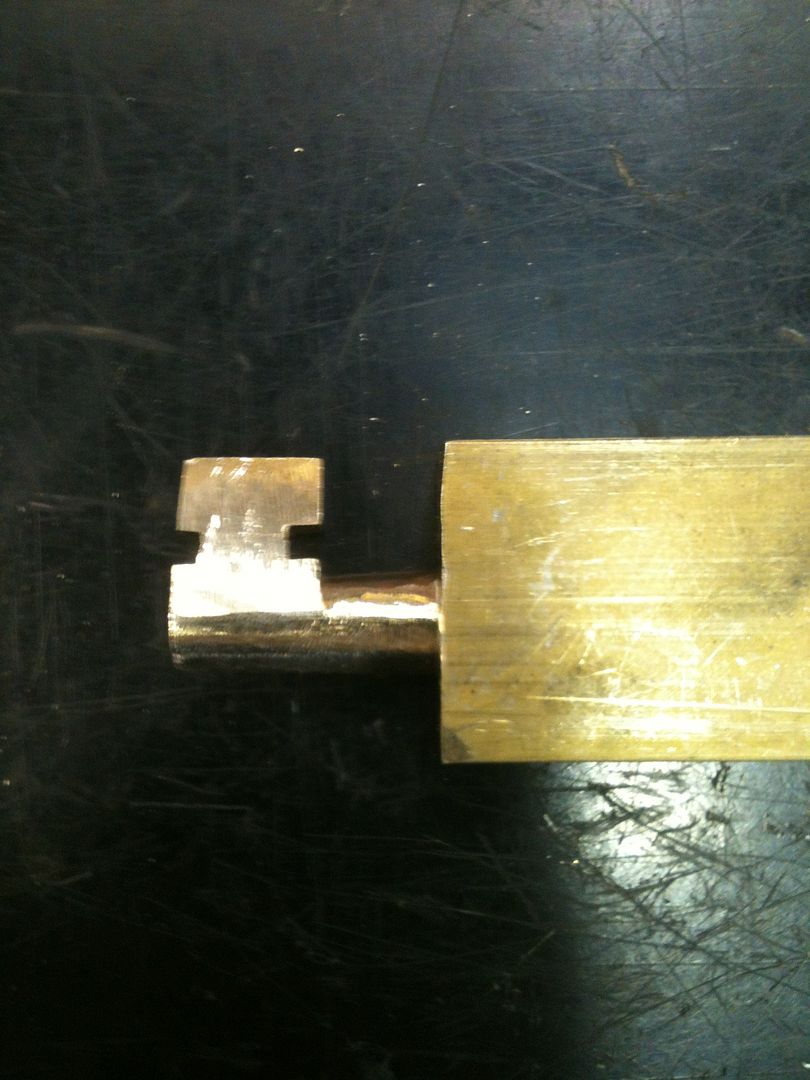
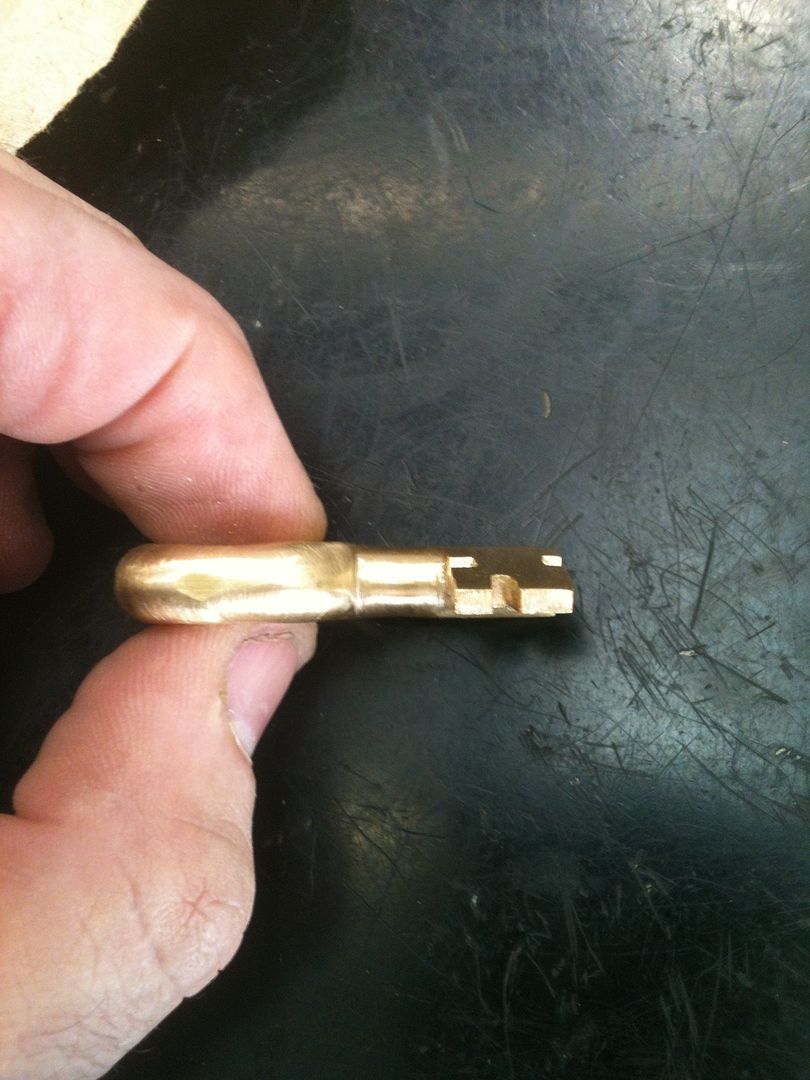
And rough cut the key blade and shaft. Do not cut too close! It is much easier to file it to the correct size and shape than to restart the whole process all over again.
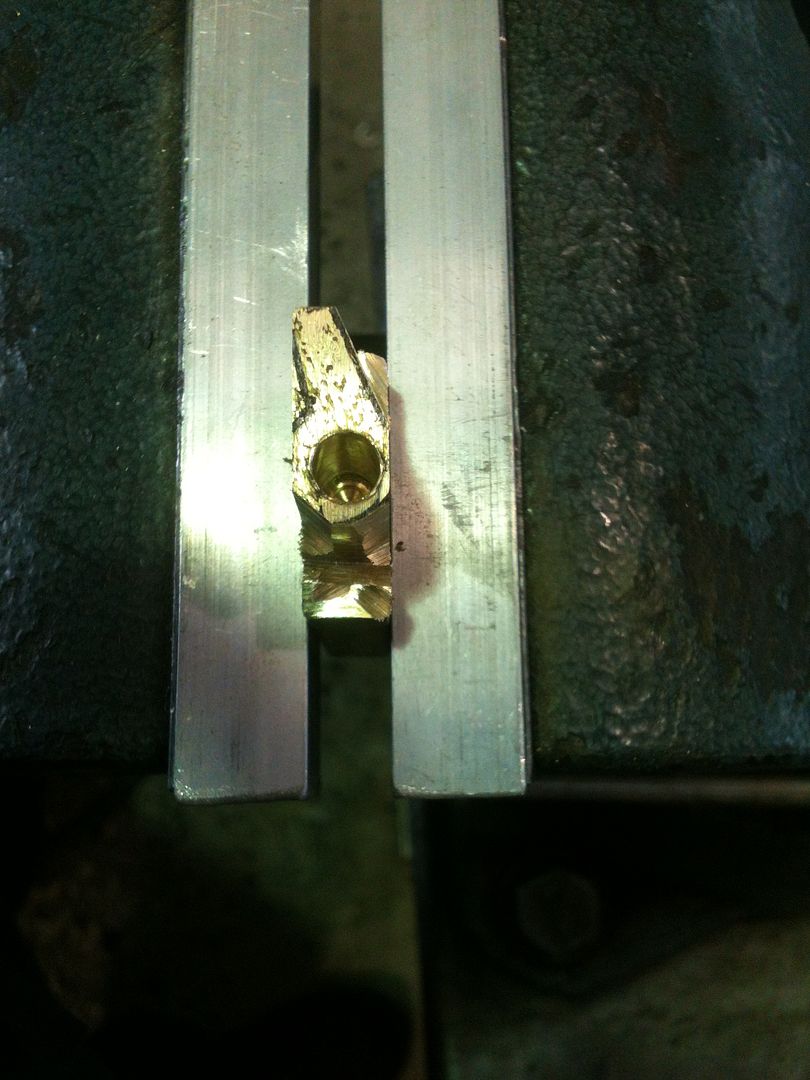
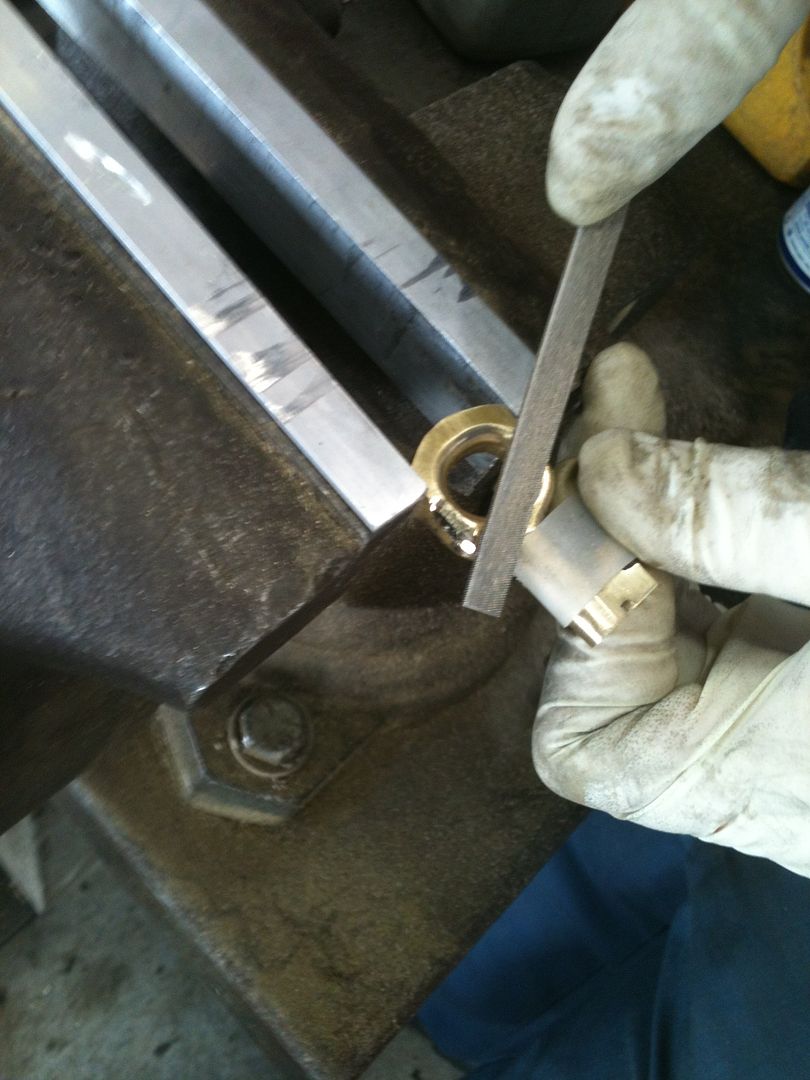
Start filing it smooth and to shape:

OK, so you think your blank is ready.
Move aside the dust shutter and try to put the key into the lock.
Well, did not really expect it to fit perfectly the first time. Now what?
Remove the key and look at the ink marks, of course.
File where you see marks (just like impressioning), and further up the key blade if you see a widening trend.

Repeat the above steps until the key goes smoothly into the lock.
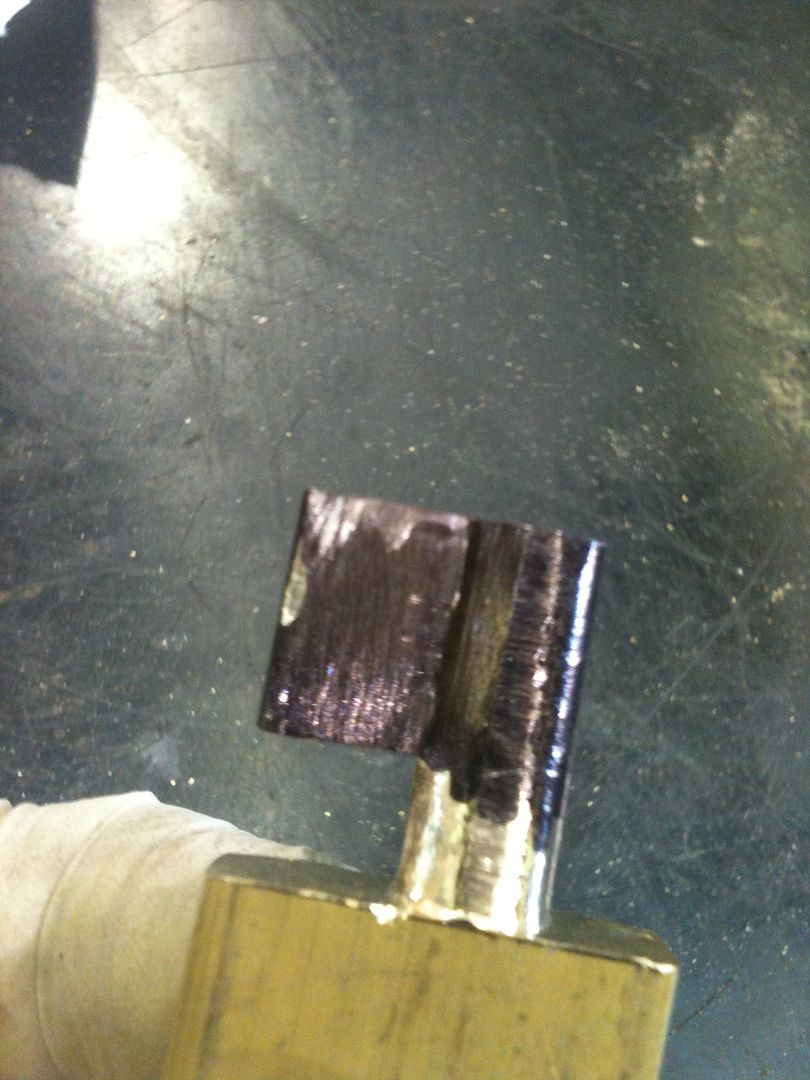
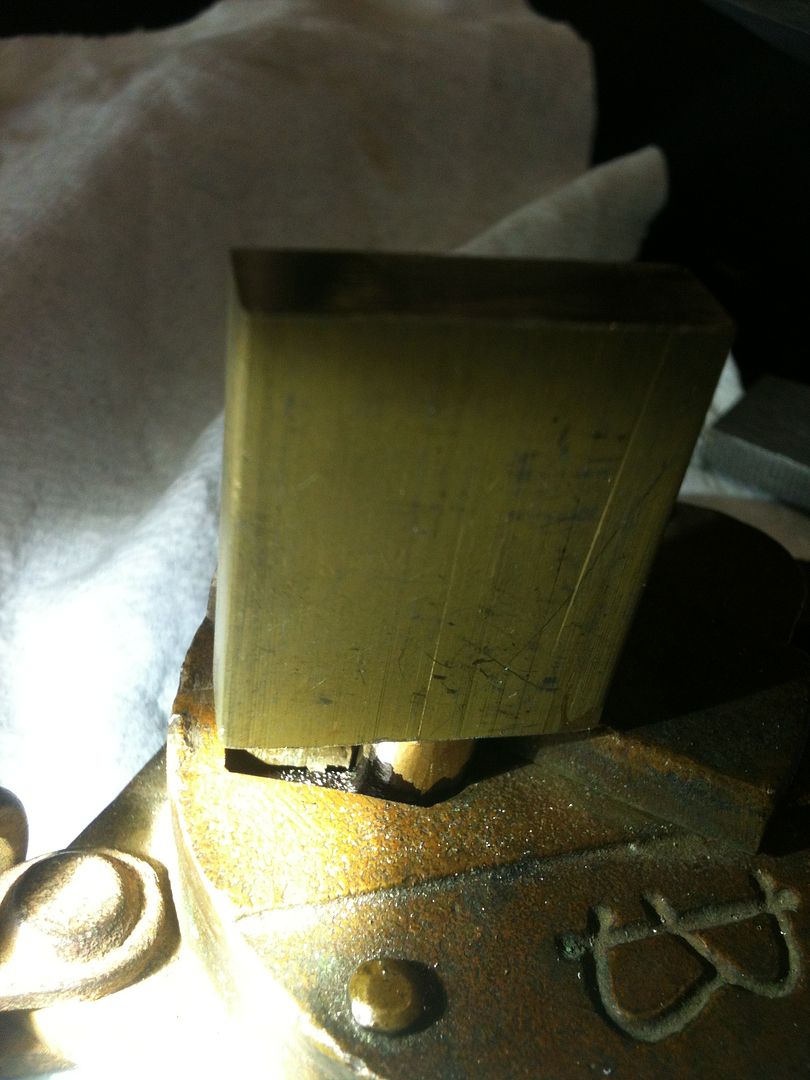
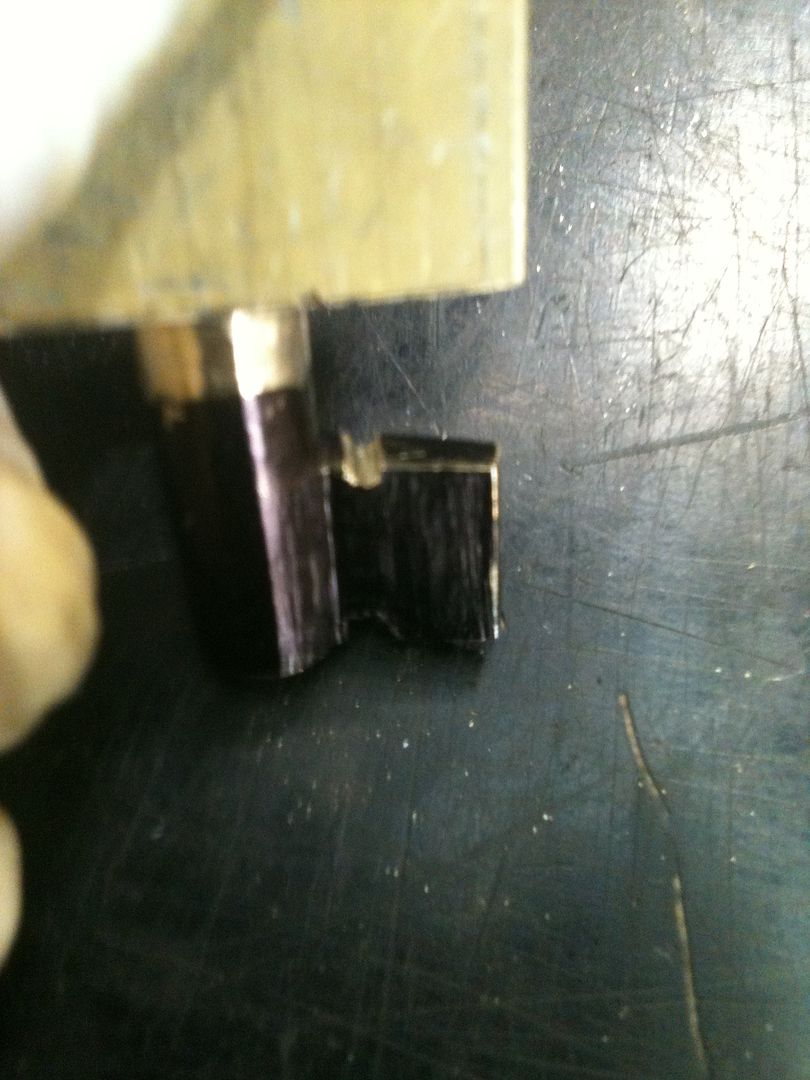
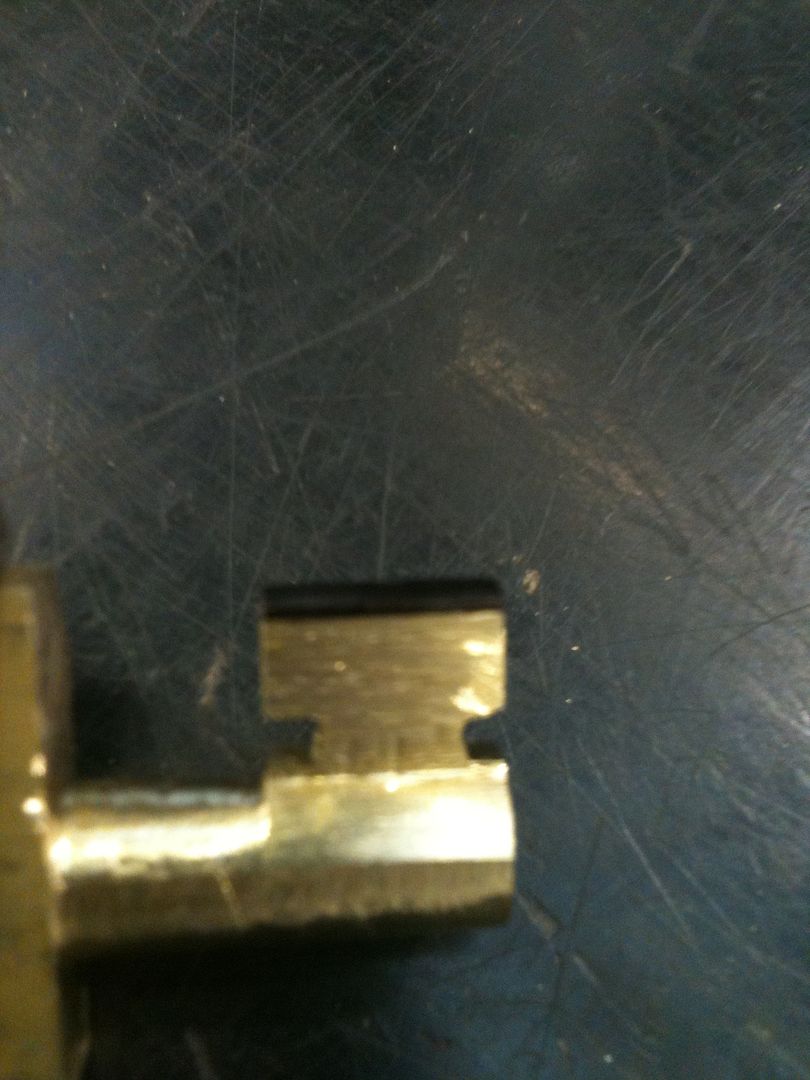
But the key does not fit even close to the depth it should be according to the lock body! Look at the key tip. (You did mark it, didn't you?)
Yup. There is a tip cut. Cut where you see marks, and continue the cuts all the way across the width of the key blade. I used a dremel with a fine diamond bit so I could make the cut curve, as the keys would.
Re-mark the tip and repeat until the key fits fully into the lock without marking the tip cut area.
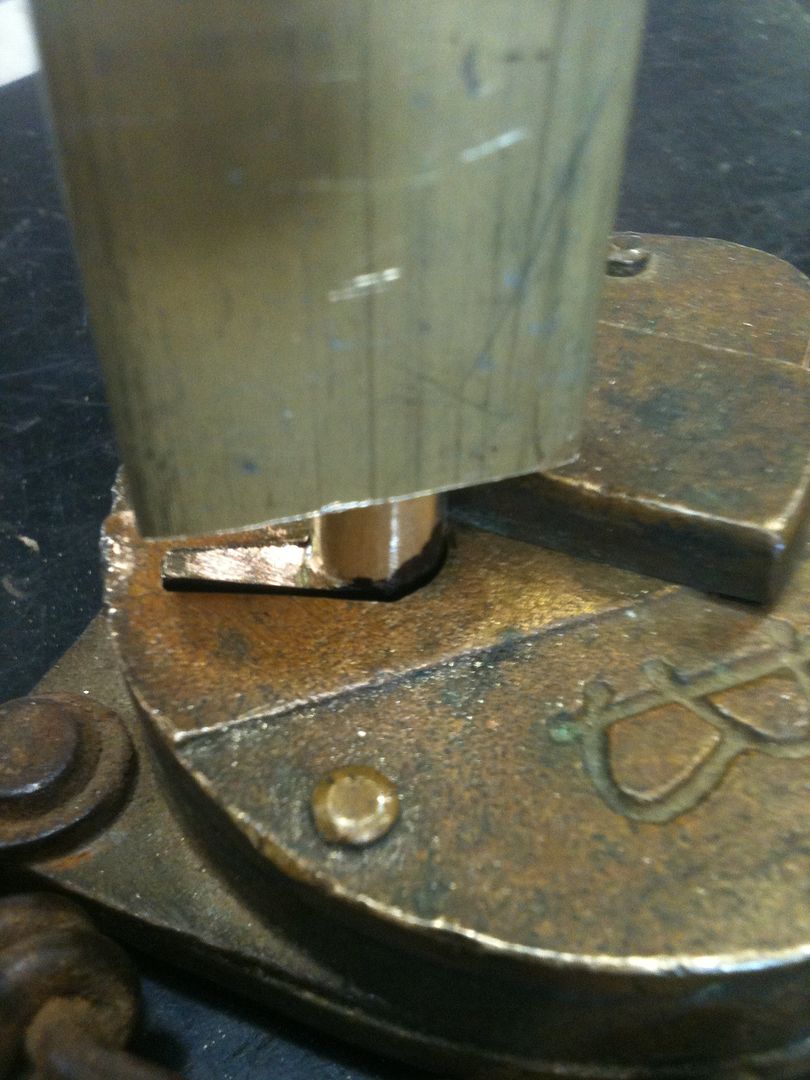
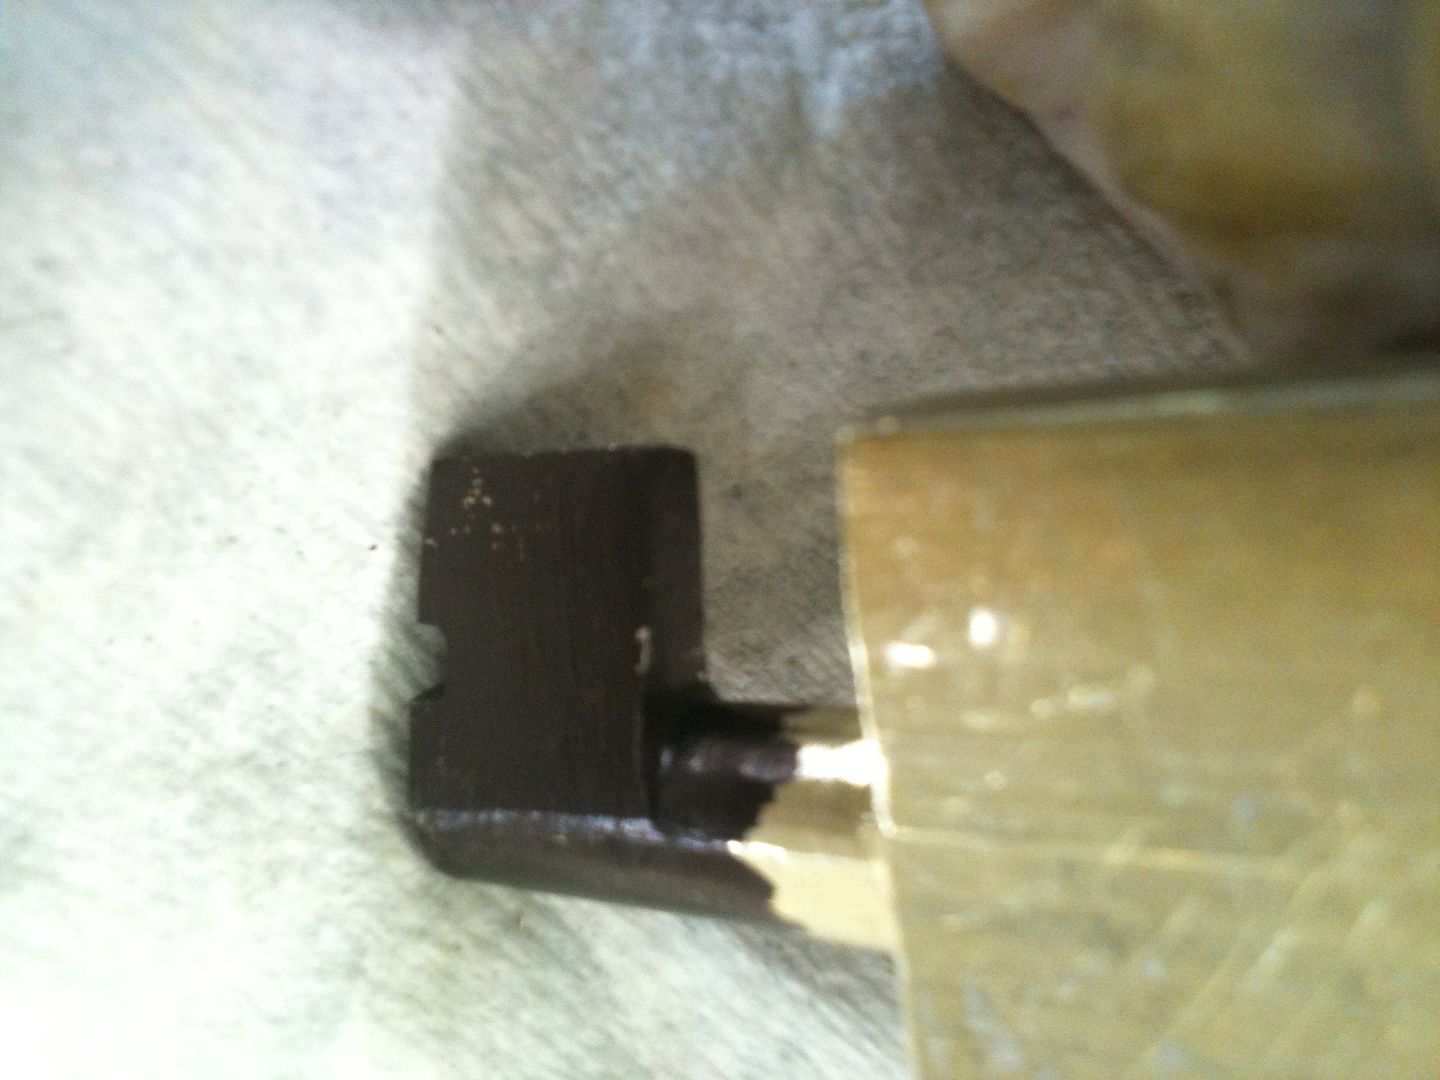
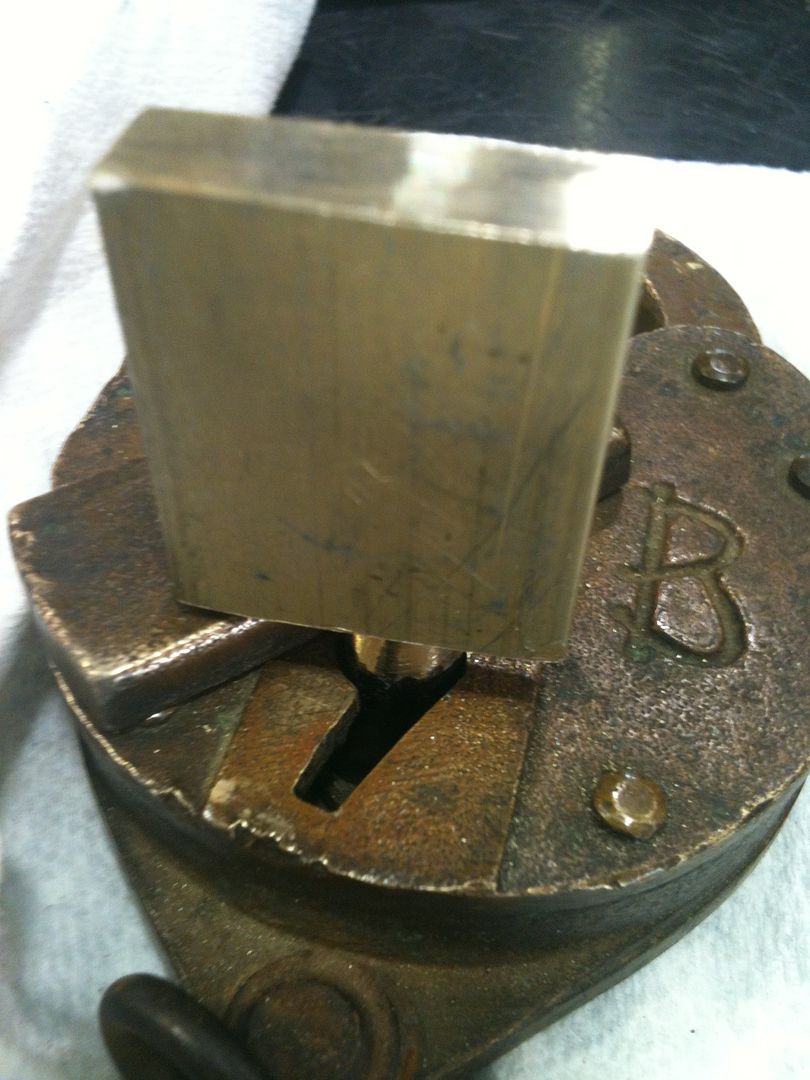
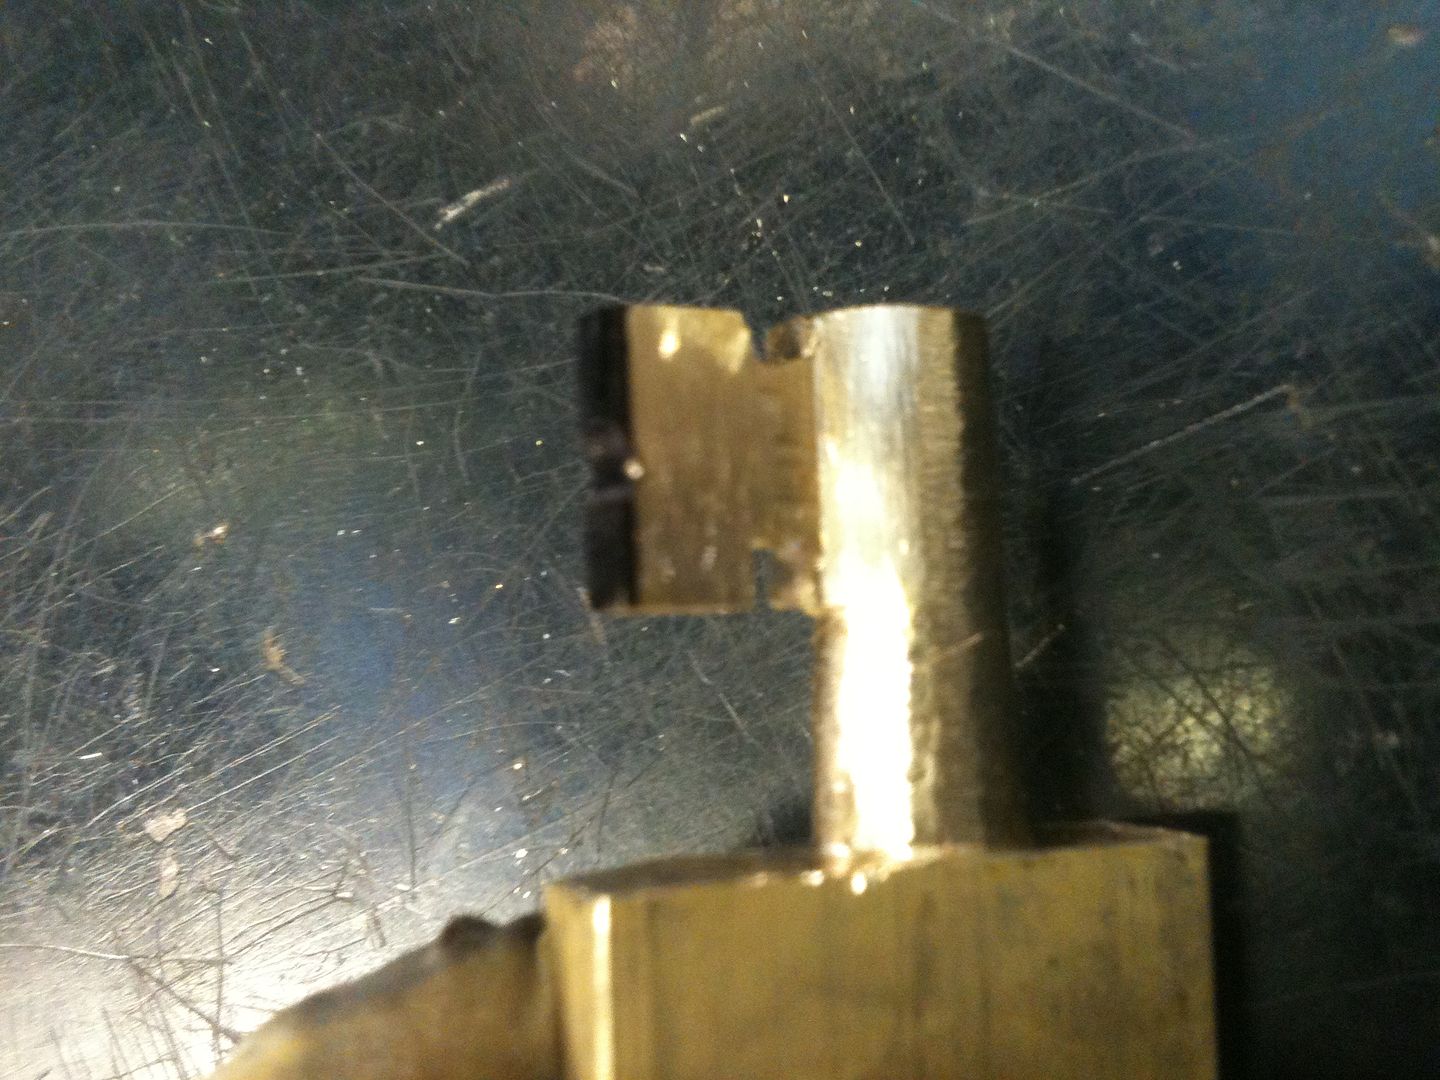
Now you can look and see how much you will need to cut the key blade (from the key bow side) for the key to turn.
File the blade until you can see that it would clear the lock body (the throat cut)...
... if it were not for that ward near the middle of the key blade in the above picture. It does leave a mark showing where to file.
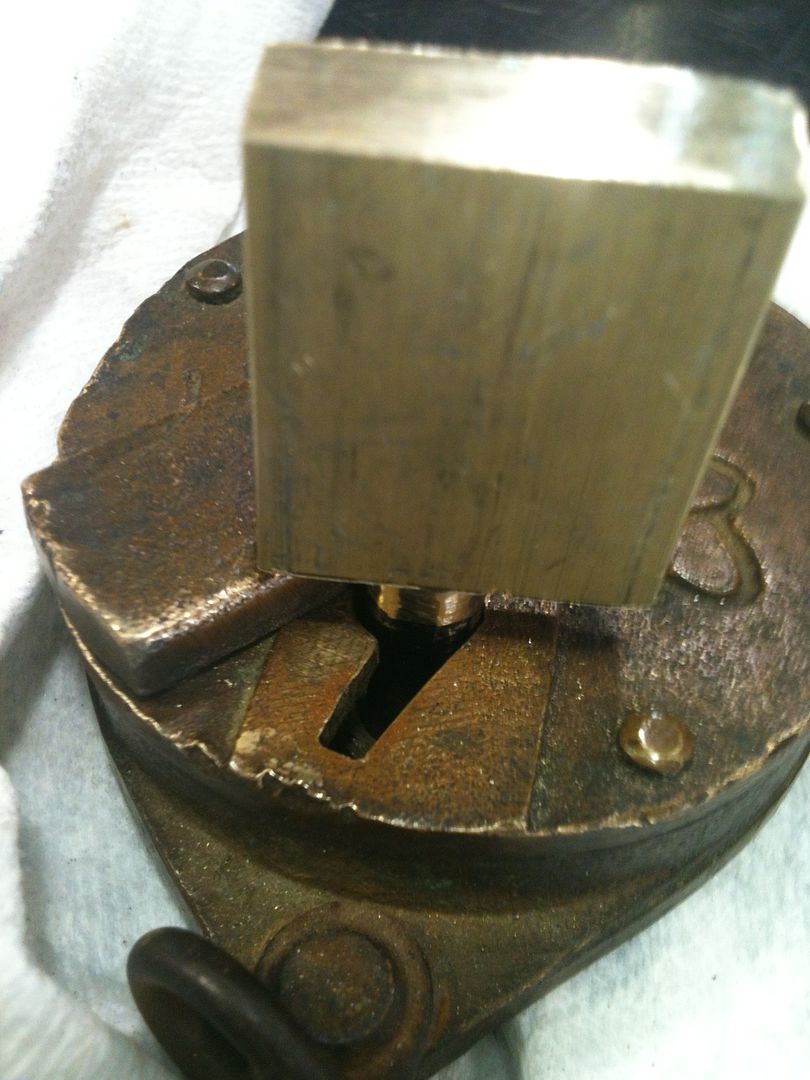
You guessed it! File where you see the mark(s) across the full width of the key blade.
Repeat until the key can turn smoothly in both directions in the lock (until it hits the lever]

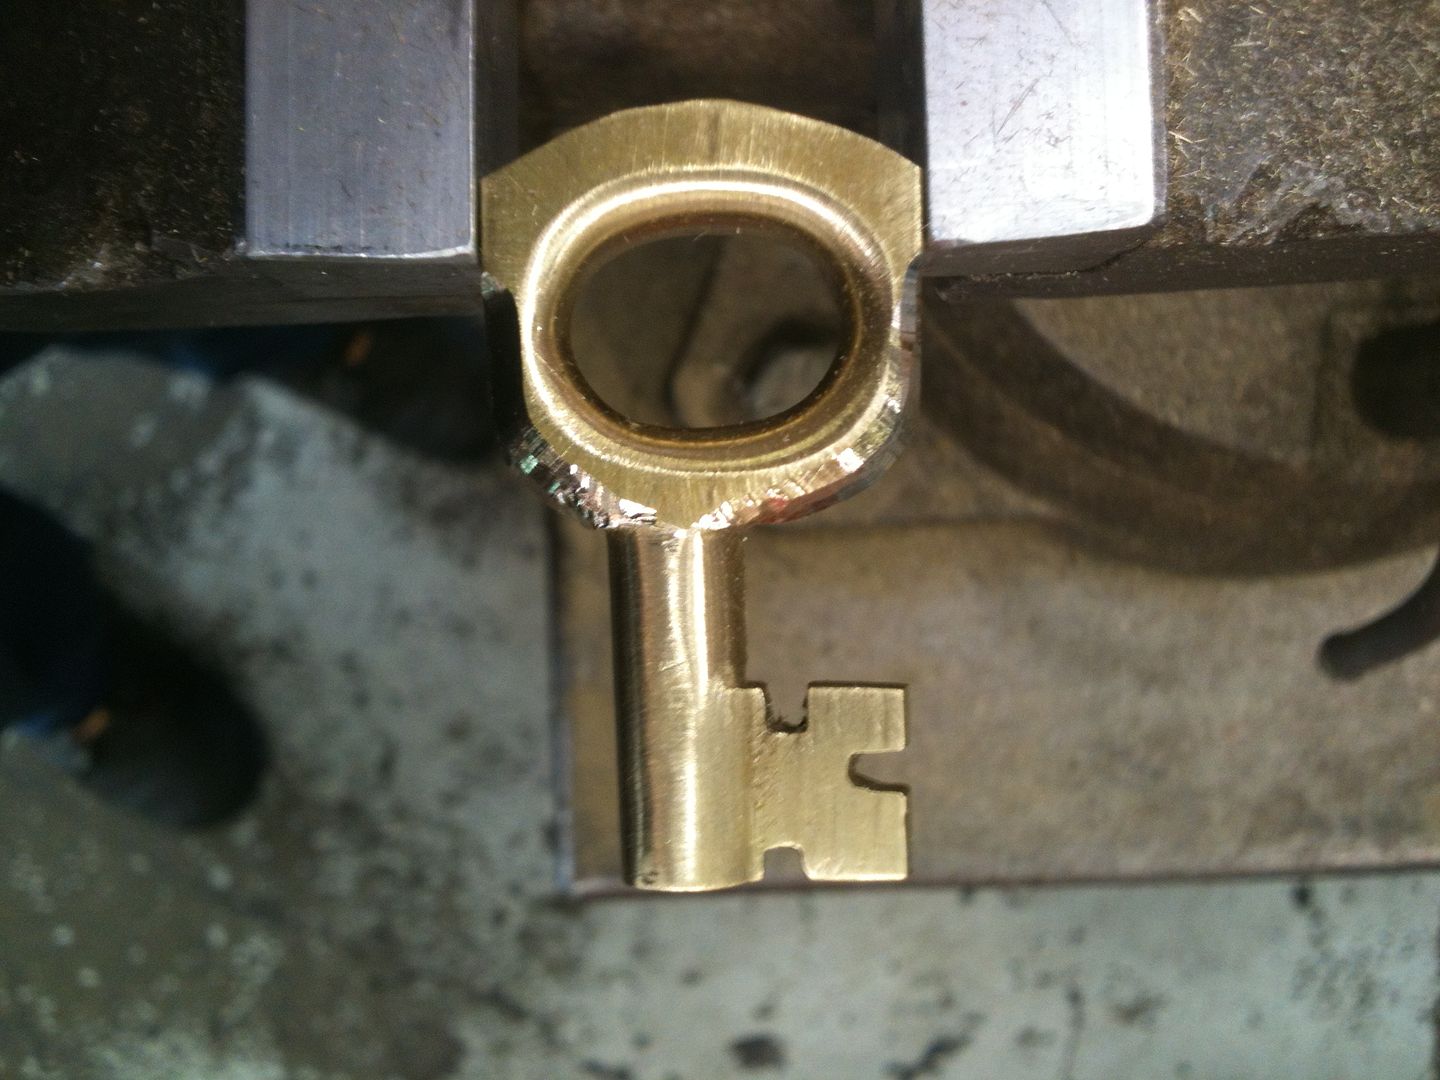
Great! We are ready to impression the lock!
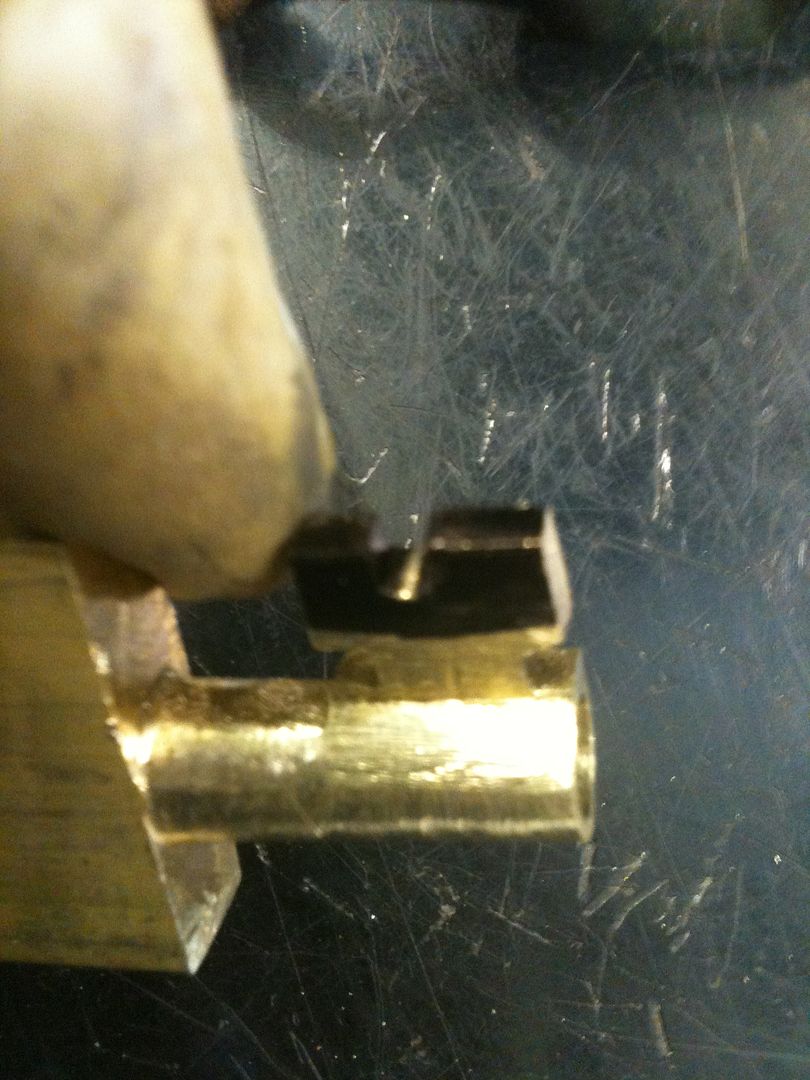
Mark your key blade:
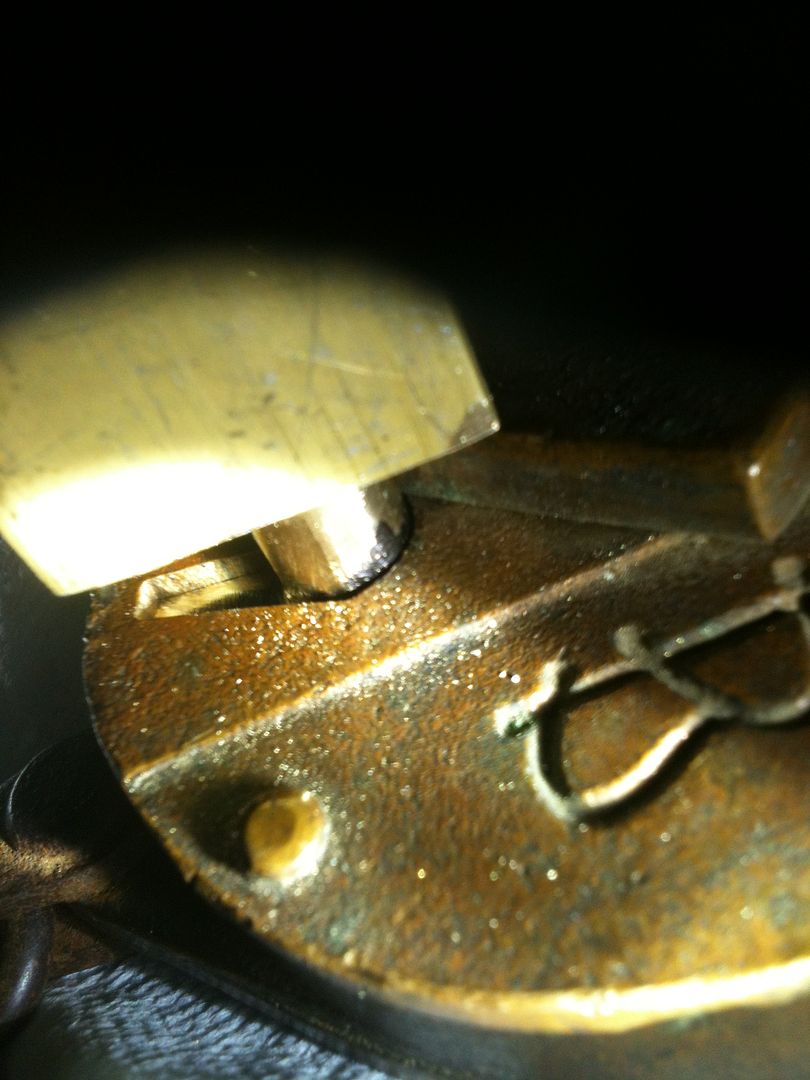
Put the key into the lock and turn it until you feel the key press in the lever(s). It will have a slightly springy feel. Do not force the key or you risk damaging the lock. Just turn it like you expect the lock to open, back off and repeat a couple of times.
Remove and inspect the key for impressioning marks.
File only where you see marks. The look of the marks will change as you go!
Re-mark the cut area, and repeat until...
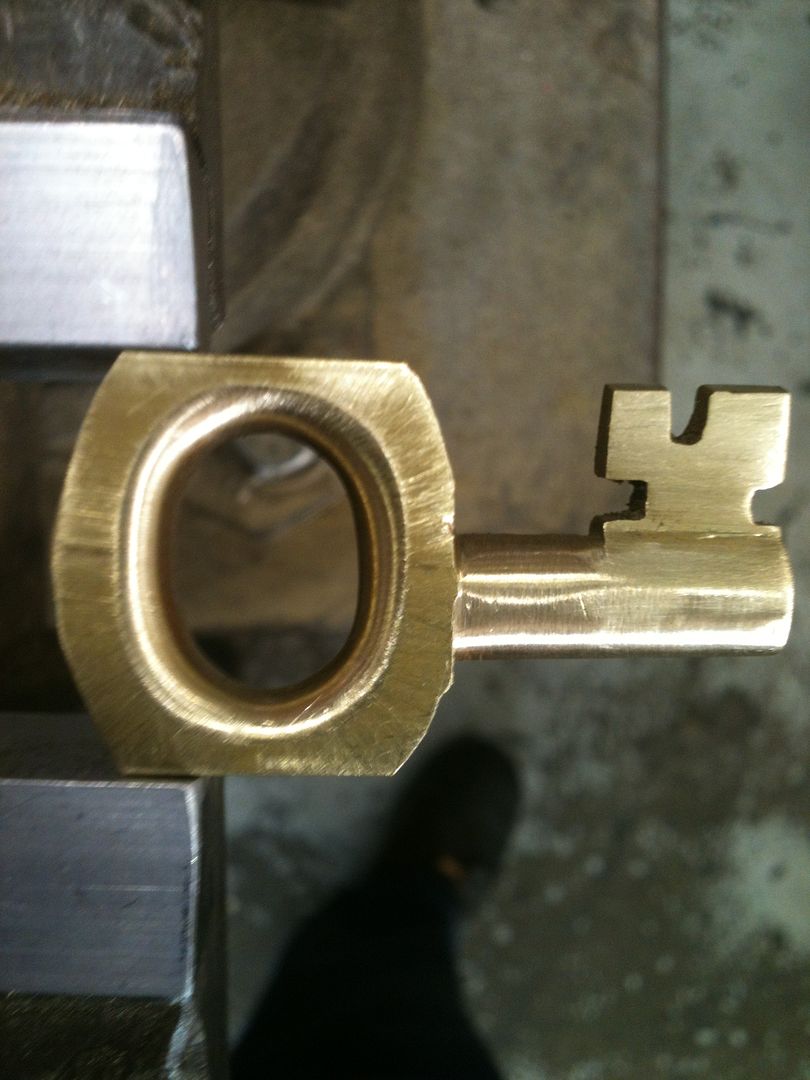
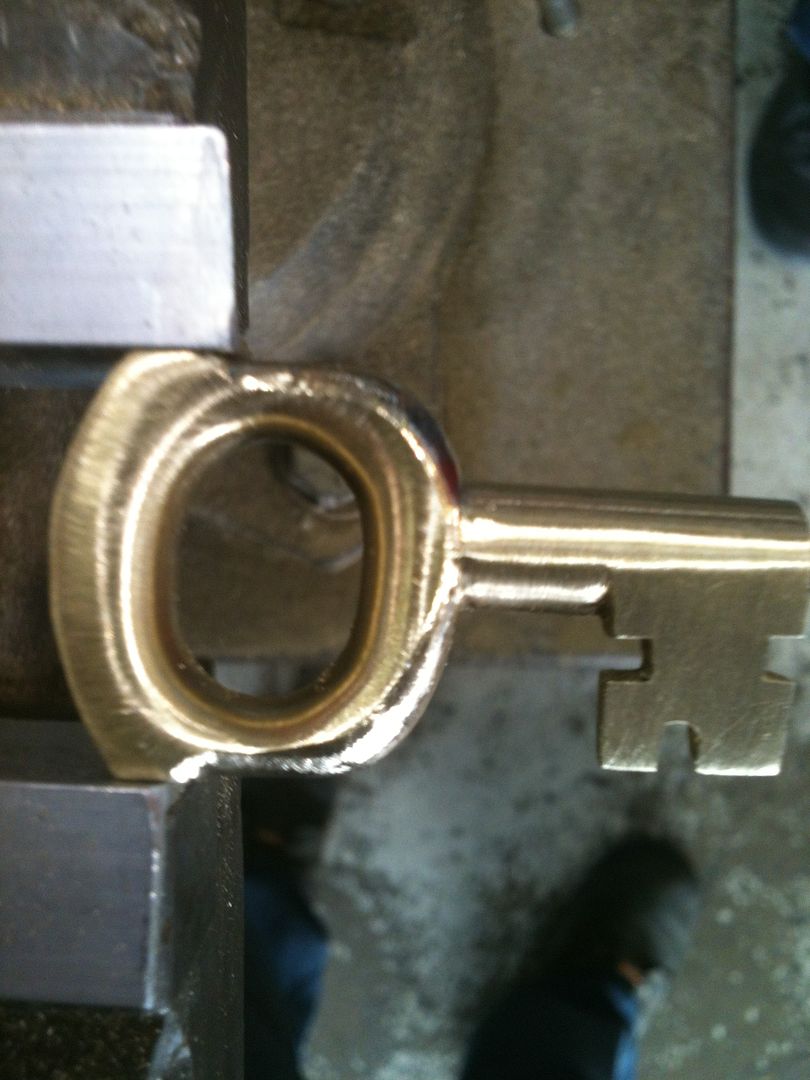
Clean off the marker and admire your handiwork!
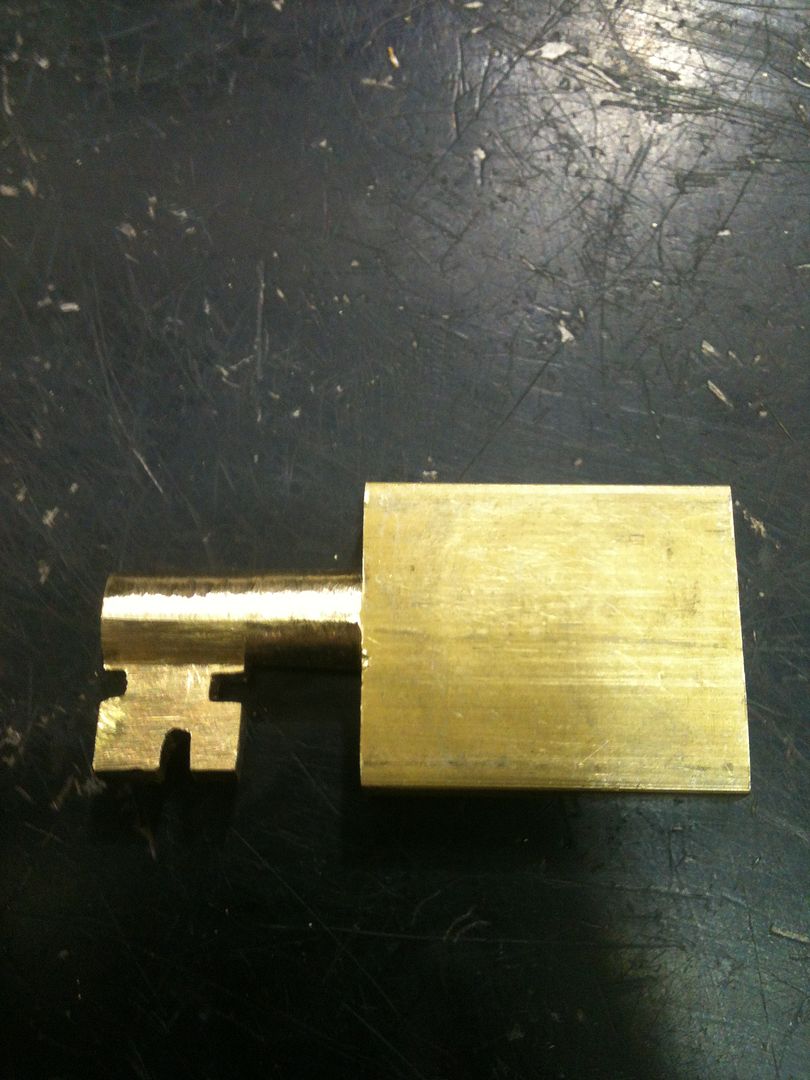
Congratulations! You now have a working key!
***Begin television announcer voice***
But wait!!! Are you saying "That deal just 'alright'"??? We're NOT DONE!!!. If you act today, we will even throw in instructions for making a key bow ABSOLUTELY FREE!!!
Yes, the first five hundred readers of this thread get this added bonus at no additional cost!!!
***End television announcer voice***
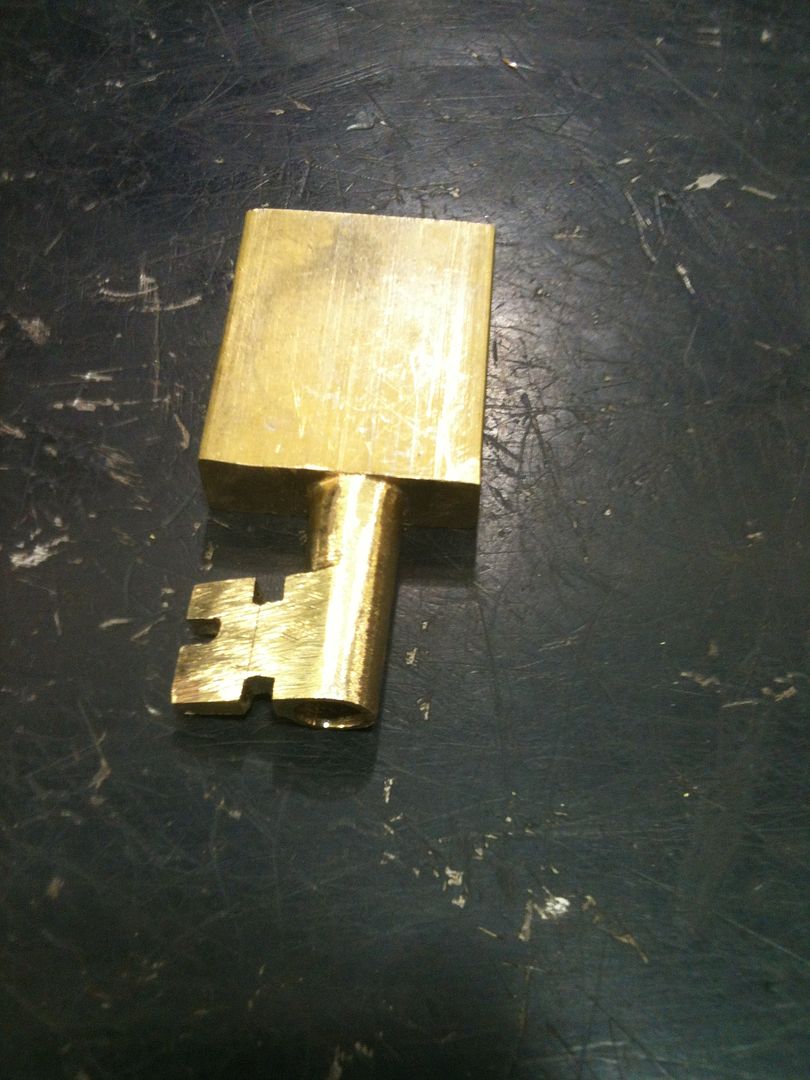
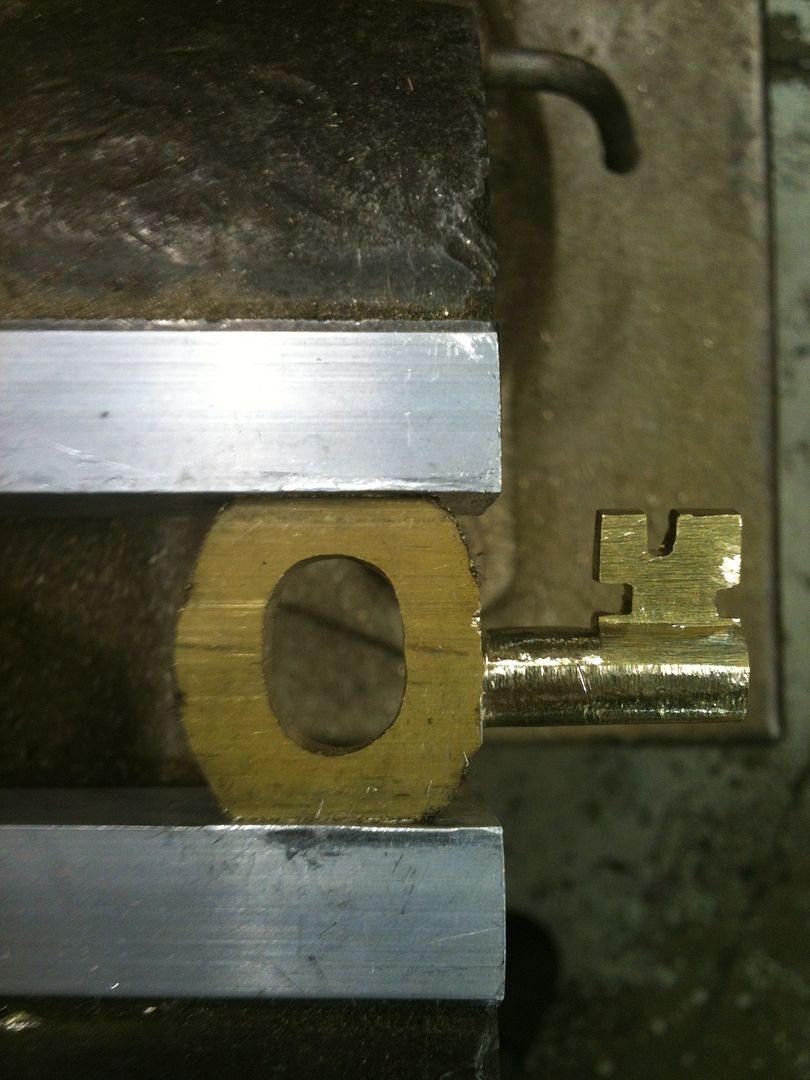
Draw the rough shape of your key bow onto your brass.
Center punch several small holes a small distance from the inner edge of your key bow. These will help keep the drill bit from wandering. (This is my first attempt at a ring-shaped key bow made from scratch, so bear with me a we learn this together).
Now drill small holes
And progressively larger holes until they meet, dropping out the center of the hole.
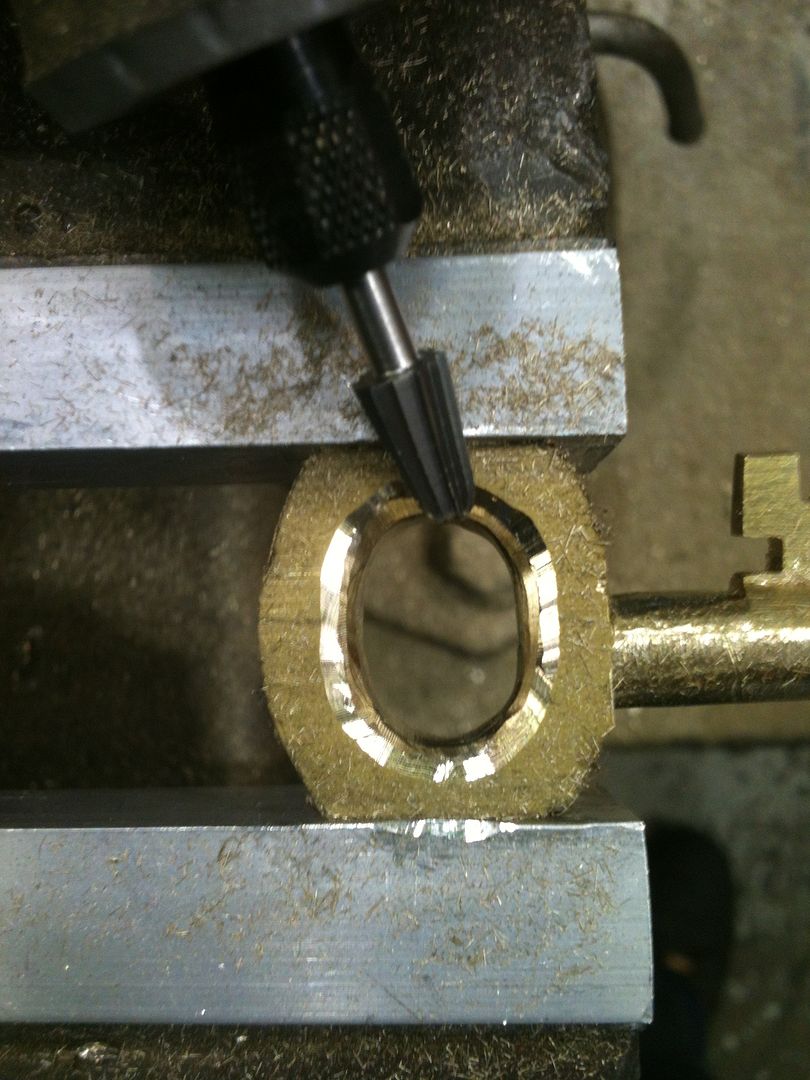
If you have no power tools, you are in for a lot of filing. If you do have them, put a carbide burr bit into your drill...

And cut to the inside edge of the key bow.
Now grab your Dremel tool and put in a cutting bit and bevel the [inner] edges if the key bow. Trust me, don't do the outside part yet. Will explain that later.
Now cut some long, thin strips of sandpaper or emery cloth and feed one end through the hole in the key bow.
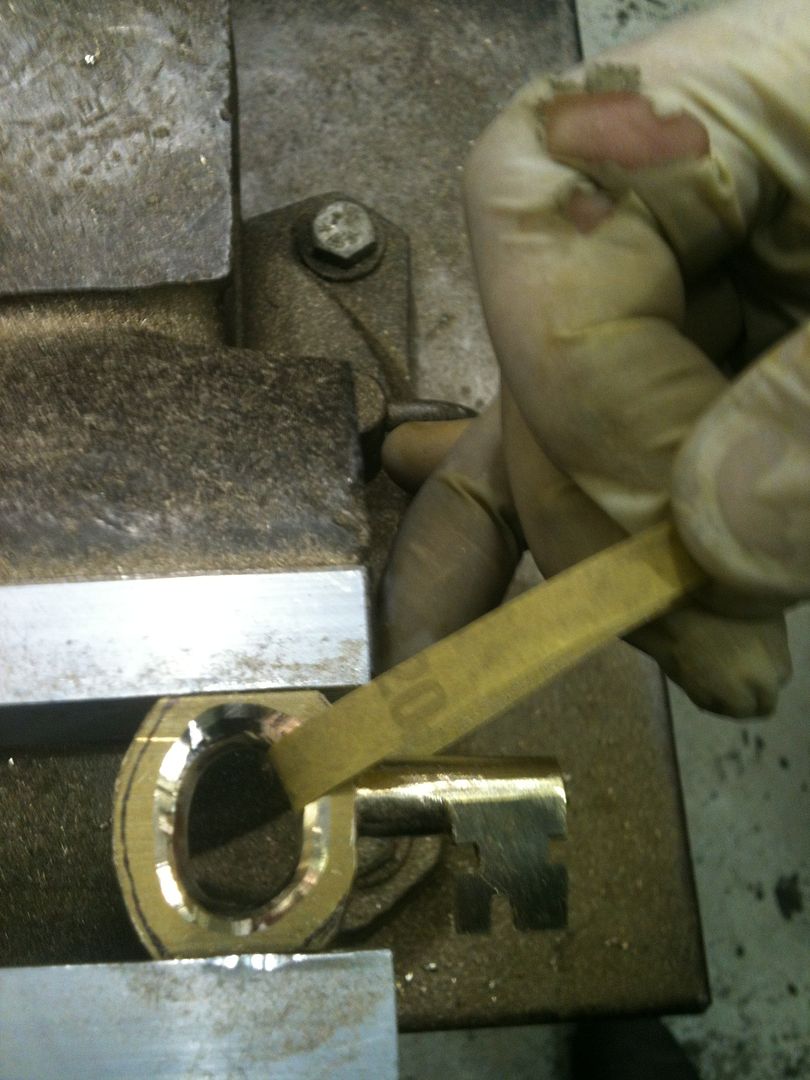
Holding one end in each hand, sand the inner edges of the key bow until the filing marks are gone. Use progressively finer sandpaper until you get your desired finish. This has an advantage of being pretty easy to do, and gives you the round shape on the key bow.
***Back to television announcer voice***
Did we mention that this shapes and polishes both sides of the key bow with no extra effort??? Now that is value!
***gunshot rings out, and the television announcer drops dead to the floor***
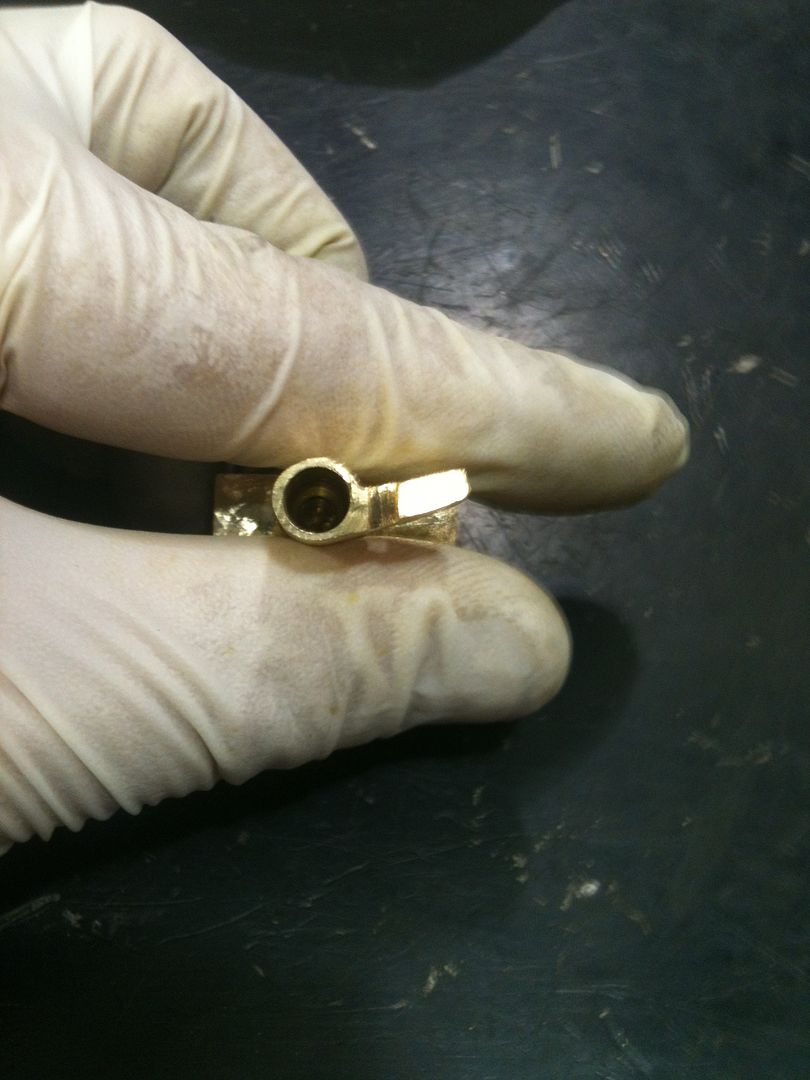
Here you can see one side of the inner key bow sanded:
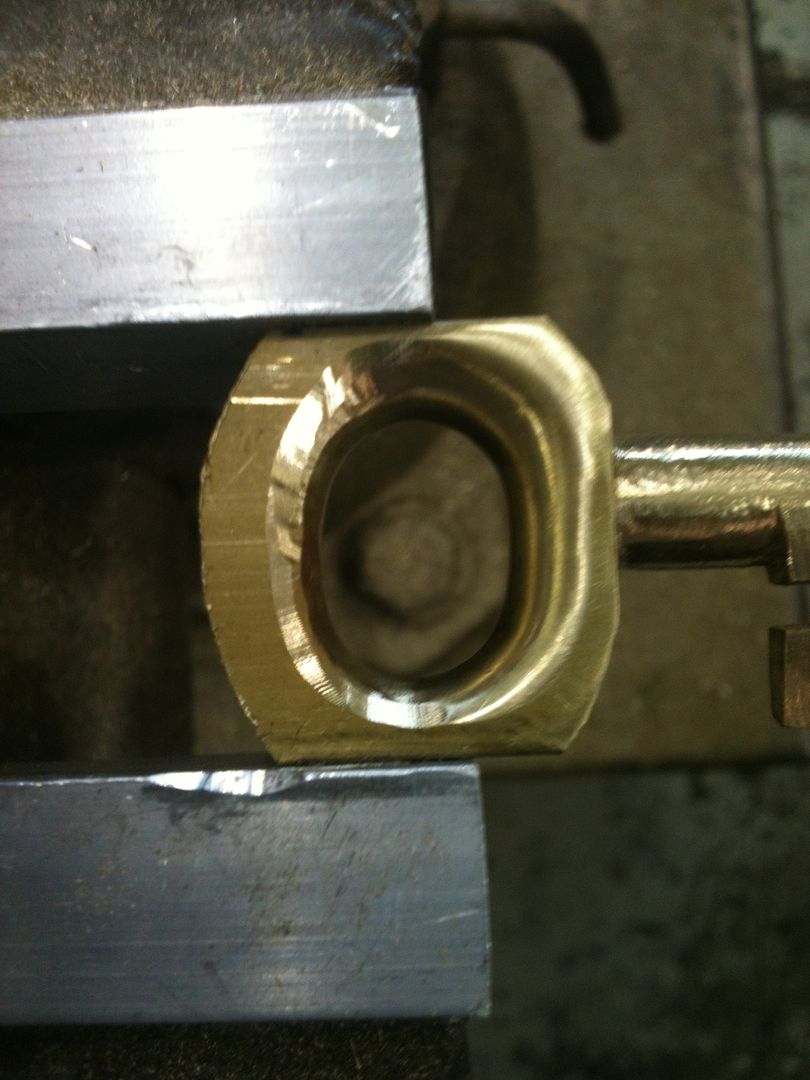
Turn the key around and repeat.
The reason for only bevelling and sanding the inner edge of the key bow first was so your vice can solidly hold the key while you comfortably worked on the inside of the bow.
Now bevel the outside edge, being extra careful around the key shaft - you don't want to mess it up!
Now use a flat needle file to round the outer edge. Don't need perfection here as we still have to sand.
TIP: Use a strip of thick plastic cut from a jug to protect the key shaft while filing!
Do the above steps for both the top and bottom of the key bow. When done, both sides should look like this:
Repeat on the back half of the key bow using thick cloth in the vice to protect the part of the key bow already worked on. Then sand in the same manner as for the inside edges if the key bow. It should end up looking something like this:
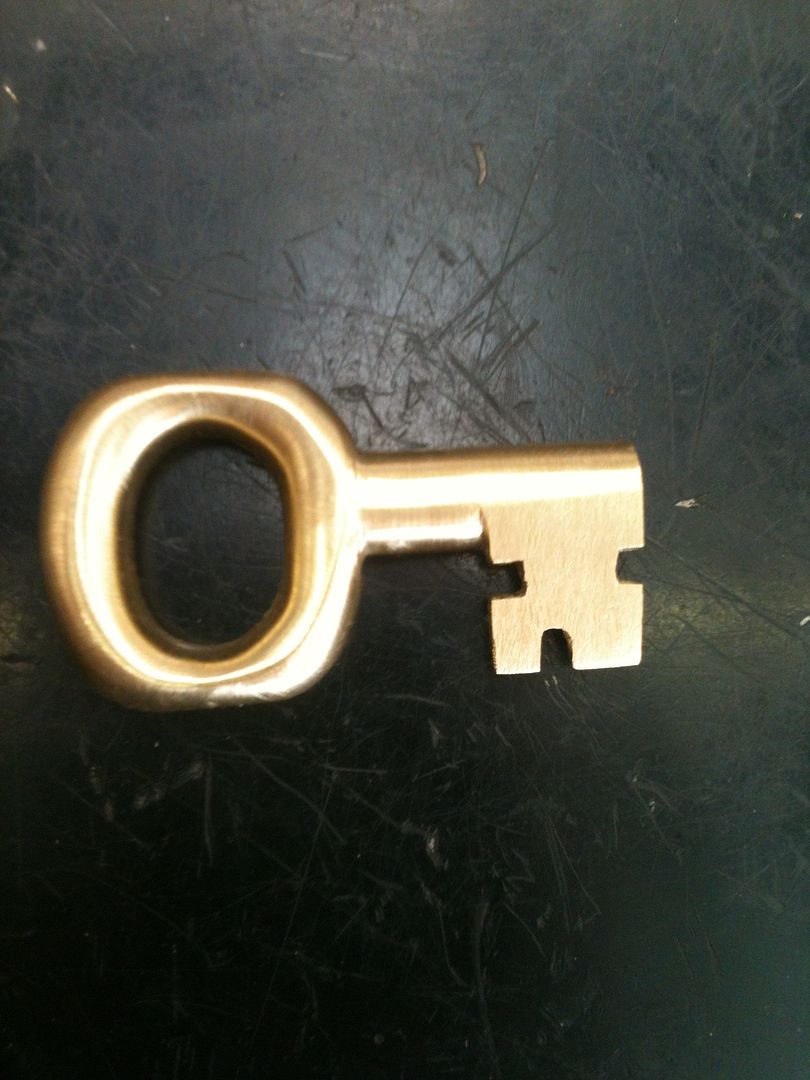
And the best part of your new key...
It opens the lock!
Hope it was worth the read.
Gordon


