


Well this guide will be of limited use to somebody who does not posses a Dremmel type tool, and a Tricircle lock, but for those who have the right tools there is the potential to make a rekeyable Tricircle lock. I recommend the 265 model – if only because I am sure it will work. This modification requires less than an hour to do, and should cause minimal problems.
Tools: For this project you will require an electric tool, and several other easily found things.
• A Dremmel type rotary tool with a small drill attachment.
• A few screws of varying sizes.
• A screwdriver.
• A file/something else, to shape the material used to replace the destroyed cap.
• Plastic or what-ever-else-works to replace the destroyed cap.
• Clean area to put springs and pins on.
• A sealable container.
• Kerosene or Turpentine.
• Ideally goggles to protect your eyes from potential Kerosene accidents (it REALLY burns if you get in your eyes so don’t risk it).
• A vice to hold the padlock whilst you drill, and pry of the cap.
• A small amount of sand paper.
A Dremmel type tool can cost a little or a lot, depending which brand you buy. The Manufacturer “Dremmel†make the best ones.
Such a tool looks something like this:
Safety
• A first aid kit is handy for minor cuts you may get as a result of this process, but it will be limited to small cuts so some band-aid will be fine along with some antiseptic spray to keep out infection. Furthermore if you are into aromatherapy or essential oils, then you might want to buy a small tube of Lavender oil to clean up cuts nicely…
• Goggles can be used to avoid springs and the like from perhaps flying in your eyes, this is not entirely necessary, but bears considering
• Common sense… if what you are doing seems to have potential to cause injury then don’t do it unprotected.
• Since you will be using power tools keep your fingers and hands as far away from them as you can and do not force the tool at all – the time you save by taking shortcuts, could be time wasted visiting hospital.
Constructing a Tricircle Practice Lock.
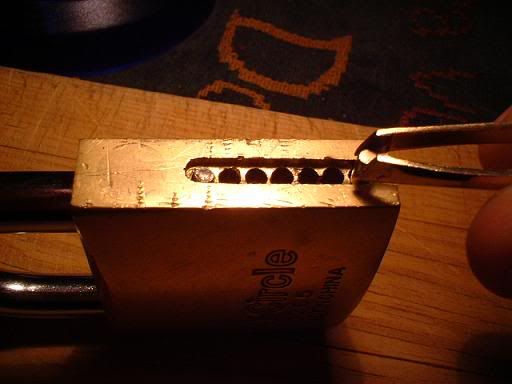
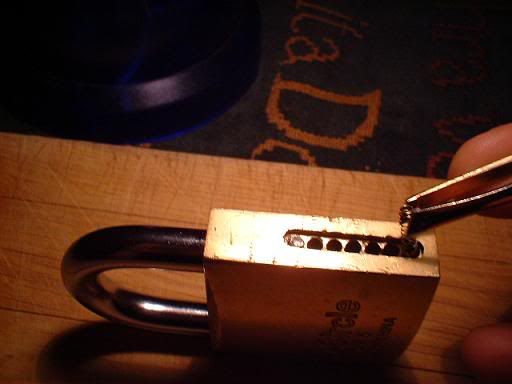
To begin, gently sand the area roughly where the pin holes should be, and quickly you will see another shade of metal appear, this is a large brass cap that covers all the holes at once. Drill a hole where the last pin should have been, and continue to do several more, screw a cross-head screw into one of the holes as tight as possible, and use it to lever up the plate. The entire plate will come off and leave you with 7 holes – 6 for the bottom-pins and one I believe to be the retaining pin.

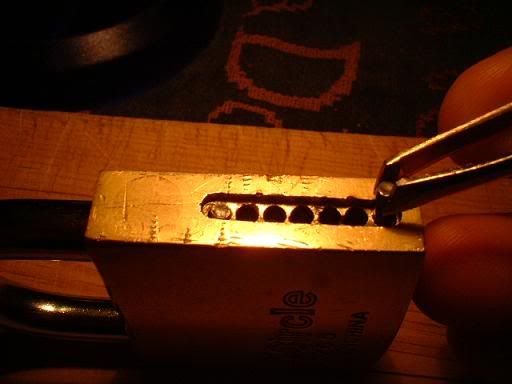
You will end up pulling the entire cap off, and be left with this:
Turn the padlock upside down and tap it so the pins and springs fall out of it. If it was anything like mine you will be left with a greasy, dirty pile of pins which will stain your clothes if you get it on them so watch out. The best way to solve this is to place all the pins and springs in a container filled with Kerosene – then shake the container violently for several minutes, and when you stop the pins should be spotlessly clean.
-Pins before cleaning-
Not very nice, and won’t help picking much.
-Pins after bathing in Kerosene-
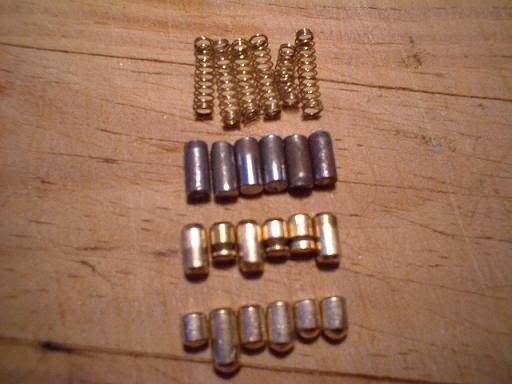
Nice and shiny – the top pins are made of steel and had gathered some rust, but overall will be smoother. (Yeah I did have to replace the spring BTW)
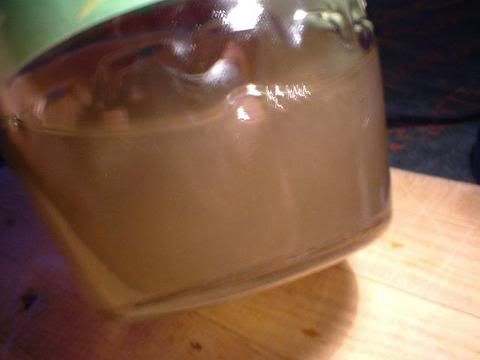
After seeing the crud my pins had attracted I thought the cylinder must be much worse and I was more right than I thought! When I repeated the process with my cylinder the water quickly turned a mud-like colour.
-To show just how much rubbish came out of my lock here’s a picture of the Kerosene after cleaning it-
-Putting the Components Back into the Lock-
So now we have cleaned up the inside we need to put the pins back into the correct holes, and in the correct order. To do this, you first insert the bottom pins (pointed bottoms), then insert the top pin above this, then the spring, and finally the steel pin. Obviously you do this for every pin chamber you wish to fill – even knowing how to pick security pins it was a relief to be able to start small with this lock.
-Making the Small Replacement Part-
With all these components back inside the lock we are still faced with the problem that there is a component missing, but an idea popped into my head after a bit that got me thinking – “if I can replace this part I broke then it will work†Well I just settled on the most obvious thing and copied the shape of the original cap, and made it from a piece of plexi-glass (plastic).
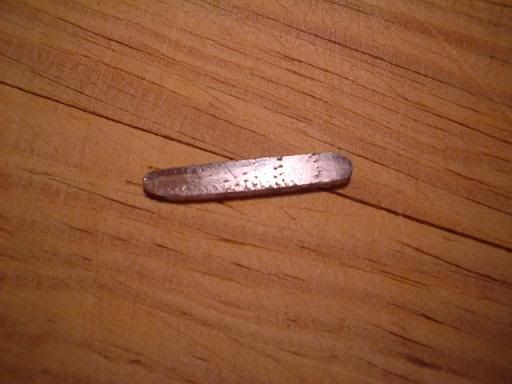
The part I made looks something like this: (note the bottom left corner where extra material was removed to aid removing it when the pins were to be changed)
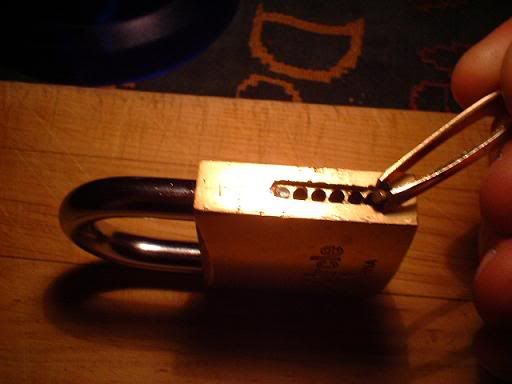
Placing the replacement part into the alcove:
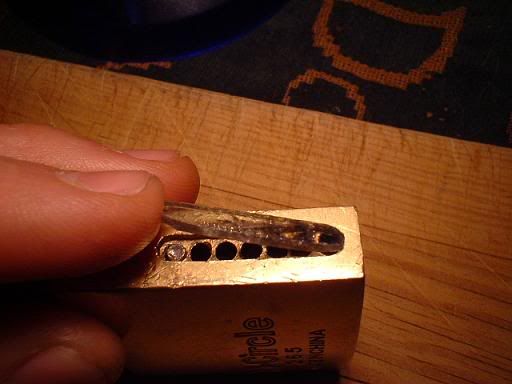
-Pins secured down, and the cover snugly in place-
Some final pictures of the finished product:
That’s about all you need to know in order to make your own repinnable Tricircle padlock. Due to the security pins inside this lock my suggestion to newbies attempting this is to find some standard pins to repin with at first. Tricircle padlocks have always been interesting to pick, and even more so when they get older, almost a personality, that can either help you pick it, or make it hard as heck. Now you can enjoy the benefits of this quirky lock, and the practicalities allowed by this modification. Using this method you have no need for a plug follower, in fact you only need something to pry the replacement part, and then you can replace the pins with your fingers, or by using tweezers.
Thanks for reading - Illusion.


