


Last Friday I purchased a Corbin mortise deadbolt with two cylinders to match. That evening I created a working key for it by disassembling the lock and inserting each pin into the plug and then filing the respective area of the key until that pin was flush with the plug. I repeated for the remaining pins, evened out the edges and now I have a working key! The actual mortise box is in need of a good lubrication, so when I get the chance, I can go in there with some white lithium grease and give it a good servicing.
After reading up on Corbin cylinders I learned that around 1902 Corbin began to utilize ball bearings in their pin tumbler locks to reduce wear on the pins. However over time they began to utilize harder materials for their pins so they reduced the number of ball bearings used. Initially, all pin stacks had a ball bearing at the bottom, but over time they started to incorporate normal pin stacks and phased them out completely by the 1960's. This particular cylinder has ball bearings in the first two pin stacks. The remaining three key pins appear to be produced from a different material than the key pins that rest atop the two ball bearings. These two cylinders utilize a CO3 keyway and came keyed alike.
And now for the photos!!!
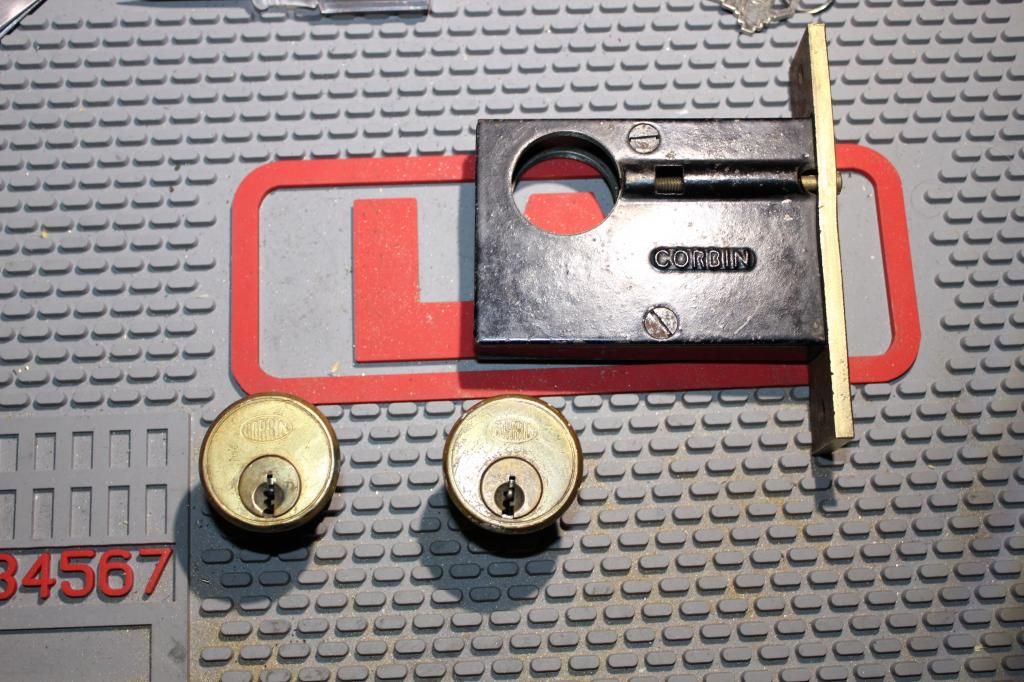
Everything that came with my purchase
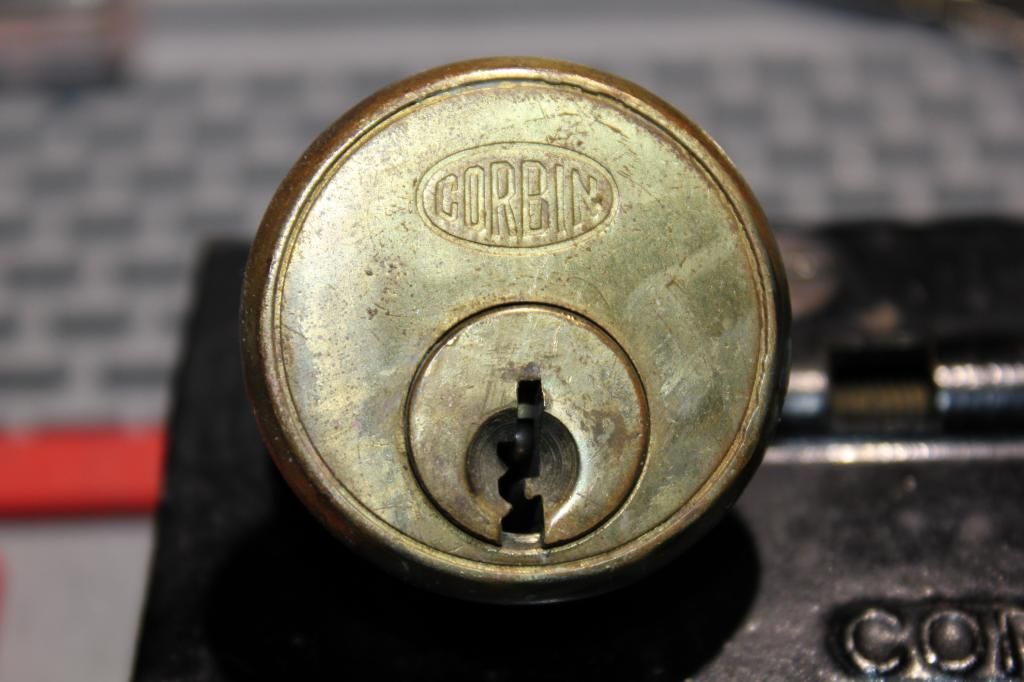
The first ball bearing is visible in the keyway
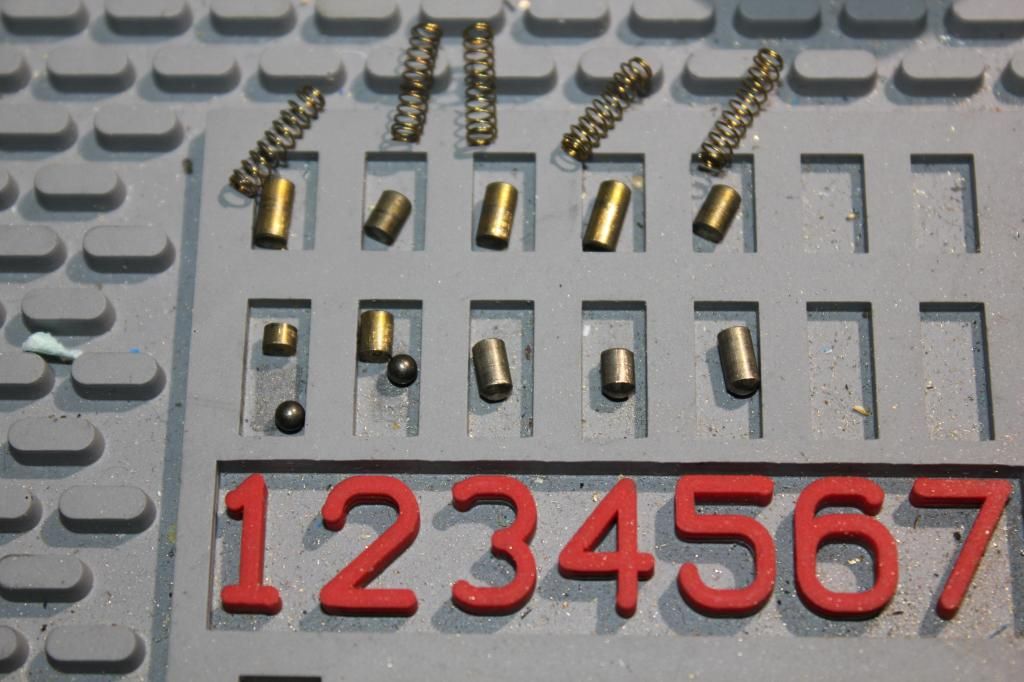
The pins removed from the lock
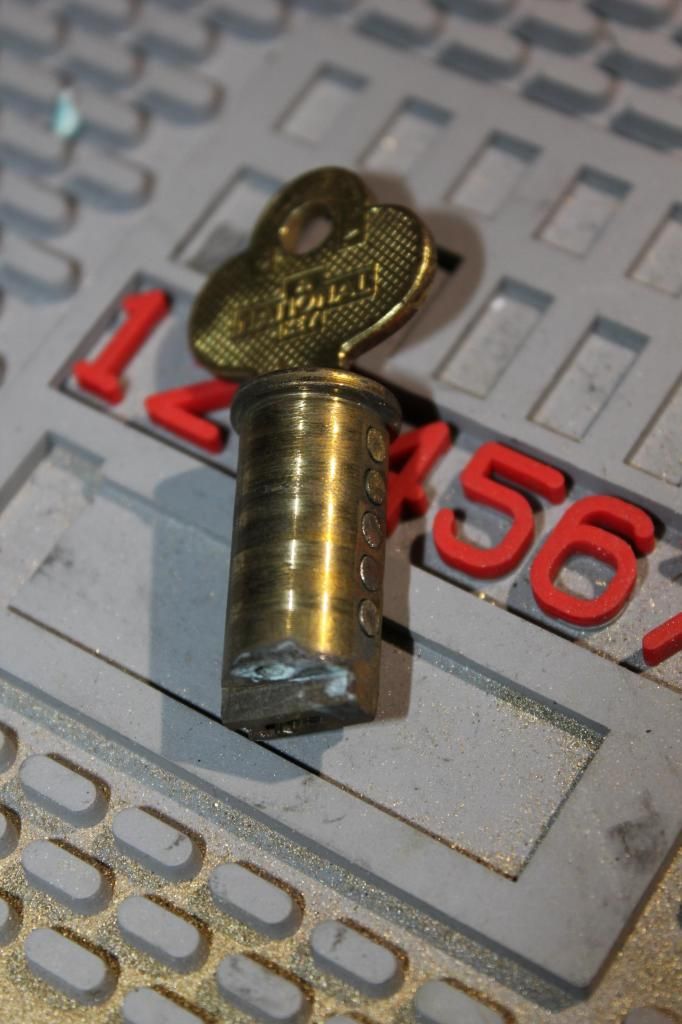
My homemade key inserted into the plug

The cam. Note that there is a piece of brass on the rear of the cam covering the keyway. I believe this was done to thwart anyone attempting to insert a wire through the keyway to manipulate the bolt
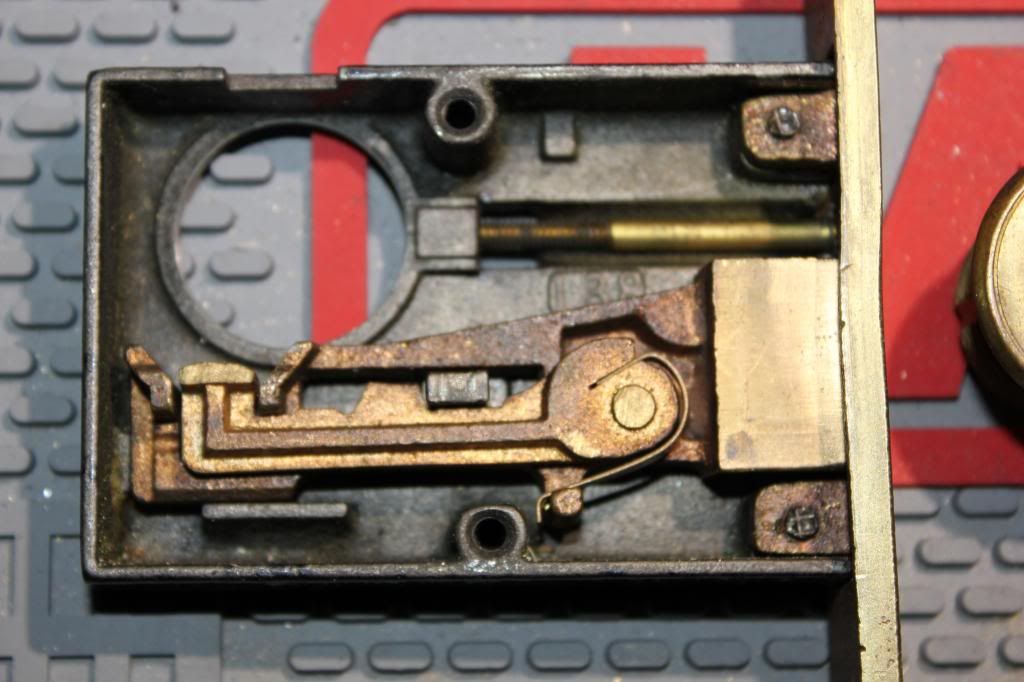
And of course a peek inside the mortise box! The number 138 is stamped on the inside. As you can see, it's much simpler than my last project....
viewtopic.php?f=9&t=55546
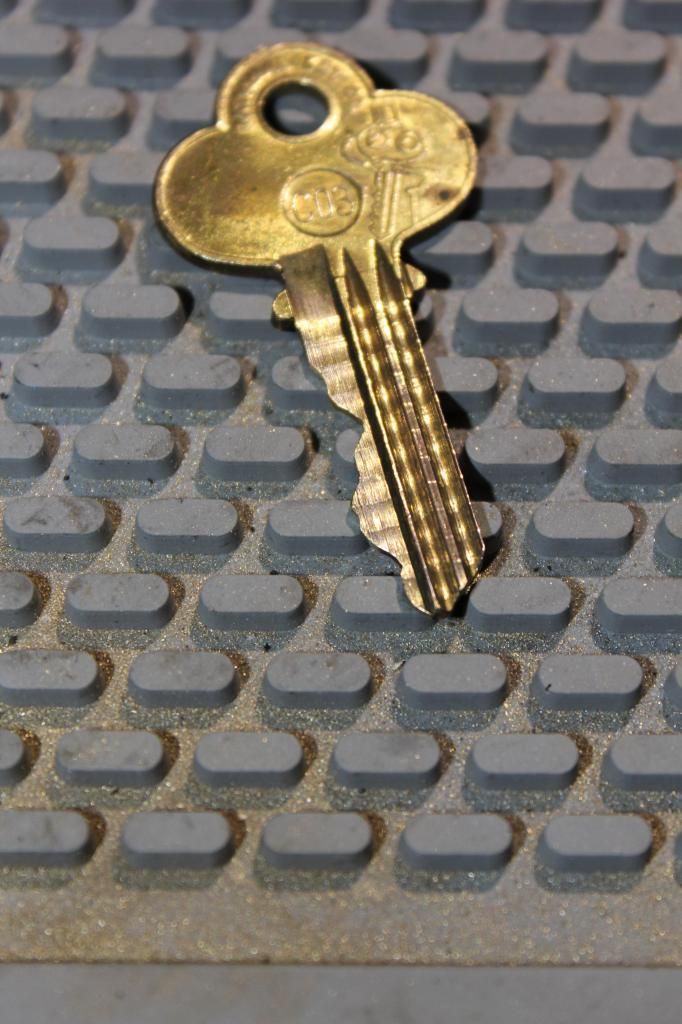
And finally, the working key! I had some problems with "canyoning" when I initially cut the key, but thanks to some thorough filing I was able to even things out and now it inserts and removes quite smoothly!

