Lock Picking 101 Forum
A community dedicated to the fun and ethical hobby of lock picking.
       

Lock Picking 101 Home
Login
Profile
Members
Forum Rules
Frequent Forum Questions
SEARCH
View New Posts
View Active Topics


Live Chat on Discord
LP101 Forum Chat
Keypicking Forum Chat
Reddit r/lockpicking Chat


Learn How to Pick Locks
FAQs & General Questions
Got Beginner Questions?
Pick-Fu [Intermediate Level]


Ask a Locksmith
This Old Lock
This Old Safe
What Lock Should I Buy?


Hardware
Locks
Lock Patents
Lock Picks
Lock Bumping
Lock Impressioning
Lock Pick Guns, Snappers
European Locks & Picks
The Machine Shop
The Open Source Lock
Handcuffs


Member Spotlight
Member Introductions
Member Lock Collections
Member Social Media


Off Topic
General Chatter
Other Puzzles


Locksmith Business Info
Training & Licensing
Running a Business
Keyways & Key Blanks
Key Machines
Master Keyed Systems
Closers and Crash Bars
Life Safety Compliance
Electronic Locks & Access
Locksmith Supplies
Locksmith Lounge


Buy Sell Trade
Buy - Sell - Trade
It came from Ebay!


Advanced Topics
Membership Information
Special Access Required:
High Security Locks
Vending Locks
Advanced Lock Pick Tools
Bypass Techniques
Safes & Safe Locks
Automotive Entry & Tools
Advanced Buy/Sell/Trade


Locksport Groups
Locksport Local
Chapter President's Office
Locksport Board Room
 

Making a Key for an older Wilson Bohannan Padlock

Information about locks themselves. Questions, tips and lock diagram information should be posted here.

Making a Key for an older Wilson Bohannan Padlock

Postby GWiens2001 » 30 Jan 2014 17:20

Key made for older Wilson Bohannan Padlock

Won a padlock on eBay without a key. Blanks for this model are a little hard to come by, so decided to make a key from scratch.

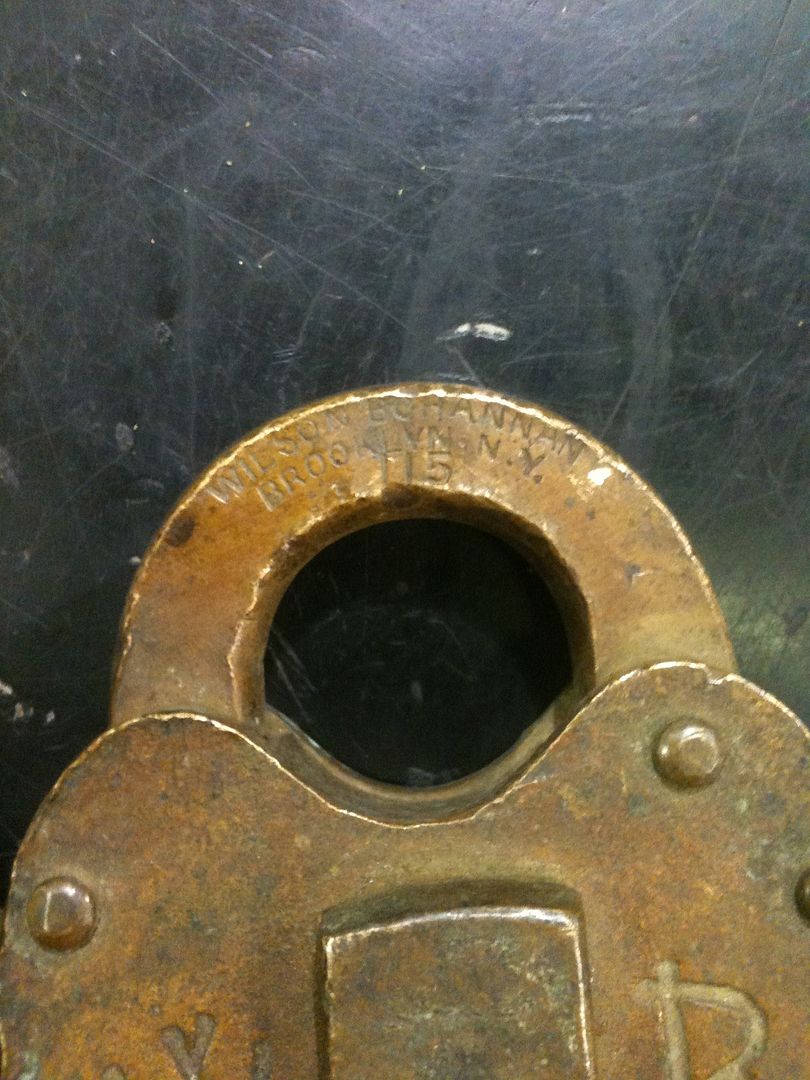
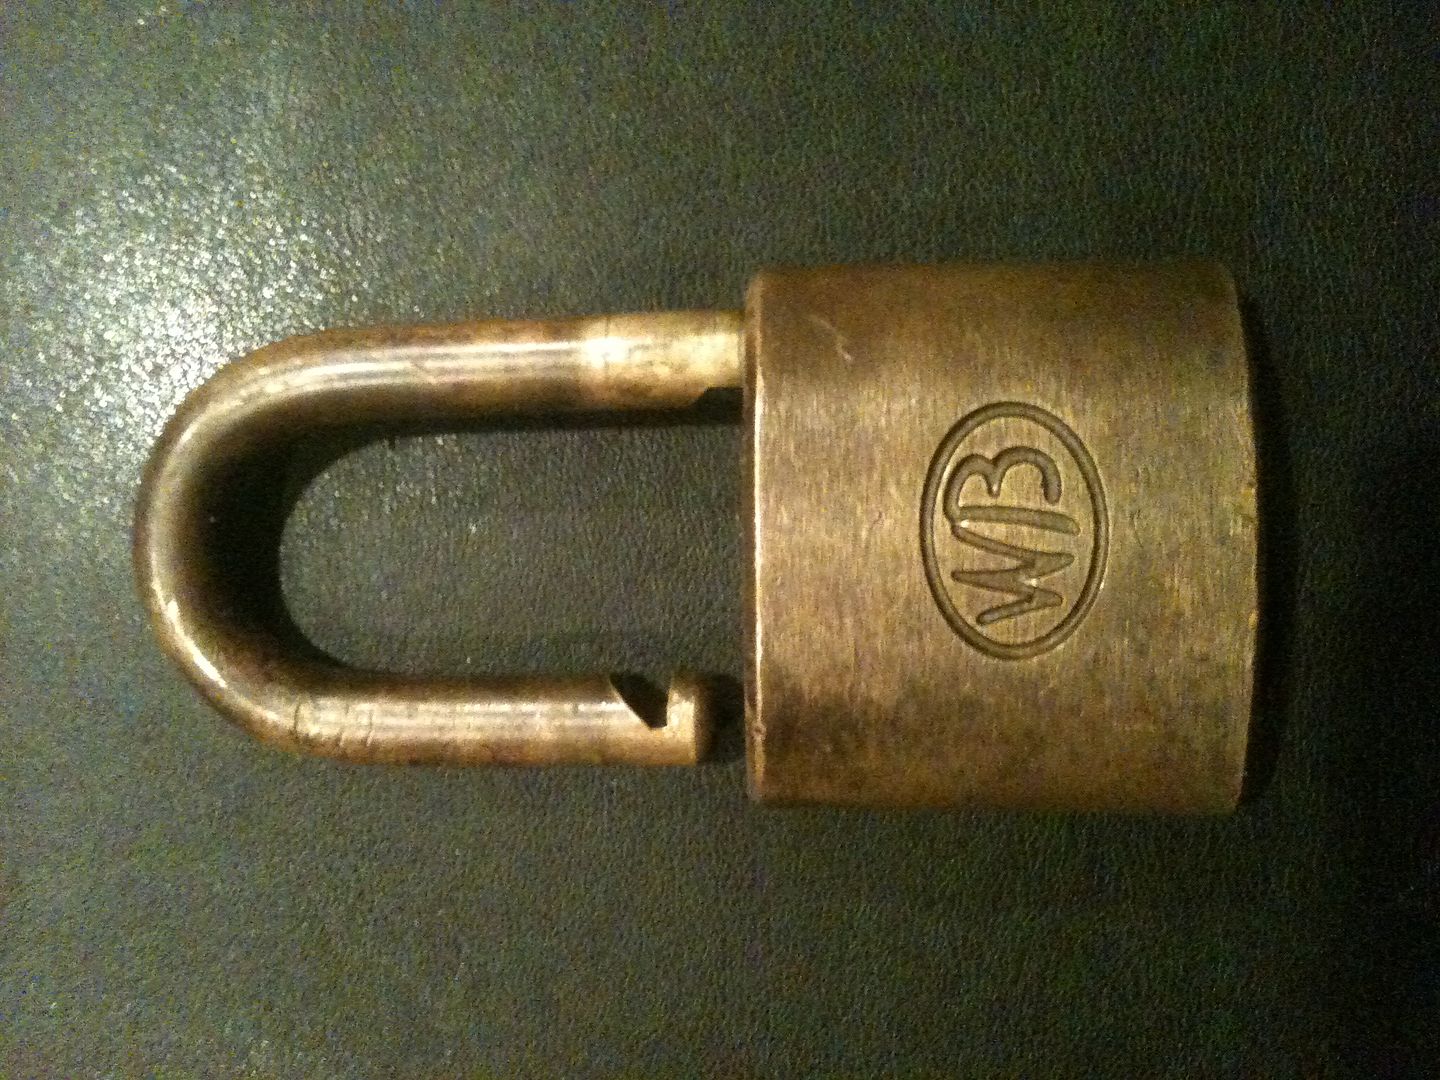
It is an older Wilson Bohannan padlock:
Image

Wait a second. That ain't that old, and key blanks are not terribly difficult to get. :evil:

Did I say an older Wilson Bohannan? Silly me. :oops: Meant to say an older Wilson Bohannan padlock.
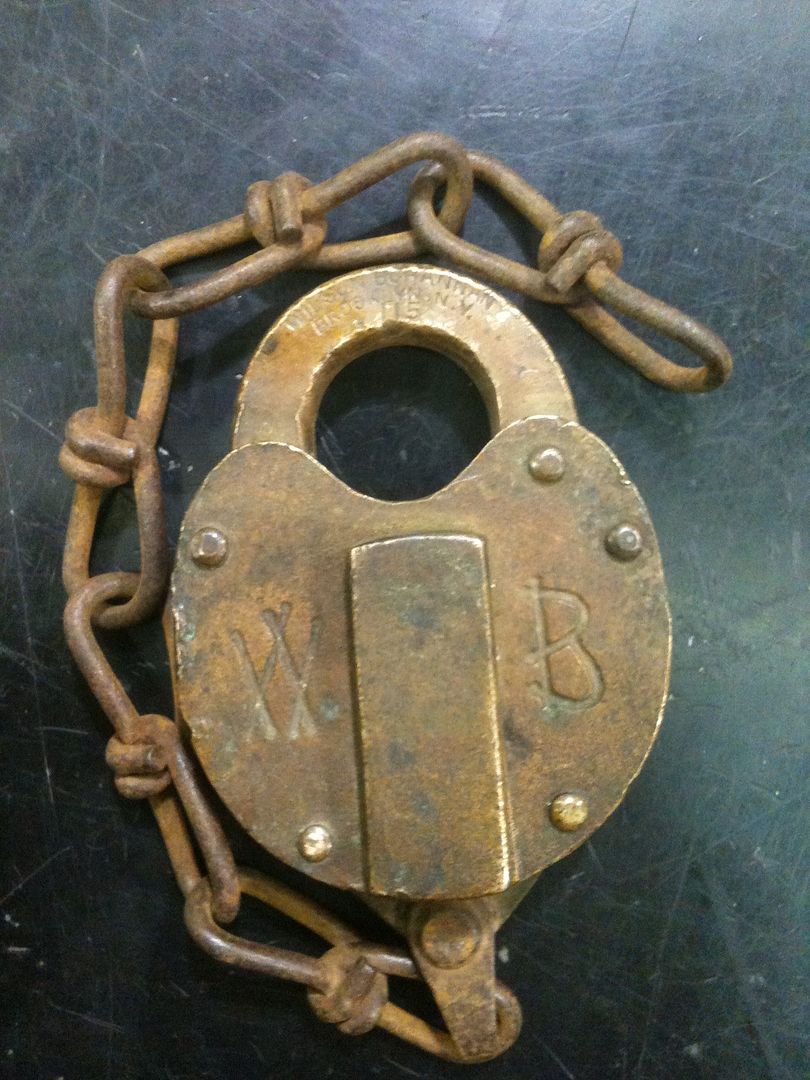
Image

Image

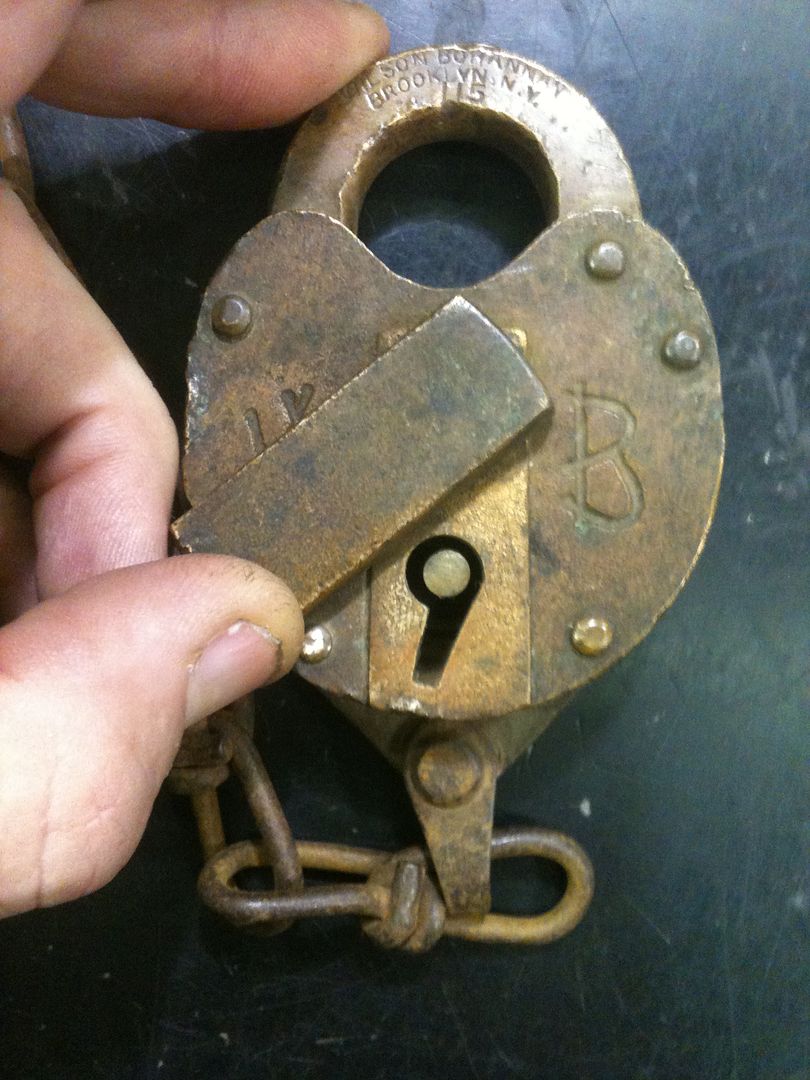
Yeah, that's more like it. :twisted: By the markings, it is easily identified in the old WB catalogs as being sold from 1886 until 1890. (Wilson Bohannan has all their old catalogs downloadable in PDF format on their website!!!)

Like I was saying, Home Depot doesn't carry blanks. The local lock shops claimed they didn't have them either. :roll:
Image

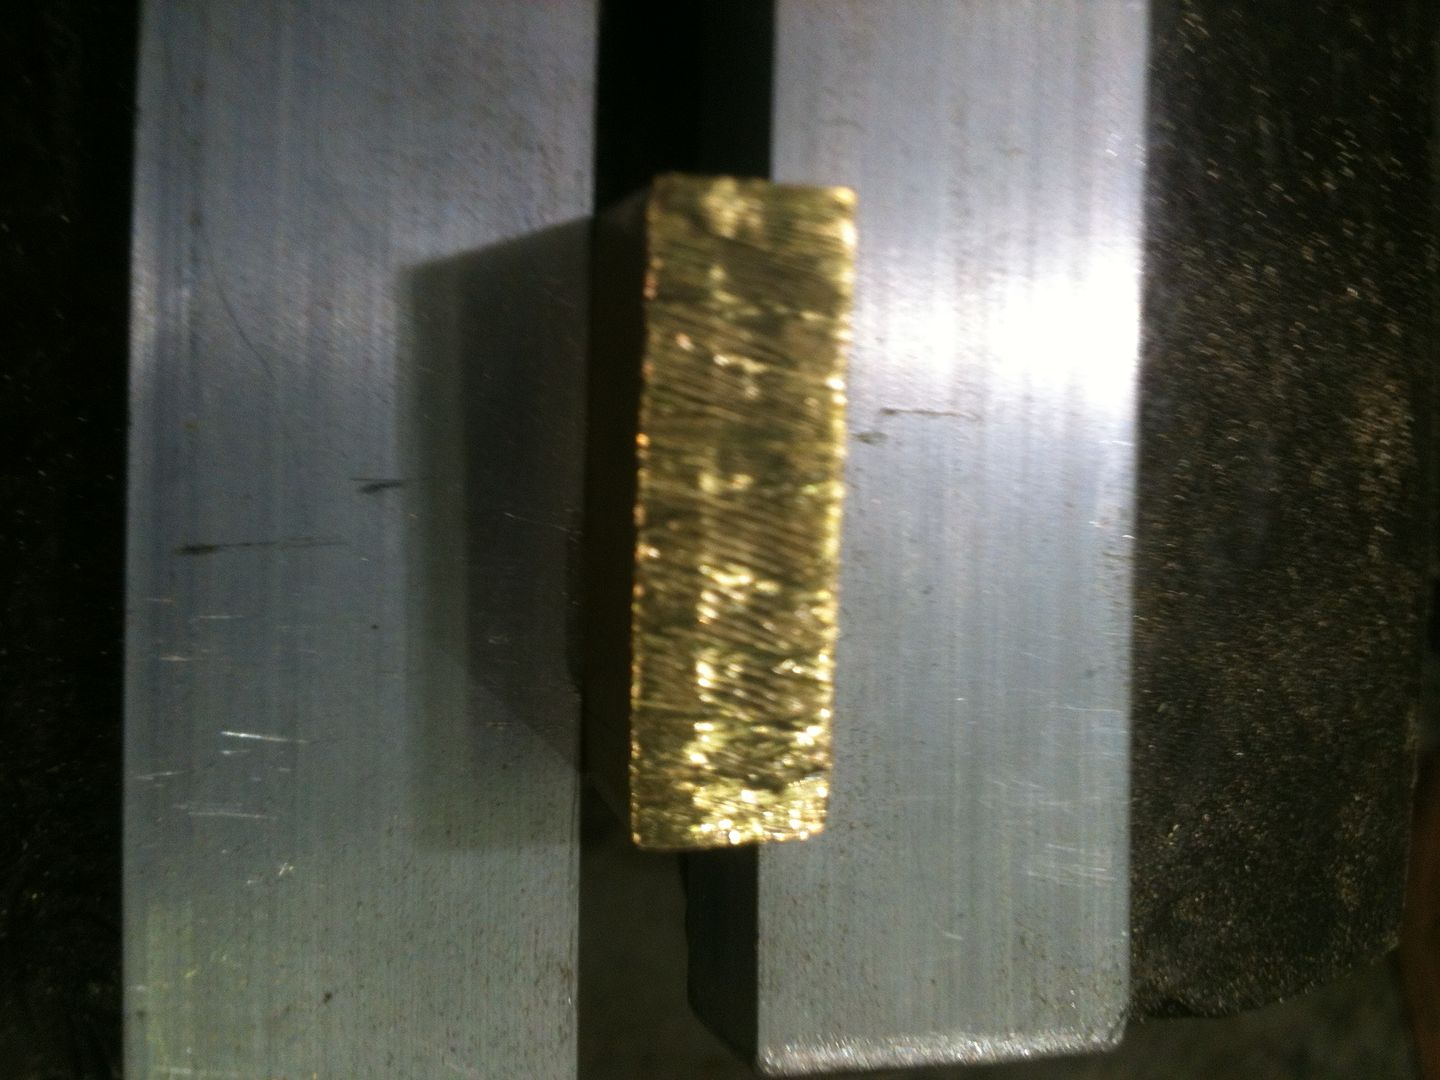
Started with some 5/16"x1" (8mm x 25.4mm) rectangular brass stock.
Image

Filed it to a nice flat surface on the end.
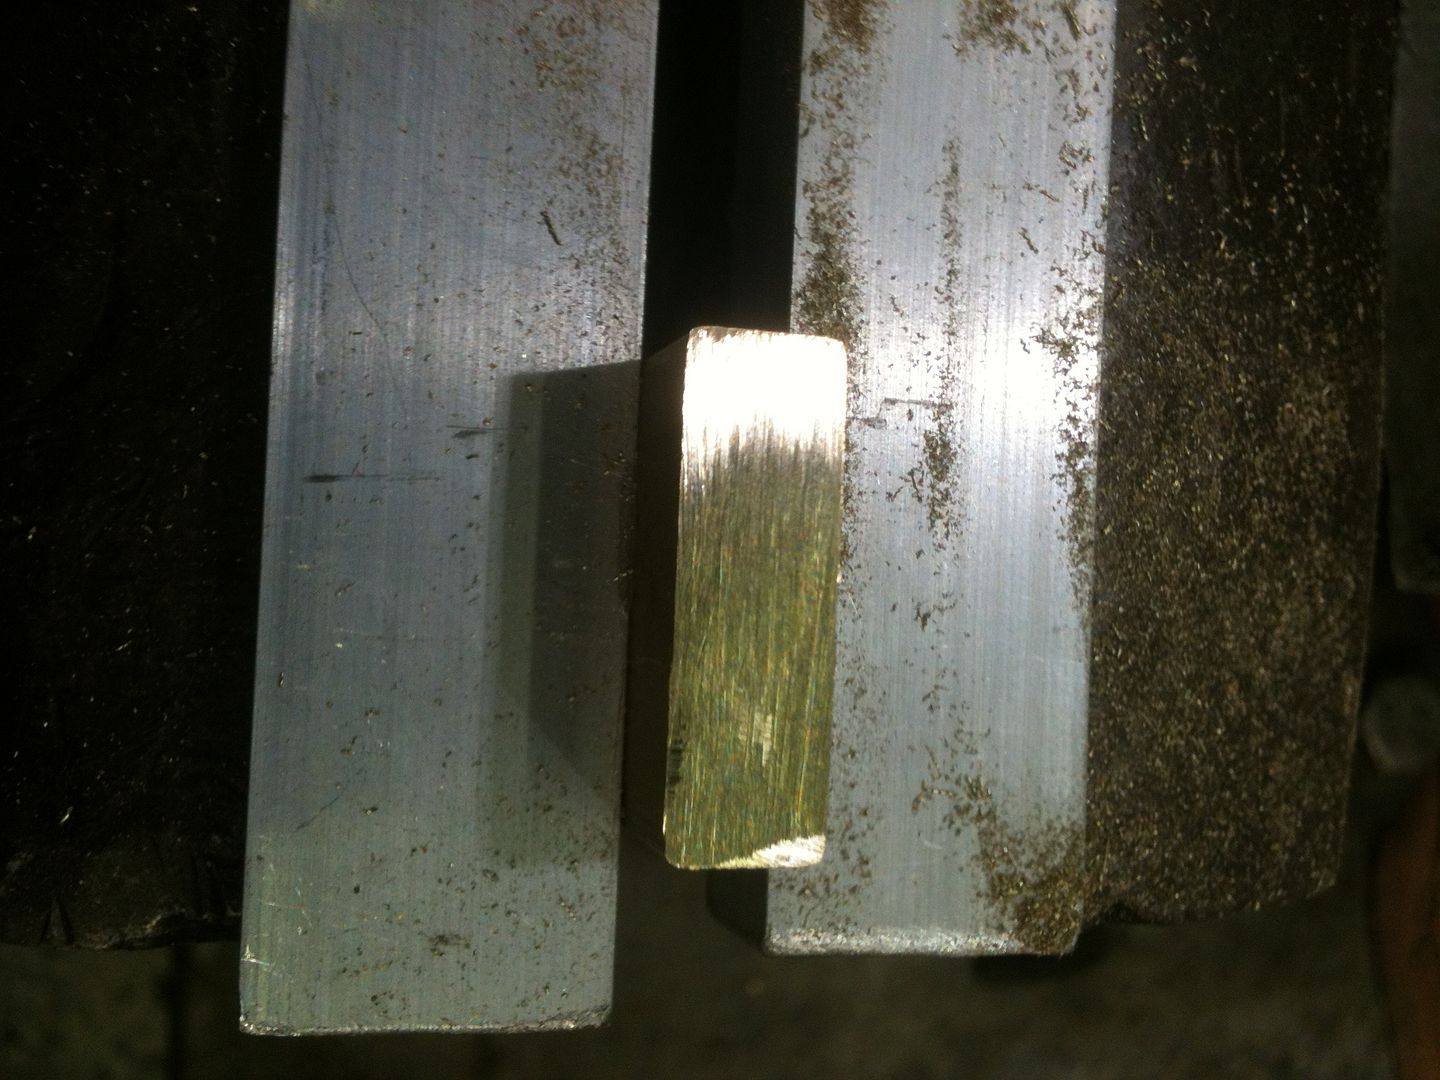
Image

Now, we need to trace the keyway. Easiest way is to place some paper over the keyway, and press it down with your thumb to get an impression.
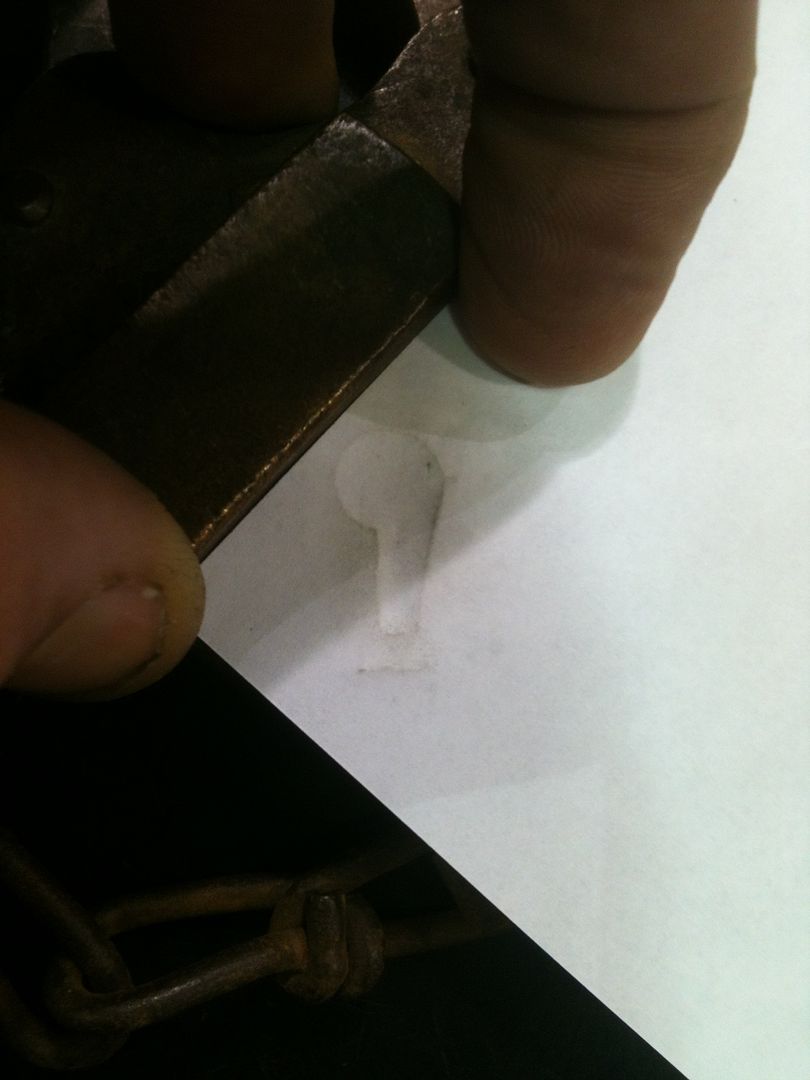
Image

Now cut it out and place it on the flat end of the brass stock.
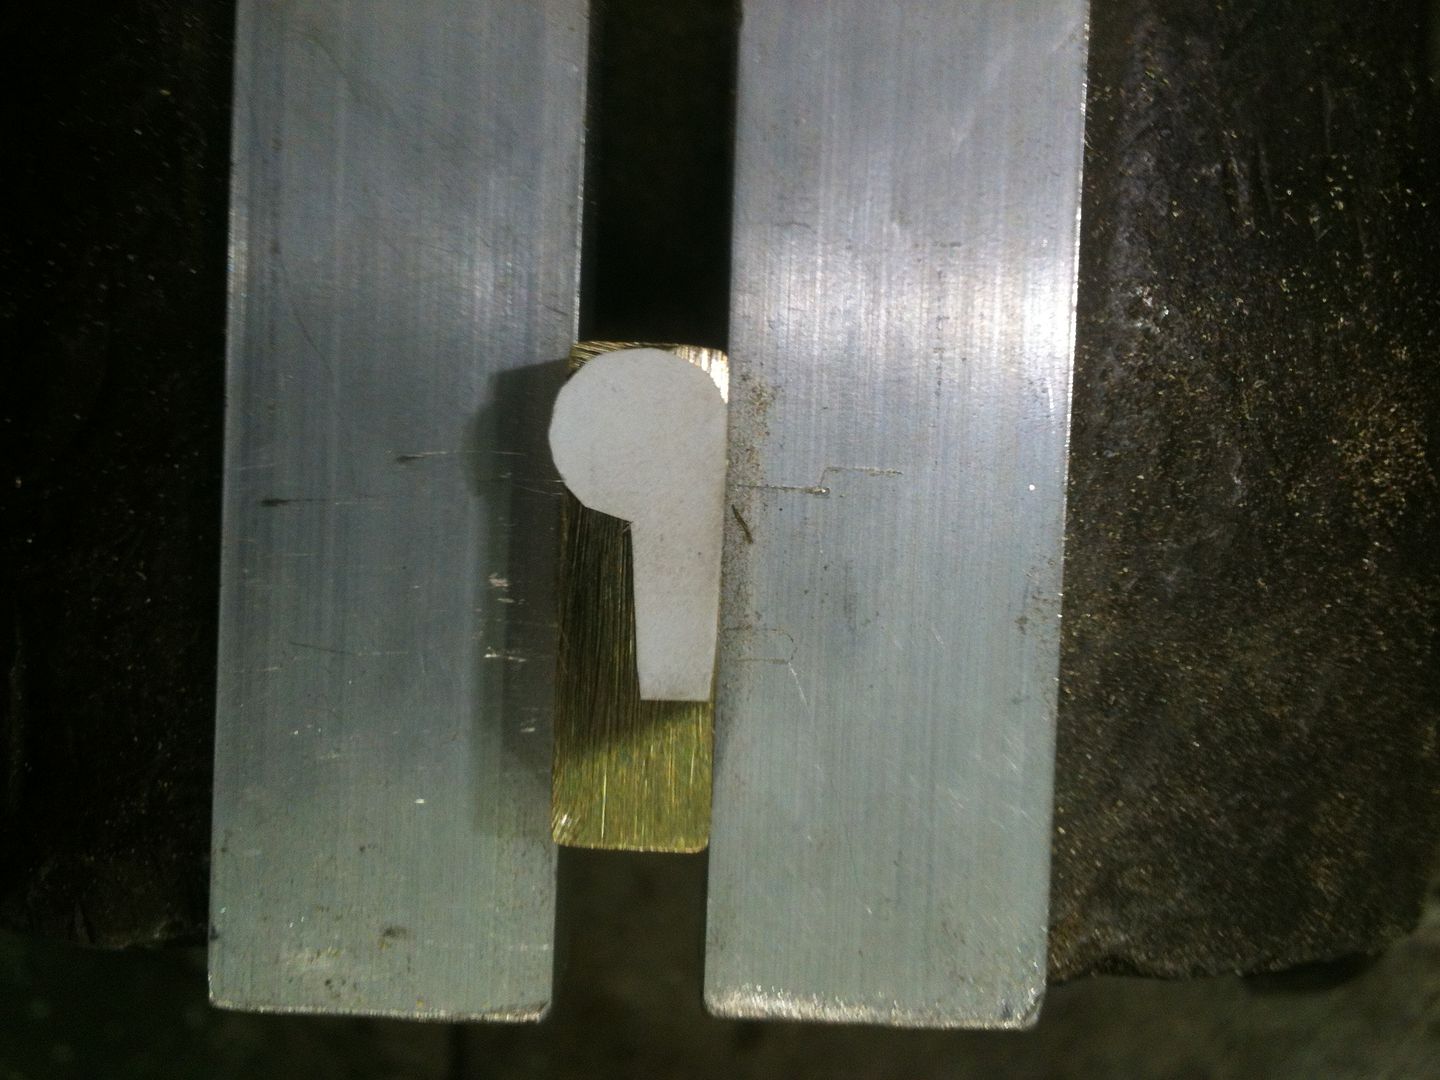
Image

Trace the keyway onto the brass. (Decided to angle it so the key bow would still be straight up and down when the key is put into the lock.
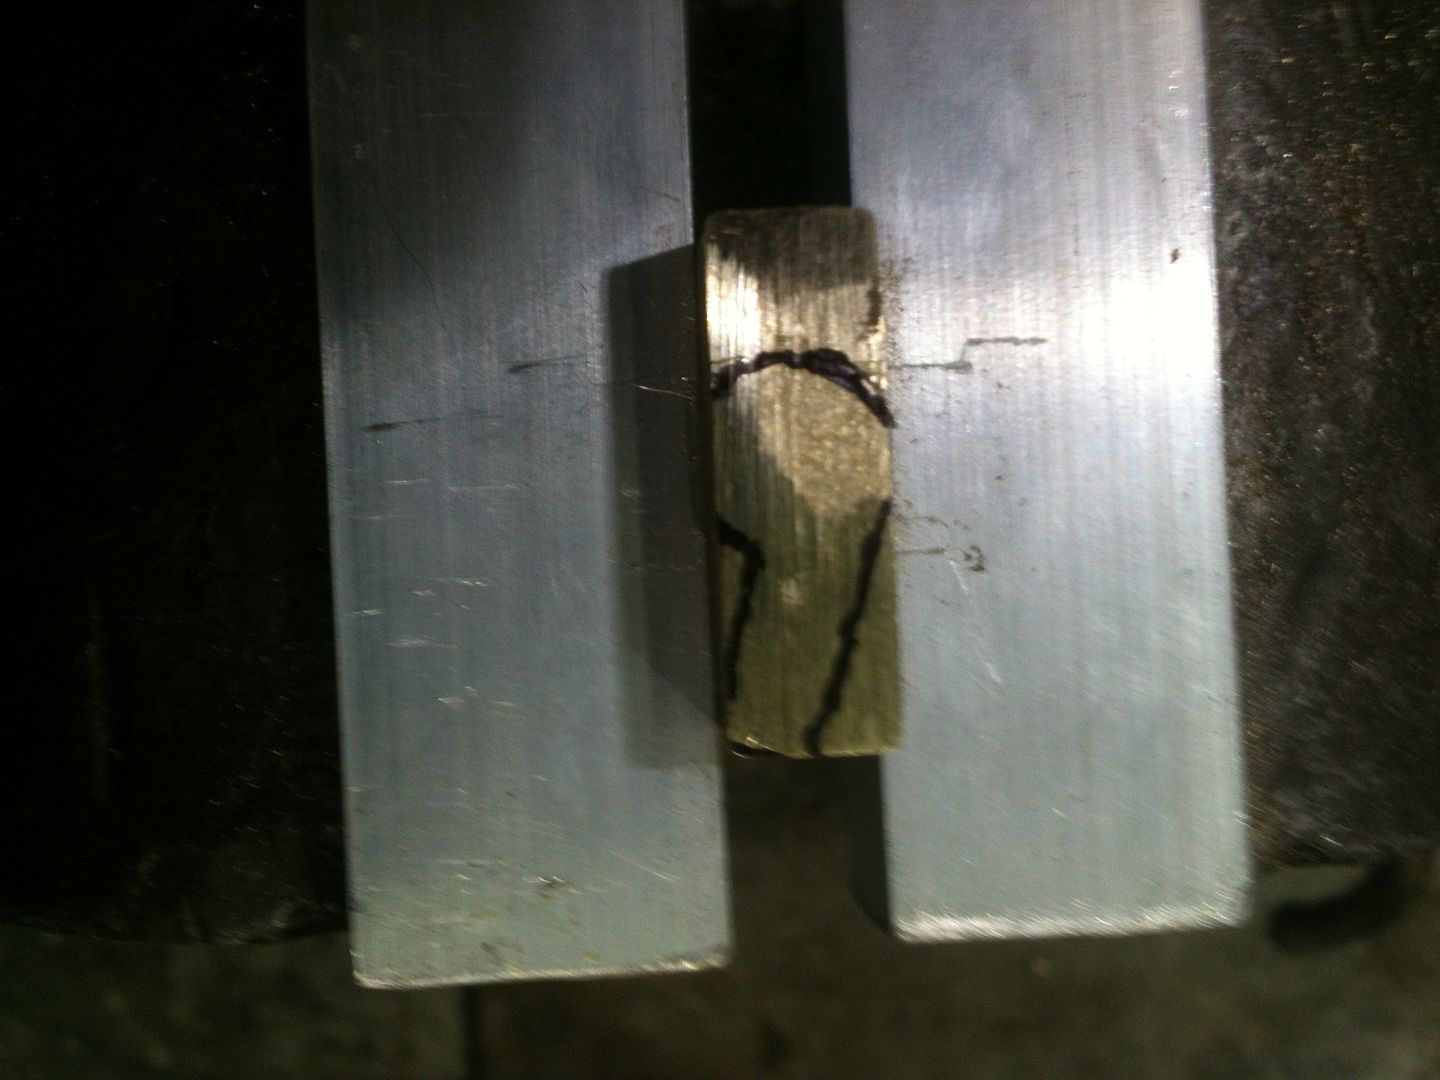
Image

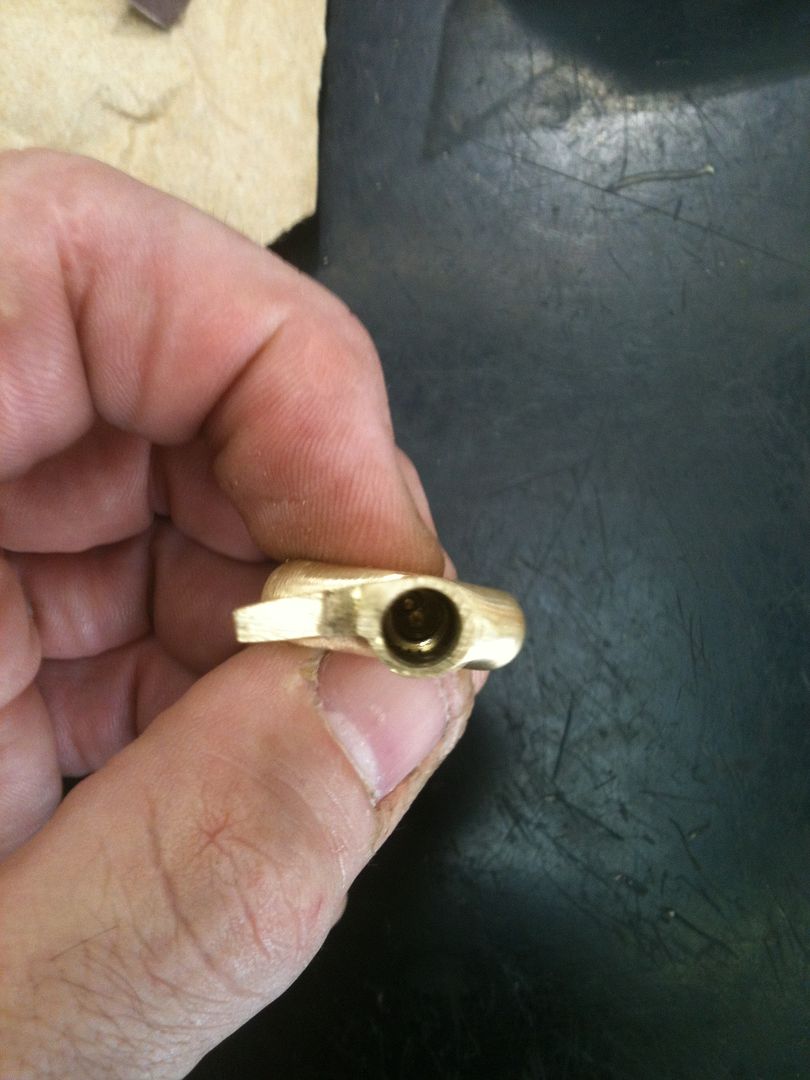
Now before cutting, need to get the hole drilled in the key shaft. Measure the diameter of the post in the keyway.
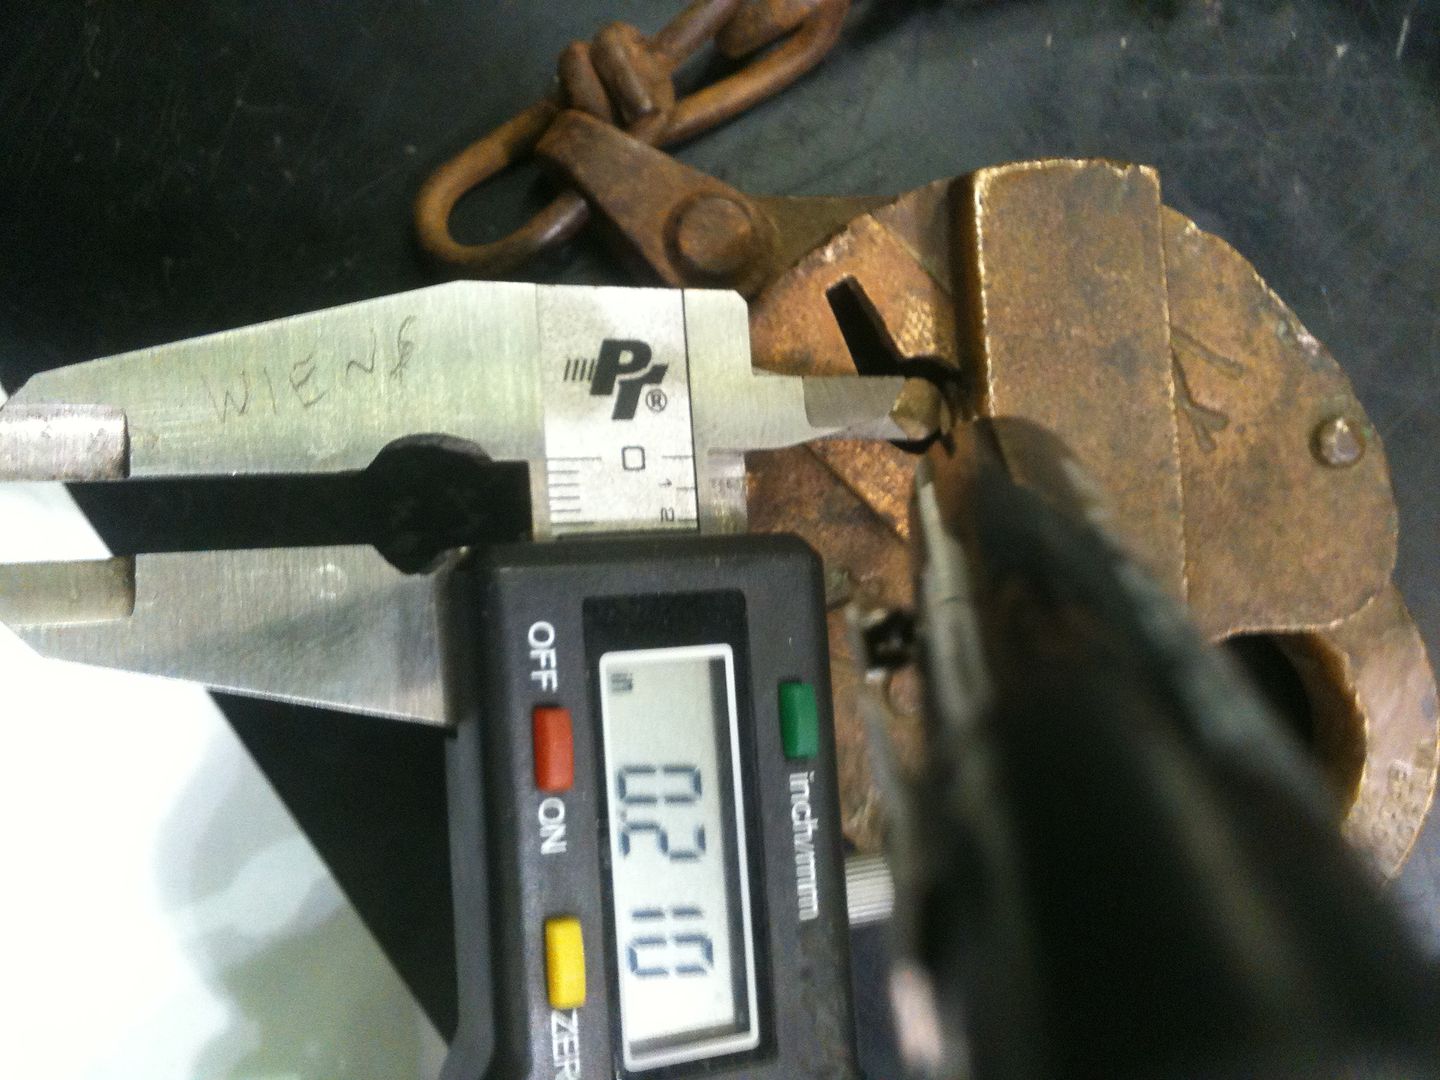
Image

Find a drill bit that is slightly larger in diameter:
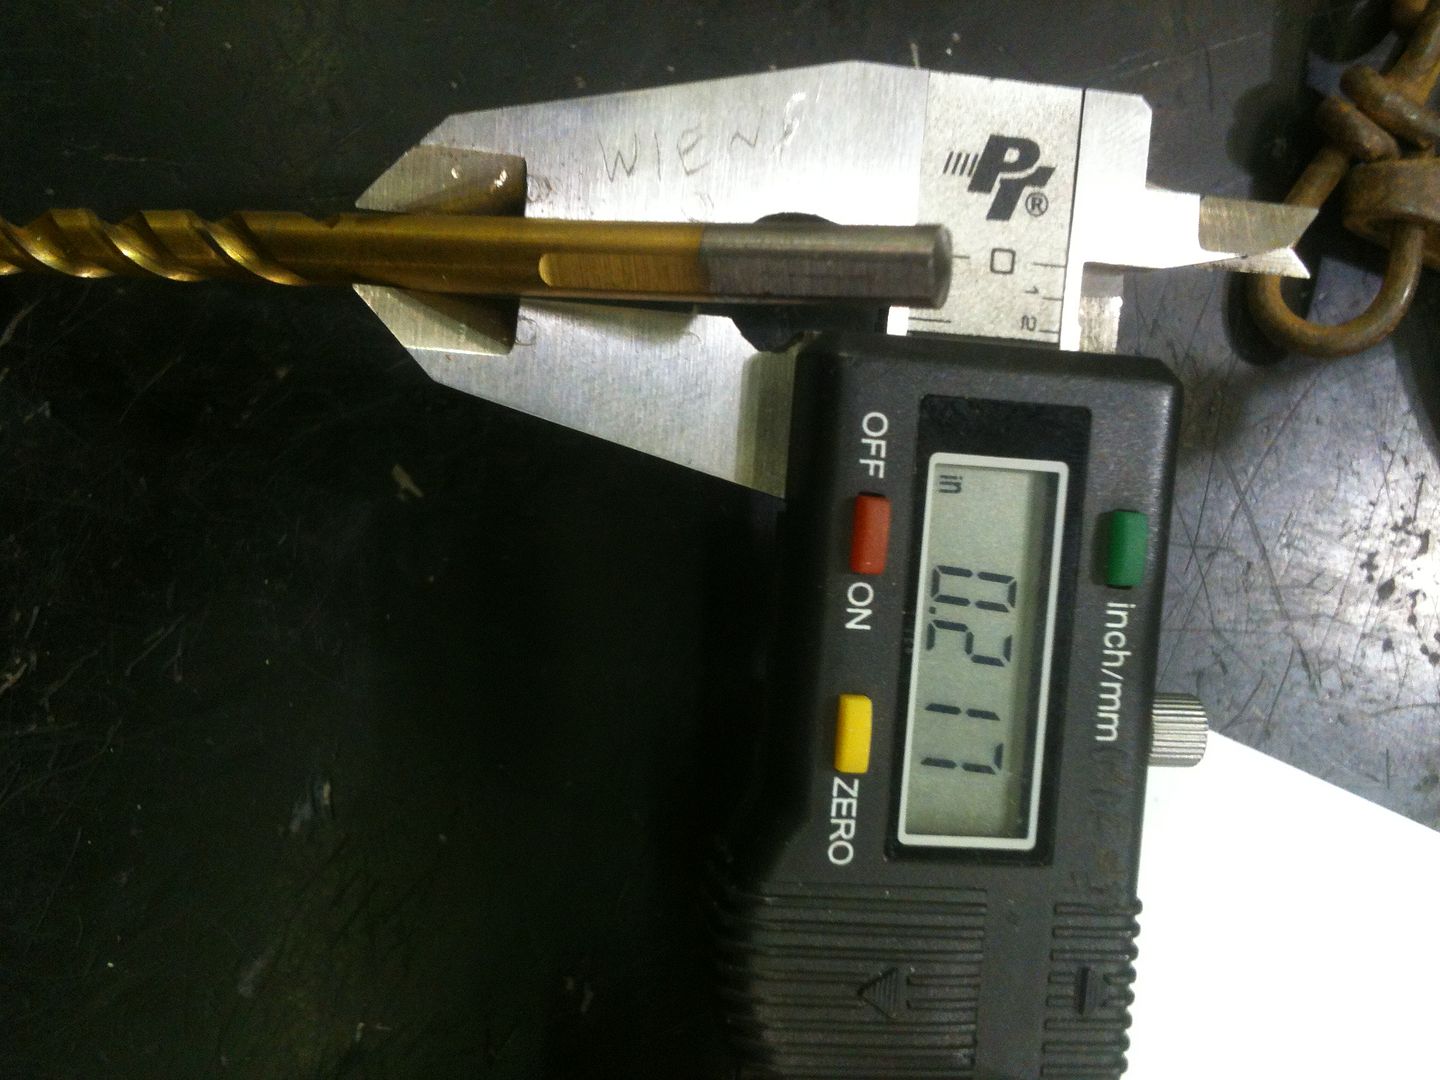
Image

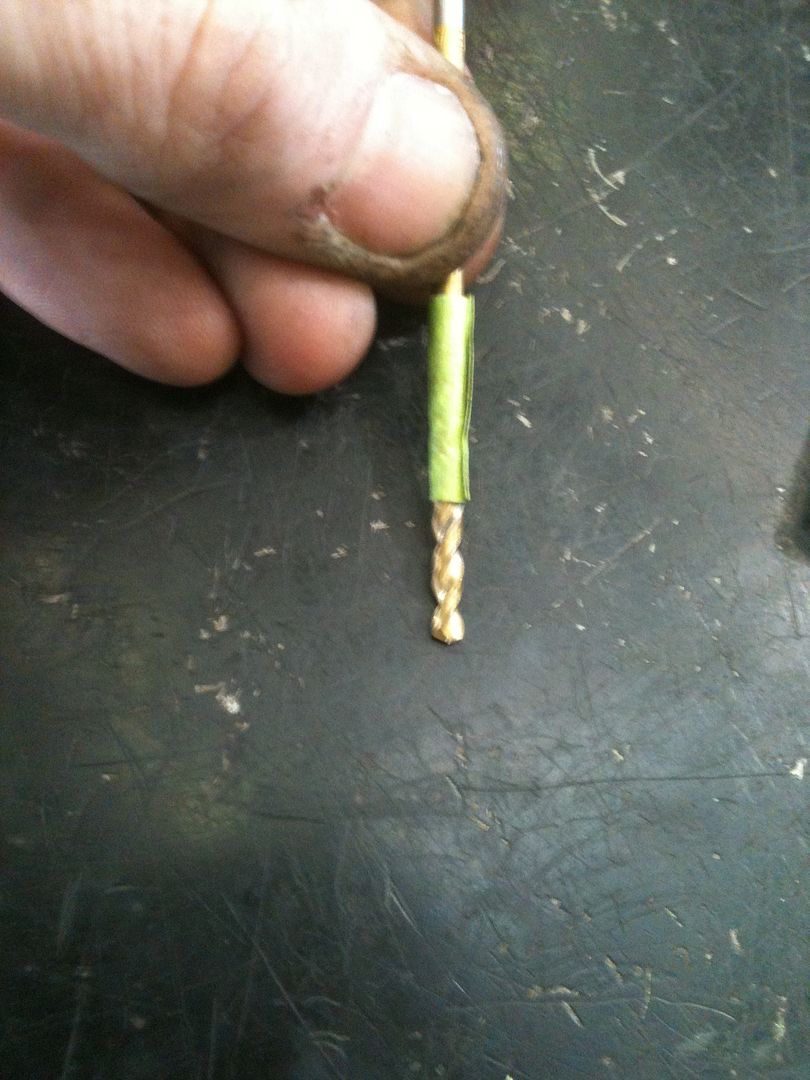
Use a drill bit and tape to determine how deep to drill.
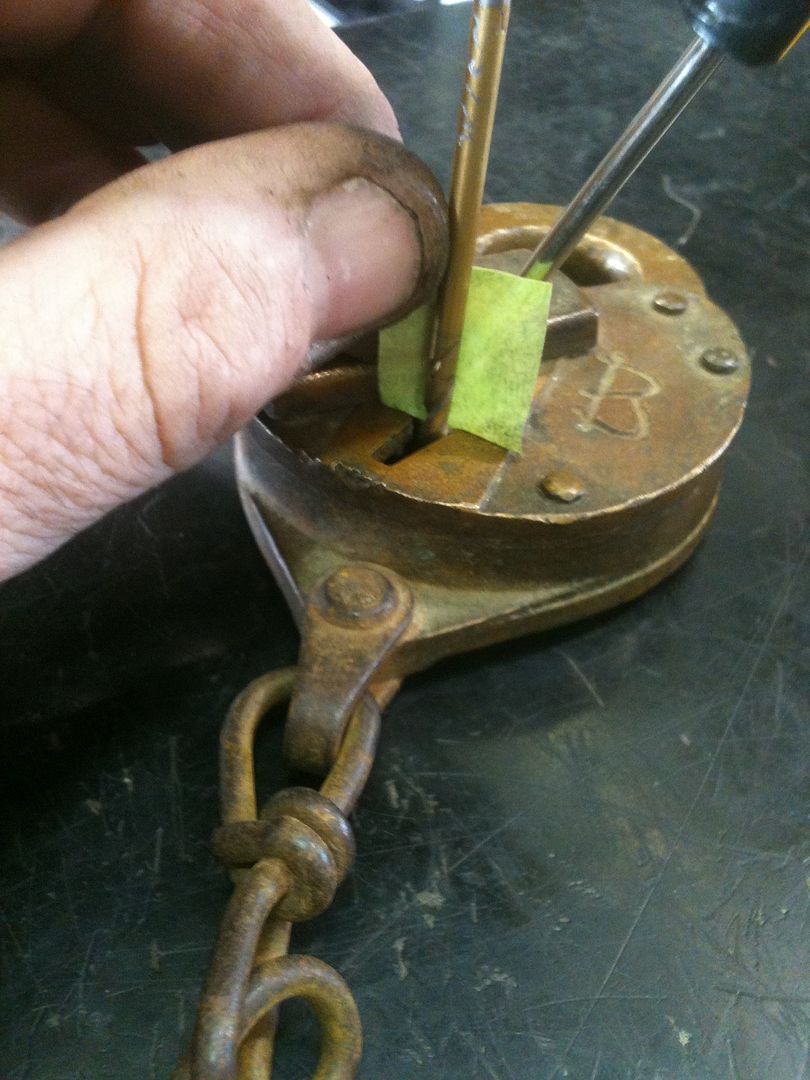
Image

Image

Now drill the hole. Start with a small drill bit and gradually increase diameter until the right drill bit size is reached. Make sure the hole is absolutely straight. And if you look at the keyway above, the post is slightly off center, so it is no accident the hole is drilled off center as well.
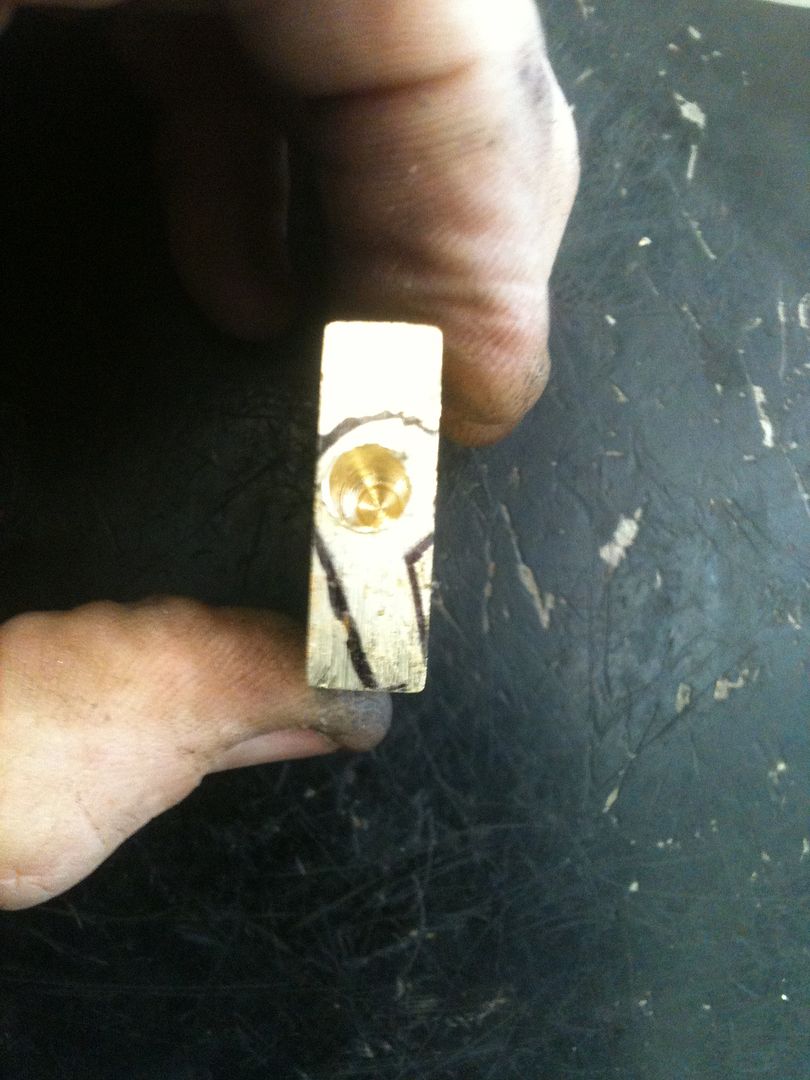
Image

Now mark the estimated key shaft length. You can use the lock body to help.
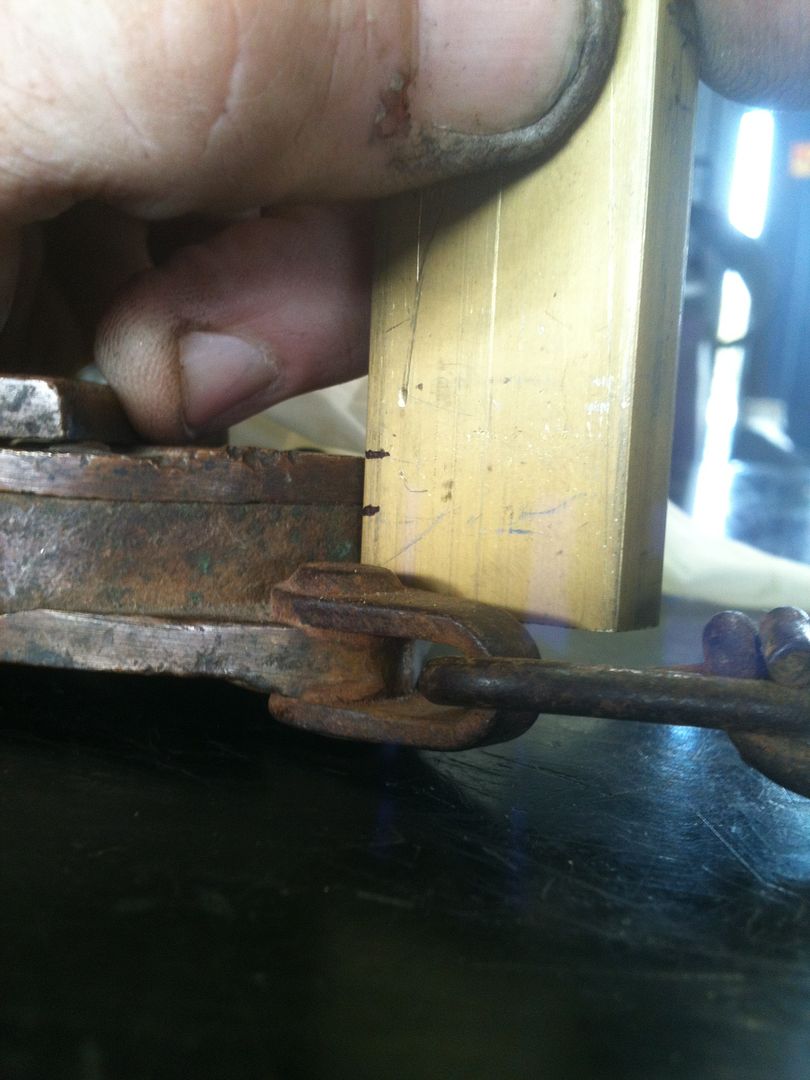
Image

Now draw lines straight down to show where the key needs to be cut (and not cut).
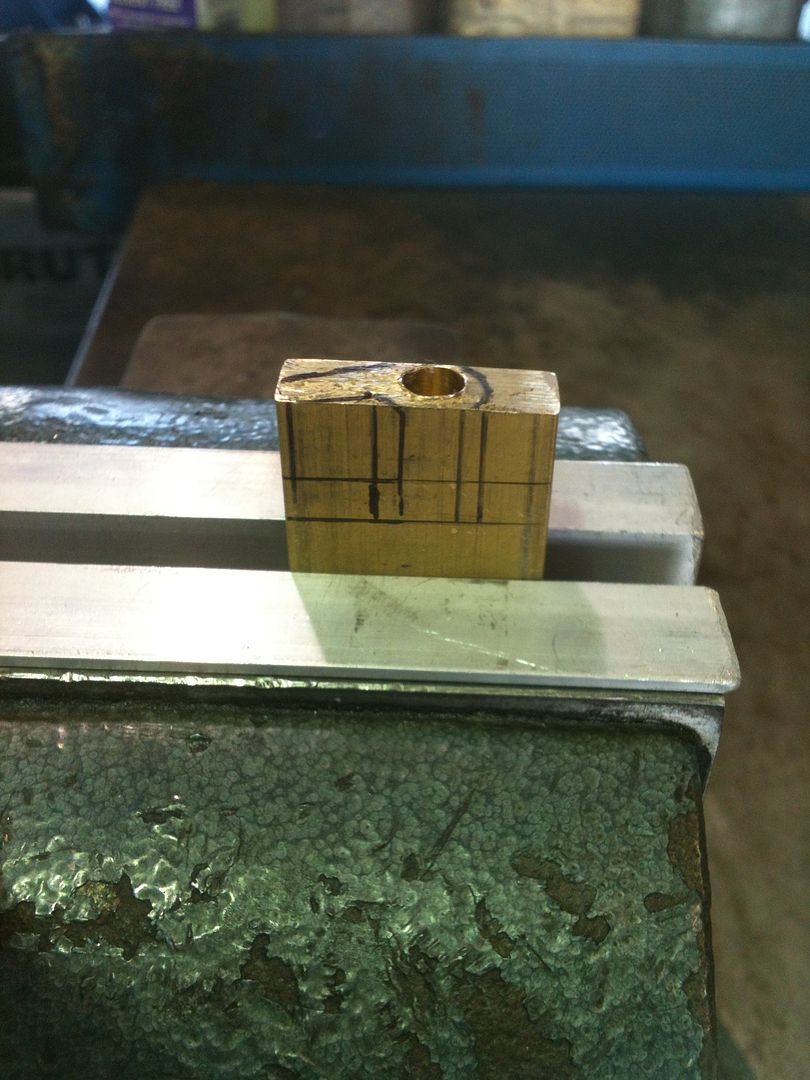
Image

And rough cut the key blade and shaft. Do not cut too close! It is much easier to file it to the correct size and shape than to restart the whole process all over again.
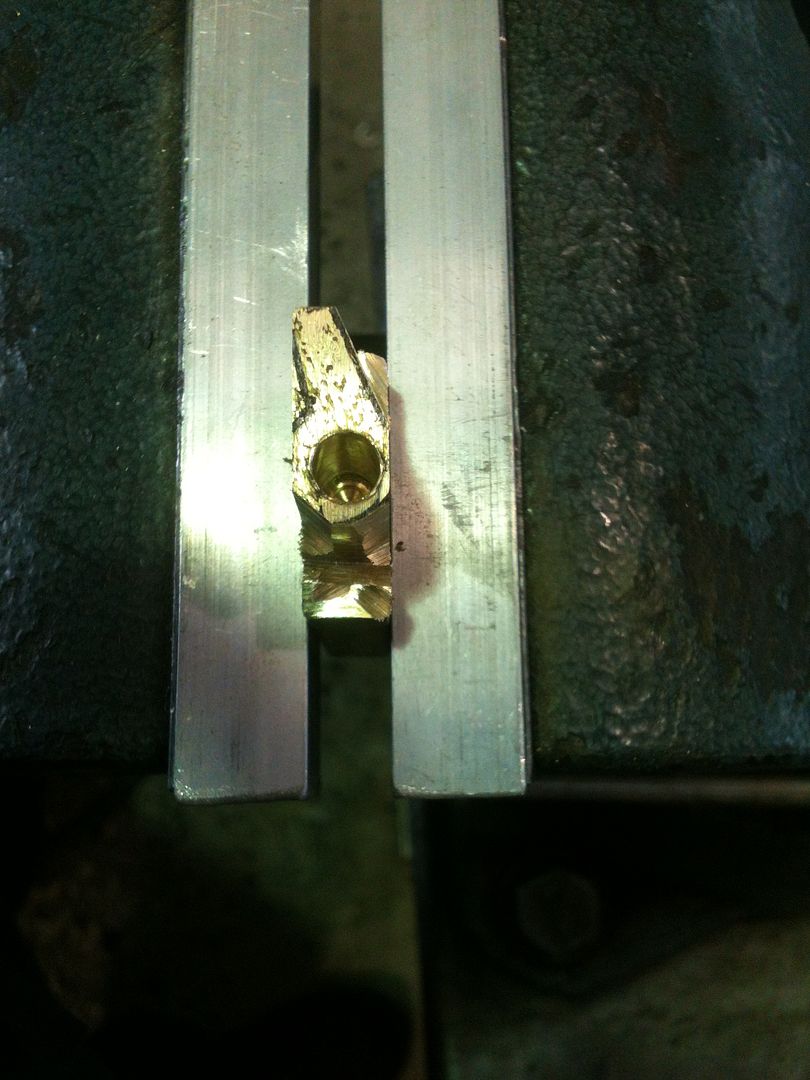
Image

Start filing it smooth and to shape:
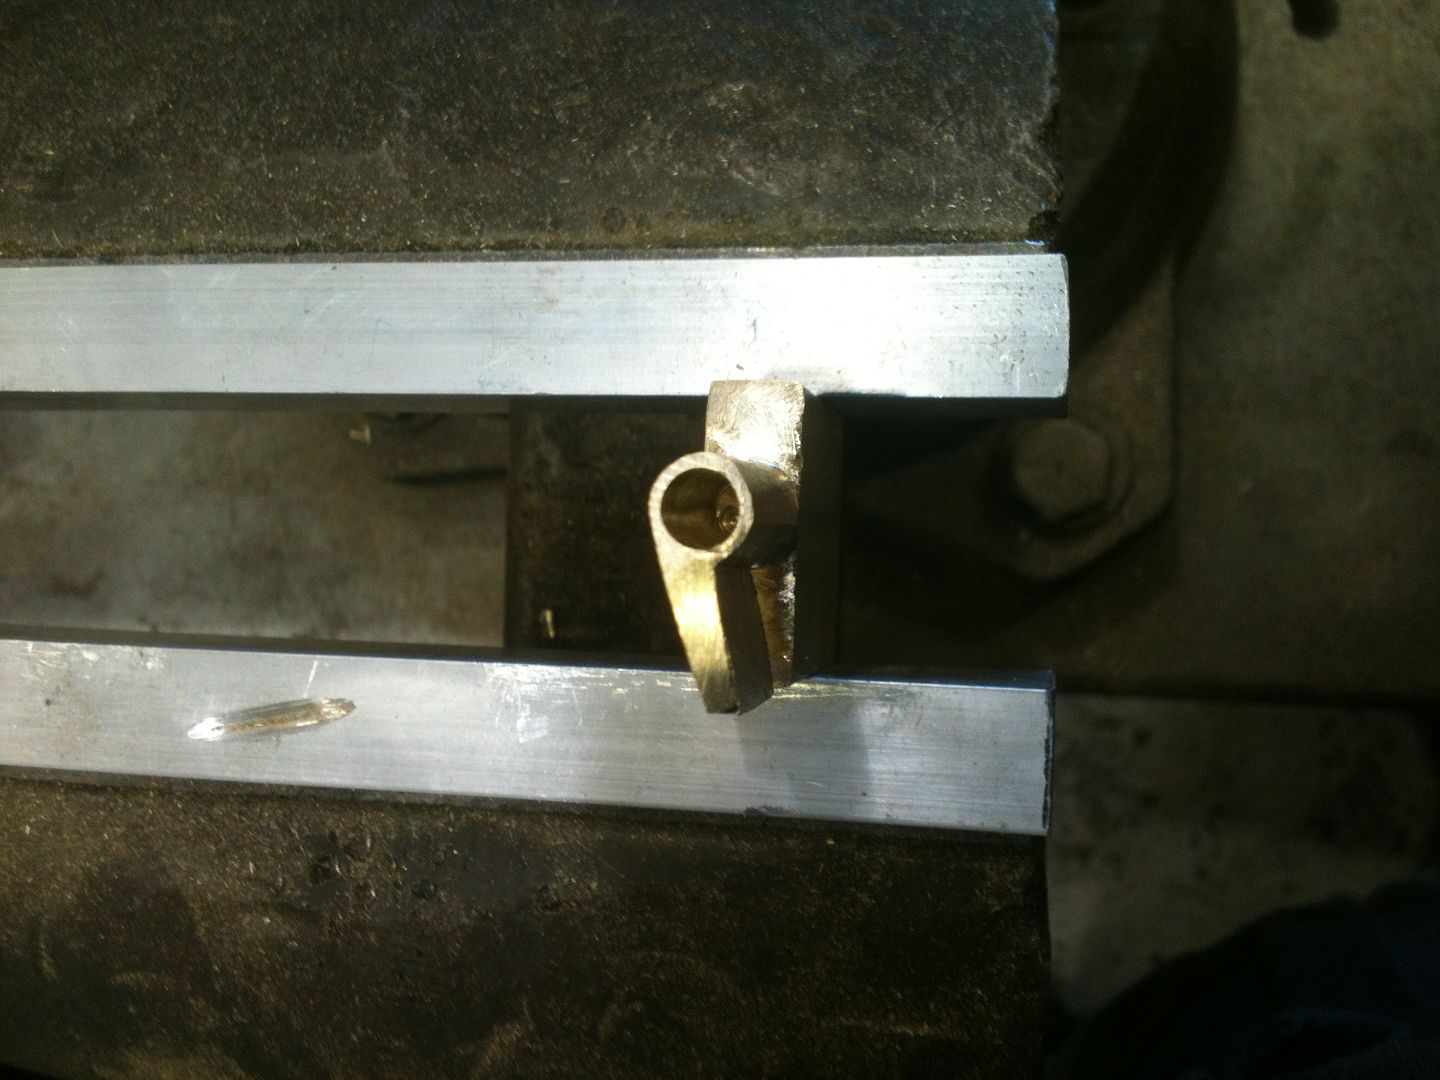
Image

Image

Image

OK, so you think your blank is ready. :-) Let's see if the lock agrees. First, out comes my famous Sharpie marker. (When not doing a pictorial, do not use a marker nearly as much. When taking pictures, marks show up much better if the key is marked first).
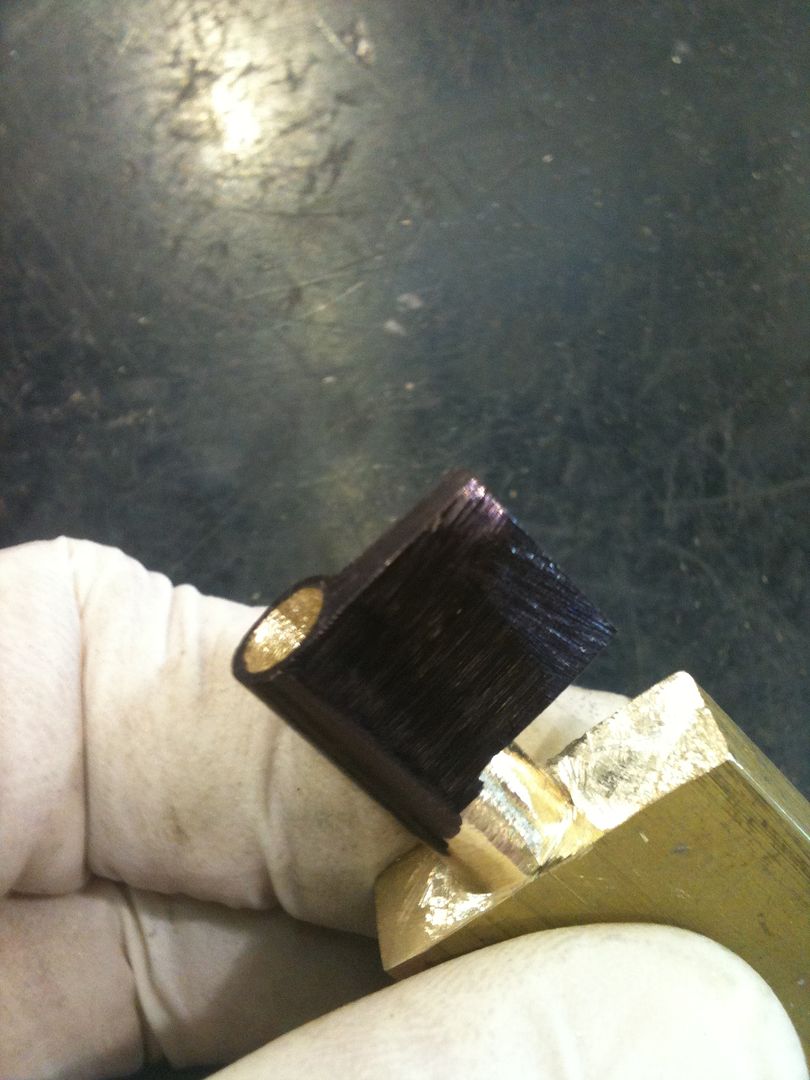
Image

Move aside the dust shutter and try to put the key into the lock.
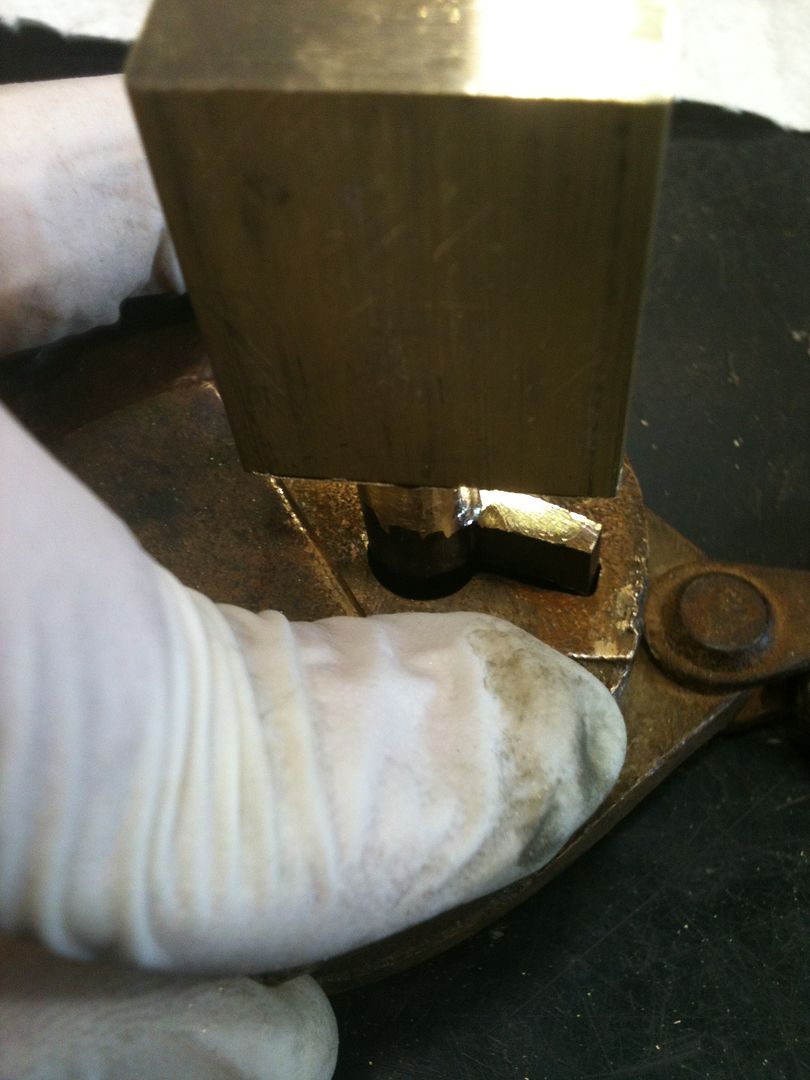
Image

:?

Well, did not really expect it to fit perfectly the first time. Now what?

Remove the key and look at the ink marks, of course.
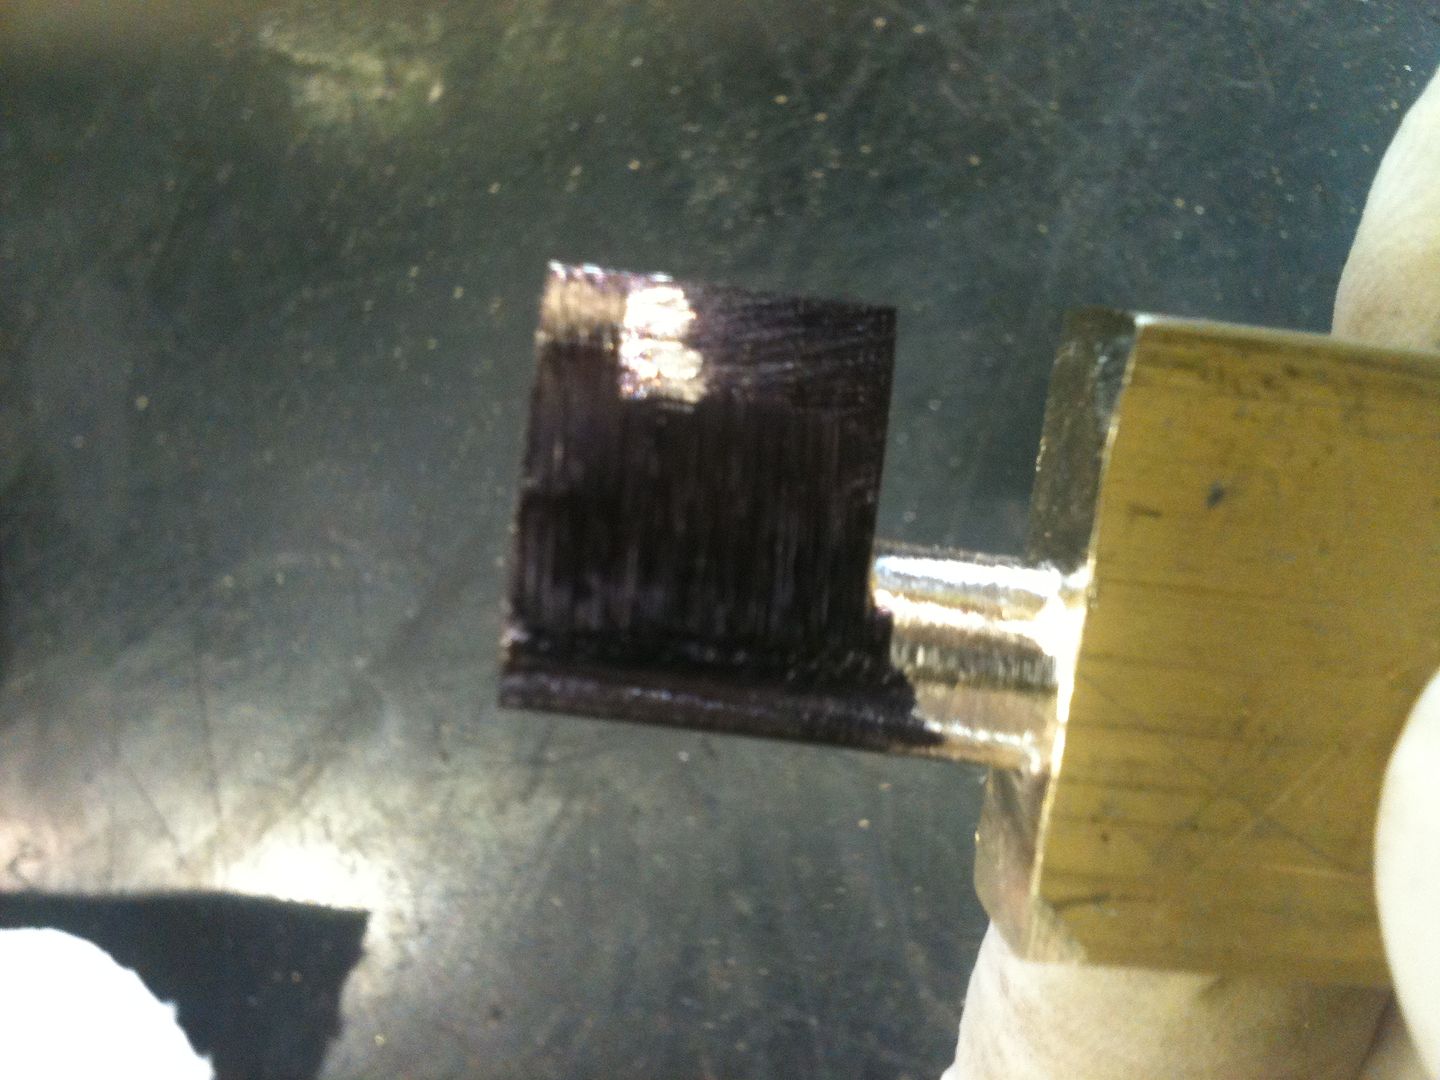
Image

Image

File where you see marks (just like impressioning), and further up the key blade if you see a widening trend.
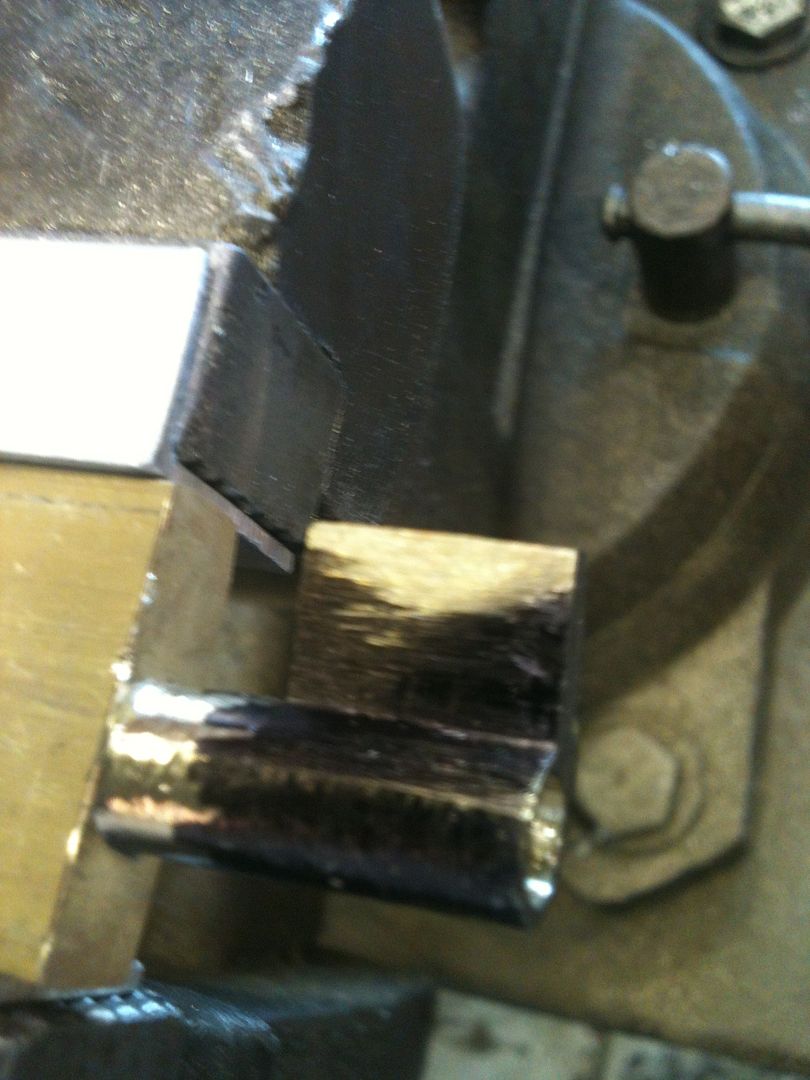
Image

Repeat the above steps until the key goes smoothly into the lock.
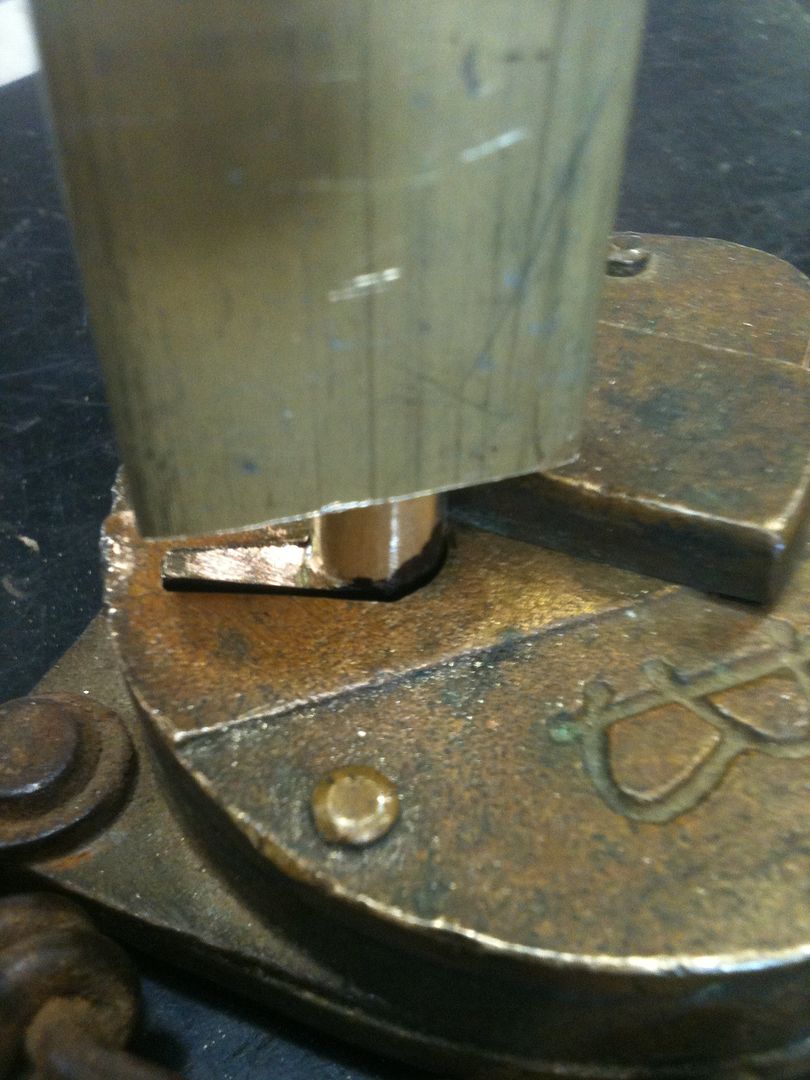
Image

But the key does not fit even close to the depth it should be according to the lock body! Look at the key tip. (You did mark it, didn't you?)
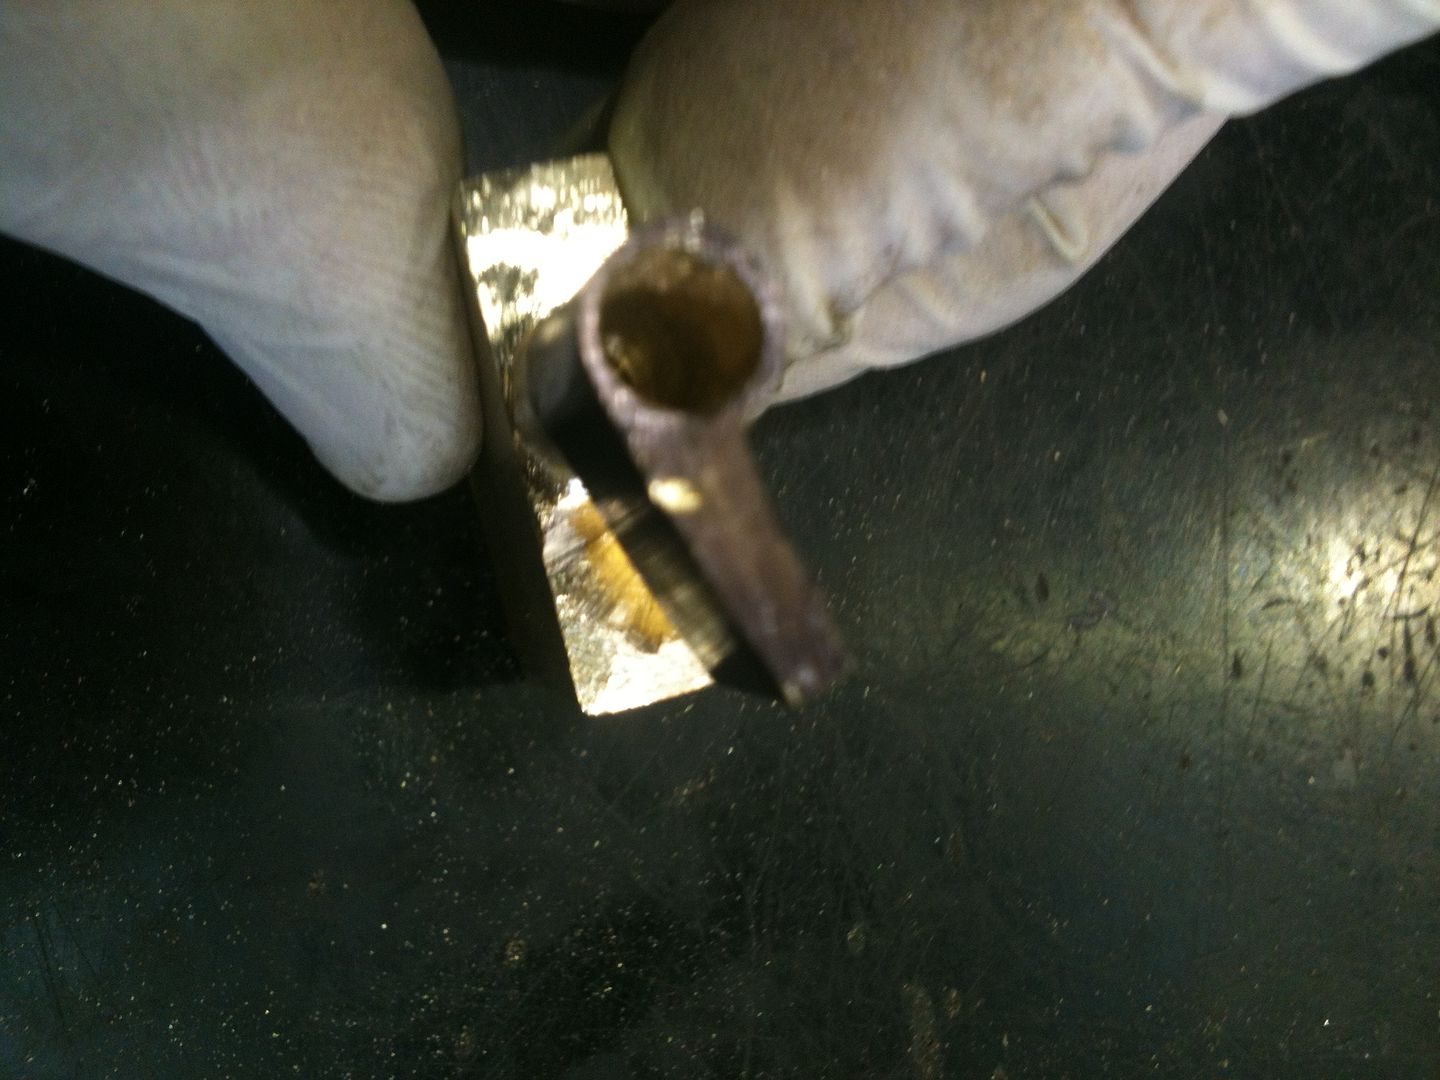
Image

Yup. There is a tip cut. Cut where you see marks, and continue the cuts all the way across the width of the key blade. I used a dremel with a fine diamond bit so I could make the cut curve, as the keys would.
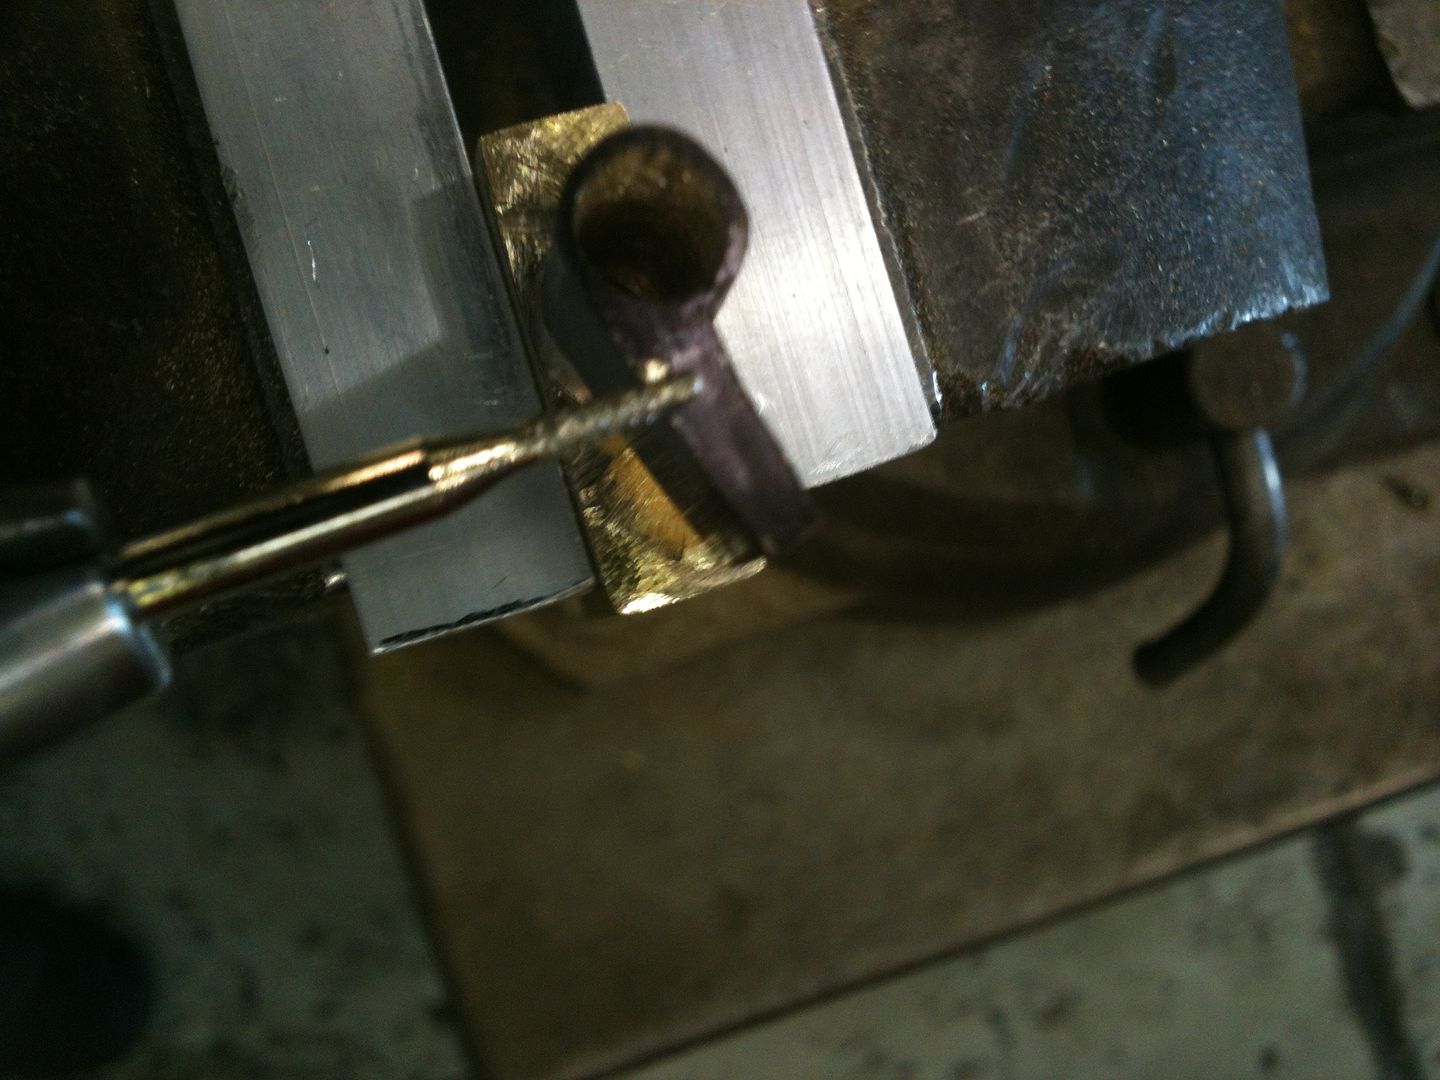
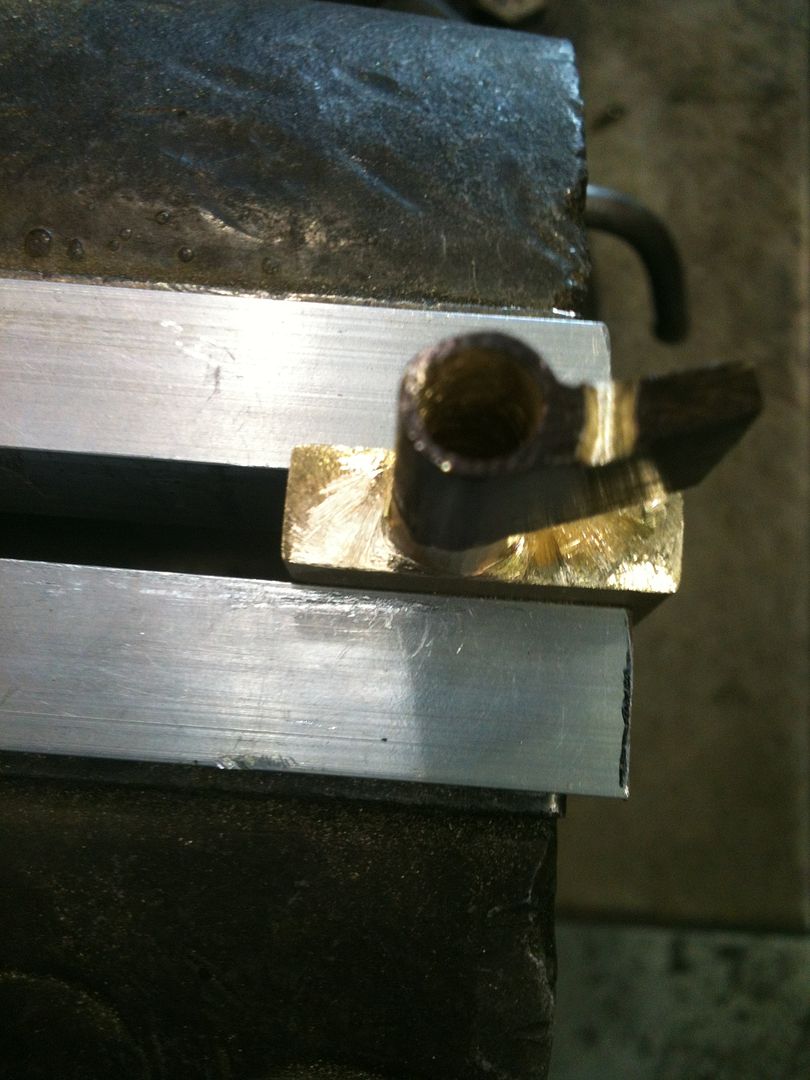
Image

Image

Re-mark the tip and repeat until the key fits fully into the lock without marking the tip cut area.

Now you can look and see how much you will need to cut the key blade (from the key bow side) for the key to turn.
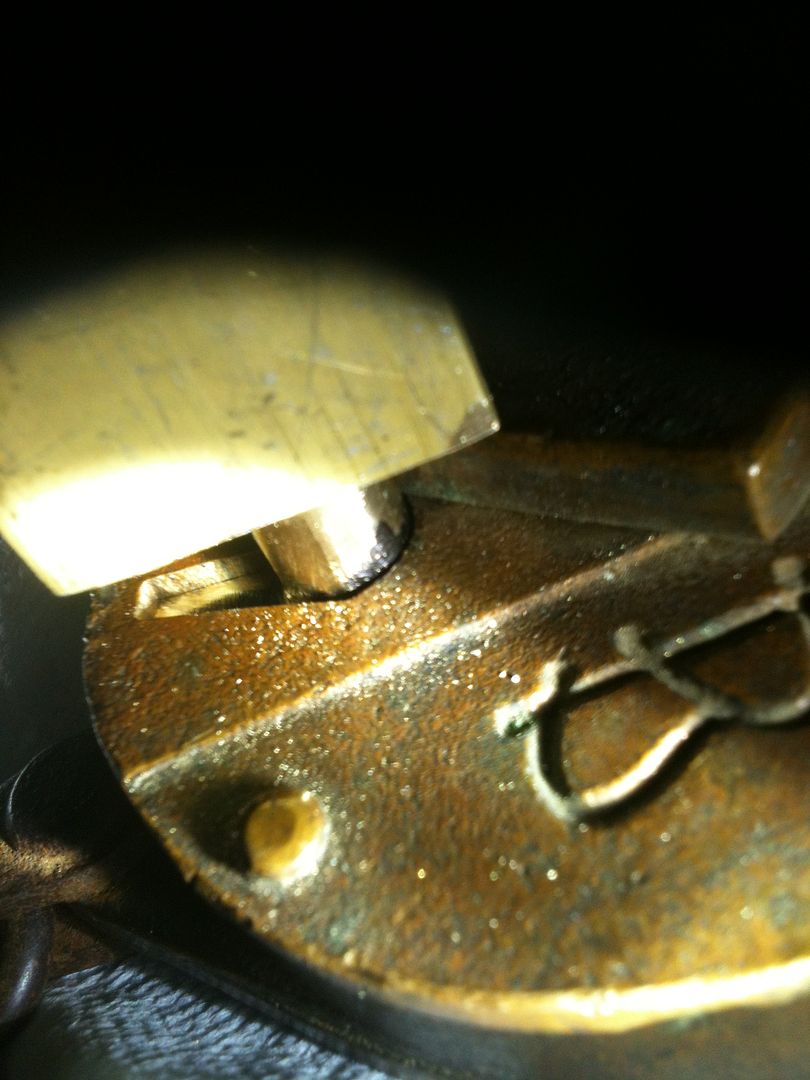
Image

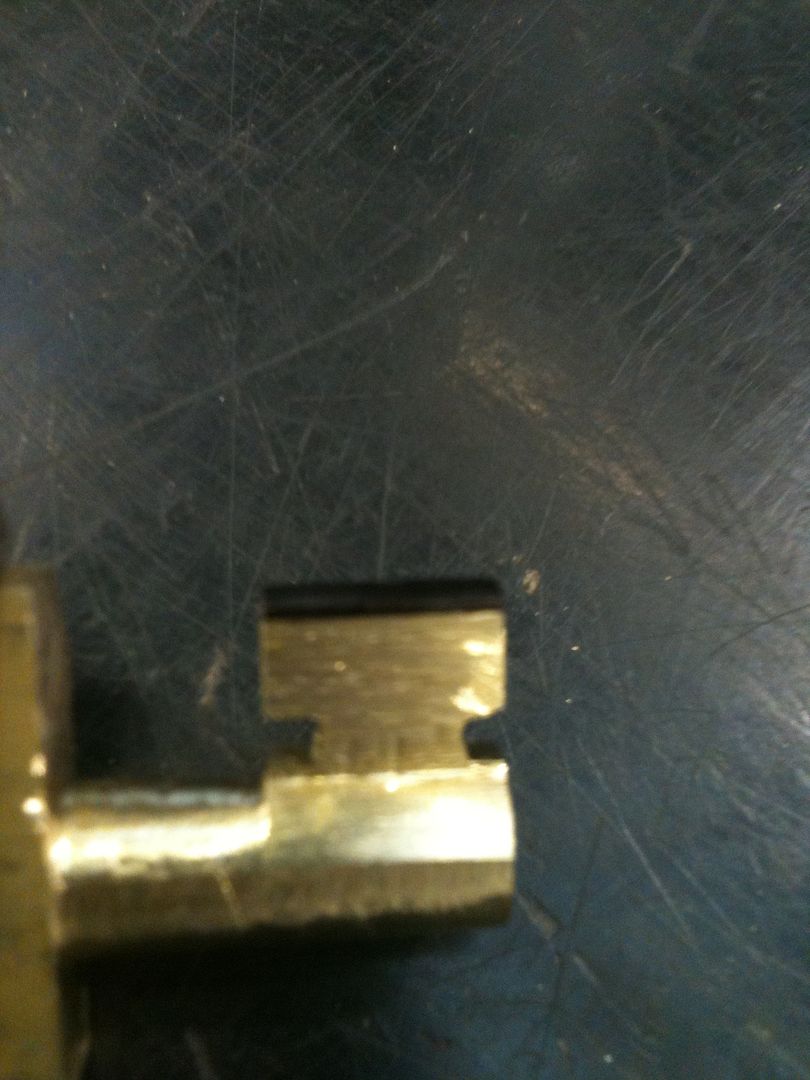
File the blade until you can see that it would clear the lock body (the throat cut)...
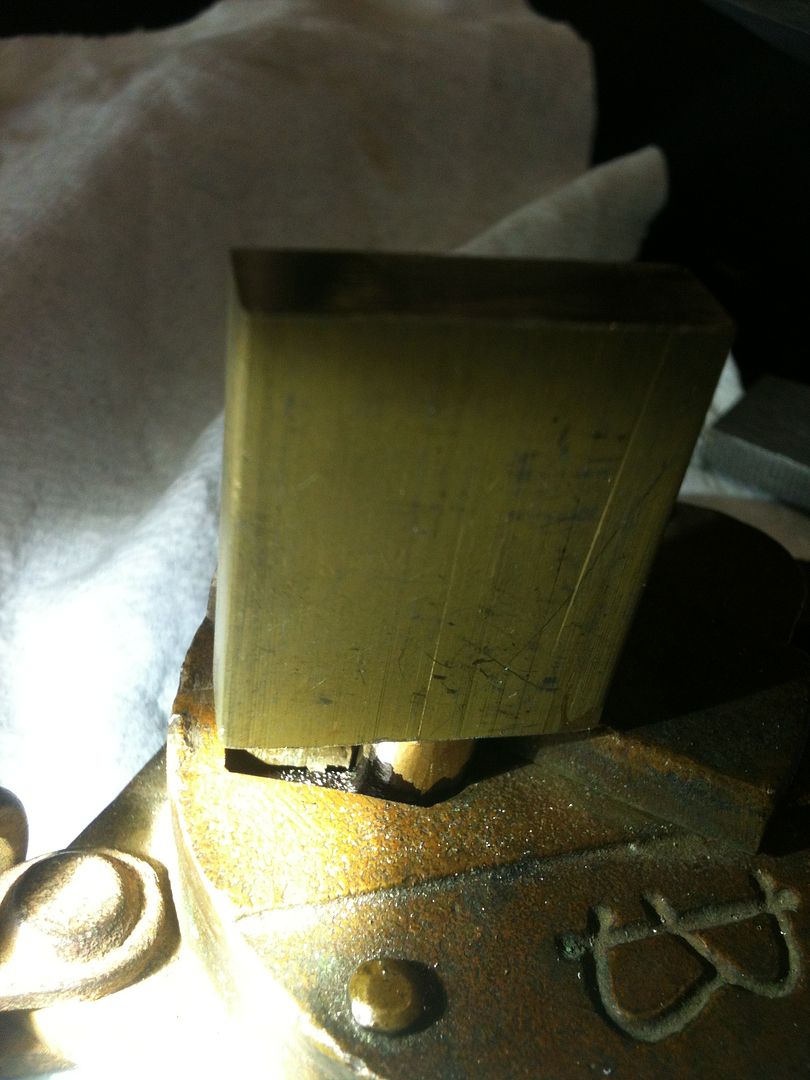
Image

... if it were not for that ward near the middle of the key blade in the above picture. It does leave a mark showing where to file.
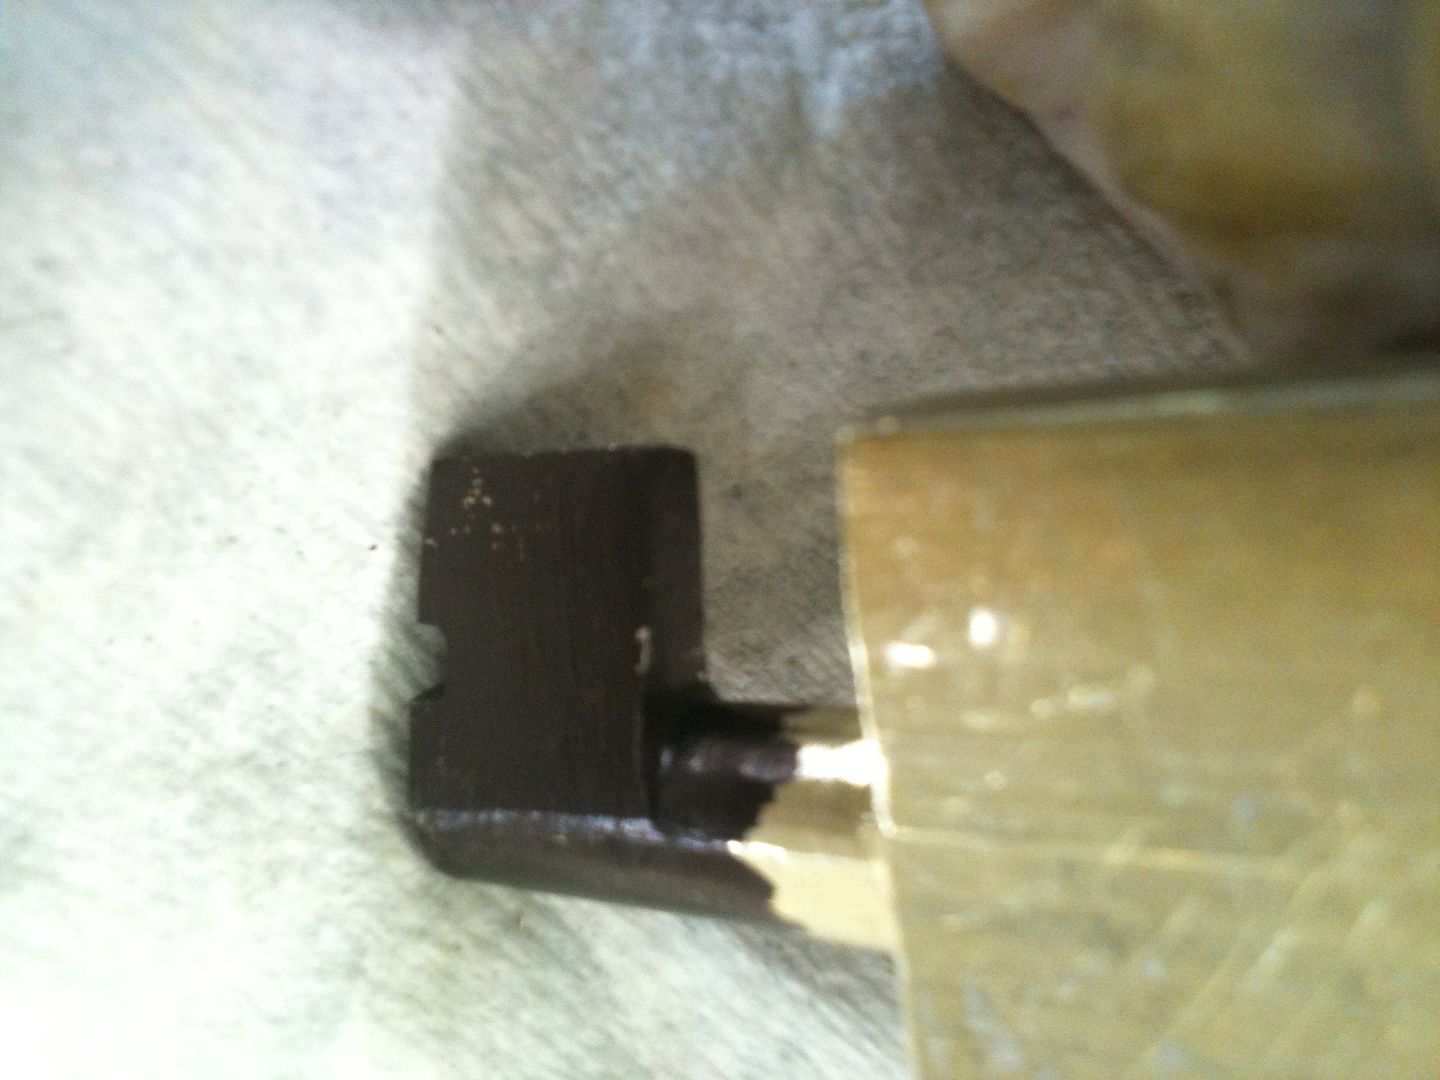
Image

You guessed it! File where you see the mark(s) across the full width of the key blade.
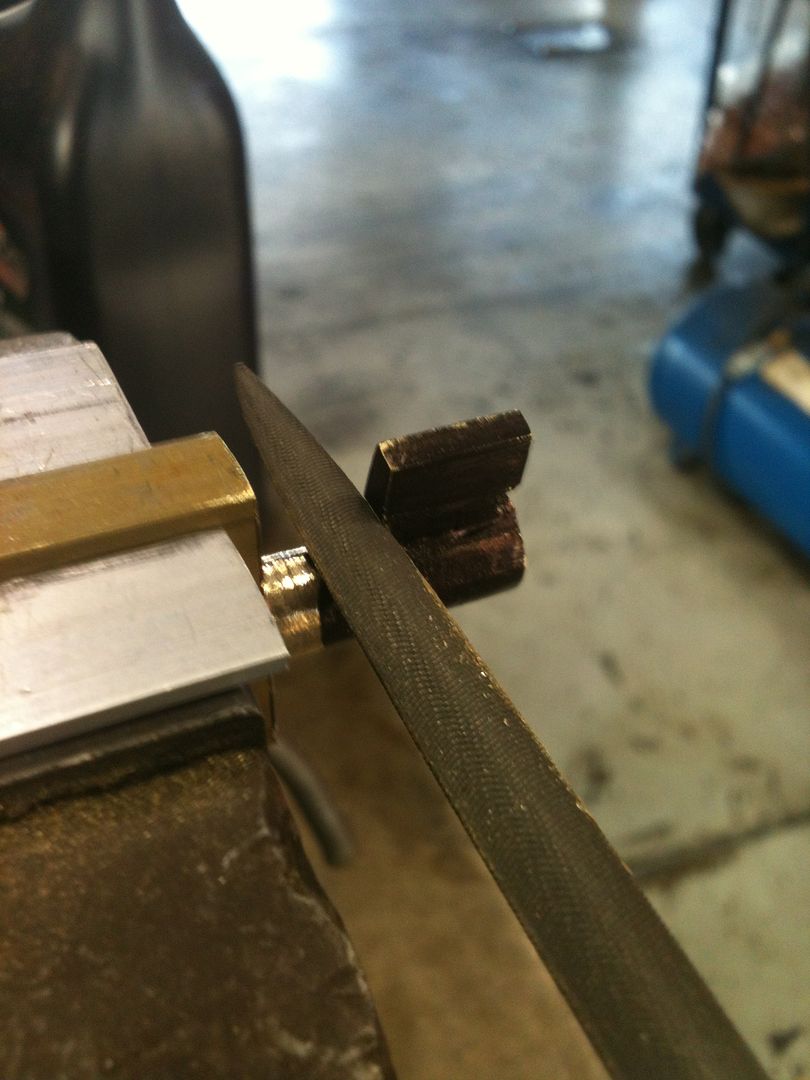
Image

Image

Repeat until the key can turn smoothly in both directions in the lock (until it hits the lever]
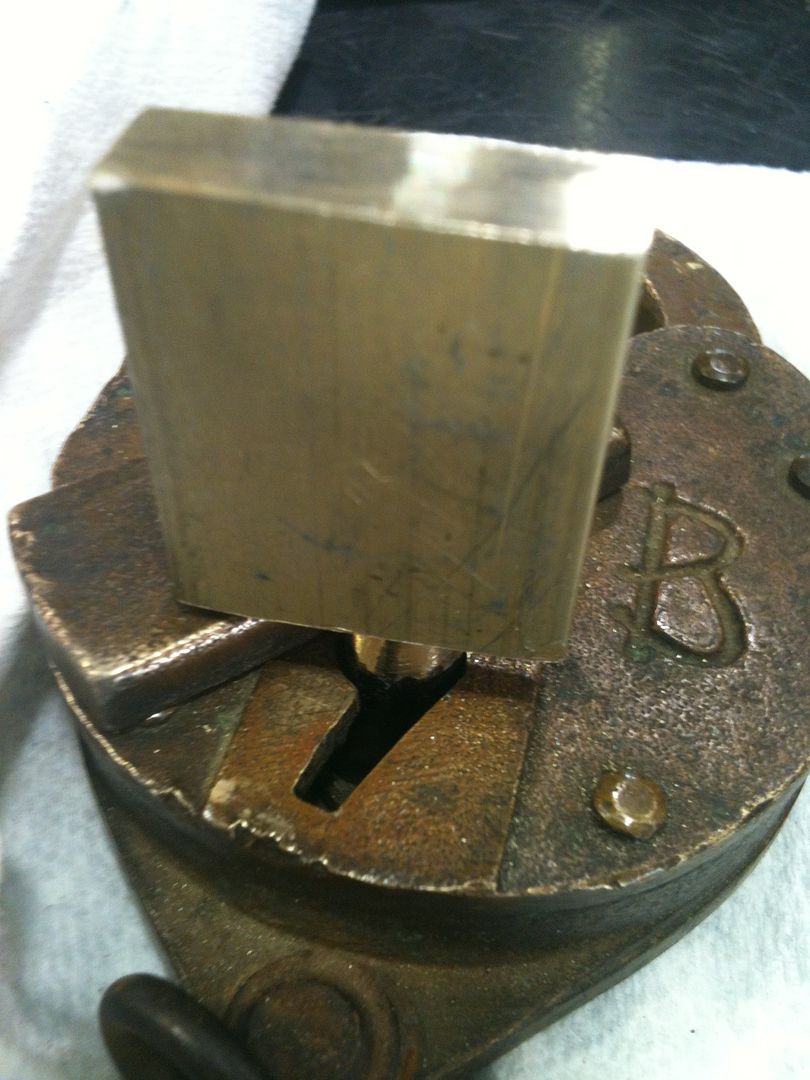
Image

Image

Image

Image

Great! We are ready to impression the lock! :twisted:

Mark your key blade:

Image

Put the key into the lock and turn it until you feel the key press in the lever(s). It will have a slightly springy feel. Do not force the key or you risk damaging the lock. Just turn it like you expect the lock to open, back off and repeat a couple of times.

Remove and inspect the key for impressioning marks.
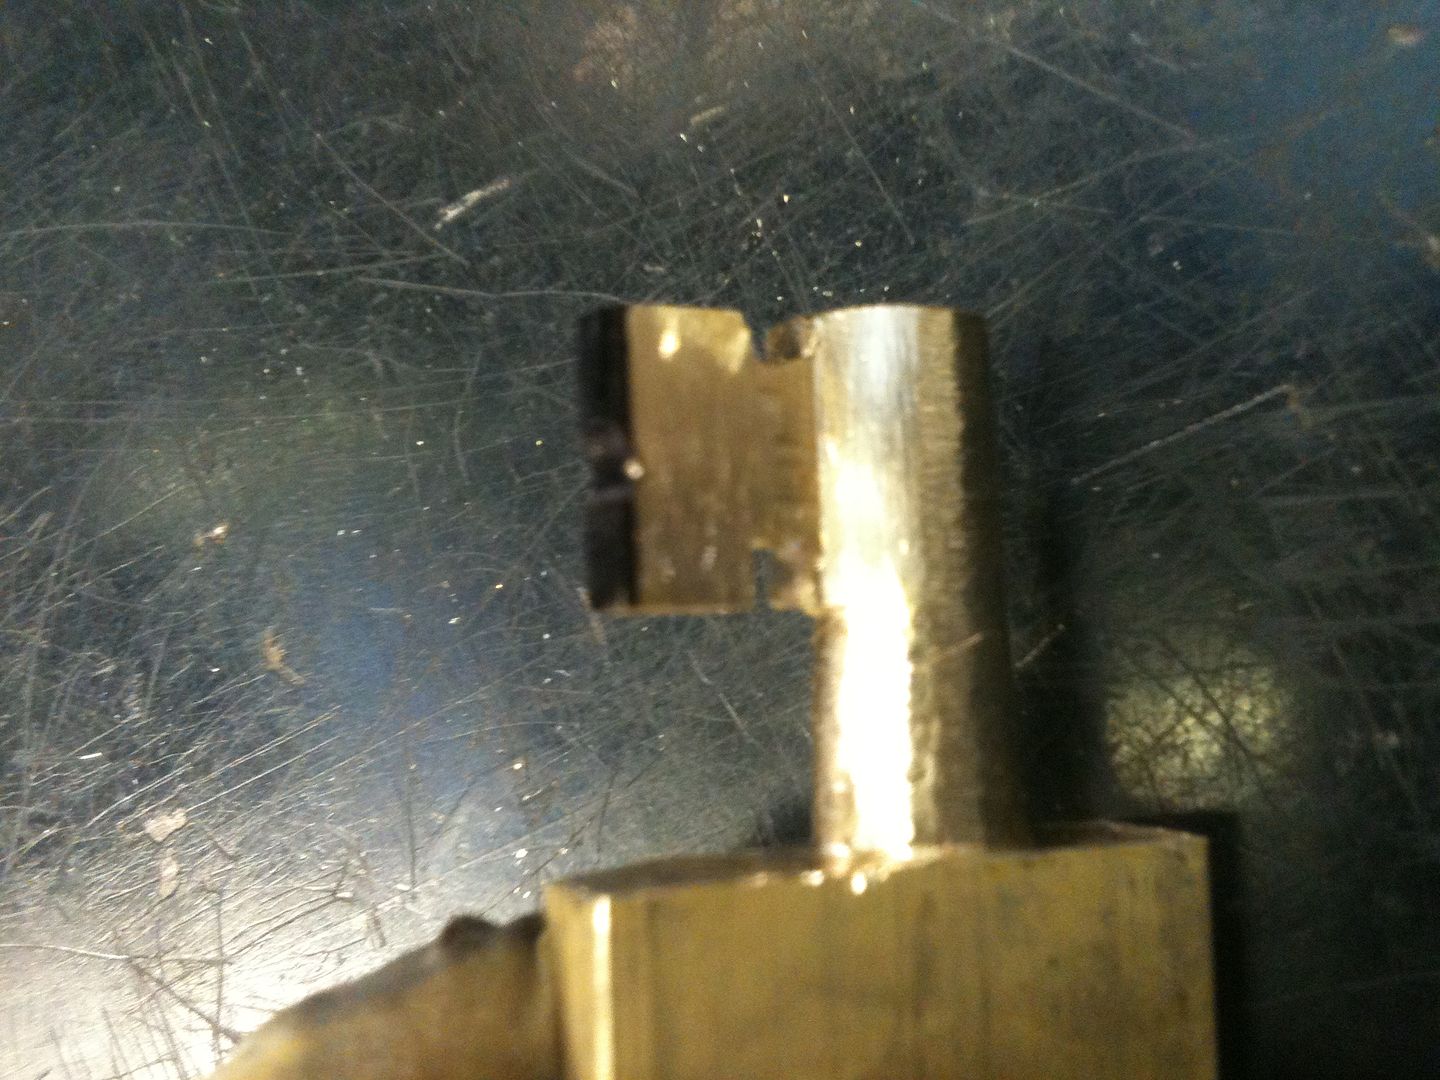
Image

File only where you see marks. The look of the marks will change as you go!
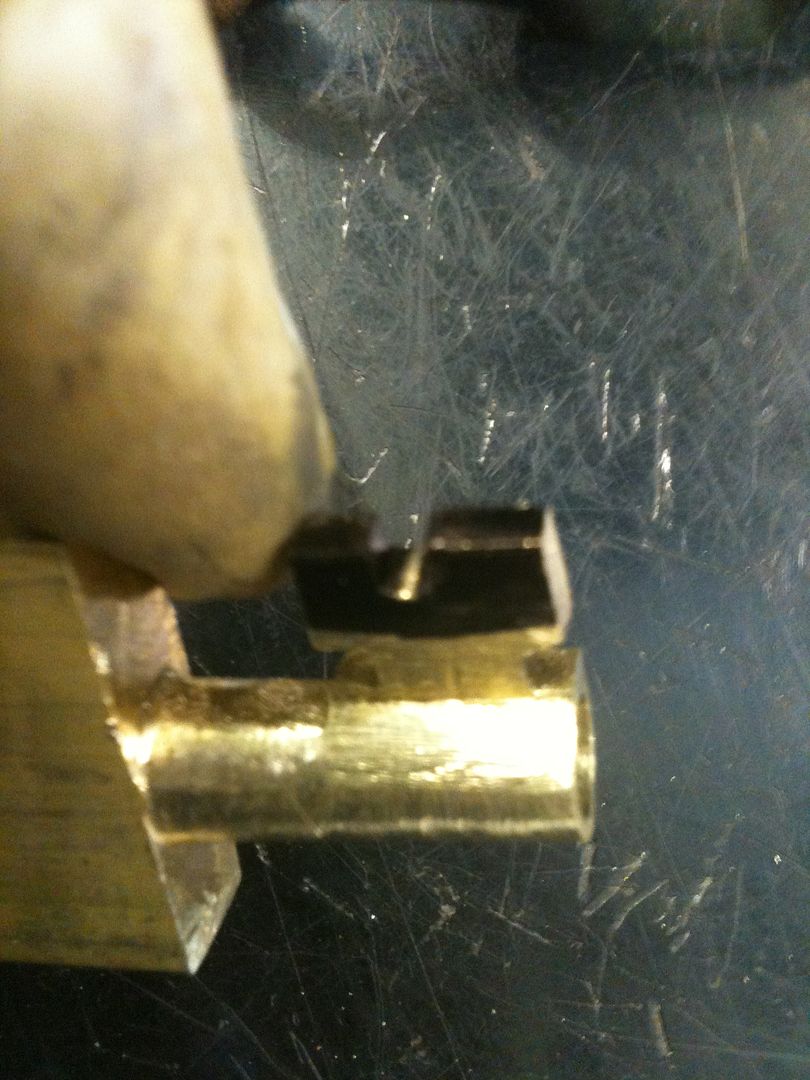
Image

Re-mark the cut area, and repeat until...
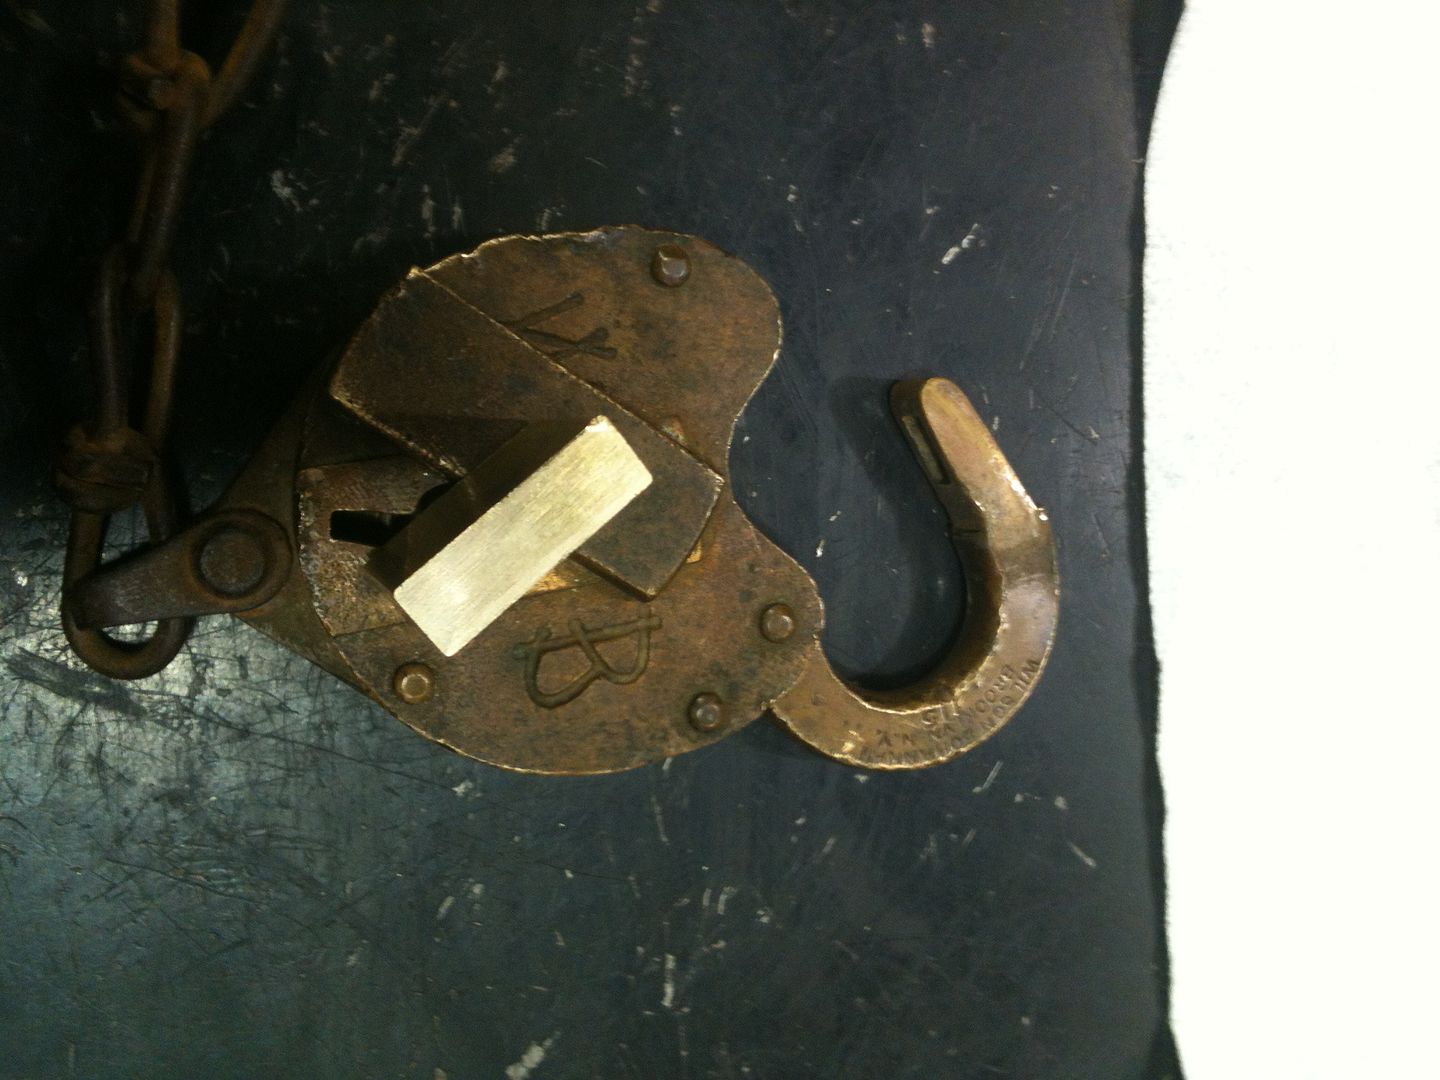
Image

:mrgreen: :mrgreen: :mrgreen: :mrgreen: :mrgreen:

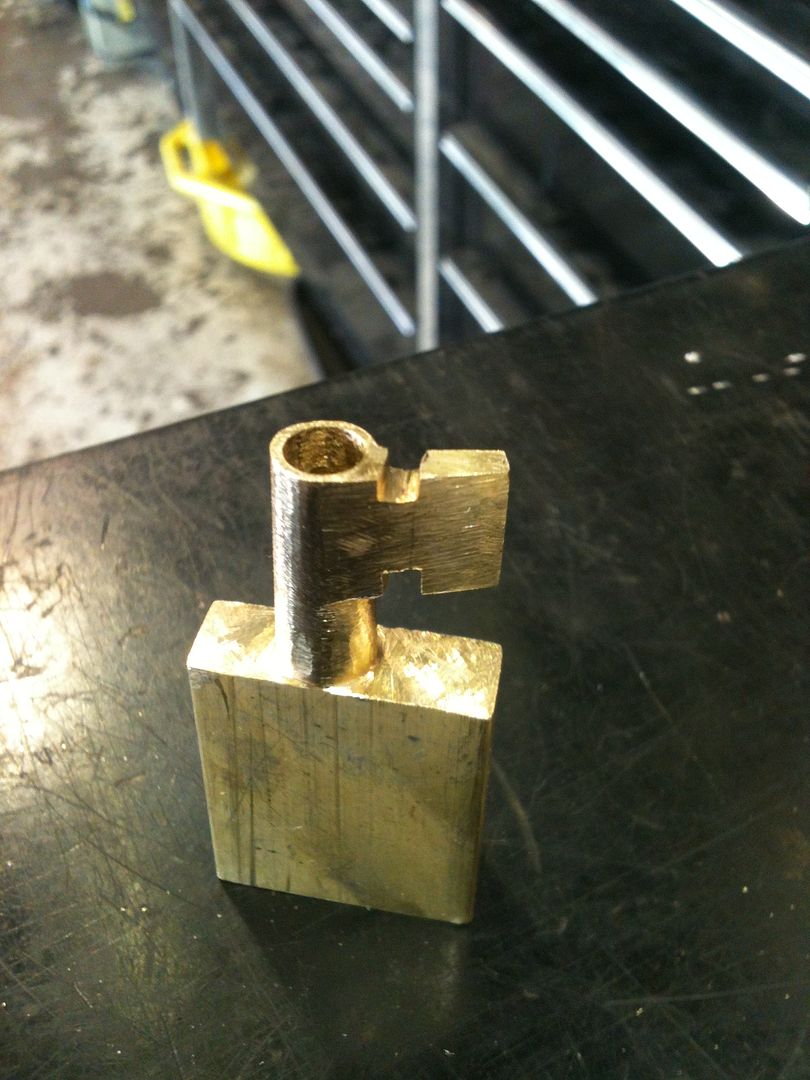
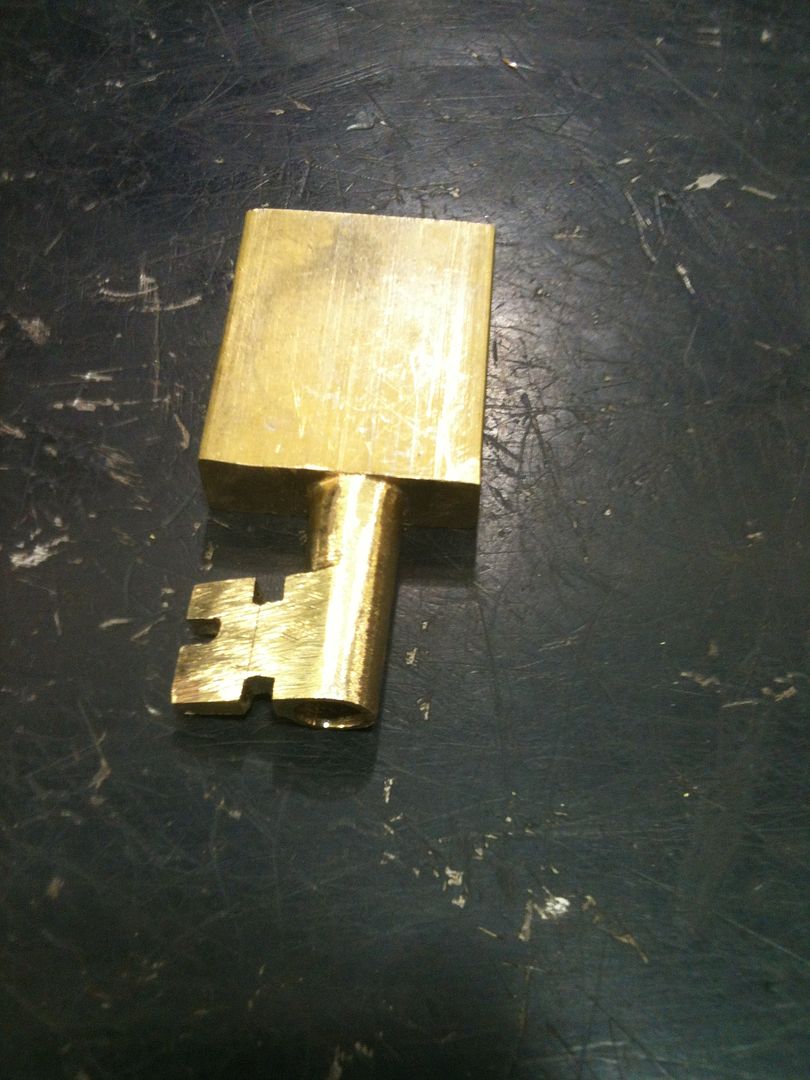
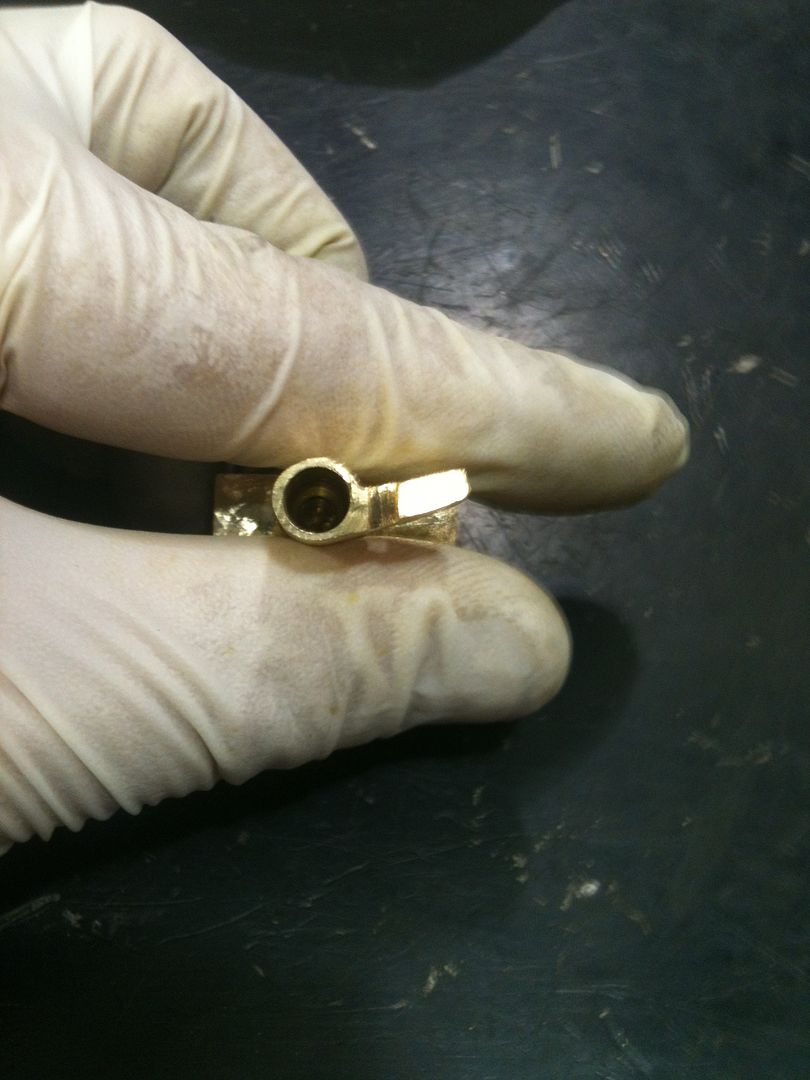
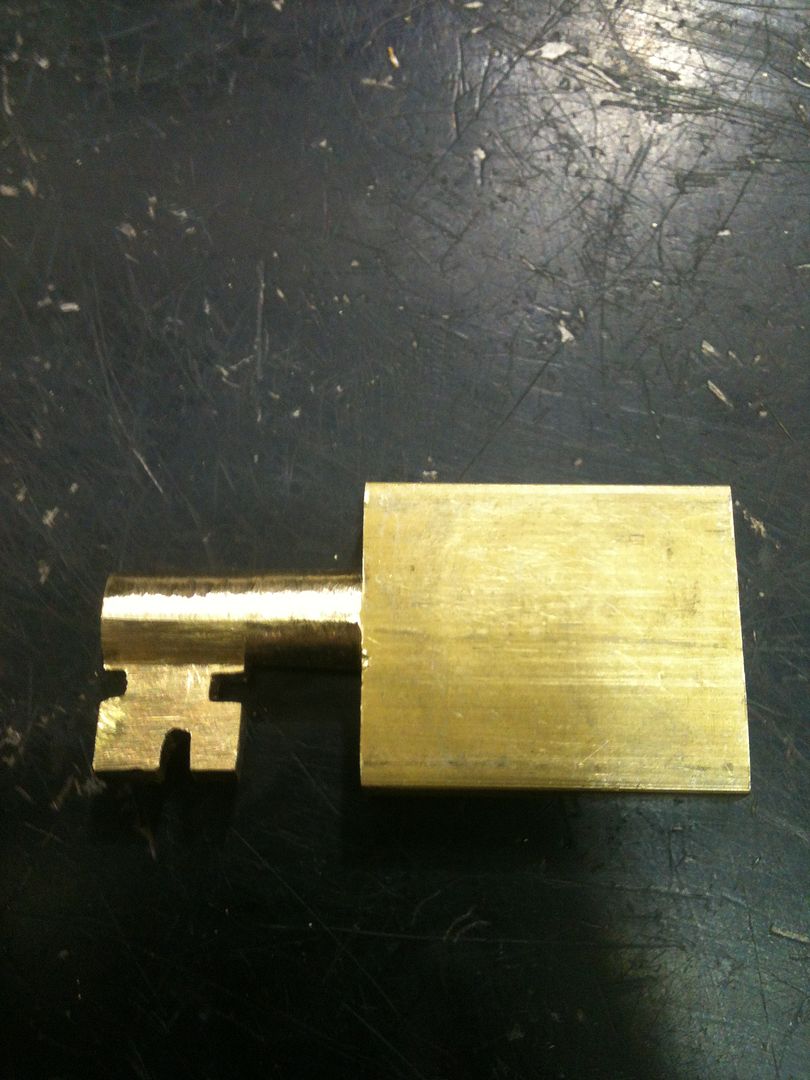
Clean off the marker and admire your handiwork!
Image

Image

Image

Congratulations! You now have a working key!

***Begin television announcer voice***

But wait!!! Are you saying "That deal just 'alright'"??? We're NOT DONE!!!. If you act today, we will even throw in instructions for making a key bow ABSOLUTELY FREE!!!

Yes, the first five hundred readers of this thread get this added bonus at no additional cost!!!

***End television announcer voice***

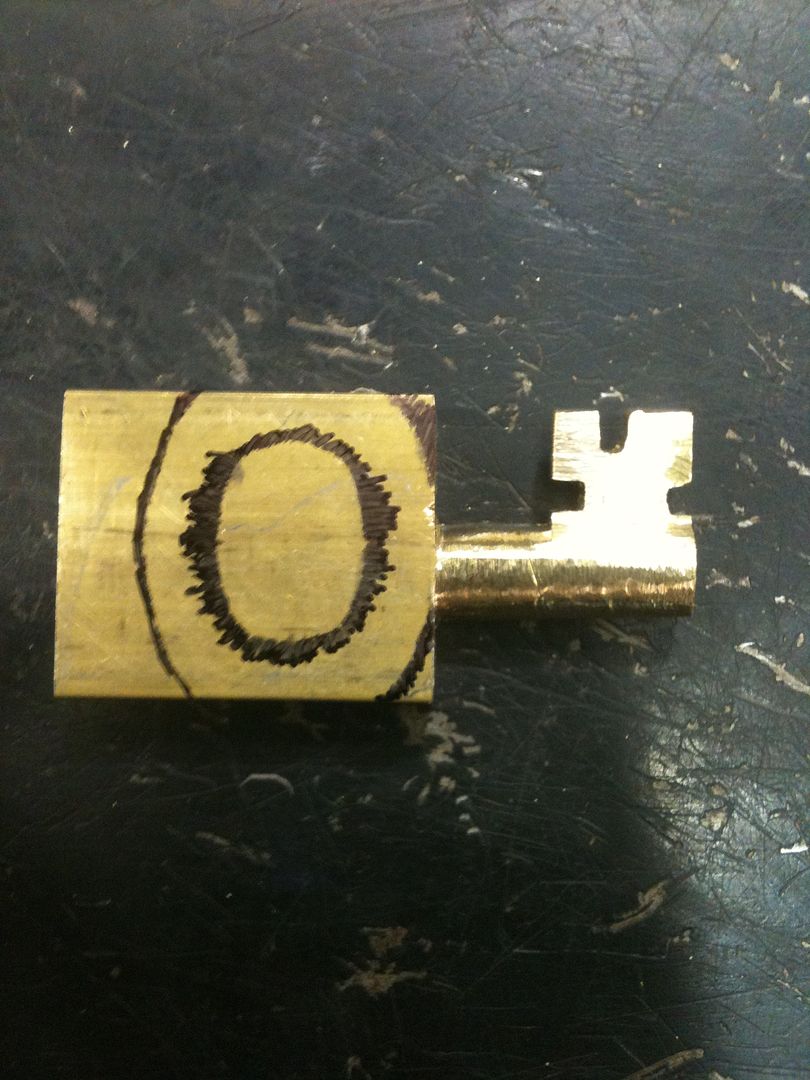
Draw the rough shape of your key bow onto your brass.
Image

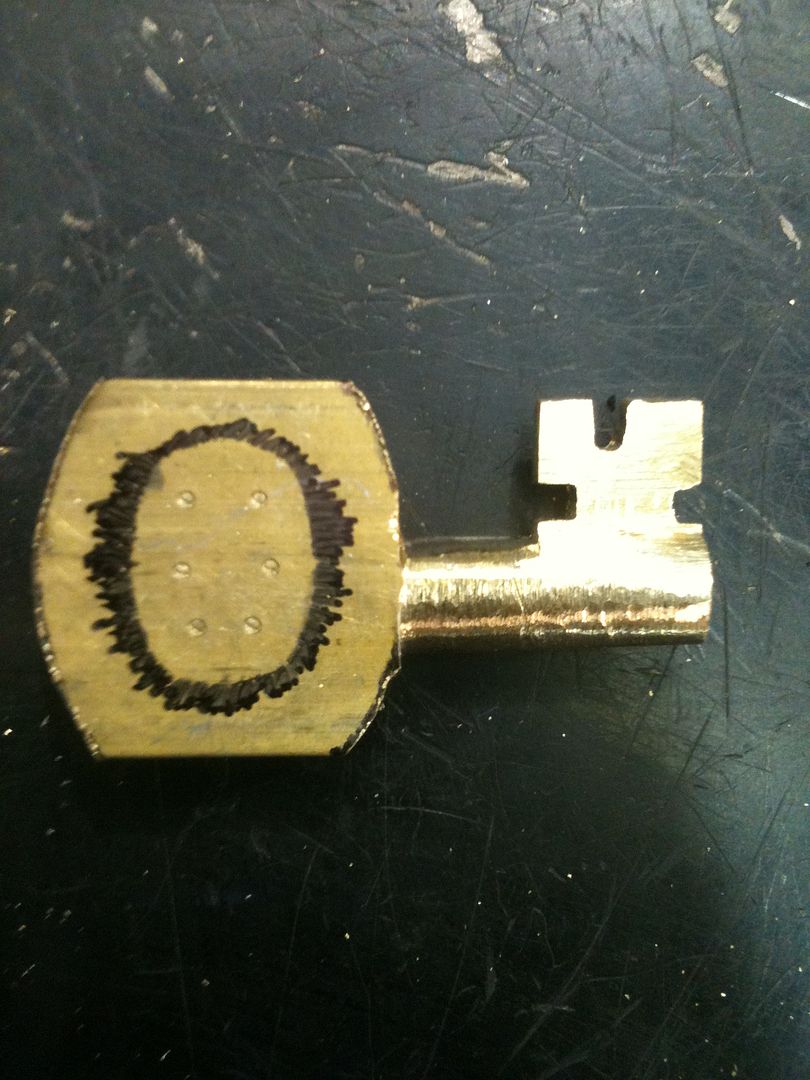
Center punch several small holes a small distance from the inner edge of your key bow. These will help keep the drill bit from wandering. (This is my first attempt at a ring-shaped key bow made from scratch, so bear with me a we learn this together).
Image

Now drill small holes

Image

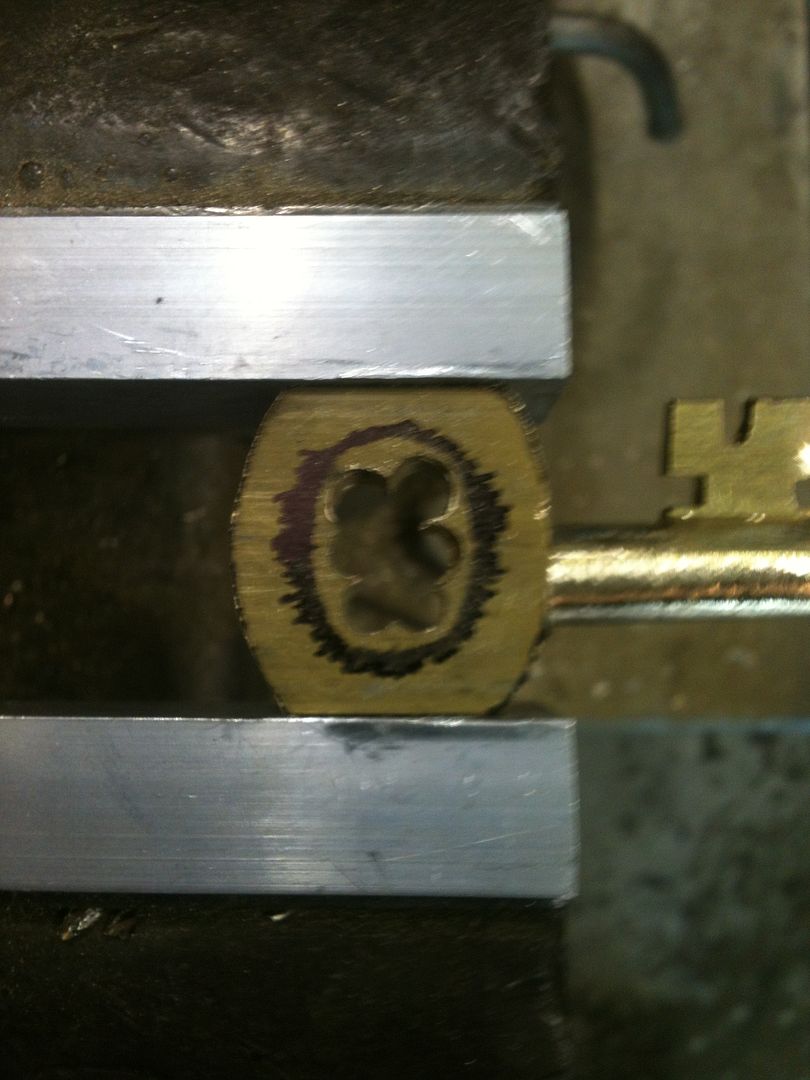
And progressively larger holes until they meet, dropping out the center of the hole.
Image

If you have no power tools, you are in for a lot of filing. If you do have them, put a carbide burr bit into your drill...
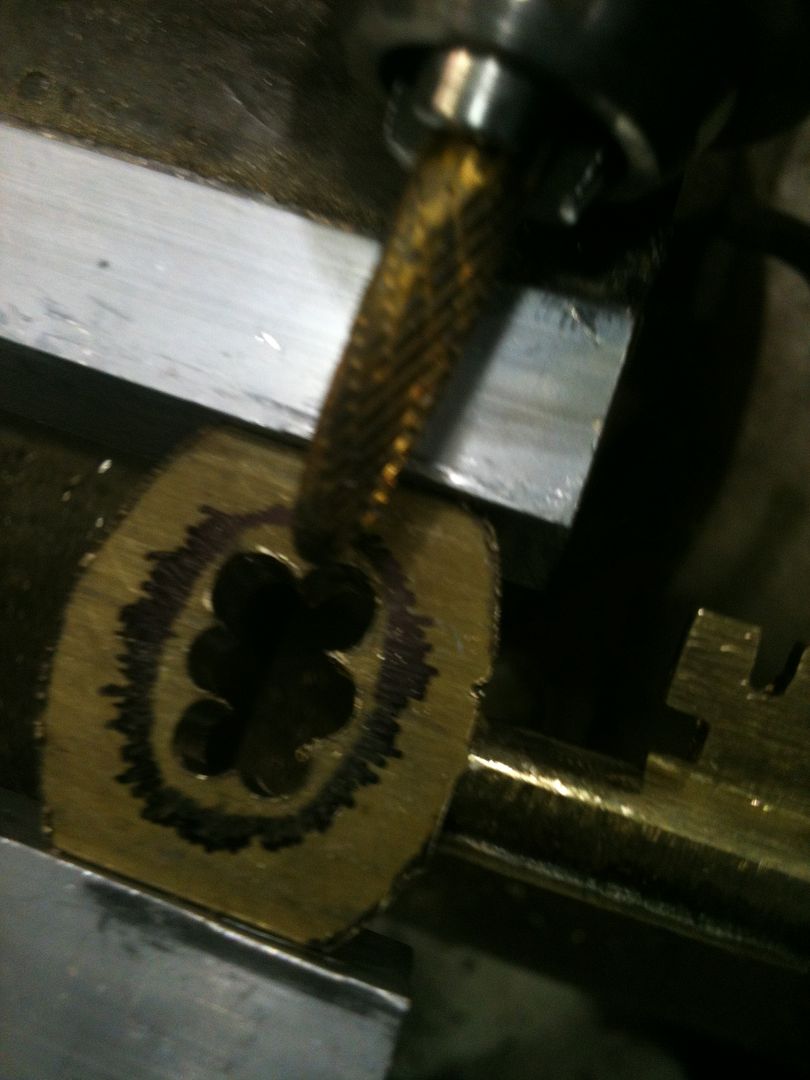
Image

And cut to the inside edge of the key bow.
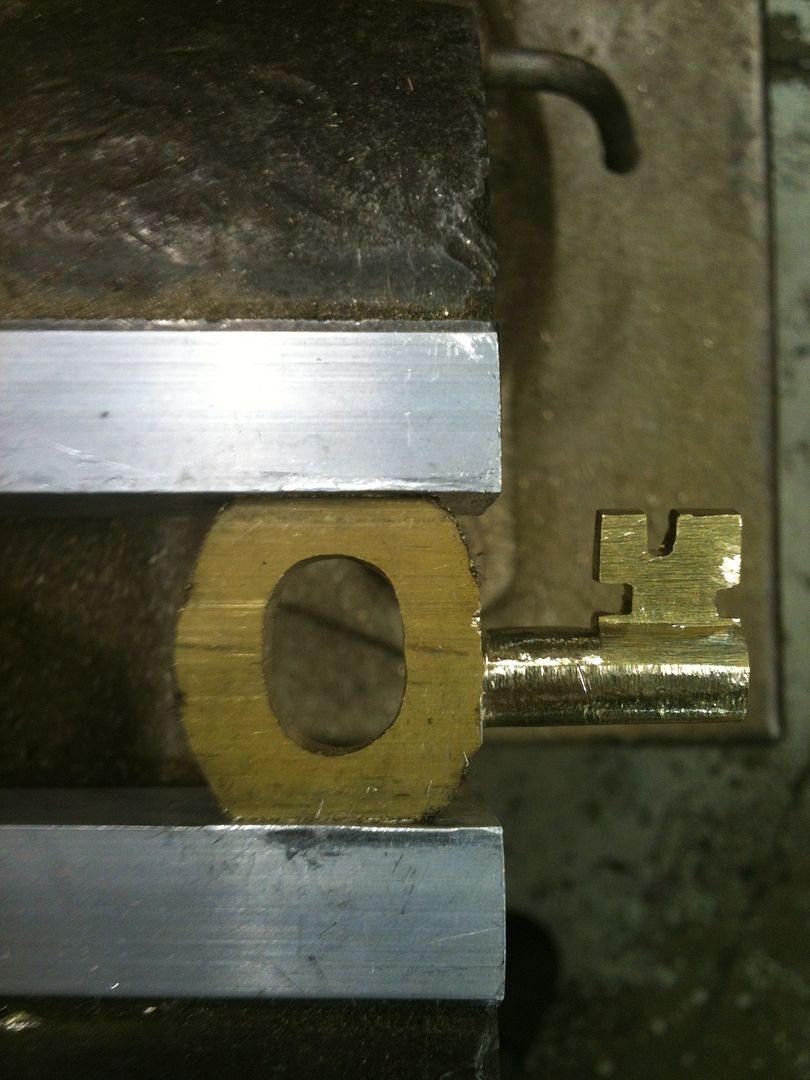
Image

Now grab your Dremel tool and put in a cutting bit and bevel the [inner] edges if the key bow. Trust me, don't do the outside part yet. Will explain that later.
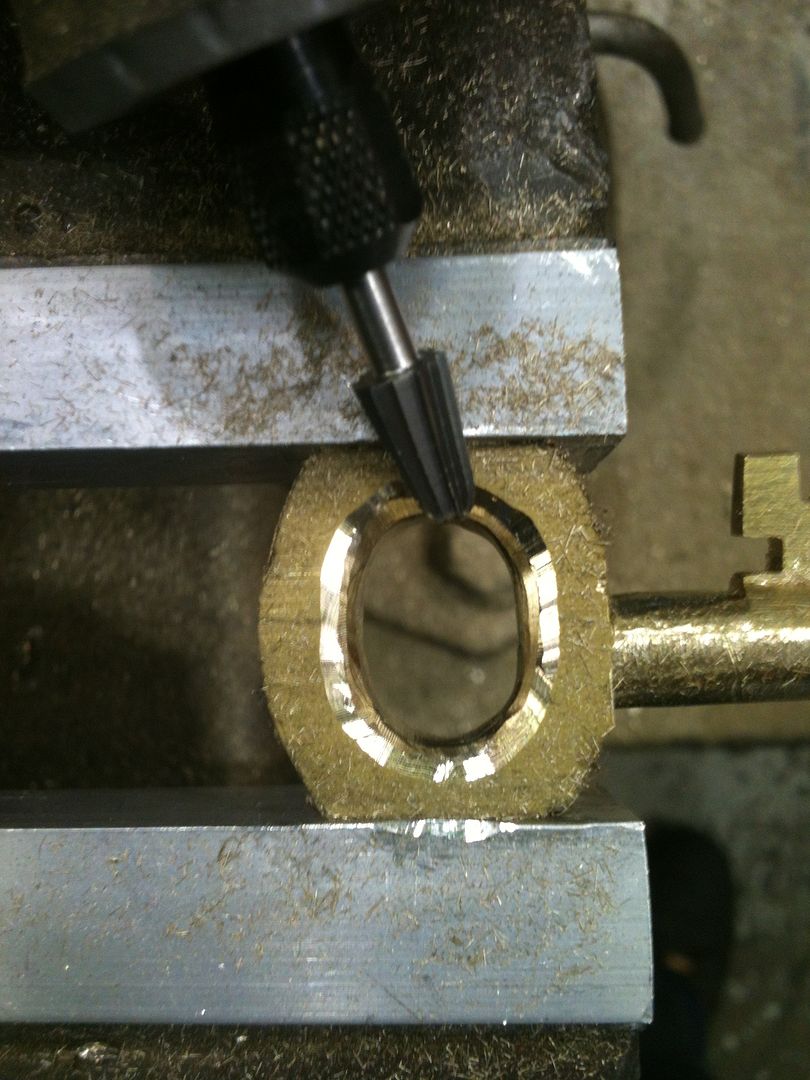
Image

Now cut some long, thin strips of sandpaper or emery cloth and feed one end through the hole in the key bow.
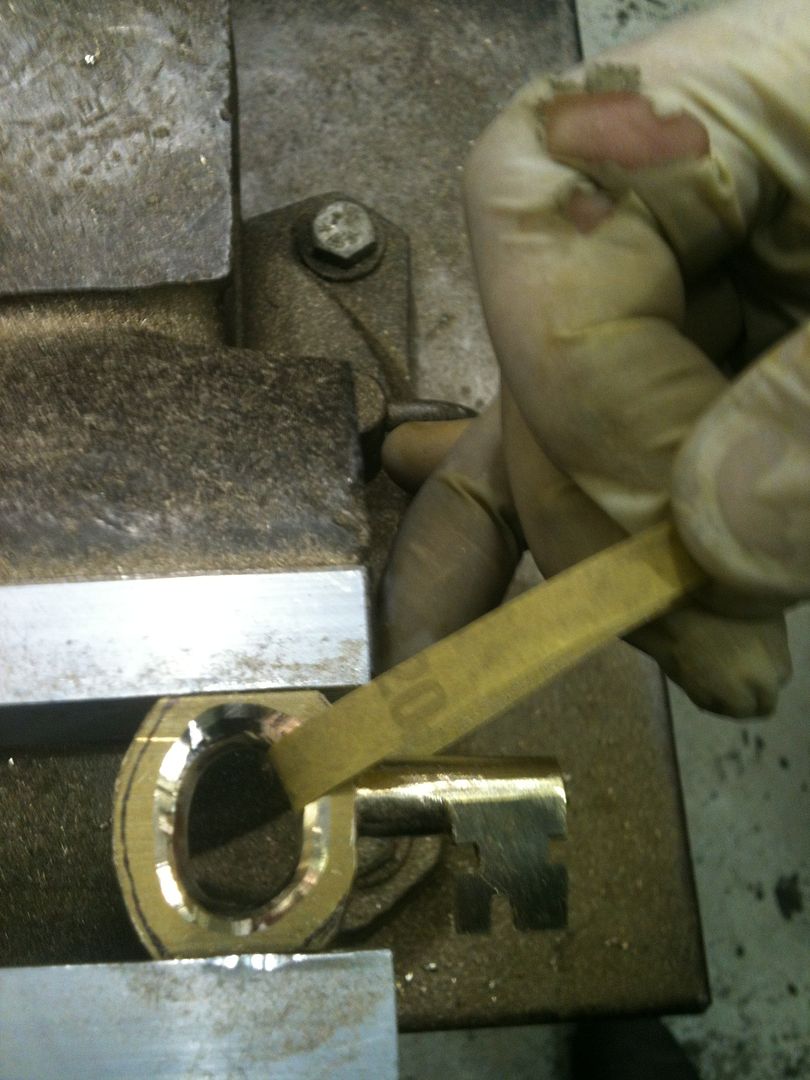
Image

Holding one end in each hand, sand the inner edges of the key bow until the filing marks are gone. Use progressively finer sandpaper until you get your desired finish. This has an advantage of being pretty easy to do, and gives you the round shape on the key bow.

***Back to television announcer voice***

Did we mention that this shapes and polishes both sides of the key bow with no extra effort??? Now that is value!

***gunshot rings out, and the television announcer drops dead to the floor***

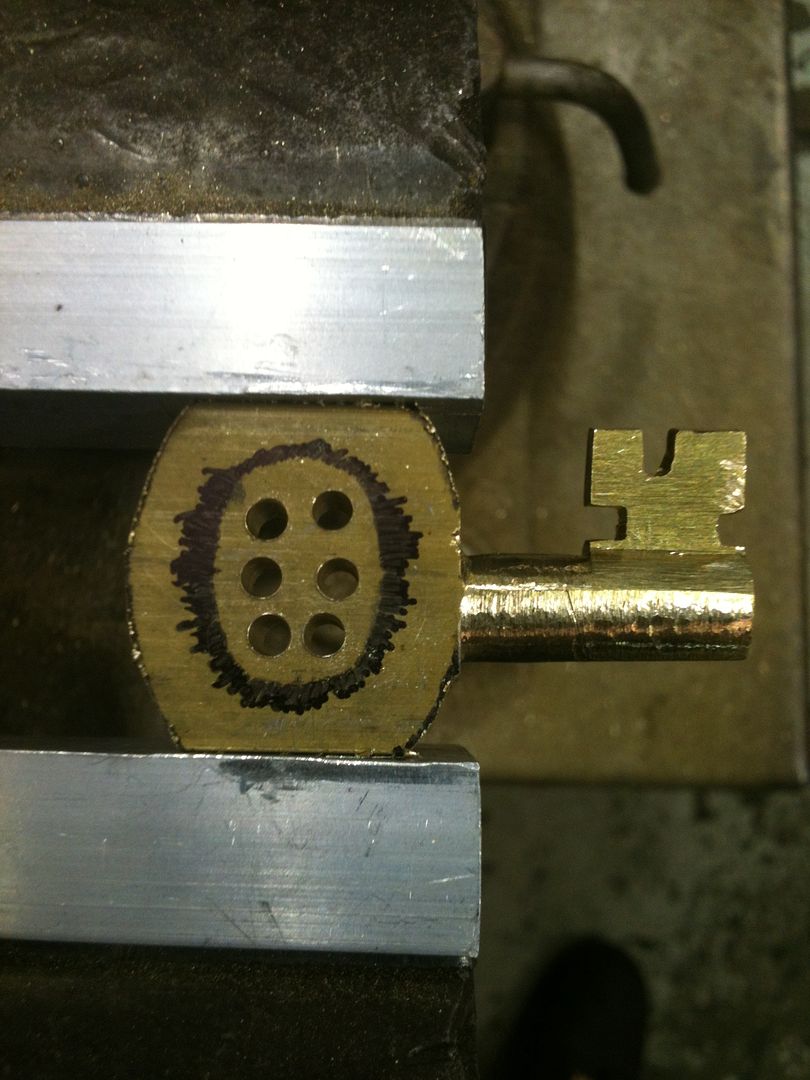
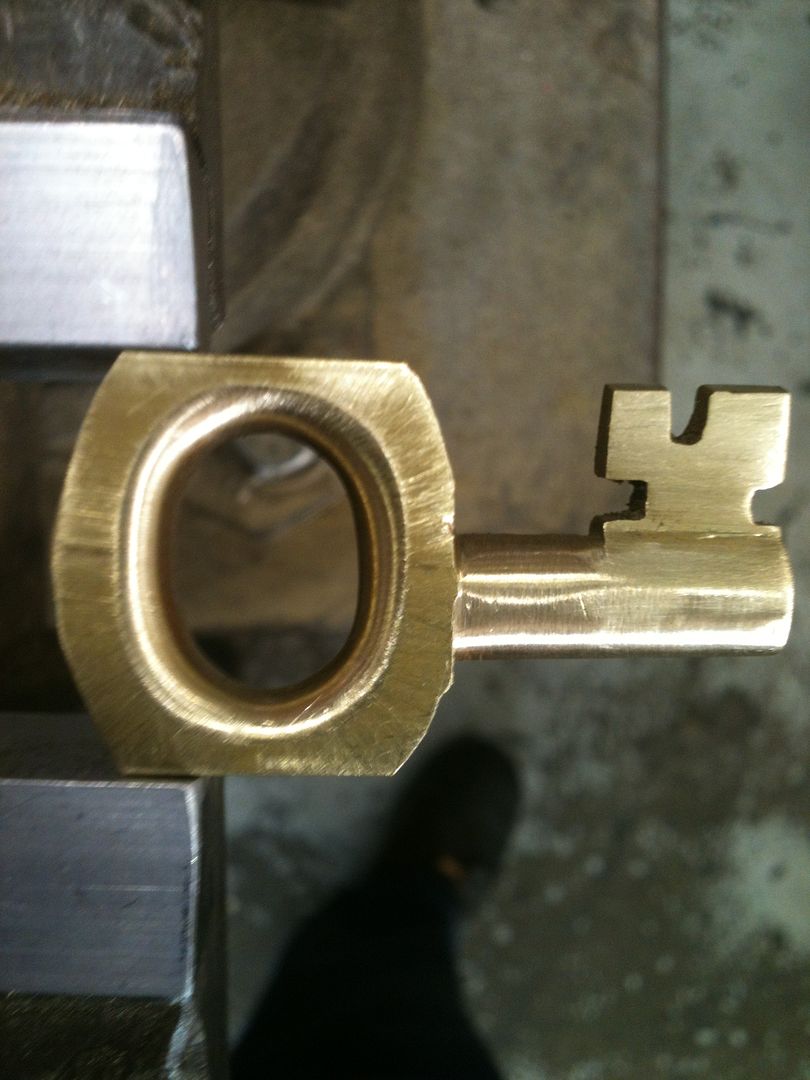
Here you can see one side of the inner key bow sanded:
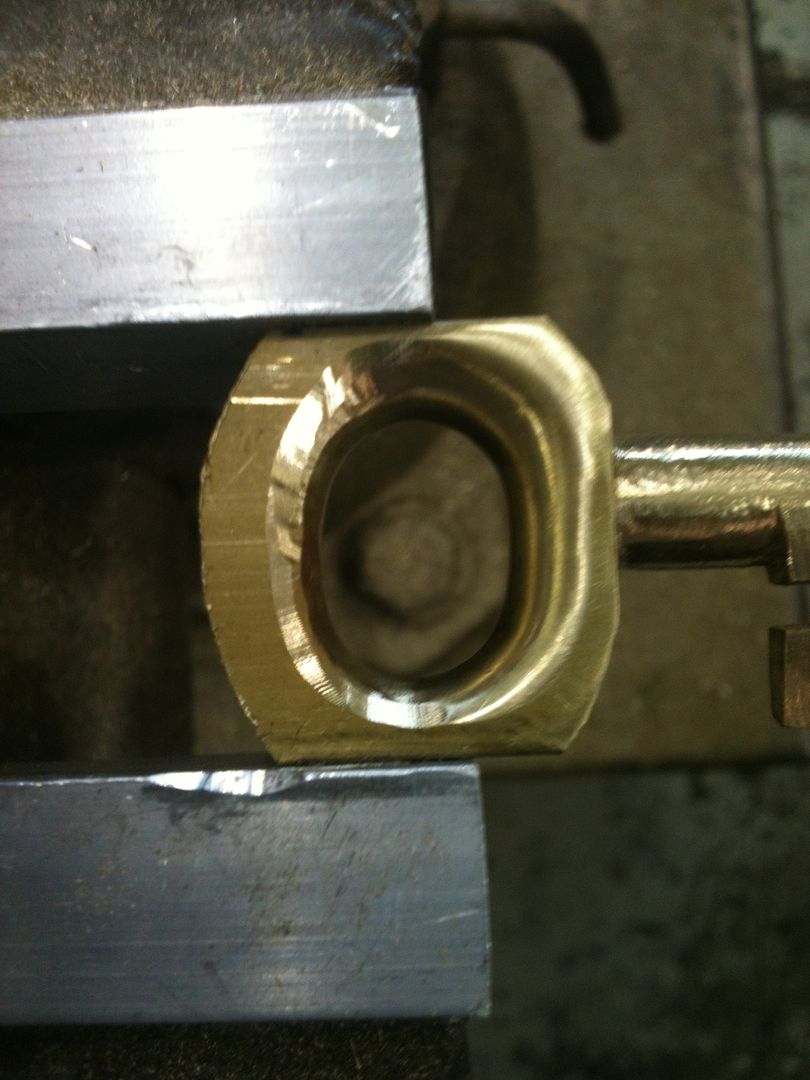
Image

Turn the key around and repeat.

Image

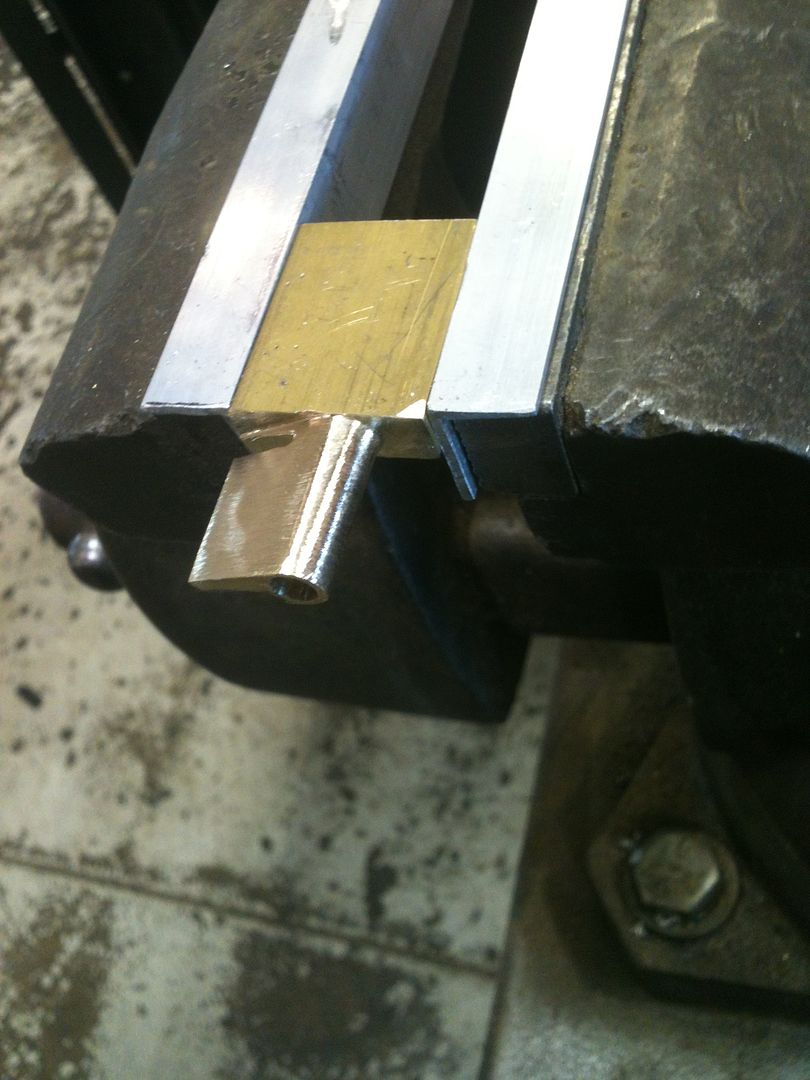
The reason for only bevelling and sanding the inner edge of the key bow first was so your vice can solidly hold the key while you comfortably worked on the inside of the bow.

Now bevel the outside edge, being extra careful around the key shaft - you don't want to mess it up!
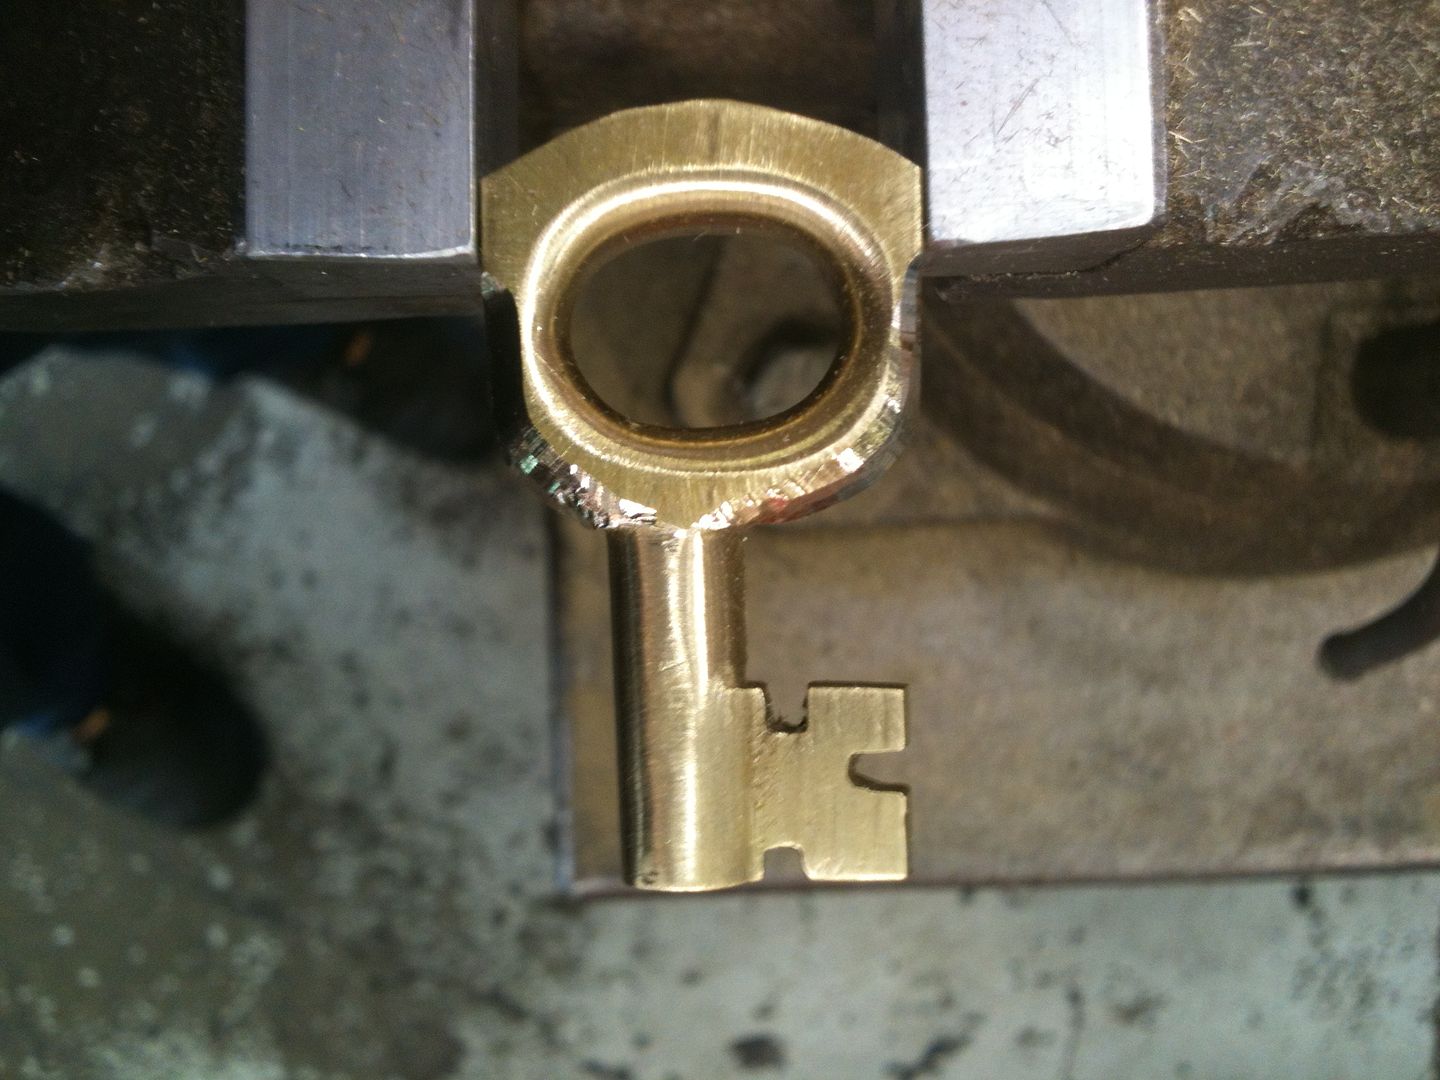
Image

Now use a flat needle file to round the outer edge. Don't need perfection here as we still have to sand.

TIP: Use a strip of thick plastic cut from a jug to protect the key shaft while filing!
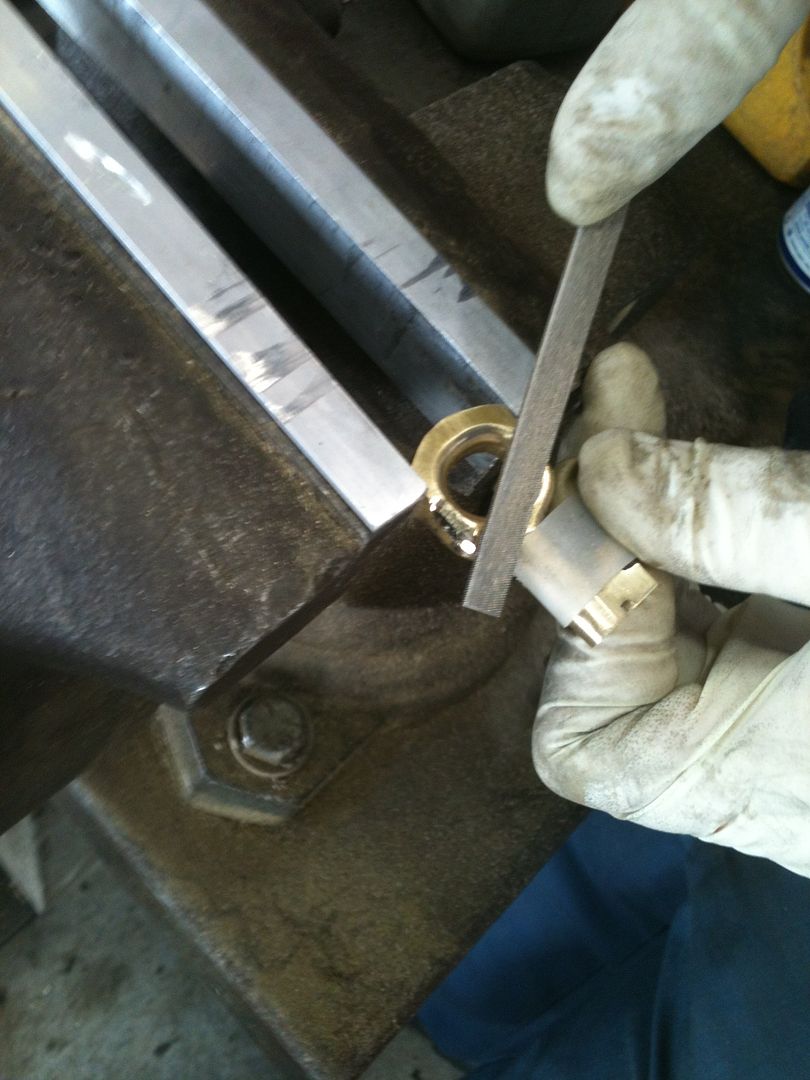
Image

Do the above steps for both the top and bottom of the key bow. When done, both sides should look like this:
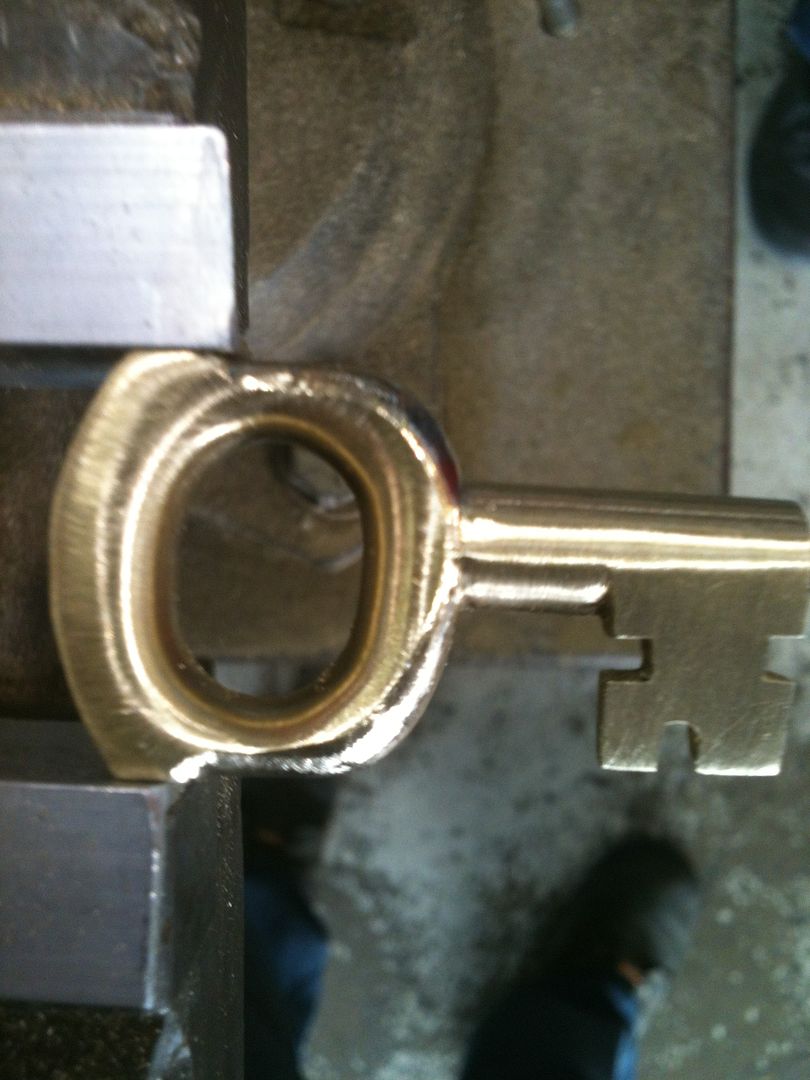
Image

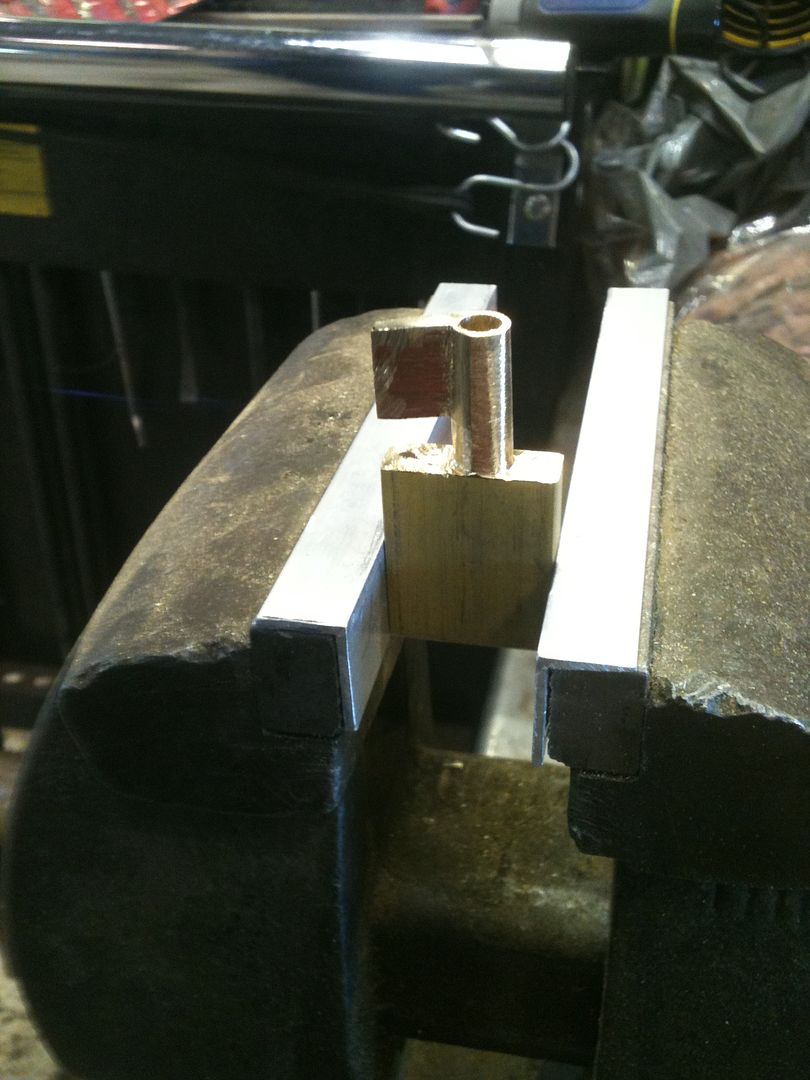
Repeat on the back half of the key bow using thick cloth in the vice to protect the part of the key bow already worked on. Then sand in the same manner as for the inside edges if the key bow. It should end up looking something like this:
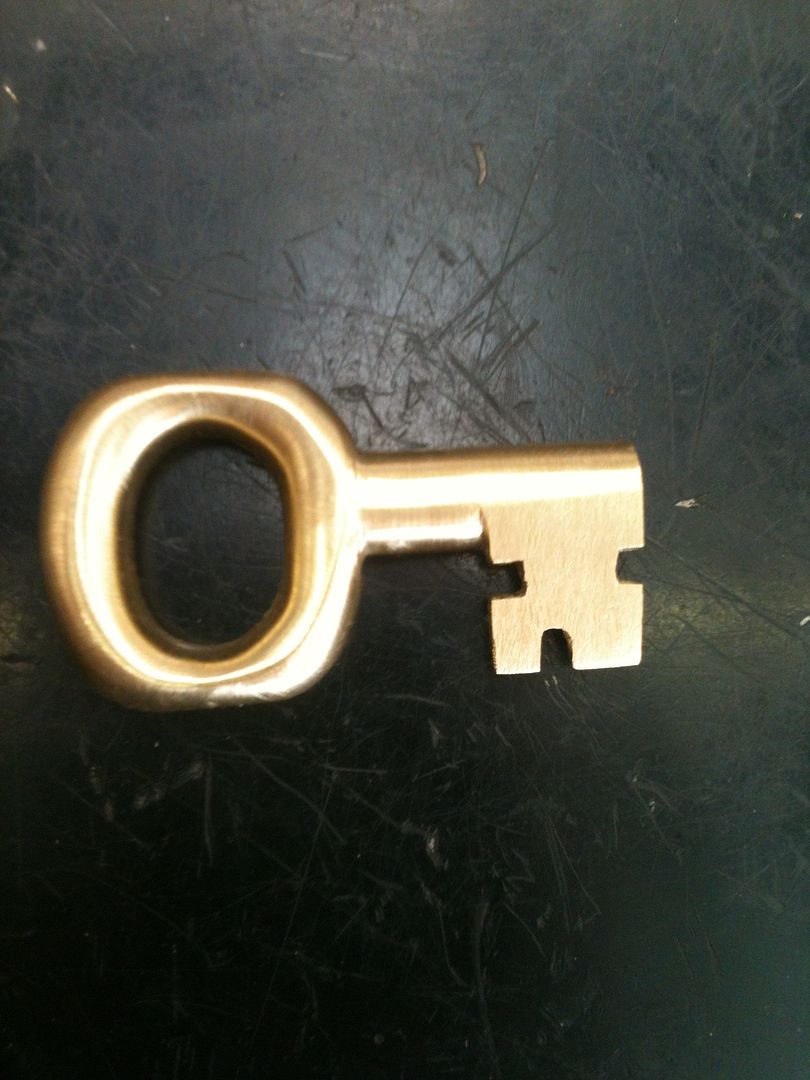
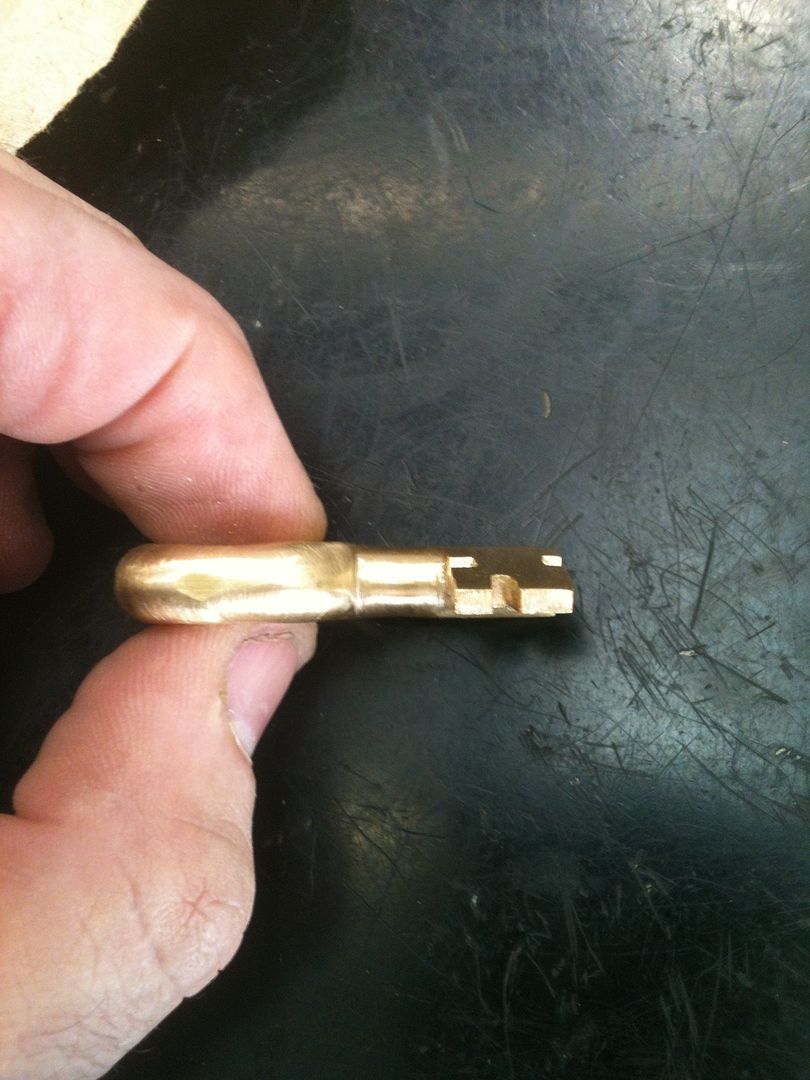
Image

Image

Image

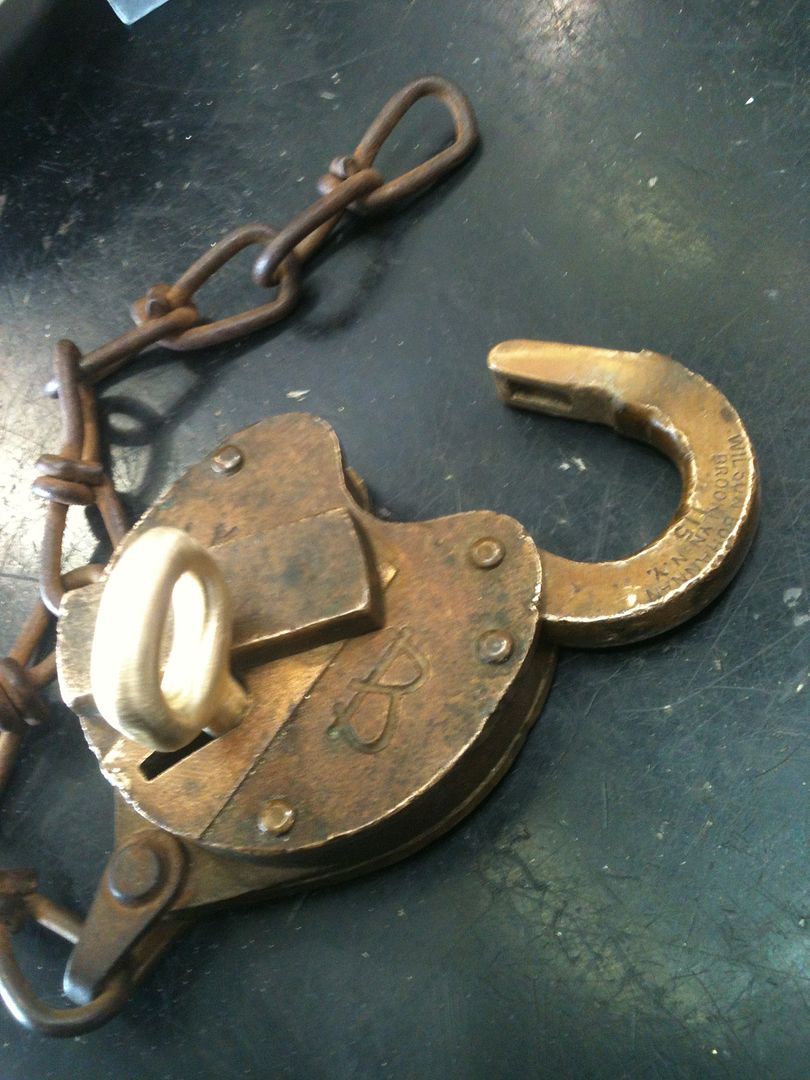
And the best part of your new key...
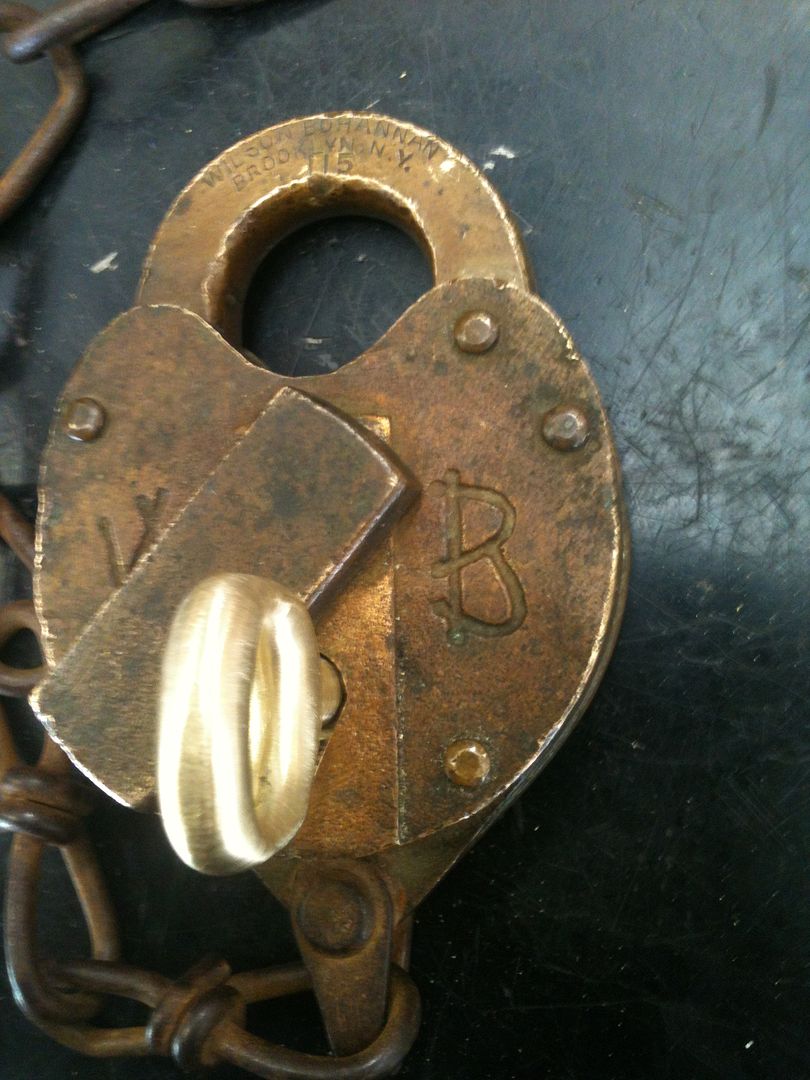
Image

Image

It opens the lock!

Hope it was worth the read. ;-)

Gordon
Just when you finally think you have learned it all, that is when you learn that you don't know anything yet.
User avatar
GWiens2001
Site Admin
 
Posts: 7550
Joined: 3 Sep 2012 16:24
Location: Arizona, United States

Re: Making a Key for an older Wilson Bohannan Padlock

Postby YouLuckyFox » 30 Jan 2014 17:42

Pristine, Gordon. Thank you for your generosity in giving detailed pictures and walking us through the steps in making this key. You truly are an inspiration to me to put in my best efforts.

Fox
YouLuckyFox
 
Posts: 630
Joined: 10 Aug 2012 19:25

Re: Making a Key for an older Wilson Bohannan Padlock

Postby Squelchtone » 30 Jan 2014 20:15

I see Lauren has hacked GWiens2001 lp101 account :lol:


annnnnnd...... sticky. :wink:

After just spending a few night trying to pick an old 1905 Corbin, and slicing my finger open with a knife (don't ask why a knife was anywhere near an antique padlock) this post (along with some pro tips from Lauren via PM) I have renewed hope in making a key for my padlock as well.

great job Gordon,
Squelchtone
Image
User avatar
Squelchtone
Site Admin
 
Posts: 11307
Joined: 11 May 2006 0:41
Location: right behind you.

Re: Making a Key for an older Wilson Bohannan Padlock

Postby GWiens2001 » 30 Jan 2014 20:20

Thank you both. Wish I had that kind of skill... Lauren is in an entirely different league. But won't get that skill if I don't work at it.

Gordon
Just when you finally think you have learned it all, that is when you learn that you don't know anything yet.
User avatar
GWiens2001
Site Admin
 
Posts: 7550
Joined: 3 Sep 2012 16:24
Location: Arizona, United States

Re: Making a Key for an older Wilson Bohannan Padlock

Postby femurat » 31 Jan 2014 3:51

I didn't notice the post was slightly off center until you mentioned it. I was going to think you made the hole wrong... well done my friend! I guess Lauren would be proud of you!

As I saw the finished key, I had the same idea Oldfast had (on another forum). The key needs a patina to match the padlock. I've been told to pee in a plastic jug and let the key there overnight. No joke. It was a trick to make new steel keys look like old ones. Dunno if it works with brass too. Or you may try to heat the key with fire to speed up the oxidation process. Just use a piece of scrap to test these ideas before attempting it on your beautiful key!

Cheers :)
User avatar
femurat
Site Admin
 
Posts: 3745
Joined: 22 Sep 2008 9:06
Location: Italy

Re: Making a Key for an older Wilson Bohannan Padlock

Postby GWiens2001 » 31 Jan 2014 7:02

Will work on some oxidation techniques for my keys. But the brass key will never match the bronze lock. :wink: I appreciate the input!

Gordon
Just when you finally think you have learned it all, that is when you learn that you don't know anything yet.
User avatar
GWiens2001
Site Admin
 
Posts: 7550
Joined: 3 Sep 2012 16:24
Location: Arizona, United States

Re: Making a Key for an older Wilson Bohannan Padlock

Postby Achyfellow » 31 Jan 2014 11:45

Your work is always great! I kind of wish I stumbled upon warded locks more often to do this kind of things.
Achyfellow
 
Posts: 131
Joined: 1 Oct 2013 6:50

Re: Making a Key for an older Wilson Bohannan Padlock

Postby GWiens2001 » 31 Jan 2014 12:56

Achyfellow wrote:Your work is always great! I kind of wish I stumbled upon warded locks more often to do this kind of things.


Thank you, Achyfellow. Love having this for a hobby.

These old lever locks show up all the time on eBay. They usually are not too expensive. But as Lauren said in an excellent write-up on buying antique locks on eBay... Look for listings that show multiple pictures, and pay close attention to the feedback of the seller.

Gordon
Just when you finally think you have learned it all, that is when you learn that you don't know anything yet.
User avatar
GWiens2001
Site Admin
 
Posts: 7550
Joined: 3 Sep 2012 16:24
Location: Arizona, United States

Re: Making a Key for an older Wilson Bohannan Padlock

Postby fgarci03 » 31 Jan 2014 13:26

That was an amazing job Gordon! Thank you for posting the pics!

What oxidation techniques are you thinking about?
Go ahead, keep plugging away, picking on me! You will end up on bypass or with rigor mortise.
- GWiens2001
fgarci03
 
Posts: 1009
Joined: 18 Dec 2012 21:38
Location: Porto/Portugal

Re: Making a Key for an older Wilson Bohannan Padlock

Postby femurat » 31 Jan 2014 15:37

GWiens2001 wrote:But the brass key will never match the bronze lock. :wink:


You should have used bronze stock instead :twisted:
User avatar
femurat
Site Admin
 
Posts: 3745
Joined: 22 Sep 2008 9:06
Location: Italy

Re: Making a Key for an older Wilson Bohannan Padlock

Postby Achyfellow » 31 Jan 2014 15:55

GWiens2001 wrote:
Achyfellow wrote:Your work is always great! I kind of wish I stumbled upon warded locks more often to do this kind of things.


Thank you, Achyfellow. Love having this for a hobby.

These old lever locks show up all the time on eBay. They usually are not too expensive. But as Lauren said in an excellent write-up on buying antique locks on eBay... Look for listings that show multiple pictures, and pay close attention to the feedback of the seller.

Gordon


Thanks for the correction, I can't tell warded and lever locks apart just by looking at the keys.
I may start looking around, I have been almost exclusively picking pin tumbler locks and I want to try something new (And safe manipulation is a bloody expensive thing to get into)
Achyfellow
 
Posts: 131
Joined: 1 Oct 2013 6:50

Re: Making a Key for an older Wilson Bohannan Padlock

Postby phrygianradar » 1 Feb 2014 1:53

Very nice Gordon! I am very impressed, great stuff. Just out of pure curiosity, I'm sure you weren't timing it, but about how long did it take you to make the key from start to finish? Thank you for sharing your project with us!
phrygianradar
Supporter
Supporter
 
Posts: 471
Joined: 2 Feb 2013 0:57
Location: San Diego, CA

Re: Making a Key for an older Wilson Bohannan Padlock

Postby GWiens2001 » 1 Feb 2014 2:14

I'd estimate 2 1/2 to 3 hours spread over a couple of days, but had to figure things out as I went. Could probably cut that time in half now that I have some idea of what I am doing.

Gordon
Just when you finally think you have learned it all, that is when you learn that you don't know anything yet.
User avatar
GWiens2001
Site Admin
 
Posts: 7550
Joined: 3 Sep 2012 16:24
Location: Arizona, United States

Re: Making a Key for an older Wilson Bohannan Padlock

Postby mechanical_nightmare » 1 Feb 2014 12:14

Gordon, I follow your achievements in craftsmanship with great enthusiasm. I also like the part where the TV announcer gets shot :mrgreen:
If you do not manipulate the lock, then the lock will manipulate you
mechanical_nightmare
 
Posts: 253
Joined: 20 Sep 2013 4:03
Location: Istanbul, Turkey

Re: Making a Key for an older Wilson Bohannan Padlock

Postby globallockytoo » 2 Feb 2014 16:11

great pics and explanations. Good work!
One One was a race horse, one one won one race, one two was a racehorse, one two won one too.

Disclaimer: Do not pull tag off mattress. Not responsible for legal advice while laughing.
Bilock - The Original True Bump Proof Pin Tumbler System!
globallockytoo
 
Posts: 2269
Joined: 26 Jul 2006 13:33

Next

Return to Locks

Who is online

Users browsing this forum: Google [Bot] and 7 guests