I suppose once in our lives as lock pickers we were at a stage when we needed or wanted to learn to cut keys to code – cutting a key to code is cutting the key according to the pin code of the lock. The pin code s generally five to six numbers depending on the make of the lock. A simple key code can look something like this “987473â€. This number tells me I need to make the key to work in a lock with these pin sizes.
Pin sizes in most locks are 0-9 or 0-6 depending on the lock, but for this guide we will be using 0-9 to demonstrate.
As we all do not have code machines many decide to do it by hand, with files and key blanks. There are many ways you can do this; one is with depth keys – which have slots for measuring key cuts or using a cylinder for the particular key you are cutting and using pins to determine whether the key has the correct cuts in it.
For us that don’t use or own depth gauges it is easier to use the pin and cylinder method.
The way we do that is to have the following tools and equipment:
Key blanks
3-4mm chainsaw file
Small flat file
Pins – the pins that make up the code you are cutting the key to
A marker
Lock cylinder of the same make of the lock you are cutting the key to.
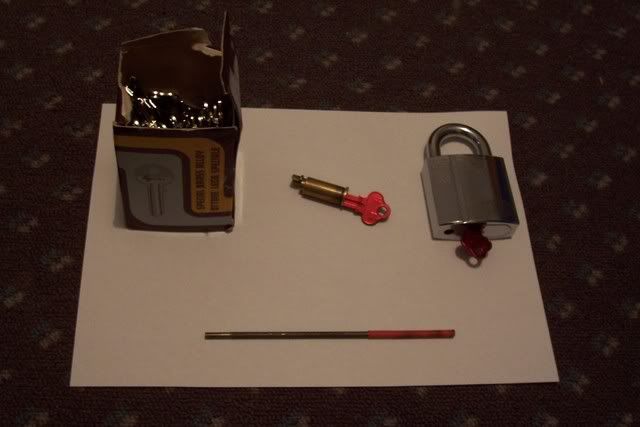
Box of key blanks, cylinder, lock and chainsaw file.
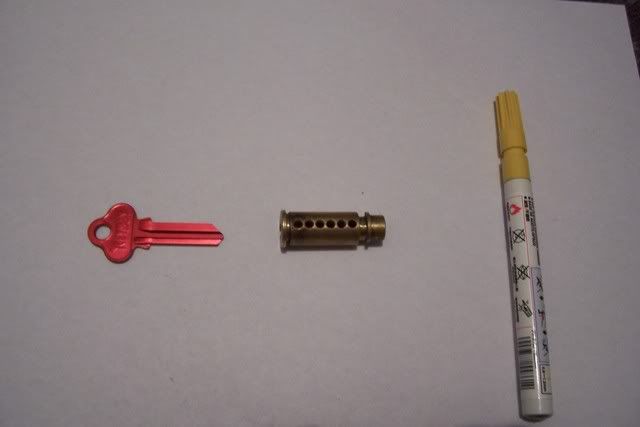
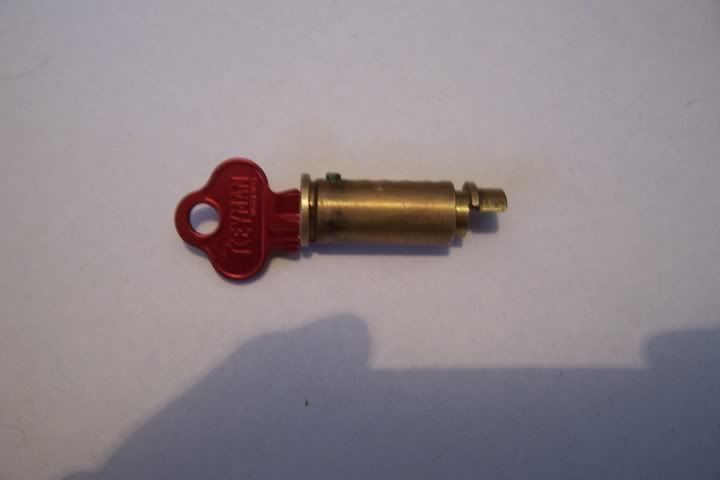
Key blank, lock cylinder and marker.
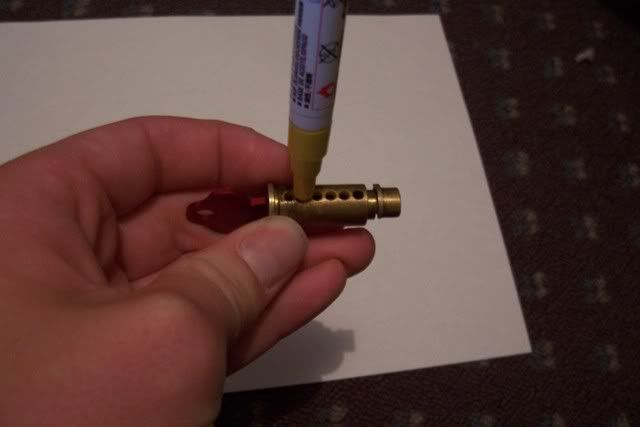
Marking the key
1. Insert the blank fully into the lock cylinder
2. Put the tip of the marker in each hole so that you leave a mark for each cut you are going to mark (it marks the exact spacing so there is no risky guesswork involved)
Cutting the key
1. Start cutting the first mark from the shoulder with the chainsaw file, regularly checking to see how far you have to go before the cut is finished. (this is done by placing the pin that is associated with the first number of the key code in the first hole of the cylinder)
2. Repeat until the code has been cut into your blank.
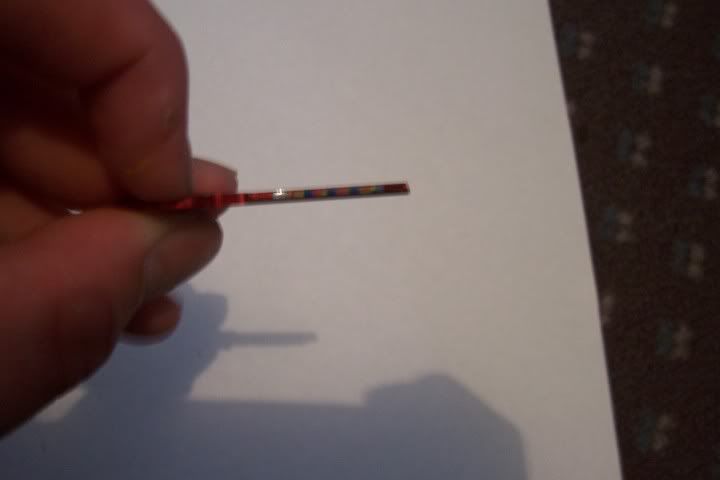
As you can see the cut isn't quite deep enough.
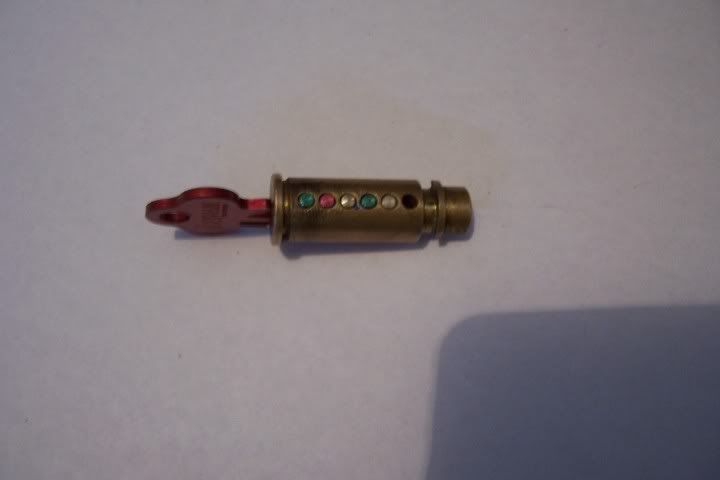
This is what the cylinder should look like once all the cuts have been made into the correct depth. The pins should sit flush with the top of the cylinder.
Making the key useable
1. Before putting the key into the lock it needs to be made useable, you will notice the points are jagged and are cylinder shaped (this means if the key is inserted into a working lock the pins will set into the cylinder cuts and trap the key) You will need to use the small flat file to file the jagged parts down to a useable height.
2. Once this is done and there appears to be no risk of the key being trapped, insert the key into the lock and test to see if it works.
Finished product.
Well as you can tell i was really bored. This is not the best guide but it gives me something to refer people to if they ask about cutting keys to code.