


There have been a few write-ups along these lines, but hope this will help some people.
So you have a mortise lock cylinder without a key.
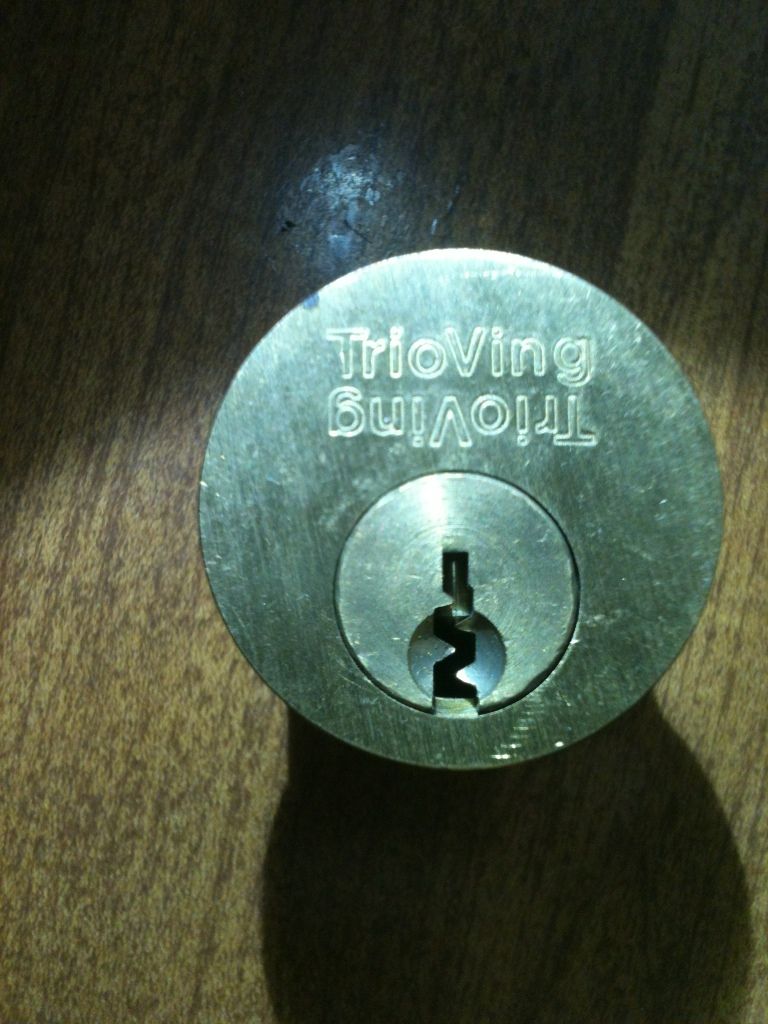
You don’t know how to impression a key, and don’t really want to learn how. What do you do? Here is something that might help.
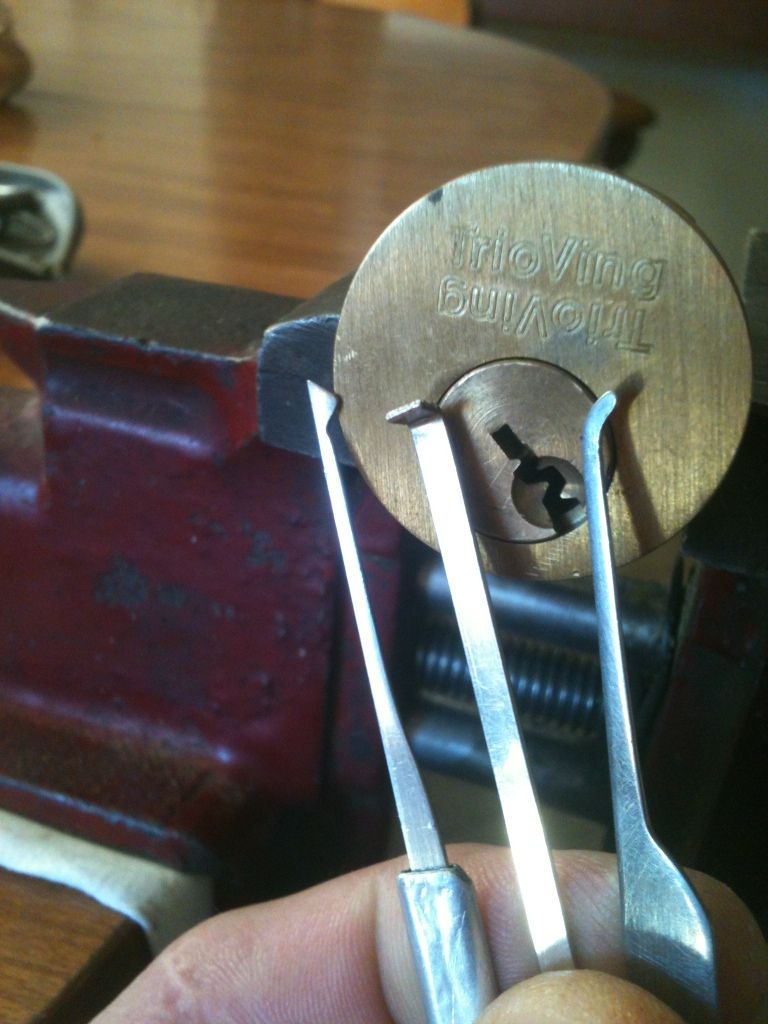
Hopefully, you can pick the lock. Or at least shim it from the rear. (fgarci… warning you!
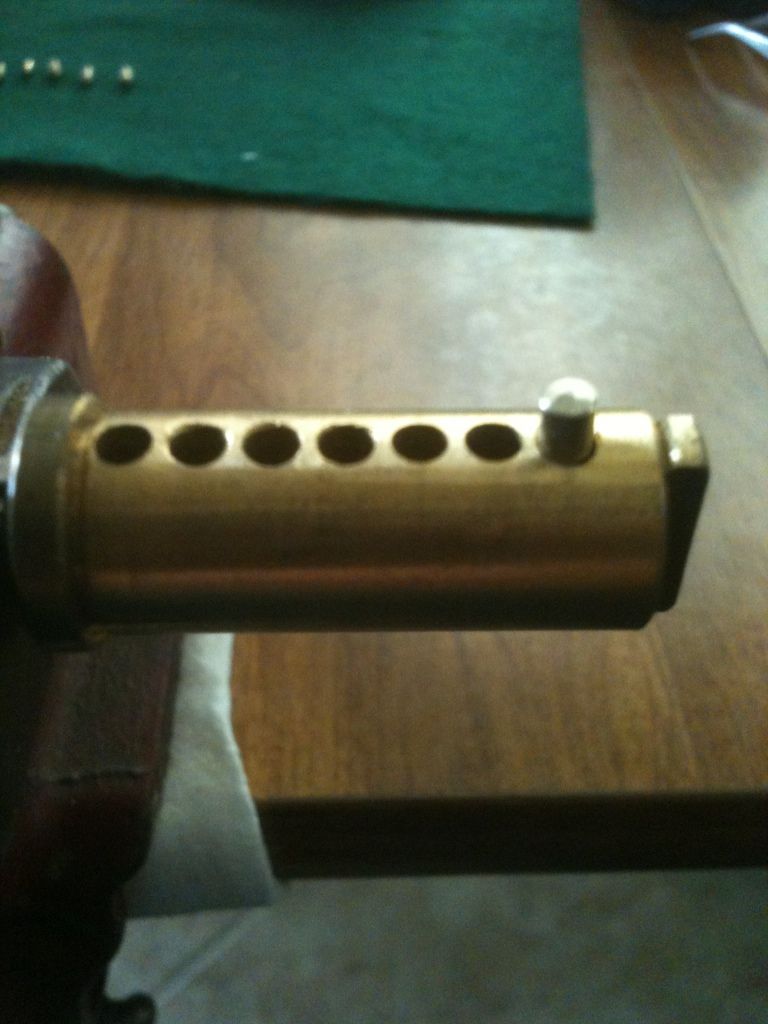
On the back end of the lock, there is the cam held in place with two screws:
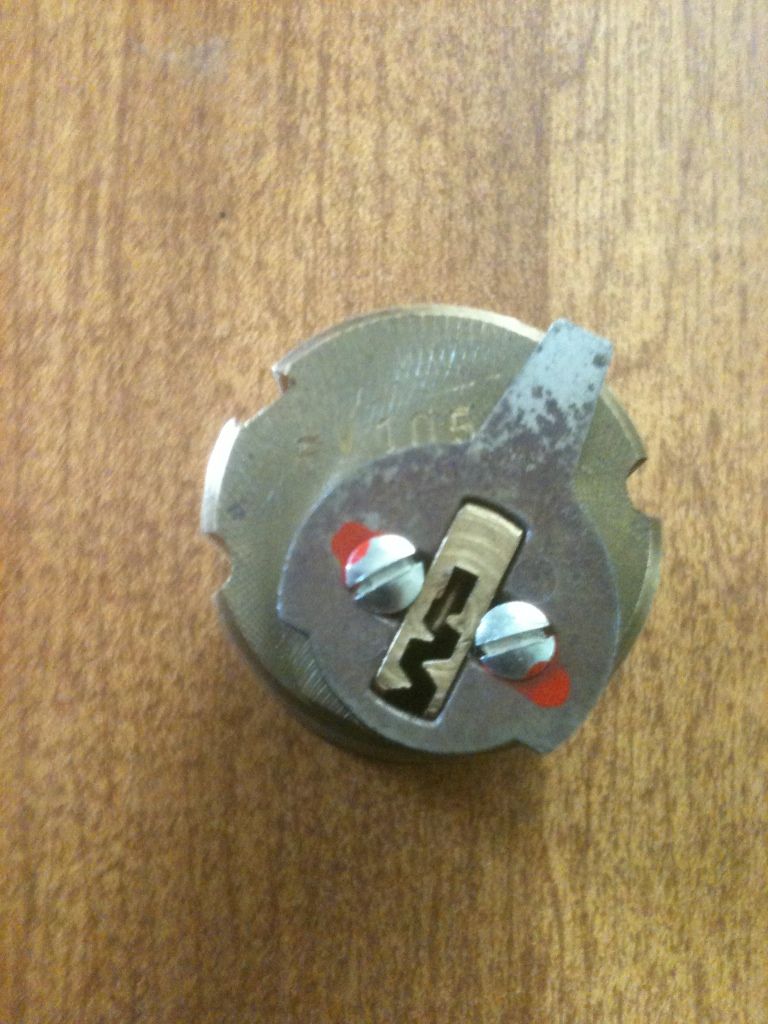
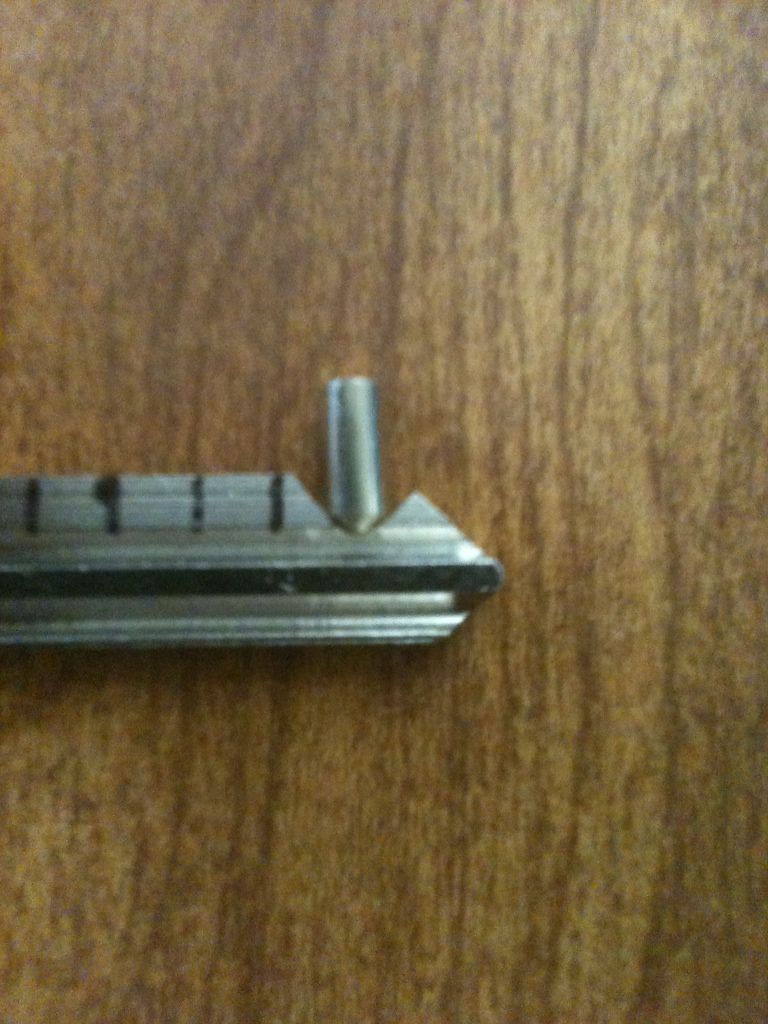
Remove those screws and the cam. Most locks will not have anything else, though this one does. If there are other parts behind the cam, just remove them. NOTE: On this particular lock, you can see the driver pin for the 7th pin stack once the parts are removed.
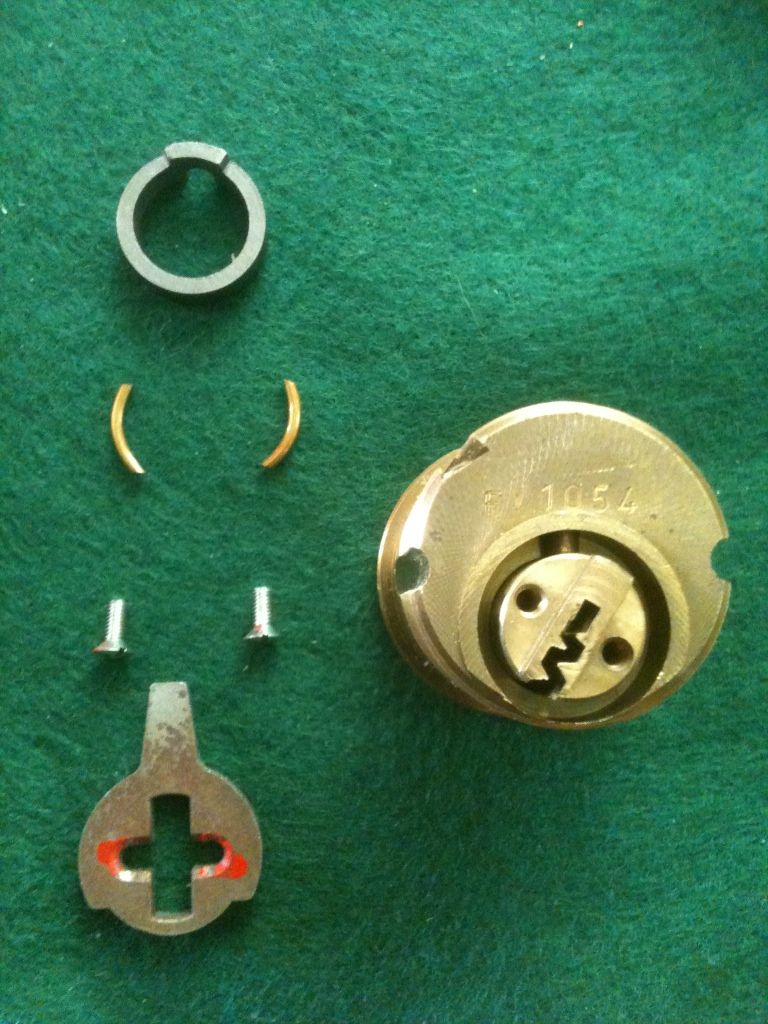
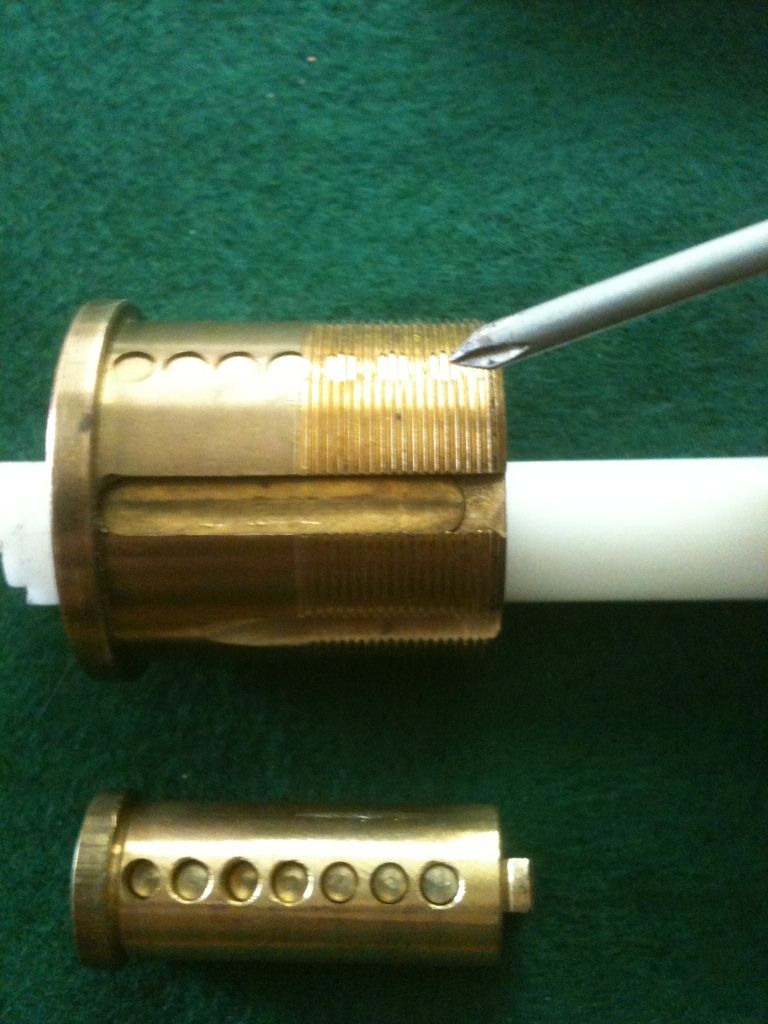
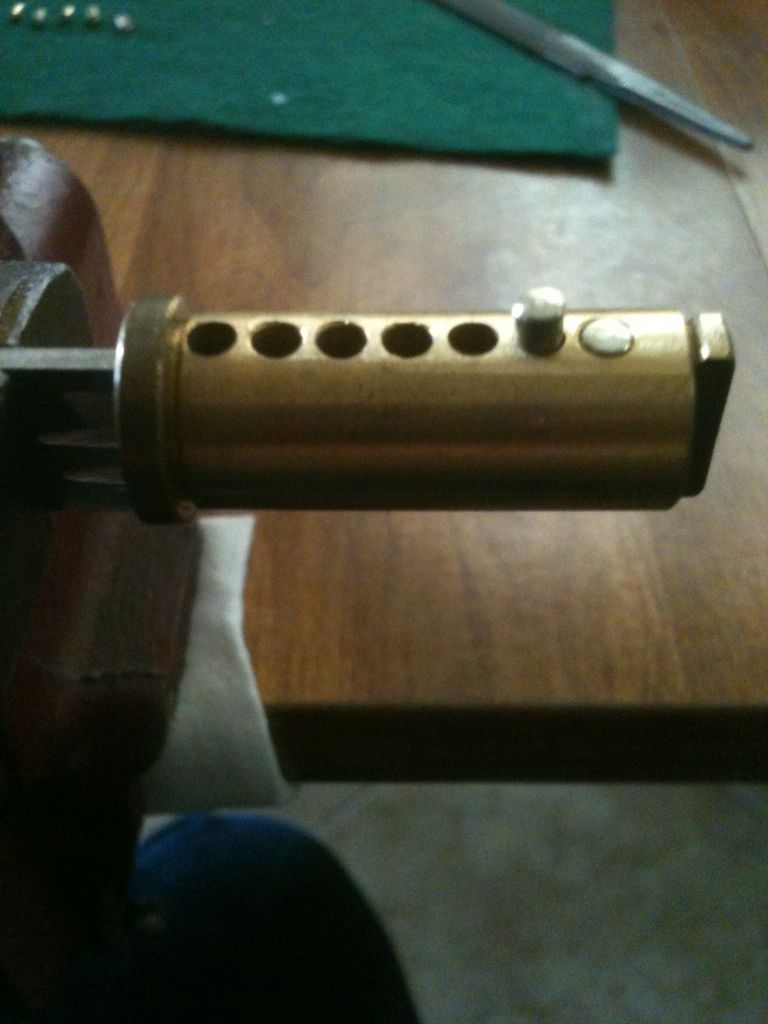
Use a follower to push out the plug. In this picture, on this lock, you can see that the main pin channels are capped off. The screwdriver is pointing to the seventh pin channel cap. That extra strip below is for trap pins! Careful if you pick this baby!
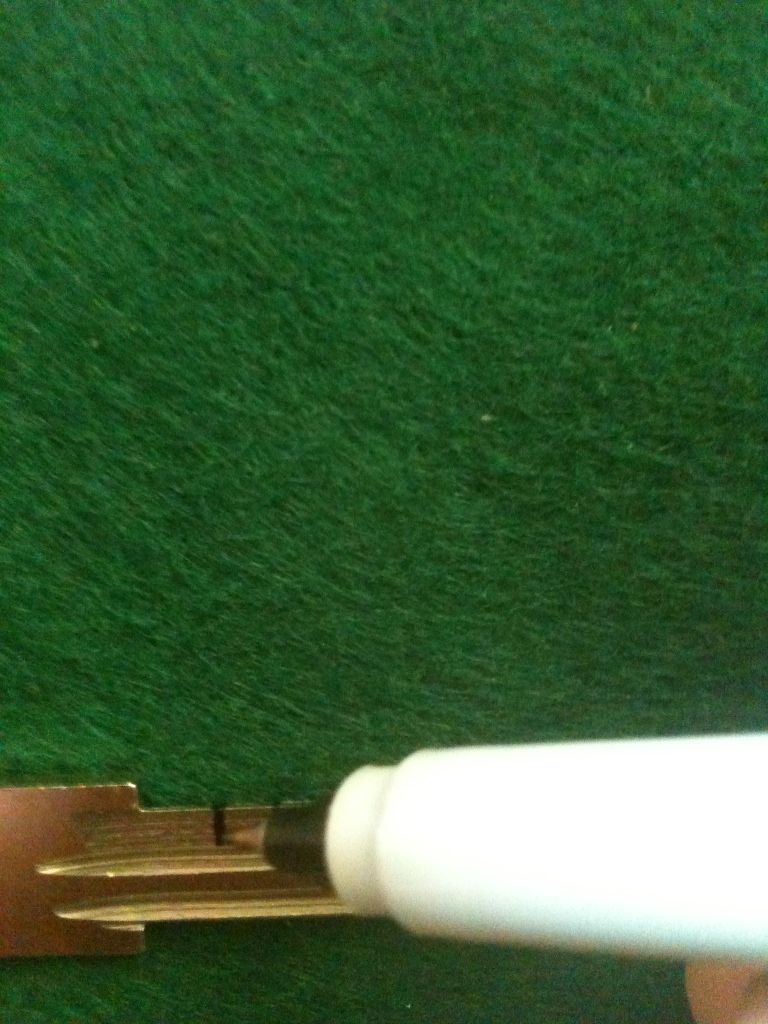
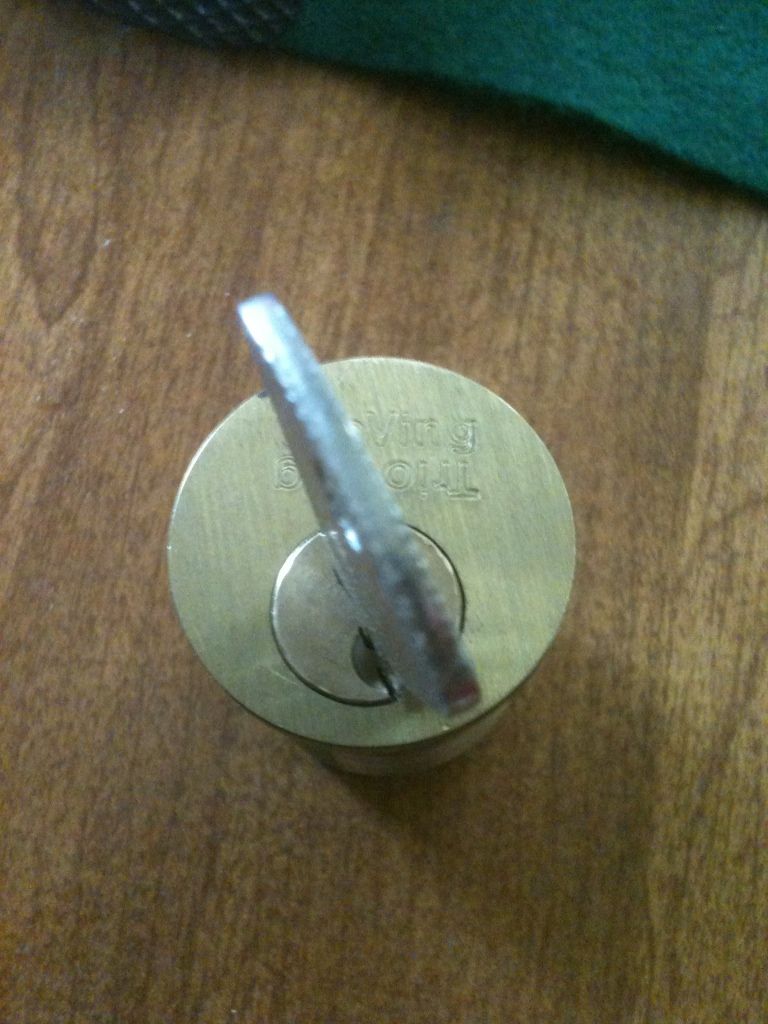
Now take your blank:
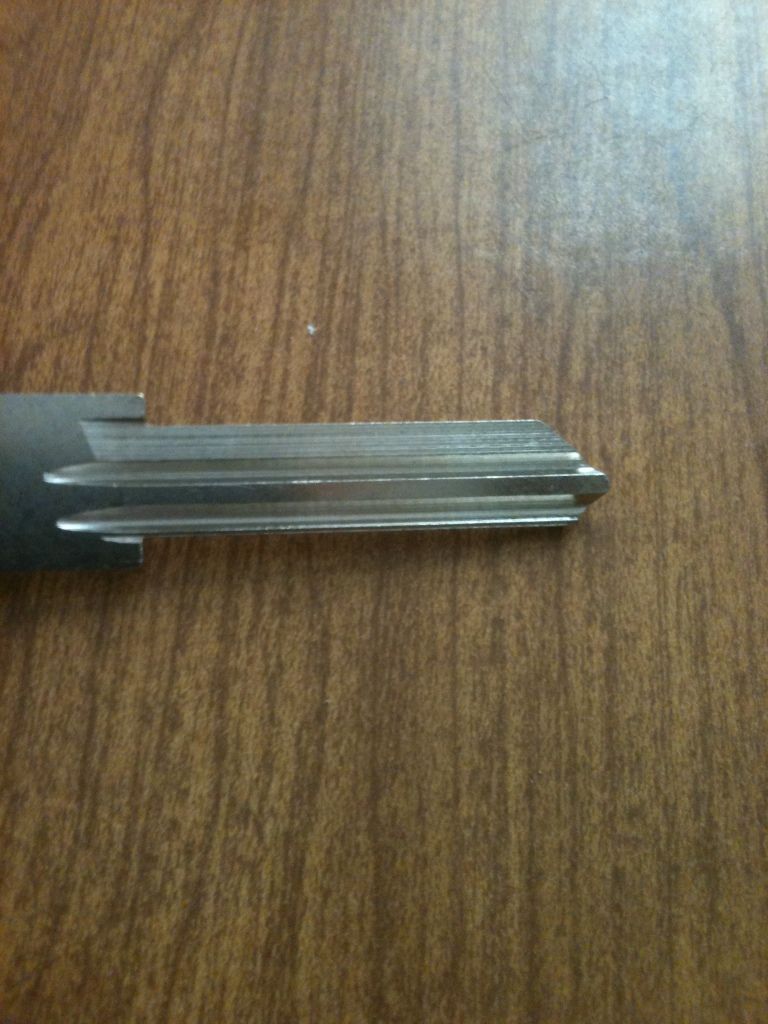
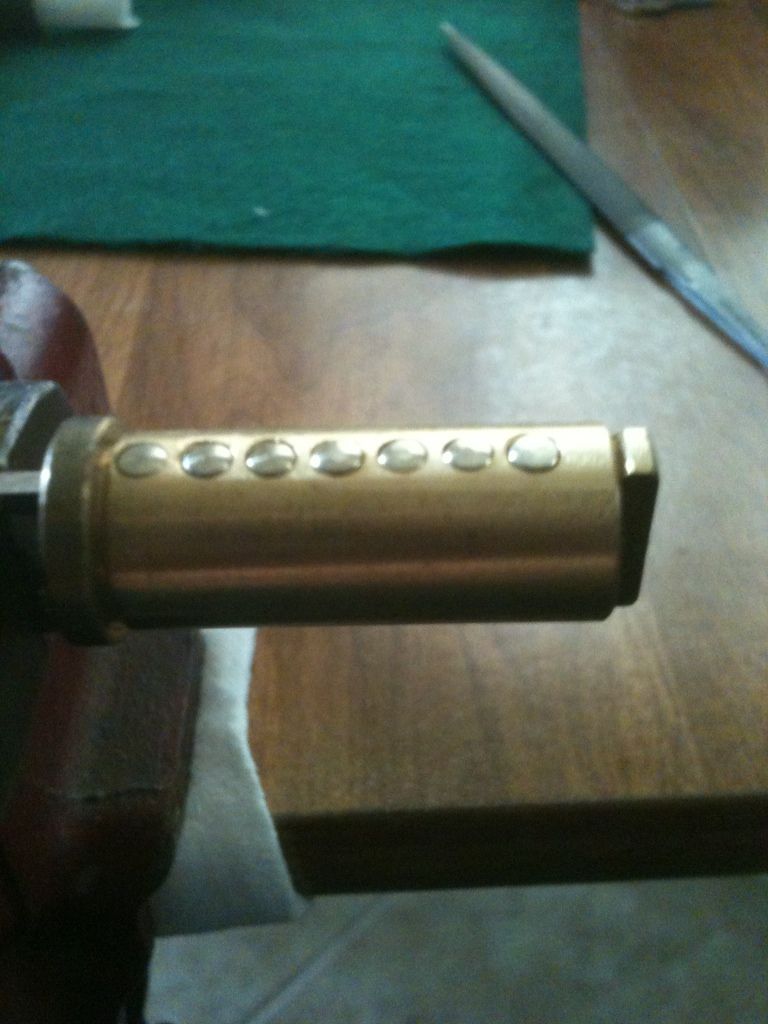
And put it into the plug:
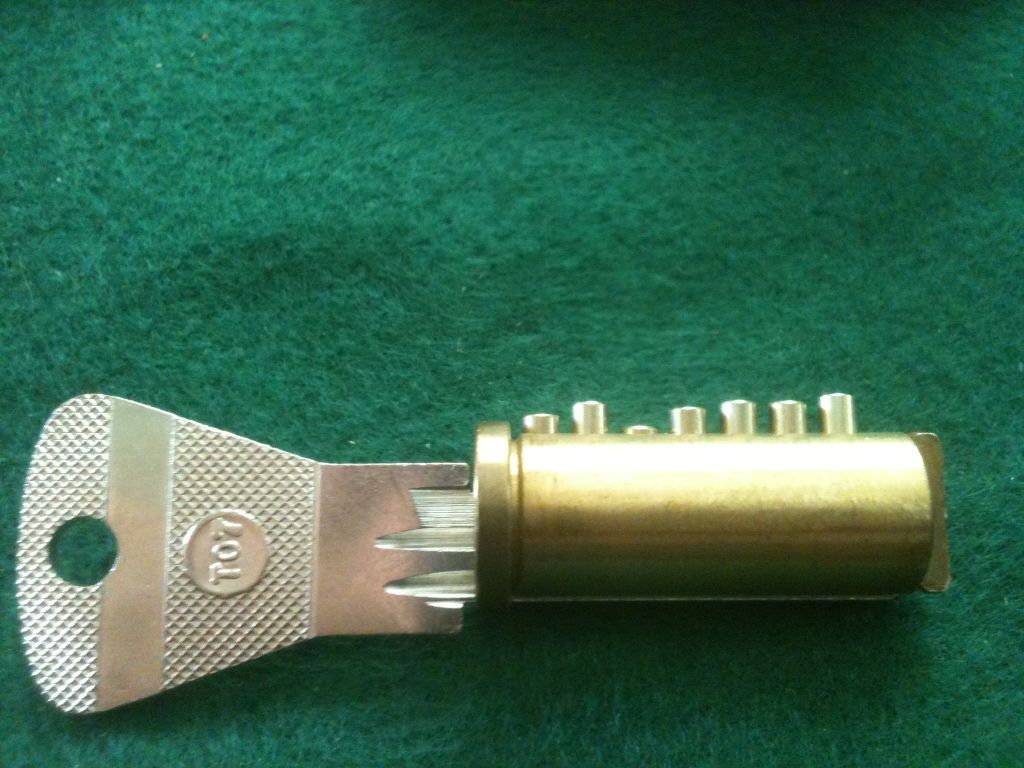
You can see that the pins are pushed up above the shear line of the plug. If the pin is flush with the shear line, then that pin is a “0” or a “1”, depending on the numbering system of the lock company.
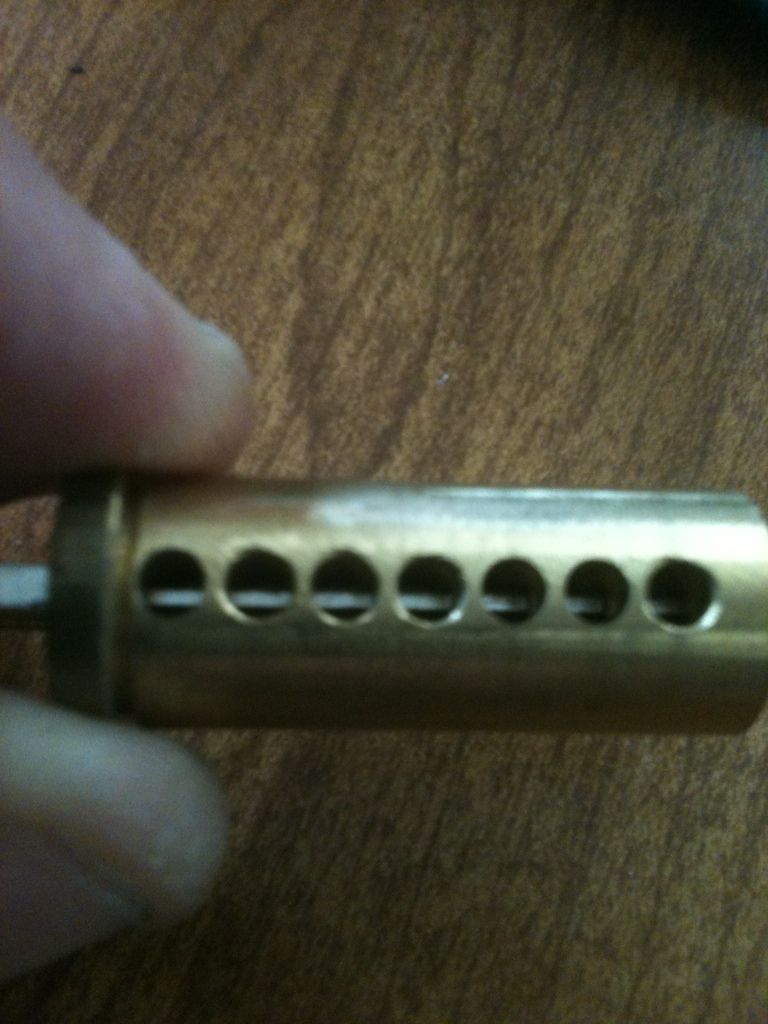
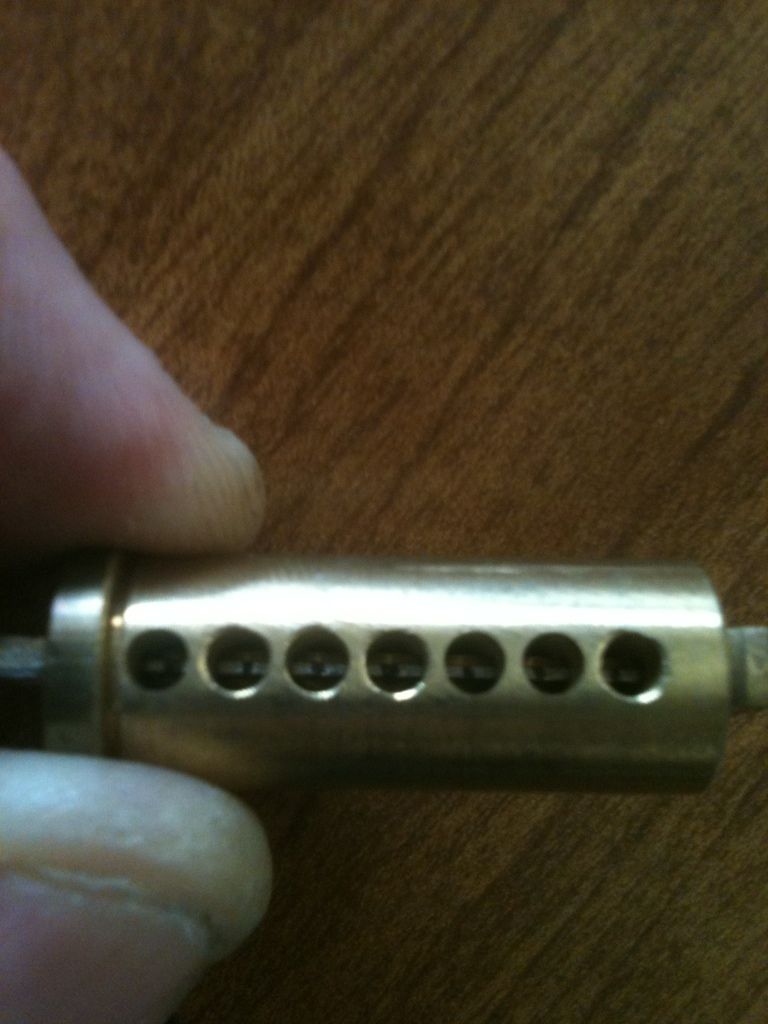
Now take out the pins, keeping them in order (unless you are rekeying the lock, in which you can now switch them around. Look into the pin channels, and you can see the edge of the key blade.
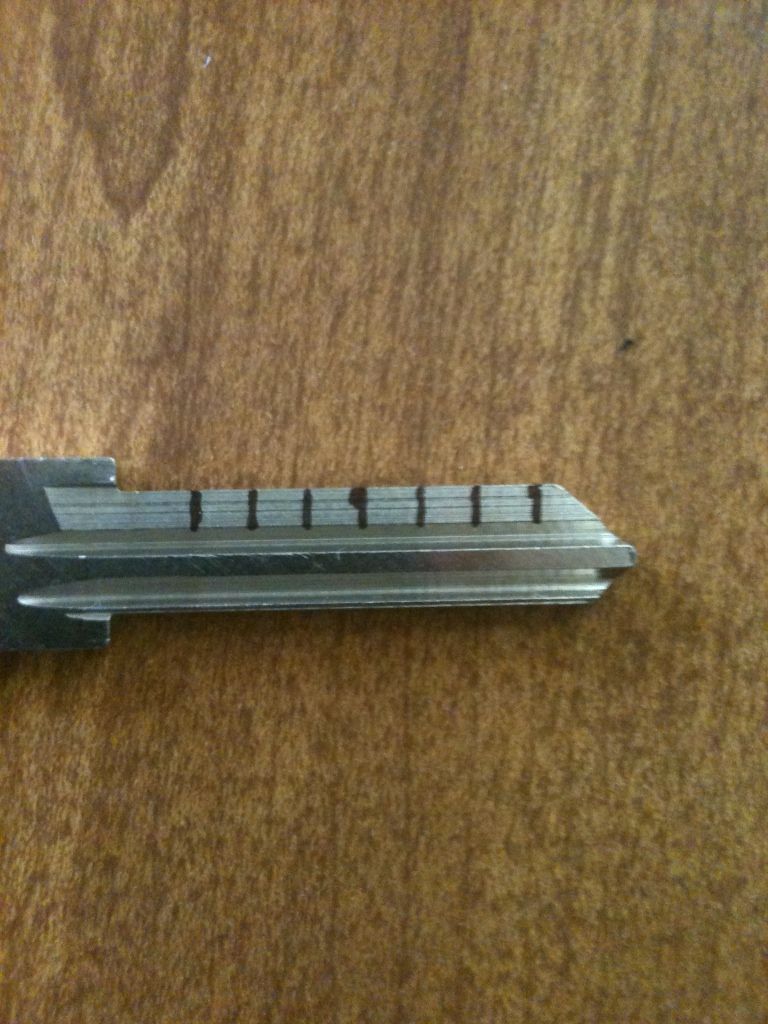
Use a fine-point marker to draw a dot in the pin channels on the key blade.
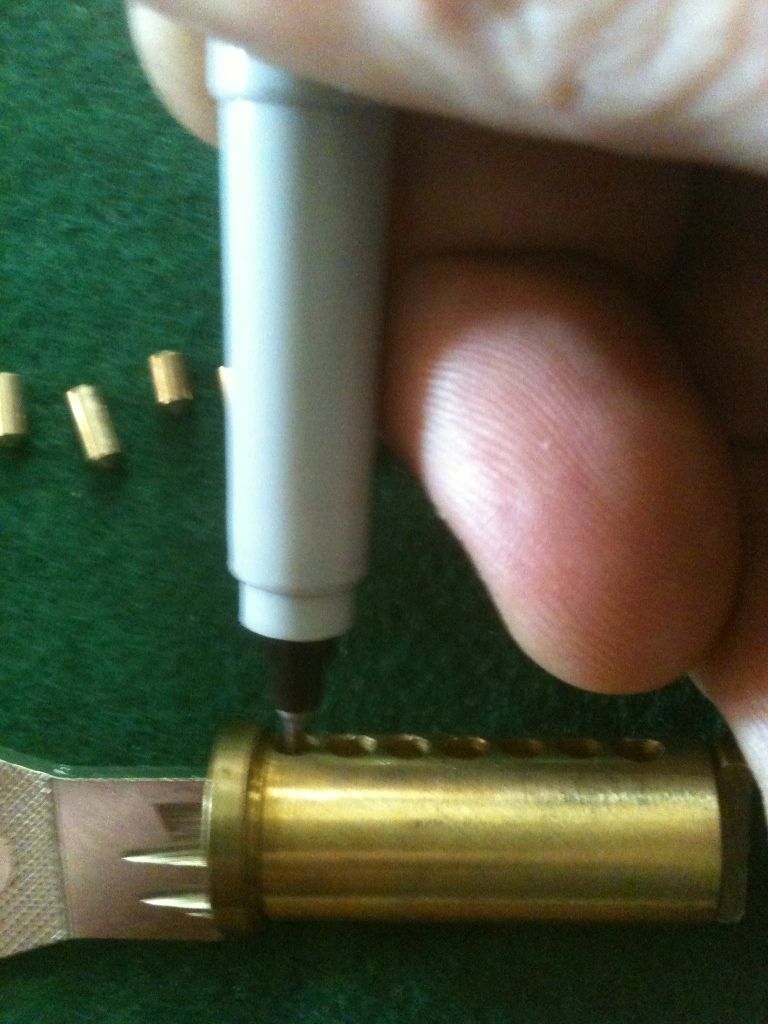
The marks should be pretty much centered in the pin channels.
Remove the key blank and examine the marks.
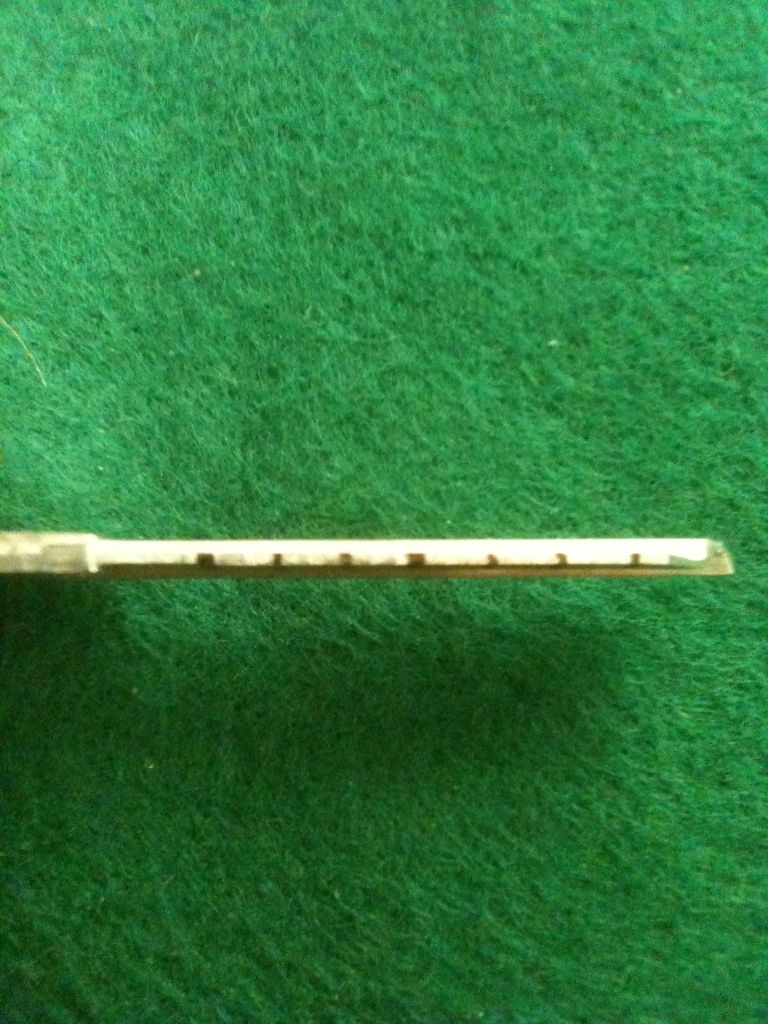
Cool! You know where each pin is centered on the key! Now draw a line straight down from each mark.
Place your marked key blank in a vice.
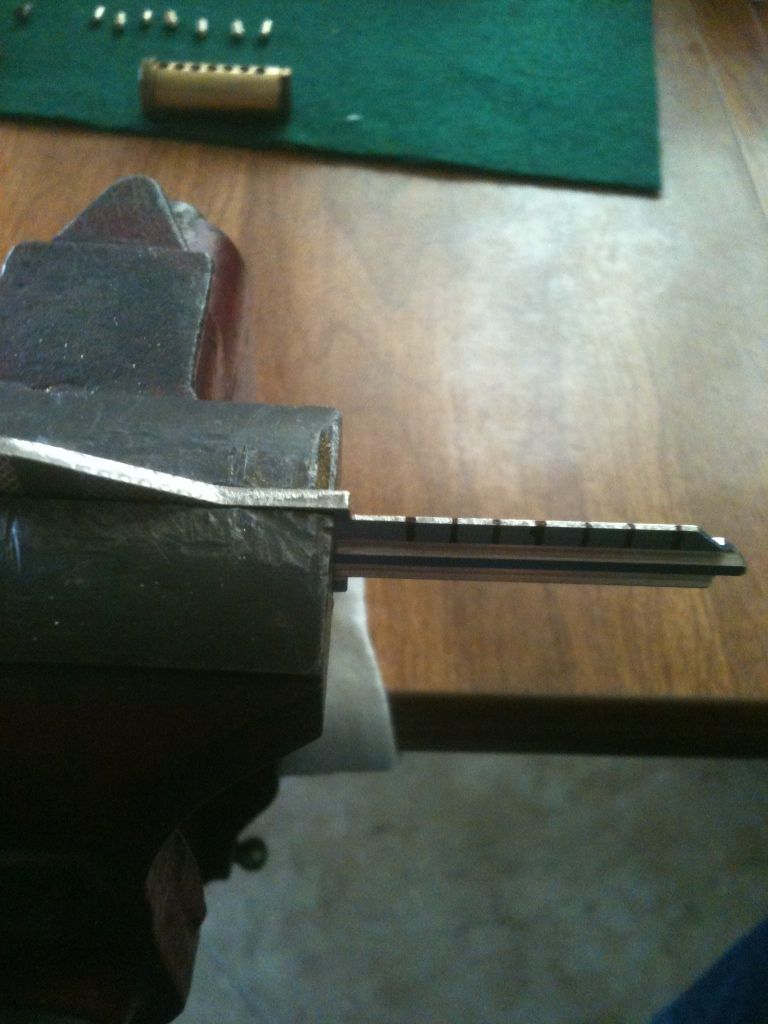
Put the last (closest to the key tip) pin into the plug. This will give you some idea of how much to file for the pin to fit flush. File less than that amount. It is much better to file and check several times than to file too much and waste a key blank.
File some metal away...
And check the depth by sliding the plug back onto the key blank.
Repeat until the pin fits flush with the top of the plug.

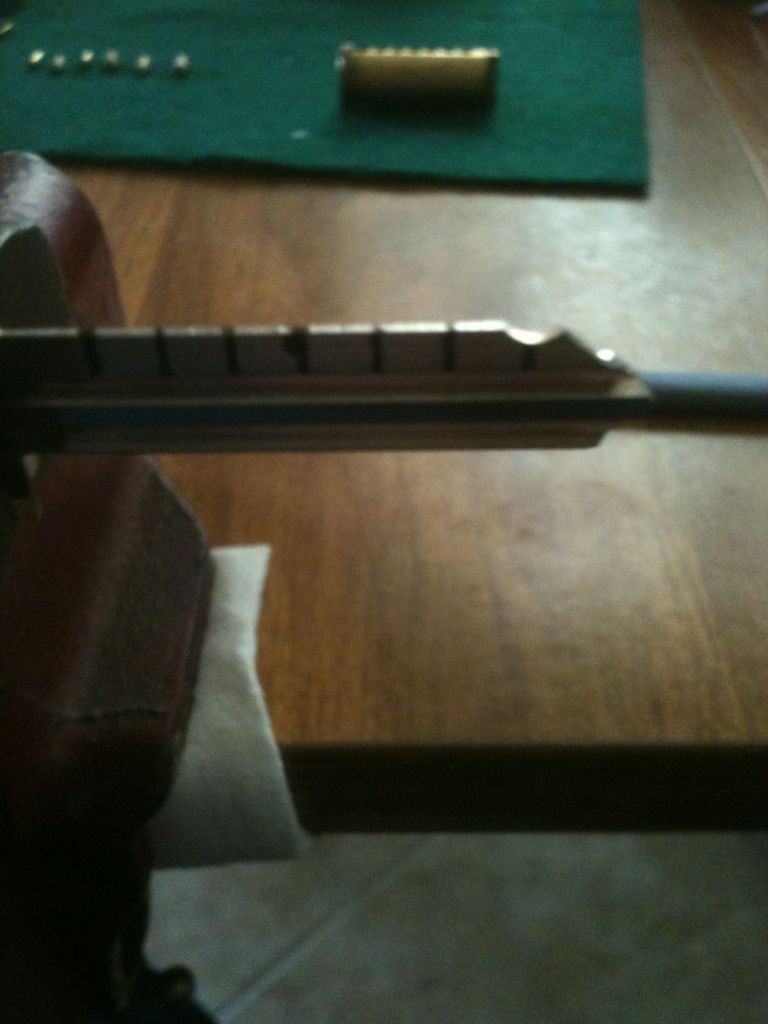
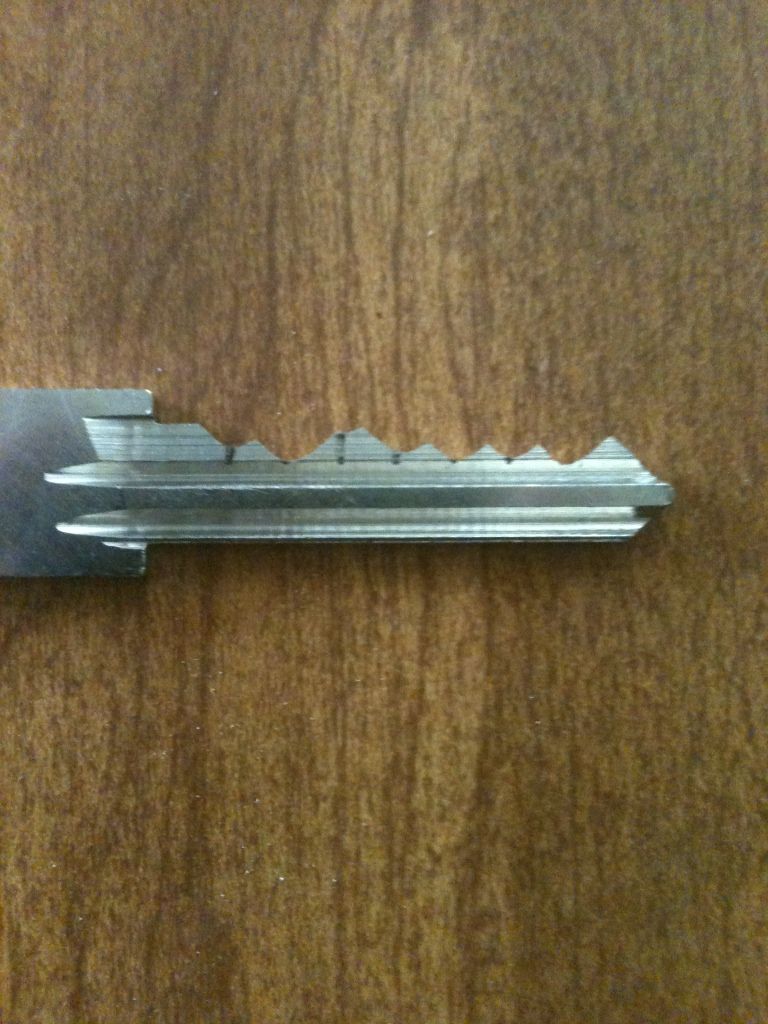
Now for a tip... I intentionally filed the bitting on the blank to the correct depth without 'fixing' the ramps (slopes on each side of the cut). This is not recommended, but did it so you could see an example of canyoning, which happens when the slopes are too steep and traps the pin:
This is an extreme example, but it helps you to see.
Here have fixed one slope...

And the other.
Much better.
Add the next pin...
And repeat until all bits are cut.
Check your slopes on the key (still need some fixing in this picture).
Reassemble the lock and test:
WooHoo!
Gordon


