


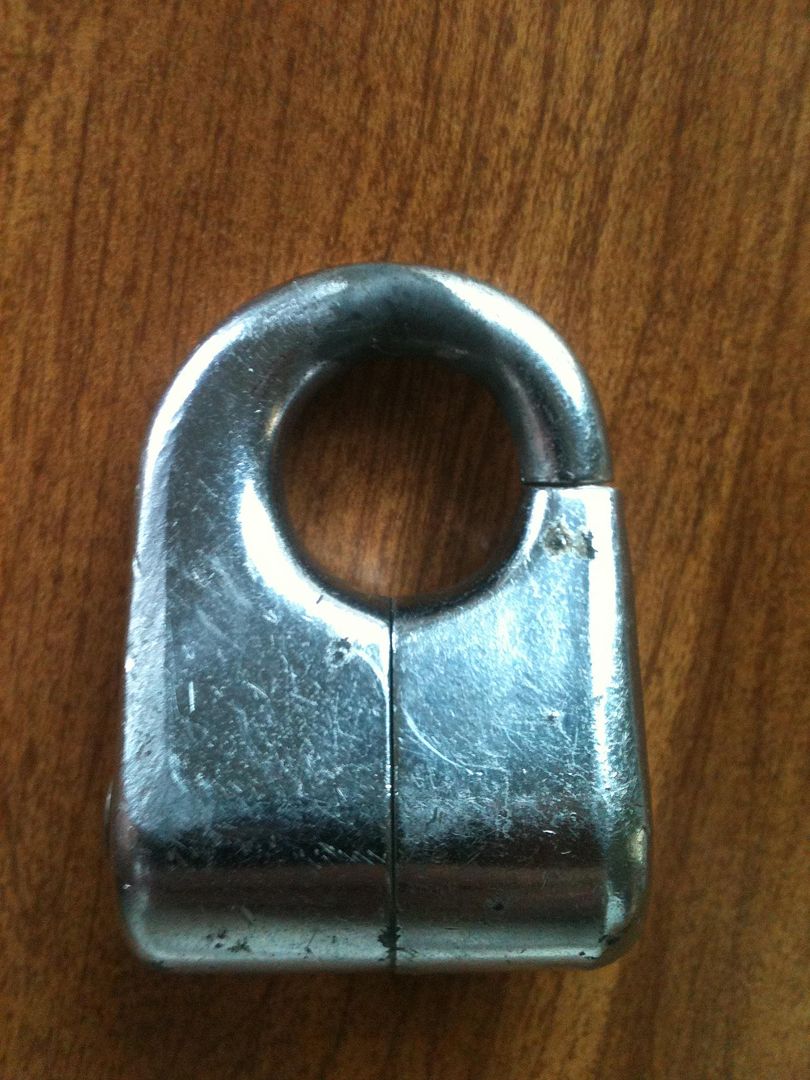
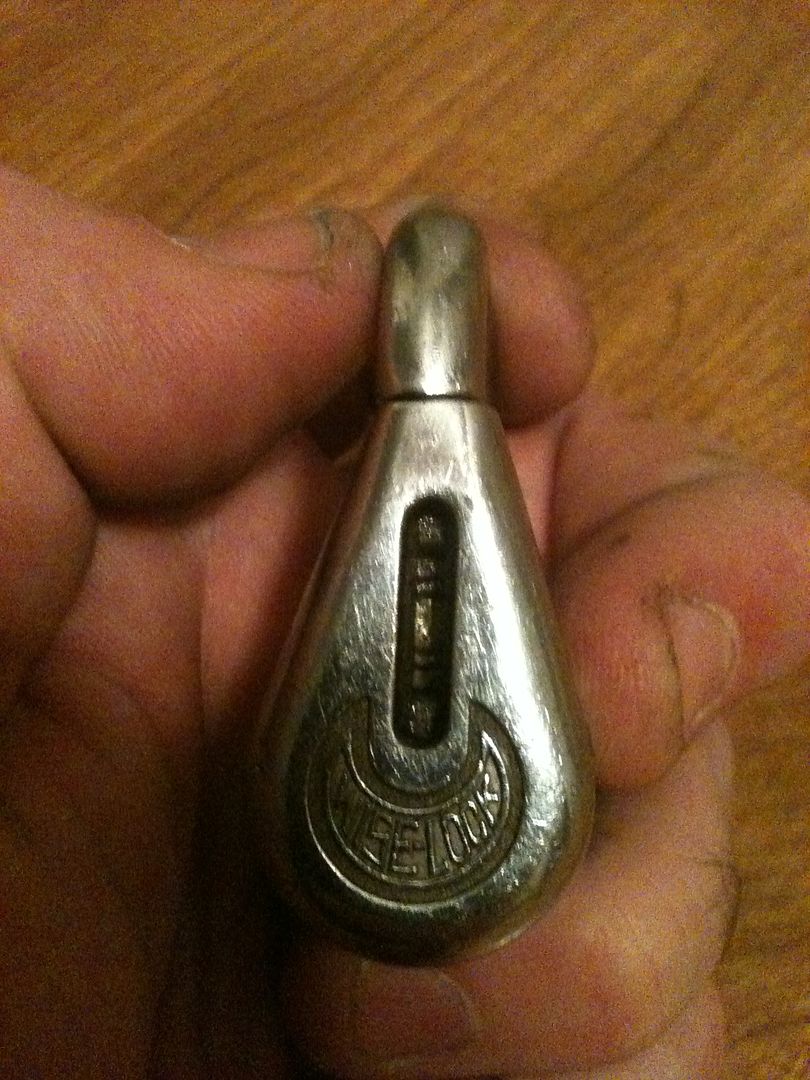
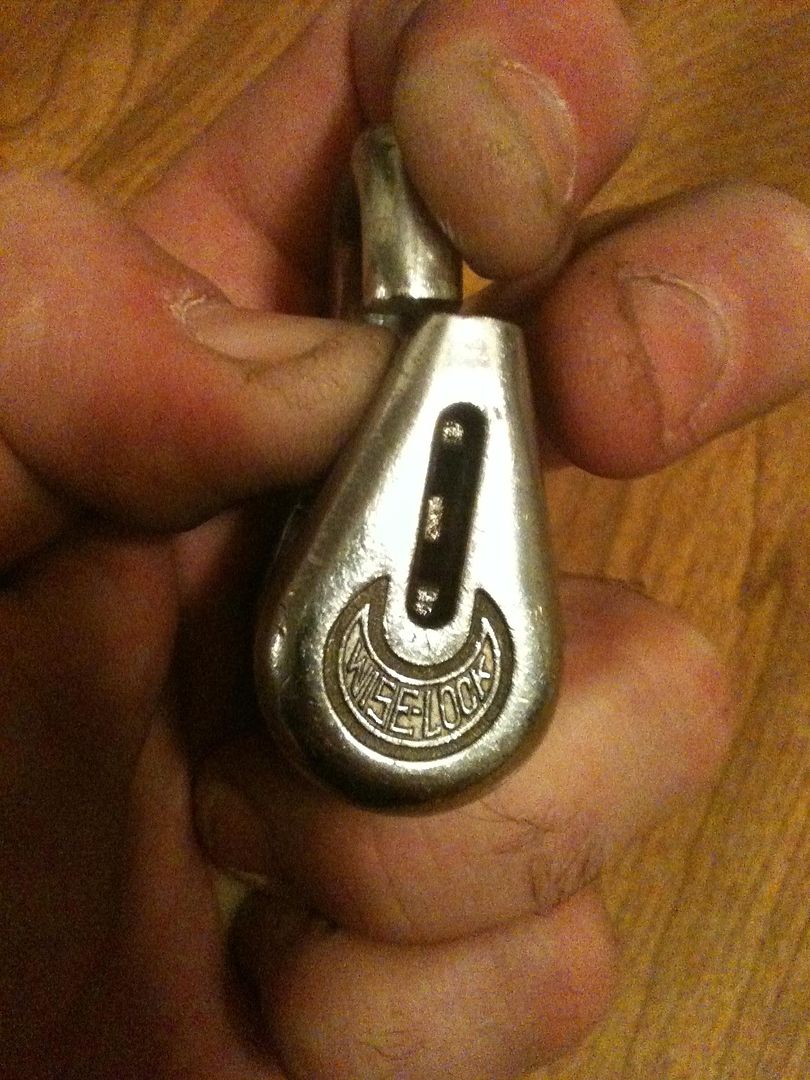
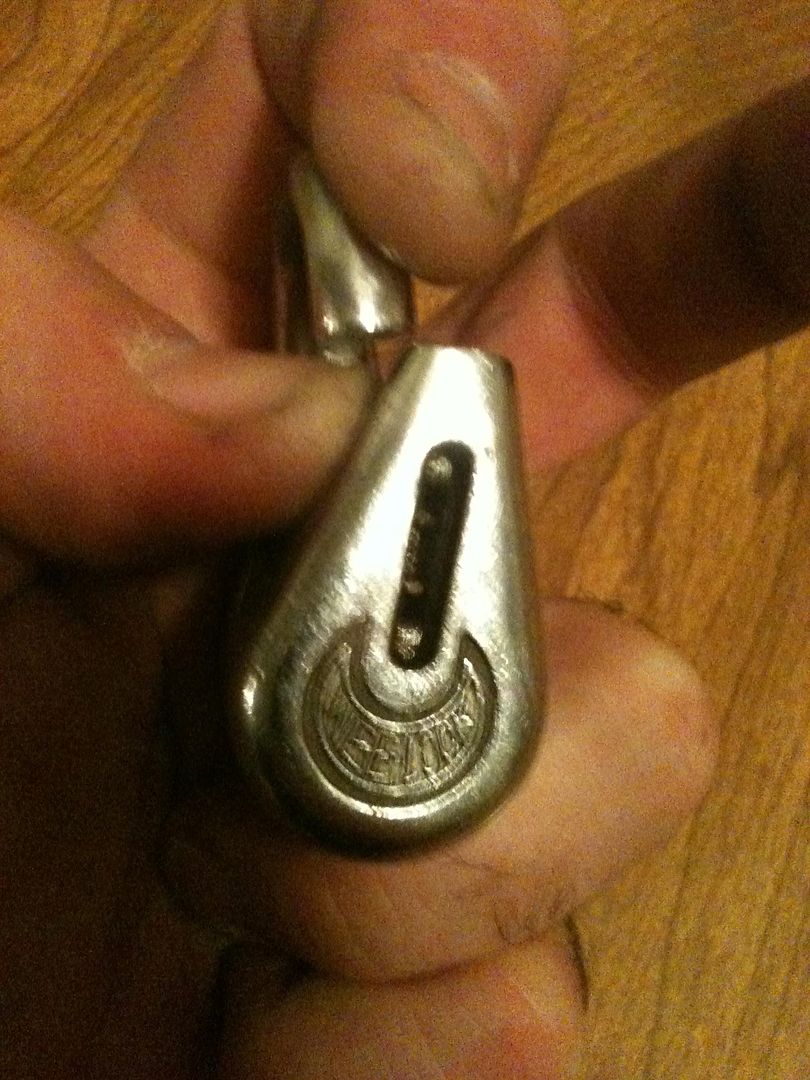
Won this on eBay and received it recently. It is a Wise-Lock padlock.
***In Curly's voice... Nyuck nyuck nyuck! Wise-Lock, eh?***
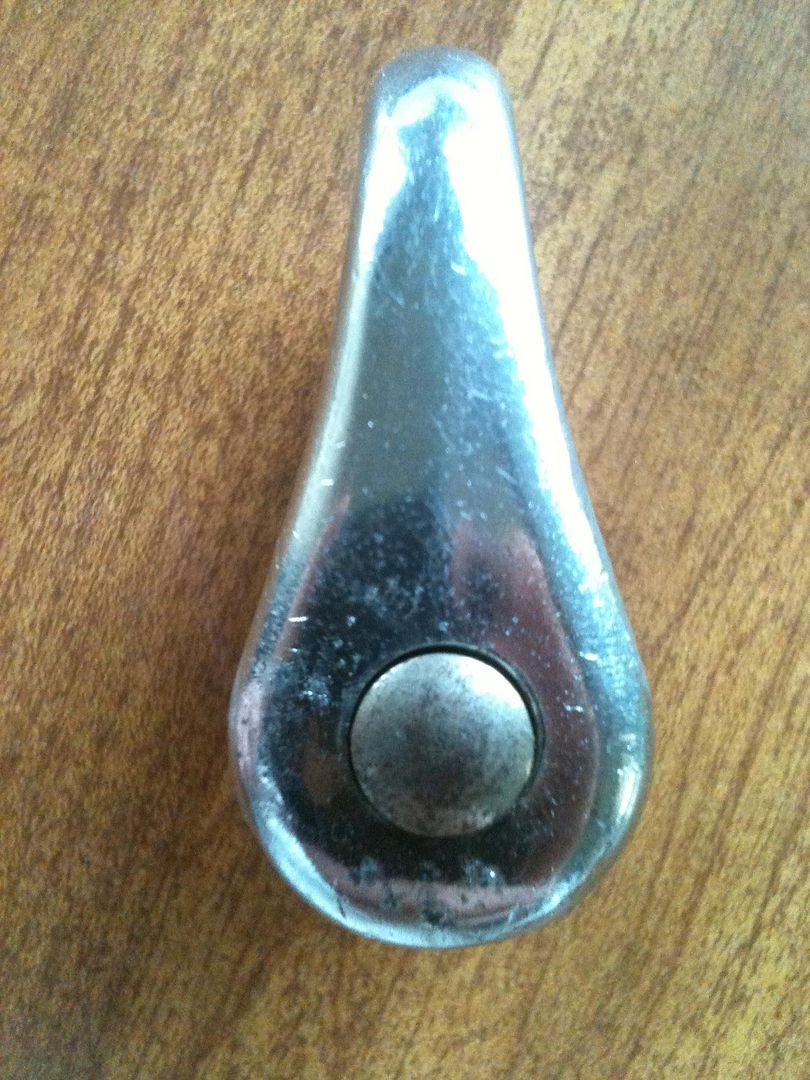
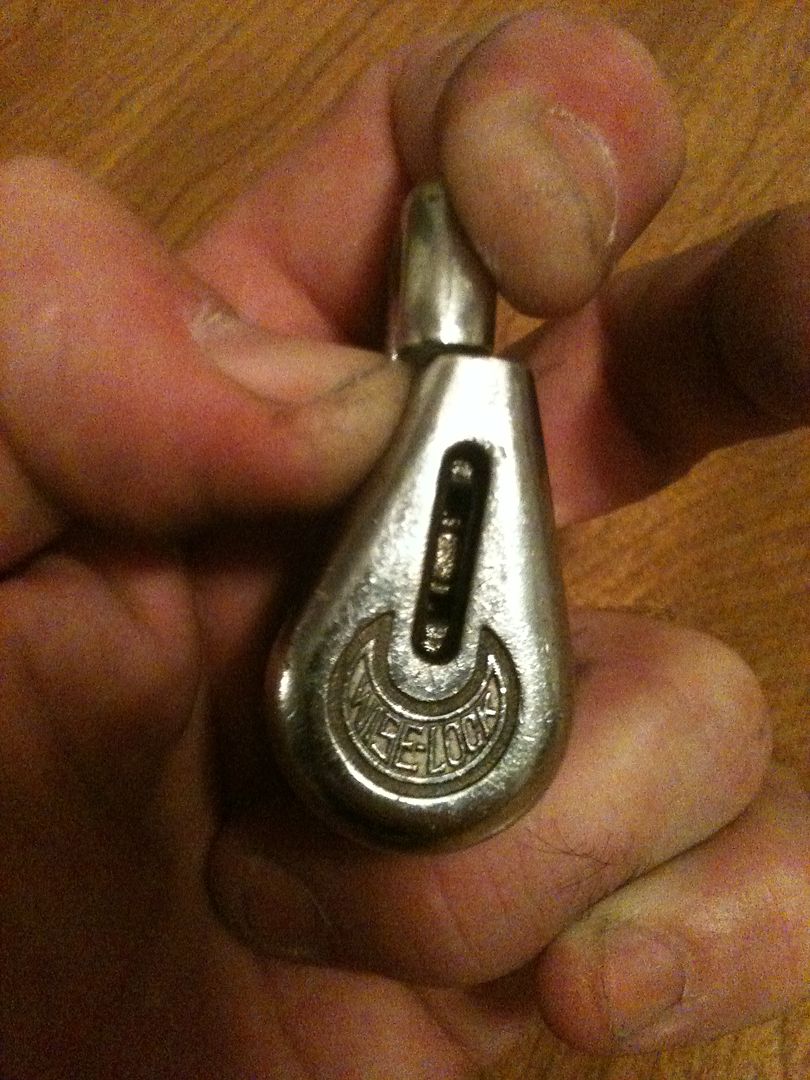
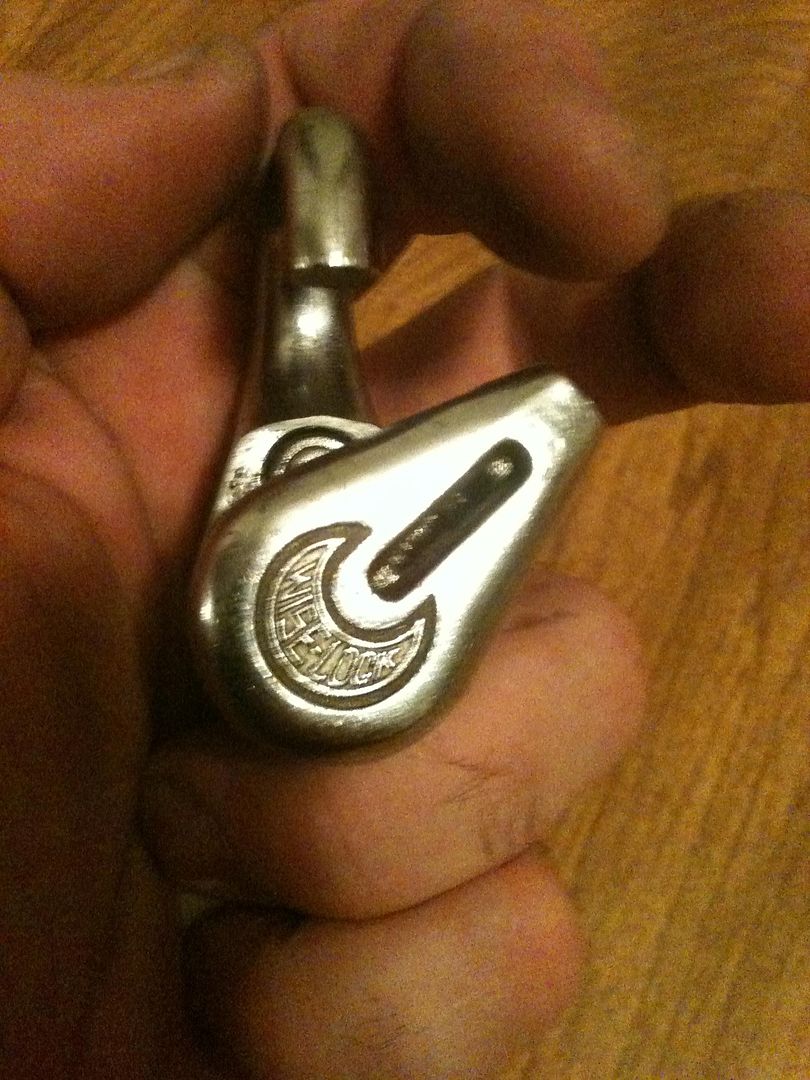
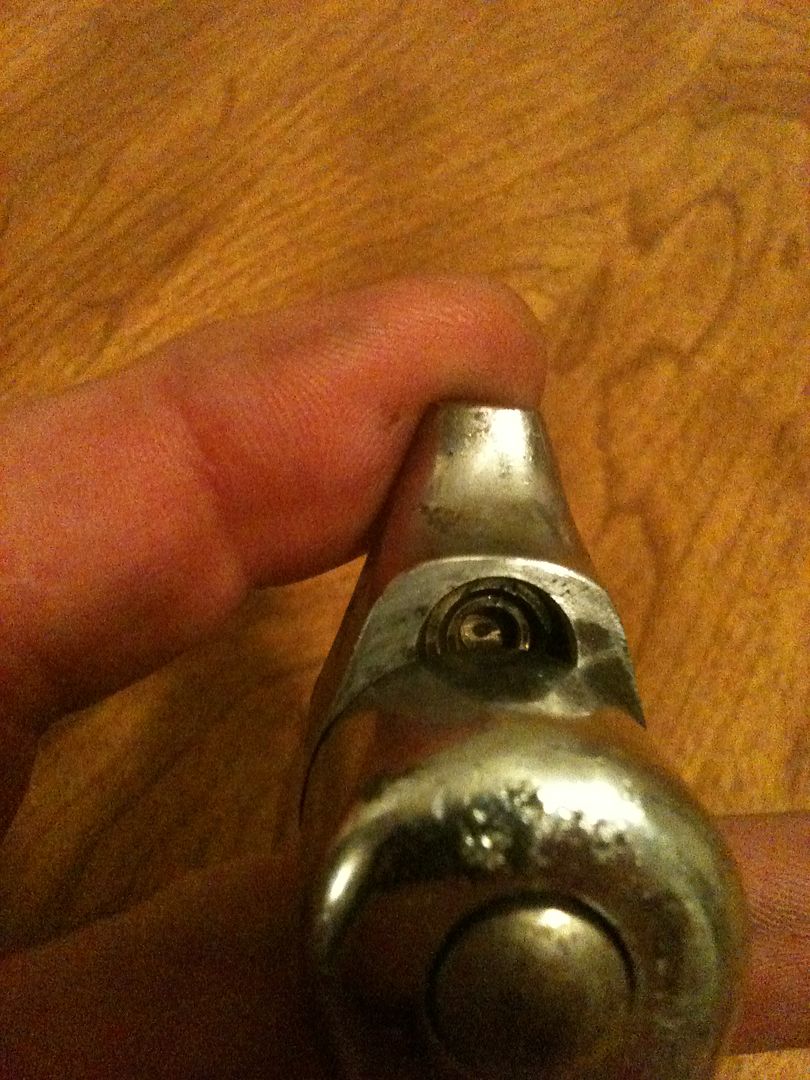
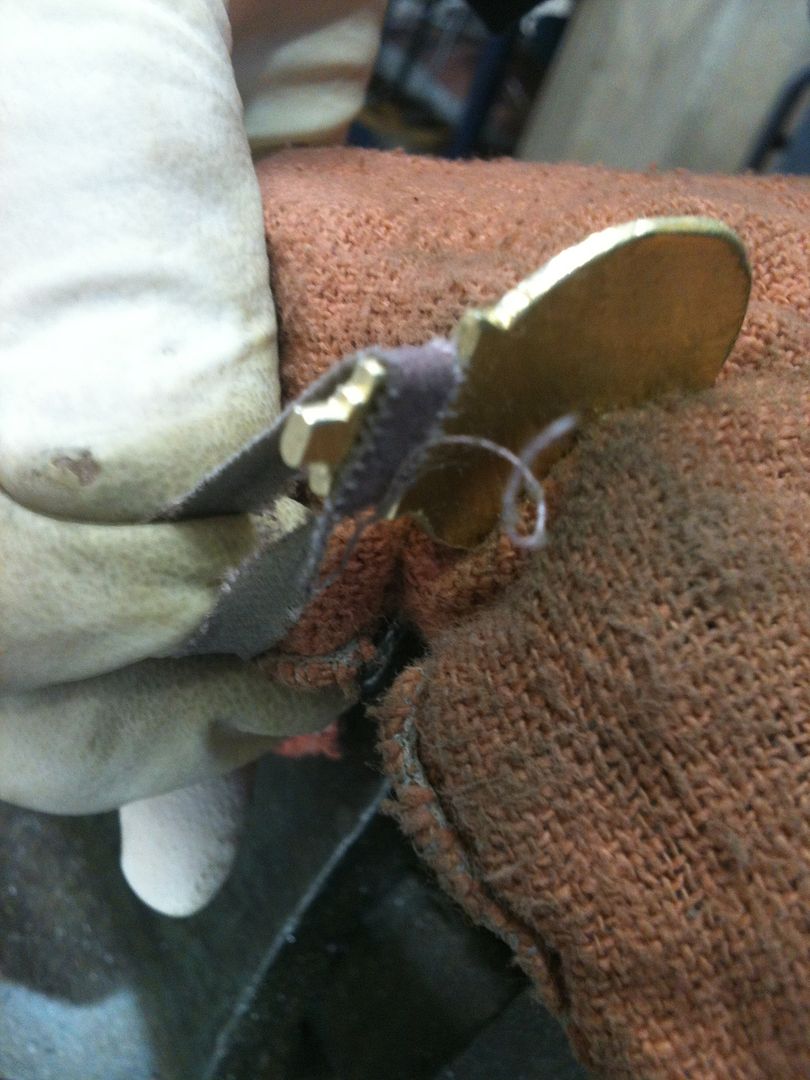
In this next picture, you see what looks like a button. It is the ‘axle’ on which the two parts of the lock pivot.
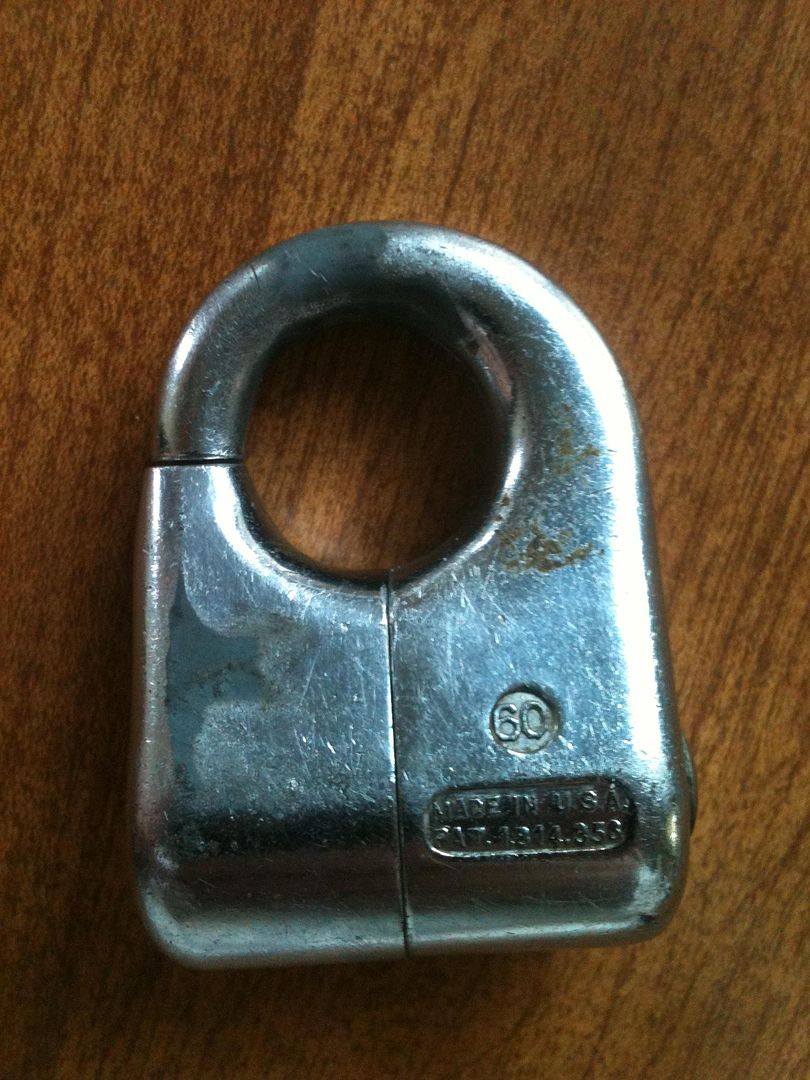
Looked it up in the padlock code books, and it specifically states that the lock can not be disassembled without permanent damage. So, sorry folks. No physical breakdown pictures.
Before we demonstrate picking this lock, here is a drawing I made to show how the locking mechanism works. Ignore the measurements for the time being. More accurately, this is a drawing of the front half of the lock. In another format, this would be the plug, with the bottom of the drawing being the sheer line.

Close up, you can see more how this works. The blue is the lock body. The pink is the outer pin. Yellow is the center pin. And orange is the inner pin. (Those are the terms used in the Reed Padlock Code Books).
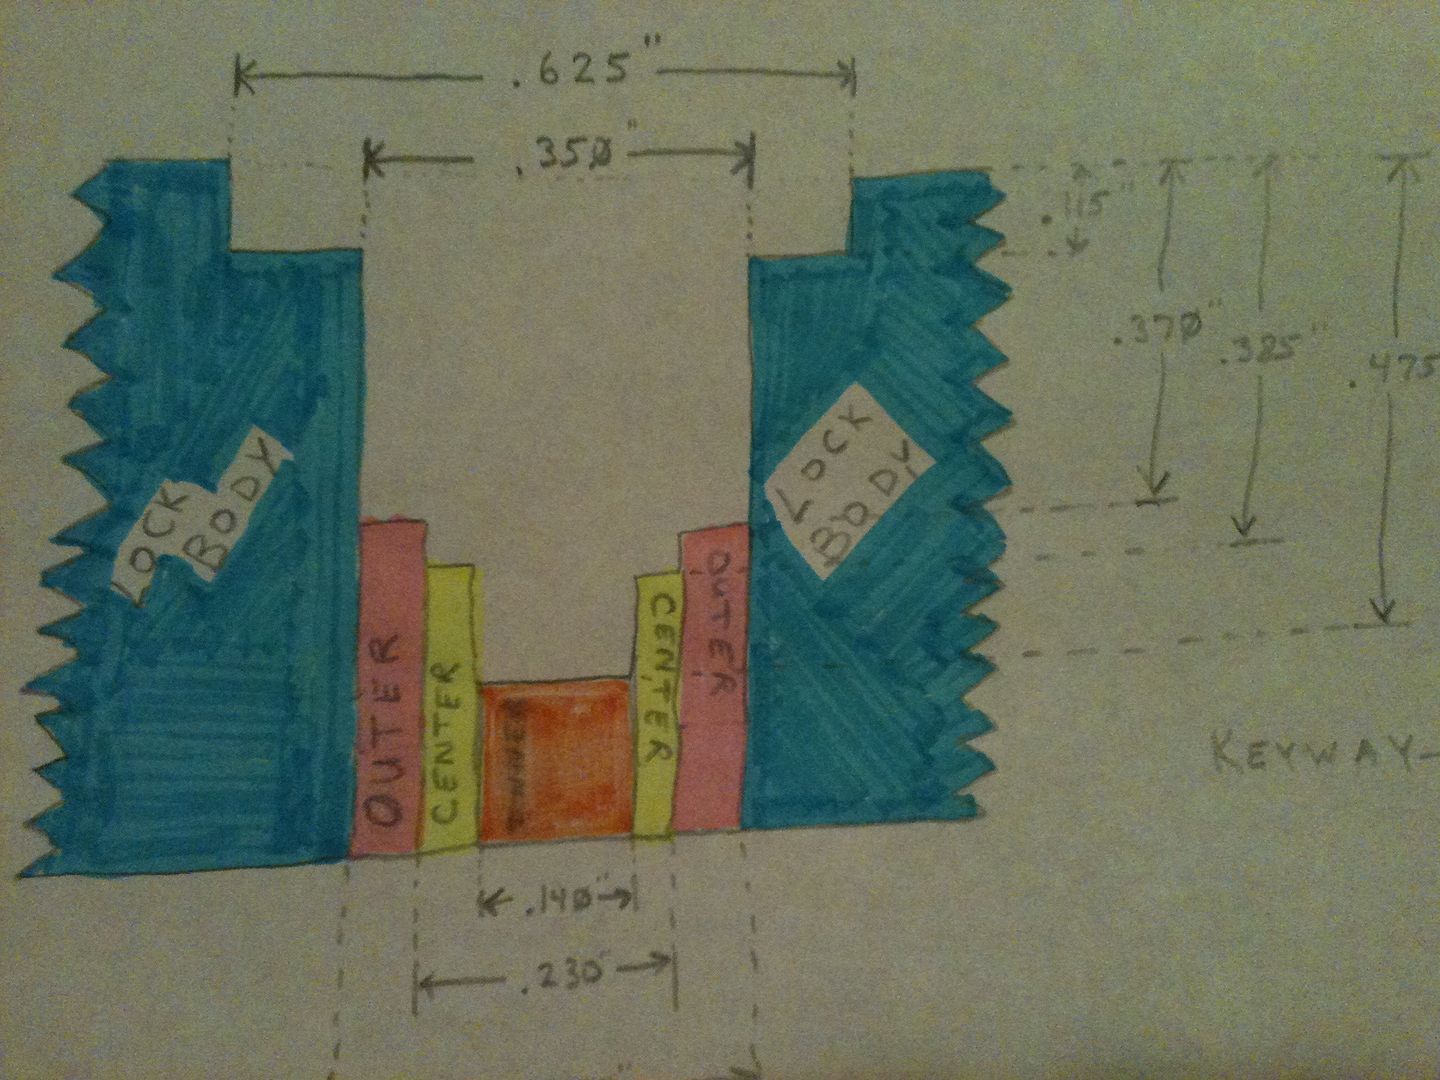
This works very much like a single pin stack in a Mul-T-Lock. But instead of pin-in-pin, this lock has pin-in-pin-in-pin.
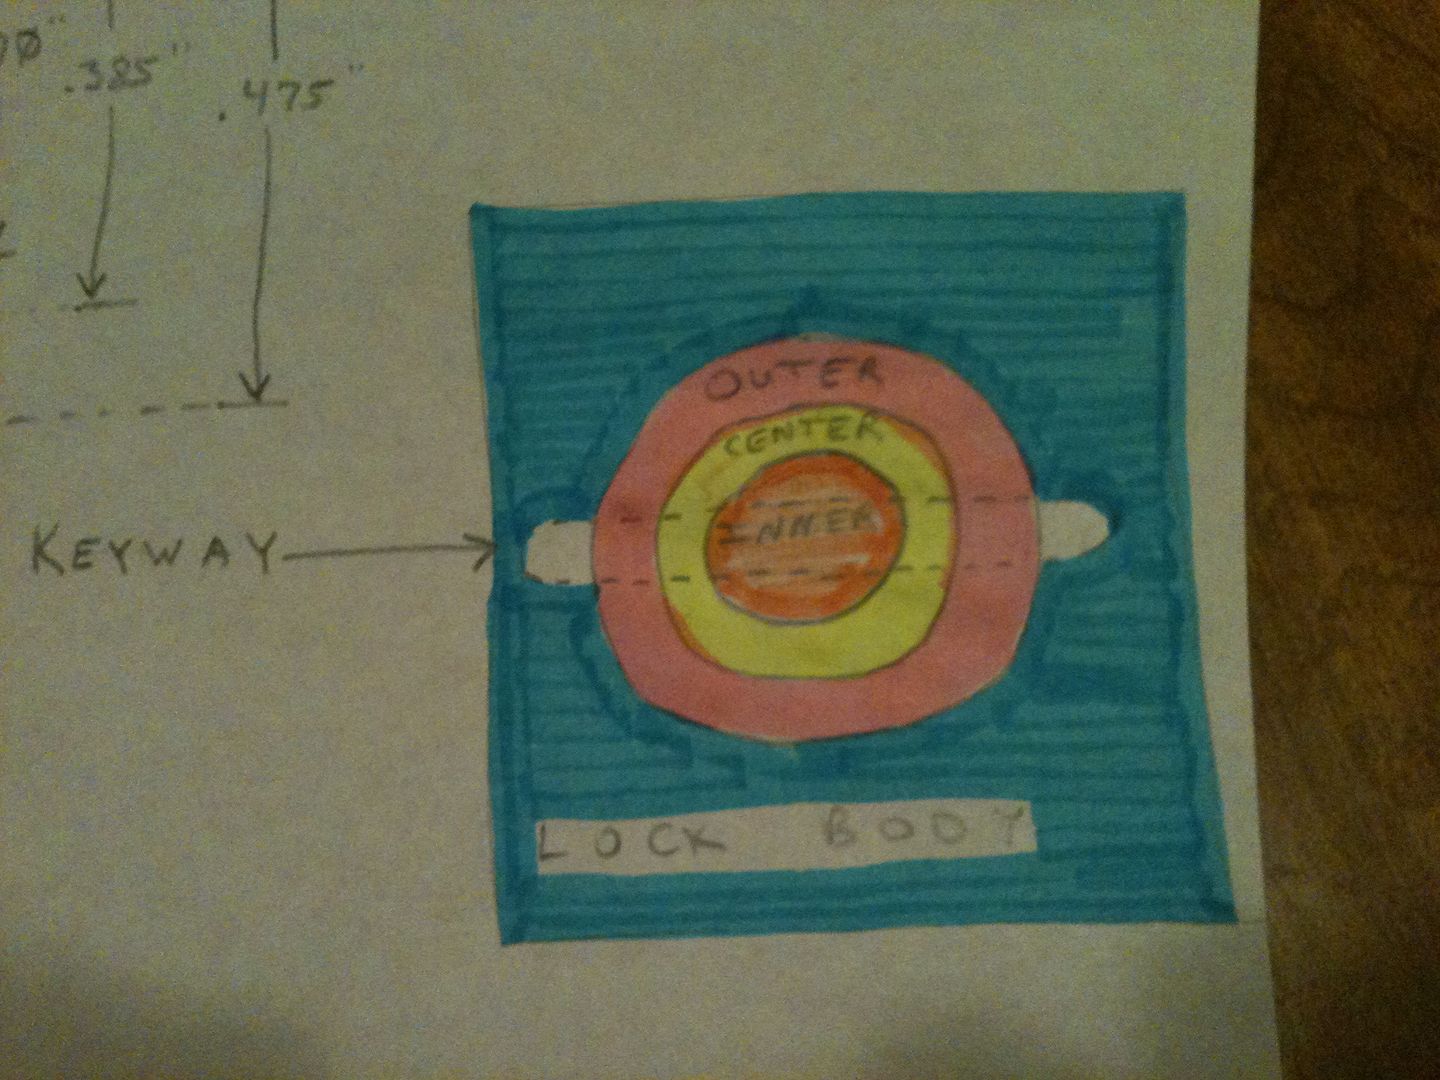
Under each pin there is a separate driver pin and spring. So there are inner, center, and outer driver pins and springs. Here is a top view. The white section (and the dotted line passing through the pins) represents the keyway.
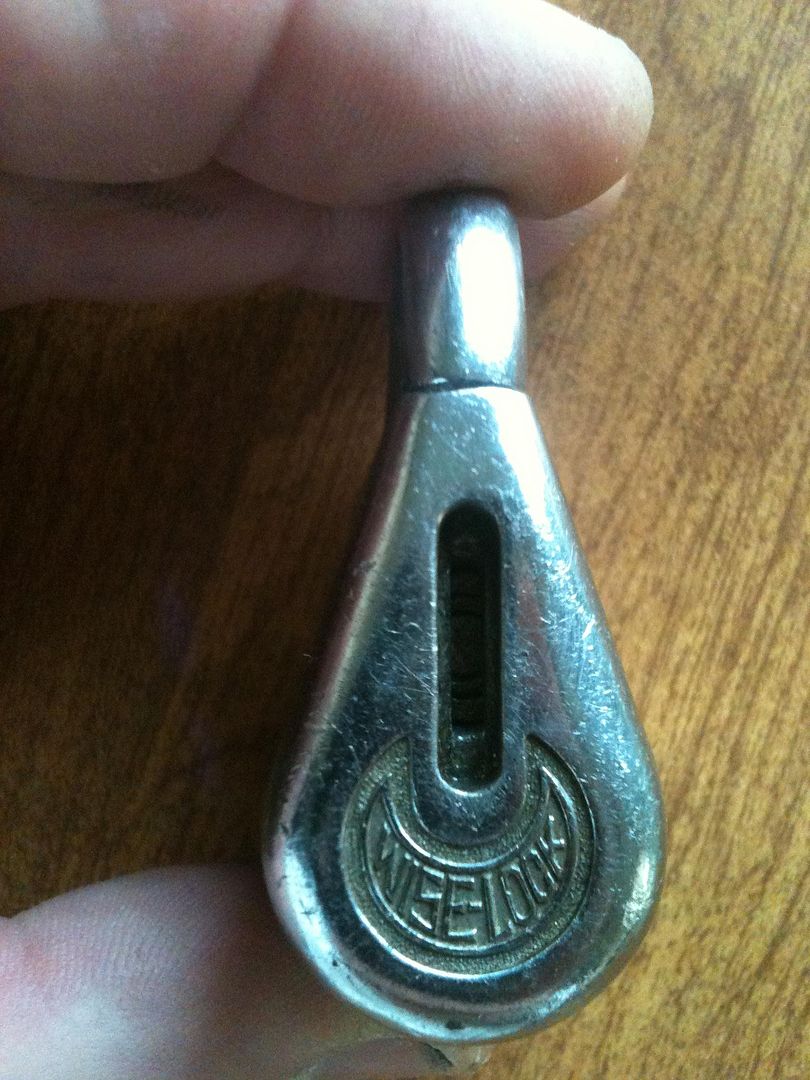
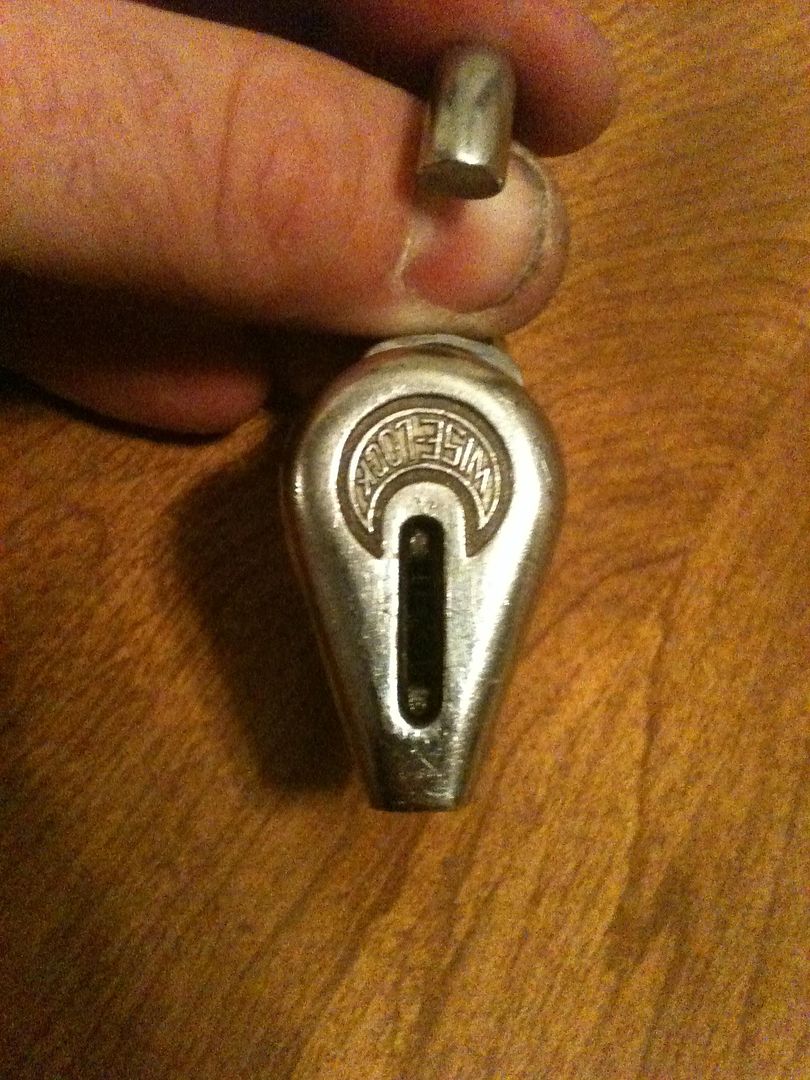
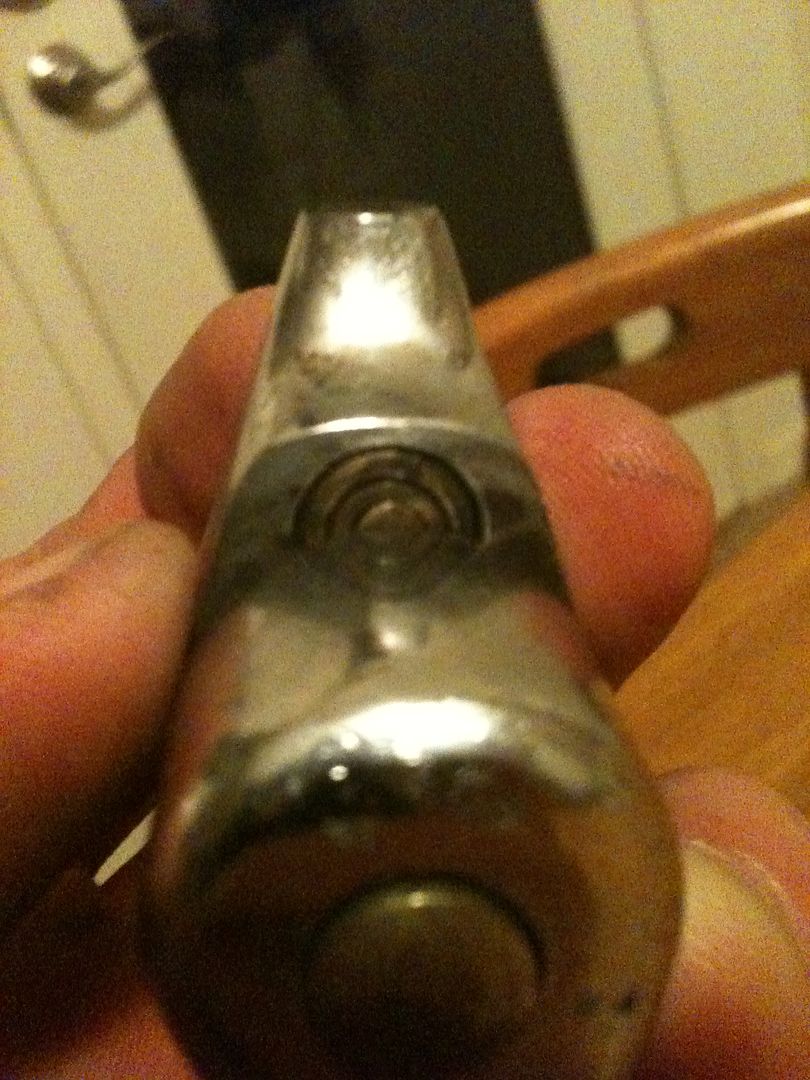
OK, enough background on the lock. Now you probably want to know how to pick this lock. First, look into the keyway…
Hey, you can see all three pins! Access is not an issue. All you need to do us use some form of poker or straight pick to manipulate the pins. Will give this warning - the springs are s-t-r-o-n-g!!! Especially the outer two.
Hold the lock upright, and use your thumb to apply tension to one side of the lock. The binding order is simple - outer pin, center pin, inner pin. The first picture does not have me applying tension - there is no rotation of the lock body until the outer pin is picked. Then you will see as picking progresses towards the inner pin.
Outer pin picked:
Center pin picked:
Inner pin picked to false set (yes, the inner driver pin is shaped like a nail’s head, so it will give a false set):
Then pick the center pin again to get past the false set, and….
OPEN!
Yes, it really is that easy! Bet we now know why it came off the market.
Now that it is picked open, you can see the pins at the sheer line. Here are the driver pins (yes, they can still be pushed down with a pick)…

And the key pins from the keyway side of the lock. They can be measured or impressioned from this side.

Turn it around, and you can see the key pins from the sheer line side:
Tip it so the keyway is down, and you can see/measure the bitting even more easily!
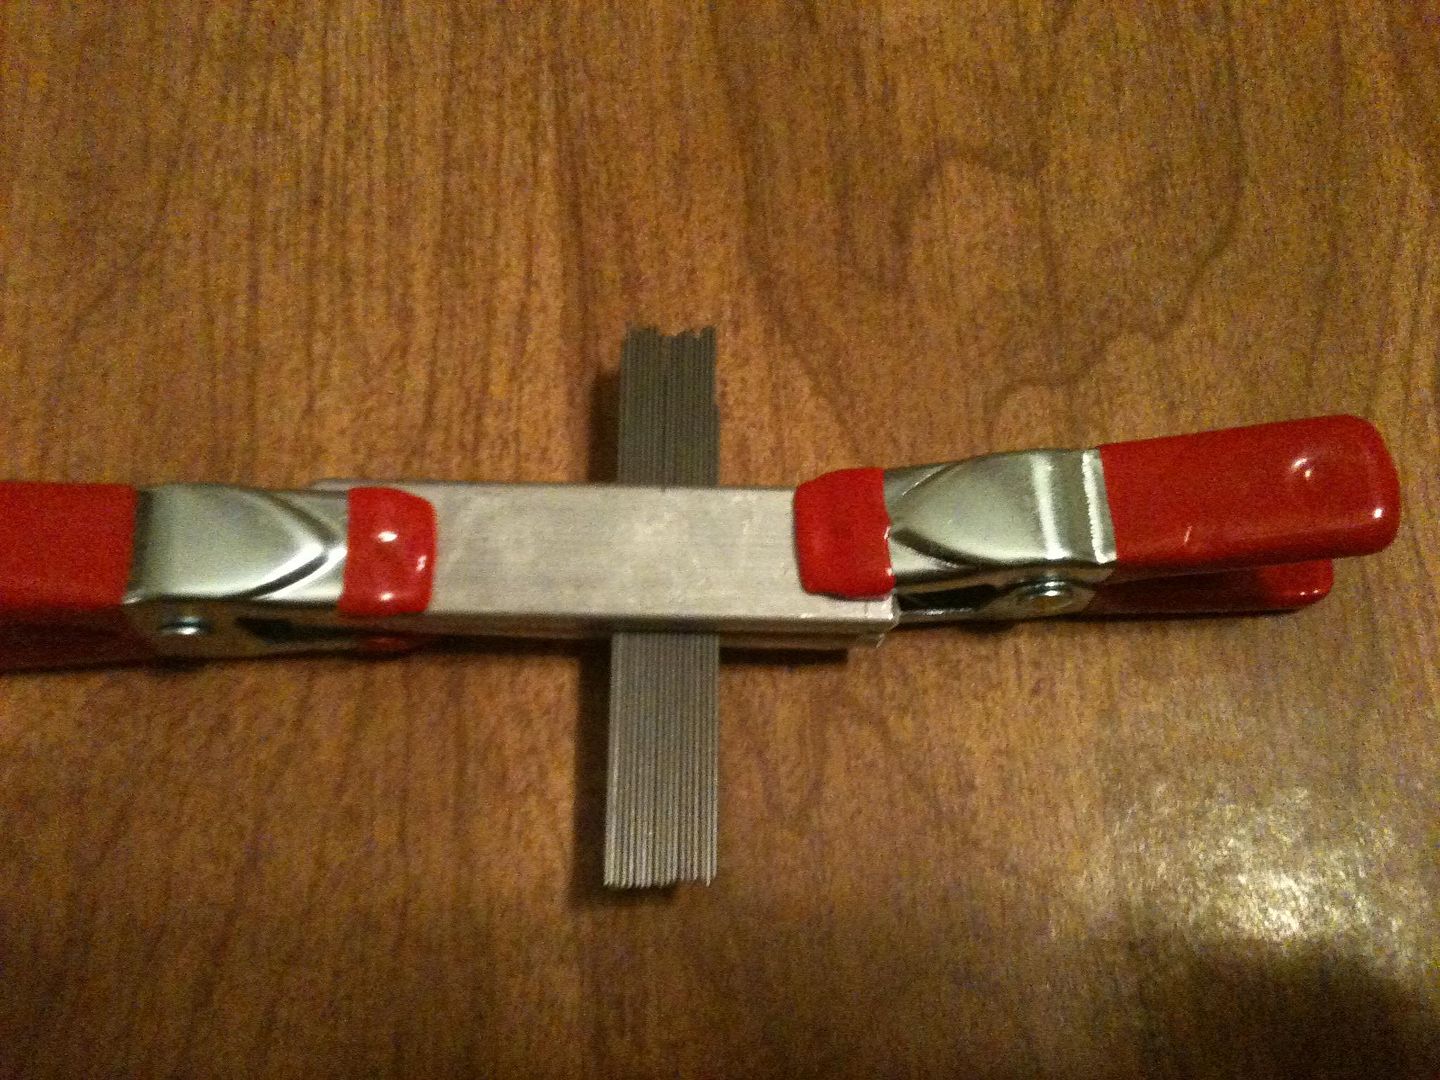
If you want to physically see the bitting as it would be on a key, here is a tool that you can use. Took thin music wire and cut a stack of them. Two pieces of aluminum bar stock wrapped in clear tape (sticky side in, smooth side out), and two spring clamps. The smooth side of the tape on the aluminum helps to lightly hold the music wire in place, but still allows them to slide enough for impressioning the shape of the key.
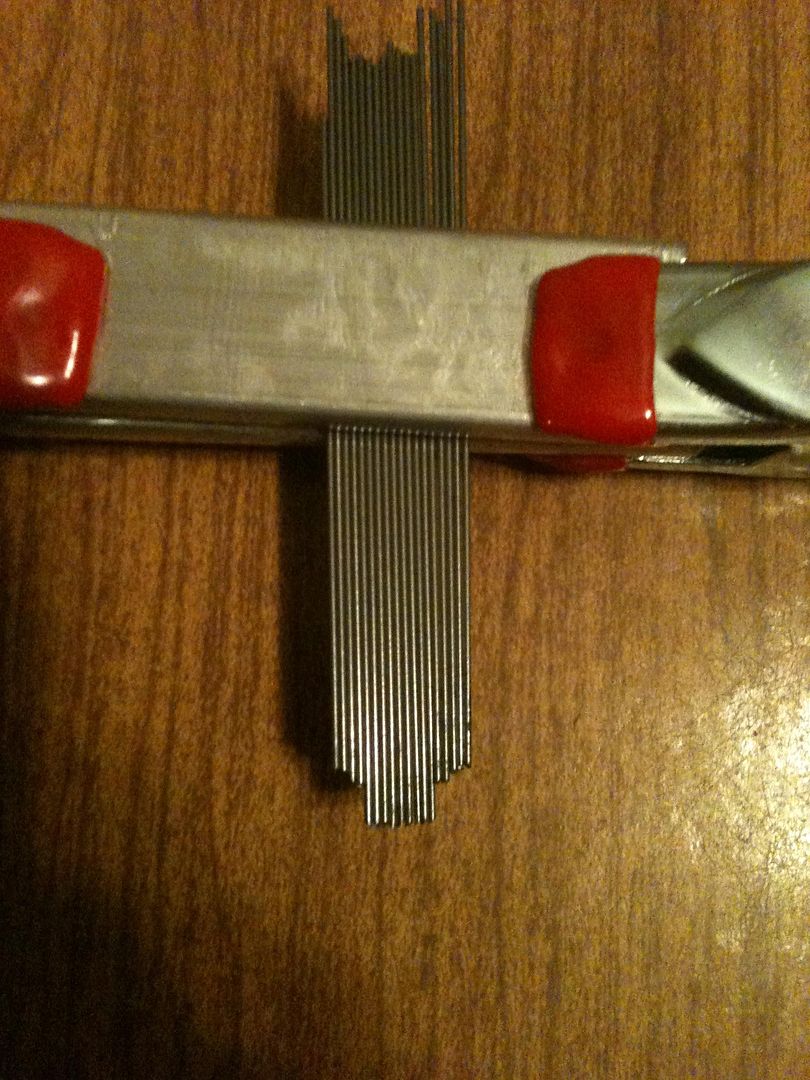
It was easier just to measure the depths with a micrometer. That is where I got these measurements from the picture up above.
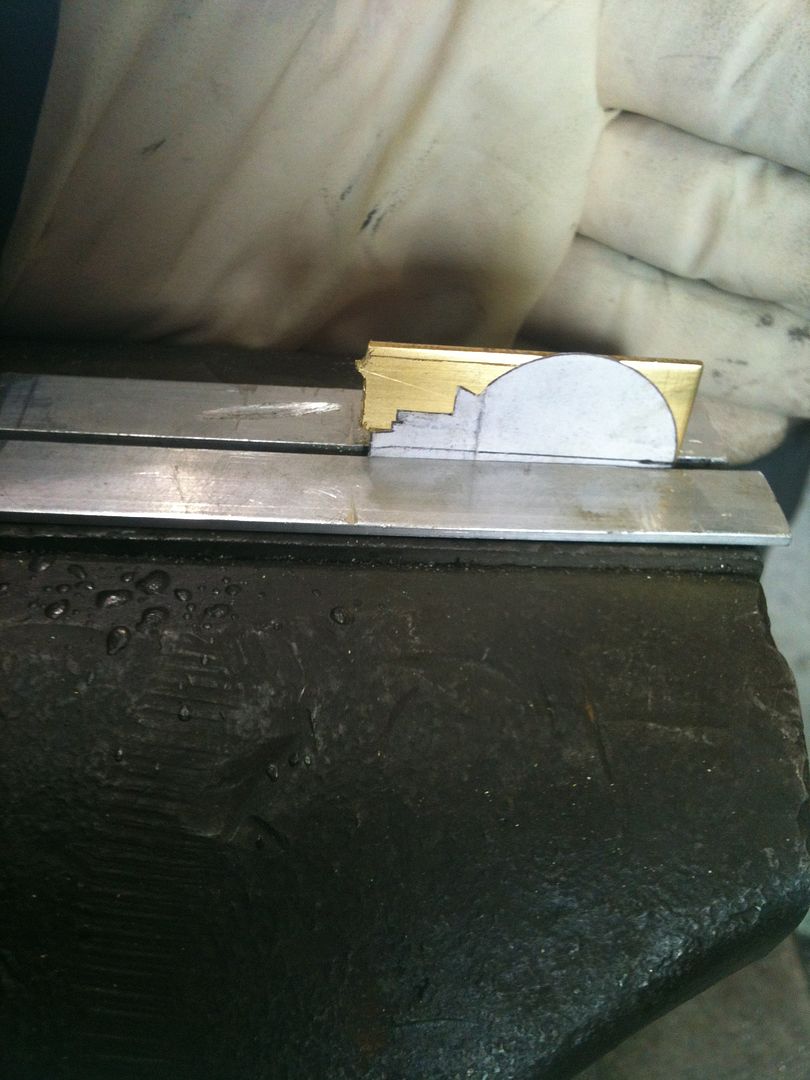
Found pictures of real Wise Lock keys, and used that for the overall shape of the key bow and shoulder. Added my measurements onto paper, cut it out, and pasted it onto brass stock.
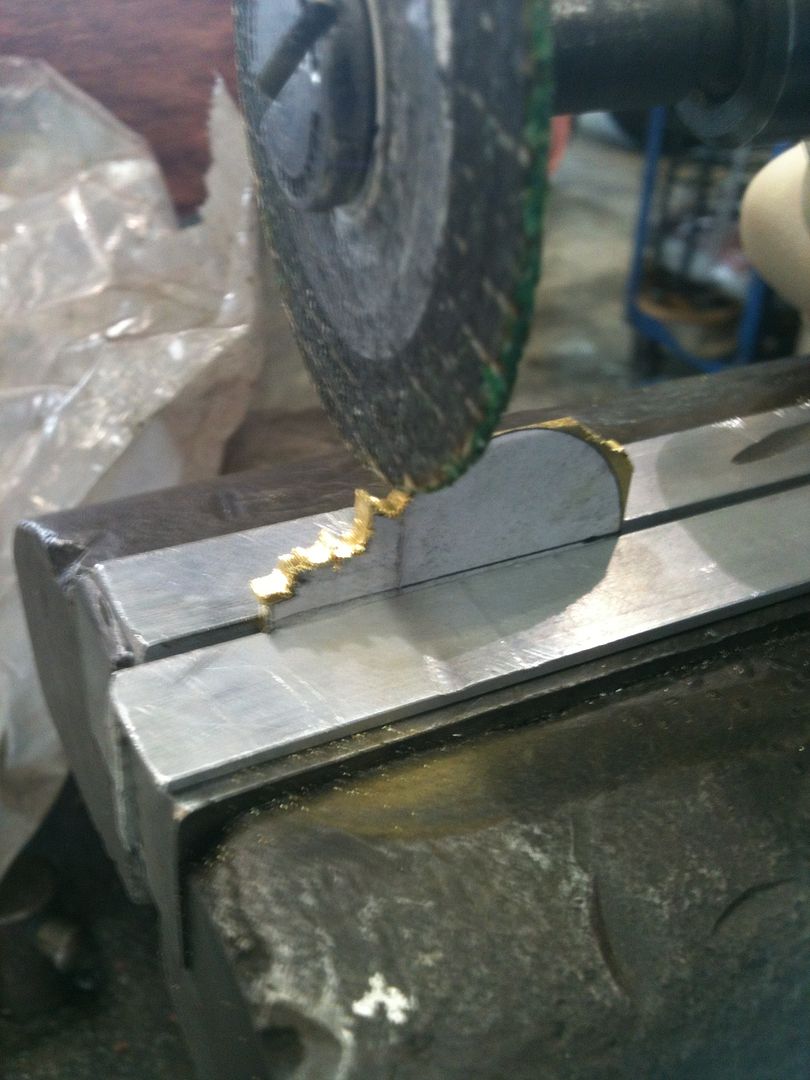
Cut it out…
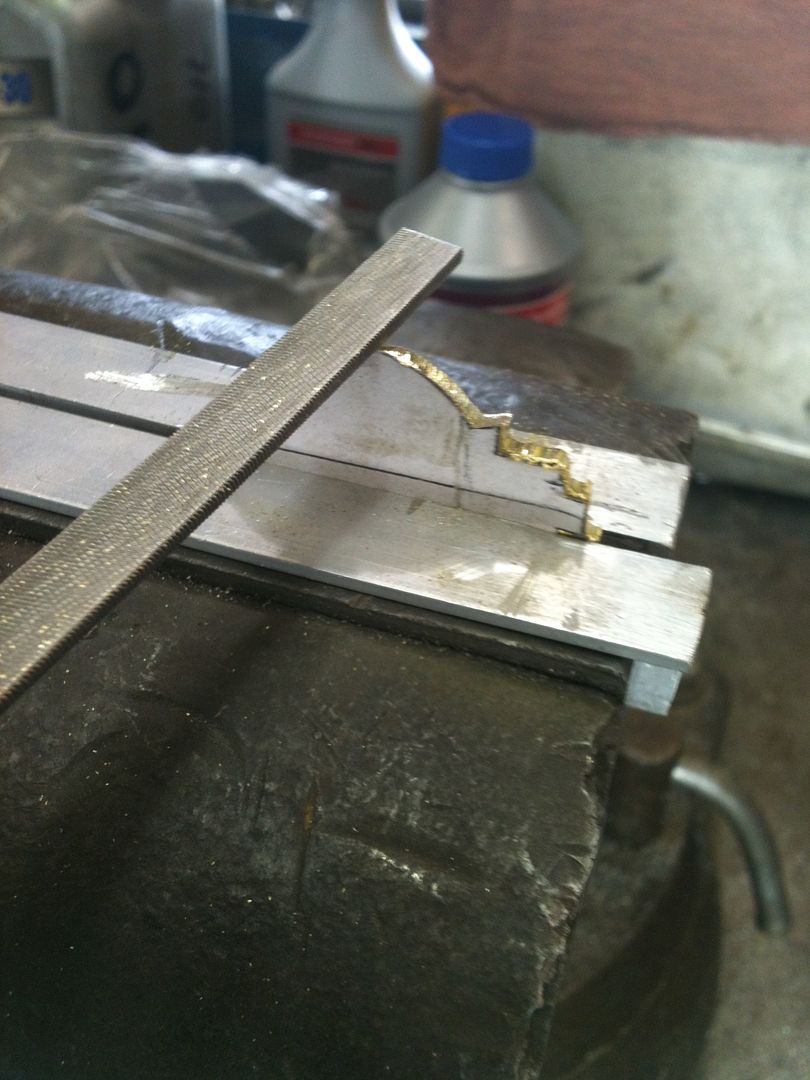
File to shape.
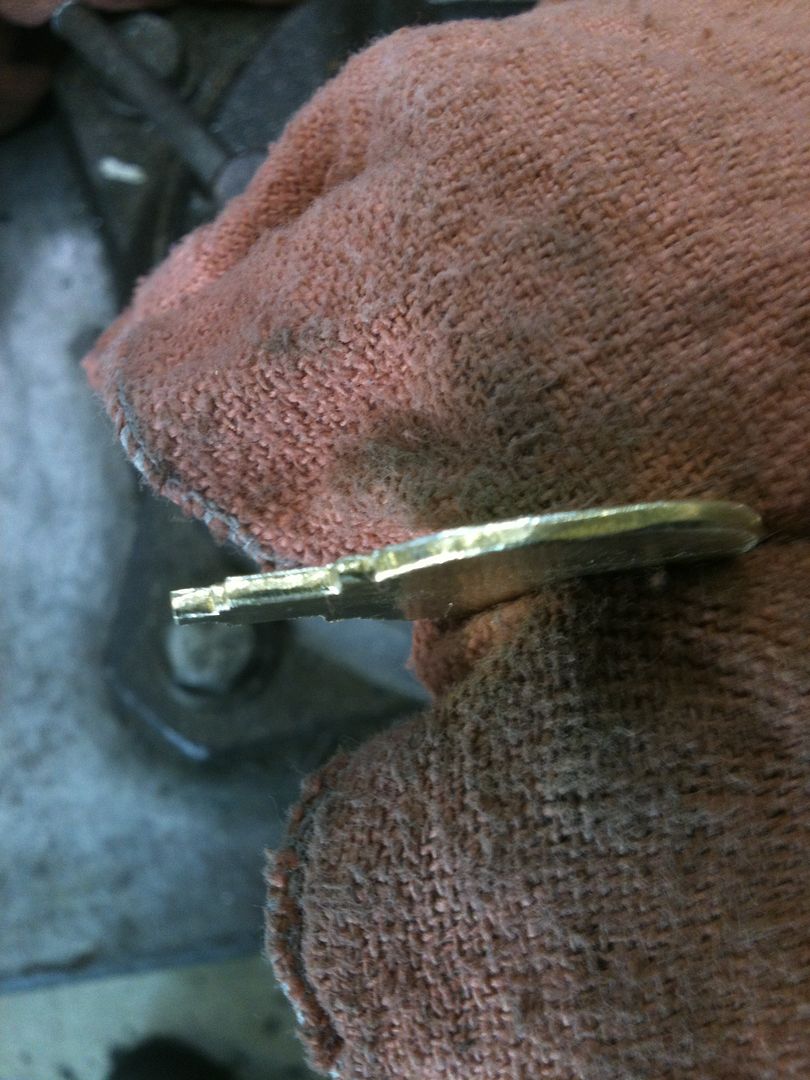
Sand the edges.
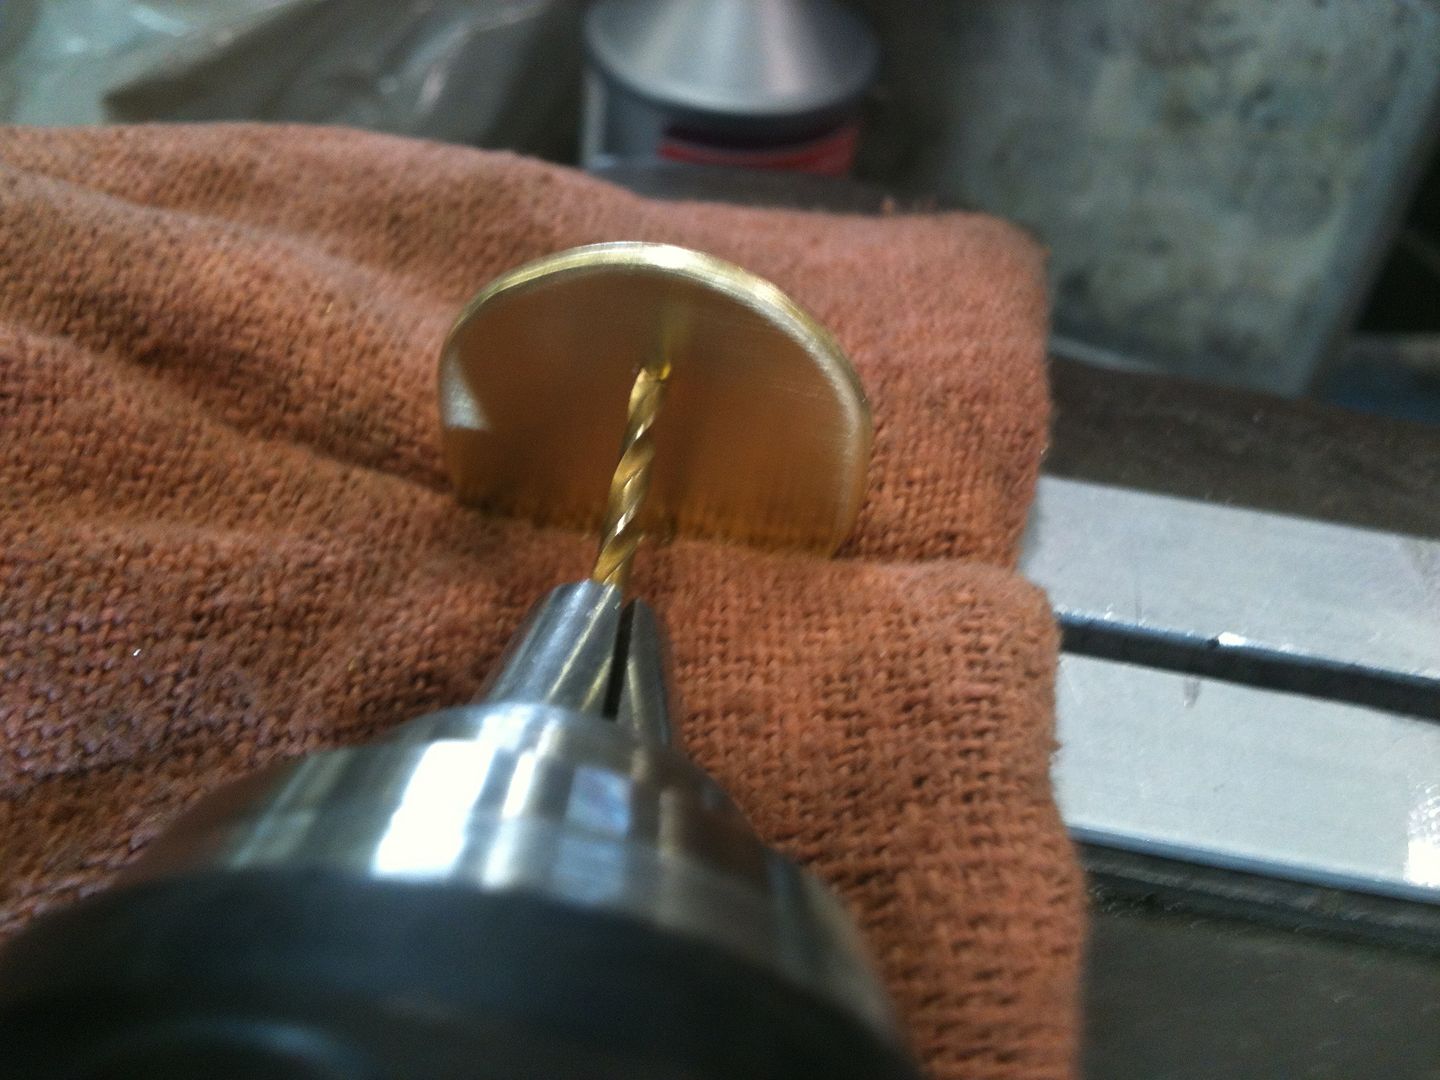
Drill the hole.
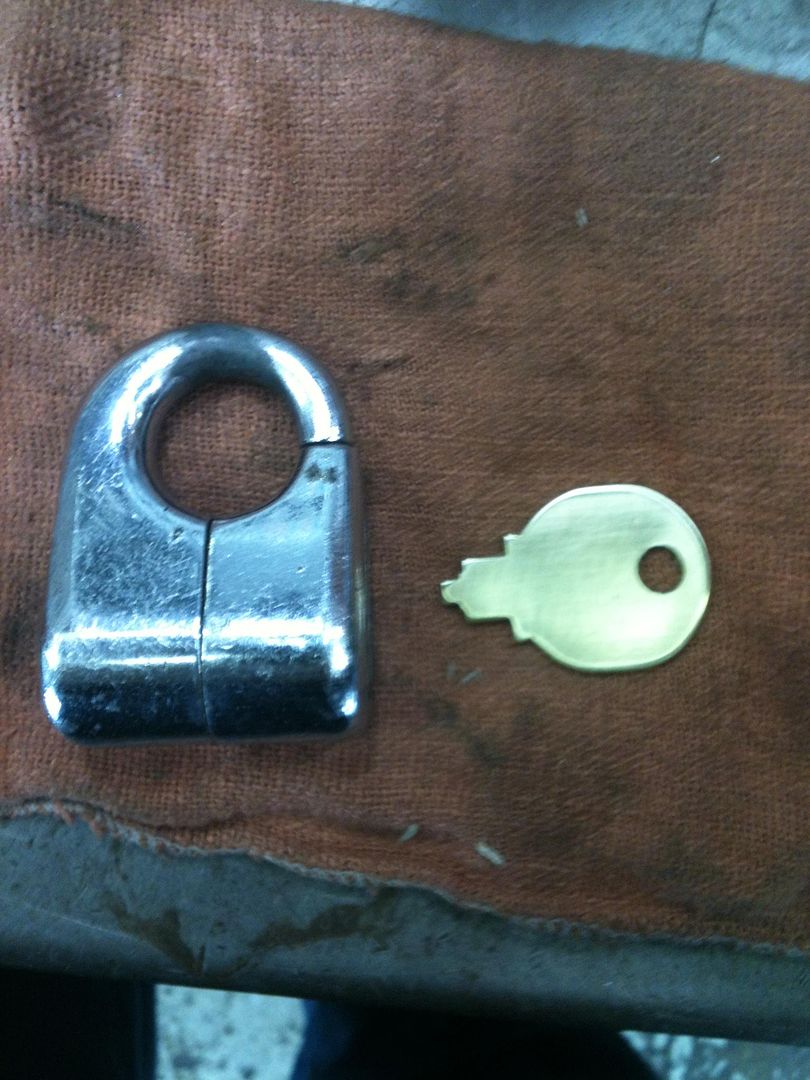
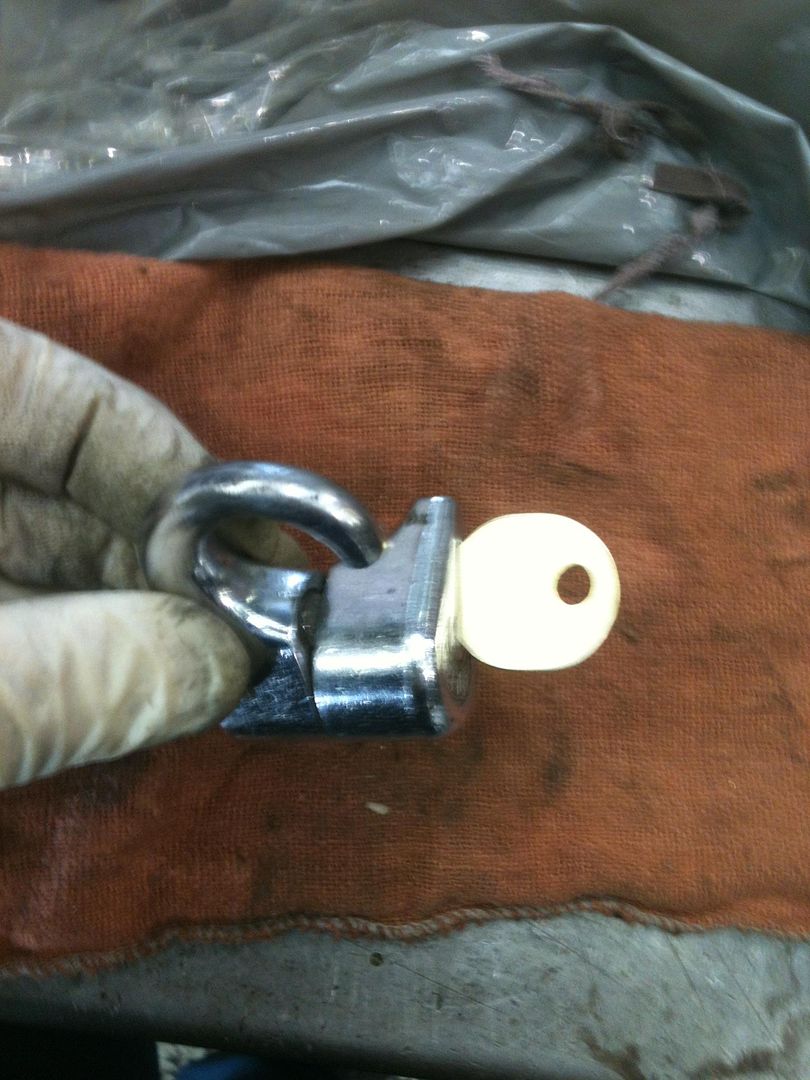
Slightly out of focus key. (camera kept focusing on the lock)
This is a type of push-key lock, so… push!
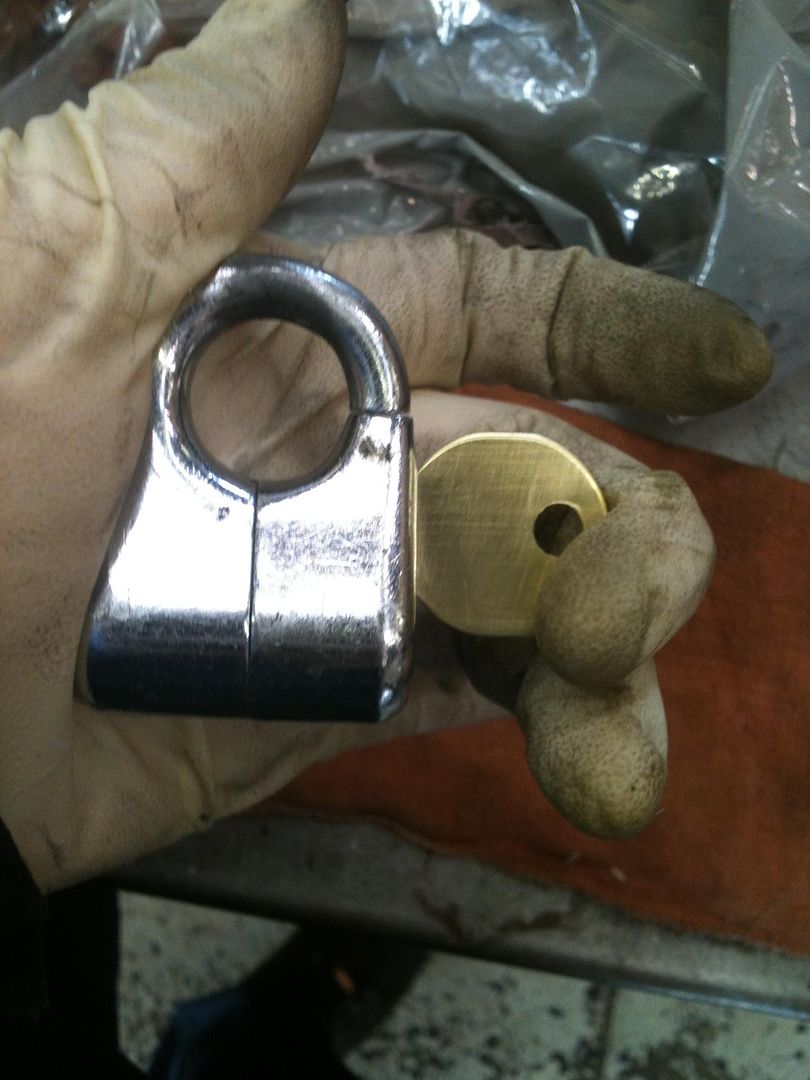
It works! Man, am I lucky or what?
Enjoy!
Gordon


