


First, here is the baby. It sure is cute.
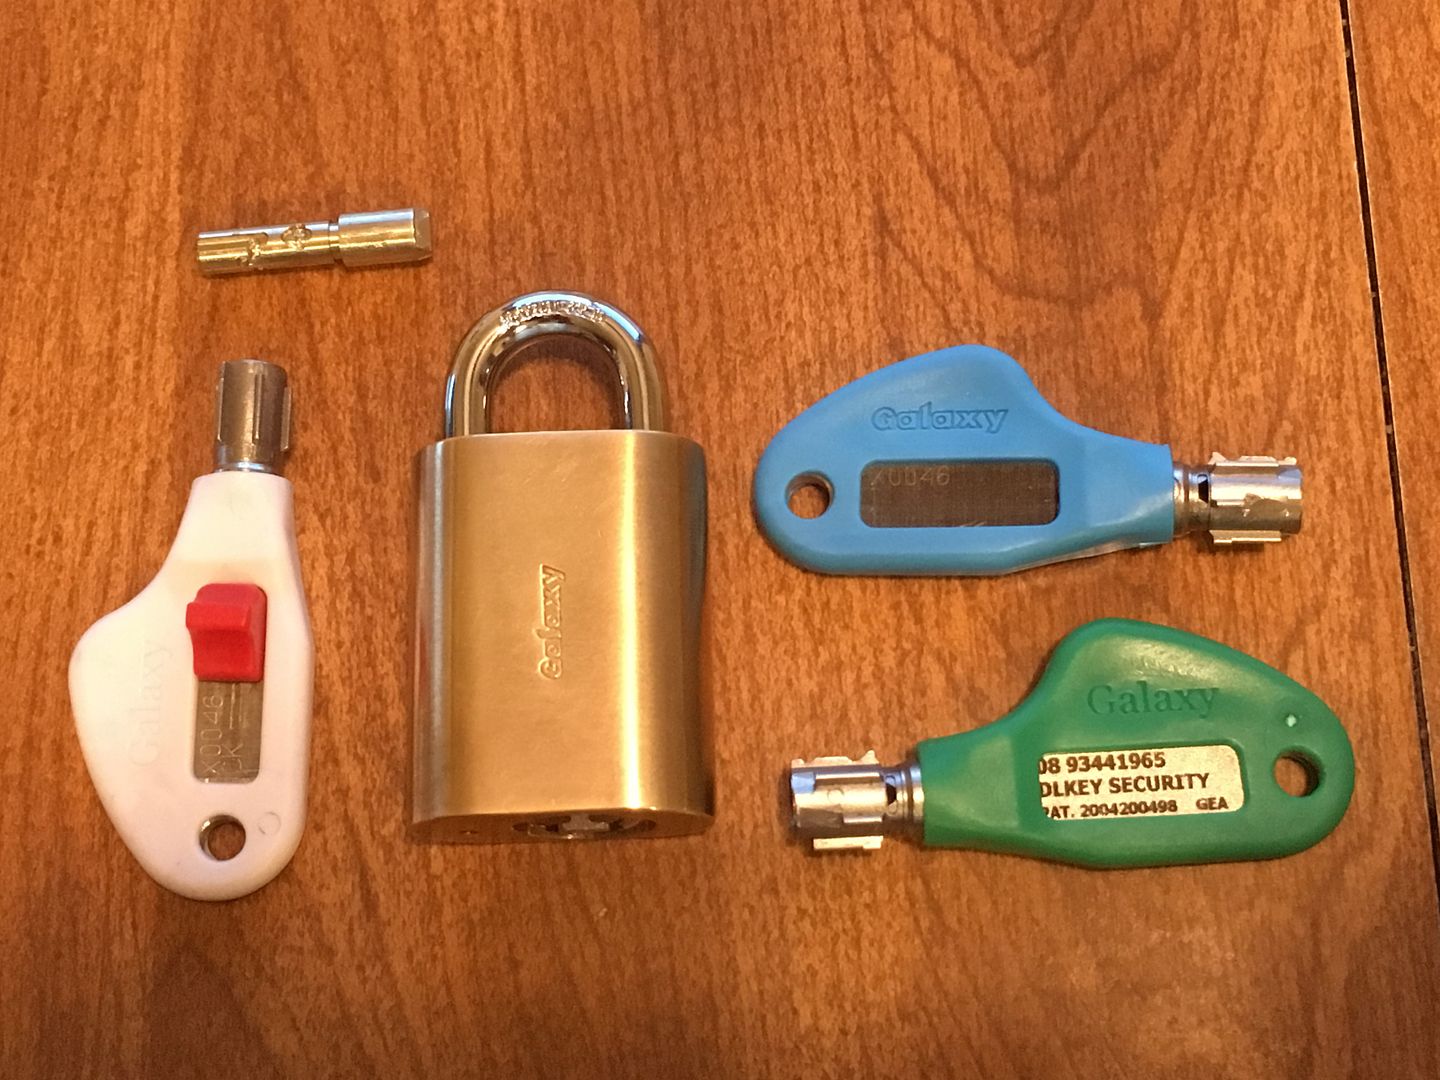
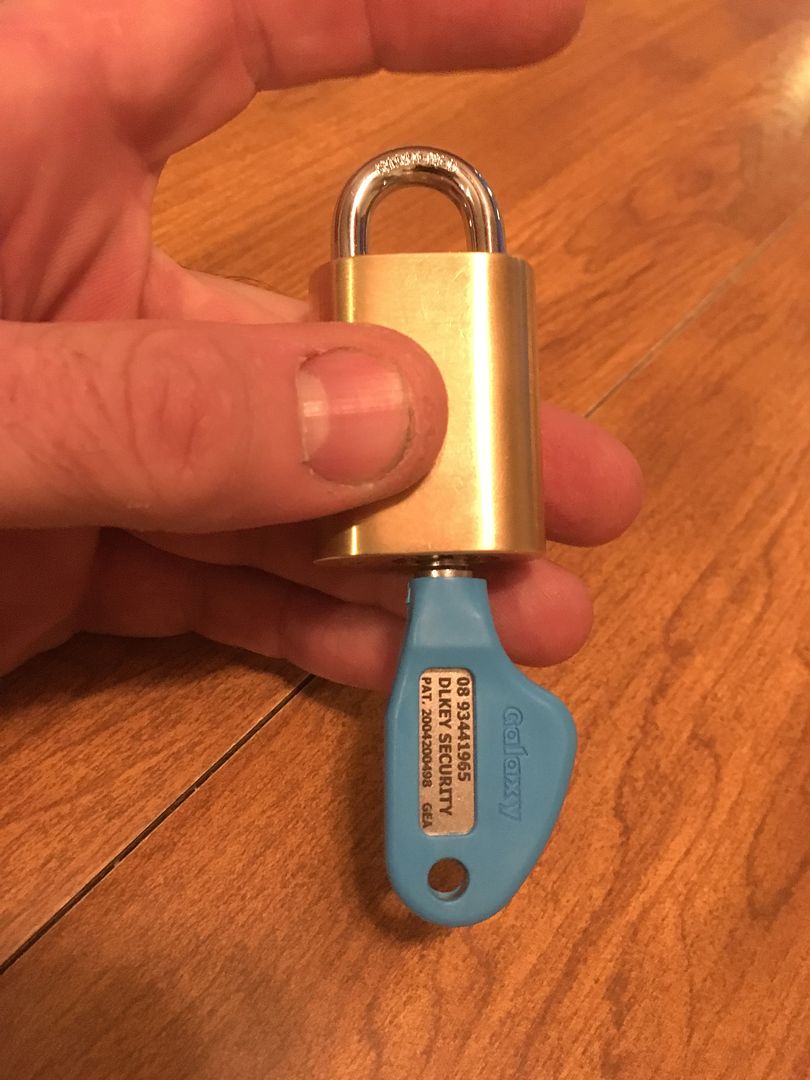
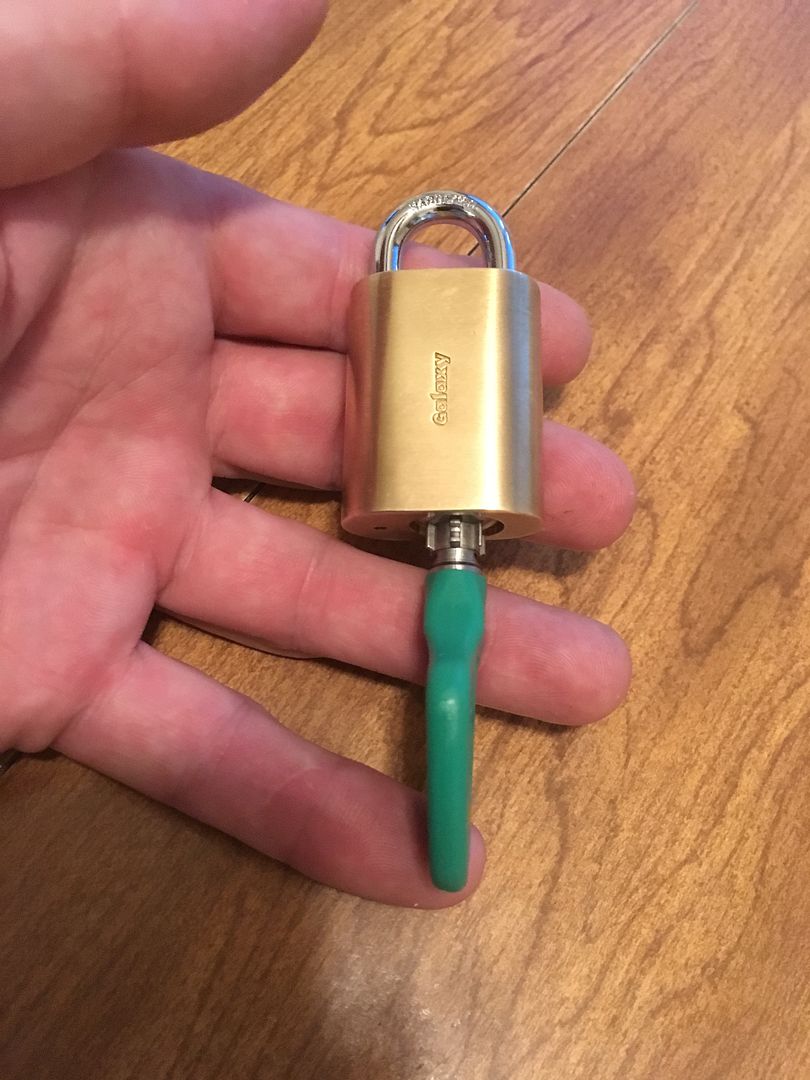
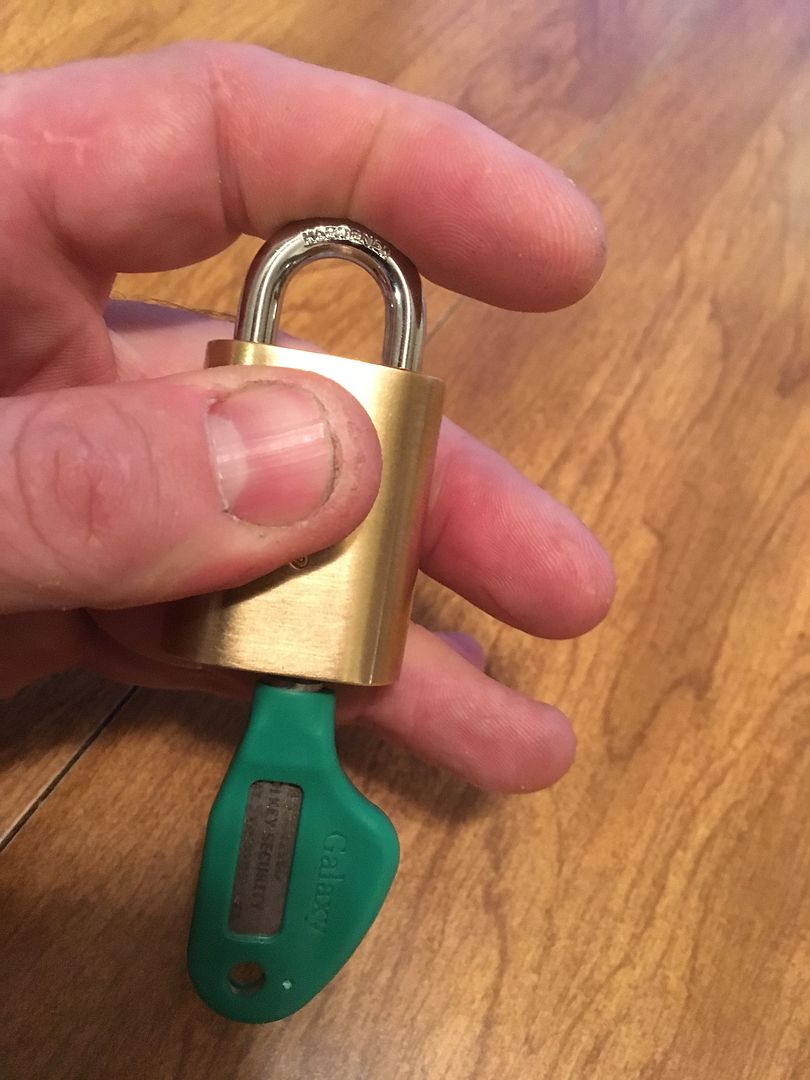
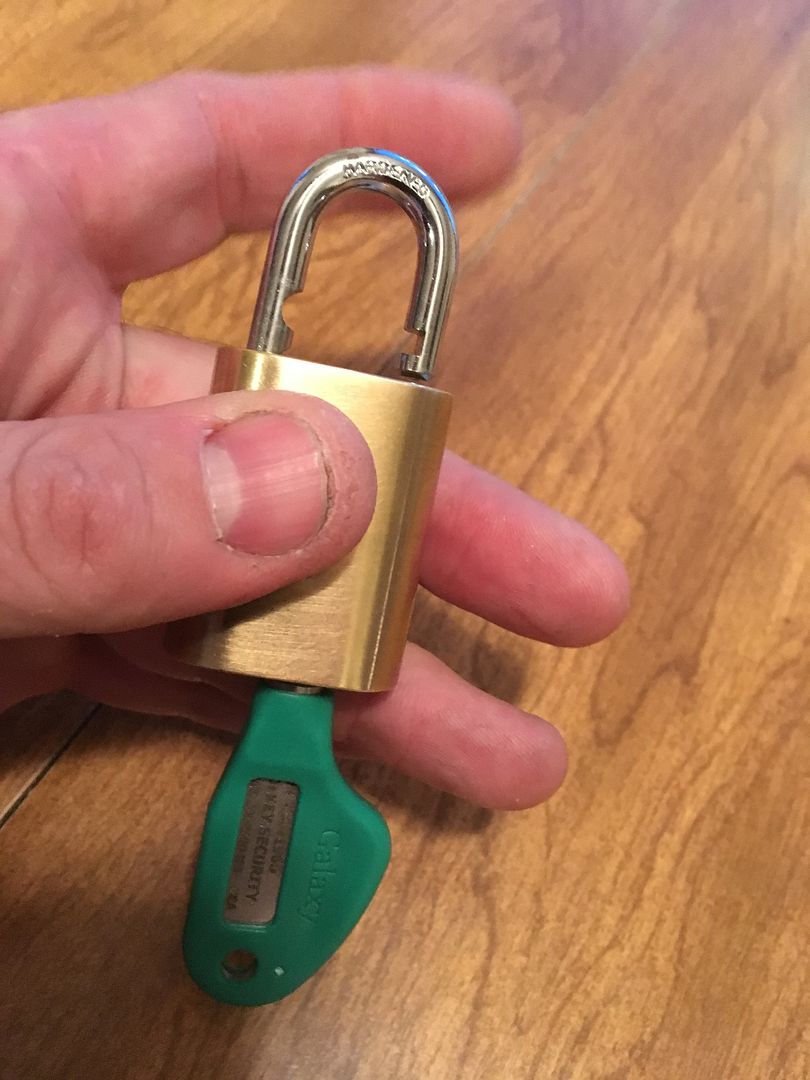
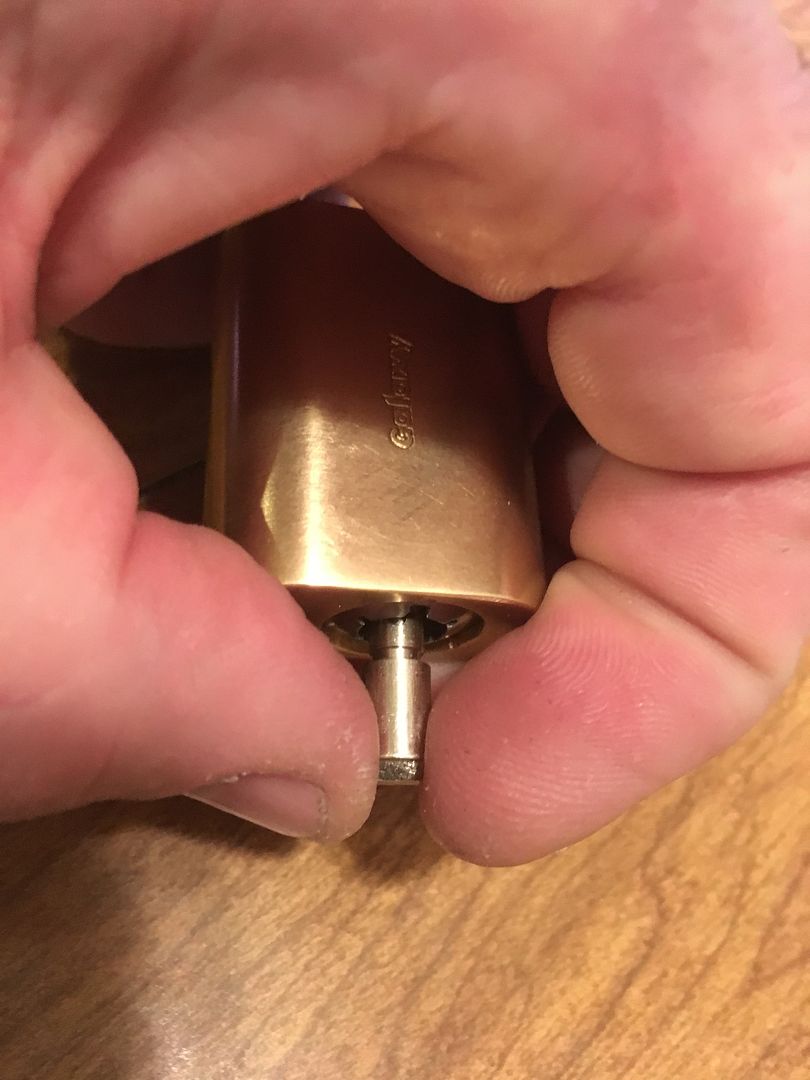
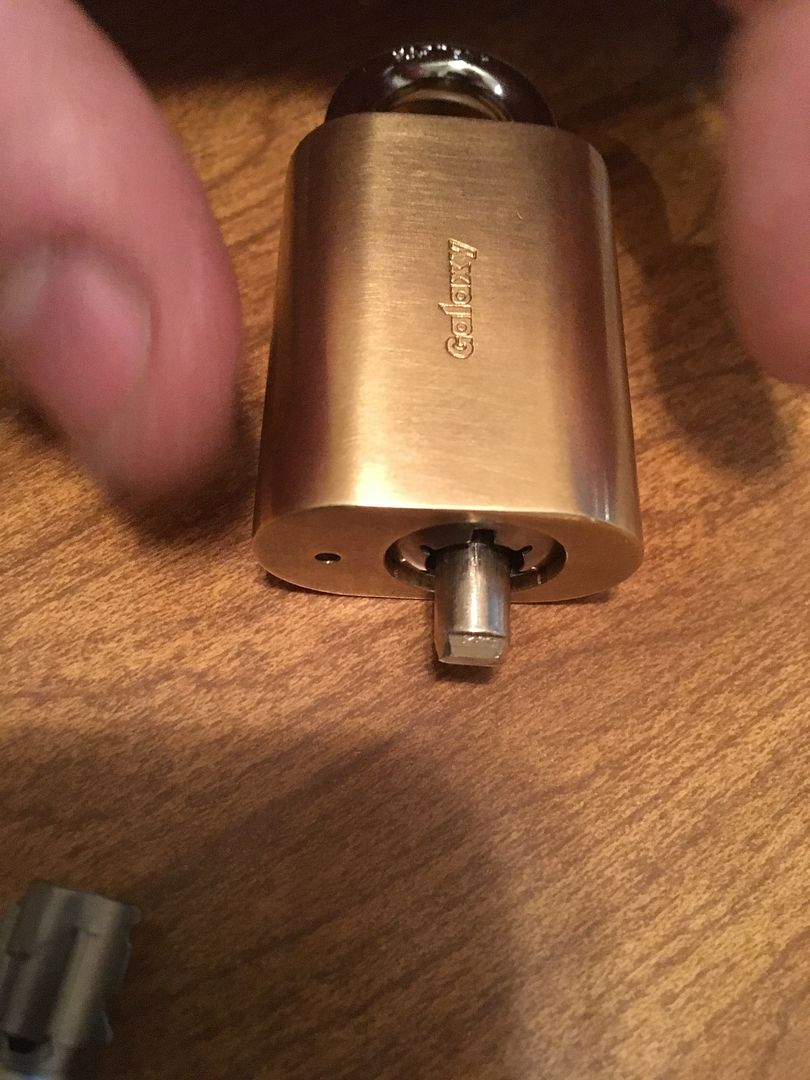
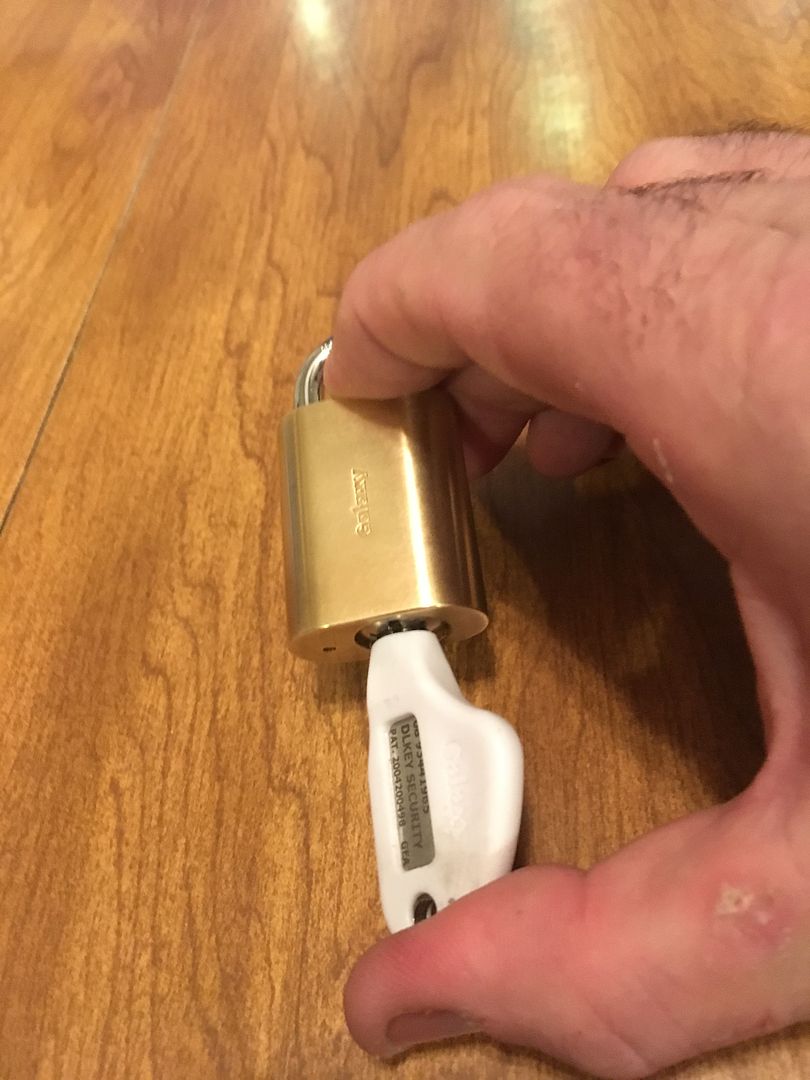
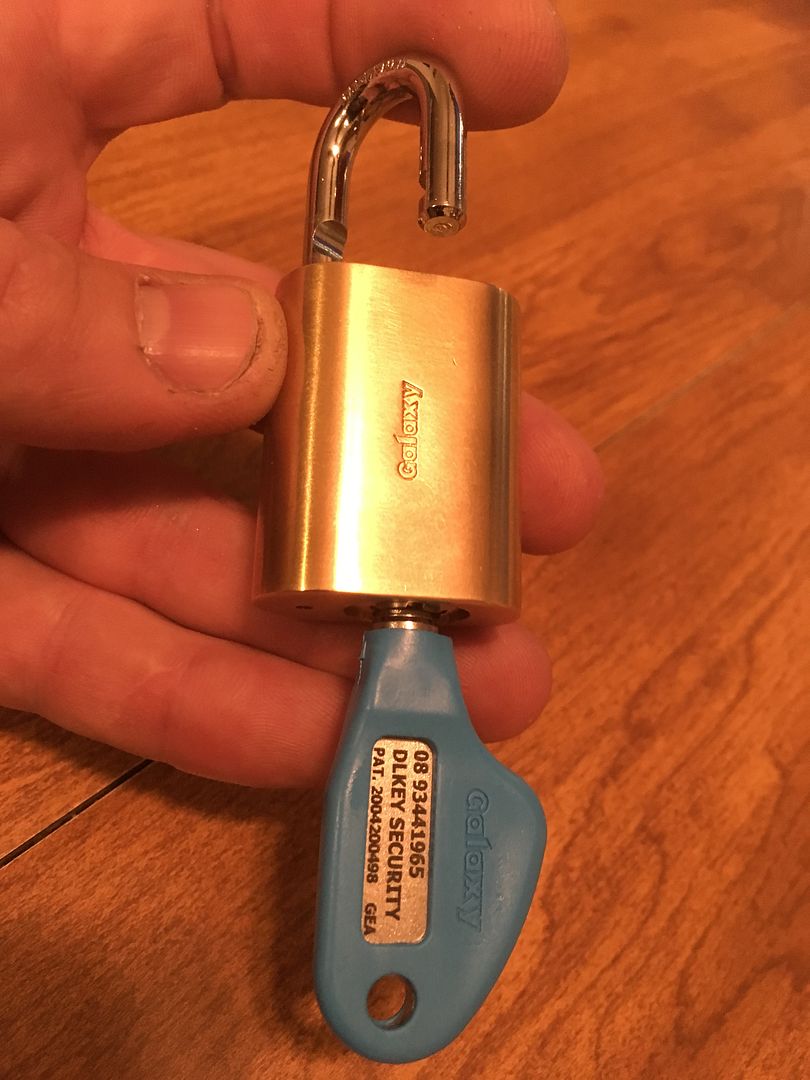
This version is a pretty small padlock, though the lock is available in several sizes of padlocks and other lock formats as well. The padlock is about the same size as the key.
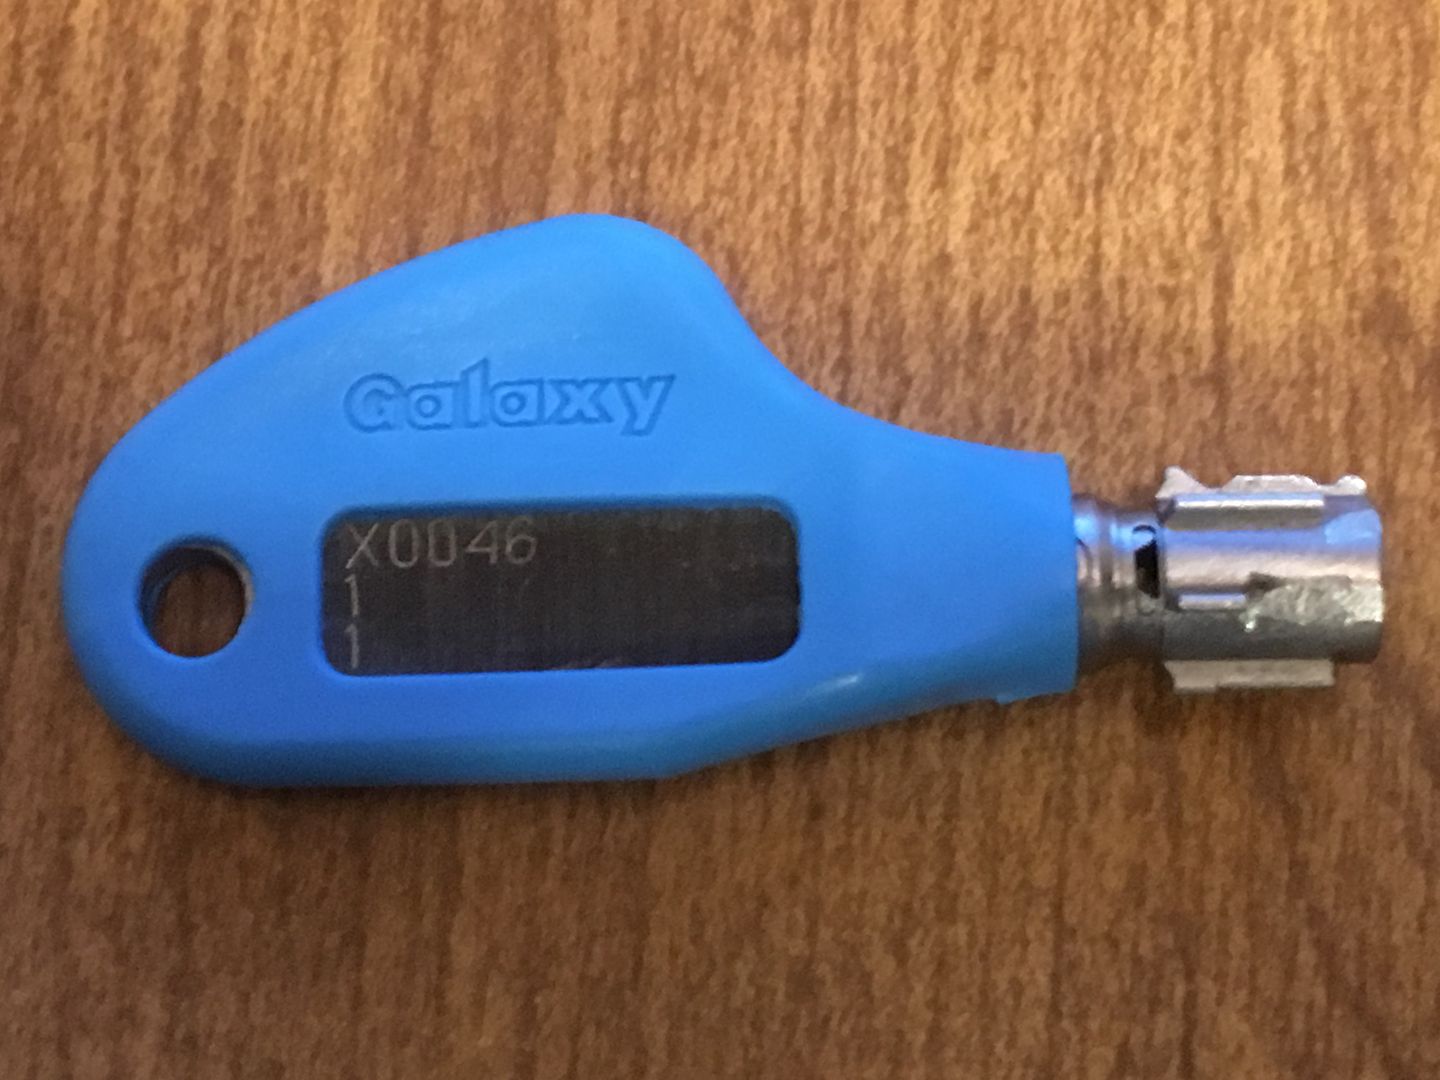
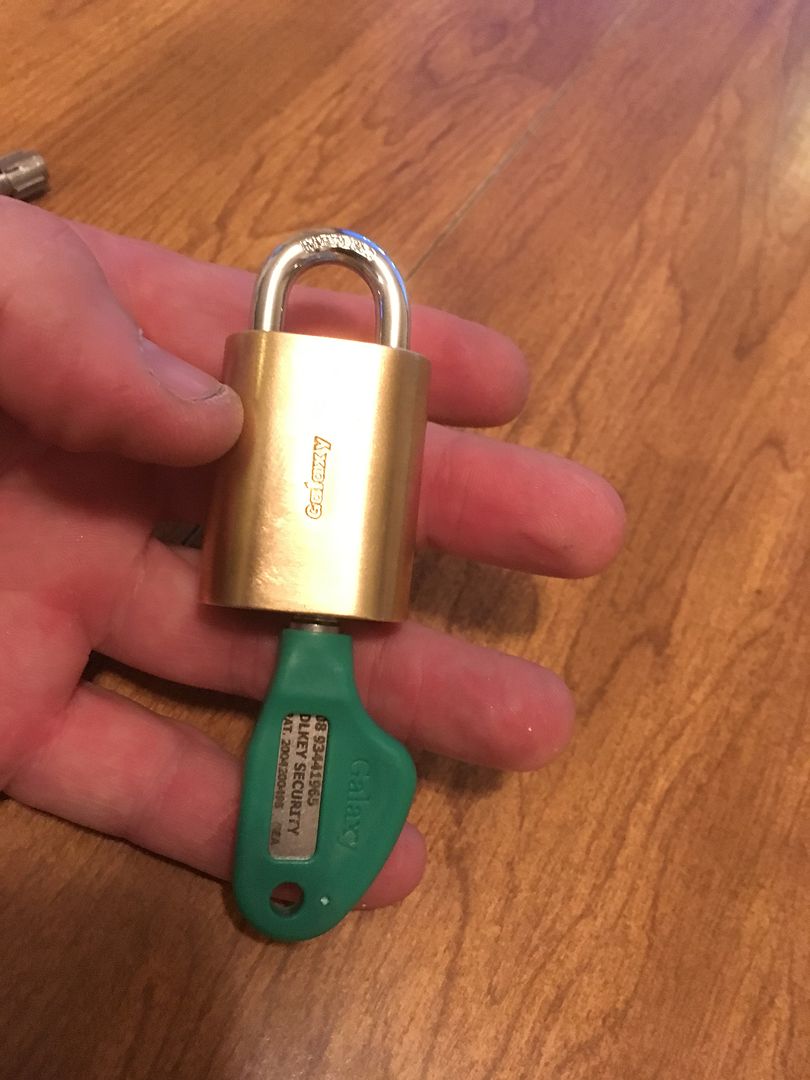
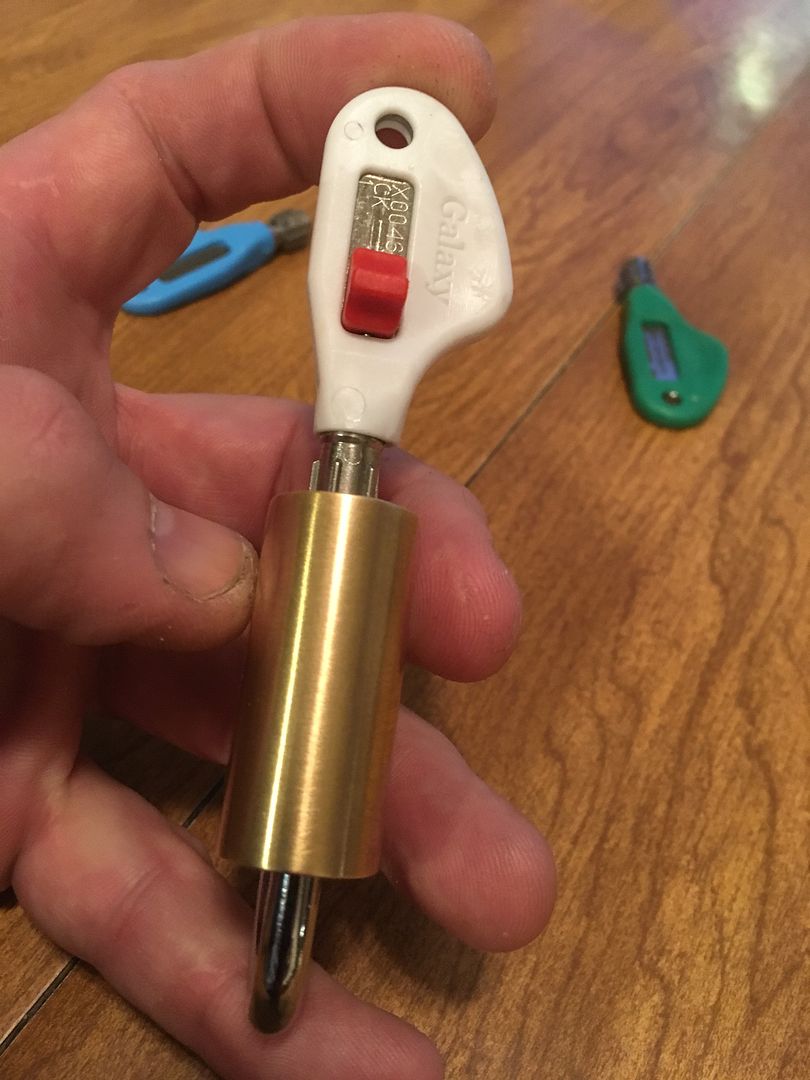
Here are the three keys. The first two are normal keys. Found it interesting that the two keys (that are differently bitted) have slightly different fonts for the Galaxy name. Must be a running change.
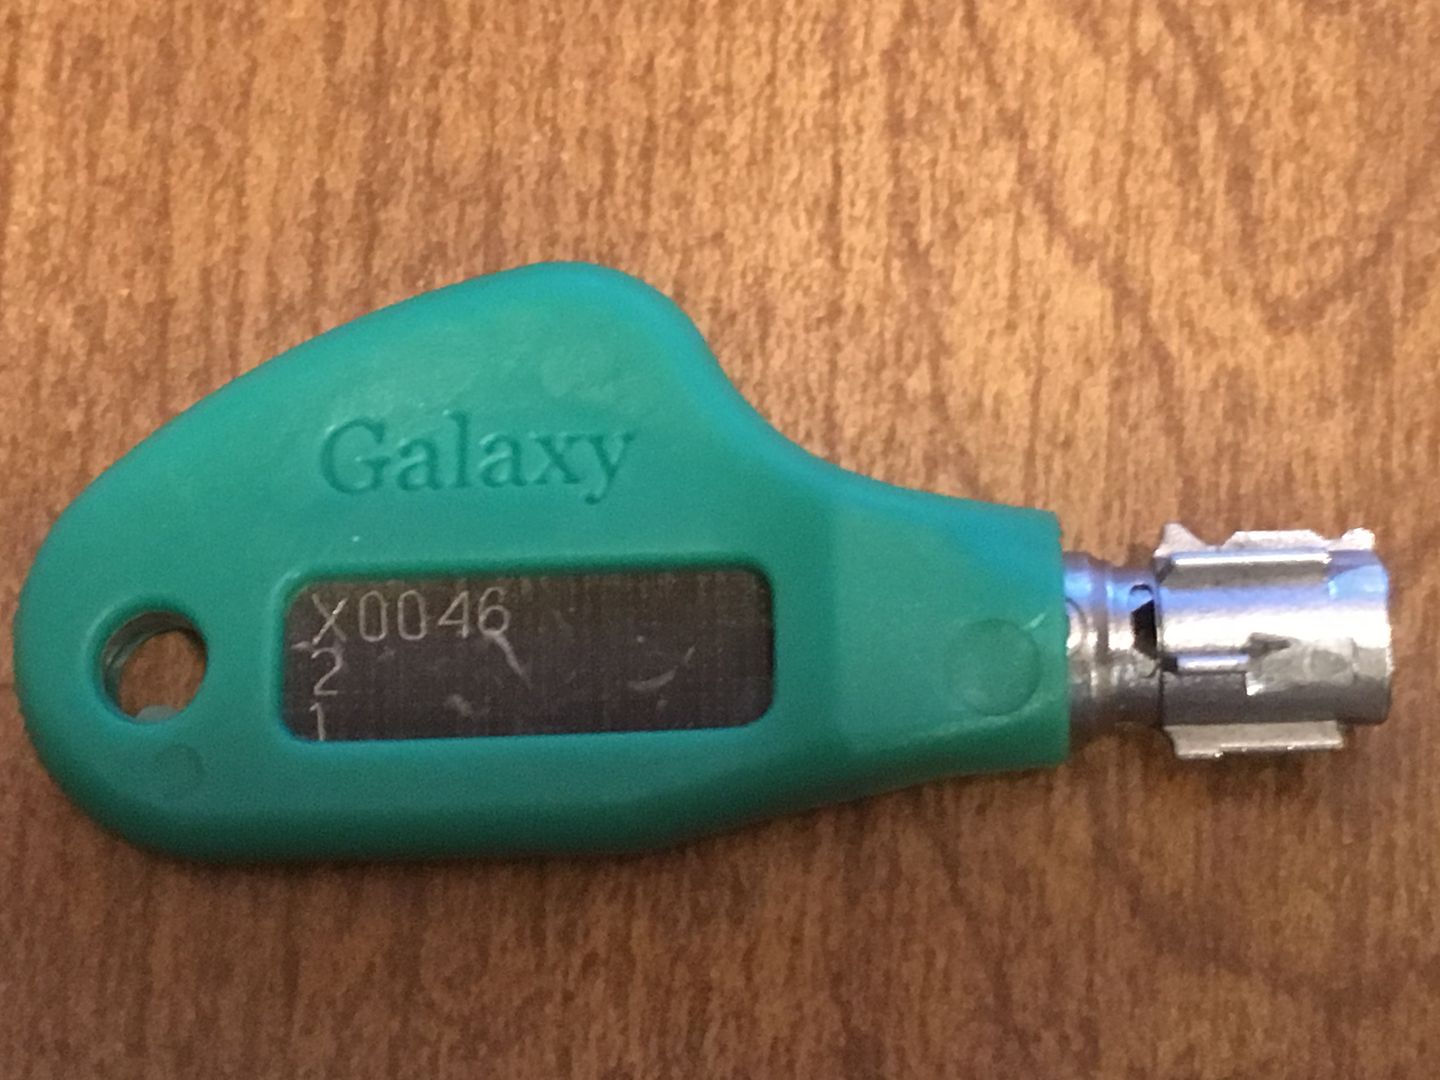
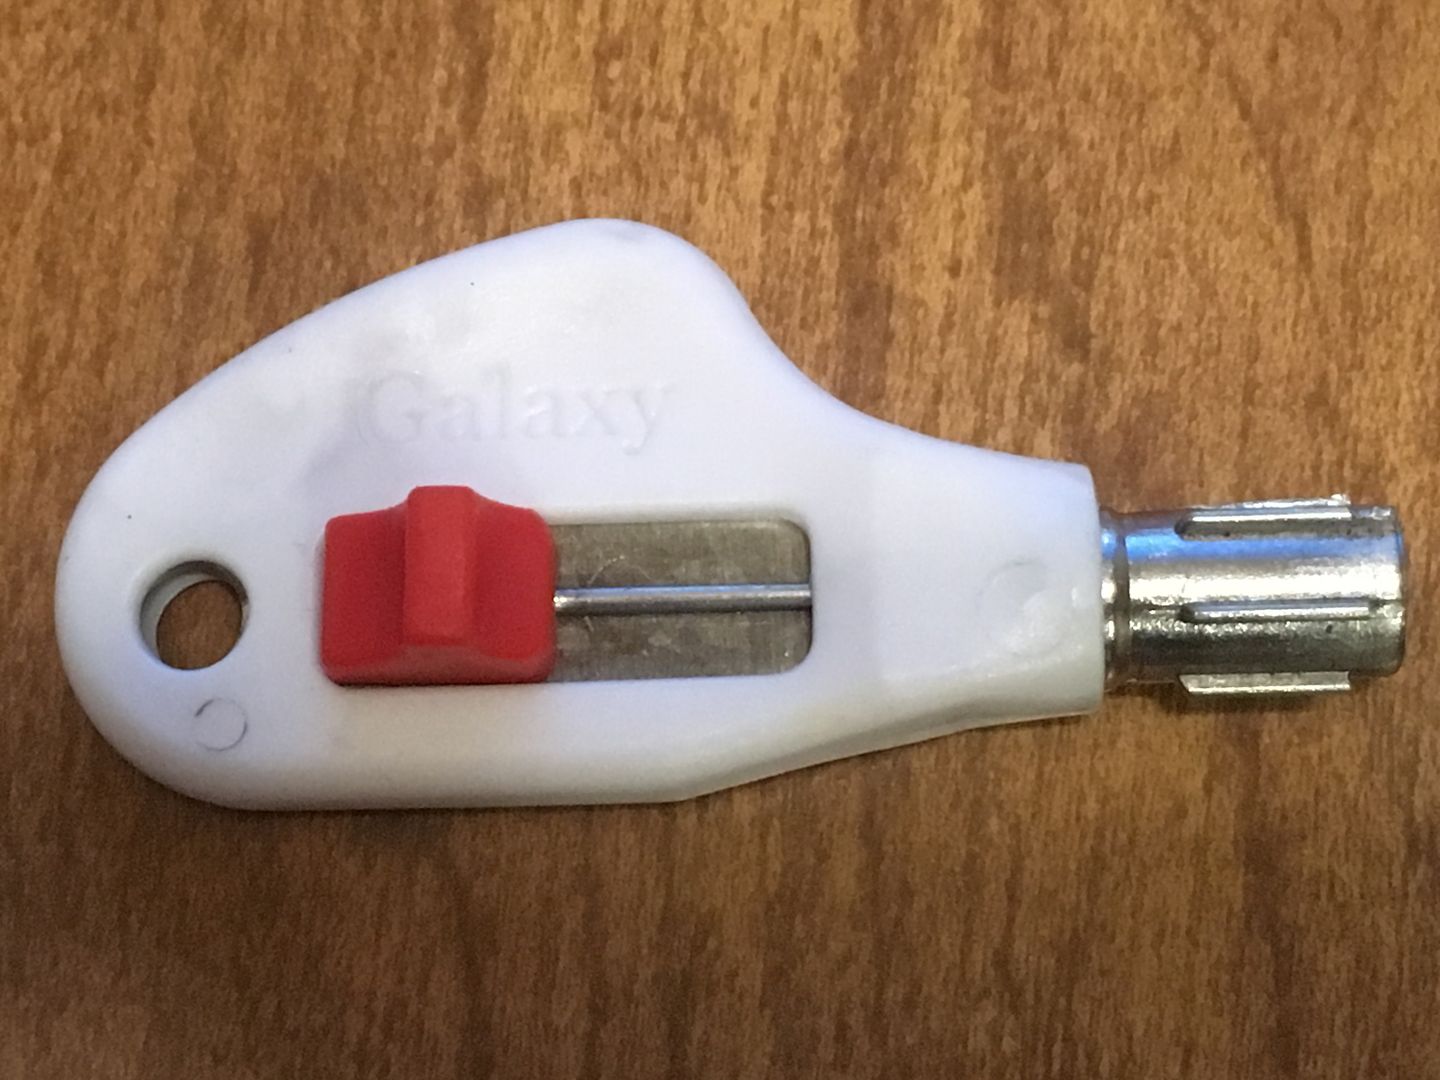
And the third key is the Removal Key. More on this key shortly. Patience, guys and gals.
For those wondering how the lock itself works internally, there are a couple of videos put out that show. Since the lock can not be disassembled, this is the best that I'll get.
This is how the lock itself works:
And this is how the key removal key works:
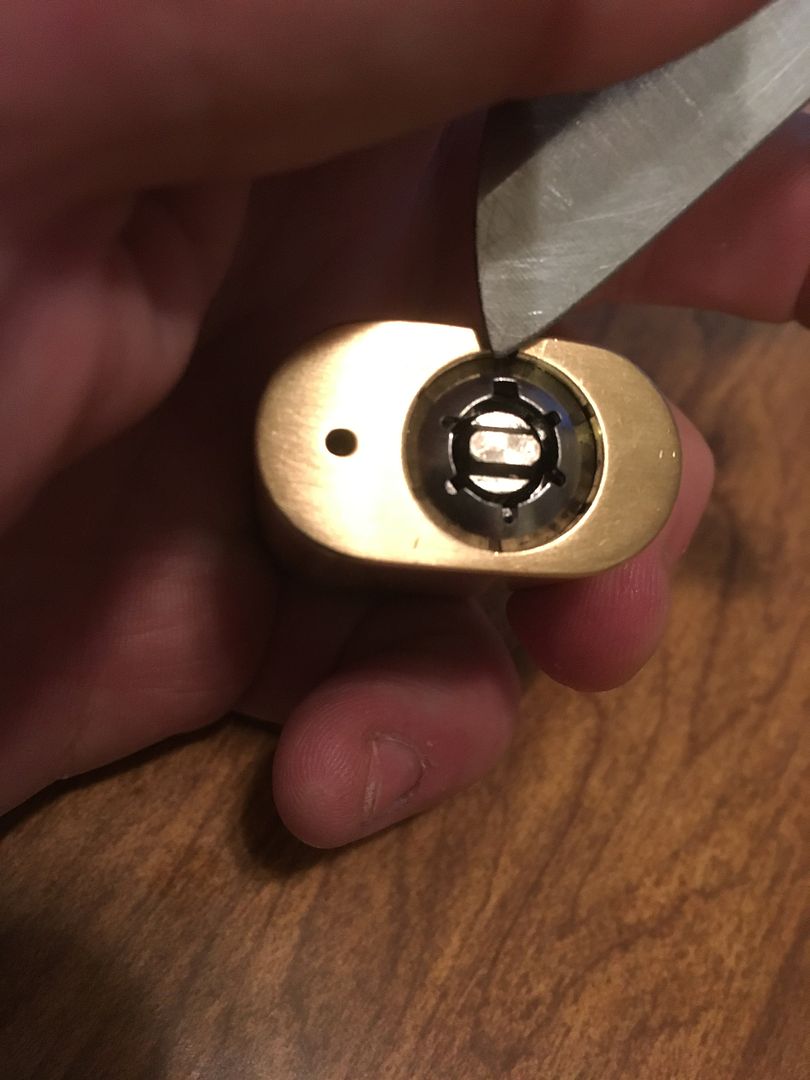
The lock works by having five sidebars around the outside of the lock. The key slides the sidebars to the correct position further into the lock. When the key is turned, the sidebars are forced inwards towards the center of the lock (called the codebar). If all the sidebars are aligned with their proper locations, then there will be a bitting hole for a post on the sidebar to drop into in the codebar, and the key can be turned.
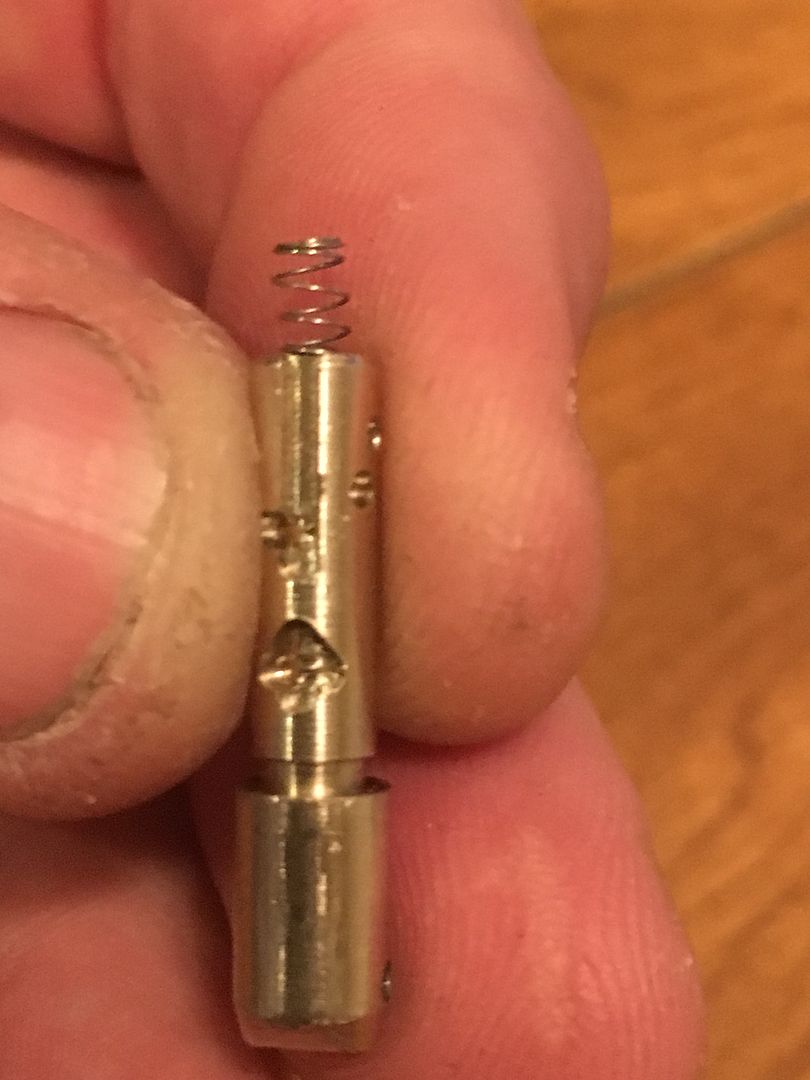
Here is a codebar. Will rotate it a couple of times so you can see all sides of it.
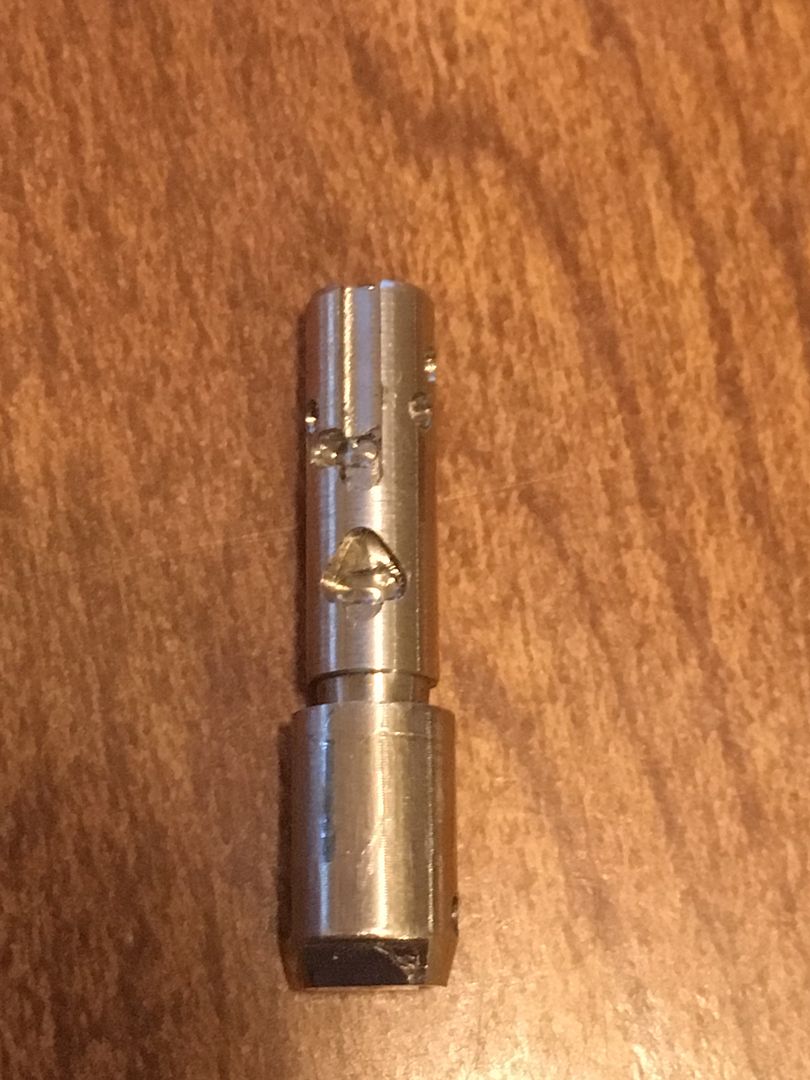
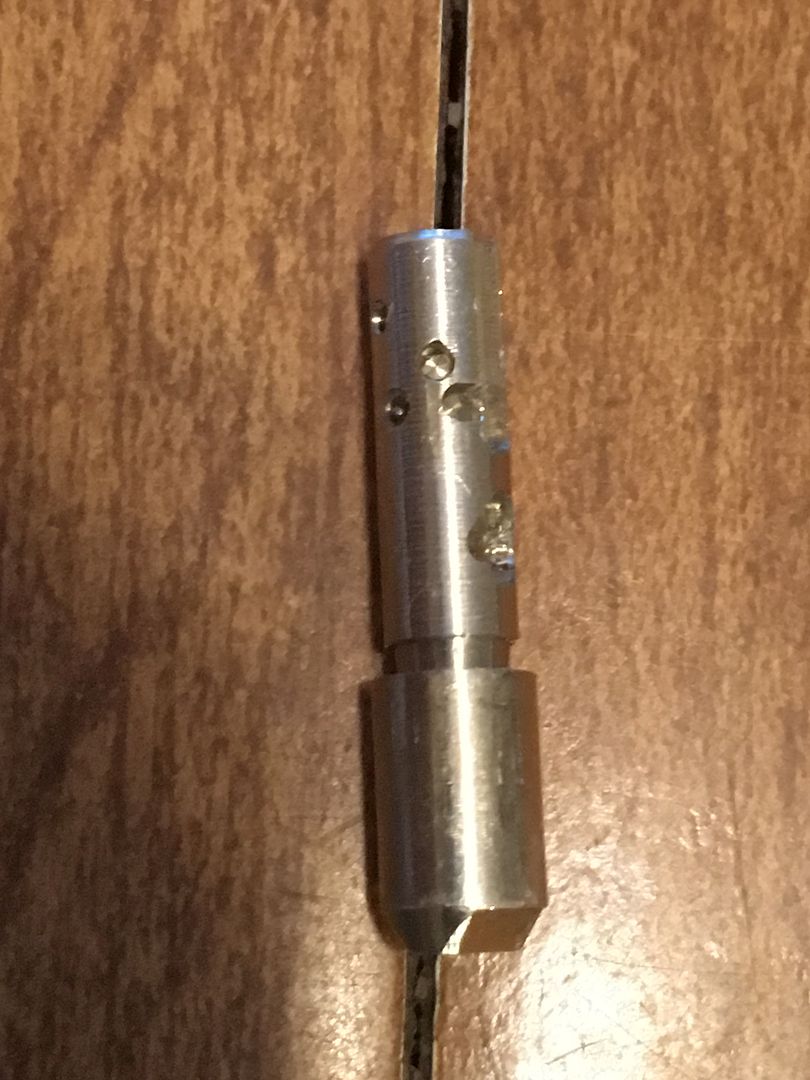
This is the end of the codebar opposite where you put in the key. The ring shaped cutout is for a spring.
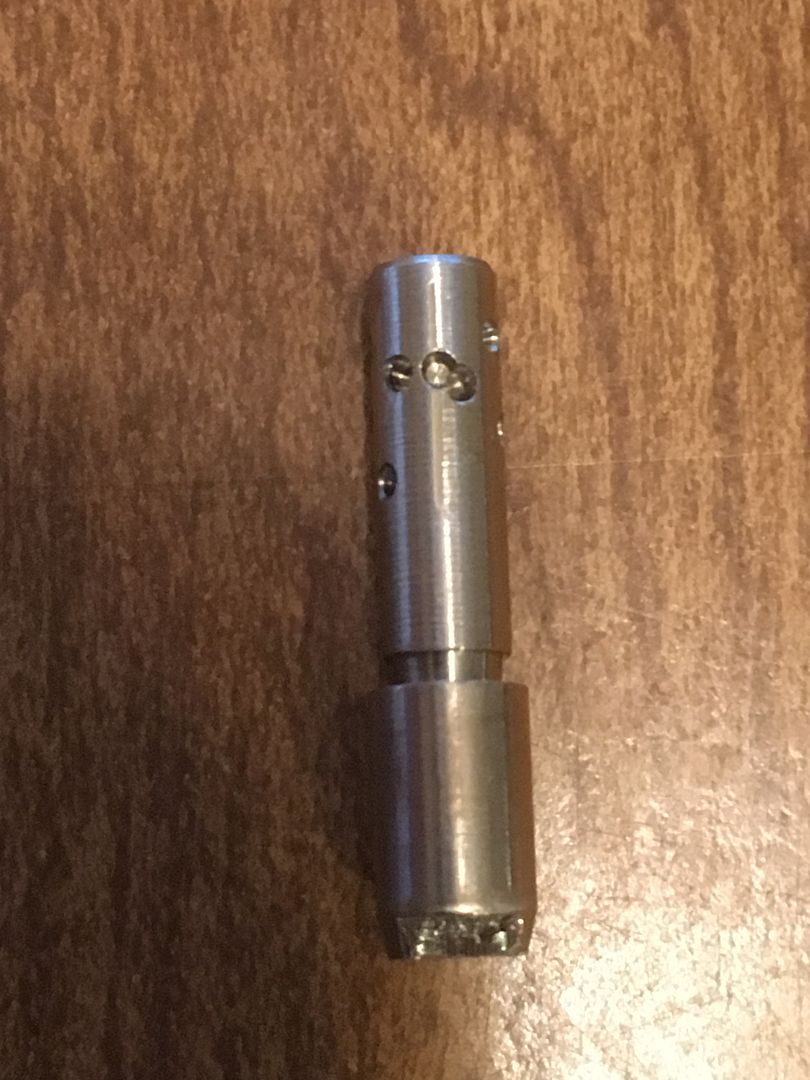
This is a side view of the end that contacts the key. The bevel fits inside the key, which has the opposite shape, so it can be correctly rotated. Wrong rotation, and even if the key bittings are correct for the sidebar, the bittings of the codebar will not line up with the sidebars. Fairly sure that hole next to the bevel is used by the machine to align/rotate the codebar in the machine that programs (cuts) the bittings.

The codebars can be set up to be horizontal to the keyway, left rotation or right rotation. Think of Medeco pins and their rotation. But longitudinally. The codebar can even be cut (programmed) for more than one rotation on the same codebar.
OK, time for operation of the lock.
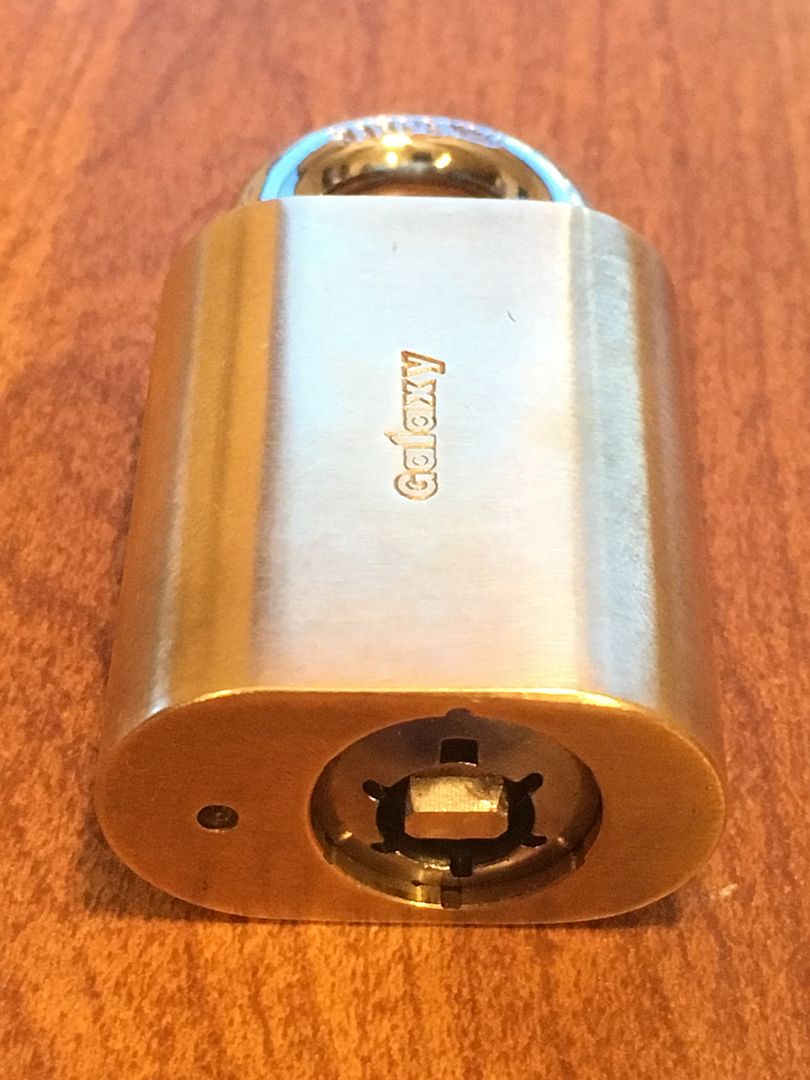
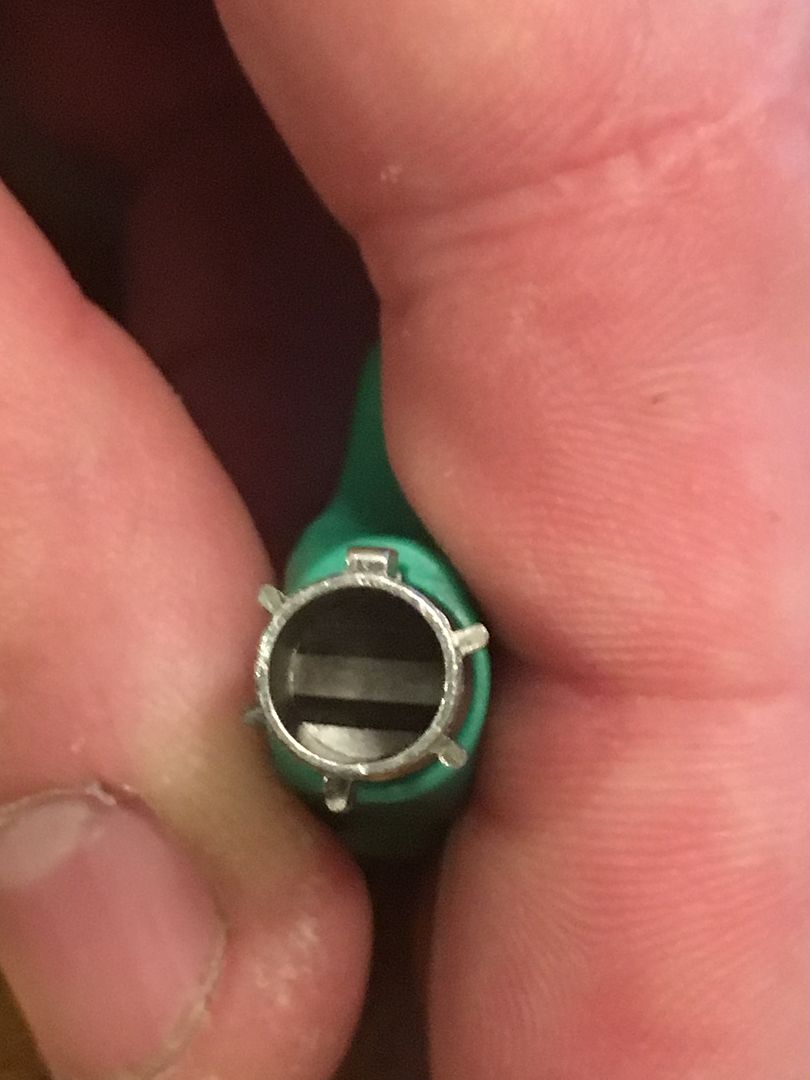
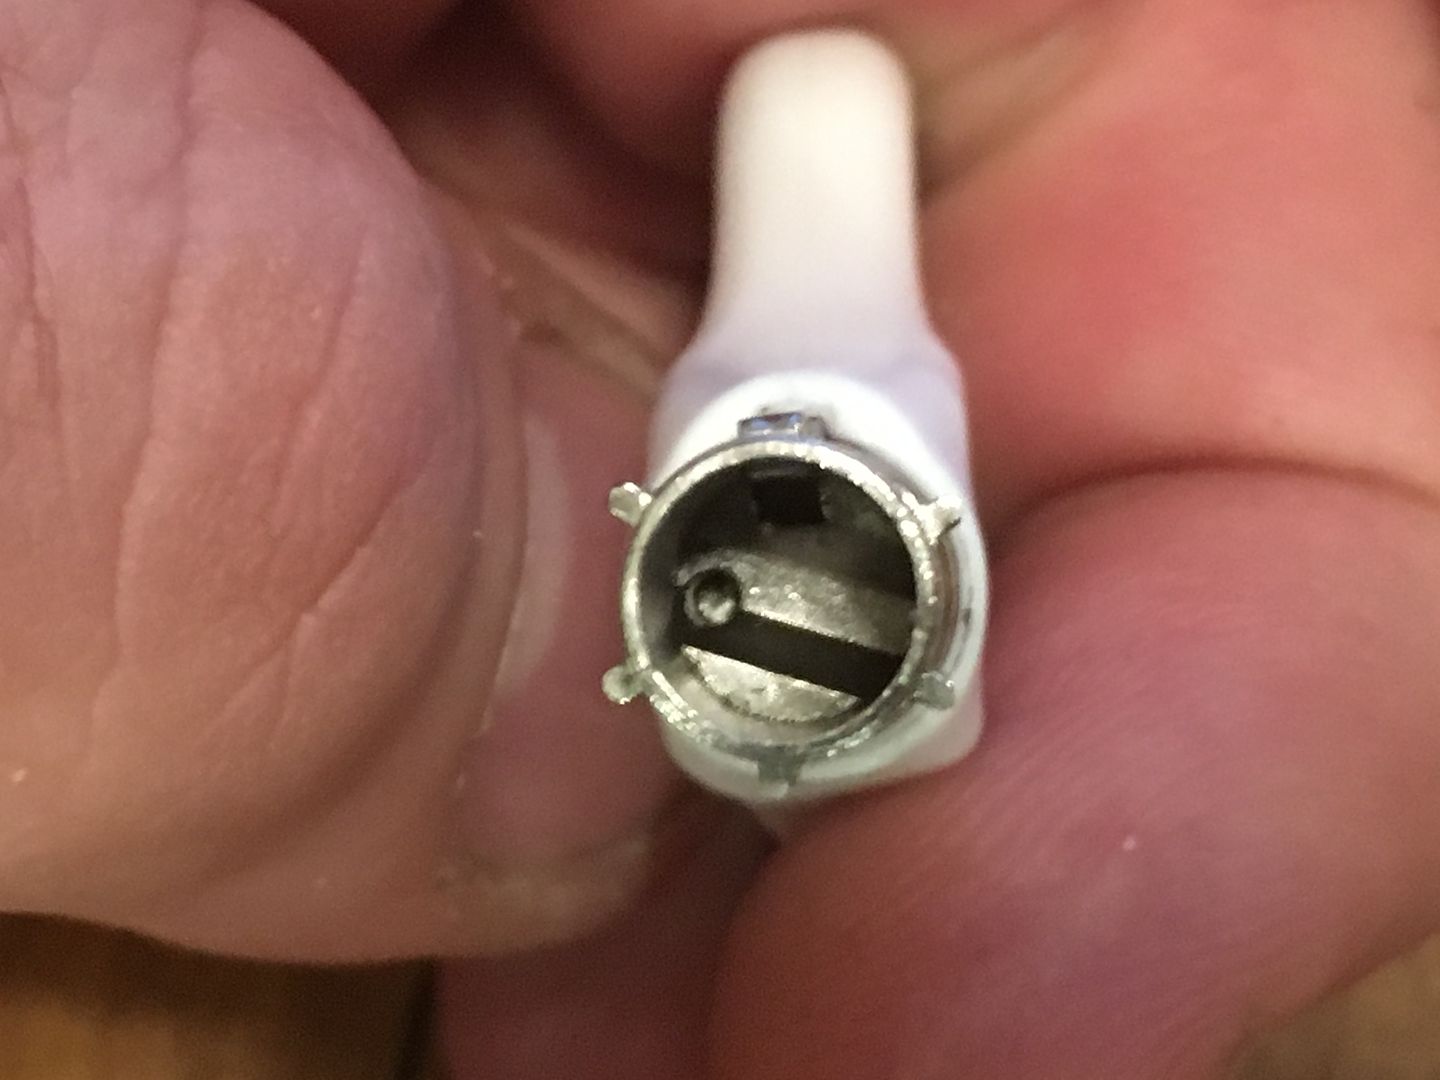
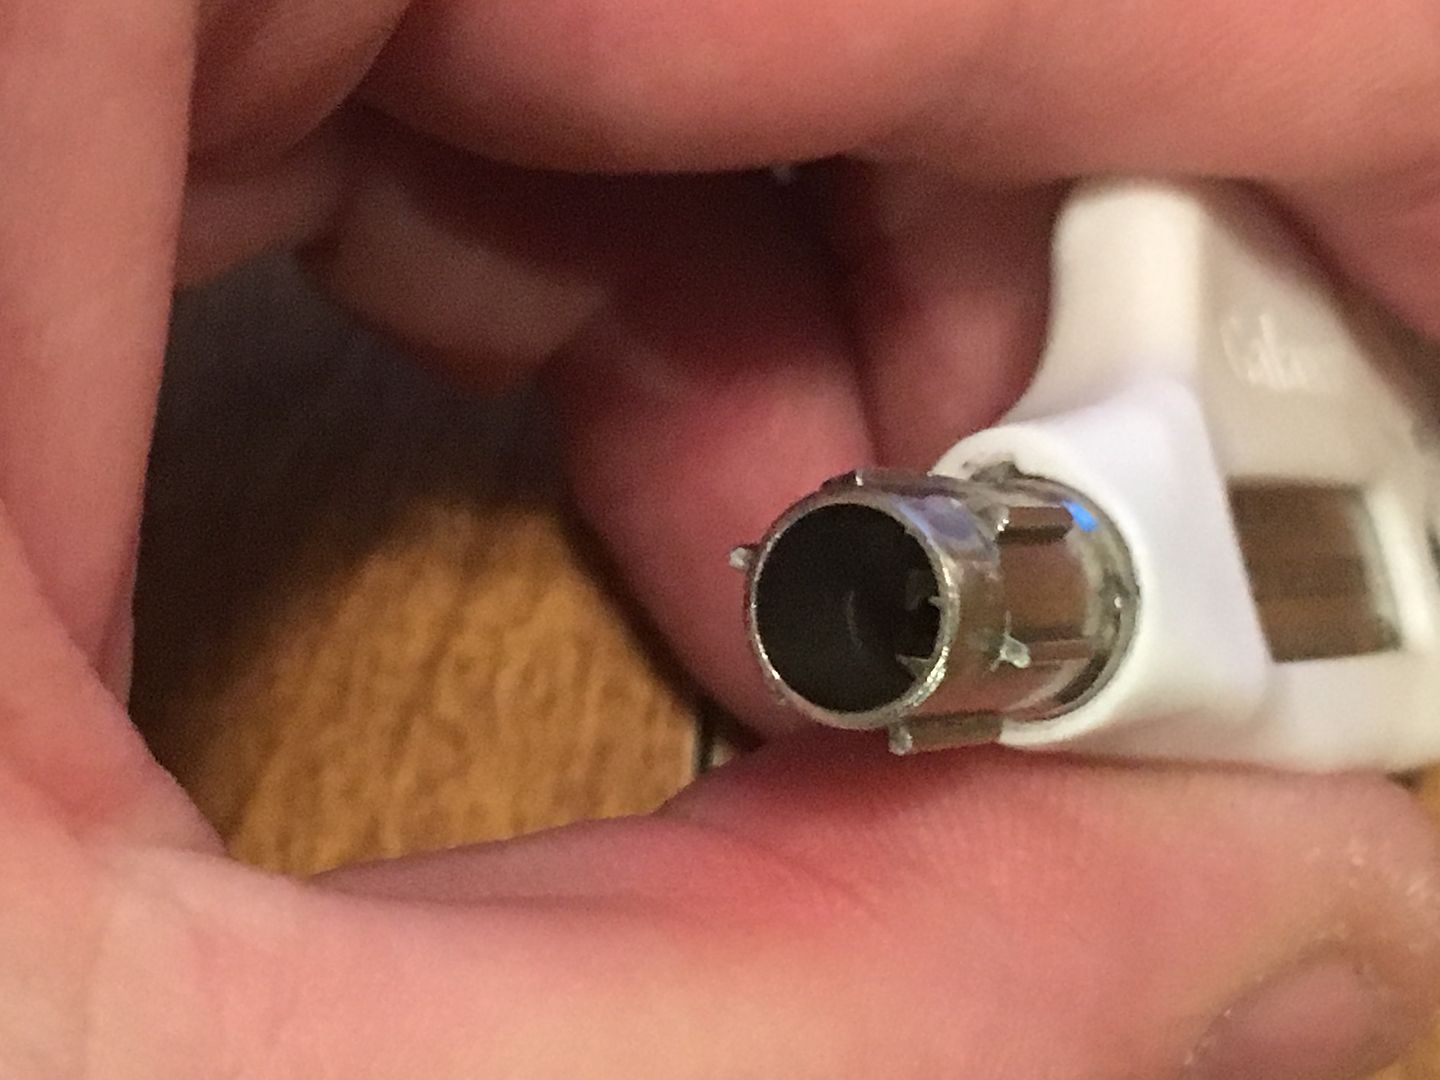
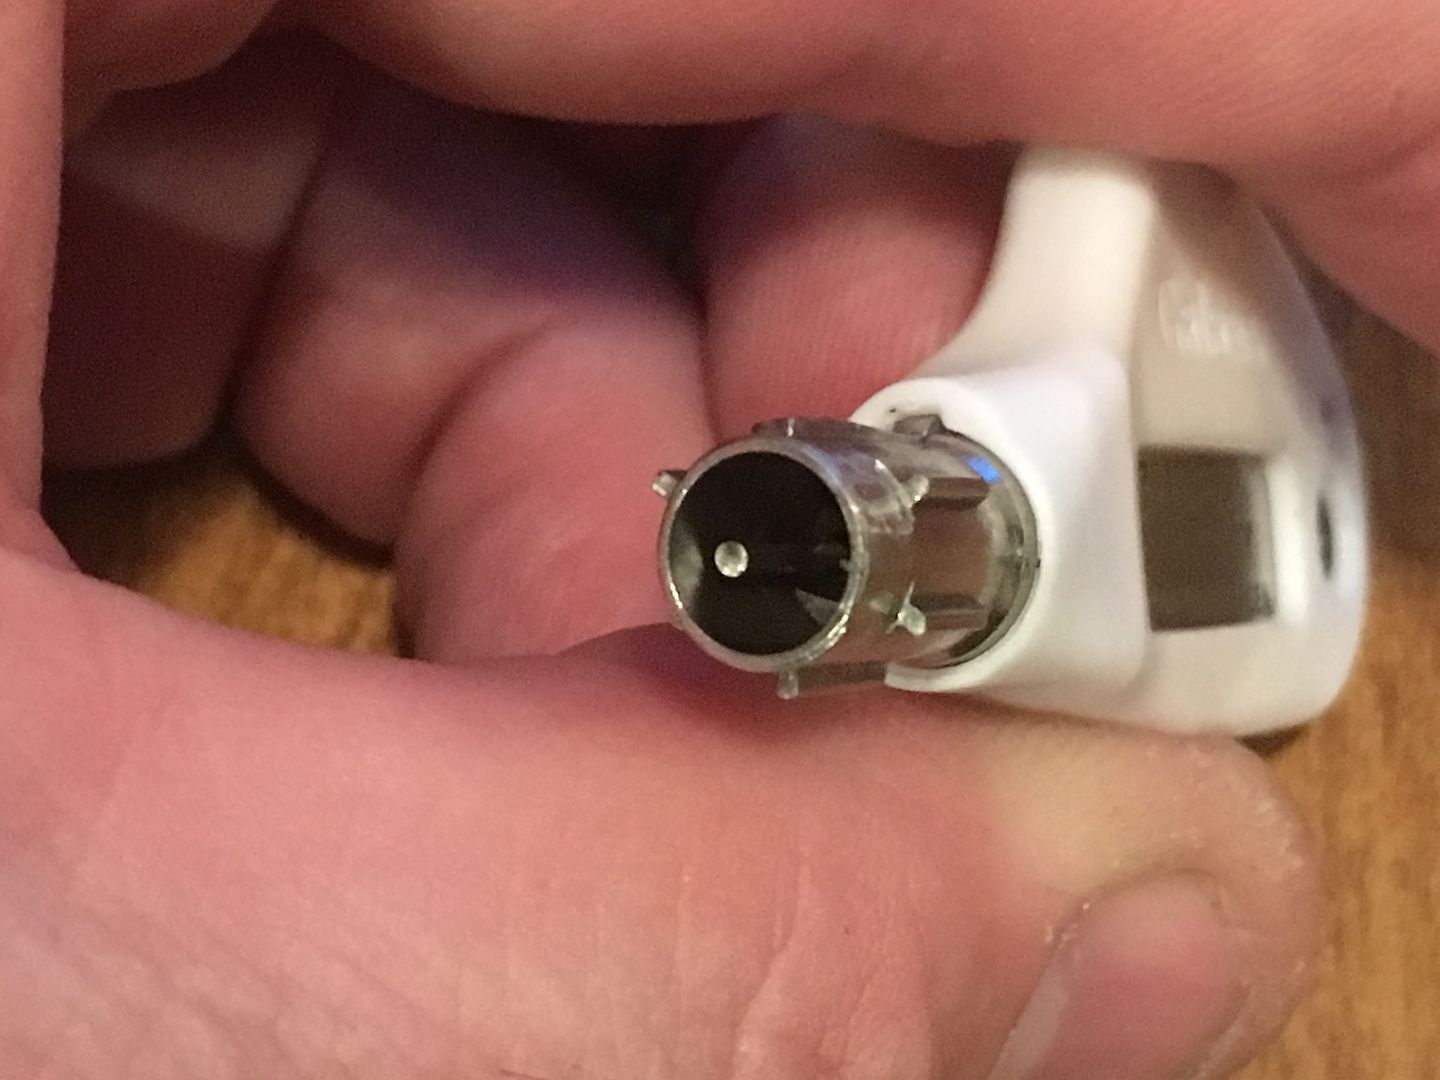
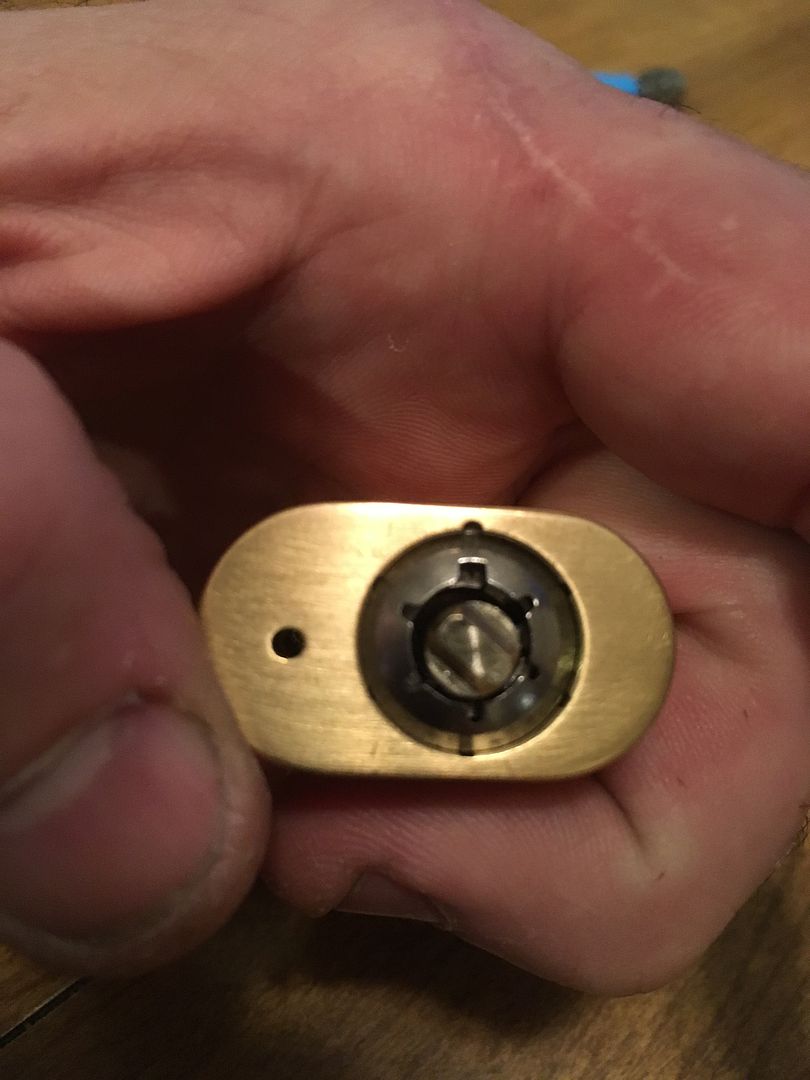
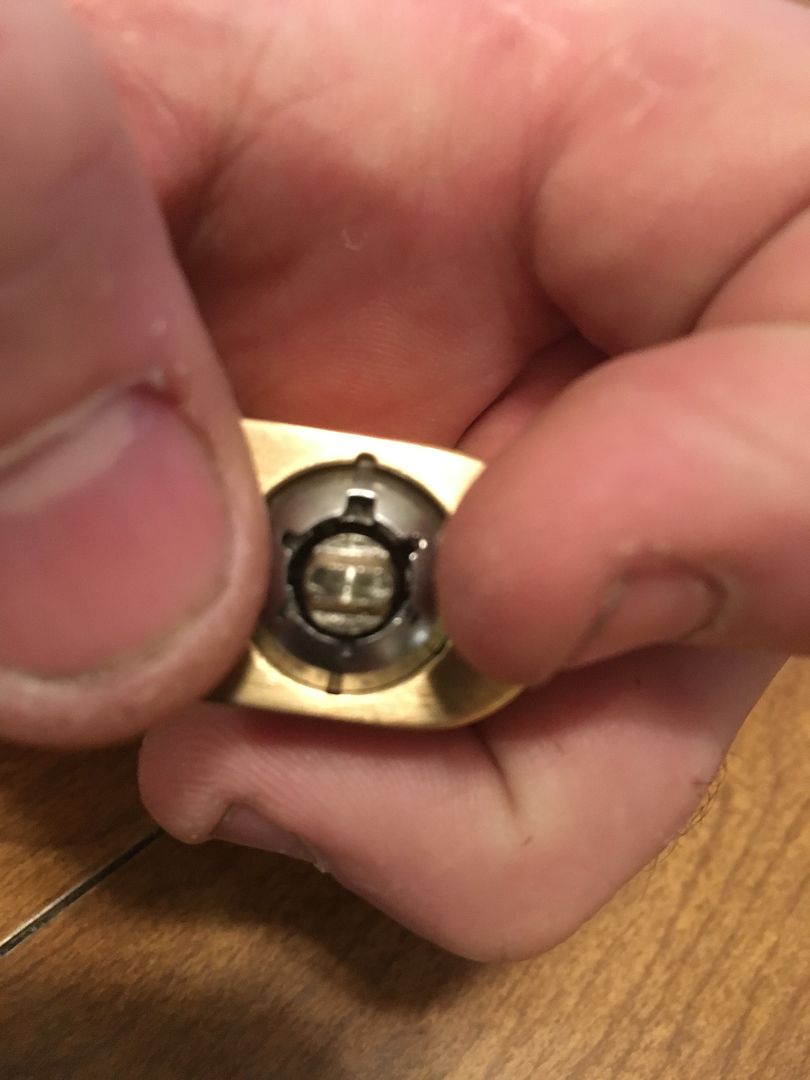
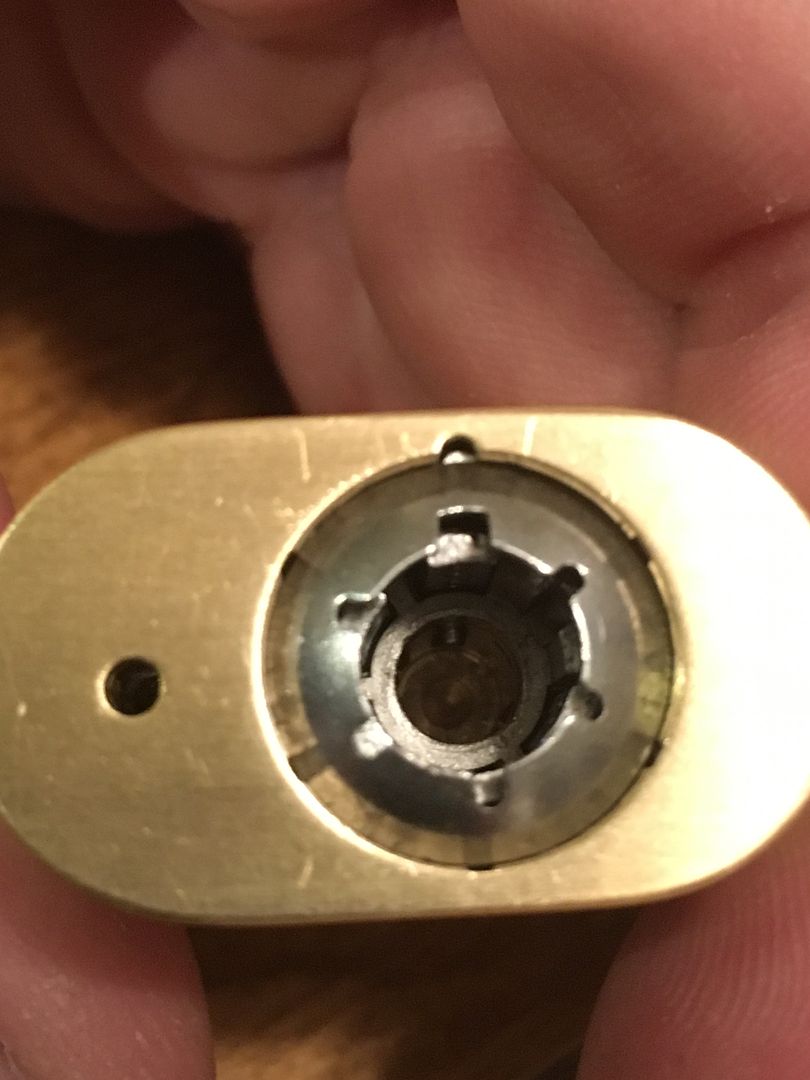
This is the keyway. Just inside the keyway, in the center, you see the end of the codebar. Notice that the width of one of the the keyway 'arms' is wider than the other five. That is for ease of aligning the key.
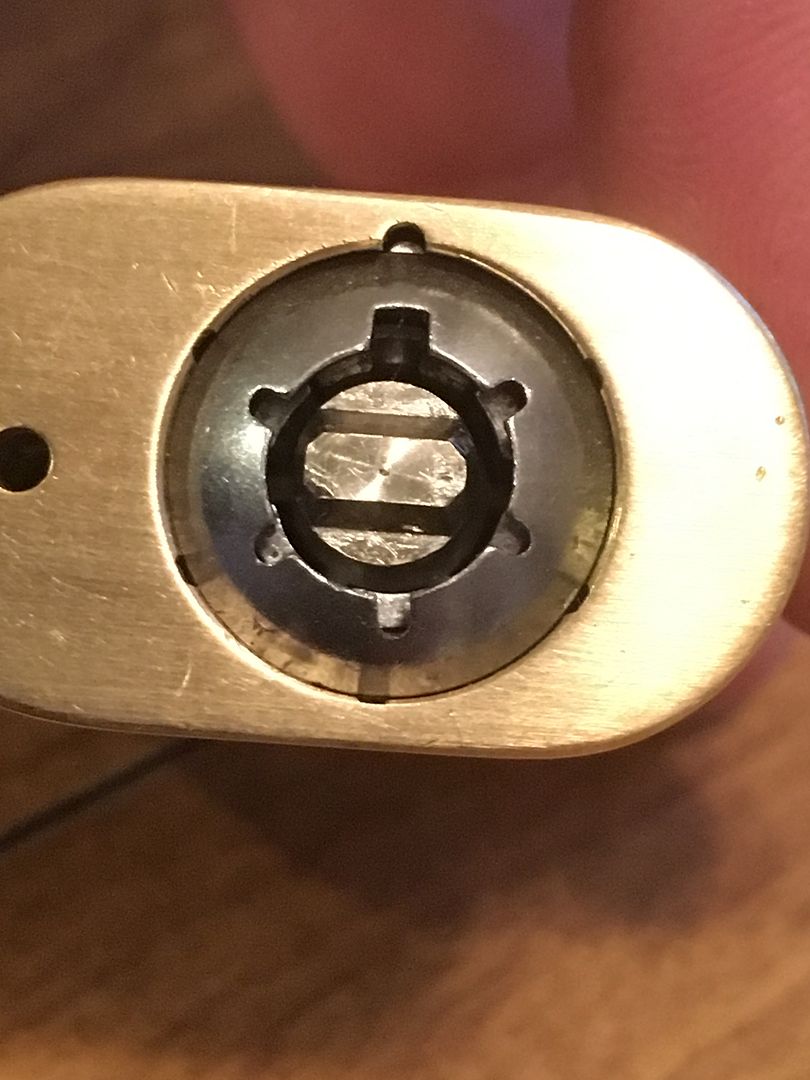
Inside the key. You can see the thicker 'arm' at the top, and the cutout inside for the codebar rotation.
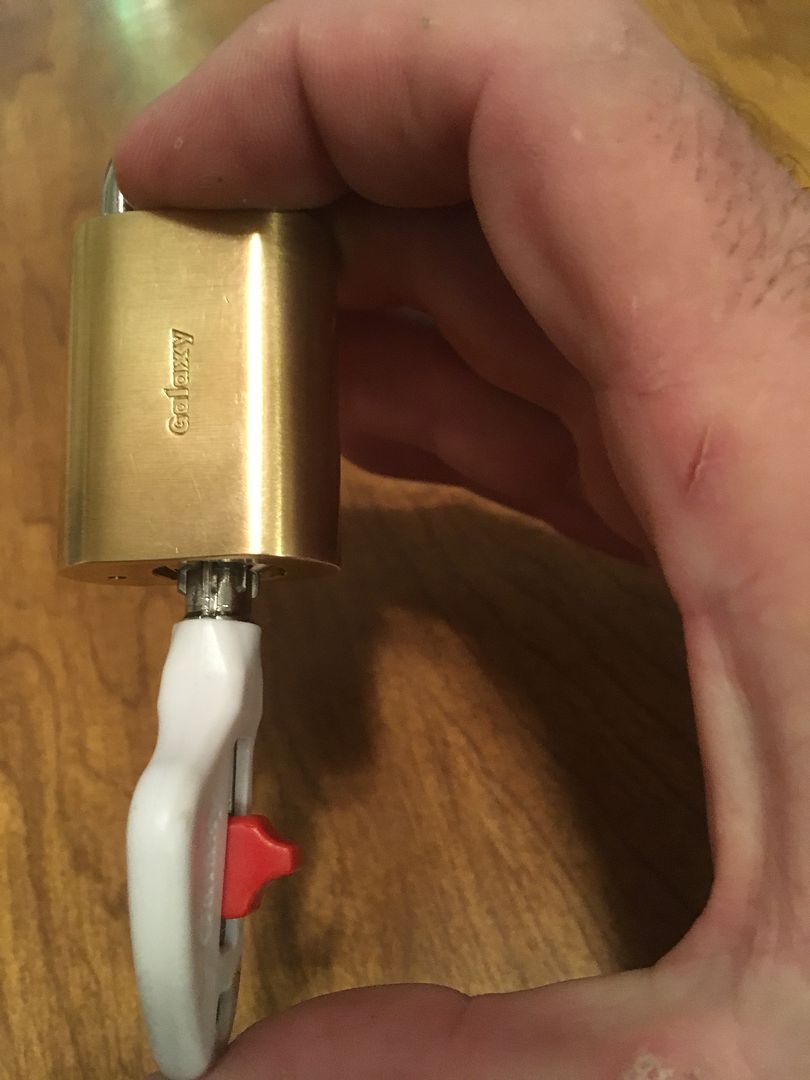
Put in the key.
This is a push key lock, so, well, push in the key.
And turn it 90 degrees.
This is where the lock caught me off guard at first. The key turned, but the shackle did not pop open. Even when I tugged on the shackle. Figured out that you need to push in the shackle...
Then release it.
OK, how do you rekey the lock if you can't disassemble the lock? You replace the codebar, of course! I got this lock with an extra codebar that was cut differently than the original, the operating key that matches the second codebar, and a removal key that operates with both codebars.
First, remember the thicker 'arm' of the keyway? The removal key will be put in aligned with that position. Unlike the operating keys, the removal key can be put into the lock in any position. But it will only turn for removal if the key is put in like the normal key.
The removal key will be turned to the next opening to the right.

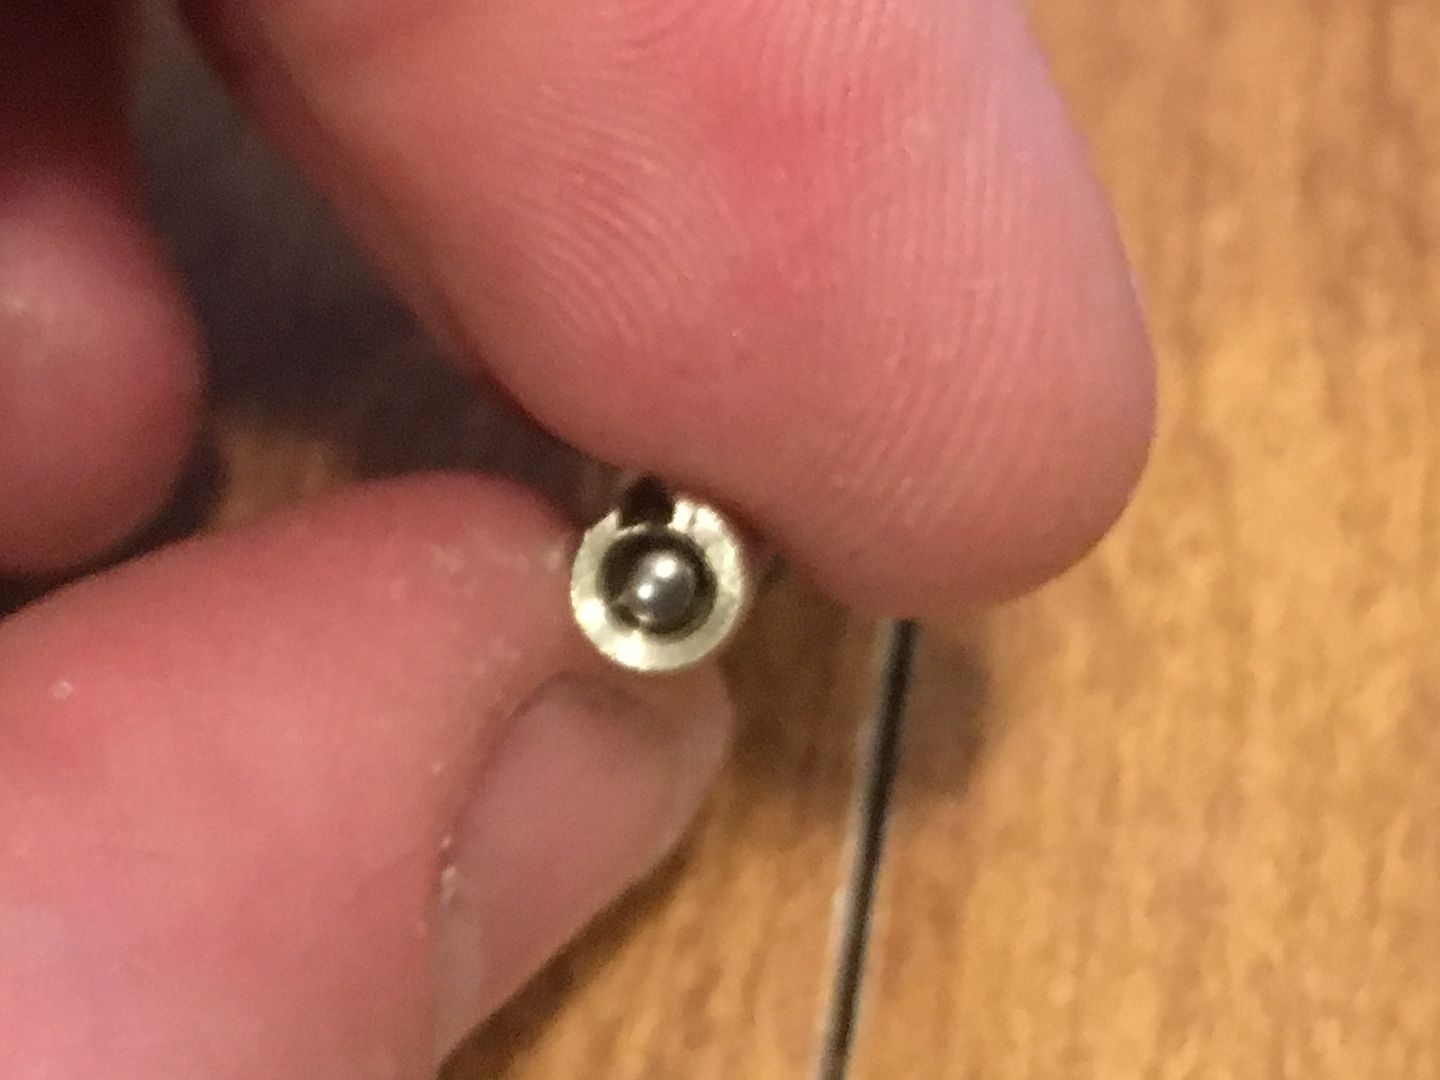
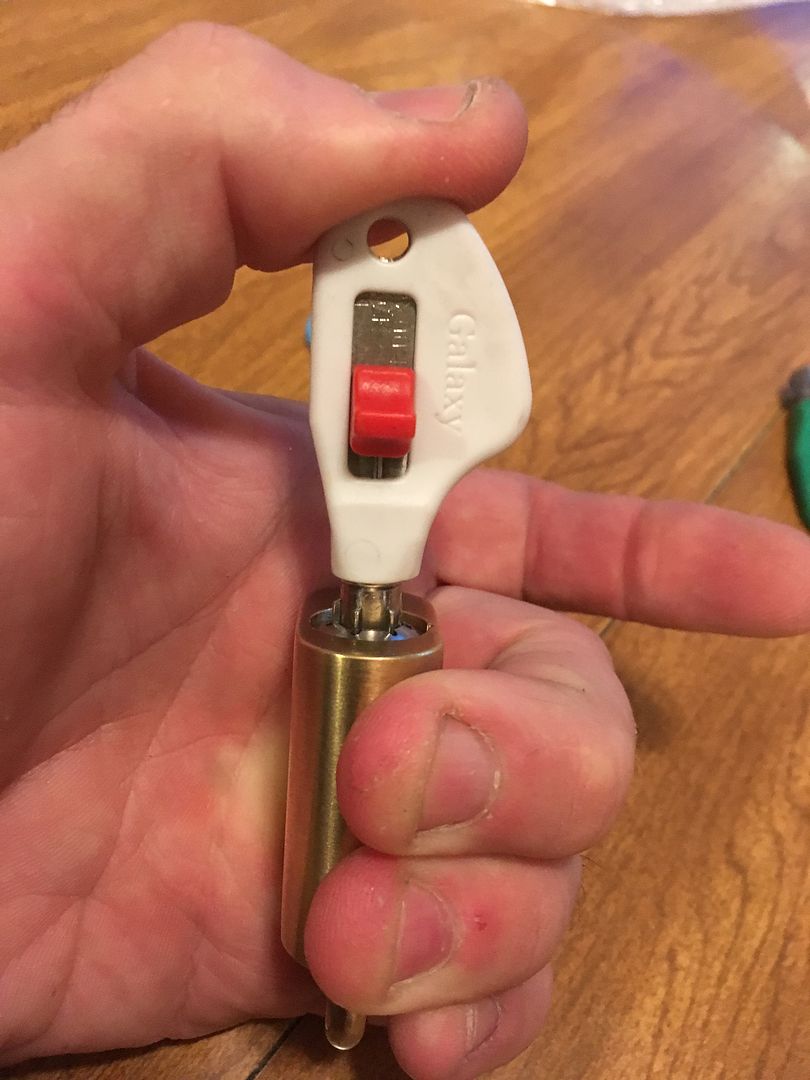
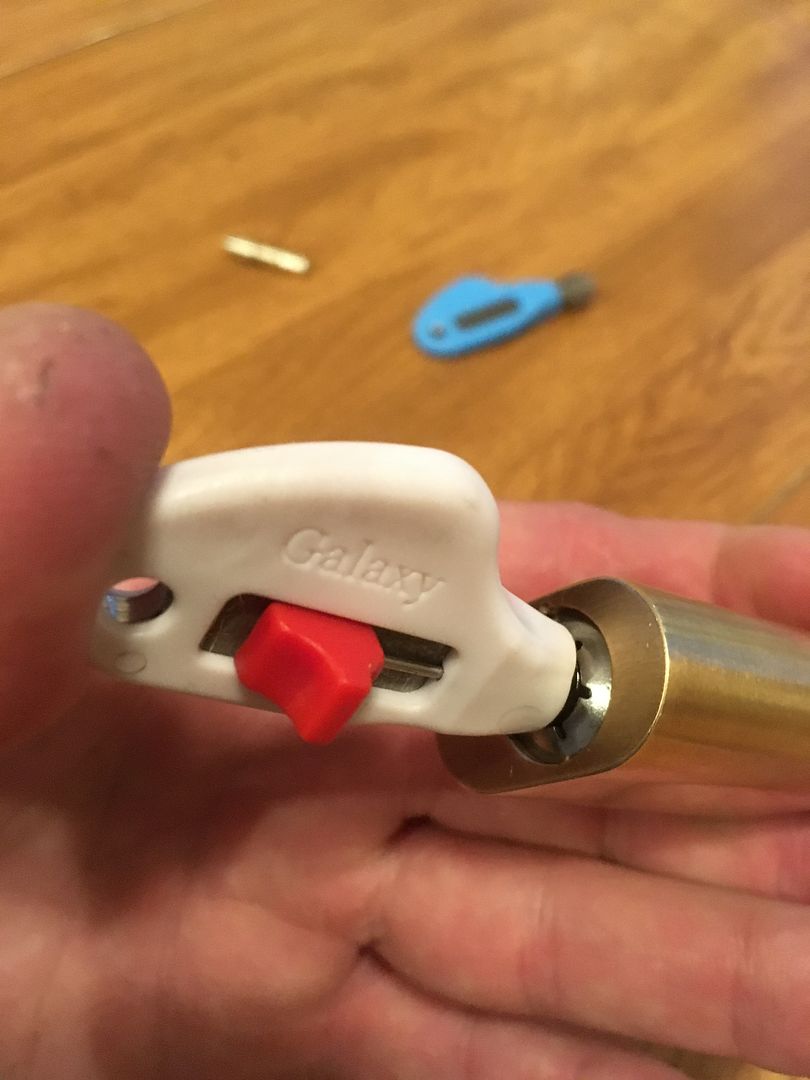
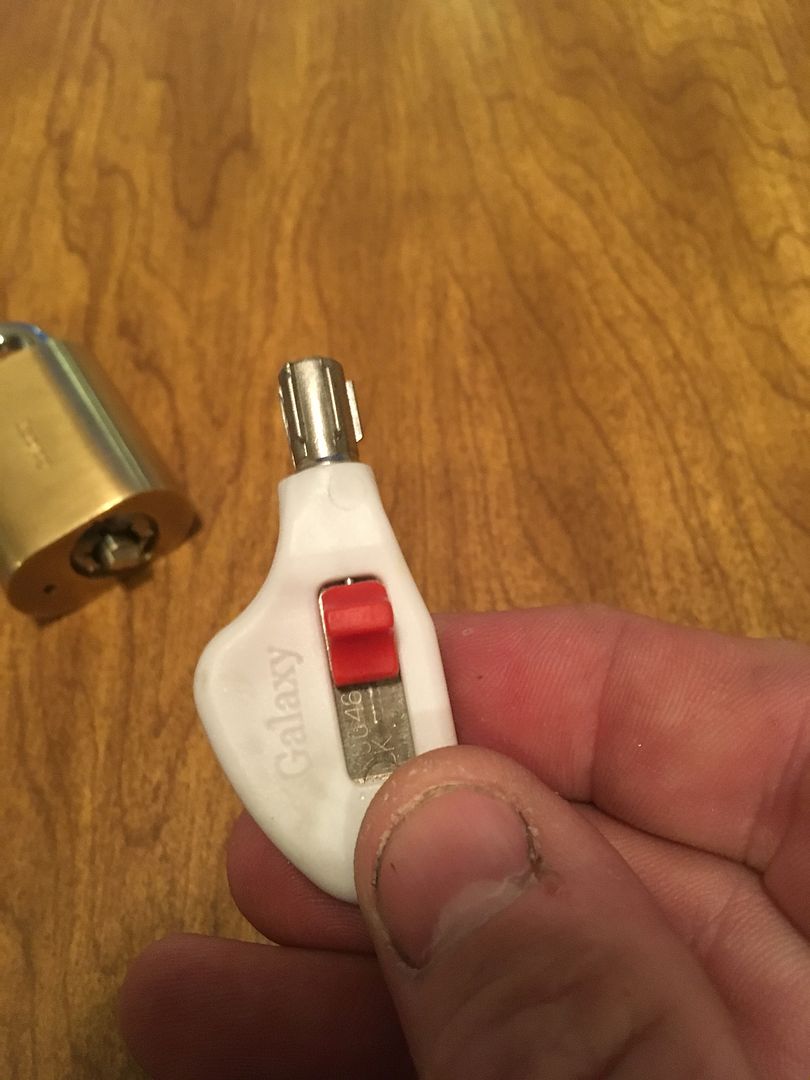
This is the removal key. Let's take a closer look at it. It has a slider knob on the side of it, which operates a movable post inside the key.
Look inside the key. Notice that the orientation of the cutout for the sidebar is not fully horizontal like the operating keys in my lock. Also look on the left inside the key, you will see a hole.
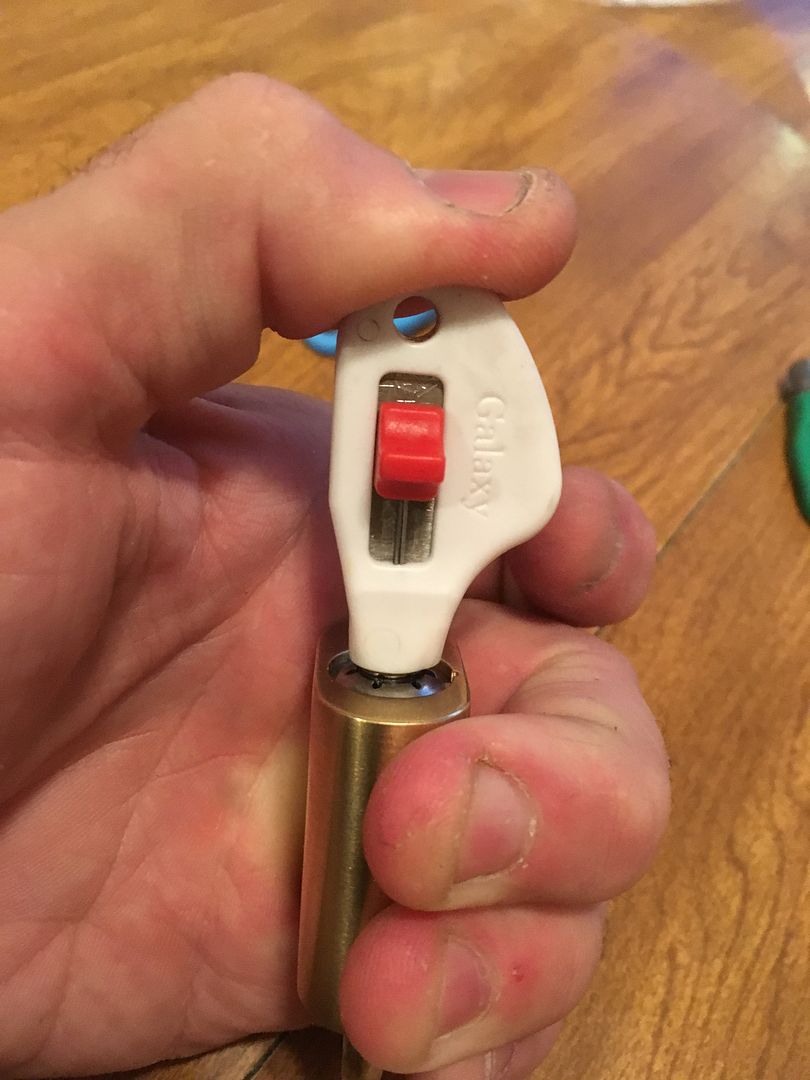
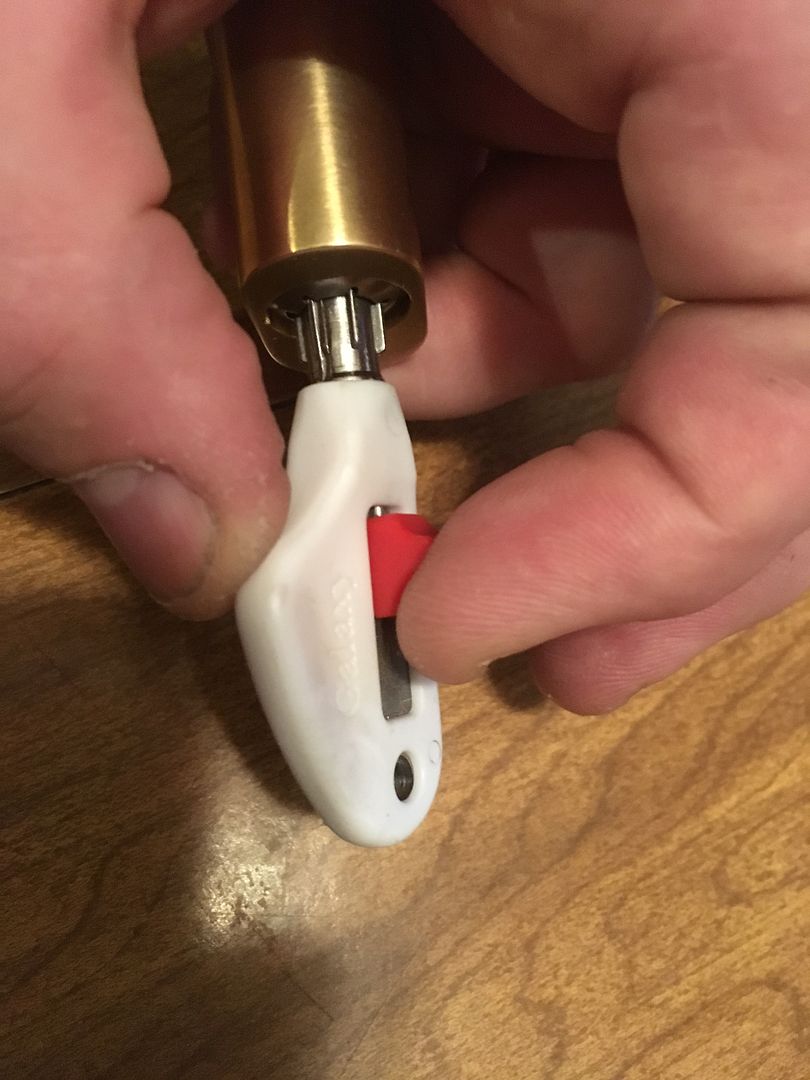
When you slide the knob forward...

The rod slides forward.
Put in the removal key with the knob slid fully towards the tip of the key... (notice that I am holding the lock face down. That is so gravity works right for an Australian lock.
push... (Actually, it does not matter whether the lock is facing up or down, in case you missed the humor). As you push in the key the red knob will slide itself back. That is OK, allow it to do so. It is supposed to do that.
And turn the lock to that first cutout to the right mentioned above. If you turn it a full 90 degrees, it will work like a operating key, just like a BiLock QC control key.
Now slide that knob forward fully as you lightly pull outwards on the key.

The lock will practically eject the key once the codebar has been pulled to the removal position.
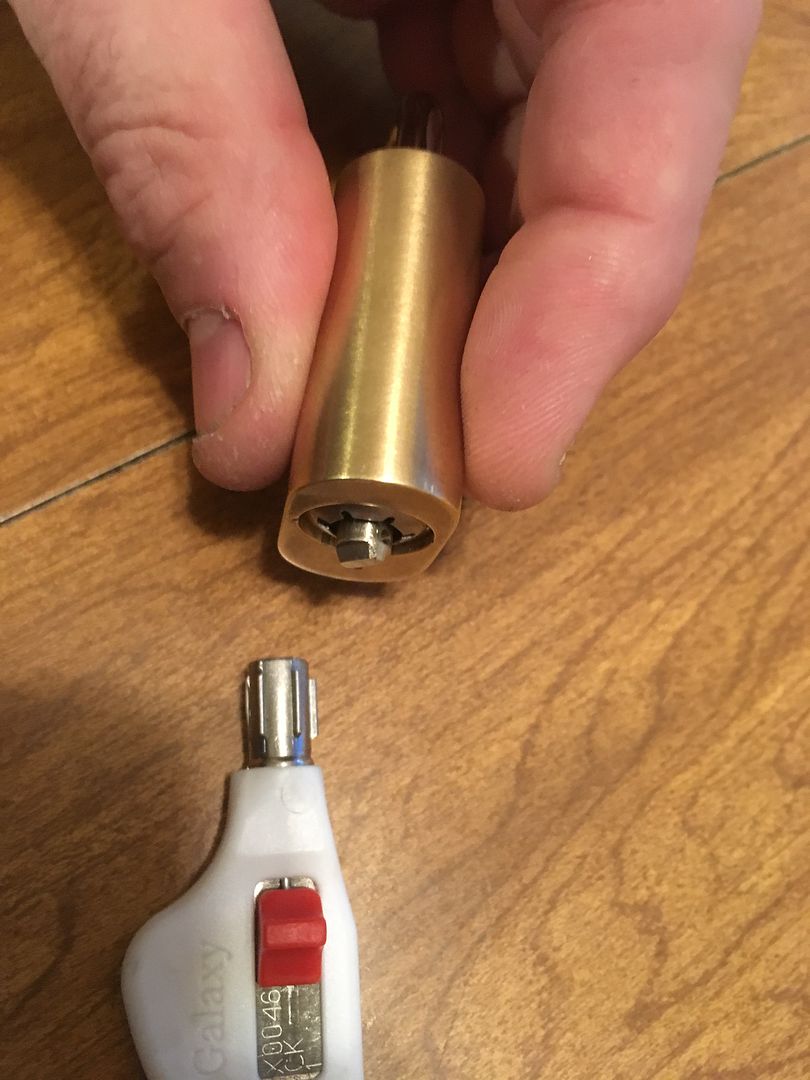
Now look at the codebar. It will be rotated right of where it was aligned when you started as well as being sticking out a little.


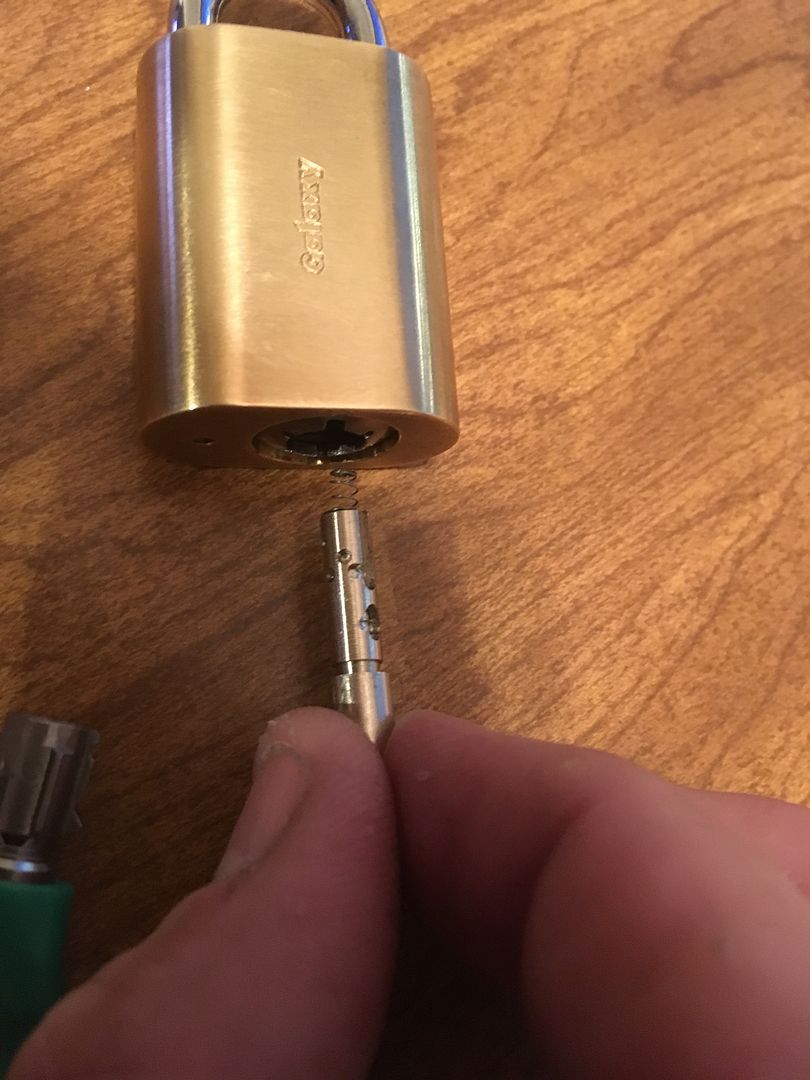
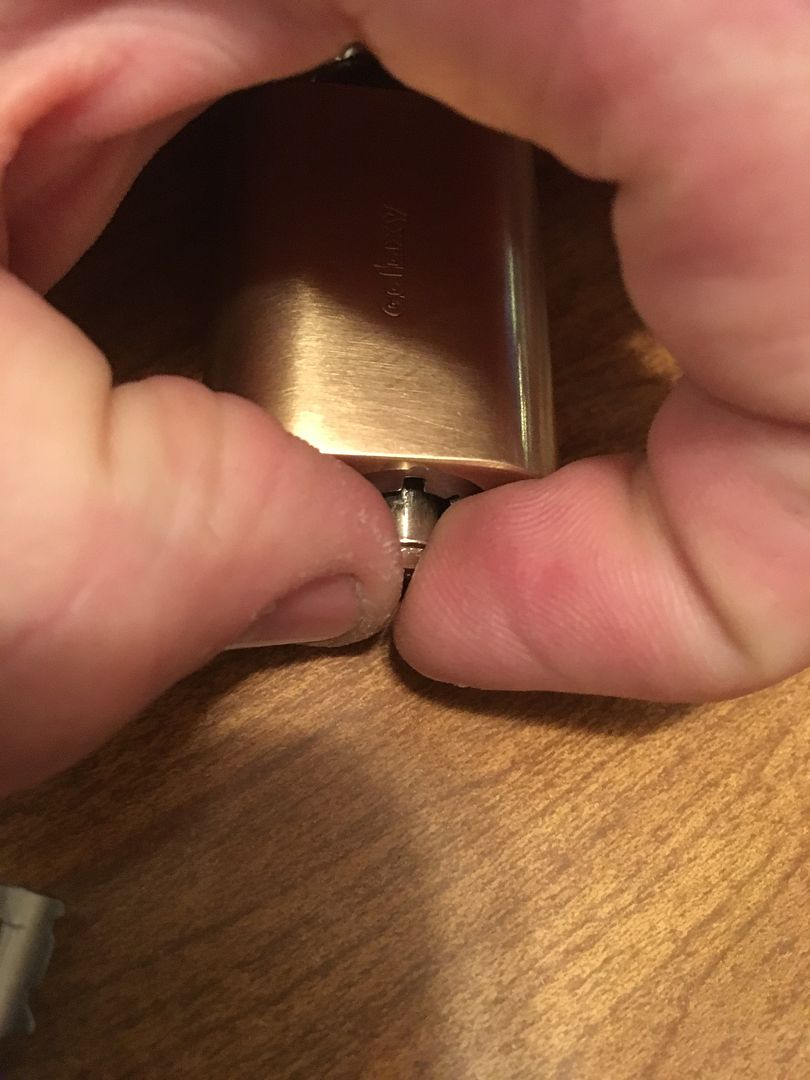
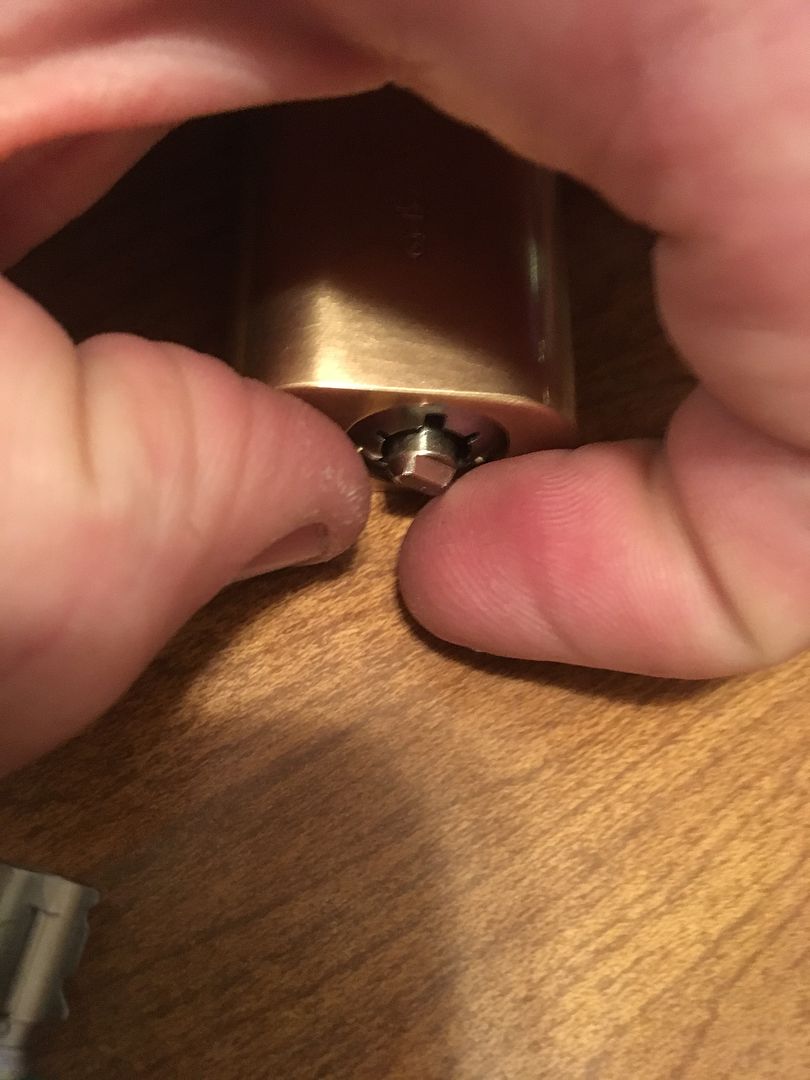
Use your fingers to rotate the codebar back to the original orientation.
Then use your fingers to pull the codebar straight out. CAUTION: WATCH FOR THE SPRING ON THE BACK OF THE CODEBAR It is not under tension, but it is small and you probably don't want to lose it.

The original and replacement codebars side by side. The spring is currently on the original codebar.
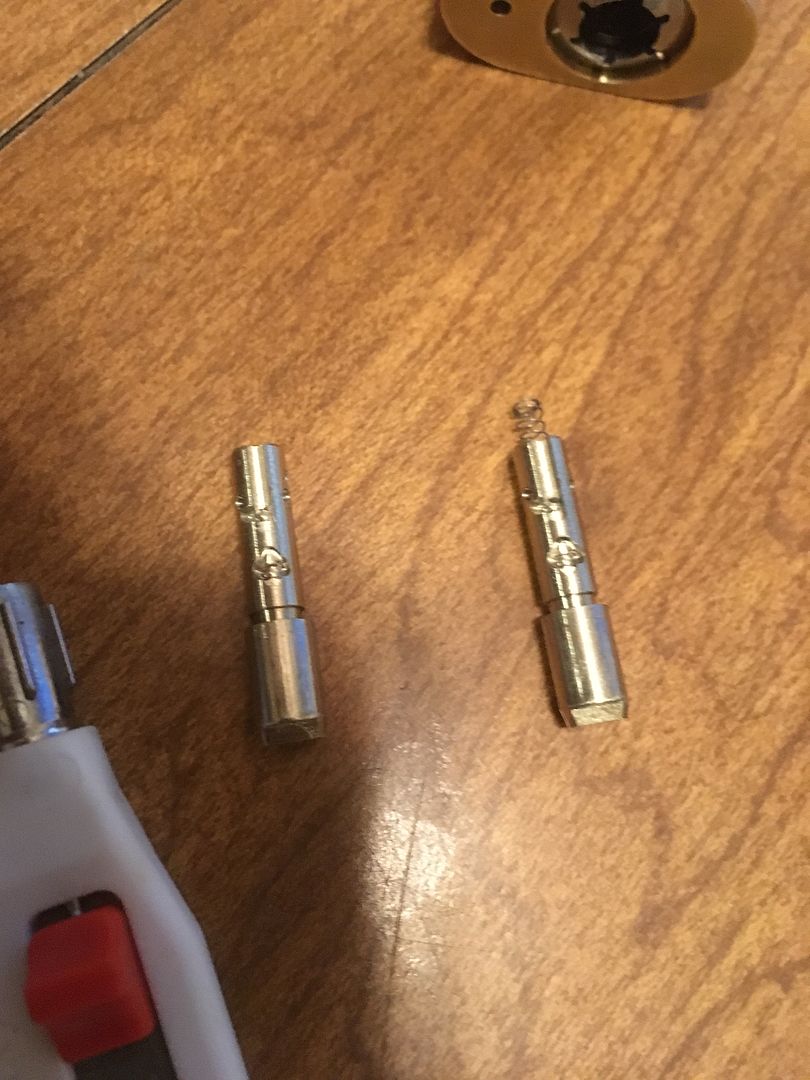
Transfer the spring to the new codebar.
Look inside the lock core. With the thick 'arm' at the top, you will see a pin sticking down in the back. That pin is an alignment pin for the codebar.
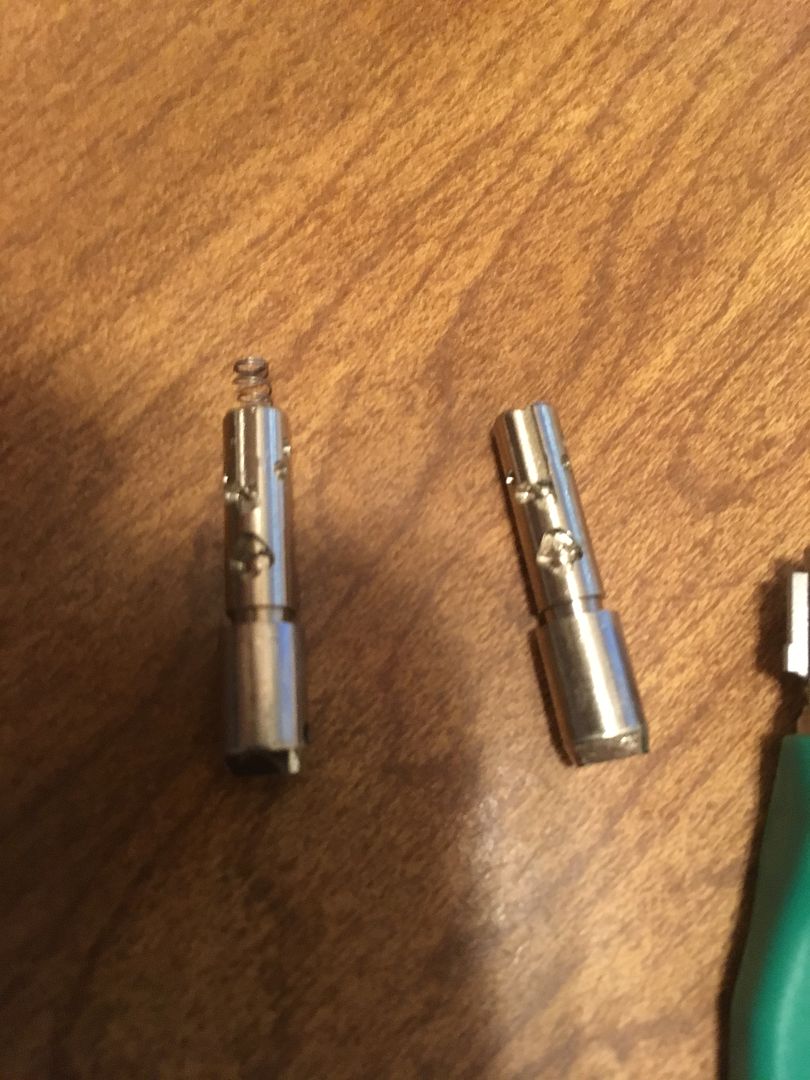
It is hard to see in the pics, but the groove is at the tip of the codebar, goes in a short distance, then angles sharply to the side.
Slide the codebar (with the spring installed at the tip) into the keyway.
At about this depth, you will find that you can not insert it further without having the codebar aligned with the pin. If it won't go in further, don't force it! Just rotate it until the pin and the codebar slot line up.
Once you have it aligned and it can go in further, apply turning pressure to the right as you slide in the codebar. Once it is in the correct depth, it will rotate to the angle needed for the removal key.
Start with the codebar knob slid fully towards the tip of the key.
Push it in, allowing the knob to slide back on its own.
Turn the key left to the original location.

Then let the spring tension push out the removal key.
The rekey is completed! Test out your new key.
And there you have it. Hope there were not too many pictures, and that it gave the info you were looking for.
Gordon


