


Over time, have seen several people asking how to go about making keys for SFIC cores when you don't have the tools to properly take apart and reassemble the cores.
While there are methods of improvising tools which have been discussed, this post will take a different angle on the job. The only tools needed are blanks in the correct keyway, a fine point marker, a shim from a security tag, a micrometer, and, finally, a file to cut the keys.
Unlike most of my threads, this will not have a lot of pictures.
First, get a shim from a security tag.
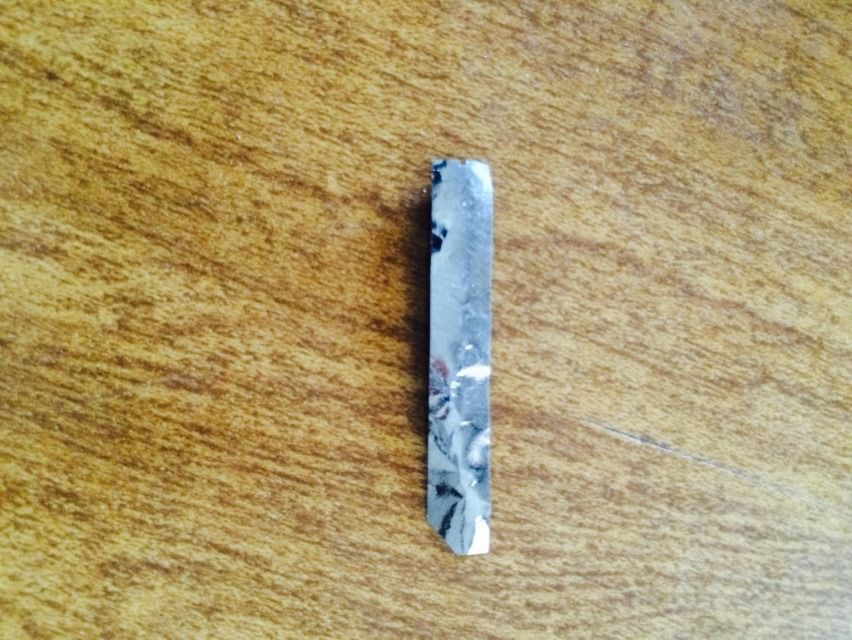
Yes, that one is ready for replacement. But it still did the job.
First, lay your shim on top of the core from the back end of the core. Align the front edge of the shim with the back of the first pin. Now use your fine point marker to make a mark at the back of each pin (based on the caps).
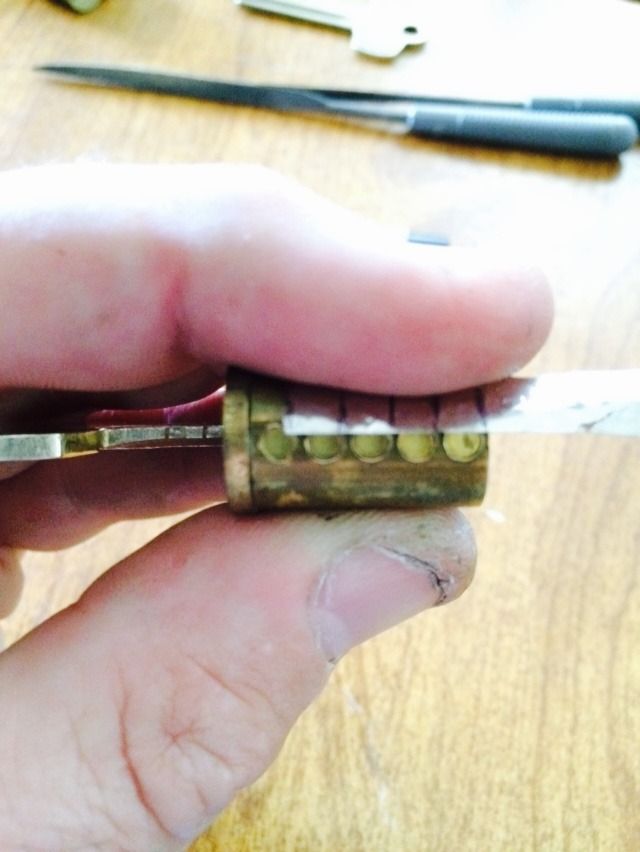
This is so you can be sure that you have not only located each pin location, but you also know when you have shimmed every pin stack.
Now shim the first pin. Remember, with an SFIC lock, the bittings are numbered from the tip of the key. In this case, placed the shim at the control shear line from the back of the core. A pick or a key blank is used to move the pins up and down until the shear line is reached, at which point the shim will move in until it is stopped by the next pin stack.
Once you have shimmed the first pin, keep going until you have shimmed all pin stacks on the shear line you are shimming.
Now that you have shimmed the shear line you want a key made for, what do you do next? Make five depth keys, with only the first bitting (at the tip of the key) cut. Have the depths be for every even bitting depth. (0, 2, 4, 6 and 8 ). The micrometer will help you get accurate depths. Will explain why no odd depths in a moment.
Make sure you do not have a ramp between the first bitting and the tip of the key. This is important.
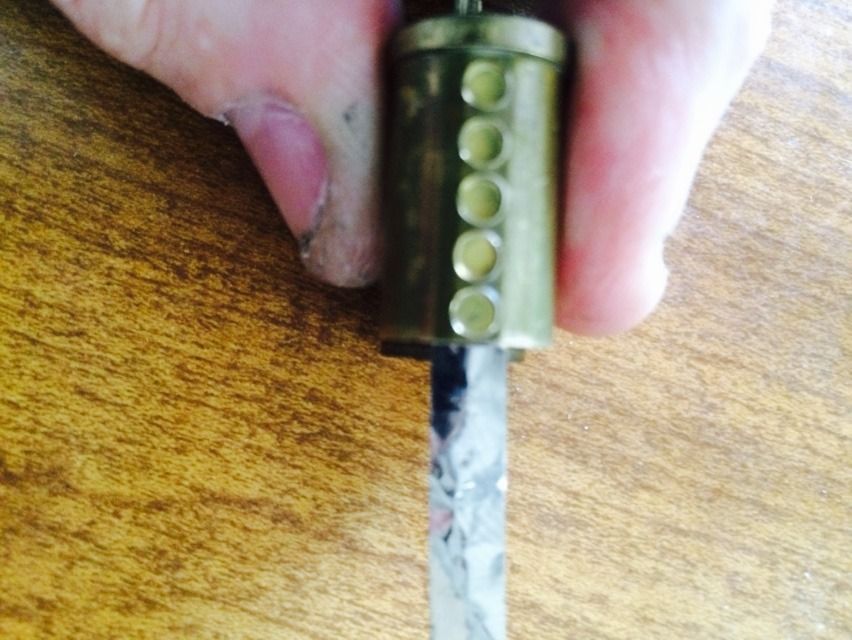
Hold the depth key alongside the top of the core, lining it up with where the key would normally stop if it were put into the keyhole normally. Mark the front edge of each pin as shown by the caps.
Now take a marker and mark the leading edges of the depth keys. You are now ready to start decoding the key for the shear line.
Slide the depth key cut to an 8 depth into the lock until it is stopped by the pin. Wiggle it slightly. (There is no need to tension the key before wiggling. We are not impressioning the lock).
If the key will not go into the lock far enough to reach your first mark, then you are done - it is a 9 depth.
How do we know this? Because a 9 depth can not be raised above a 9 depth since the shim won't let the pin rise above a 9. If it was an 8 depth, you would see the key go in far enough to reach the first mark, then stop. If it is a cut that is higher than an 8, the key will stop after the mark for the first pin.
If the key can go all the way to the first pin mark on the 8 depth key, pull out the key and look face-on to the front of the key. If you see a mark further up the ramp after the depth cut, then try to find the depth key that is closest to that depth.
Assuming the 8 goes in past that first pin mark, then grab and try the six depth key. If the key won't go in far enough to reach the first mark, then it is a 7 cut , since an 8 fits too deep, and a six would let you reach the first mark.
Repeat the process until you find the correct depth for the pin closest to the keyway entrance. Write that bitting depth down.
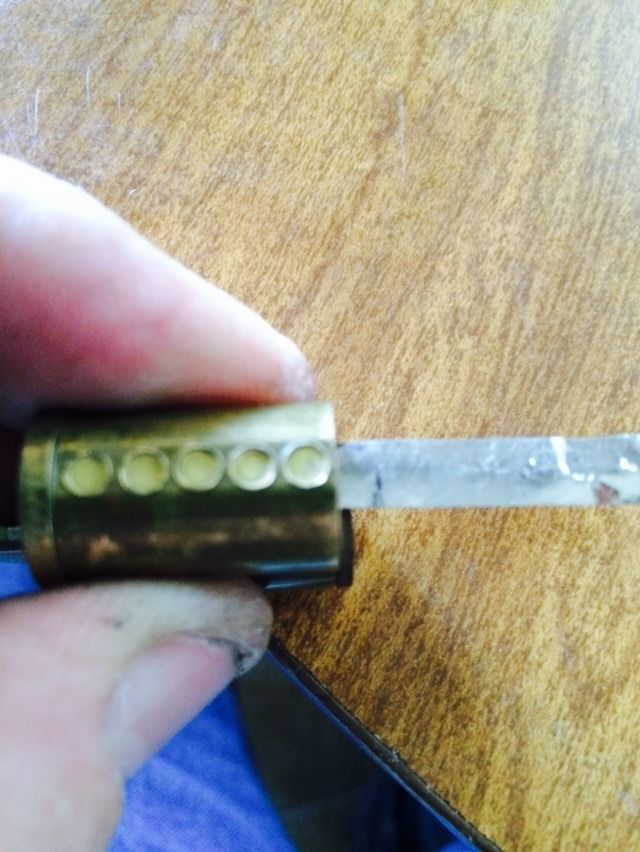
Next, remove the key, then pull the shim rearward until the pin stack closest to the keyway entrance snaps down.
You are now set up for the next pin stack. Repeat the above tests to find the correct bitting for each remaining pin location.
When finished, you will have the direct bitting for your core. Now use your micrometer and file to file a key for your lock.
Good luck!
Gordon


