AVOIDING BLURRY PICTURES
First and probably most important is understanding focal length. Most cameras auto focus. If you take a digital photo of a lock or tool and it is blurry, the most common reason is that you have tried to take the picture from too close. You camera has a range, called the focal length, in which you can take a clear photo. If you are too close, your camera will not focus adequately and your picture will be blurry. To correct this, move the camera back and retake the photo.
If you've backed off the camera and got a clear picture, the item of interest will be smaller in the frame than you had intended. This is ok. Using your cameras software, crop out the item. Even a 1.0MP digital camera is sufficient to allow you to take a picture of a lock (say, the keyway) and crop out just the portion you want and enlarge.
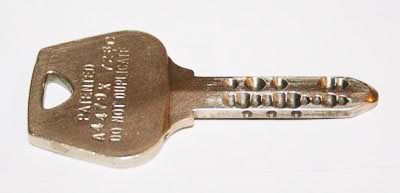
For example:


If I had tried to get close enough to frame it as in the second photo it would have been too blurry, so I moved the camera back to take the picture from farther away and cropped out the stuff I didn't need after.
DEALING WITH BAD LIGHTING:
Lighting is probably the second most important element. Whenever possible, try and get a strong source of indirect light. In the above photos, I actually pointed a 15 million candle power lamp at my ceiling above the lock so that the reflected light would be more diffused and would not cast harsh shadows or awful glares.
Sometimes, however, getting good lighting to the subject is not easy. In these cases, there are some "post production" things that can be done. (Post production is a fancy industry term for muckin' with the picture on your computer.
Many photo editing suites will allow you to do something much like the following, but for my example, I will use Adobe Photoshop. If you have a photo with poor lighting conditions, open it up in Photoshop, and under the file menu, select Image/Adustment/Levels. You'll get a box that looks like the following:

Note the red arrows. These are what you will adjust. Slide the left and right points inward until they are roughly under where the black starts, then slide the middle point around while you watch the picture to find the ideal (or as close as you can come) lighting conditions. You'll end up with something that looks like this:

And your picture will go from this:

To:

SUMMARY:
That's it. These two simple elements, focus and lighting, will make a world of difference in your photographs. I know that for some this information is very basic. I've avoided using technical terms. I do hope this is useful to some of you. Now when I see blurry pictures, you know where I'll be directing you.
Cheers!
db

 If it ain't broke.....pull it down and see how it works anyway!