


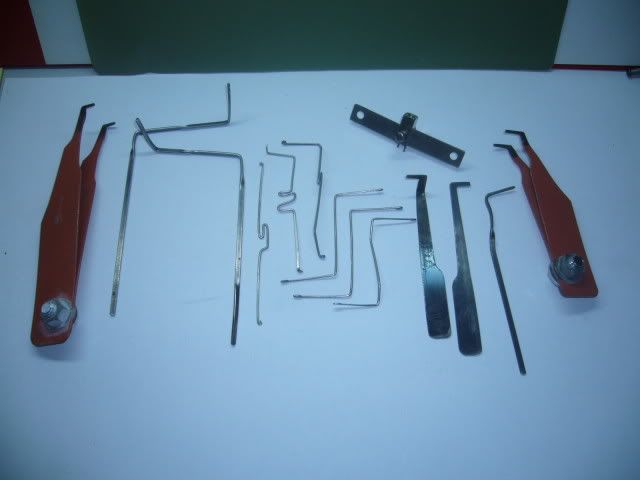
Let's start with the basic tools that you need for this. I'm working only with what I have available.
For this project I used:
2 sets of pliers, it doesn't matter what kind, but I have needle and standard.
A black fine tip marker
An assortment of precision files. I find the flat file, triangular file, and square file to be the most useful
A rule can be useful but is not necessary.
And of course a flat piece of steel or windshield wiper insert.

It's also really helpful to have some kind of vise.

Start with a strip of metal and cut off a piece about 18cm long. it's better to have a little too much than much too little.
I don't have a saw of any kind here, and my wire cutters are too small to cut through the strip very easily, so I just used a flat file to cut through it.

Next mark the metal half way across it's length, or just bend it half way until you've got something around a 45 to 90 degree angle. Don't overstress the metal by bending it too far just yet or it may break. It'll also be easier to work with if you don't bend the angle too acutely.


After this, mark another point about halfway from the bend to the tip of the strip on each side. You don't have to mark where you're going to bend it, but I like to be as precise as possible, and the higher the precision, the better quality your home made tool will be.

This is where you'll need both sets of your pliers to make the 90 degree twist in the metal. Grip firmly and twist slowly.

Repeat this on the other side of the strip and your end result should be like this.

Now for the tips. This is where it gets tricky if your strip of metal isn't as malleable as you thought it was at first. Make a 90 degree bend about 3mm to 4 mm from the tip. On my first attempt the metal broke during the bending process, so I had to first hit the metal on my stove burner. This made it a lot harde to be as equal on the bends for both tips of the tool, but I eventually got it right. Hopefully your windshield washer insert is not as brittle, but if it is, just heat it on your stove, or even with a lighter until it softens.
This turned out to be the most complicated step for me in making this tool.

Now, hopefully you haven't had to start all over by repeatedly breaking your wiper insert and you've made even 90 degree bends at both tips. If there is more metal than 3 or 4 millimeters after the bend, don't worry; you'll just have to file or cut it down a little. You do not want overly long or wide tips since this is the part of the tool that will be touching the plug of the lock. See the following pictures to see how best to narrow each tip to make it more suitable.


By now you should essentially have a completed split torsion wrench. Test it on your lock to make sure the prong on the tips are adequate for your needs and make modification accordingly. Remember, just file down a little at a time. You can always file more, but you cannot file less. The tool should also still be springy so that the tips spring away from each other. This will help hold the tool in the keyway while you apply turning force and manipulate the tumblers with your pick.

One weakness of this tool's design is that it's overall flexibility may make it unsuitable for heavier turning force. However this should not be a problem if all you are using it for are simple wafer locks which, so far, seem to be the most common application for this style of torsion wrench.
If you try this out, please let me know how it works for you!
