Lock Picking 101 Forum
A community dedicated to the fun and ethical hobby of lock picking.
       

Lock Picking 101 Home
Login
Profile
Members
Forum Rules
Frequent Forum Questions
SEARCH
View New Posts
View Active Topics


Live Chat on Discord
LP101 Forum Chat
Keypicking Forum Chat
Reddit r/lockpicking Chat


Learn How to Pick Locks
FAQs & General Questions
Got Beginner Questions?
Pick-Fu [Intermediate Level]


Ask a Locksmith
This Old Lock
This Old Safe
What Lock Should I Buy?


Hardware
Locks
Lock Patents
Lock Picks
Lock Bumping
Lock Impressioning
Lock Pick Guns, Snappers
European Locks & Picks
The Machine Shop
The Open Source Lock
Handcuffs


Member Spotlight
Member Introductions
Member Lock Collections
Member Social Media


Off Topic
General Chatter
Other Puzzles


Locksmith Business Info
Training & Licensing
Running a Business
Keyways & Key Blanks
Key Machines
Master Keyed Systems
Closers and Crash Bars
Life Safety Compliance
Electronic Locks & Access
Locksmith Supplies
Locksmith Lounge


Buy Sell Trade
Buy - Sell - Trade
It came from Ebay!


Advanced Topics
Membership Information
Special Access Required:
High Security Locks
Vending Locks
Advanced Lock Pick Tools
Bypass Techniques
Safes & Safe Locks
Automotive Entry & Tools
Advanced Buy/Sell/Trade


Locksport Groups
Locksport Local
Chapter President's Office
Locksport Board Room
 

Disassembly and Decoding a Chicago Lock Padlock

Information about locks themselves. Questions, tips and lock diagram information should be posted here.

Disassembly and Decoding a Chicago Lock Padlock

Postby GWiens2001 » 16 Feb 2014 11:12

Disassembly and Decoding of a Chicago Lock padlock

Got two of these in the mail recently, only one of which has a key. Will have to make a key for one, and thought you might want a primer on disassembly and decoding of these locks.

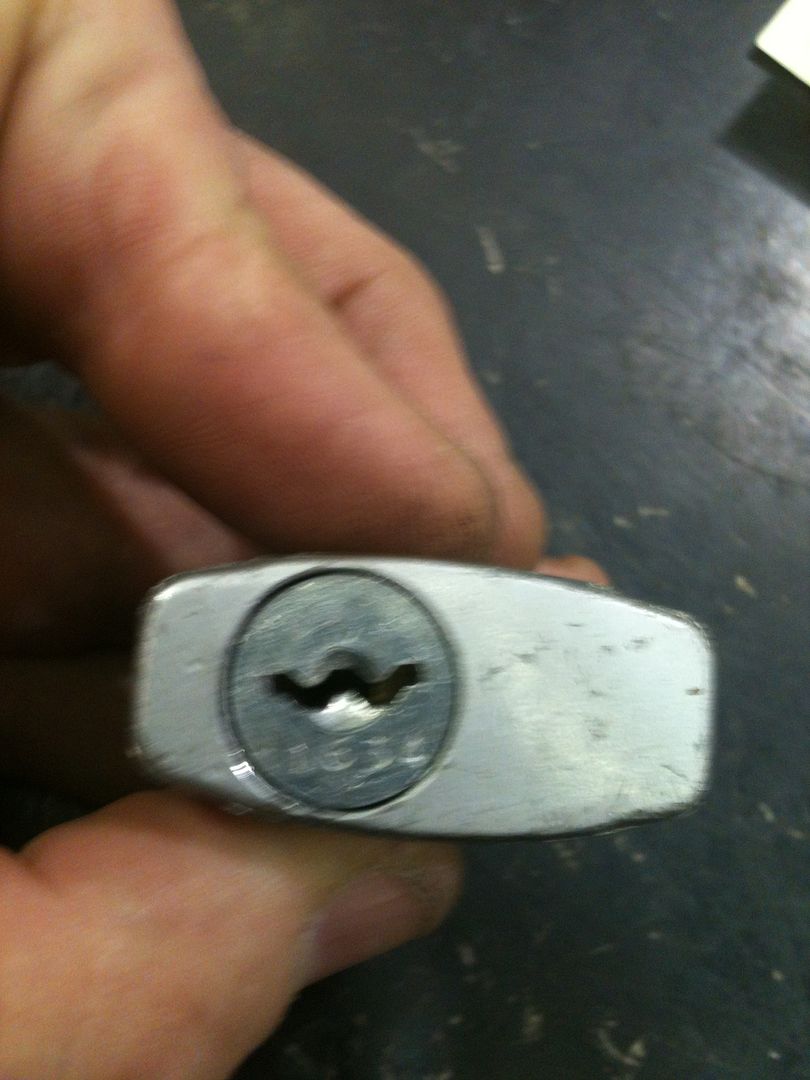
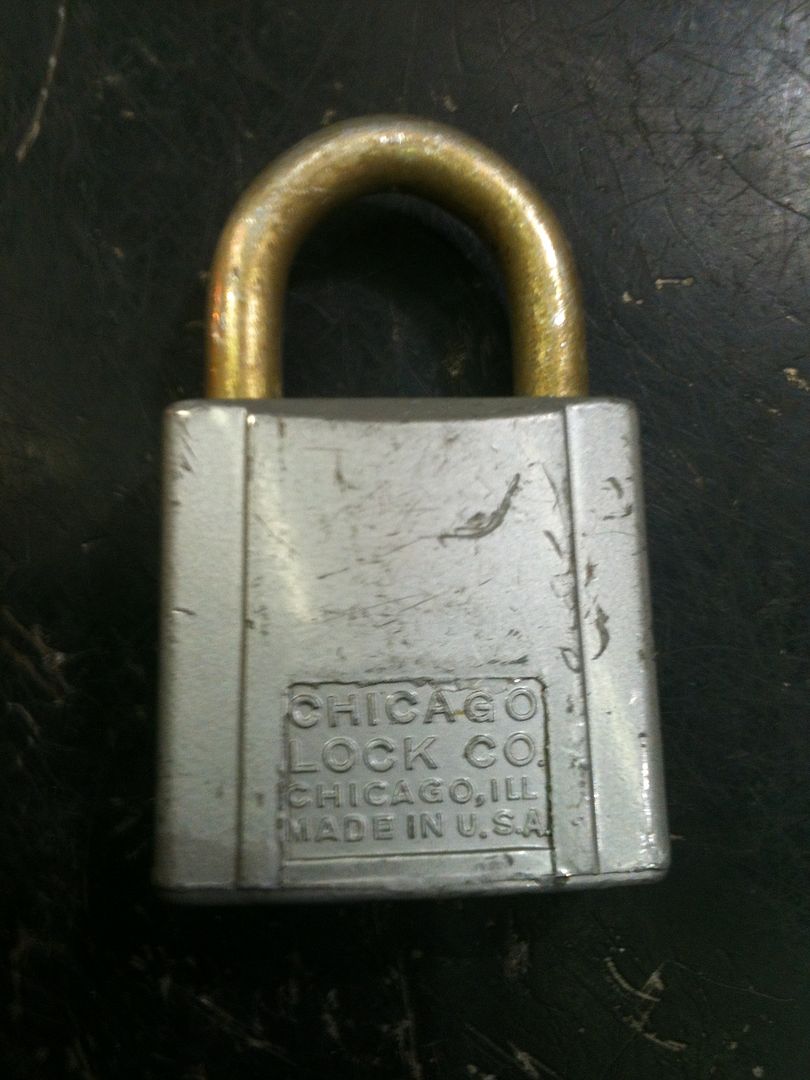
This is the lock:
Image

Image

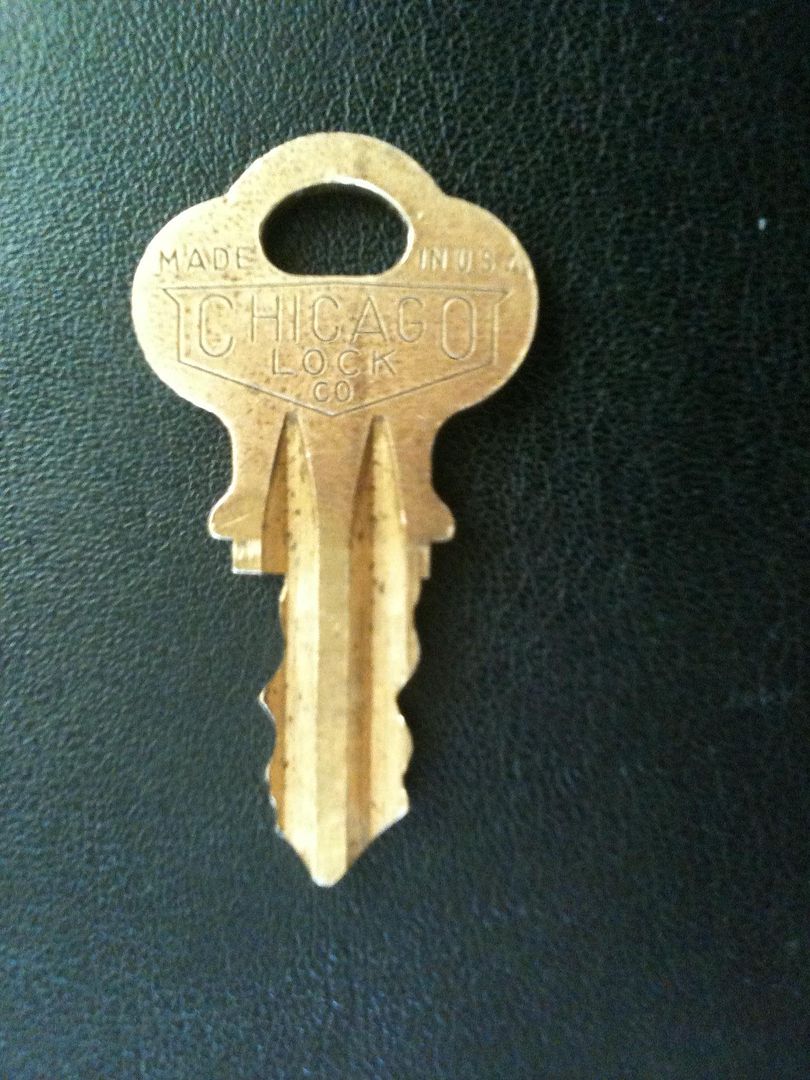
The key looks like this:

Image

If you look at the key above, you can see that when one side’s cuts get deeper, the other side opposite goes shallower - the overall width of the key stays at about 7.5mm, shifting side to side. The problem with that for key making is that the full width of the blank will not fit into the lock, as the key blank is about 10mm wide. That means you can not simply impression a key for this lock. We will cover how to take care of that later.

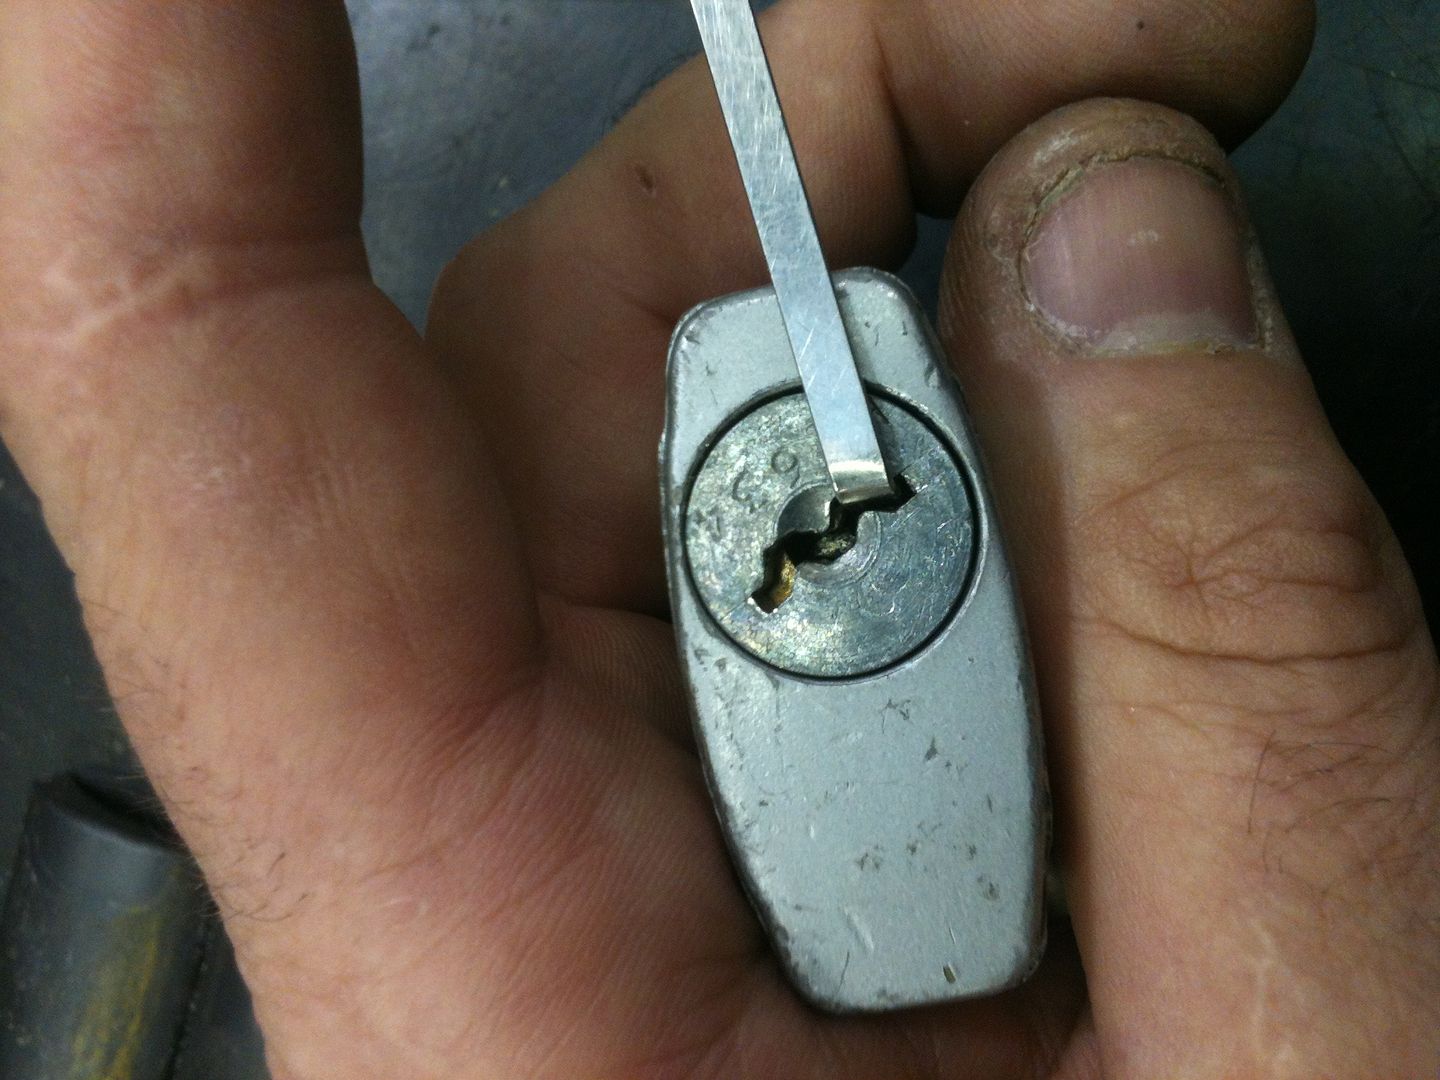
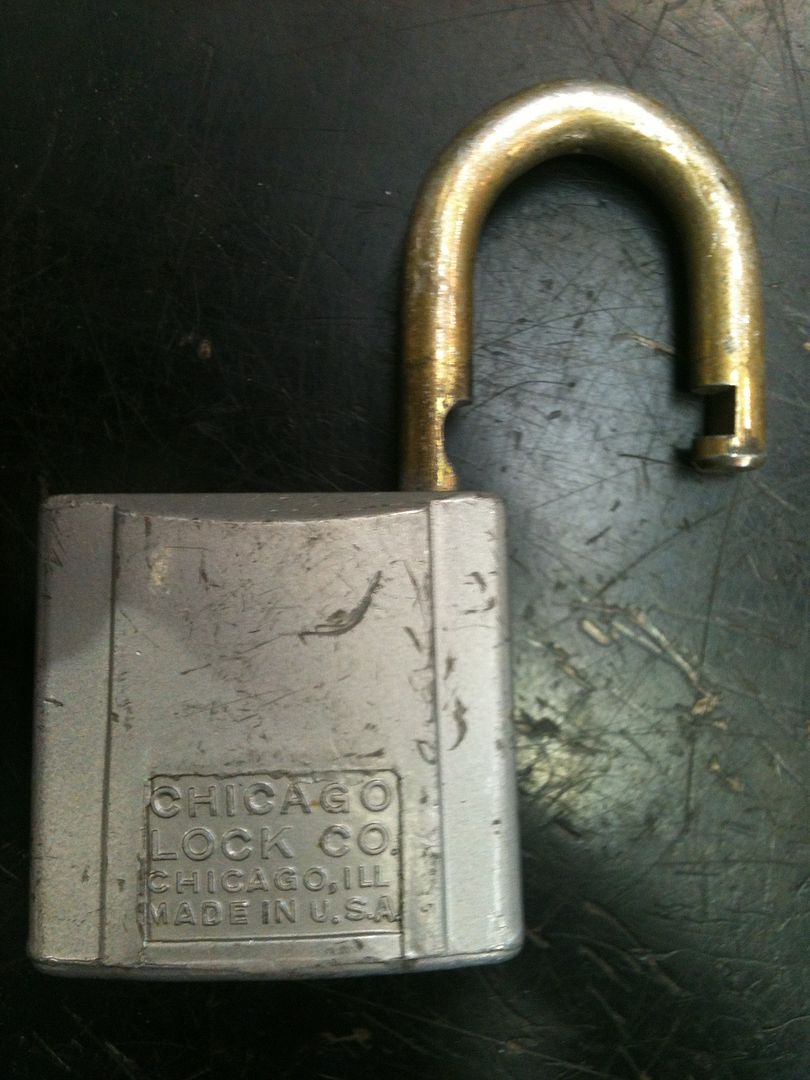
First, open the lock. Use the key if you have it, or for more fun and excitement, pick it. (Very easy to do). Turn the plug just enough to unlock the shackle.
Image

Image

Now look into the hole where the toe of the shackle goes. You will see a square hole.
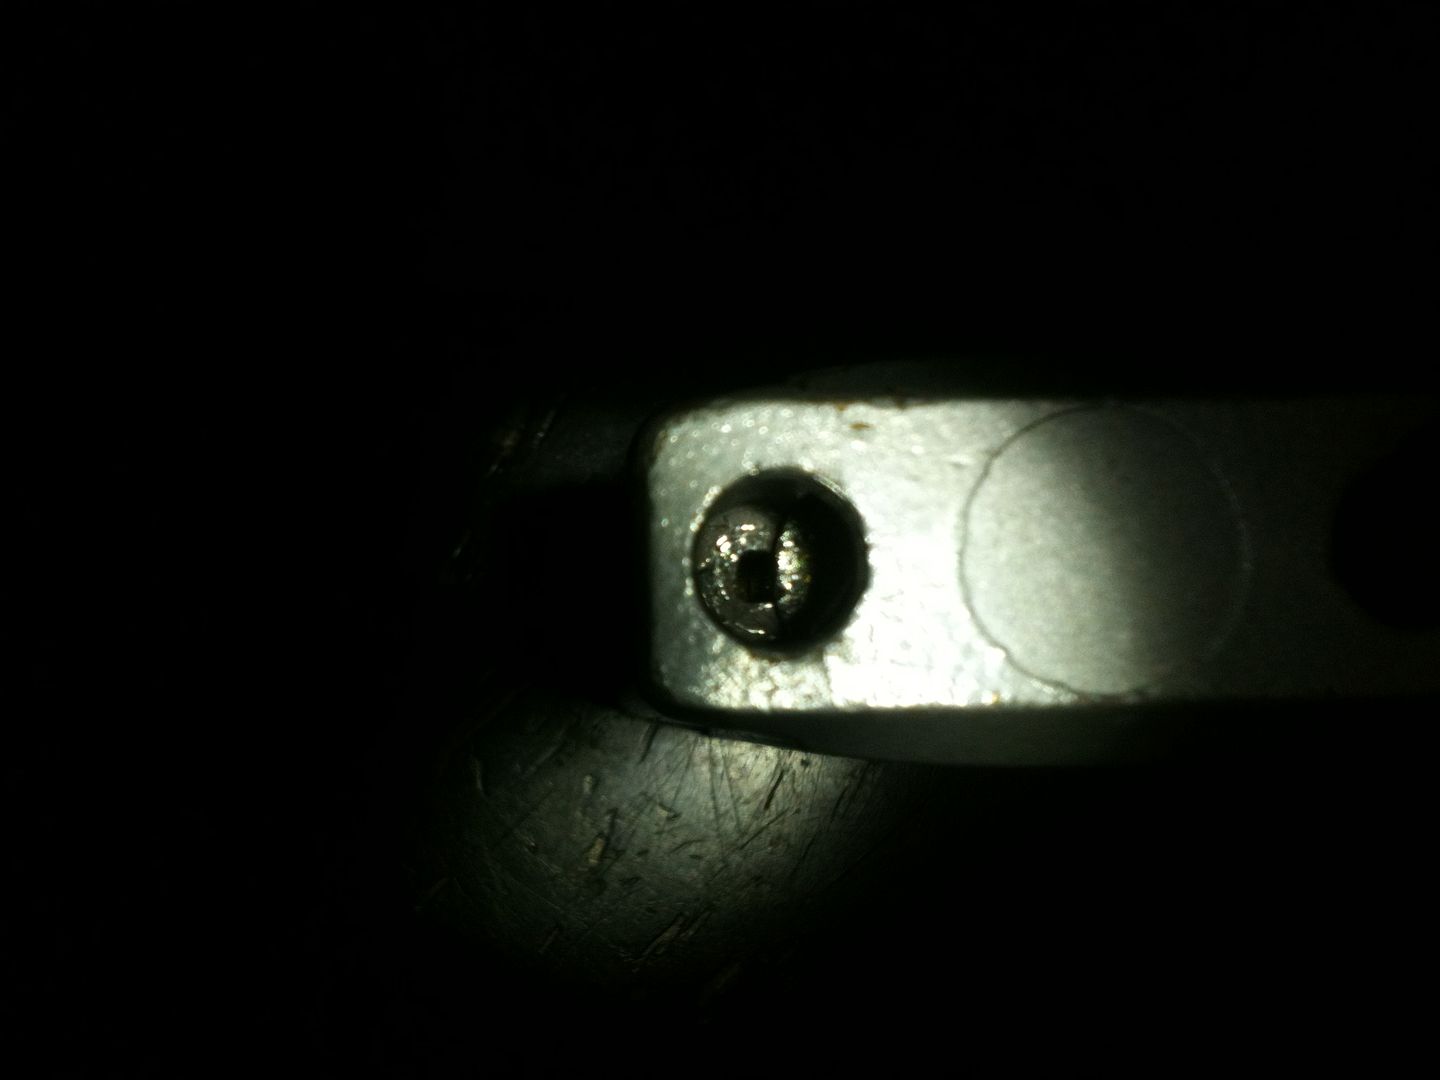
Image

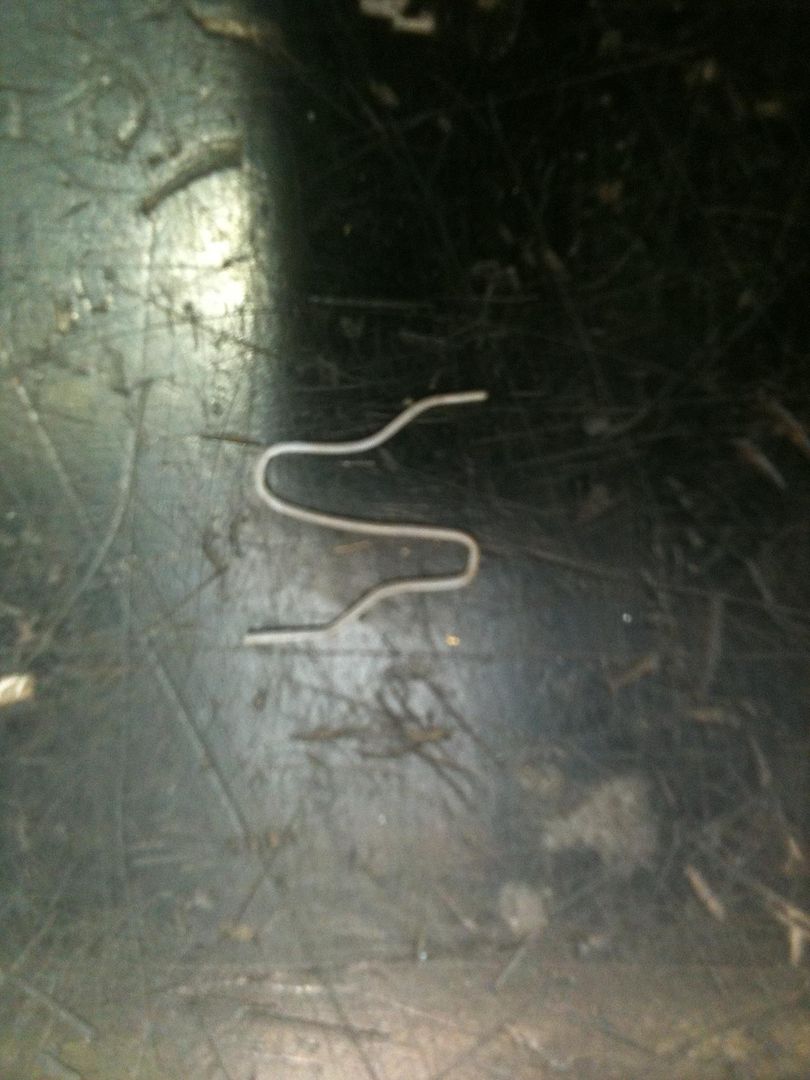
Now you will need a specialized tool. The wire diameter should be close to the size of the hole. Mine is made from a straightened out key ring. ;-)
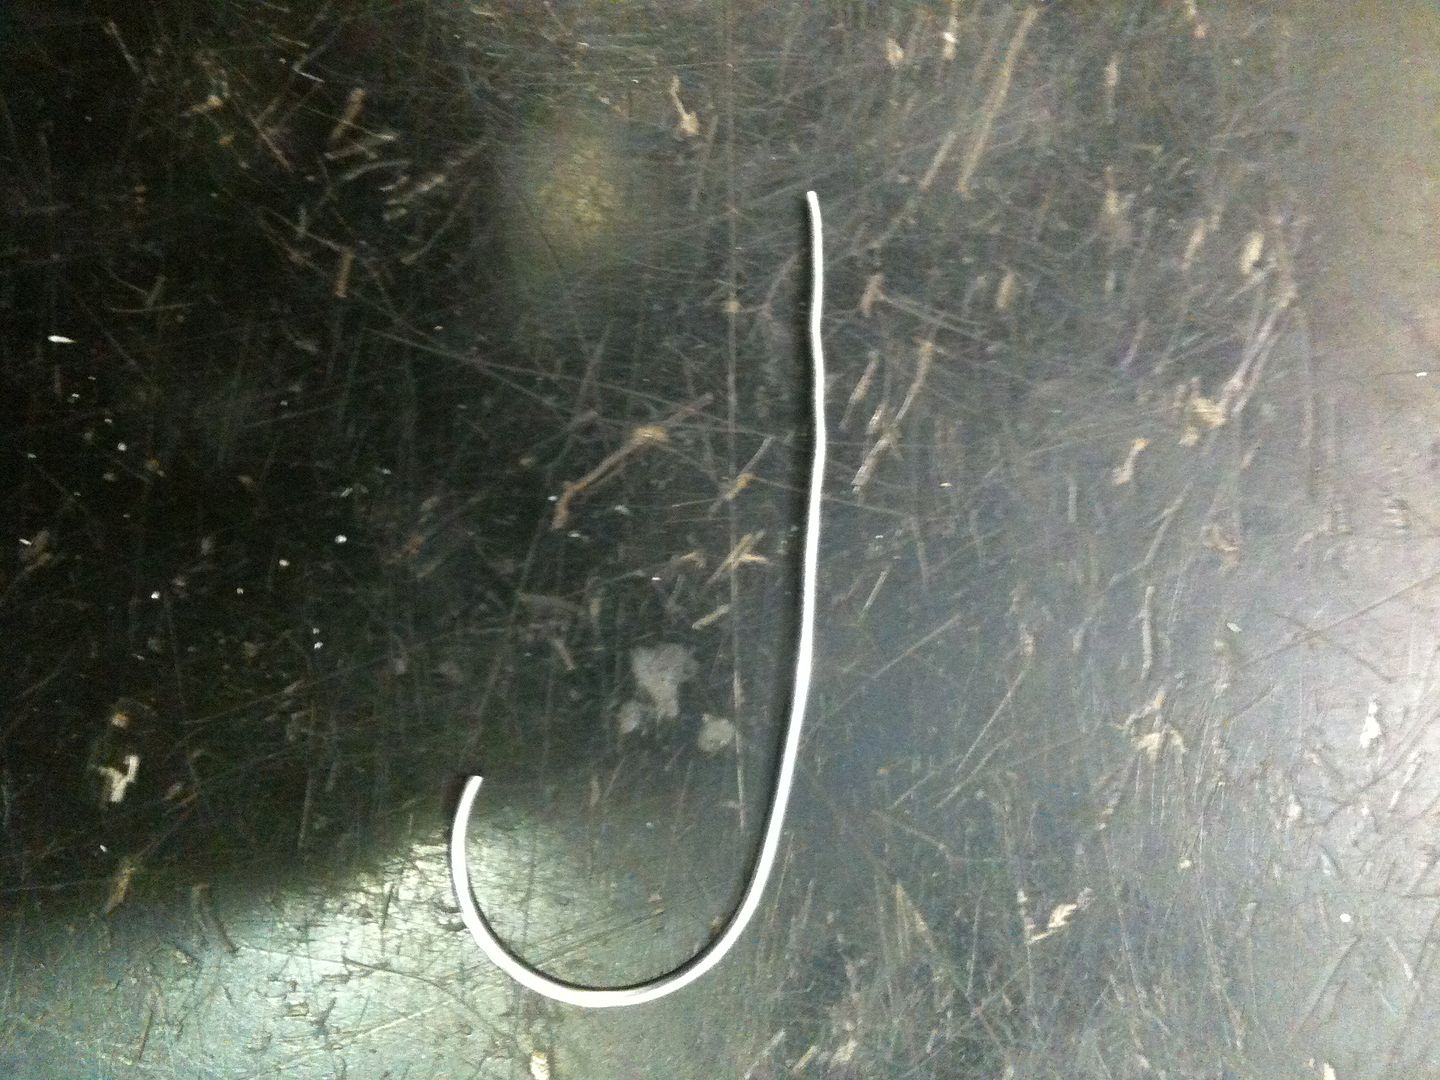
Image

Turn the plug back almost to the locked position. Insert the tool into the hole until it reaches the bottom of the lock, then lift it slightly. You can put it in shorter and try pushing in the clip (which you will see soon), but it is much easier to do it this way.
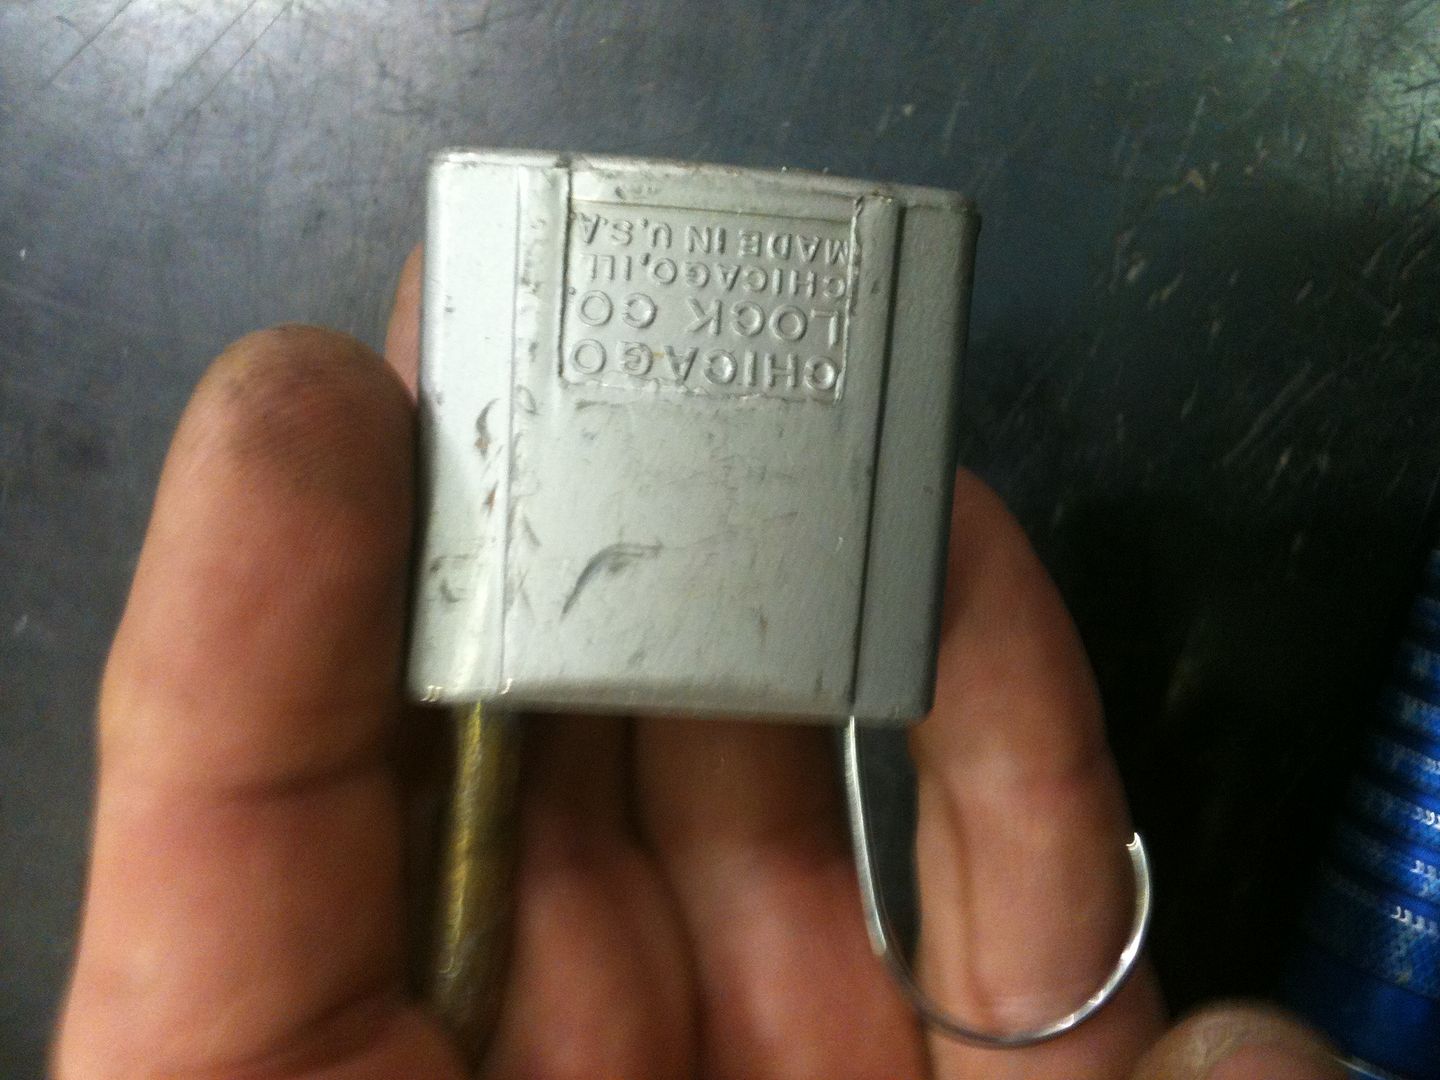
Image

Now turn the plug with a tension wrench (or key). If the plug will not turn, pull the wire tool outwards a tiny bit and try again. At the end of the turning (this plug only turns clockwise to open), you will feel the plug become slightly springy.
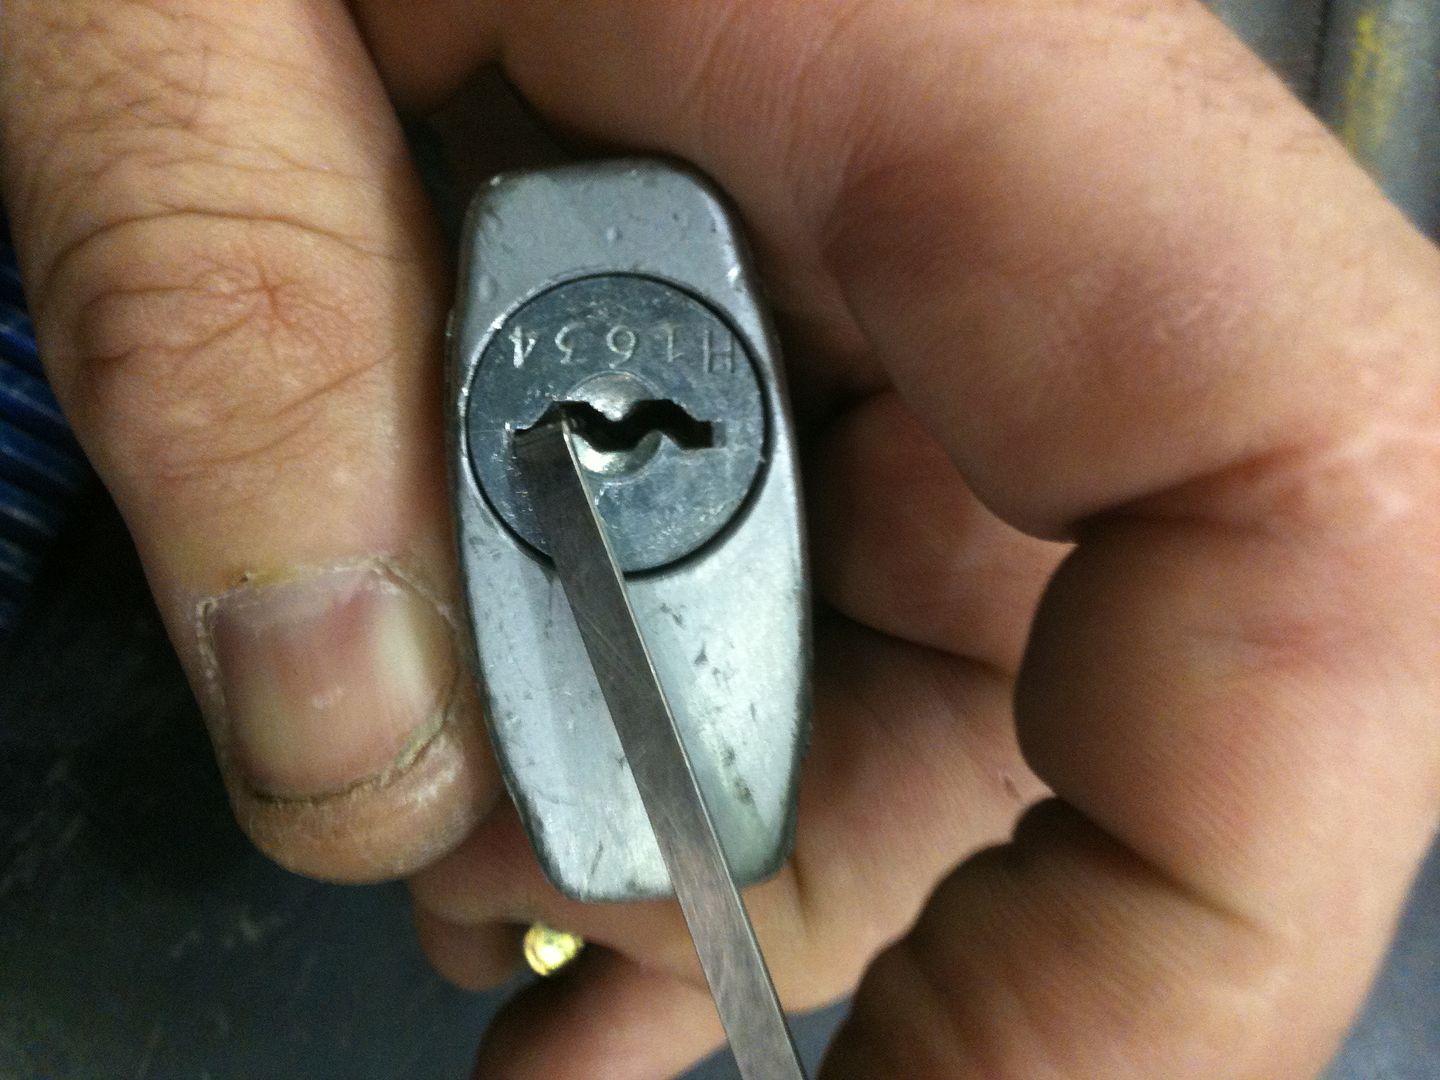
Image

Once you feel the turning become springy, push in with medium pressure on the tool to press on the shoulder of the plug. Keep turning the plug, and the wire will push the plug.
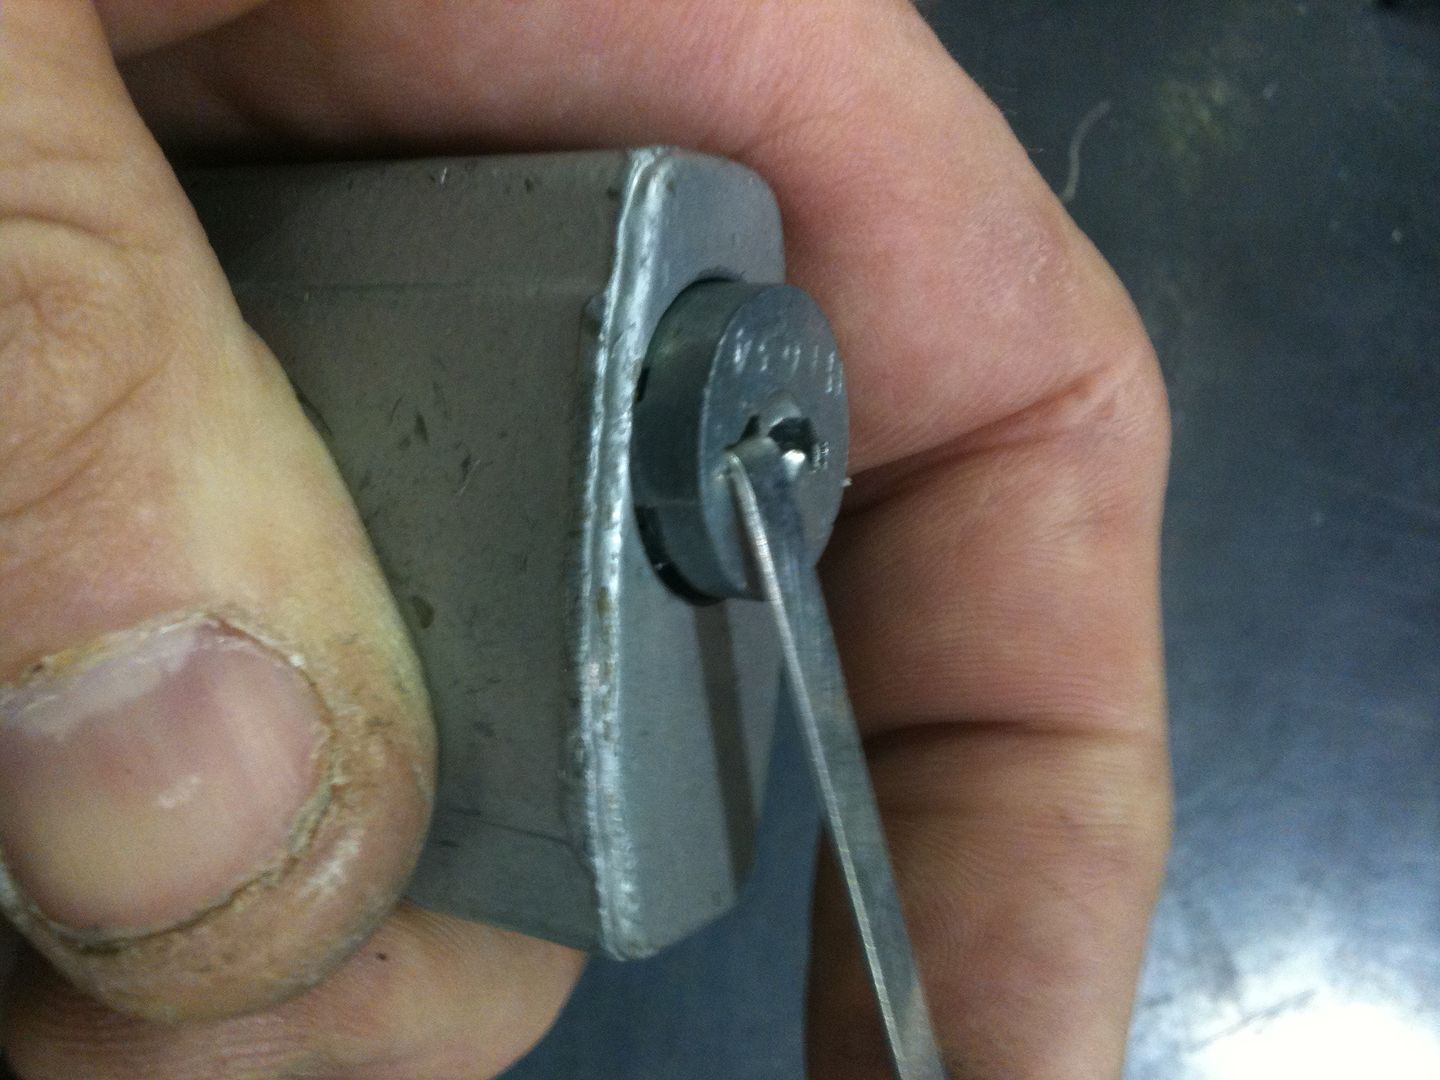
Image

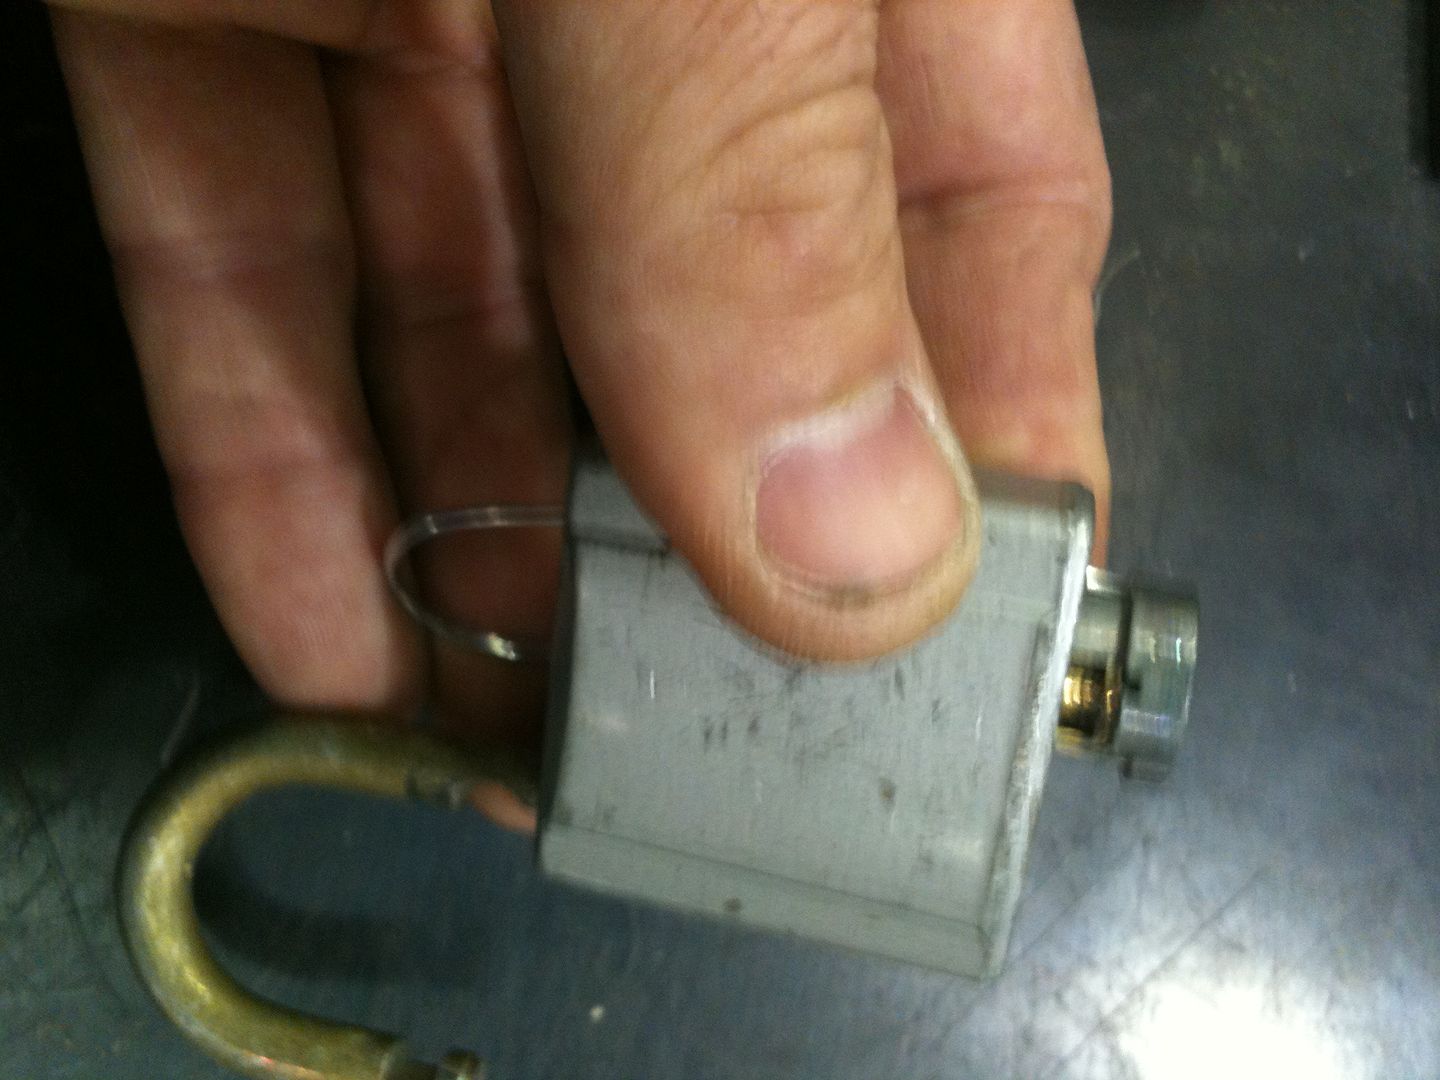
Ta-dah! The plug can now be removed. :-D
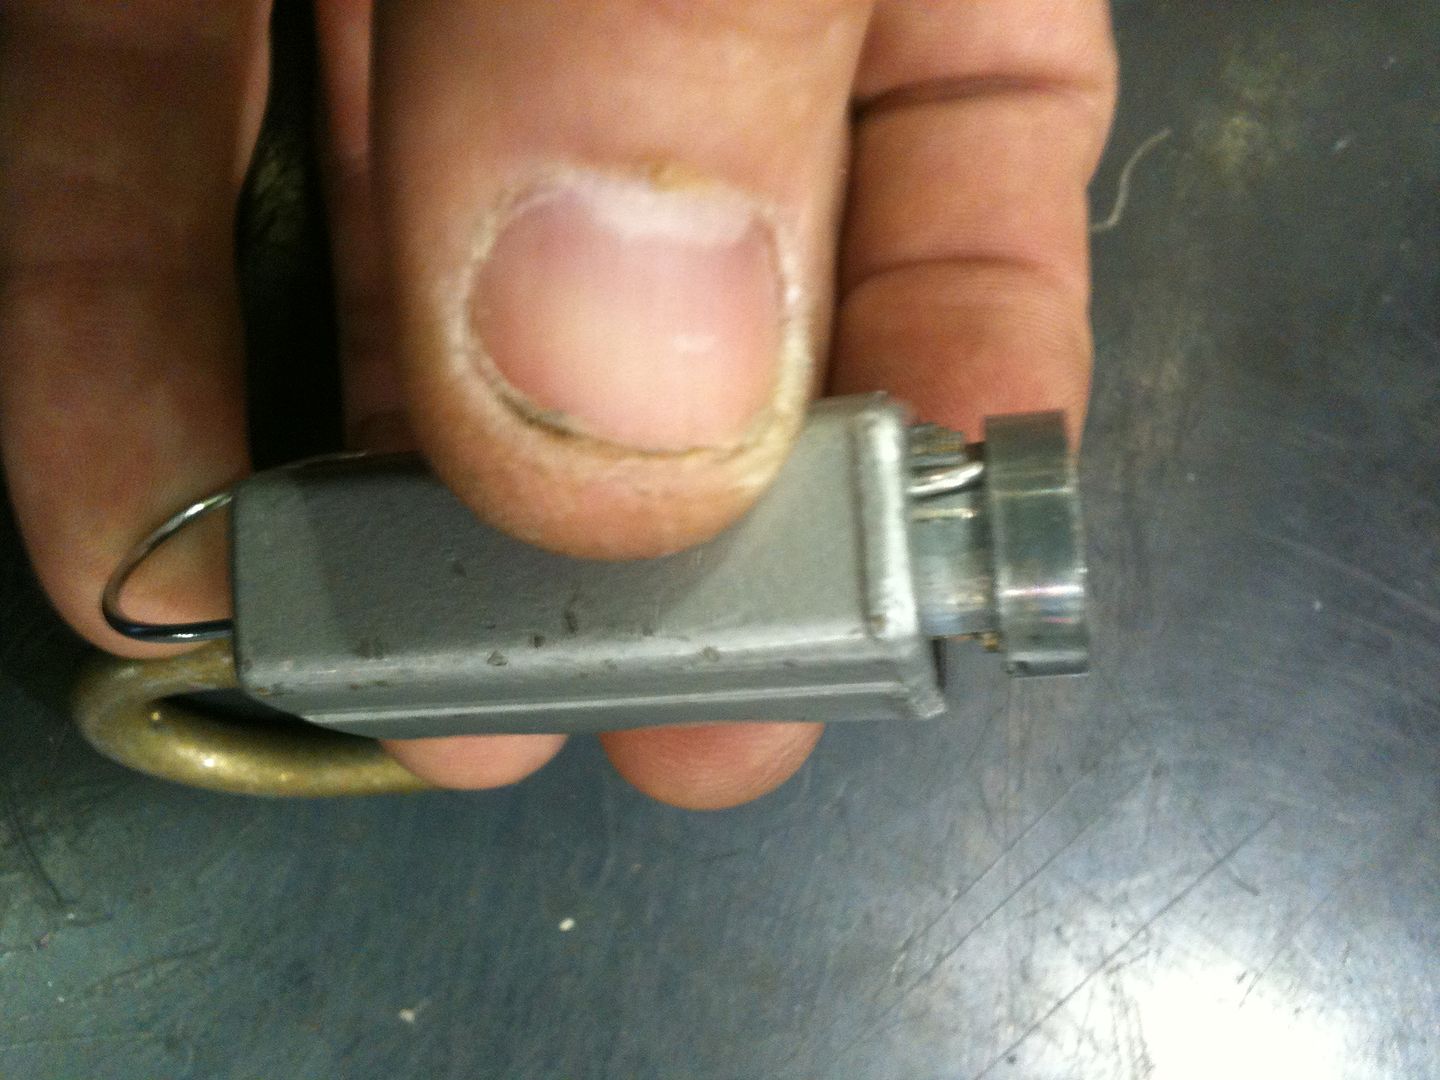
Image

Image

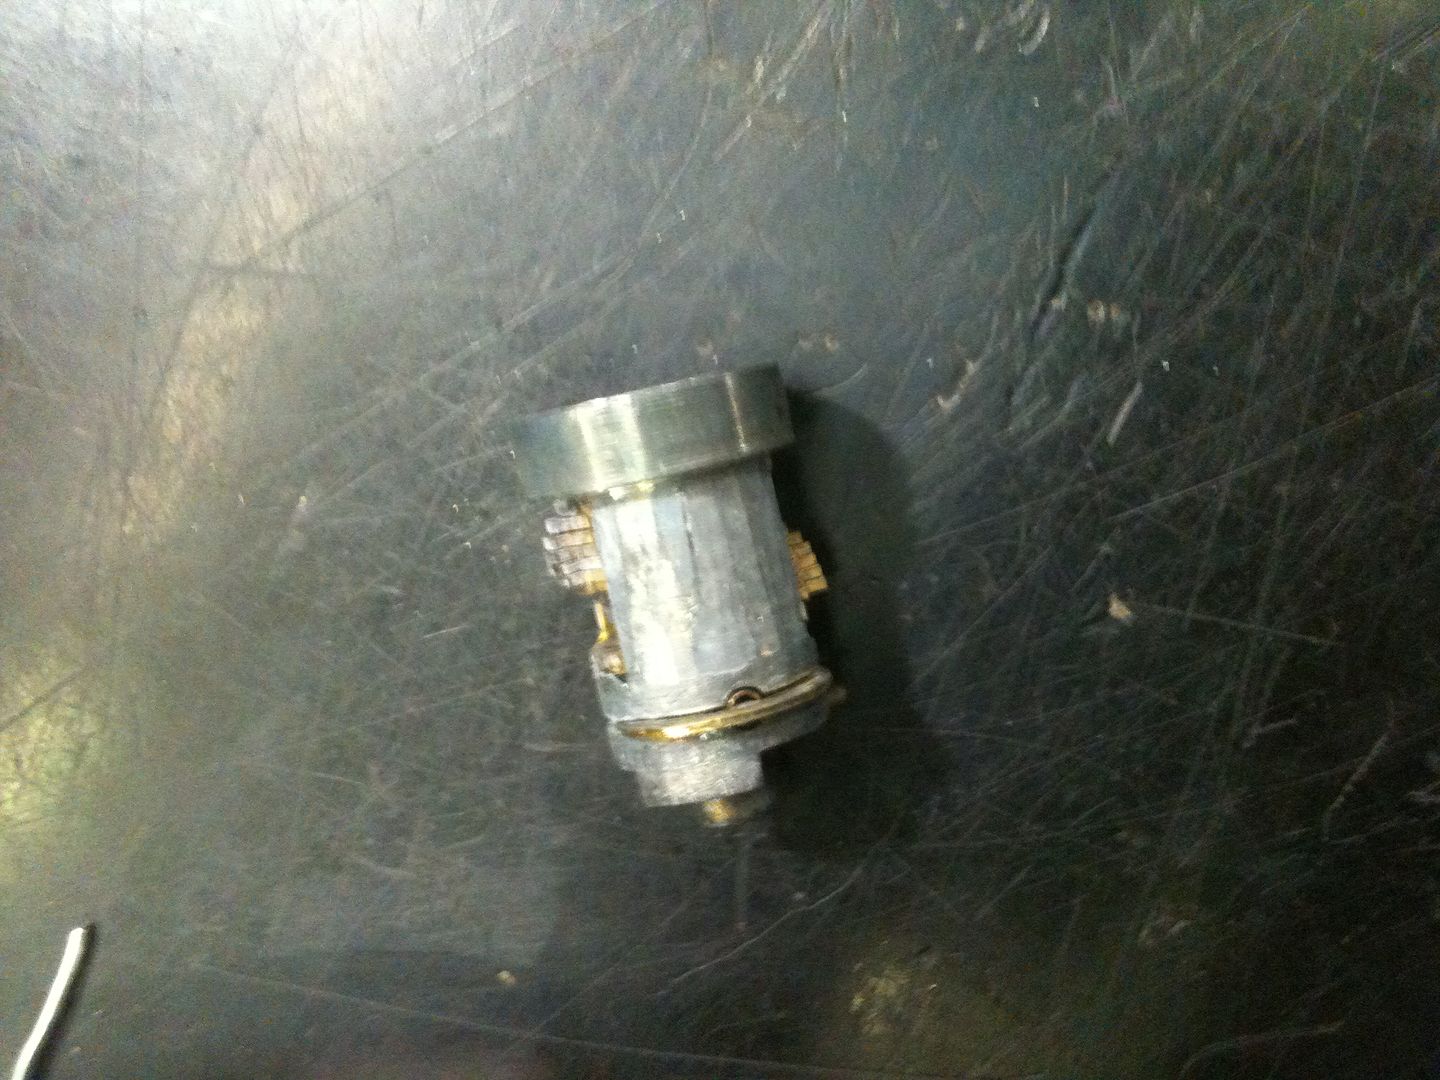
Here is the plug:

Image

This is the spring loaded plug retaining clip. This is what needs to be moved in to remove the plug.
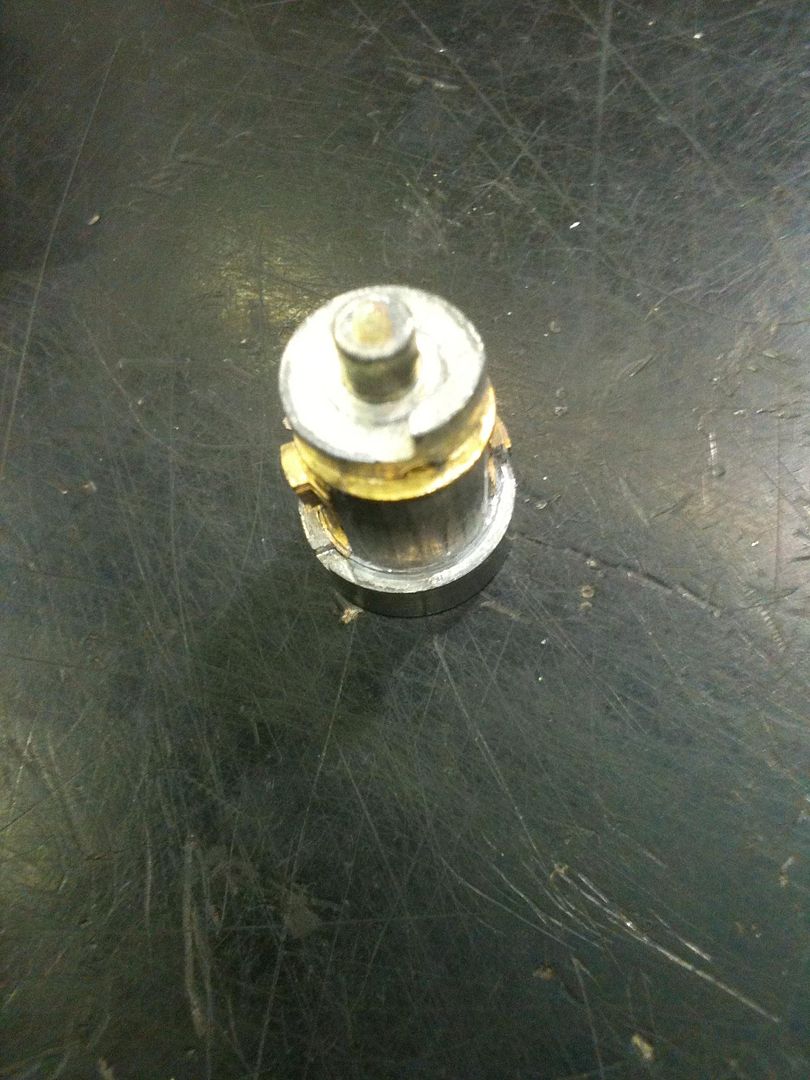
Image

And pushed in… (fgarci - stop laughing! :evil: )
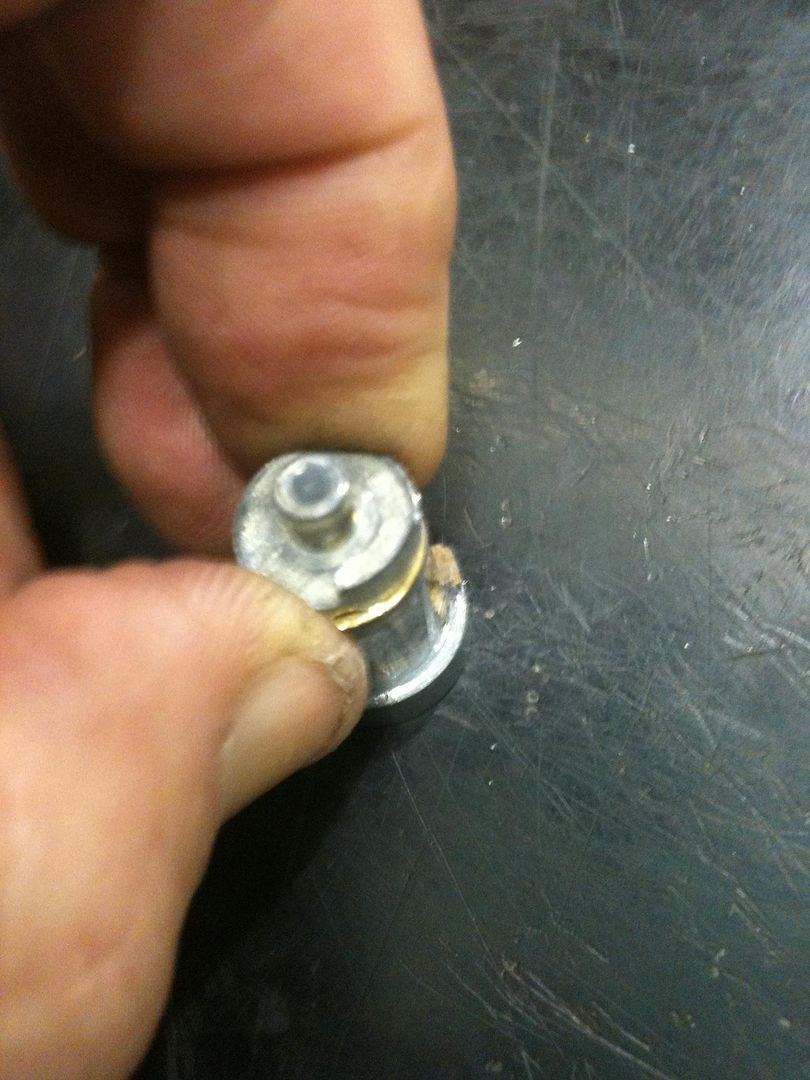
Image

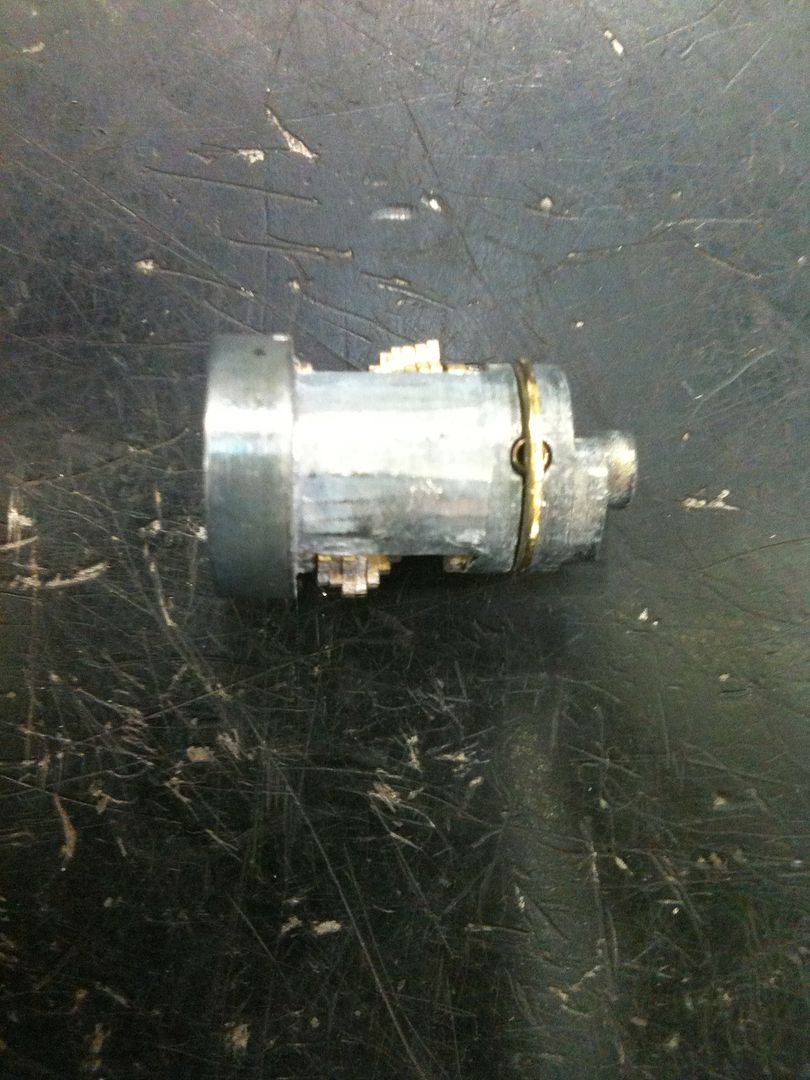
From the top, the plug looks like this: Note how the wafers are higher than the sheer line on one half of the plug, and lower on the other. That will be explained shortly.
Image

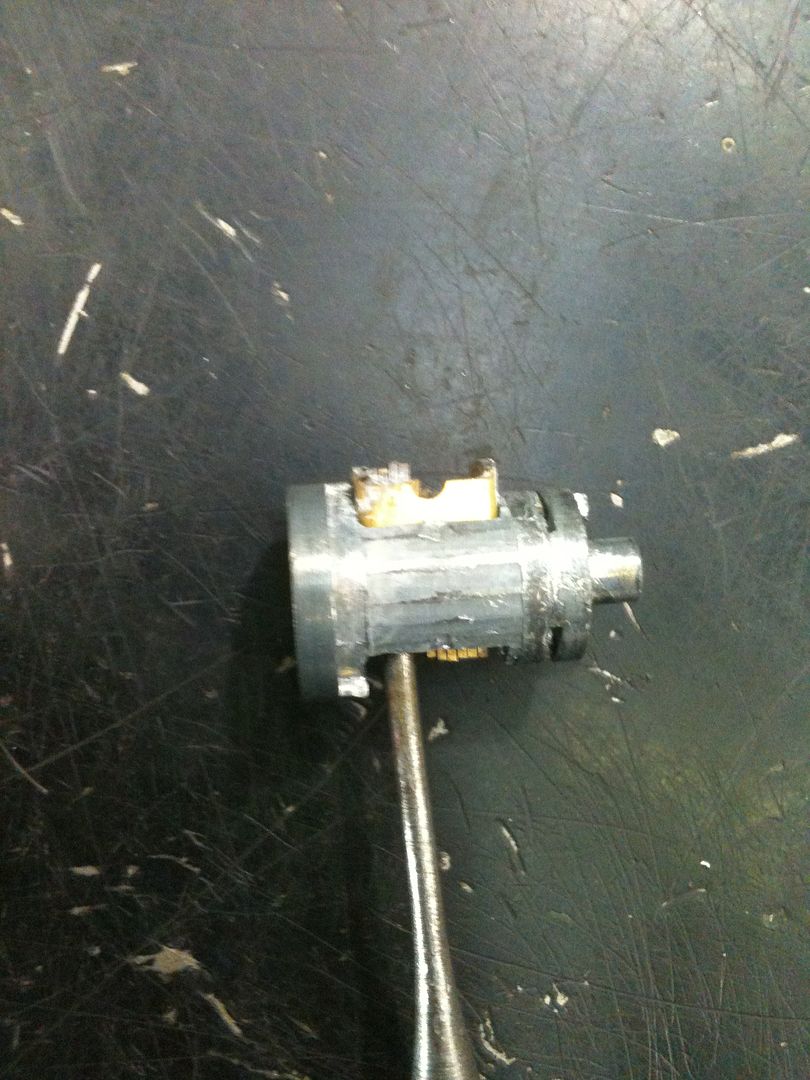
On any wafers that are raised (or lowered) above (or below) the sheer line, can be pushed to the other side as the key would do from the inside. They are spring loaded, so will return when you remove pressure.
Image

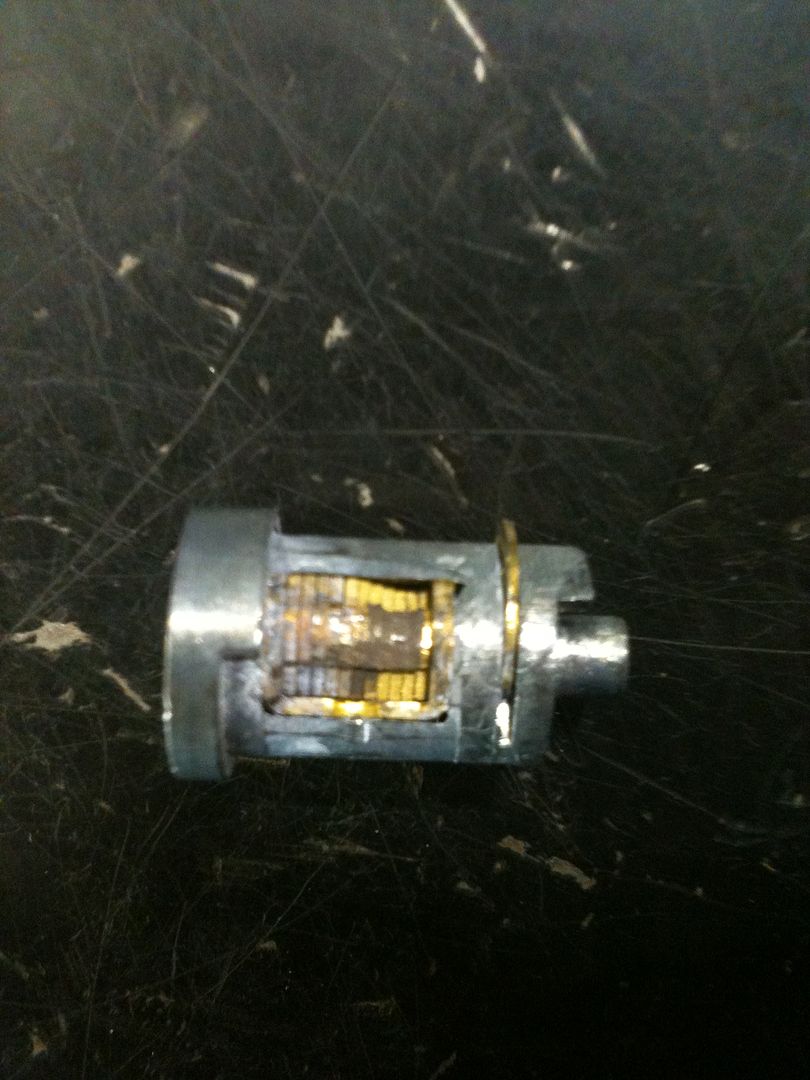
And the top or bottom view of the plug. Note the tiny stake crimp in the center of the plug. You will need to use a small screwdriver to move that back outwards to continue.
Image

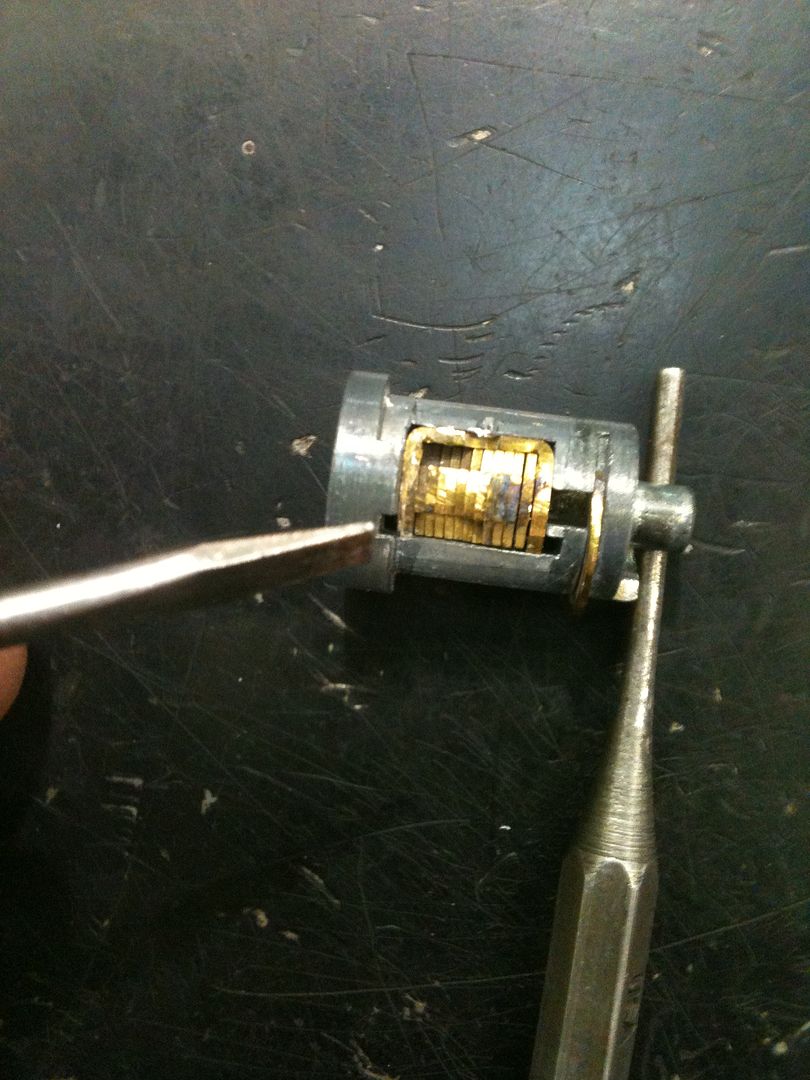
On one side of the plug (we will call this side the top), you will see two notches to the front and rear of the wafer carrier. Those are where the spring can fit when removing the carrier.
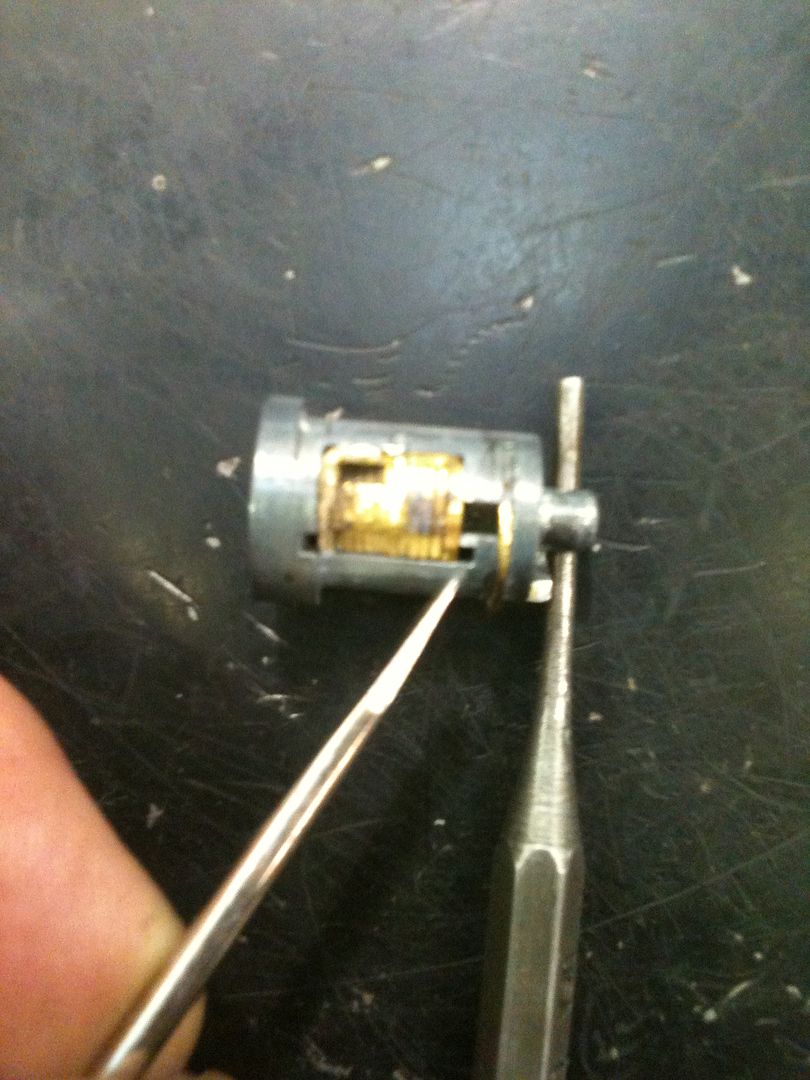
Image

Image

From the bottom of the plug, use a punch or small screwdriver to push the wafer carrier up (towards the side with the notches).
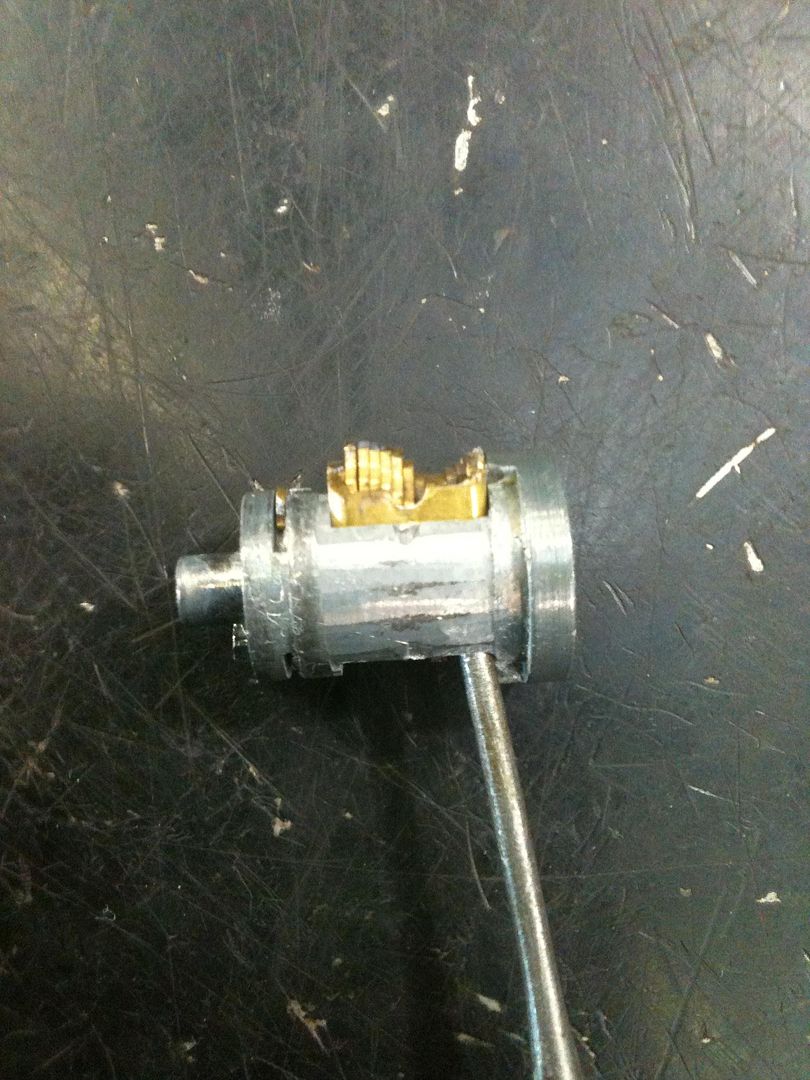
Image

A bit further up, and you can start to see the spring.
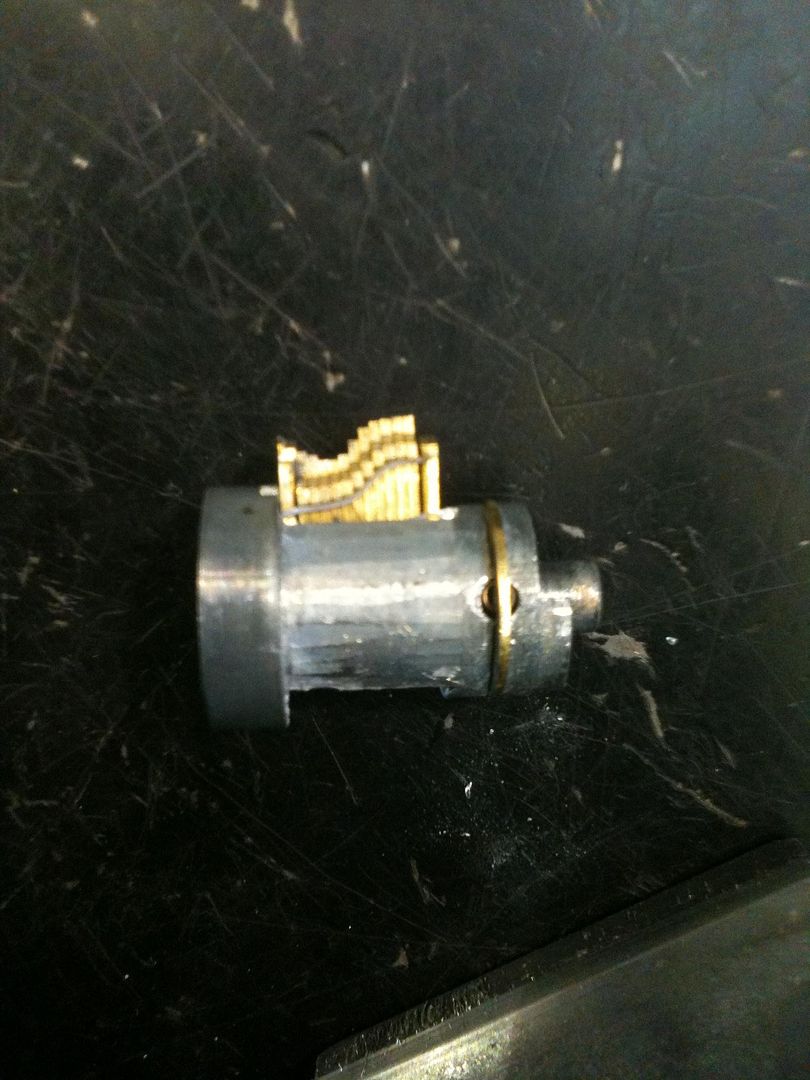
Image

Most of the way out. Now you can see all of the spring, and how the ends fit into those slots pointed out above.
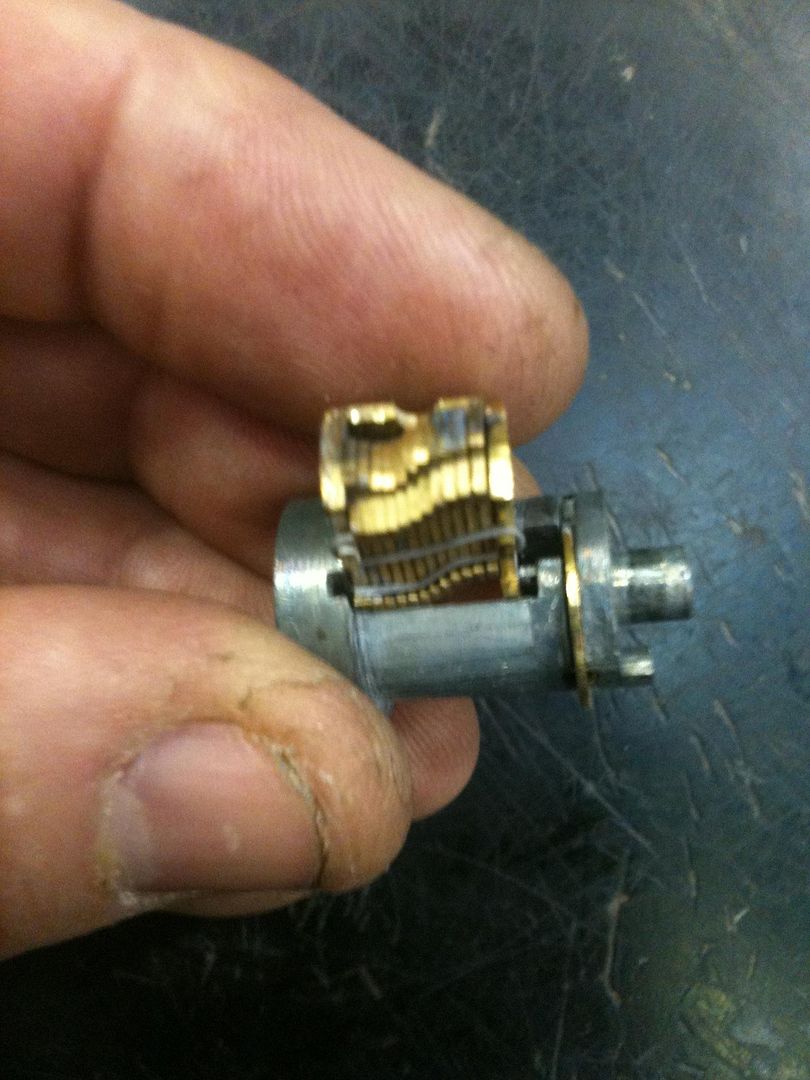
Image

The empty plug

Image

The wafer carrier, wafers and spring. The spring shape shows why half the wafers are up and the other half are down.
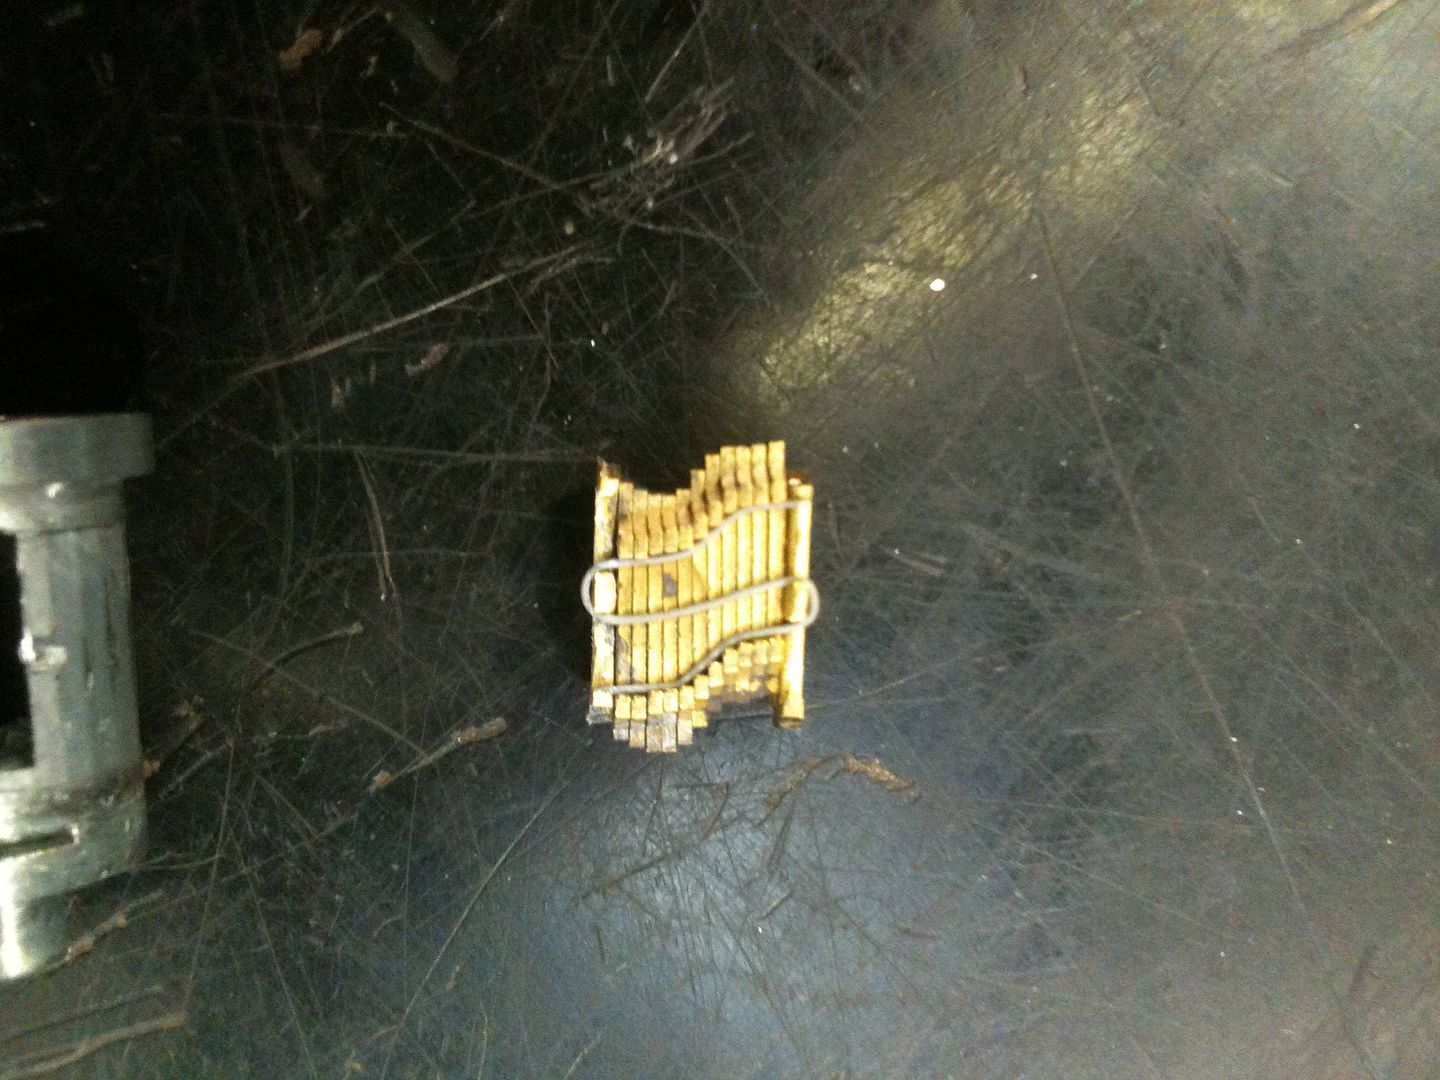
Image

One side of the wafer carrier has the keyway profile that matches the plug keyway profile. This side goes towards the outside of the plug (against the plug keyway profile).
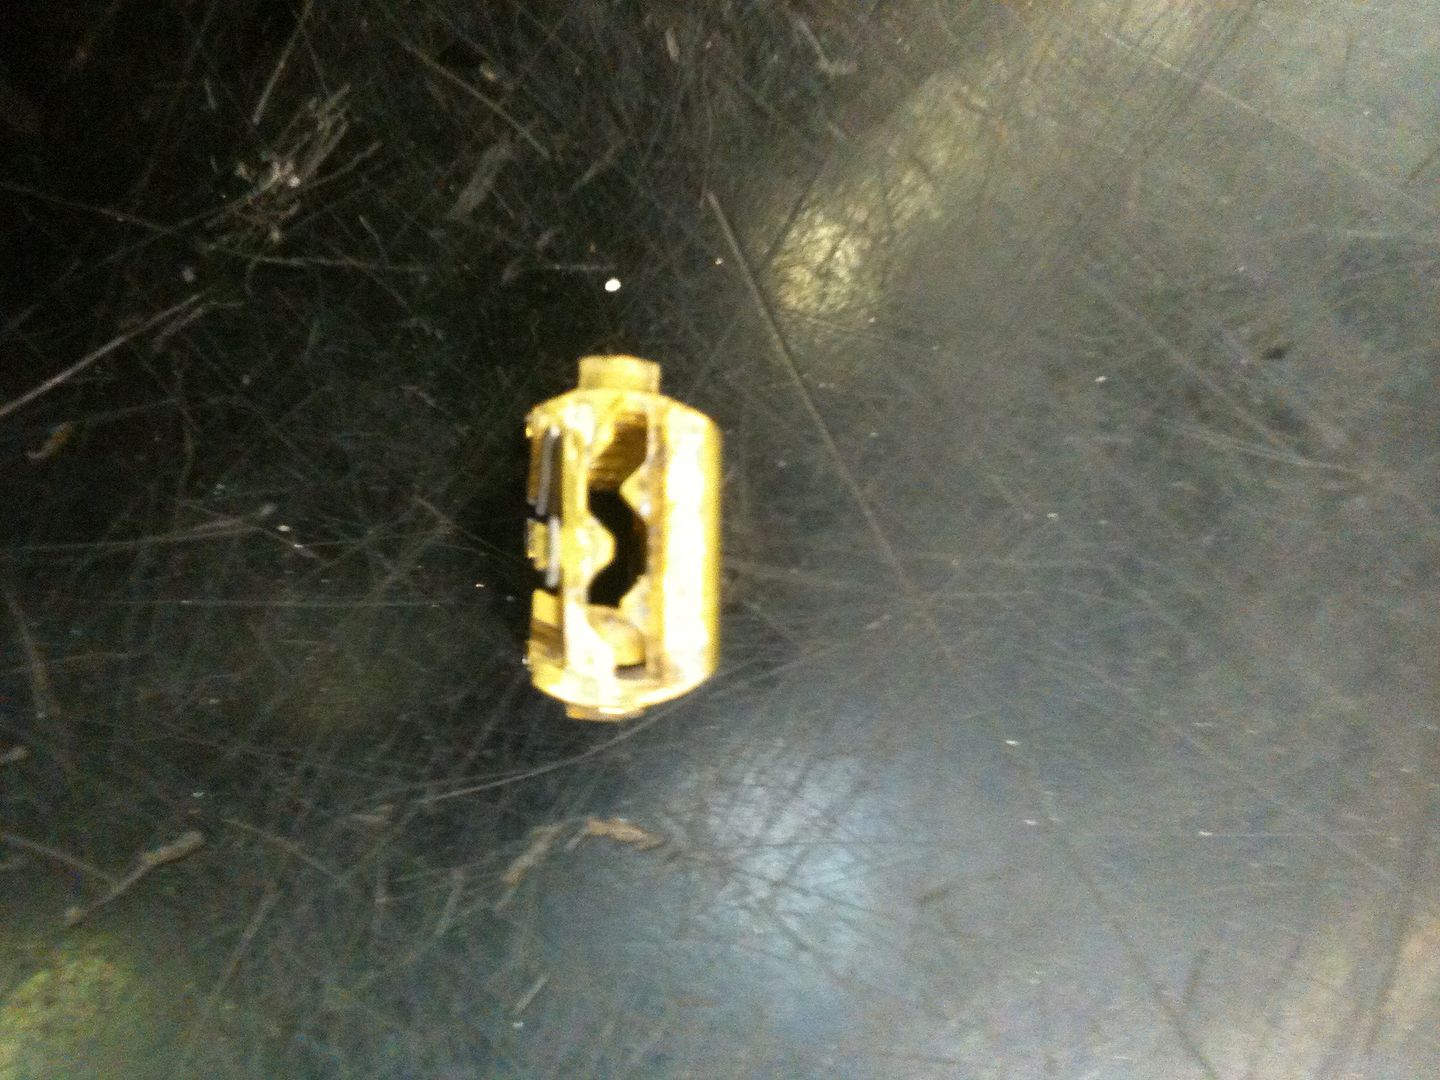
Image

The other side of the wafer carrier, like the wafers themselves, has a simple slot cut in it.
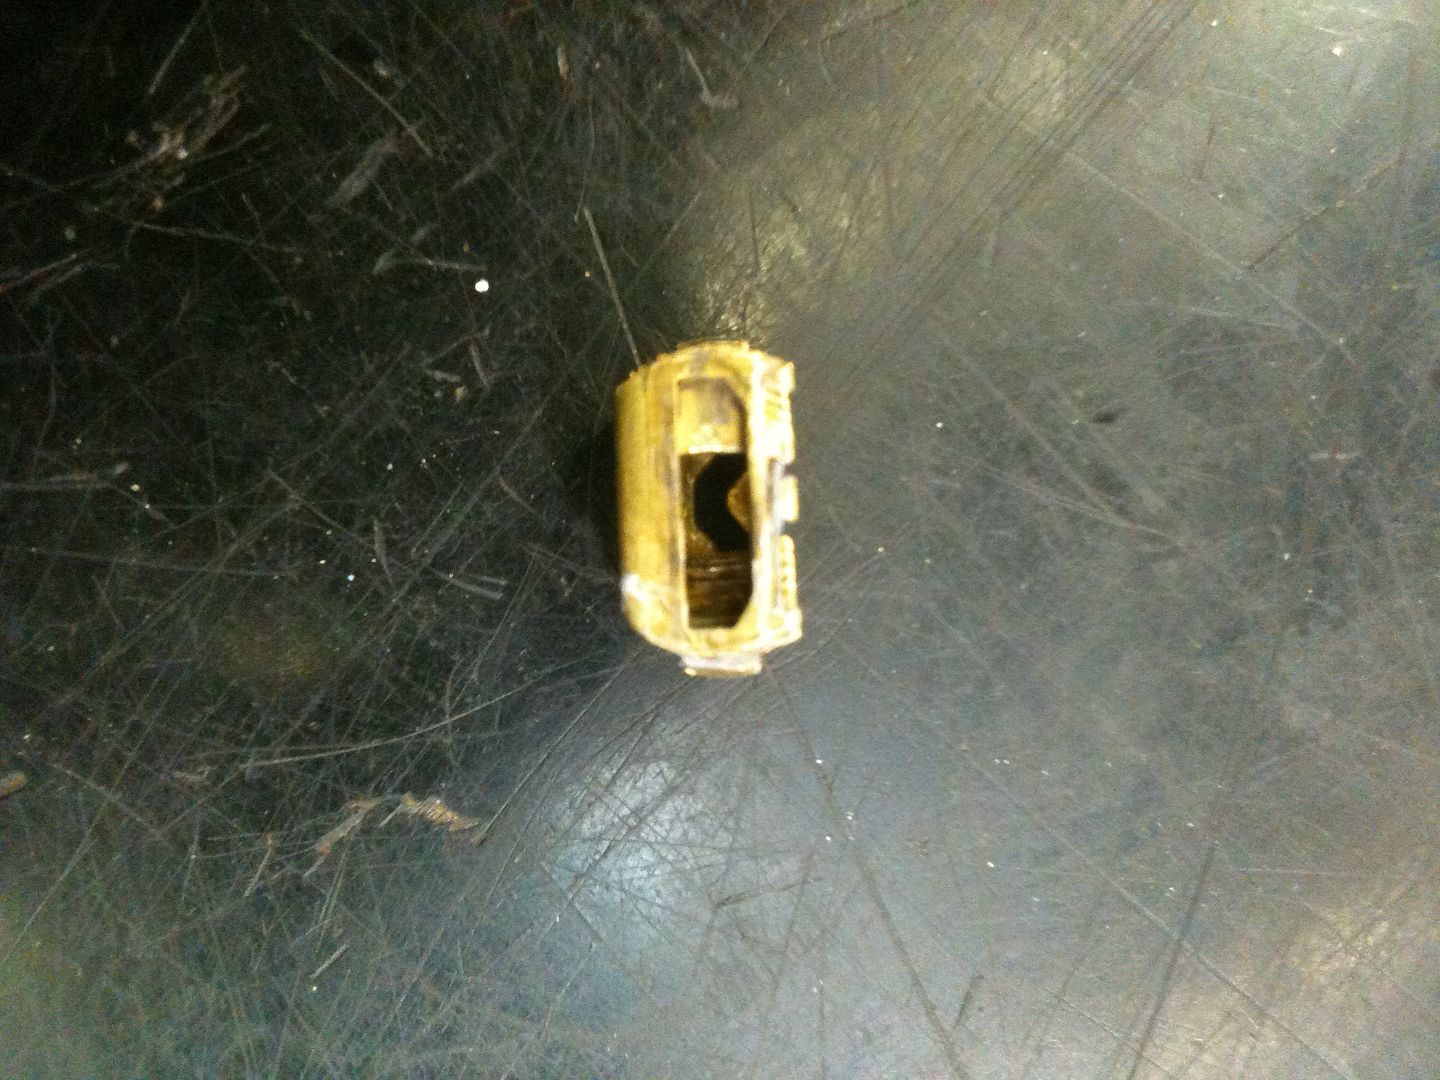
Image

Inside the lock body, you can see the cam that turns to unlock the padlock. This does not move a locking dog - it has a lip that meshes with the shackle, so this lock can not be shimmed open.
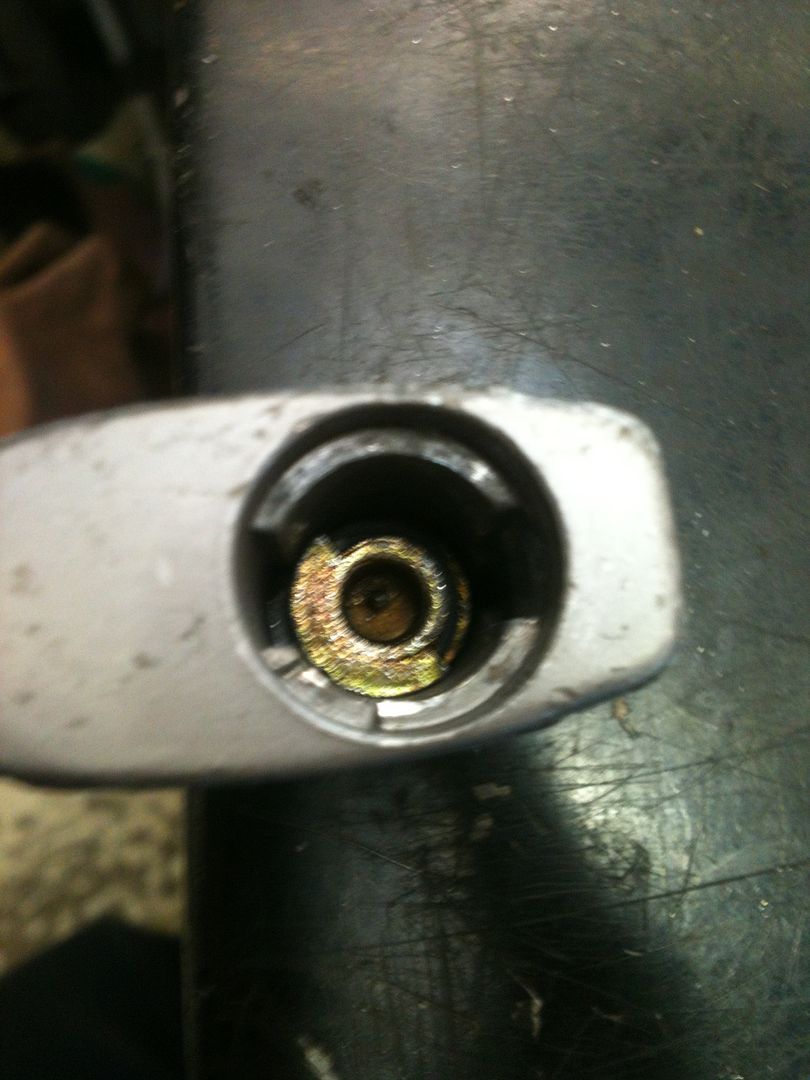
Image

Now remove the spring from the wafer carrier/wafers.
Image

Now to decode. This is much easier than you might think! Use a flat piece of metal (the back of a pick, or in this case simply a piece of wiper insert) inside the keyway to push everything down from the inside of the keyway. Be sure that, from the outside edges, you push up the wafers so all the wafers sit against the wiper insert on the inside of the wafers.
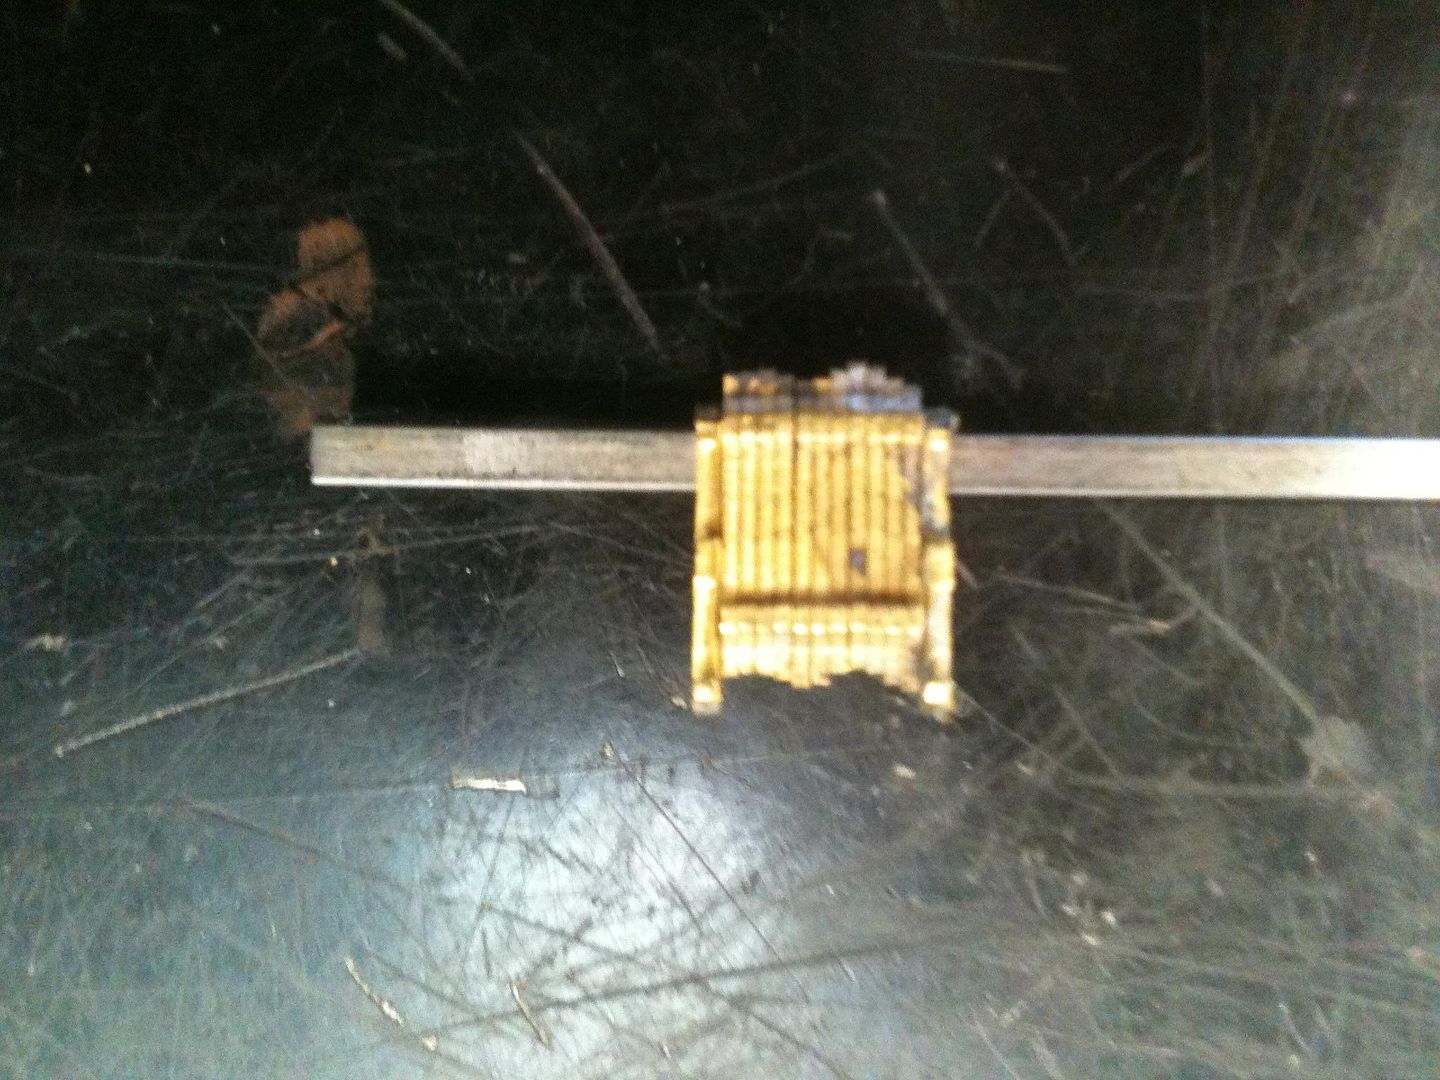
Image

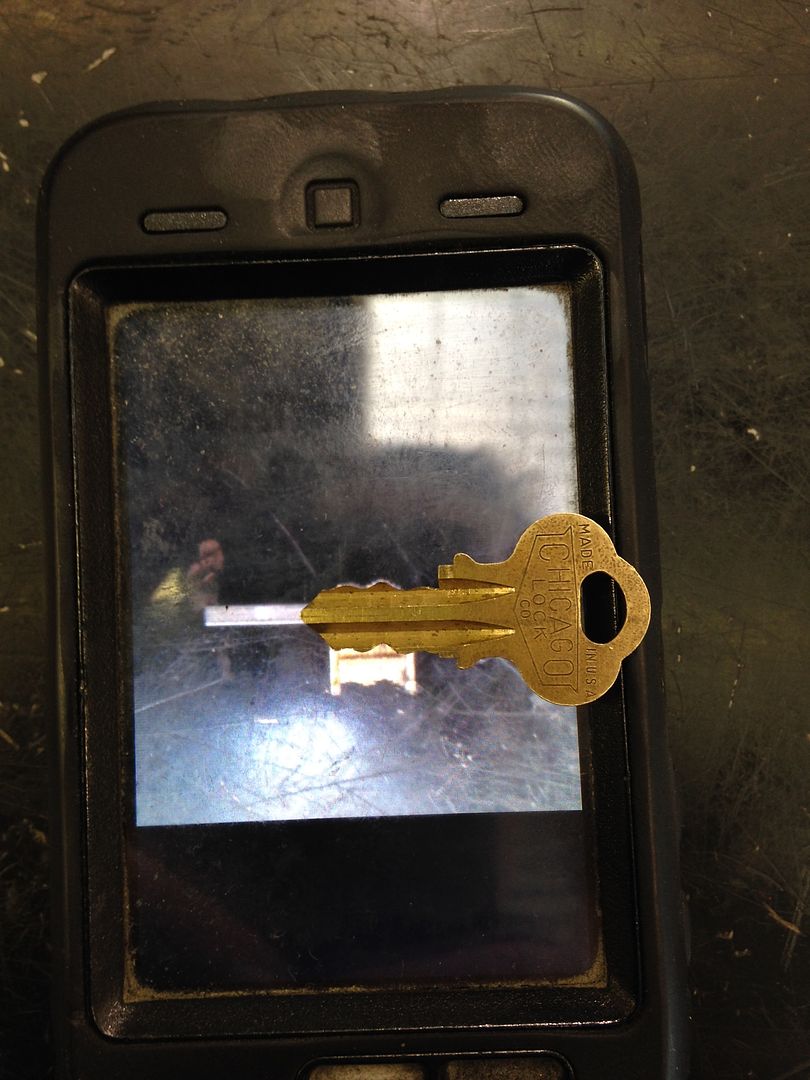
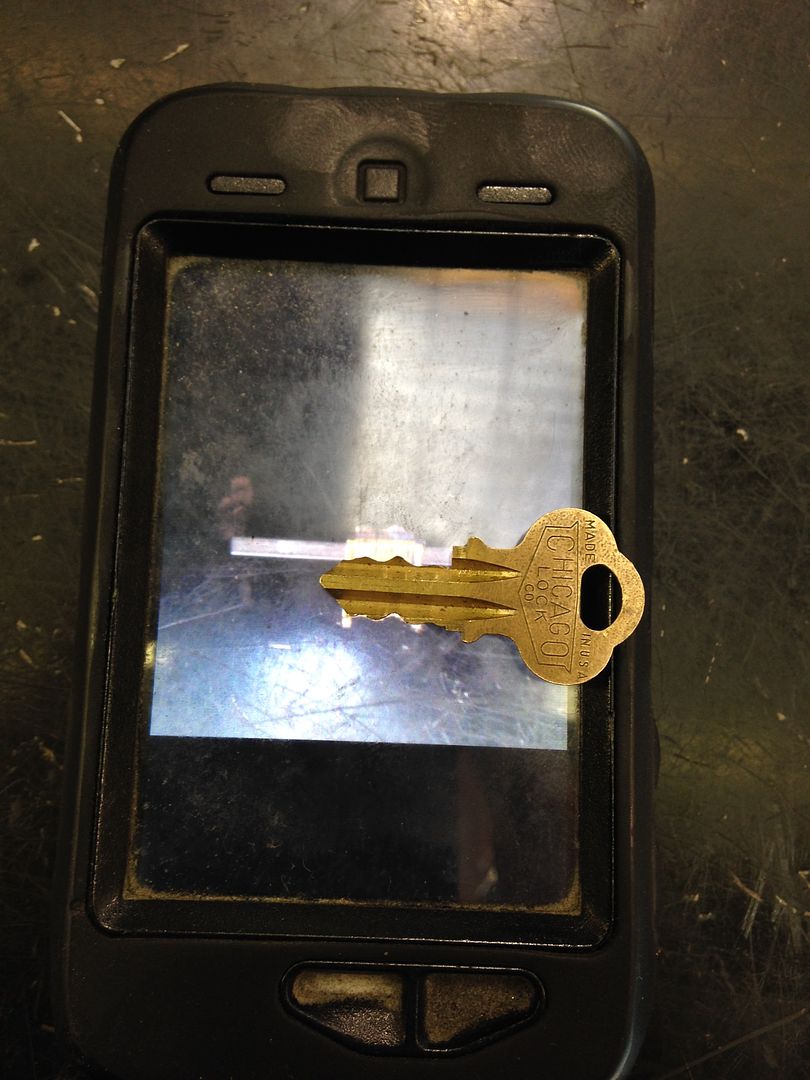
Now you simply trace the pattern of the wafers and cut them onto a blank! Could not take a picture with my phone and lay the key on the picture of the wafers at the same time, so a co-worker loaned me their phone so I could take the next two shots.

Have a key for this particular lock, so you can see how this method shows you the cuts of the key with out any fuss.
Image

Image

Since the wiper insert is not centered in the keyway, you can see the wafer carrier sticking out the bottom of the picture above. And had to have a little of the wafers sticking out above/below the key so you could see how accurately the wiper insert/flat pick method of decoding the key works. You can trace the pattern onto paper, and glue it to a blank, then cut or file the key.

To install the plug, put the plug into the hole, and turn it clockwise so the post that stops the plug from turning forces the retaining clip into the plug. The plug will then drop into the lock. Keep pressing the plug inwards until it stops just short of fully being seated. Then turn the plug more (clockwise) while pressing in the plug, and it will drop the rest of the way, the retaining clip popping into place auto-magically. Then reassembly is done!

Hope this answers some of your questions. If not, then ask! :mrgreen:

Gordon
Just when you finally think you have learned it all, that is when you learn that you don't know anything yet.
User avatar
GWiens2001
Site Admin
 
Posts: 7550
Joined: 3 Sep 2012 16:24
Location: Arizona, United States

Re: Disassembly and Decoding a Chicago Lock Padlock

Postby cledry » 17 Feb 2014 18:48

We used to keep these sets of wafers and keys ready to rekey these locks. I probably still have some. American also used to use a similar system. You cannot impression these locks the normal way because a blank will not fit in. You can use a half a blank and then make a mirror image. The key will only enter the lock when both sides are cut and are a perfect mirror of each other. Locksmiths use a Go -No Go gauge and file until the key will slide through the opening.

In the old days the key profiles were printed in a book, you copied the profile onto the key and filed it until it matched!There are also tryout sets and profile sets available. Usually you only had a set for the common profile and then copied that profile onto the lesser used blanks. There are center groove, left groove, right groove and this one which we just called the W key.

Another similar lock is made by Illinois.
Jim
User avatar
cledry
 
Posts: 2836
Joined: 7 Mar 2009 23:29
Location: Orlando

Re: Disassembly and Decoding a Chicago Lock Padlock

Postby teamstarlet » 17 Feb 2014 19:50

That's really fascinating... Thanks for the walkthrough :)
teamstarlet
 
Posts: 137
Joined: 5 Jan 2014 20:12
Location: Boston, MA

Re: Disassembly and Decoding a Chicago Lock Padlock

Postby YouLuckyFox » 17 Feb 2014 23:35

Gordon, this is great as always. Keep up the good work!
YouLuckyFox
 
Posts: 630
Joined: 10 Aug 2012 19:25

Re: Disassembly and Decoding a Chicago Lock Padlock

Postby cledry » 18 Feb 2014 6:52

Forgot to mention the codes were the same profile for different blanks. So you had to know the key profile. Locksmiths usually used a big set of tryout keys and these were also stamped with a code. Even if your lock used a different profile than your set you could copy the key onto the correct profile and it would work just fine.

These locks were popular on gumball and vending machines, on switch locks for alarms and elevators.
Jim
User avatar
cledry
 
Posts: 2836
Joined: 7 Mar 2009 23:29
Location: Orlando

Re: Disassembly and Decoding a Chicago Lock Padlock

Postby fgarci03 » 21 Feb 2014 8:06

And pushed in… (fgarci - stop laughing! :evil: )

Have you noticed how pR0nogr4phic your posts are getting? Everything about holes, pushing in, etc! :mrgreen: :mrgreen:
Beautifull guide, as always. Your collection of unusual locks with homemade keys is probably bigger than some complete collections over here!!

When can we hope to see a family shot of all those locks? :twisted:


Thanks for sharing!
Go ahead, keep plugging away, picking on me! You will end up on bypass or with rigor mortise.
- GWiens2001
fgarci03
 
Posts: 1009
Joined: 18 Dec 2012 21:38
Location: Porto/Portugal

Re: Disassembly and Decoding a Chicago Lock Padlock

Postby bobhdus » 27 Apr 2017 16:35

Thank you so much for posting this! I ran into a very old desk using an old Chicago lock with internals similar to this recently and thought well, I'll just impression a blank in it but the wafers were so close together that I couldn't get clear on what to file hahaha... When I looked it up, it said to use Chicago pattern keys which I don't have. I was able to match something up to work though...
"Live like your going to die. Because you are"
User avatar
bobhdus
 
Posts: 92
Joined: 10 Jan 2011 19:35
Location: Liberty, MO

Re: Disassembly and Decoding a Chicago Lock Padlock

Postby Eazy123 » 27 Apr 2017 18:31

Interesting write up - didn't know it was so complex! I got one of these sans key in an eBay auction and picked it pretty quickly. Maybe I'll try taking it apart!
User avatar
Eazy123
 
Posts: 206
Joined: 17 Jul 2016 12:13
Location: Chicagoland

Re: Disassembly and Decoding a Chicago Lock Padlock

Postby TORCH [of KCK] » 27 Apr 2017 19:03

GWiens2001,

Thanks for all it took to post this

Excellent work

Greatly Enjoyed it
Dropping the tension wrench, is the subconscious screaming open before you can.
TORCH [of KCK]
 
Posts: 79
Joined: 13 Jul 2016 17:19
Location: K. C., KS


Return to Locks

Who is online

Users browsing this forum: No registered users and 4 guests