


Frequently see the same questions come up regarding impressioning, especially impressioning pin tumbler locks. So here is a thread with some questions, a few answers (a few of which may even be correct), and some pictures that will hopefully help some people to impression their first locks. Probably will not write too many questions, but instead this will mostly be a tutorial that will hopefully answer any questions you may have. Also, to save a great deal of time, will also do some cut and paste from previous threads of mine.
Please bear with me for a few paragraphs, as it lays the foundation for what you will be learning.
Keep in mind that I am not a profesional locksmith, and I welcome input or additions to the thread no matter whether you are a pro locksmith with 30+ years of experience or a beginner with 3 minutes of experience. Sometimes even a beginner will have some surprising and really good ideas. So don't be shy!
Many people ask what is the best lock to use for learning to impression. That will vary depending on your own 'feel', what locks are available, and if you have somebody who is experienced there in person to help you along. Will not really go into brand names and models of locks right now, but rather types of locks. Easiest to hardest locks to learn to impression in my experience are Warded, Wafer, Lever, Pin Tumbler, Disc Detainer and Magnetic. OK, so you can't impression a magnetic lock as far as I know. But it got your attention, didn't it?
You will see pictures from a number of different locks, as I will grab pics from locks I have impressioned over time, trying to choose the best one to illustrate a trick or technique. So you may see a few times where you say "That is not the key from the last picture". It is quite difficult to take pictures of impressioning marks, so please try to bear with me.
The first lock I impressioned was a Master No. 3. Wafer locks are easier to see marks on, but are also more easily damaged from excessive force. That is less of a problem when the person is being taught by someone who has experience. But when the person's only trainer is the internet, it can be difficult.
Let's get started.
You will see lots of pictures where a Sharpie (permanent marker) is used to ink the key blade. Normally, I don't do that very much. But it does make it easier to take pictures. And on steel blanks, it really is essential if you don't want to damage the lock.
WARDED LOCKS
The absolute easiest locks are warded locks. These are some of the older types of locks out there, and are still made to this day. Master lock still has a line of padlocks that are warded. These locks are cheap to make. The reason they are so easy to impression is because the wards do not move. They are either there or not there. So there will either be marks or no marks. Very little chance of having the question "Is that a real impression mark, or a scrape on the key?" Many warded locks simply have a flat steel key, though some can have very intricate warding at the tip, sides of the key blade, edge of the key blade and even at the back of the key blade.
Just because a lock uses a flat steel key does not mean that it is a warded lock. Most of the flat steel locks found these days are lever locks. But we will address those locks later.
You do not need to use force at all when impressioning a warded lock. Especially with a steel key. Do not use any more force than you would need to turn the key to normally open the lock. Turning the key blank harder will not speed up the process - it will only bend the blanks and possibly damage the lock.
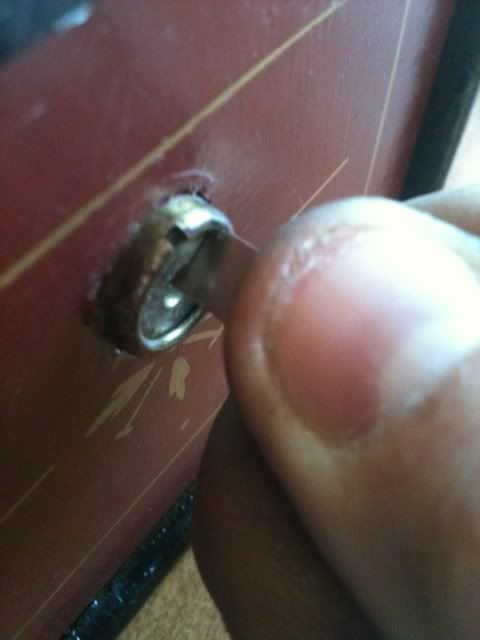
Using a Sterling Jr padlock, as had pics from a former thread at hand. This lock has cuts on both sides of the key, but we will concentrate on only one side. If you see pictures with cuts that mysteriously appear on the other side of the key, just ignore the second side for the purposes of this thread. Could have used any warded lock - they work the same, except most only have cuts on one side of the key blade.
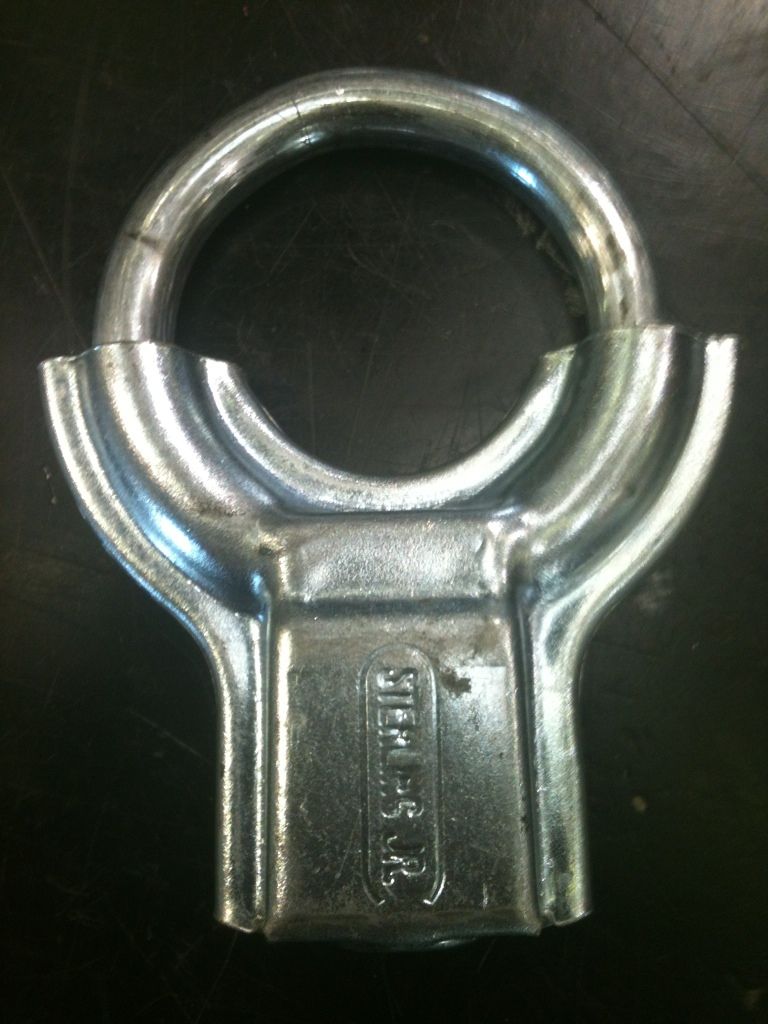
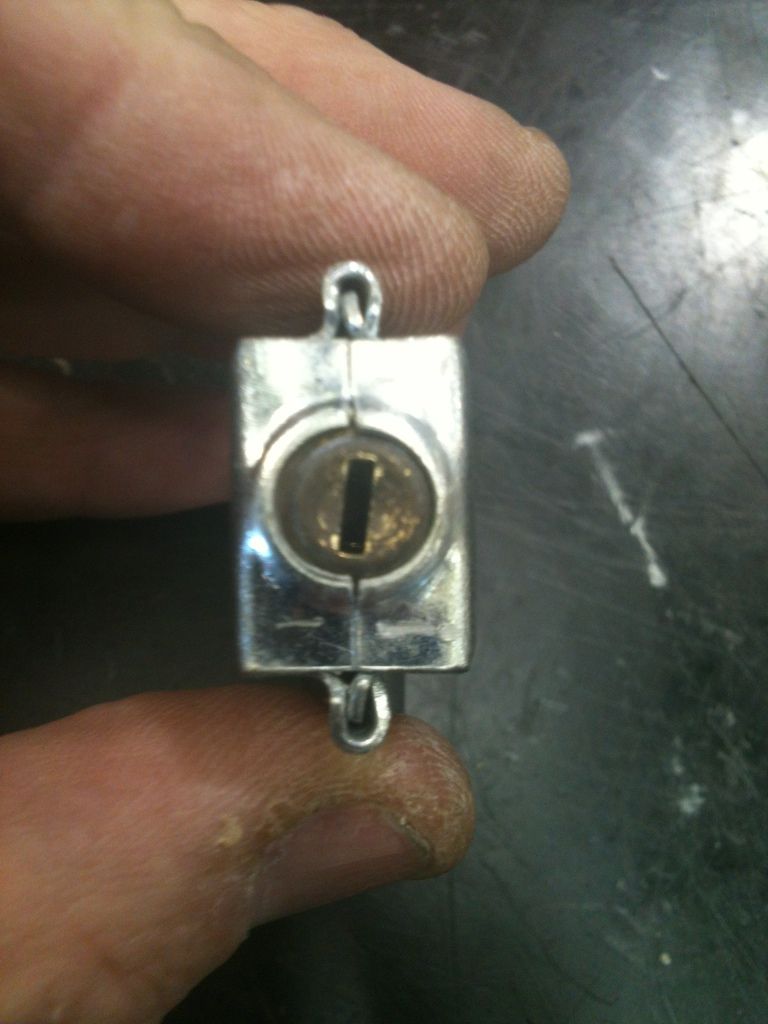
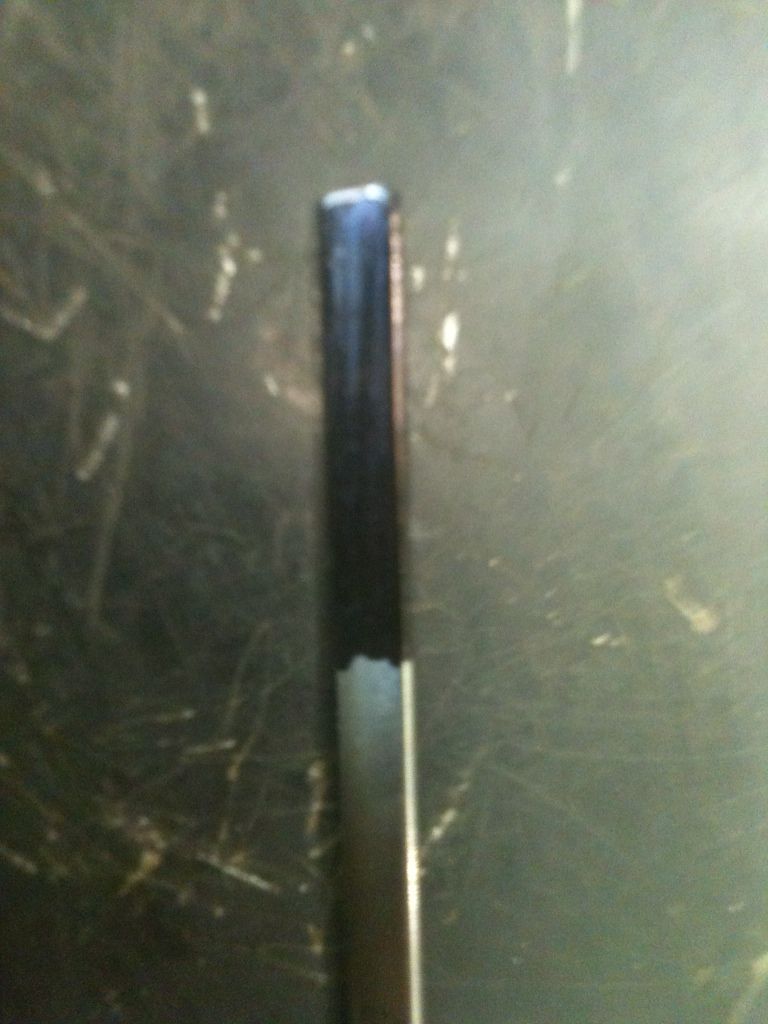
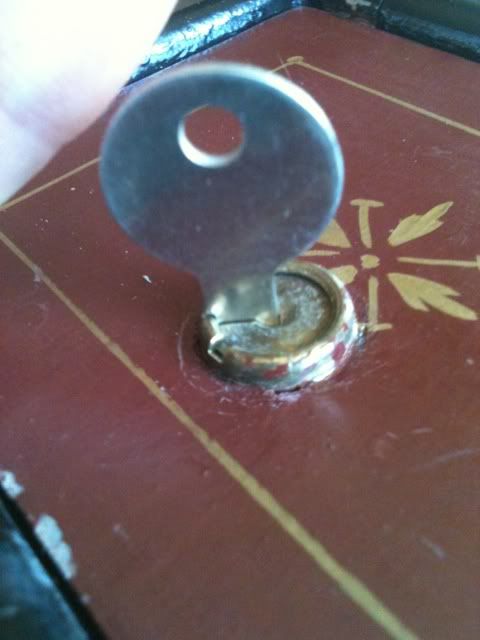
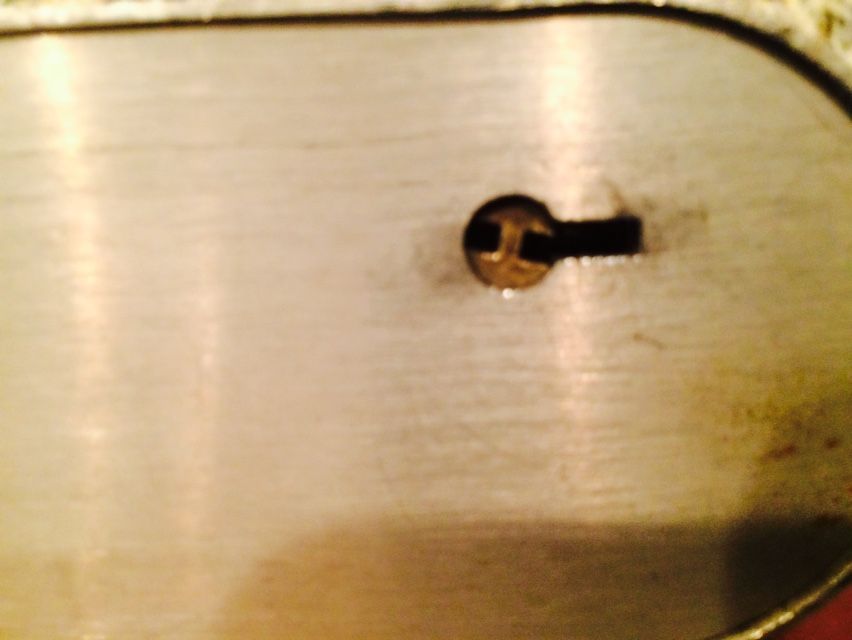
The key is just a flat piece of steel, so it will be easy to show the marks. Here is the keyway:
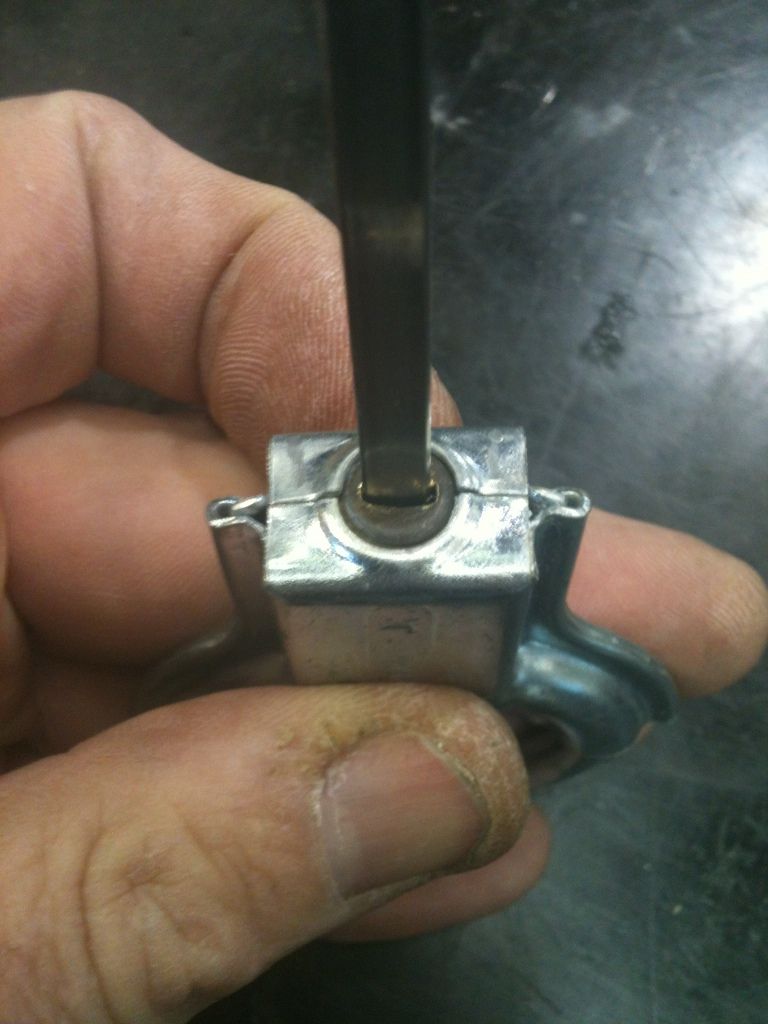
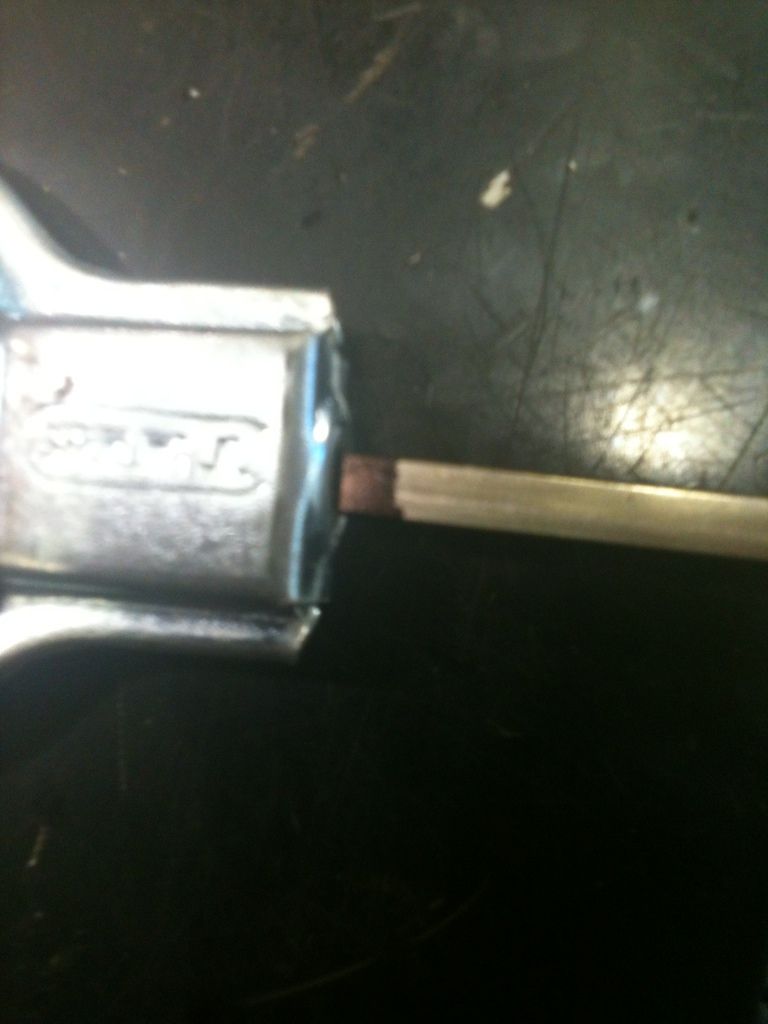
The parts and tools needed are few. Flat steel of the appropriate width and thickness (in this case, a wide wiper insert spring), a marker, and a file that can cut with the edge.

Make sure your key blank fits.
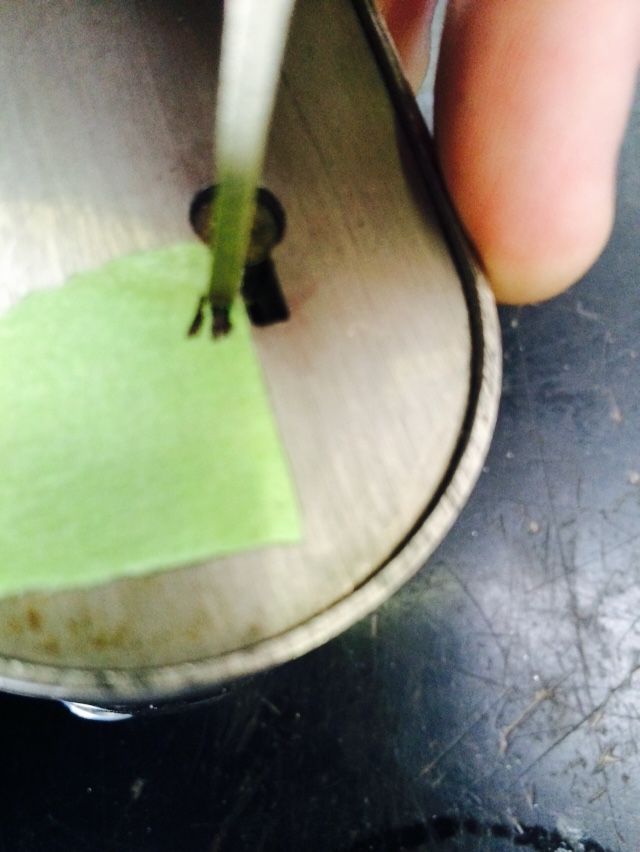
Use the marker to darken the entire part of the blank that fits into the keyway that might possibly encounter a ward.
Put the blank into the lock, turn it until it stops turning. Keeping tension on the blank, move it up an down (in line with the top and bottom of the keyway, not in and out) a few times.
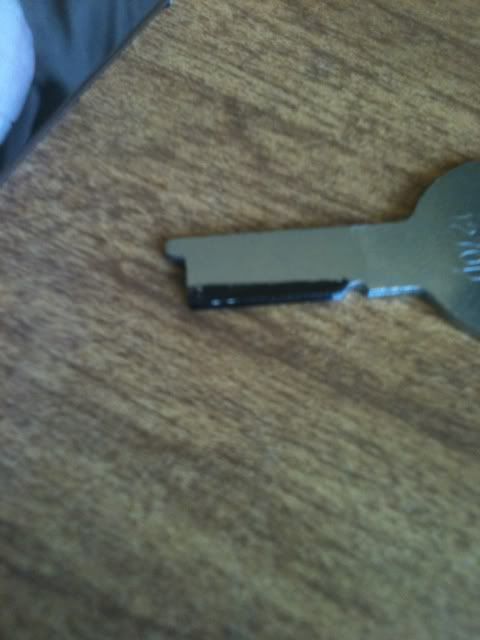
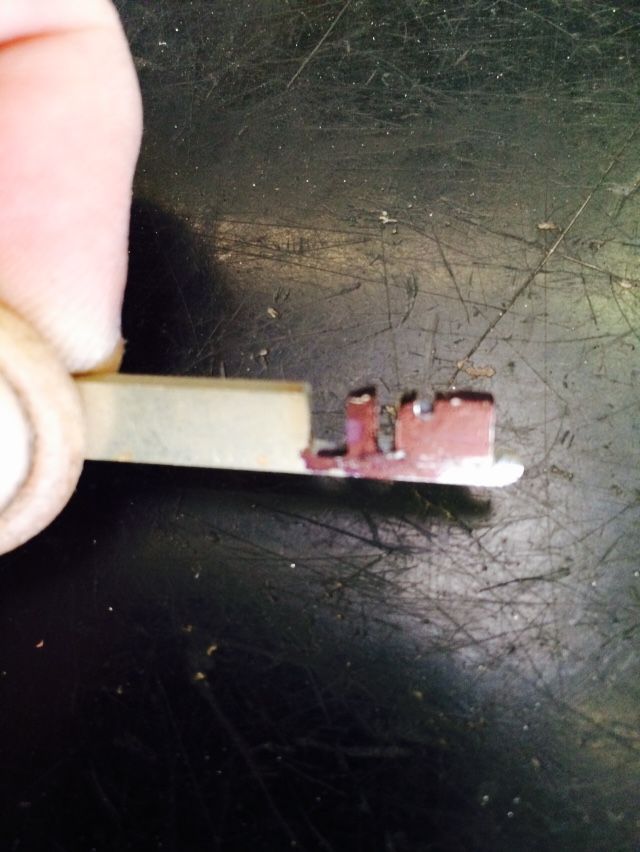
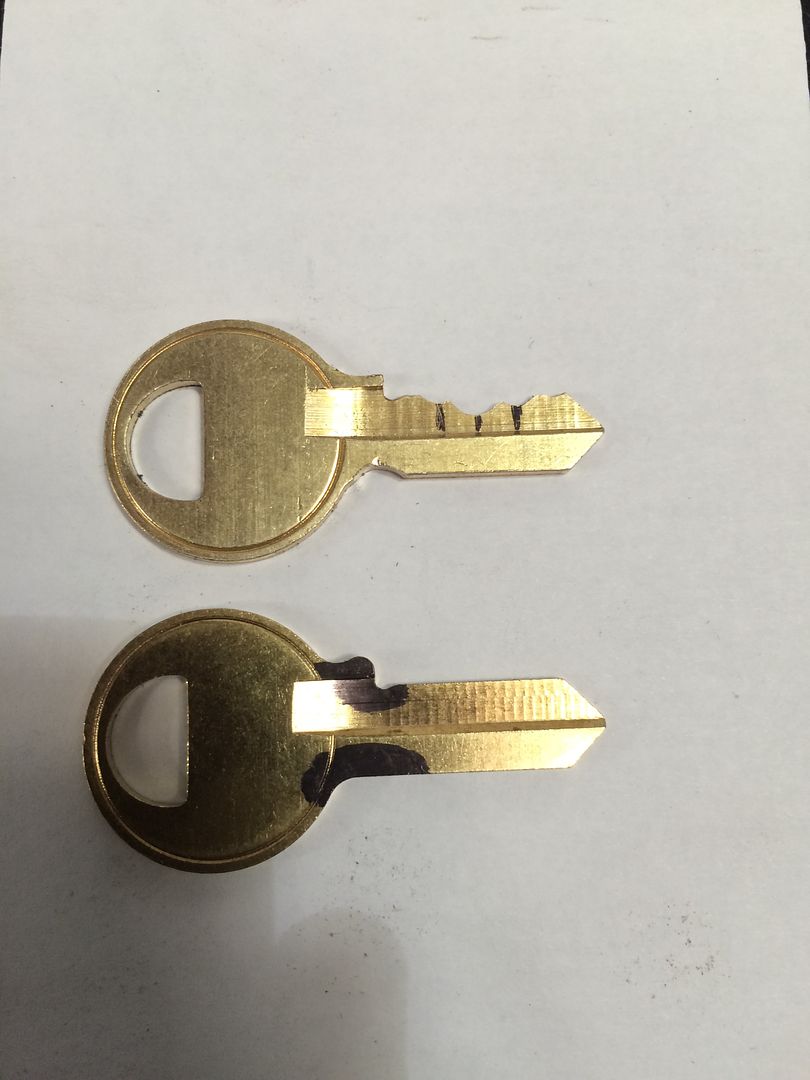
Remove the blank and examine for where the wards have rubbed off the ink. Fast forwarded here and made a key, then made a second blank, so with the finished key alongside the blank just marked, you can see the marks more easily.
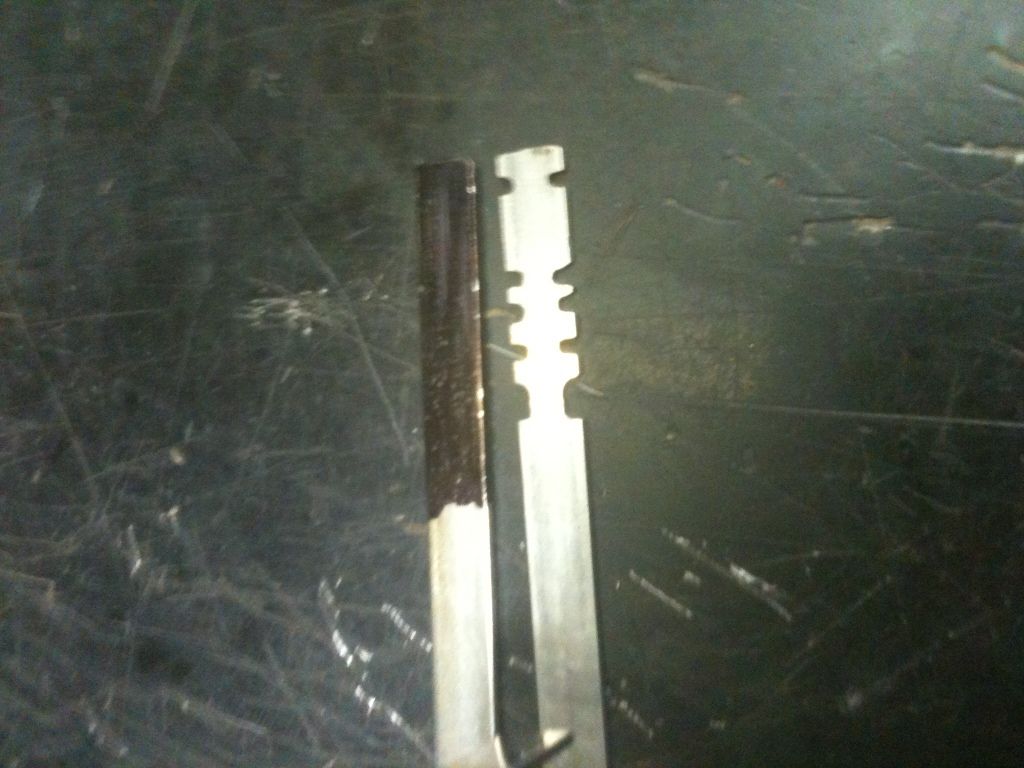
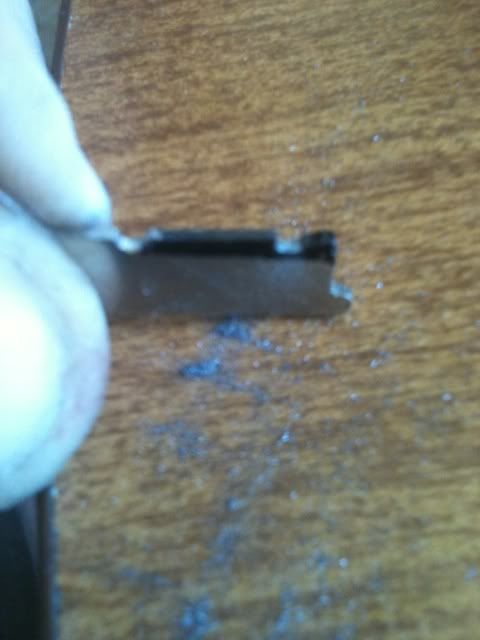
Note that not all of the wards left a mark. This is normal. File down where you see marks. DO NOT file down as far as you see in this picture. Only file down as far as you see the marks on the key blade. As in impressioning any other type of lock, do not file anywhere you do not see a mark. Just file a little bit at a time, re-ink the blade and retest. Already knew how deep the cuts needed to be, and that they are all the same depth on this particular lock. Also, you will see times in this thread where it seems that it looks like I cut down really deep between one picture and another. That is because you don't want to see 20 pictures of the ten marks and times I had to file to get to the depth you see in the next picture. Trying to save time here.
Re-ink the key blank, insert, turn and wiggle, remove and re-examine. (fgar... oh, never mind.
Two more in the lower middle section.
File down at the new marks.
Retest...
So close, but not quite. Only one tiny bit to go. File and retest.
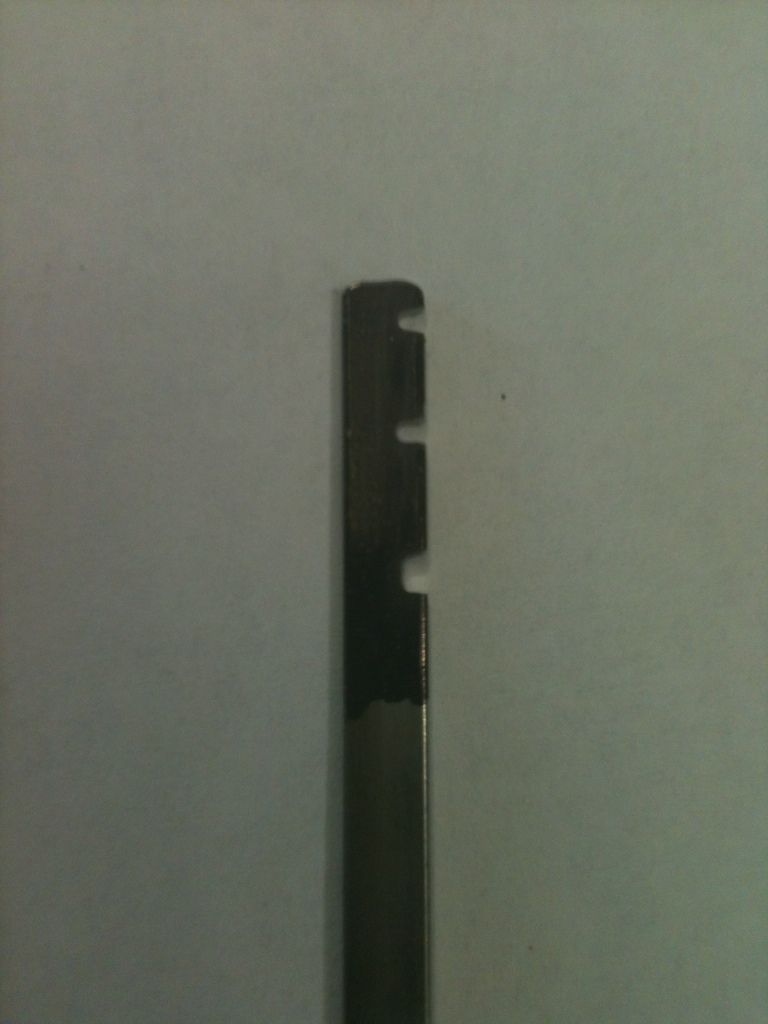
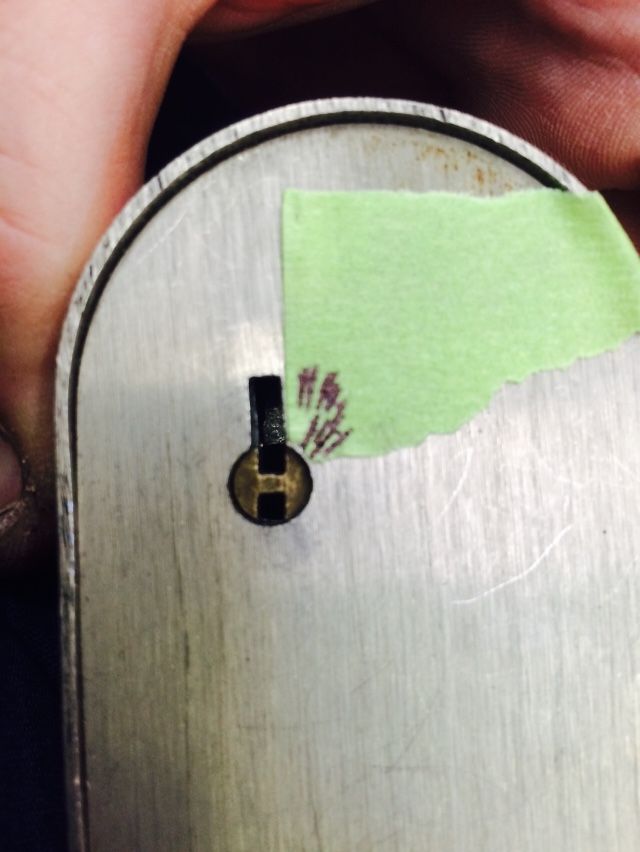
Success!
Clean off the ink and lightly sand the cuts to remove the sharp edges. Just like sanding your picks to remove sharp edges, this will help the key work a bit more smoothly, as well as reducing wear on the lock. (That last part will be very very important when you get to impressioning lever locks - you leave the edges sharp on a lever lock, and it will quickly wear the levers and the key won't work anymore!!!)
Finally, good luck!
WAFER LOCKS
Wafer (also known as 'disc tumbler') locks - not to be confused with Disc Detainer locks, are normally very easy to impression. But you must be careful to not use too much force when turning, as many wafer locks are of lousy quality and are fragile. The wafers can be easily bent or damaged.
These locks are everywhere. Desk drawers, cheap cabinets, cheap 'safes', electrical panel doors, tool boxes... anywhere you need a fifty cent lock (half Euro) lock that would not keep a five-year-old with a bent plastic toy screwdriver out.
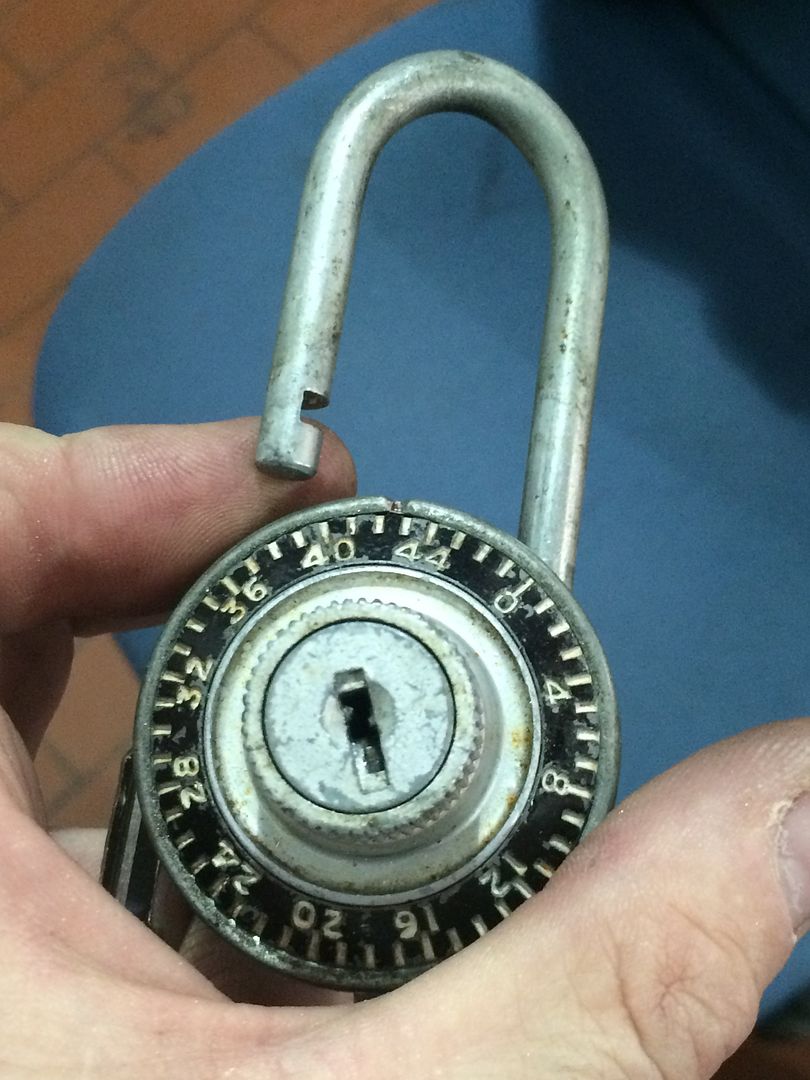
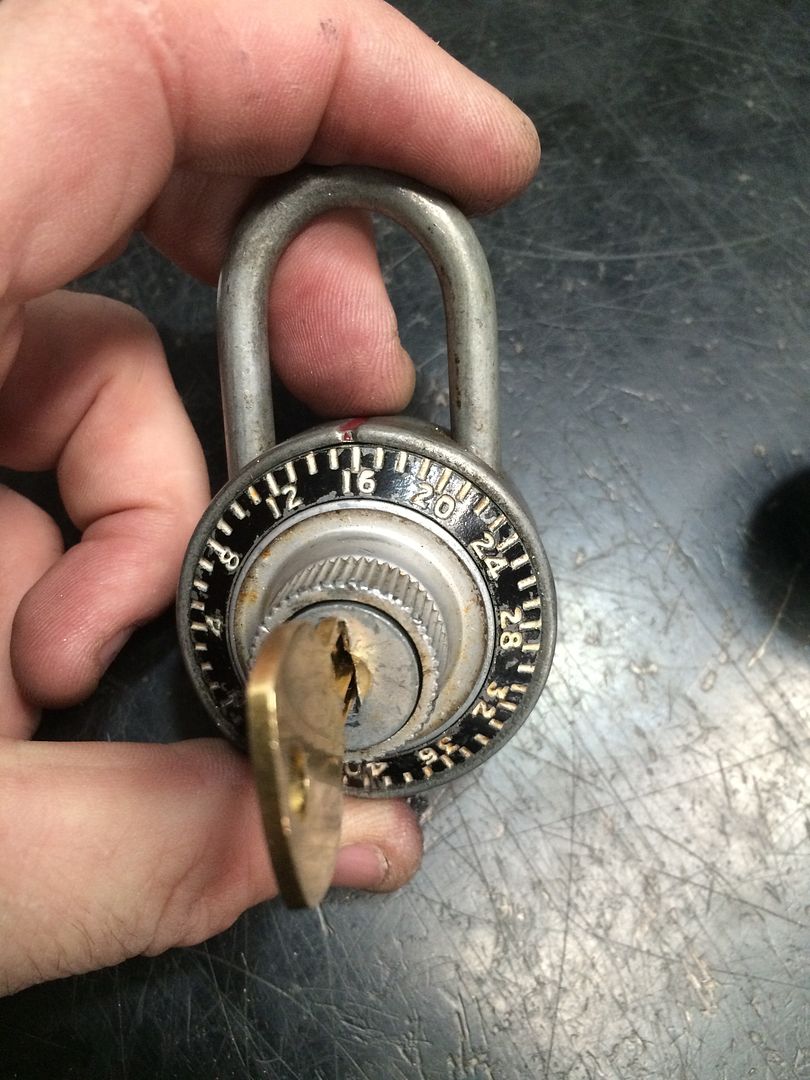
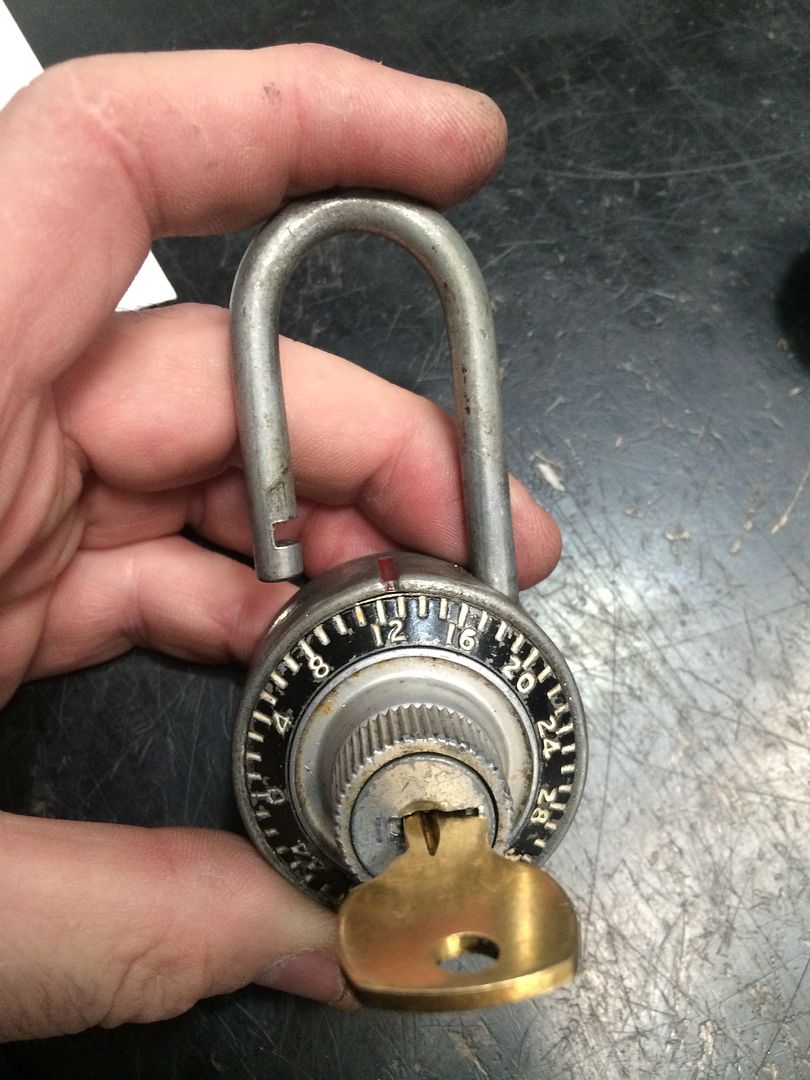
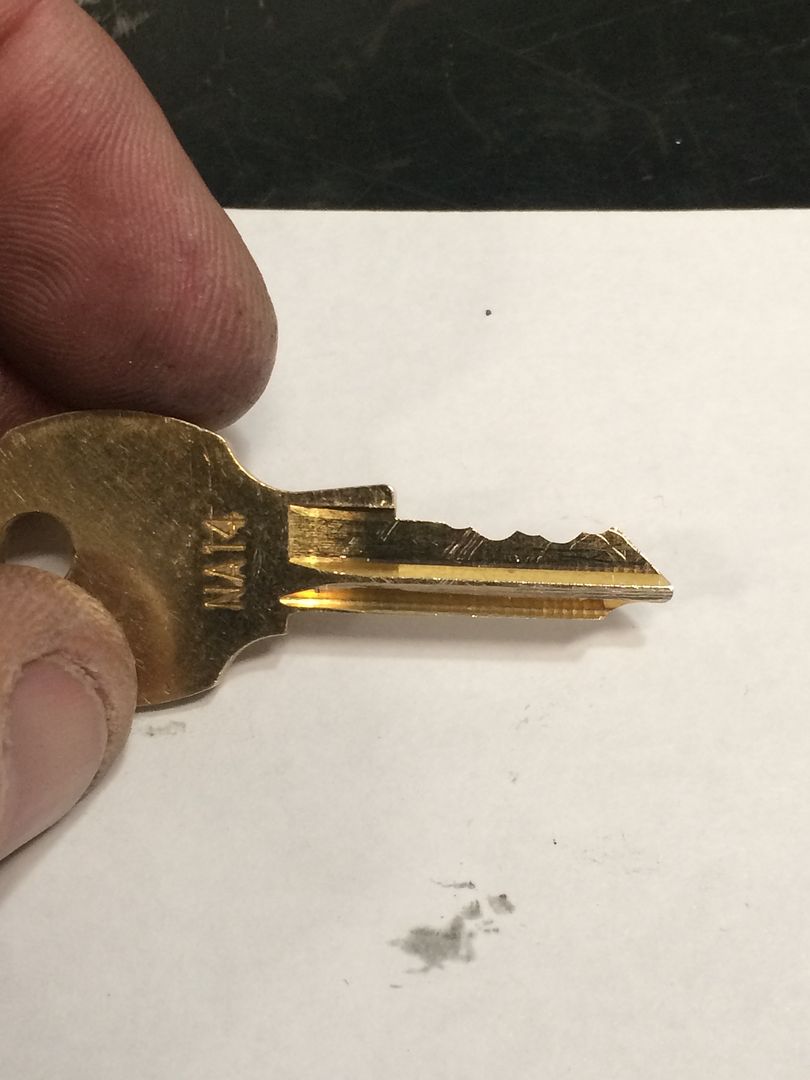
It just so happens that at the time I am writing this impressioning thread, I have a Yale combination padlock with a key override, but no key. So we will use it for this thread. I do no have the correct key blank with me, so modified a NA14 mail box key blank to fit into the keyway. Had to file material off the bottom of the key blade and also use files to change the warding of the blank a little bit on both sides to accomidate the warding of the keyway.
If you look in the keyway, you can see that the wafers look like square pins in the keyway.
Light it up and look in the keyway, and you can see something that will help you with making keys for many wafer locks. Look closely.
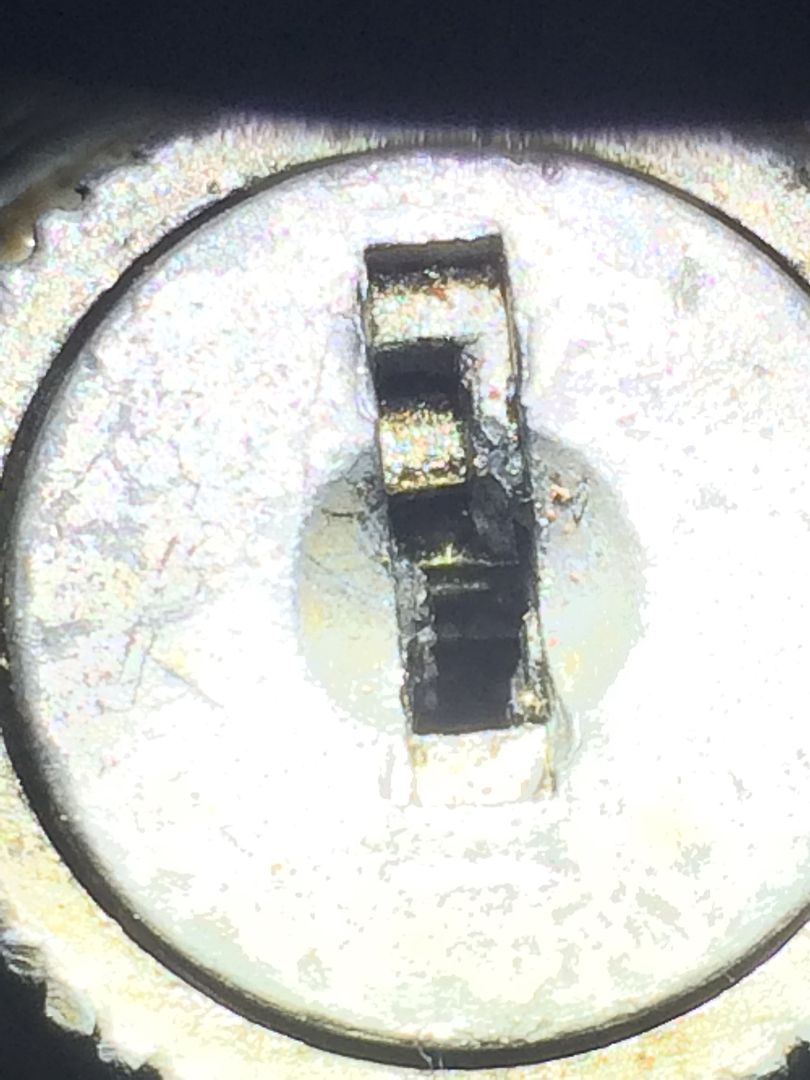
Do you see how the wafers are at different heights? The pattern of highs and lows most of the time will match the bitting of the key!!! Isn't that just so kind of them?
Here is my rough estimate of the bitting of the key. The bitting depths are just numbers I made up - don't know the bitting depth numbering for Yale combo lock wafers off the top of my head.

The guess will not be perfect, but it will be close enough to save you time. Also, it is better to file the key less deep than you guess the key cuts to be, since it is much easier to file off more than to add material back onto the blank if it is too deep.
Now you know the drill from up above. Ink the key blade.

Put it in the keyway and wiggle. The key.
Here I have added the lines down from the marks, then filed the key close to the estimated bitting of the key.
Re-ink the key blank.
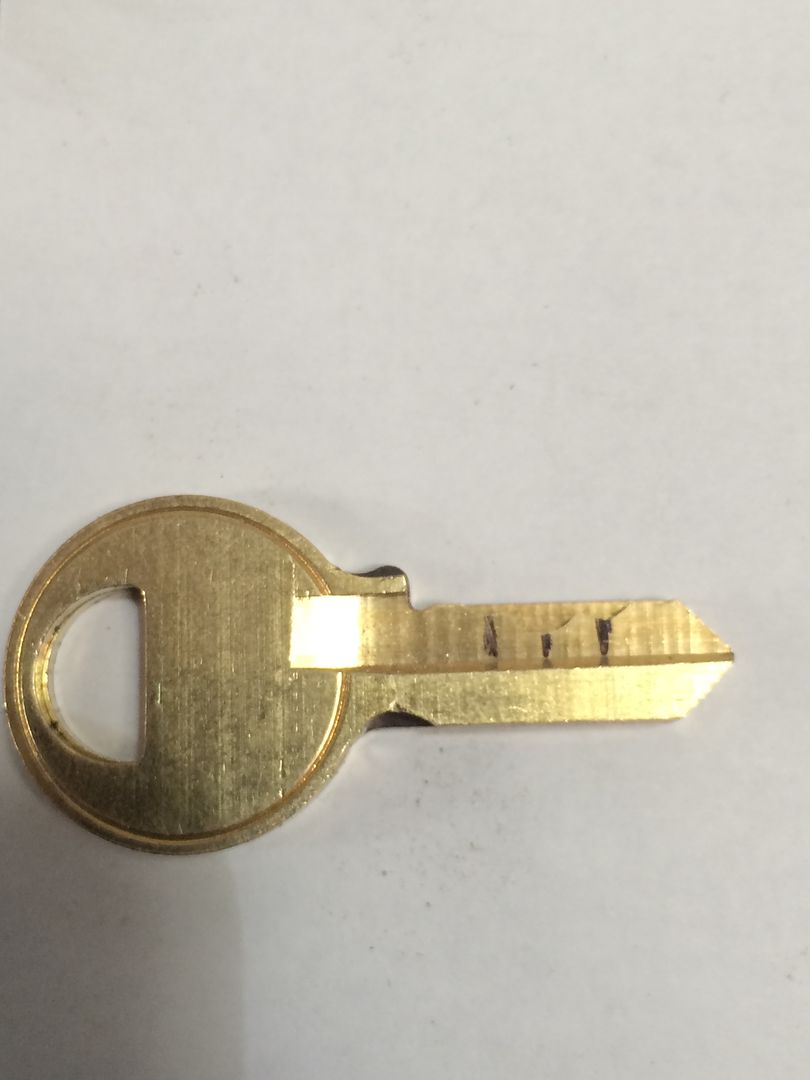
Try the key in the lock. If it turns, great! If not (more likely), look for marks. As stated before, the marks are easier to see than to photograph. But you can see a straight mark across the key blank whre I have made a line on the paper.
File where you see the mark, re-ink the blade, and try it in the lock again.
Hmm. A mark here now, and just the lightest hint of a mark at the number 5 bitting, too. File where you see marks, and re-try the key in the lock.
Woo-hoo! Success. Clean up the key, and you are done!
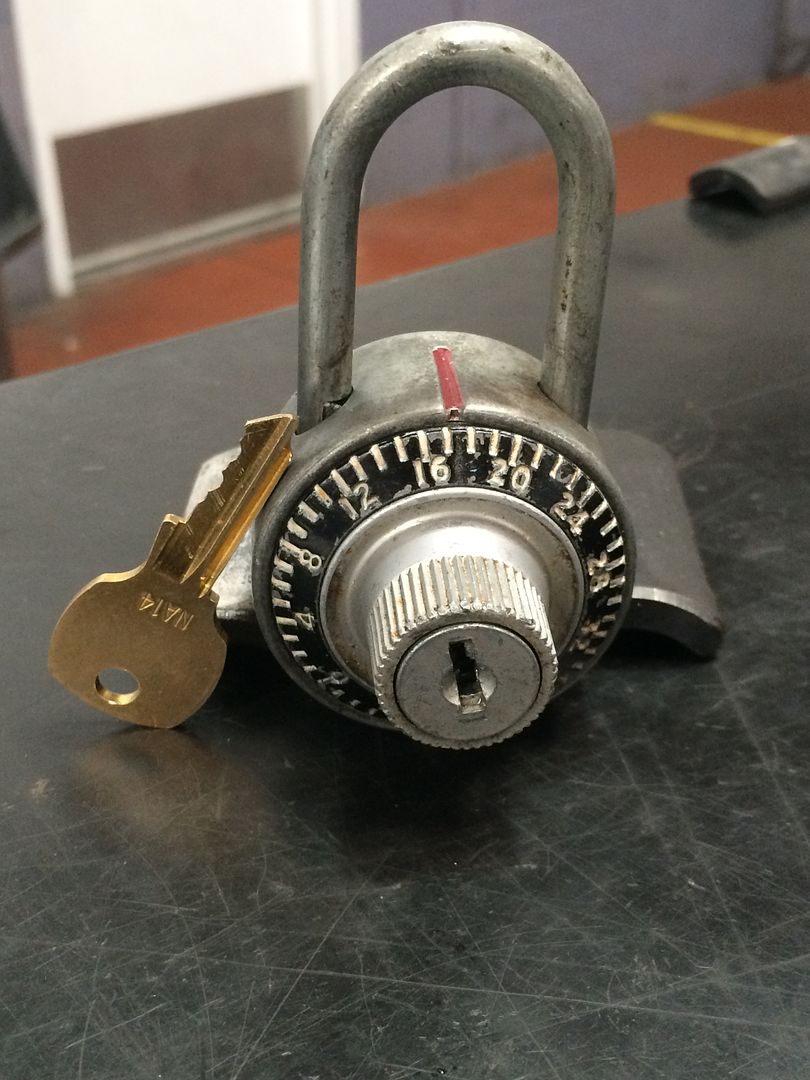
Just a note on the Yale combo lock: If you put the key in and turn the key, the lock will not open. With the key turned, you then turn the dial clockwise to retract the locking pawl of the padlock, allowing it to release the shackle. And the key also turns clockwise to unlock.
LEVER LOCKS
Lever locks are still common in this day and age, in spite of them being old technology. The keys can be flat or very inticately warded on the sides, tip, and inner edge. The most common use for these locks in the United States is found in nearly every bank... safe deposit box locks. In older parts of the United States, and in many places all over the world, lever locks are still produced and are in heavy use. Luckily, they can be fairly easy to impression. Some are pretty difficult, too.
While levers would look squared if the keyway was turned so the levers could be seen, the key could not be inserted in that position.
Will be switching between two different locks partway through the lever lock section of this thread. The second lock shows more about the actual impressioning, but I did not show getting the throat cut onto the key. And no, this is not gruesome. The throat cut is the cut in the key that is at the outermost part of the keyway. If the throat cut is not there, you can not turn the key in the lock at all.
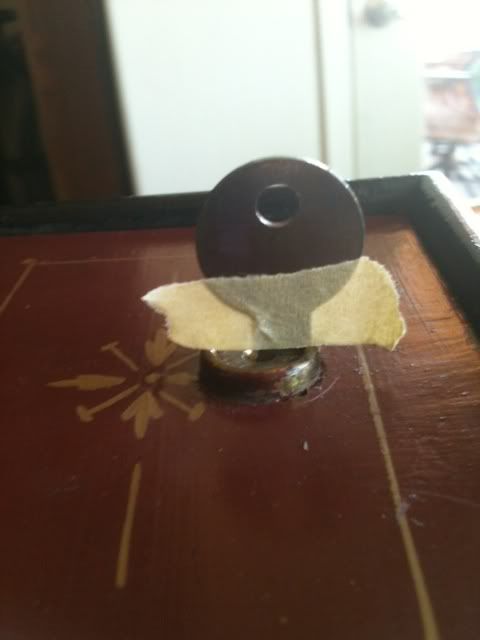
This is a small interior lock box from inside a very old Grover and Wende safe.
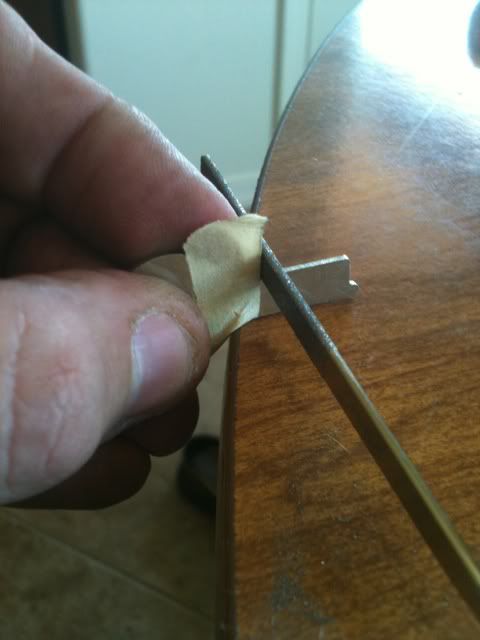
First,insert the key fully into the lock. Use tape to mark the location of the throat cut on the blank.
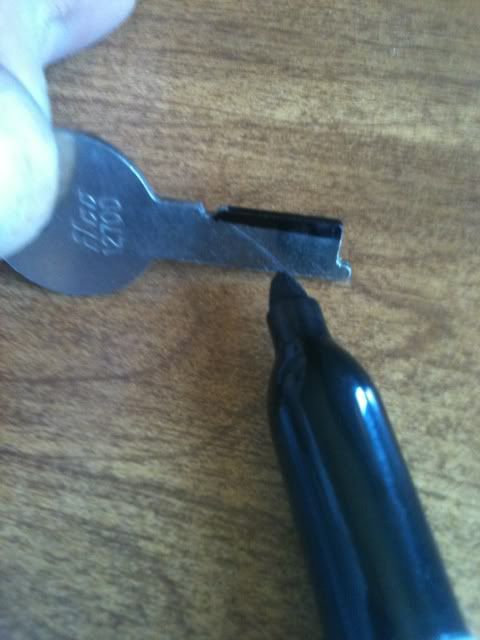
Now use a file to make the throat cut.
Check the fit of the throat cut. You may need to cut it a bit wider or deeper. It is important that the cut be large enough for the key to turn freely without scraping the throat of the lock. When it turns freely, you are ready for the next step.
Used a Sharpie marker to darken the blade of the blank
Insert the key, turn it until the key stops. With a little tension on the key, jiggle it up and down a couple of times. By up and down, I mean towards the center of the keyway and the edge of the keyway, in line with the blank.
Yes, I know. I bite my nails. Oh well.
Now file where you see the marks.
Reapply the marker, test the key, jiggle the key, reinspect. Wash, rinse, repeat. Keep at it, and only file where you see marks.
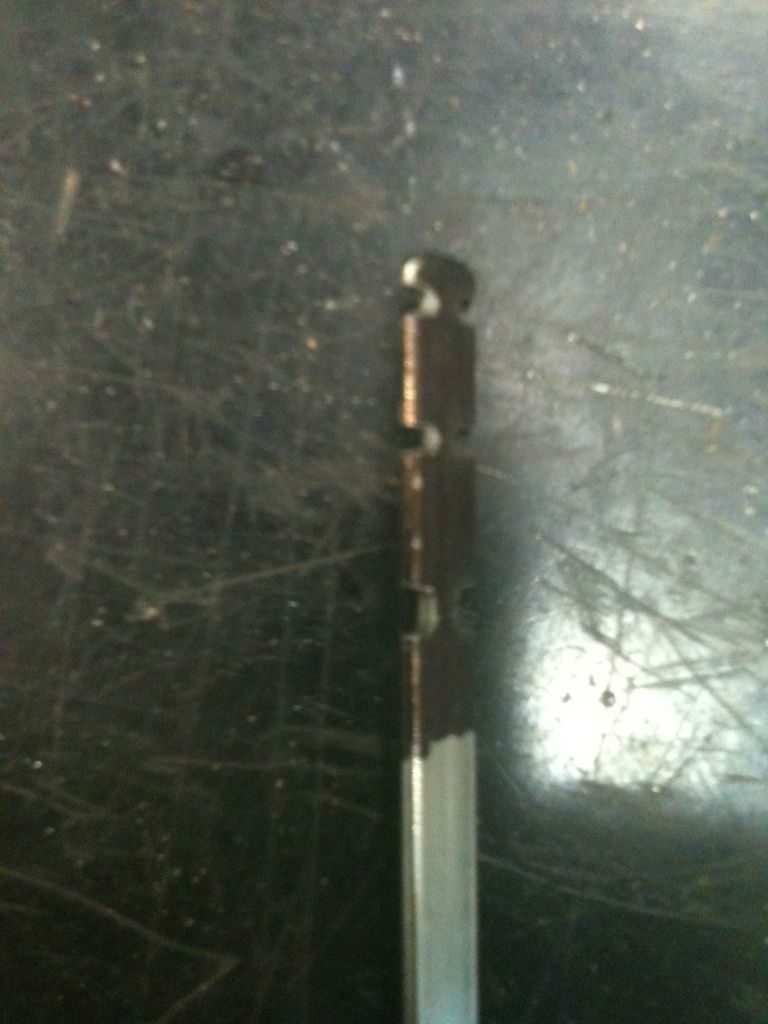
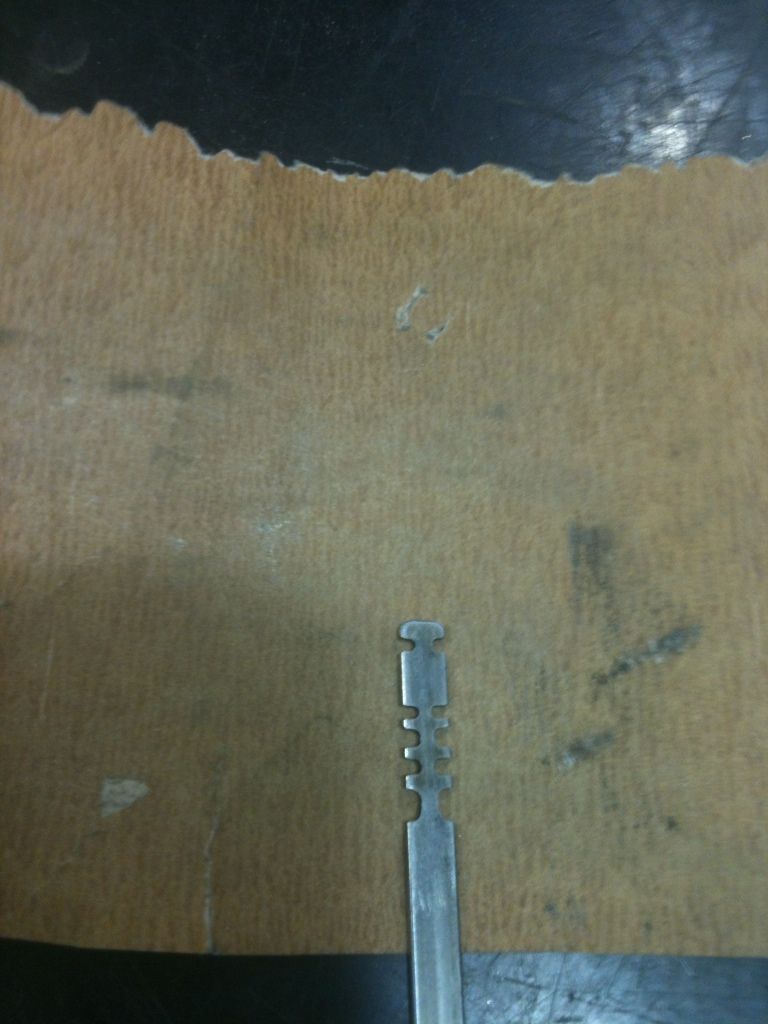
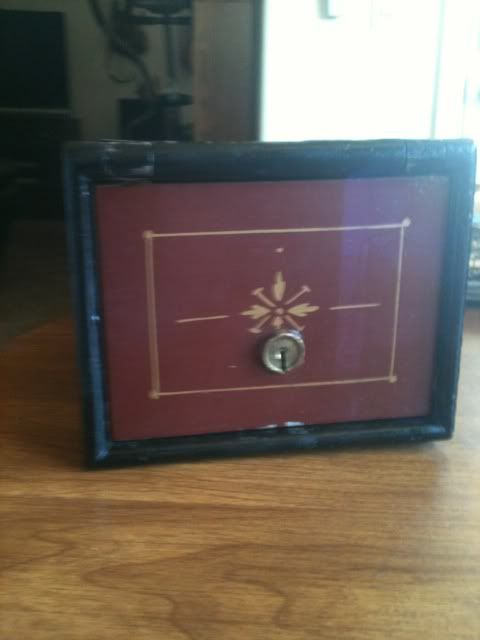
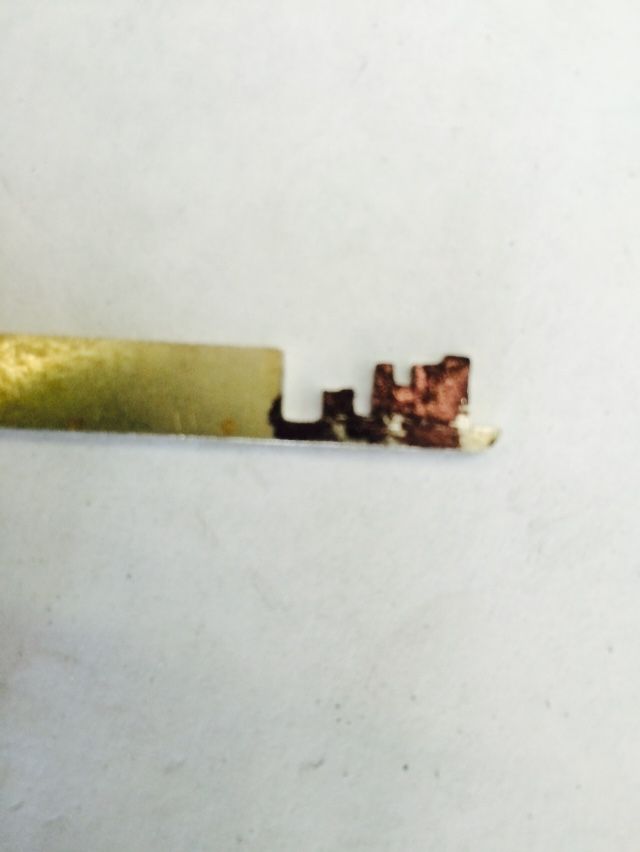
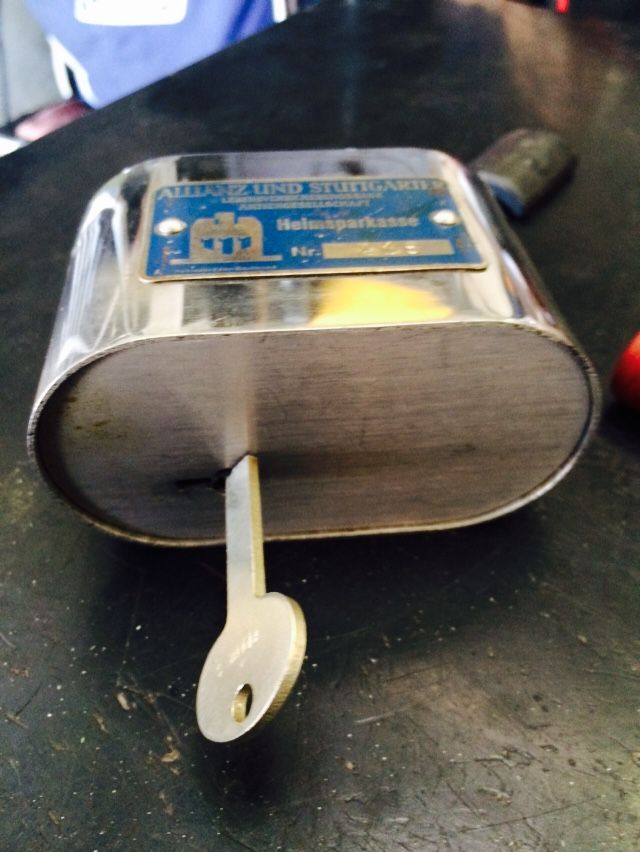
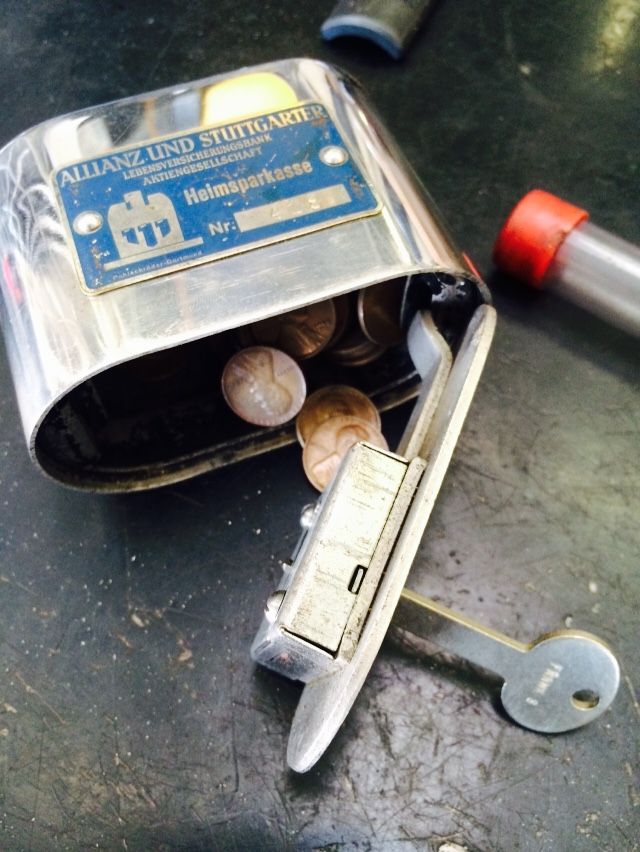
For the rest of the actual impressioning, we switch locks, since have better pics of the process. This is a German coin bank. Banks used to give these out to customers, especially for children. They could put their money into the bank, but only the bank had the key. So if the customer wanted their money from their bank, they had to bring the coin bank to the real bank to get it out. Pretty clever idea if you ask me.
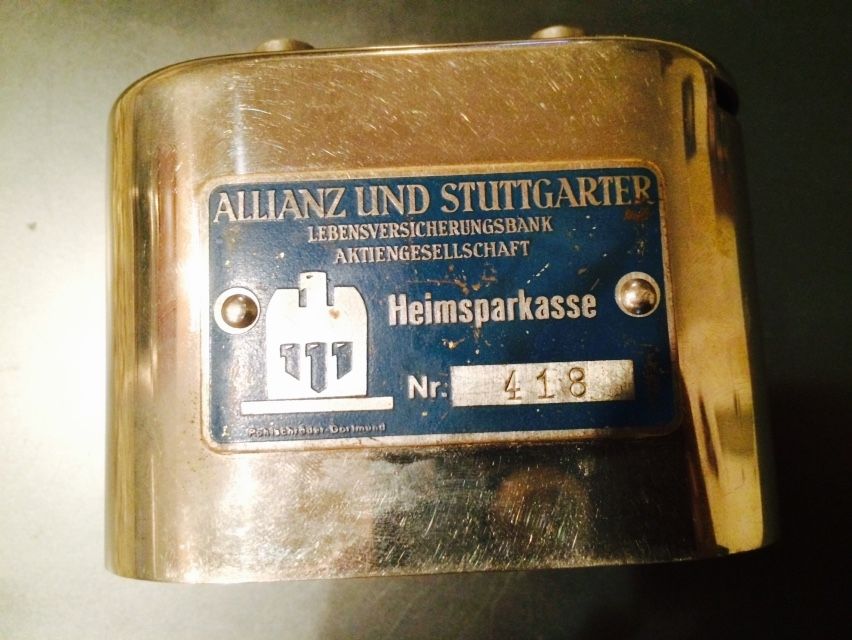
The keyway is open. That part in the middle that looks like it has a couple holes in it are actually at the far end of the keyway. The nose (the part that sticks out at the end of the key) fits into one of those holes.
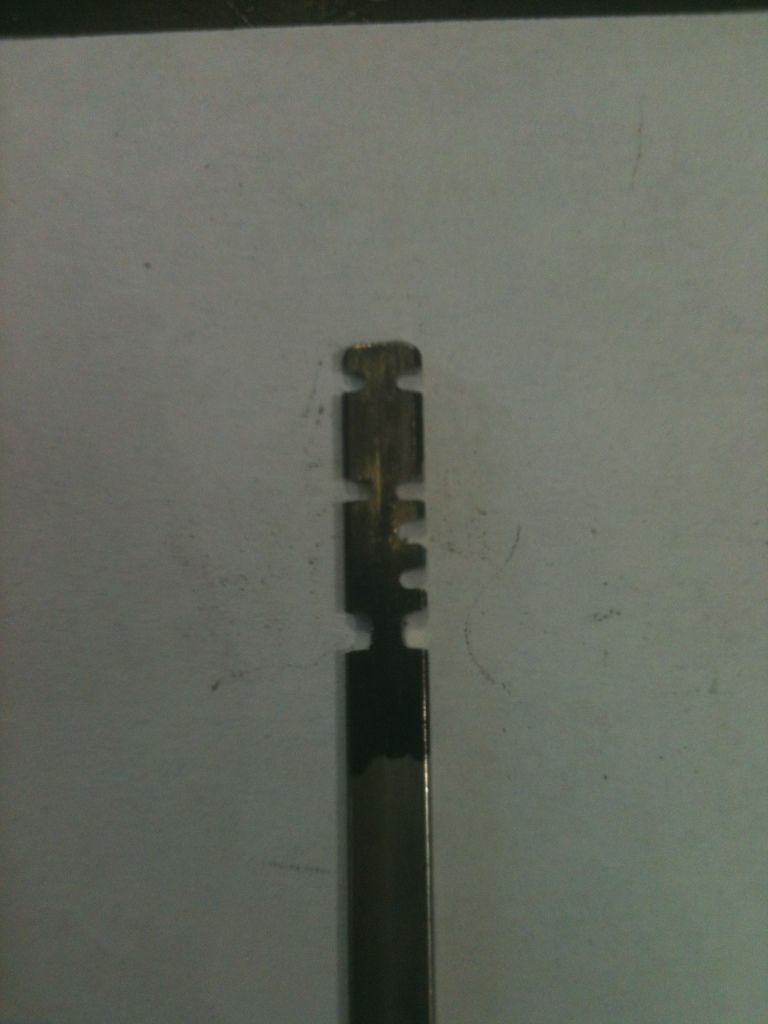
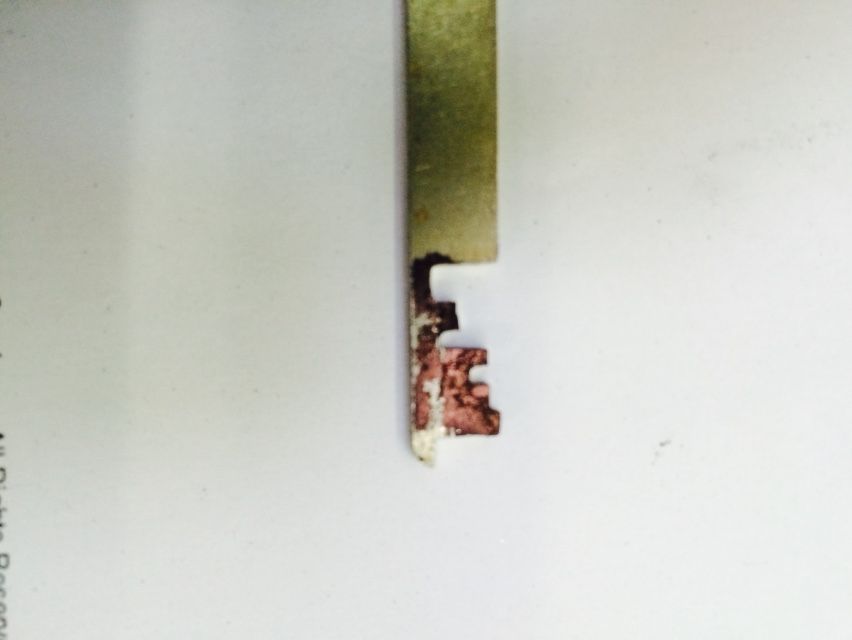
Here we pick up where the last lock left off. Have started filing where the marks are located, and repeatedly inked and tried the key, so you see some depth to the first cut. Will save time by not showing all the impressions, but do need to show a number of them to show another trick.

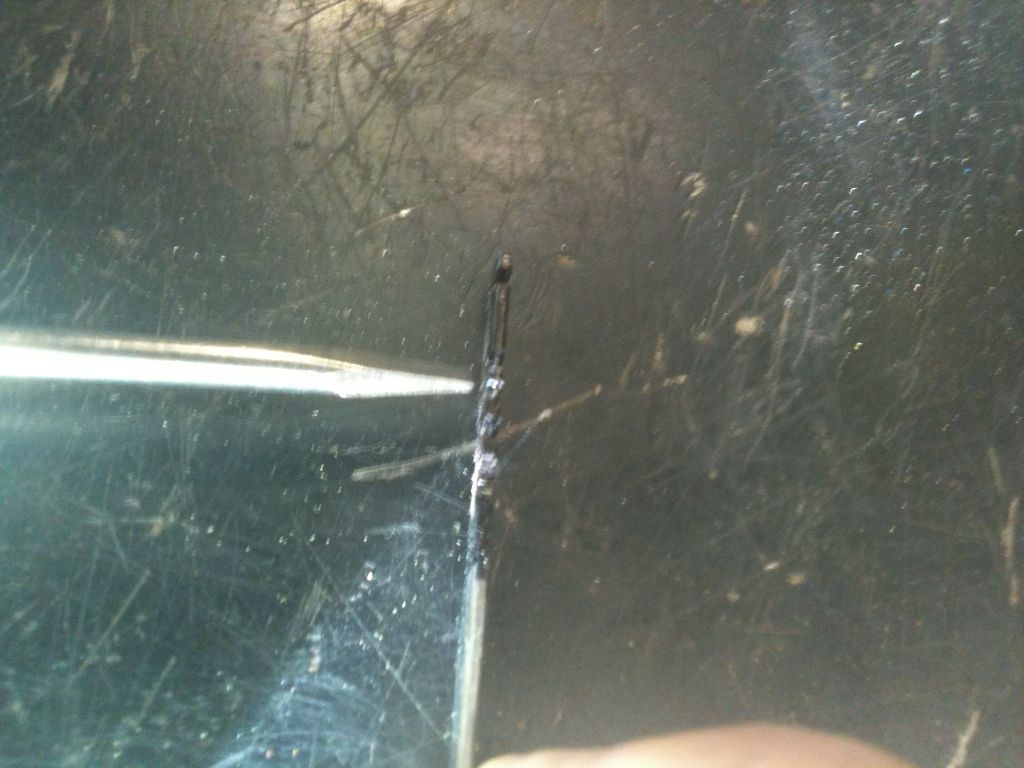
How do you know you are making progress, and how far you have to go? Place tape on the face of the lock in the direction the key gets turned. Put an occasional mark on the tape, and you will be able to see as the key gets turned farther and farther as the cuts progress. The same thing happens with a pin tumbler lock, but not nearly to the extreme seen on lever locks.
As you progress, more levers will begin to make marks. Sometimes a lever will stop marking, and start marking again later on, after another lever or two have been cut.

Eventually...
Looking at some of the key pics above, you can see the impressioning marks. They are normally not too difficult to see with lever locks. That said, some lever locks have countermeasures to make impressioning (and picking) more difficult.
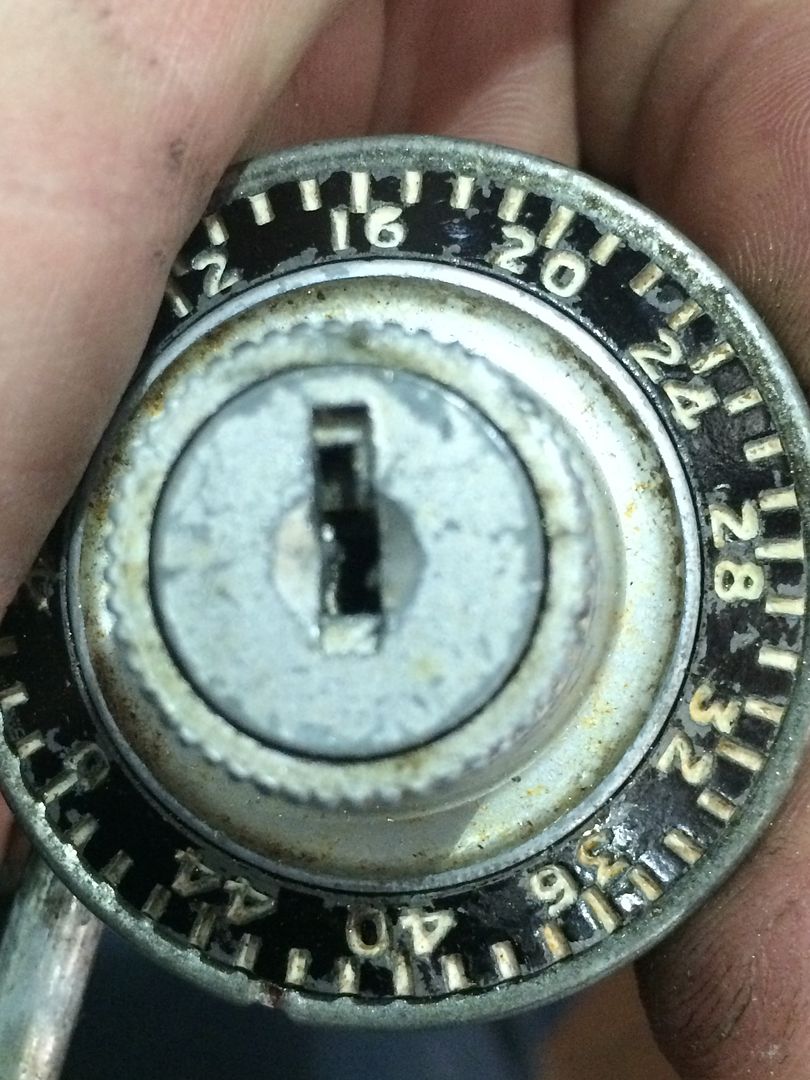
PIN TUMBLER LOCKS
The things to remember:
1. Do not apply too much tension. I use maybe twice or at most three times the force I normally use to open the lock with a key. Any more, and you will break keys and risk damaging/deforming pins.
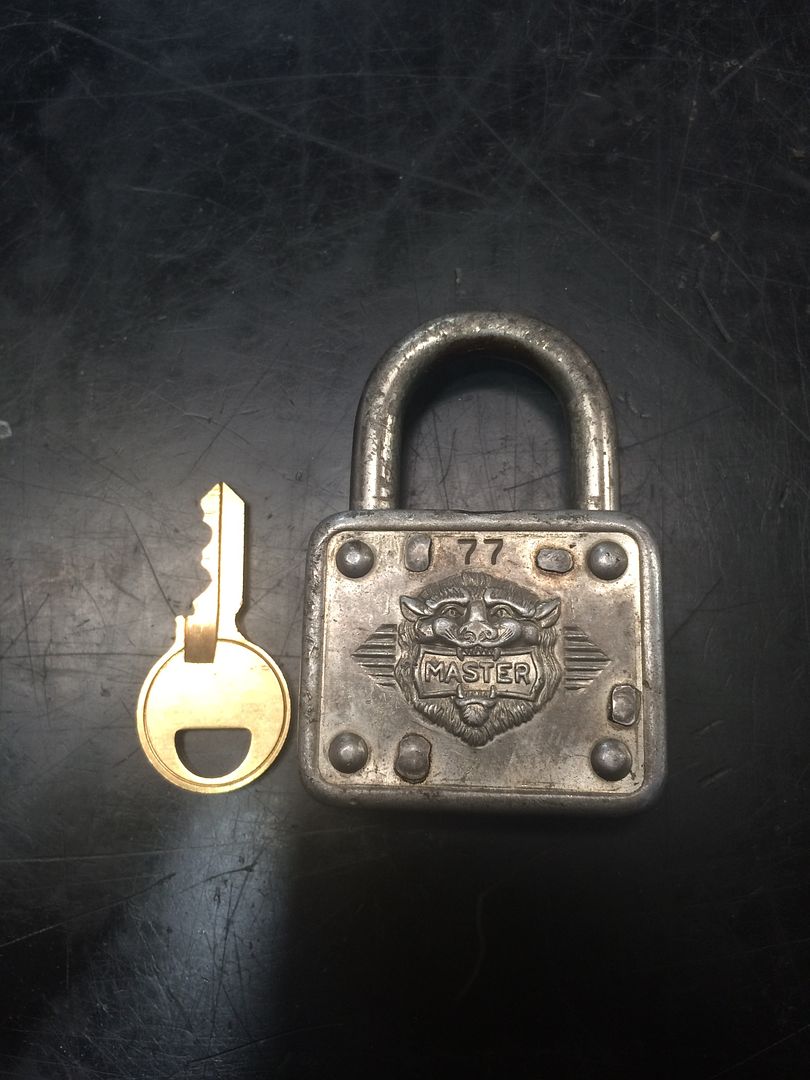
2. The more pins there are, the more difficult it is to impression when starting out. So a simple wafer lock or Master padlock is a good idea. The Master locks do make decent marks.
3. Do NOT lubricate the lock before impressioning. Impressioning requires friction between the plug/lock body and pins at the shear line. Lube it, and friction is reduced.
4. If the lock is too dirty, you can use something to clean the junk out, but then blow compressed air into the keyway to get rid of excess lubrication.
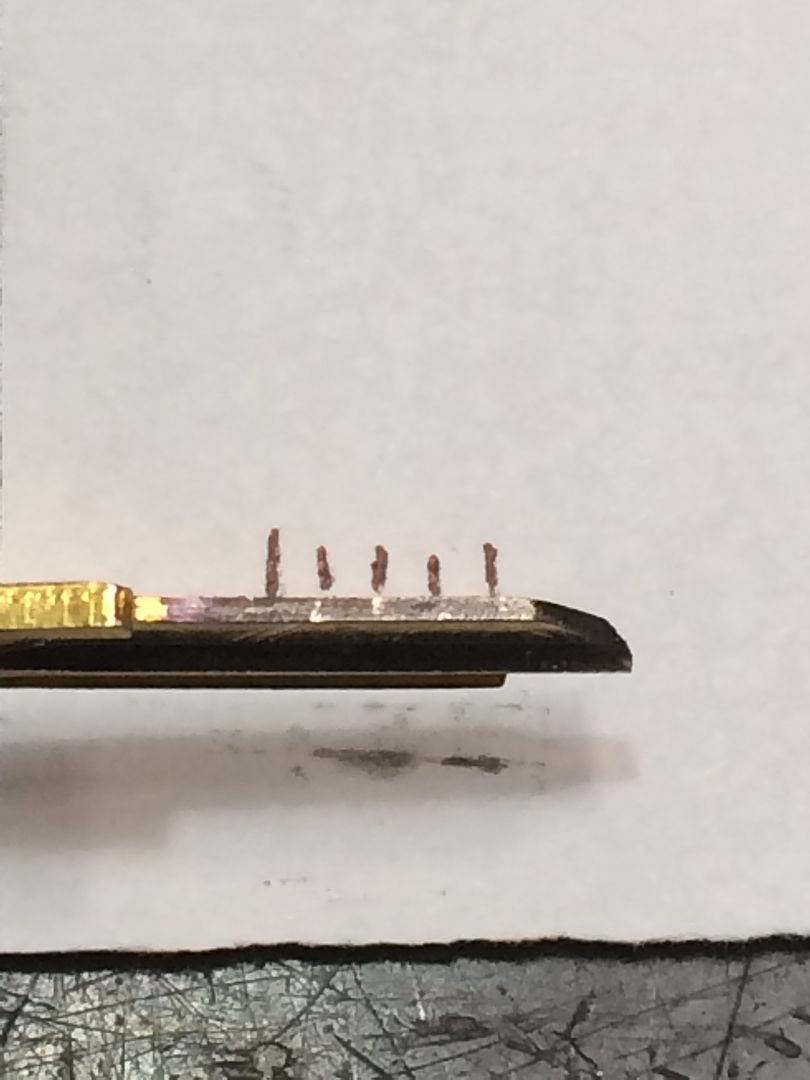
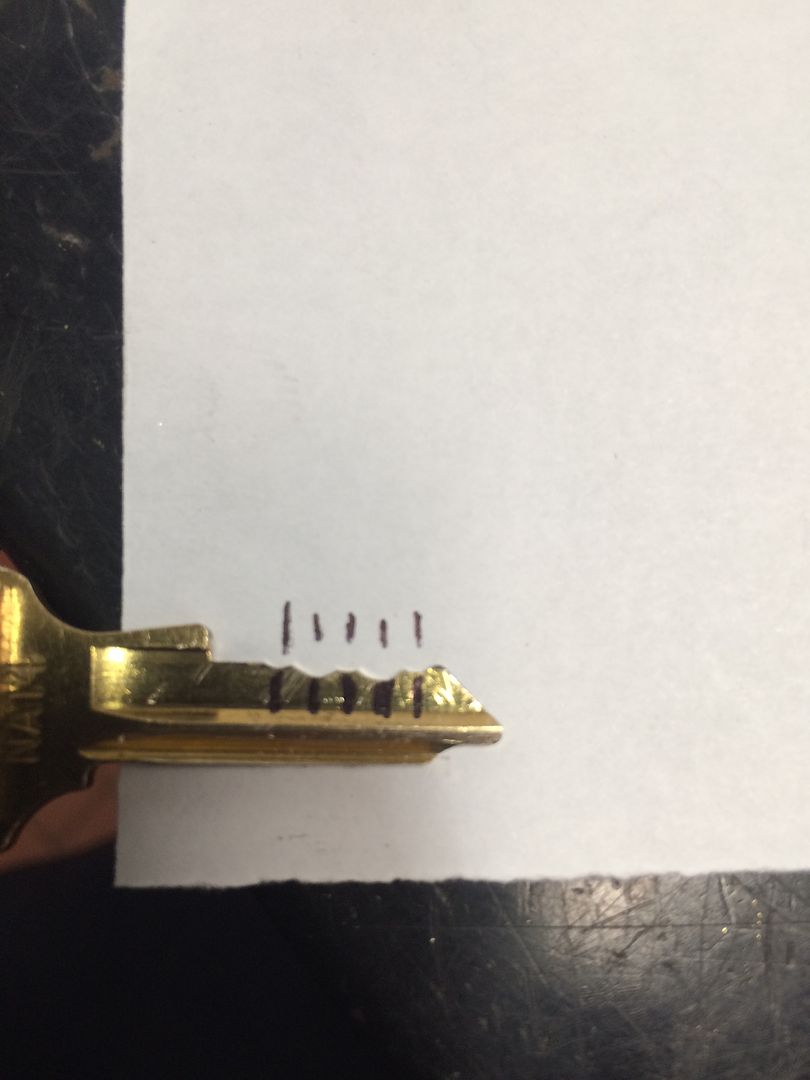
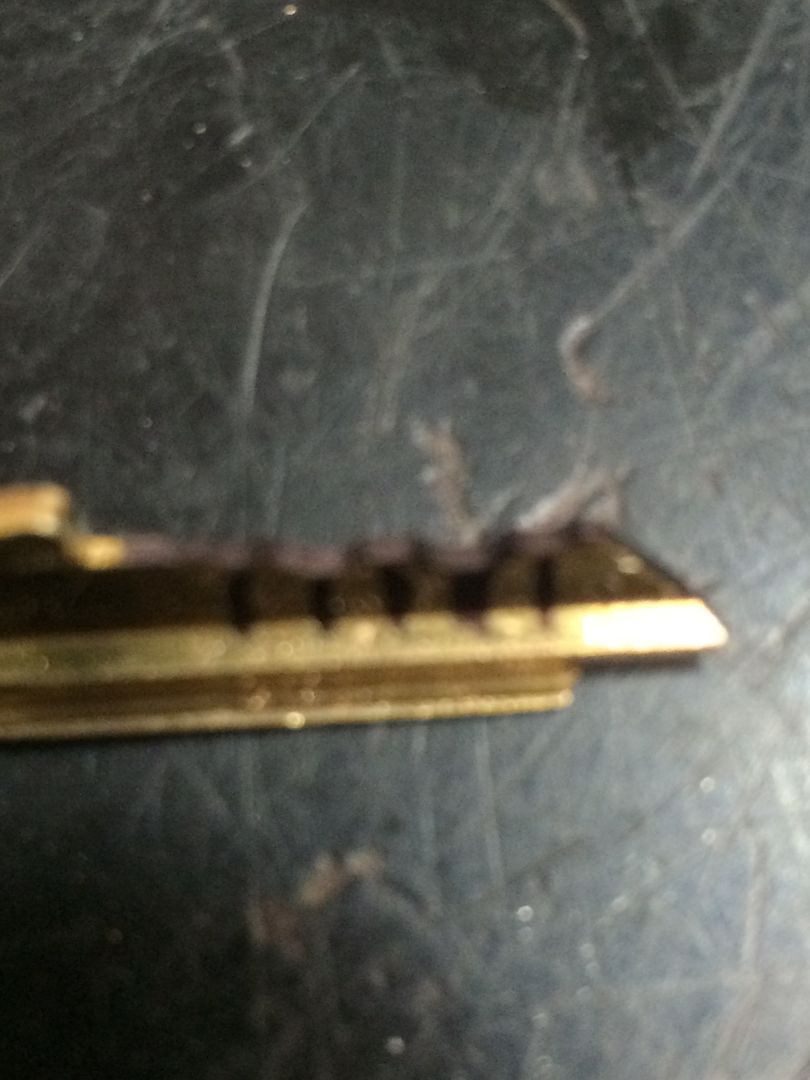
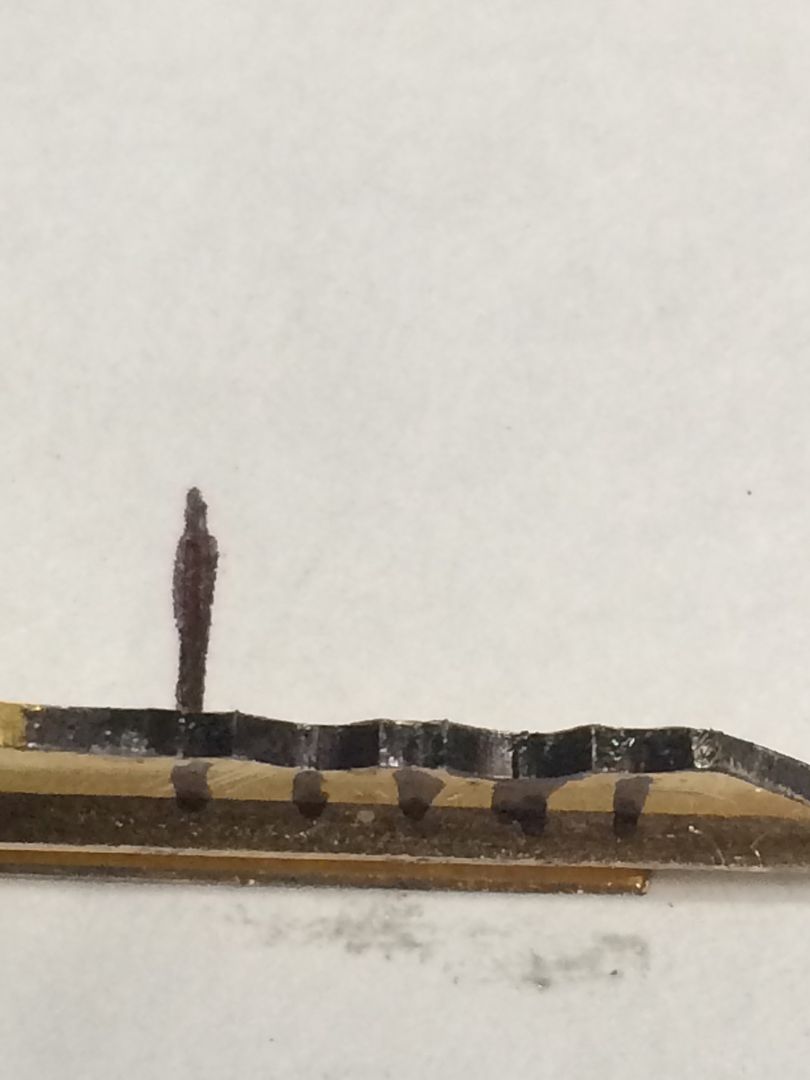
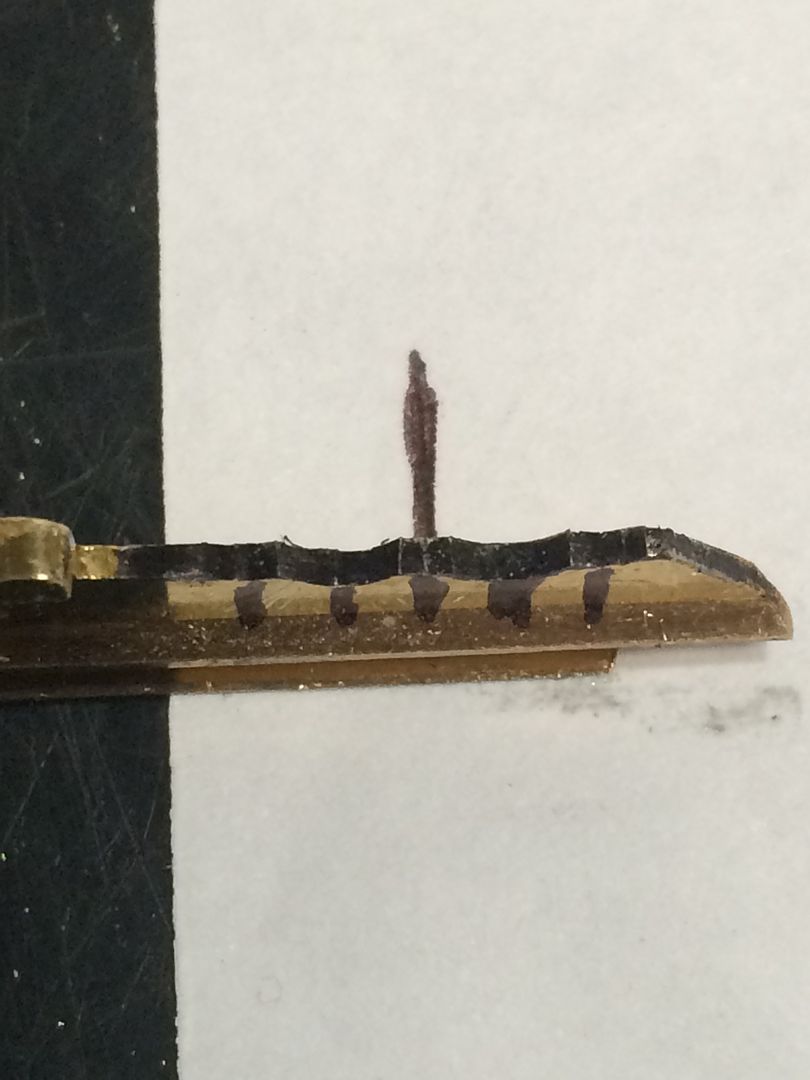
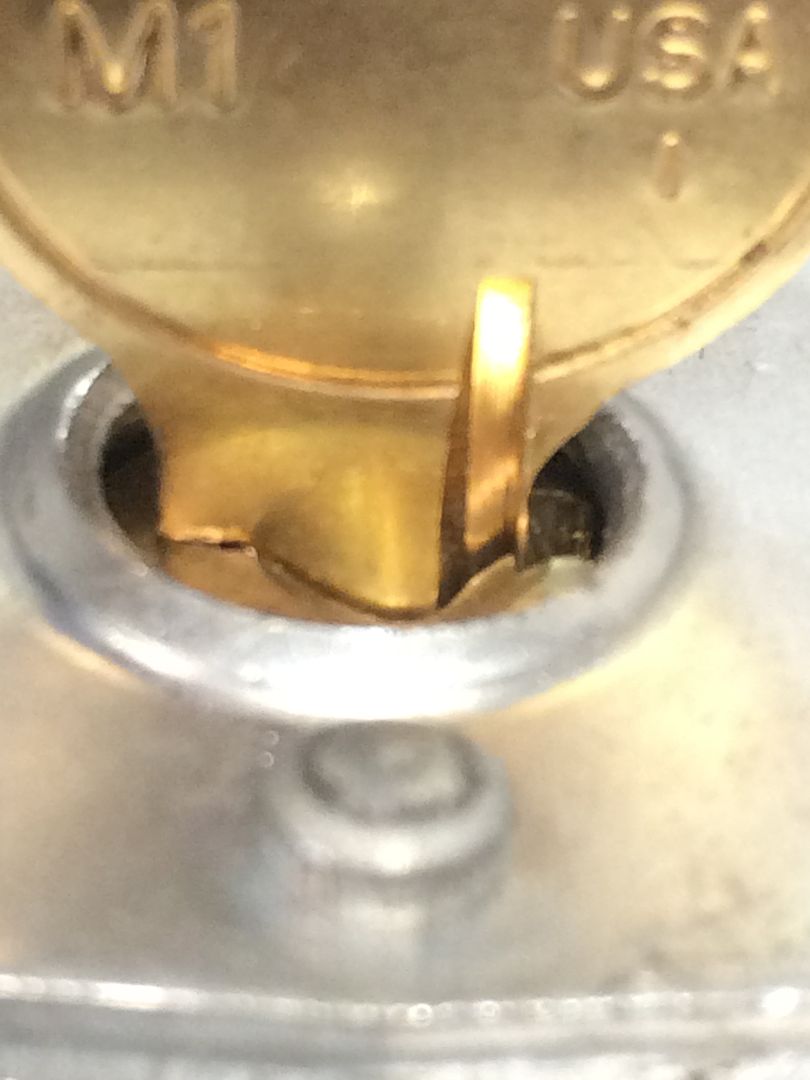
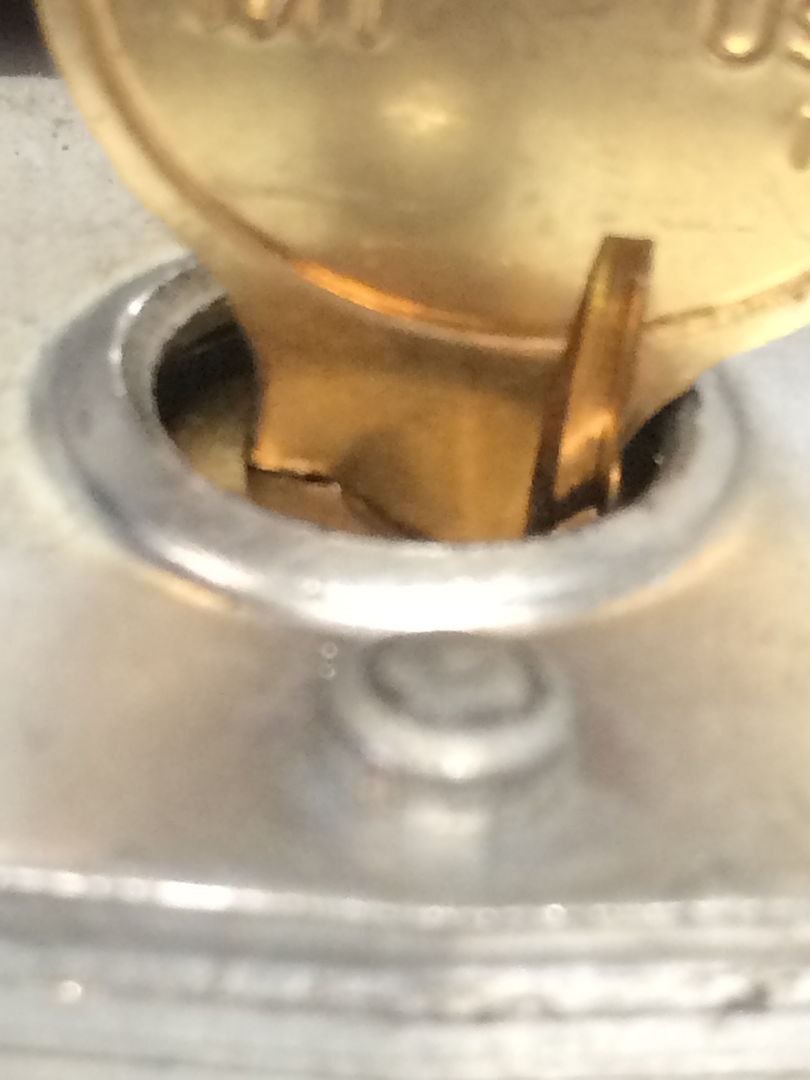
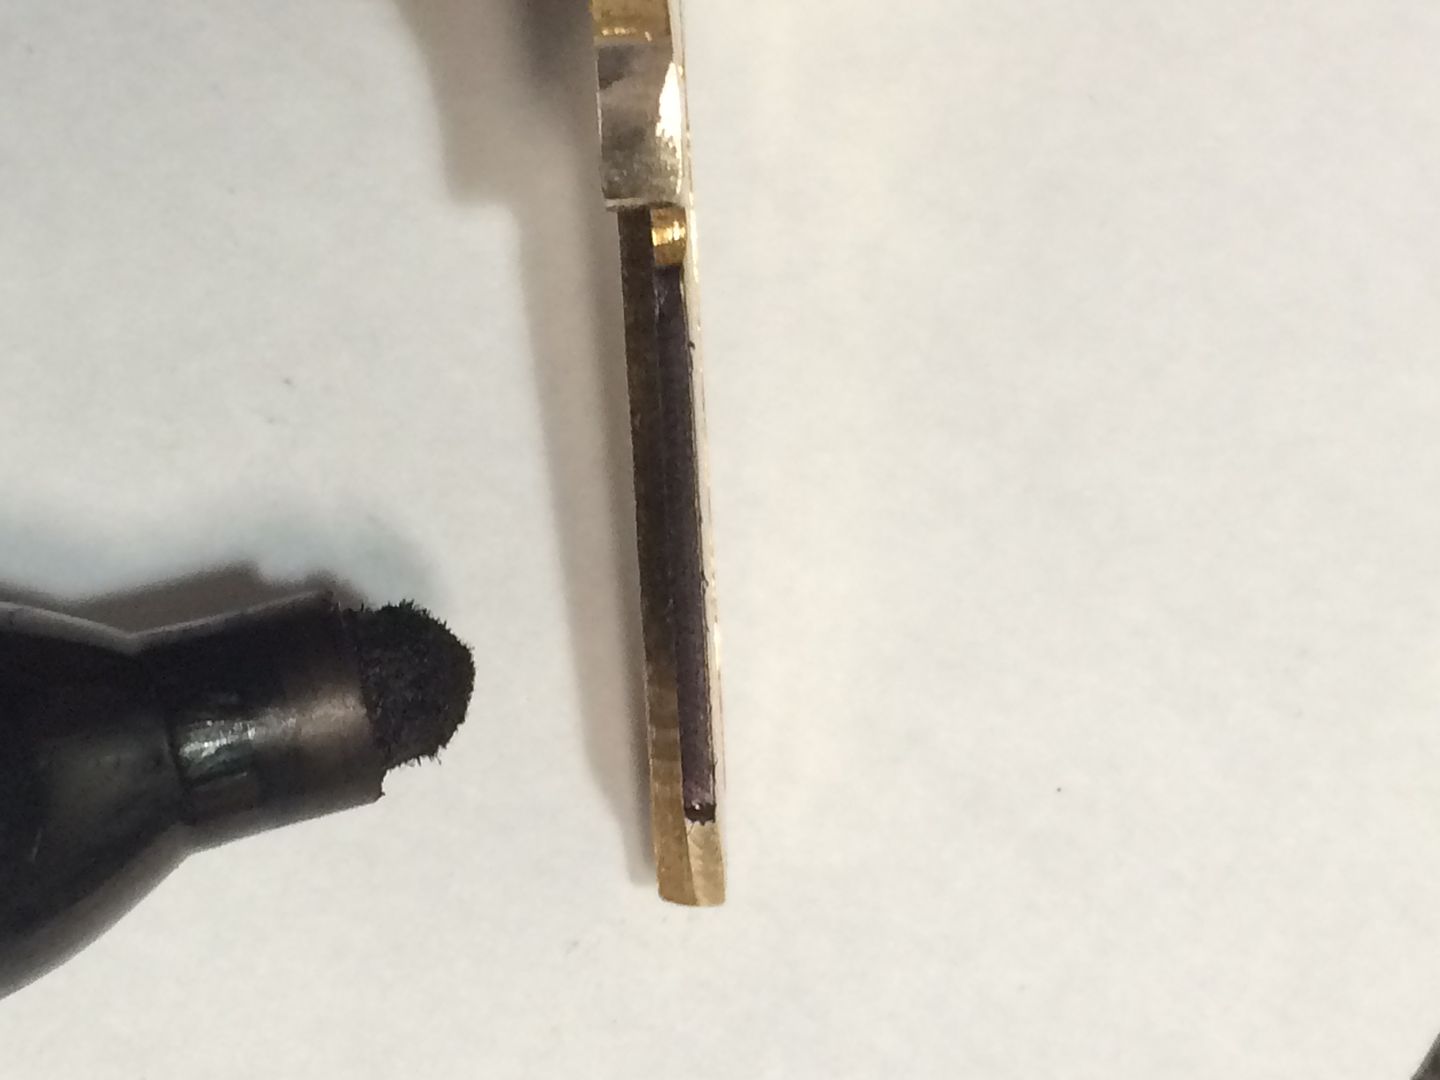
5. Make a mark with a Sharpie marker along the top edge of the key where the key pins ride. Put it in the lock and wiggle to make the pins just scratch the surface of the ink. Then draw lines straight down from the marks. The marks may wander slightly as you file down, but you will be able to see if what you think are impressioning marks are in the wrong place, and therefore probably not real impressions.
6. If you are impressioning a lock that has a cover plate around the plug (like a Master laminated lock), you may find it helps to file the shoulder so it is shorter and does not hit against the cover plate, and file the bottom of the key blank so it does not hit the cover plate either.
Here is an example of the filing down I am mentioning - made this key last week.
Let me grab a lock and take a couple pics of what I have been talking about. (Slow day at work).
Hitting at the top of the keyway (top in this case is where the key pins are located).
Hitting at the bottom of the keyway...
Impressioned key with shoulder and spine of the key filed away at the top, normal key blank below, with a marker showing the general area where I will be filing.
marked blank on the bottom, filed key on top. Now you can see where I filed the shoulder down and the spine of the key blade.
After filing, no hitting on the top...
... or at the bottom
That trick has helped me so often when impressioning locks with a cover plate that I just automatically do it if the lock has a cover plate.
Now how to keep your spacing between pins correct...
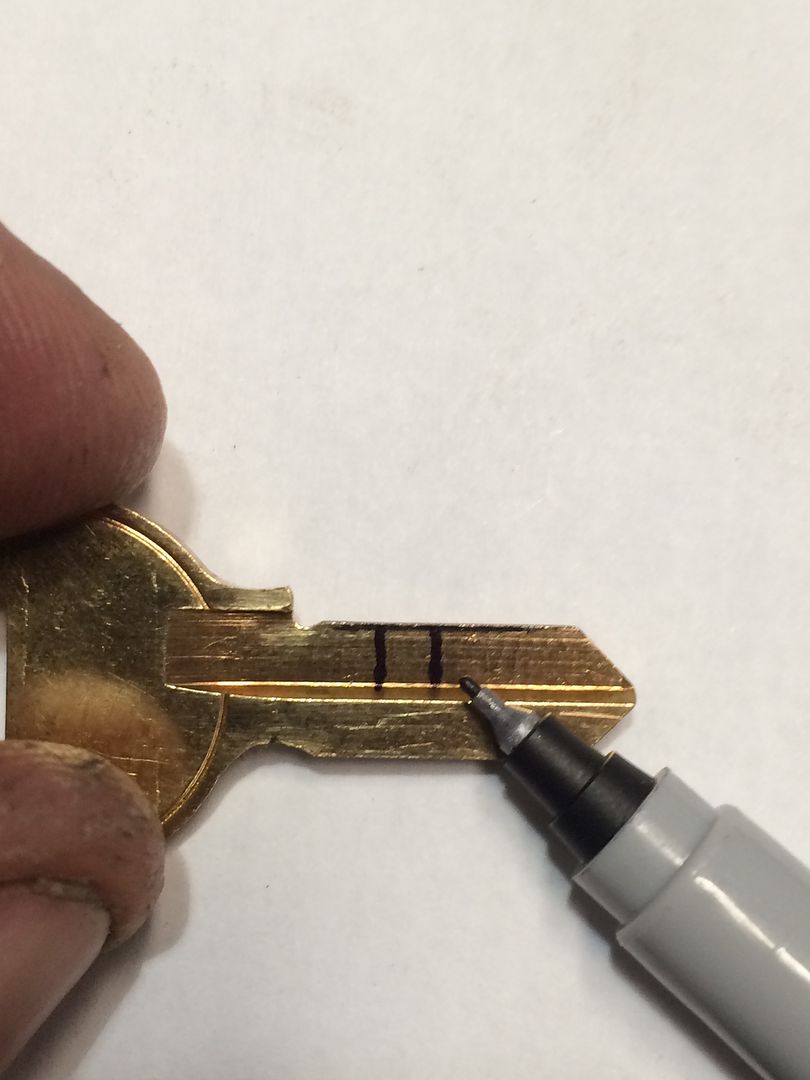
Ink the edge of the key blade.
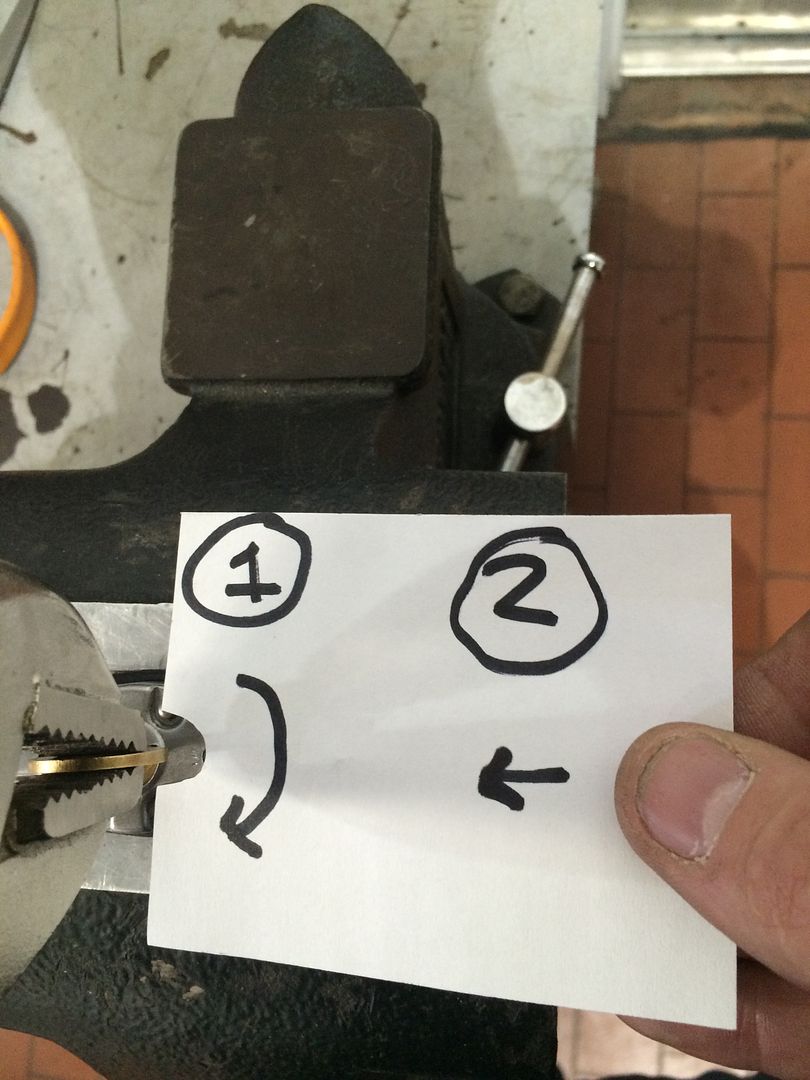
Put the key in the lock. Turn it in one direction until it stops (light force - you are not looking to make impressions yet), then move the key bow away from the key pins.
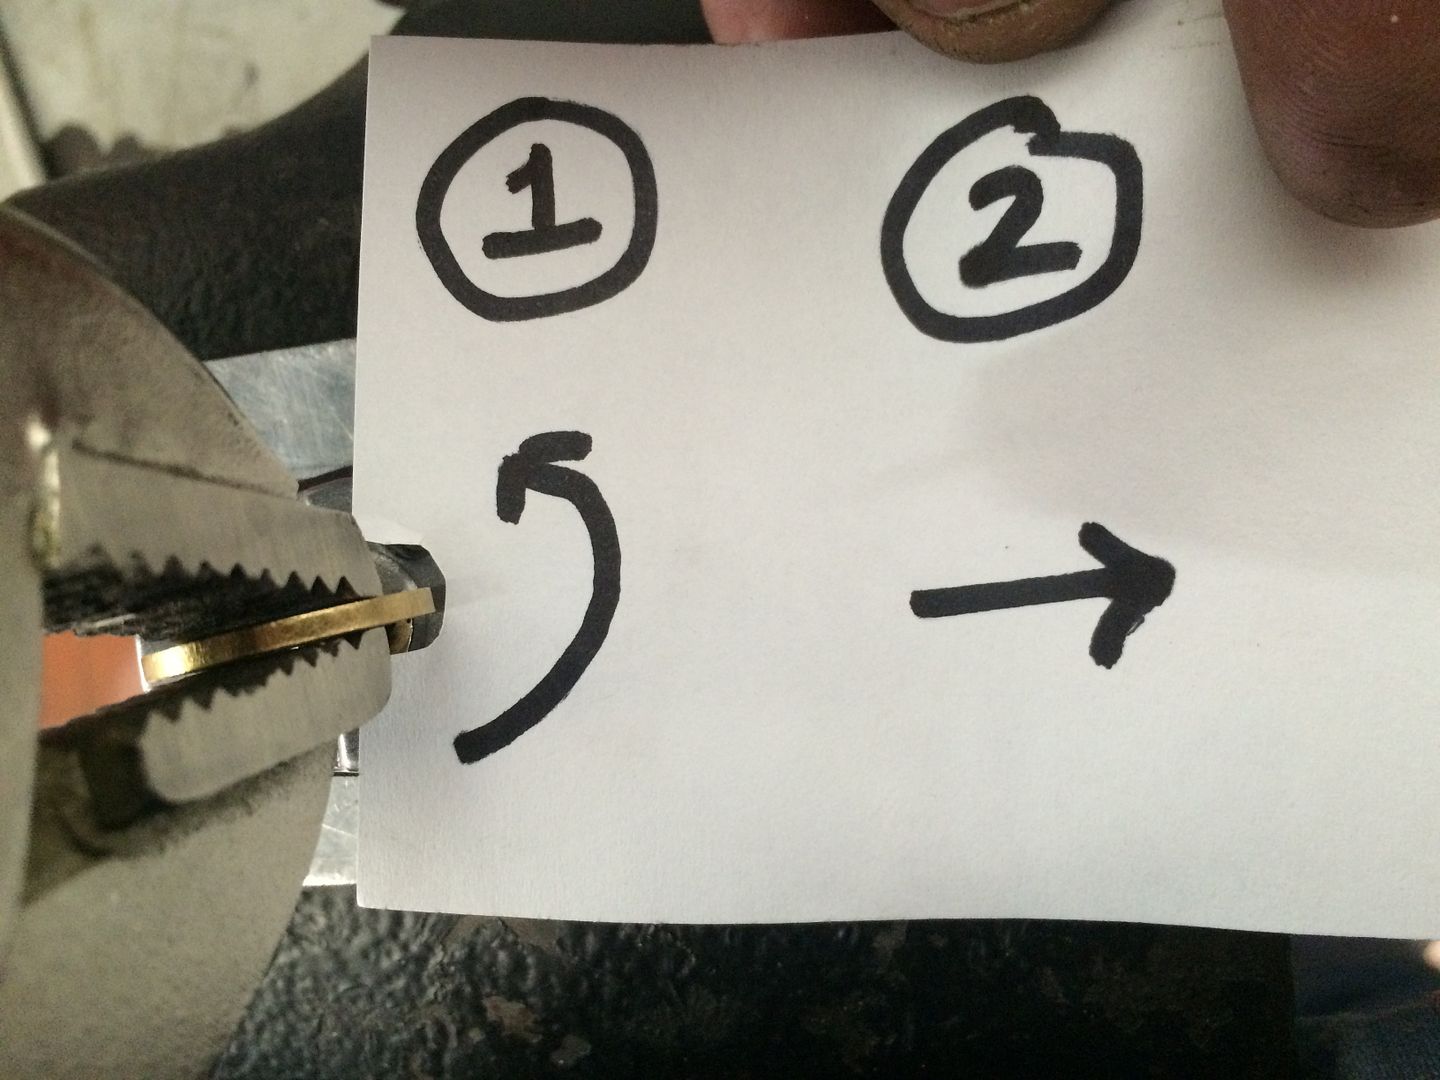
Release tension on the key blank. Turn it the other way until it stops (again, light force - you are not looking to make impressions yet), then move the key bow towards the key pins.
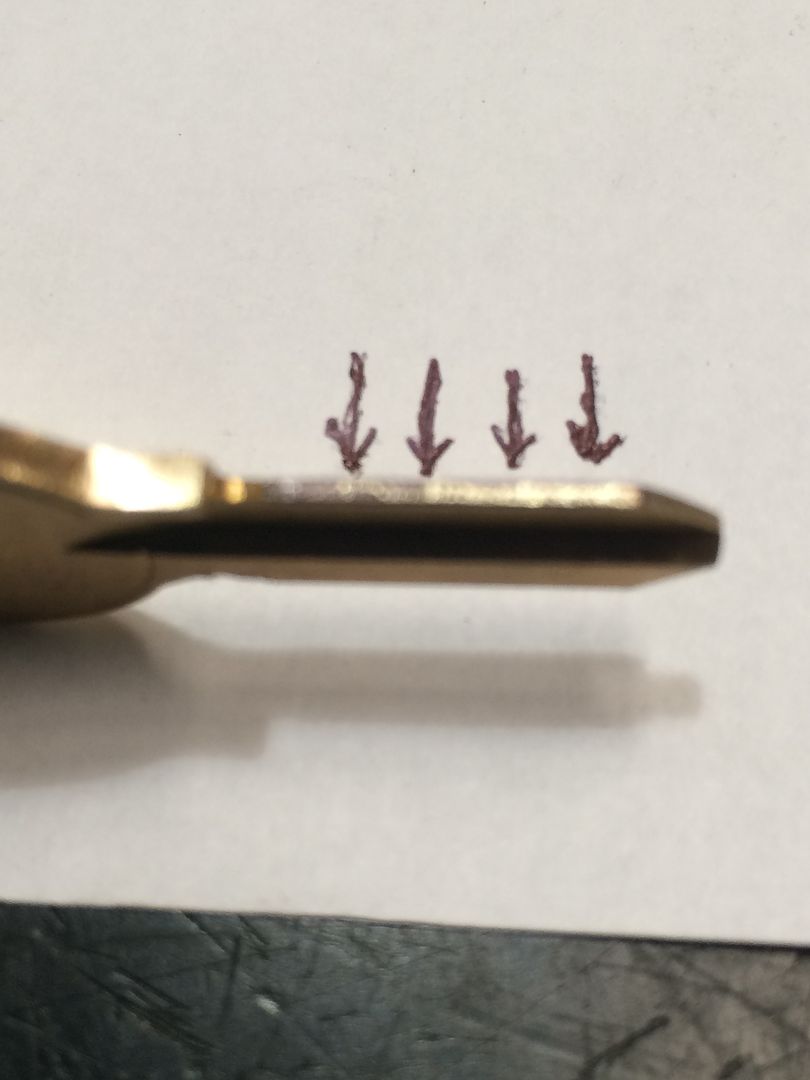
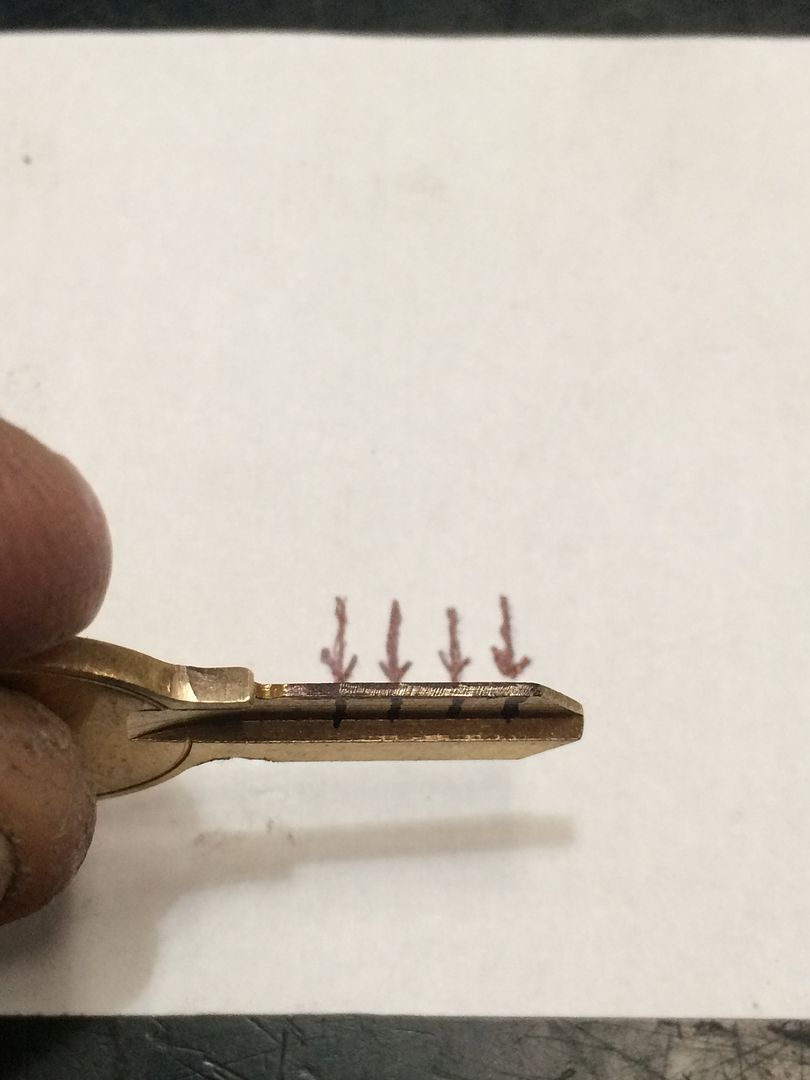
Now remove the blank and look at it. You should see marks for all (or nearly all) of the pin locations. Note: These are NOT impressions, just how to locate where the pins are.
These marks are actually pretty easy to see, but hard as heck to photograph. So made arrows on the paper to point them out.
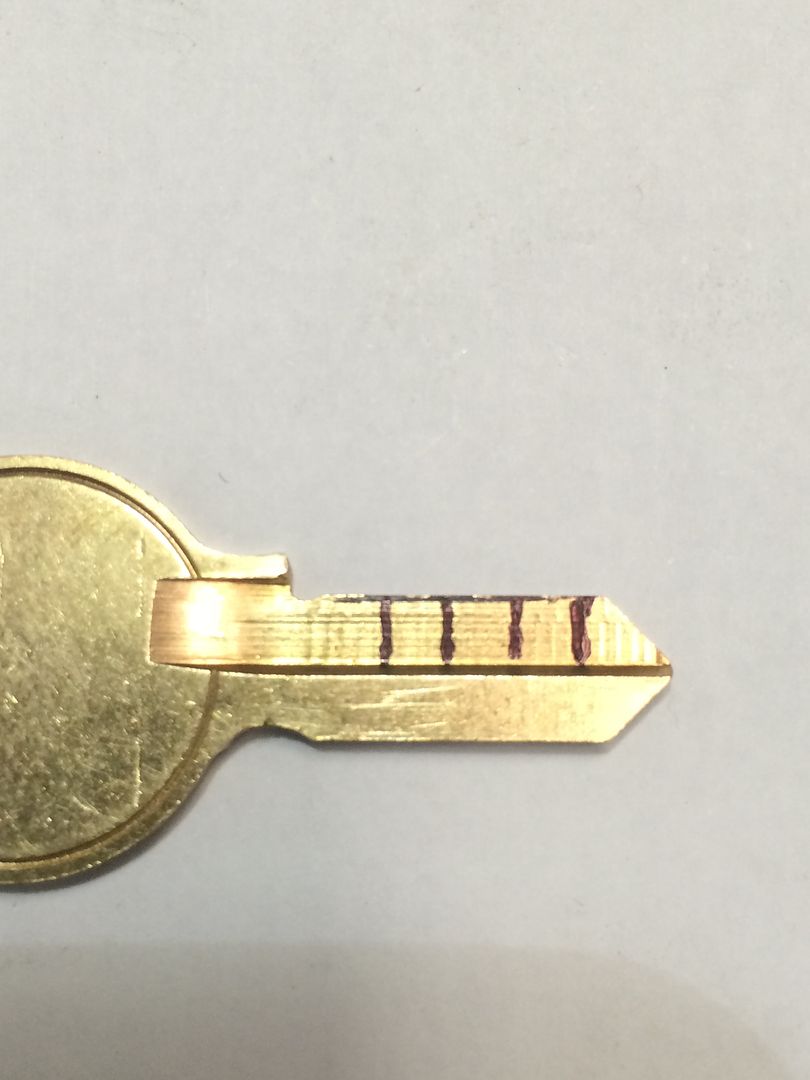
Now use a fine point marker to make lines straight down from the marks. This is so you do not 'drift' to the side when filing later.
Those will get you started. Unfortunately, I can rarely get good pictures of the impression marks on a key. Will have to try it again soon. For now, will bring this post to a close. Will add more to it later, but been working on this for days.
One last tip... take care of your file. A good file will make a difference in how well the marks show up. When I get to making another pin tumbler key (a few days), will take pics, and include tips like using sandpaper.
For now, hope that this thread helps a few people out, if you were able to stay awake all the way through to the end of this opening post. Hope nobody tries to open this post if they have to use a dial-up connection!
Good luck to all of you on your quest to learn impressioning. And please feel free to add information, or dispute my methods, as I have a lot to learn.
Gordon


