Lock Picking 101 Forum
A community dedicated to the fun and ethical hobby of lock picking.
       

Lock Picking 101 Home
Login
Profile
Members
Forum Rules
Frequent Forum Questions
SEARCH
View New Posts
View Active Topics


Live Chat on Discord
LP101 Forum Chat
Keypicking Forum Chat
Reddit r/lockpicking Chat


Learn How to Pick Locks
FAQs & General Questions
Got Beginner Questions?
Pick-Fu [Intermediate Level]


Ask a Locksmith
This Old Lock
This Old Safe
What Lock Should I Buy?


Hardware
Locks
Lock Patents
Lock Picks
Lock Bumping
Lock Impressioning
Lock Pick Guns, Snappers
European Locks & Picks
The Machine Shop
The Open Source Lock
Handcuffs


Member Spotlight
Member Introductions
Member Lock Collections
Member Social Media


Off Topic
General Chatter
Other Puzzles


Locksmith Business Info
Training & Licensing
Running a Business
Keyways & Key Blanks
Key Machines
Master Keyed Systems
Closers and Crash Bars
Life Safety Compliance
Electronic Locks & Access
Locksmith Supplies
Locksmith Lounge


Buy Sell Trade
Buy - Sell - Trade
It came from Ebay!


Advanced Topics
Membership Information
Special Access Required:
High Security Locks
Vending Locks
Advanced Lock Pick Tools
Bypass Techniques
Safes & Safe Locks
Automotive Entry & Tools
Advanced Buy/Sell/Trade


Locksport Groups
Locksport Local
Chapter President's Office
Locksport Board Room
 

Installing A Sargent & Greenleaf 6730 Safe Lock

Forgot how to dial the combination on that old safe? Think you got the right numbers but the handle is stuck? What safe should you buy? Ask your safe questions here!
Forum rules
You are posting this in This Old Safe, a public area of the forum.

Safe manipulation discussion is allowed, but safe drilling or other destructive entry is only allowed in the Advanced - Safes and Safe Locks area.

If you are a guest of the forum and have a safe you need to open, but you do not have the combination, we cannot tell you how or where to drill it.

Installing A Sargent & Greenleaf 6730 Safe Lock

Postby GWiens2001 » 15 Mar 2016 12:10

How To Mount A Sargent & Greenleaf 6730 Safe Lock

Recently mounted an S&G 6730 for another member, and decided to make a post to demonstrate how it is done.

The project requires few parts and fewer tools. There are some tools that would make it a easier to mount on a safe door, such as a dial ring alignment tool. But don't have one.

The tools are a phillips screwdriver, a hacksaw, a small file and a marker. You will need the safe lock, dial, dial ring and dial ring bushing.

Image

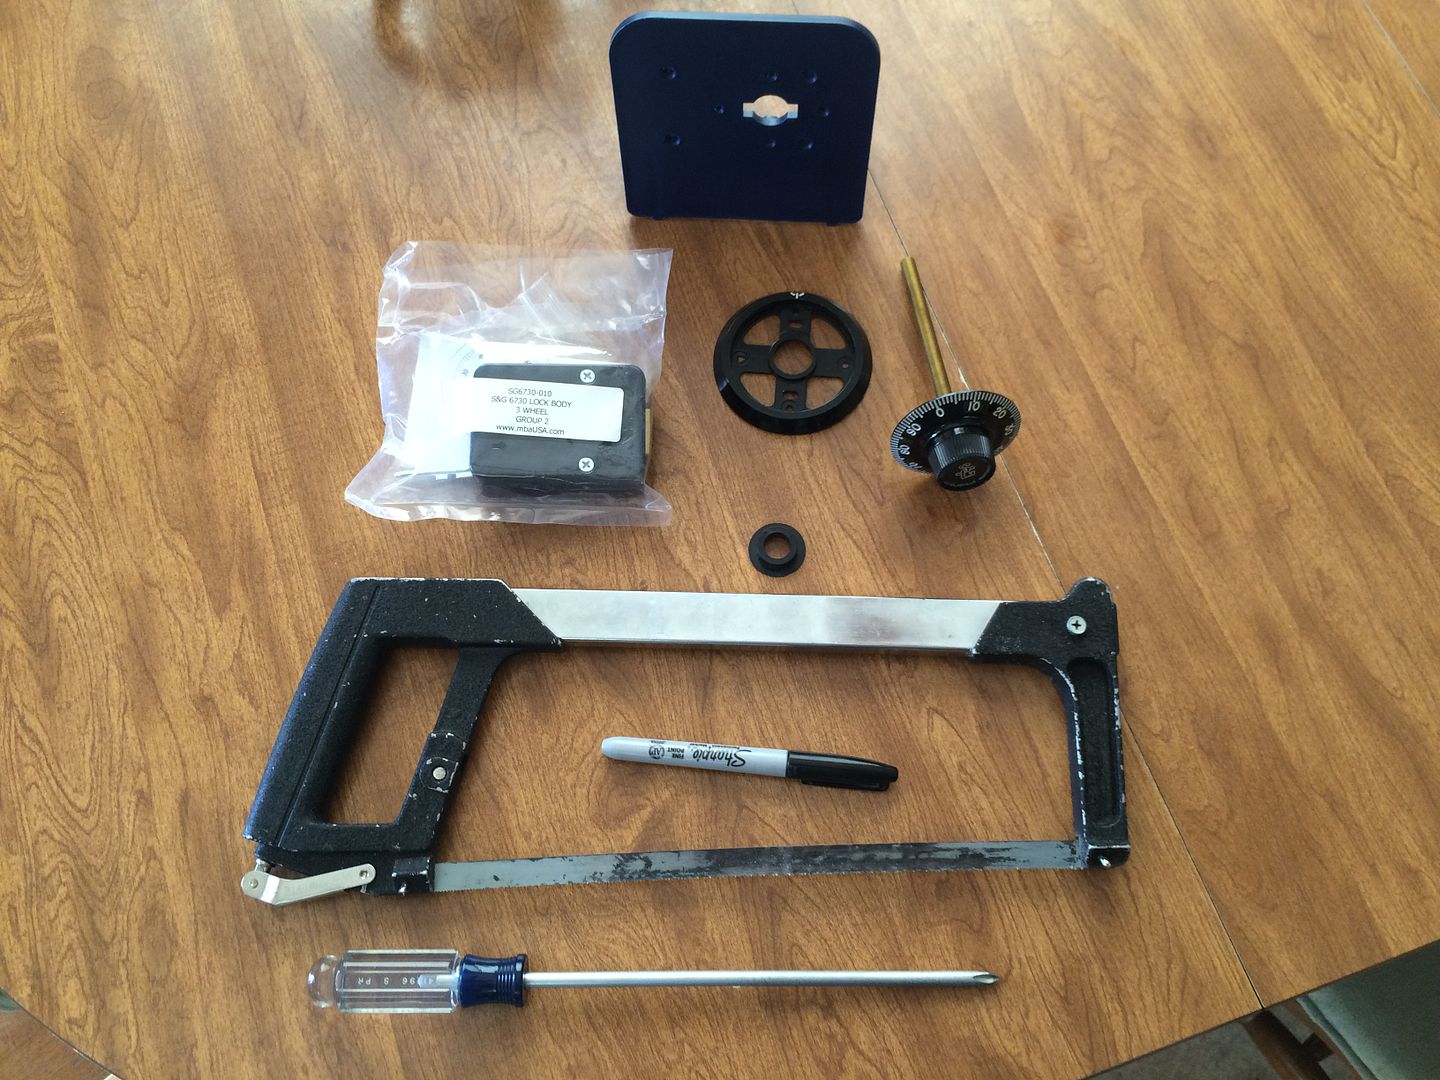
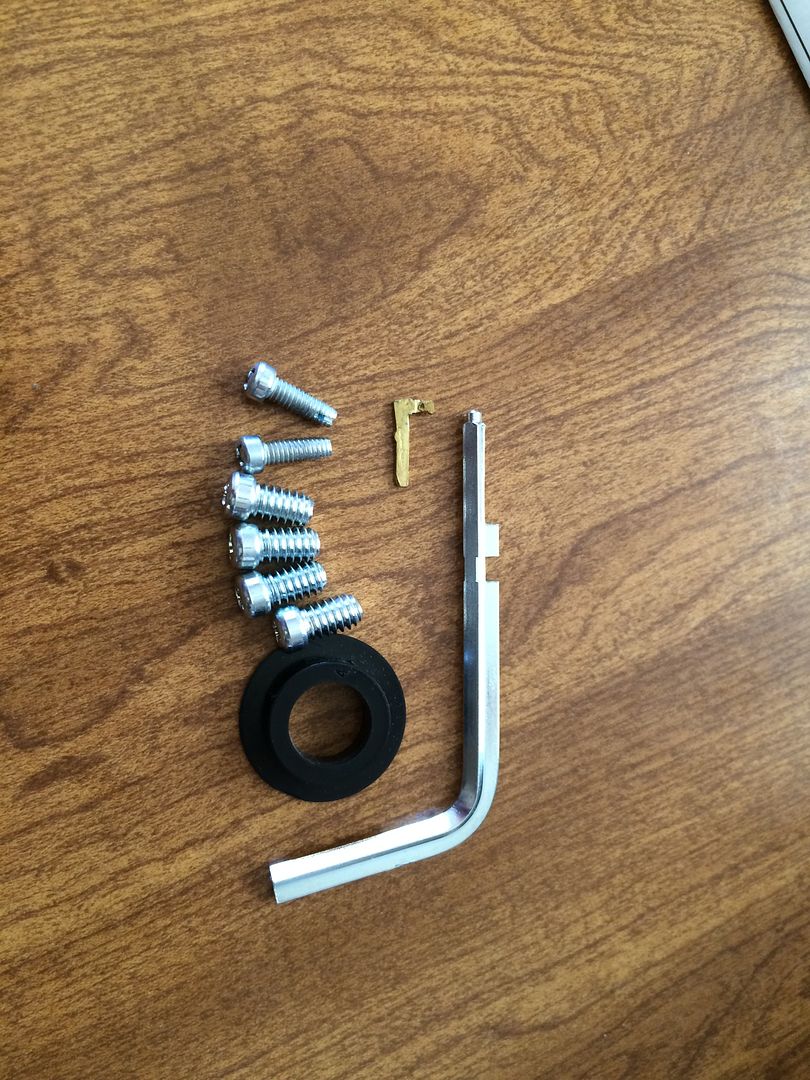
And the screws, spline key and a change key (to set the combination).

Image

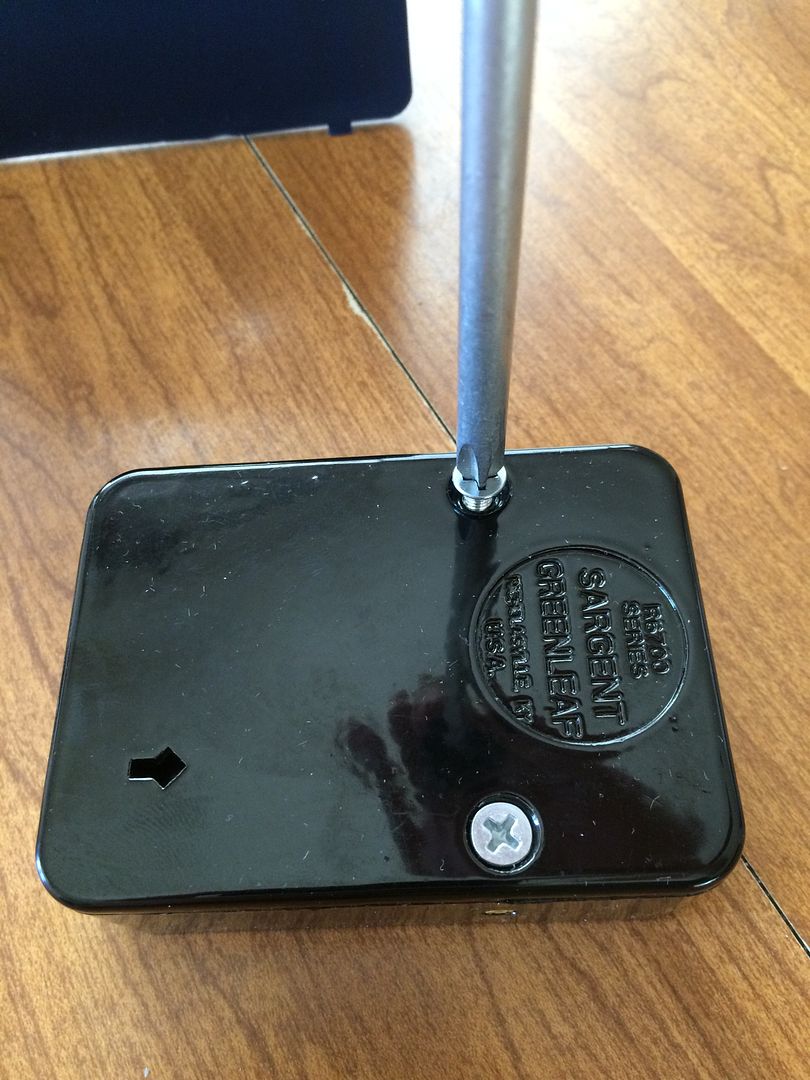
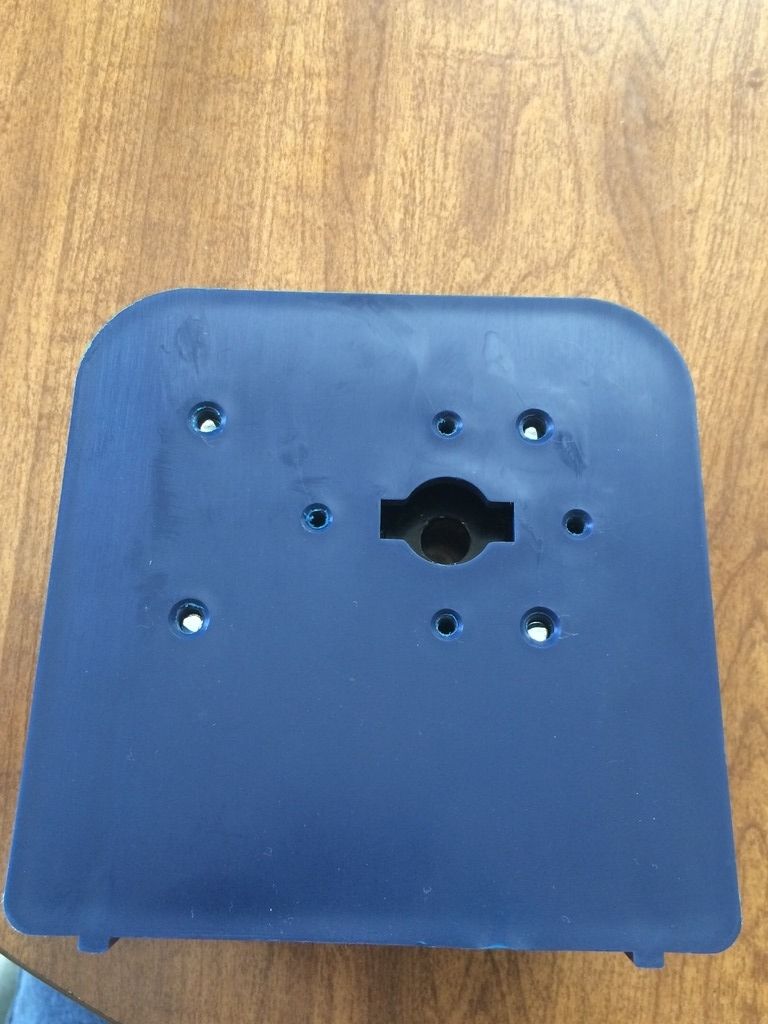
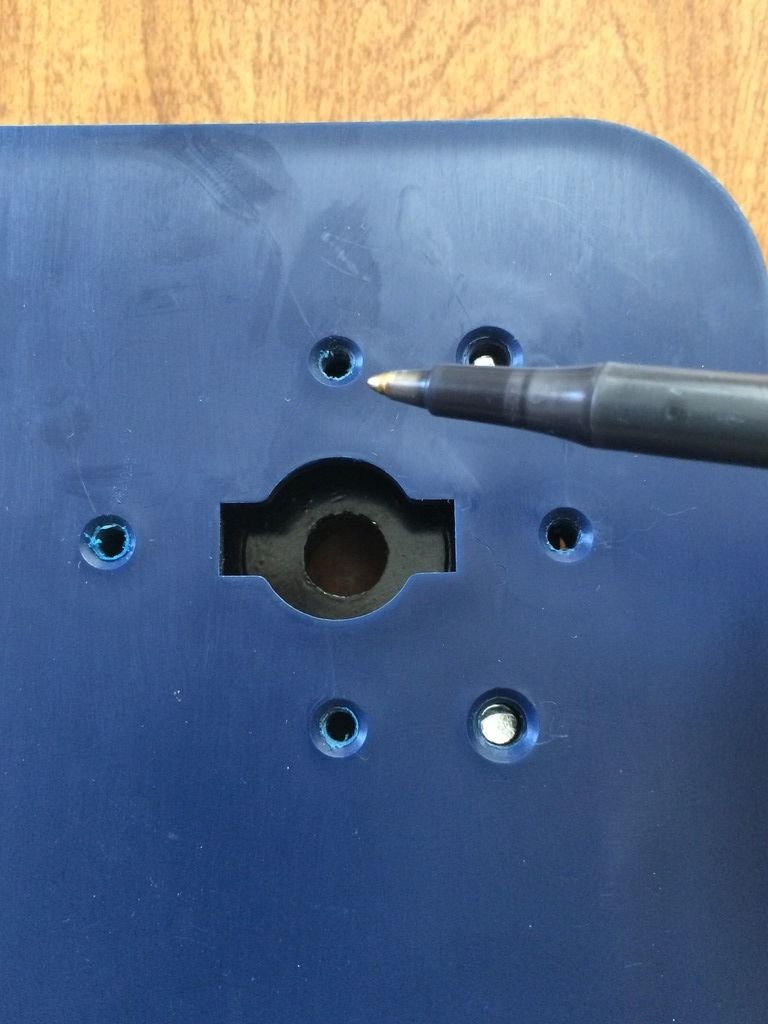
This is the mount we will be using. This mount already has holes drilled for most modern safe locks and dial rings.

Image

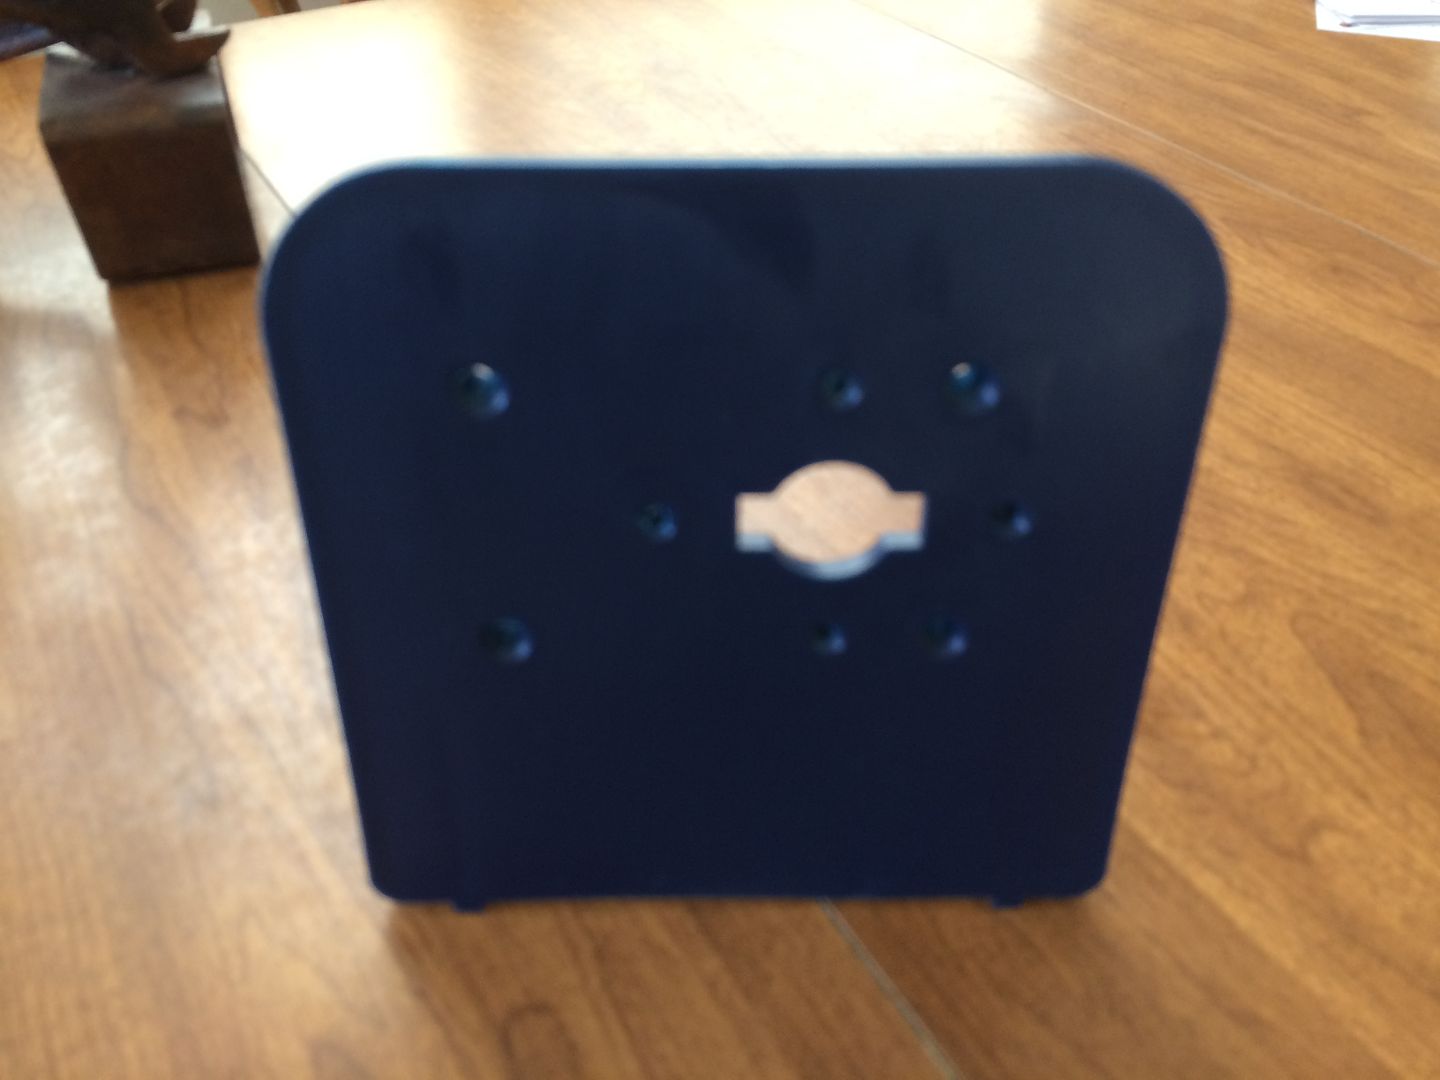
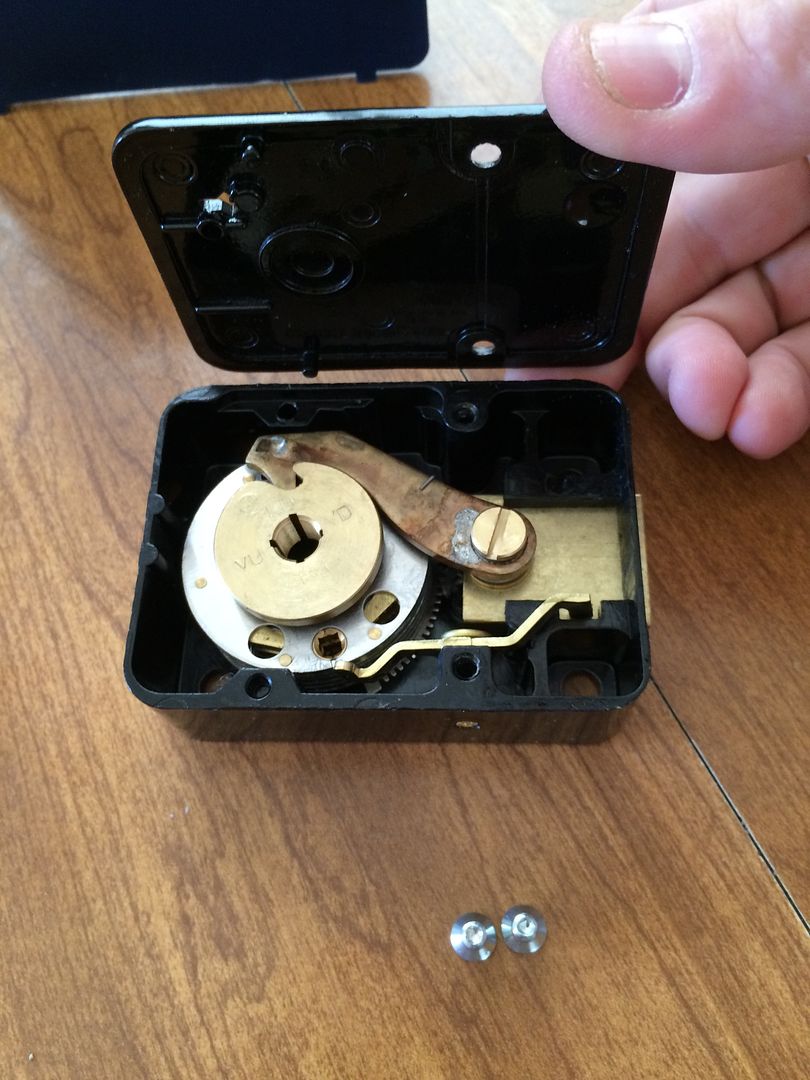
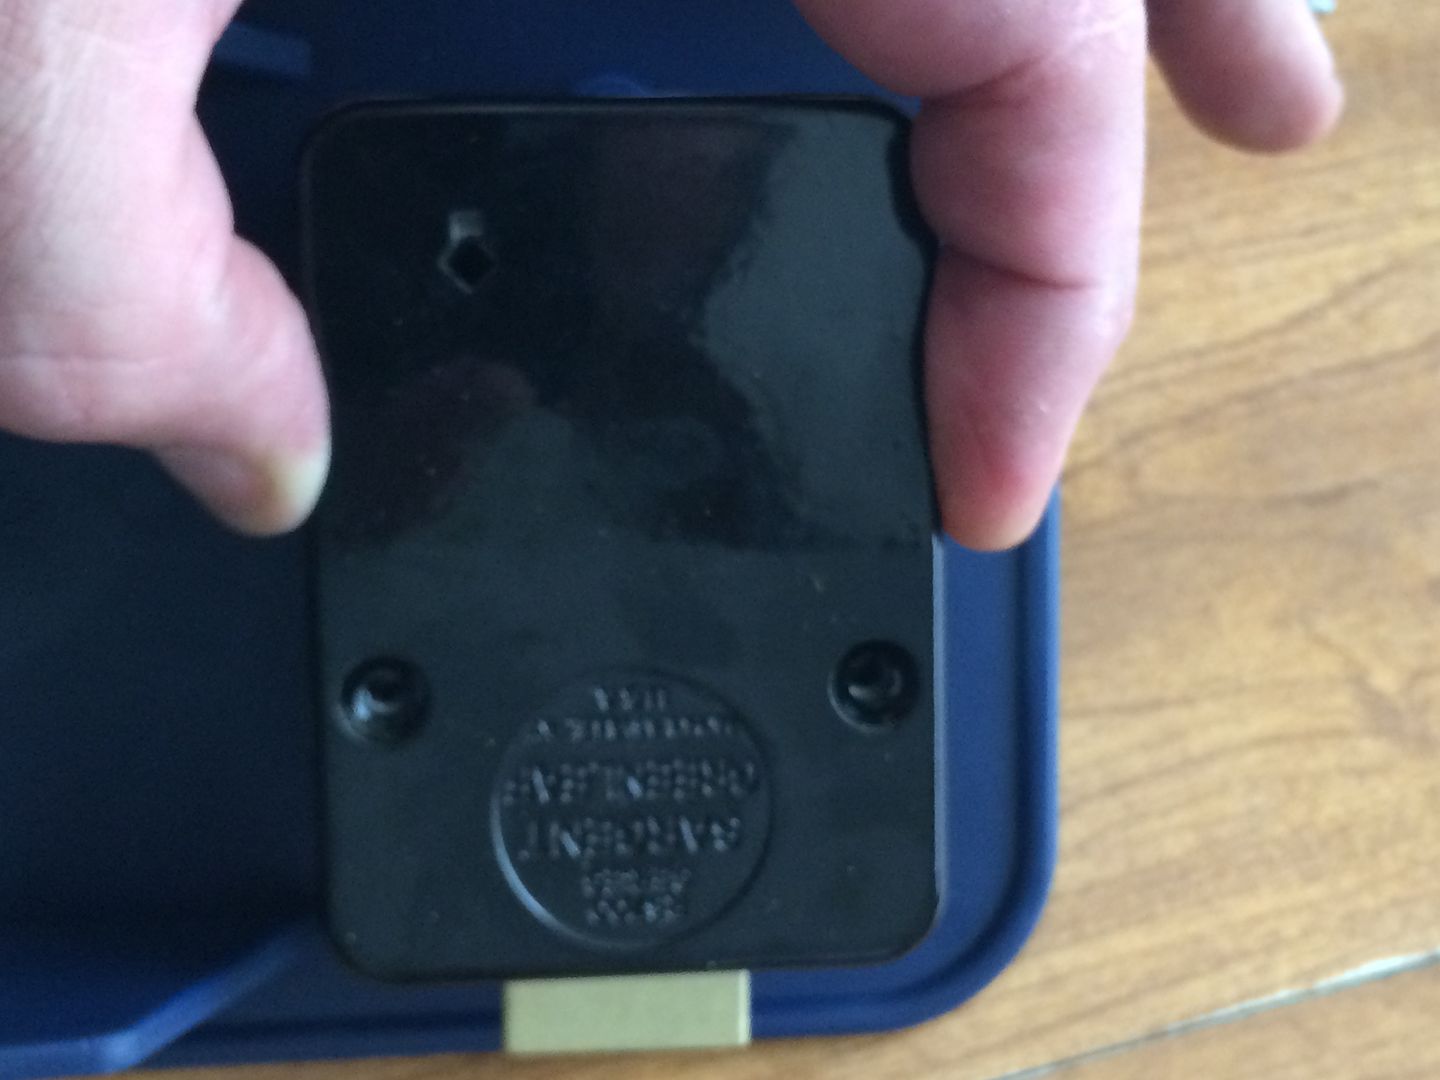
The back of the mount.

Image

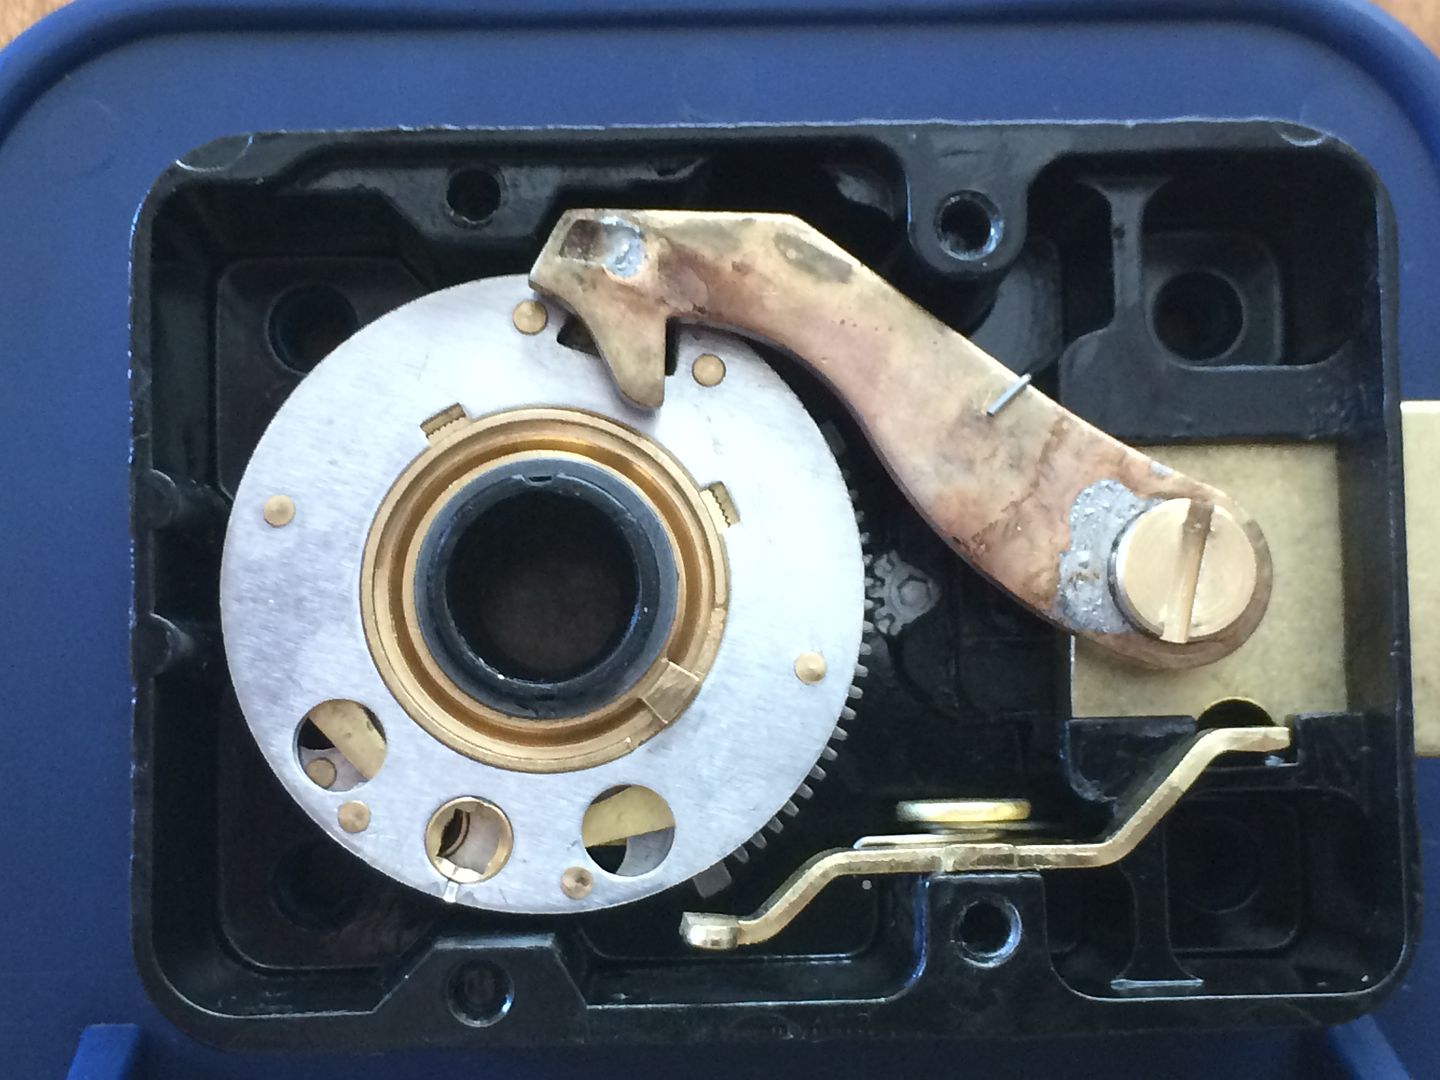
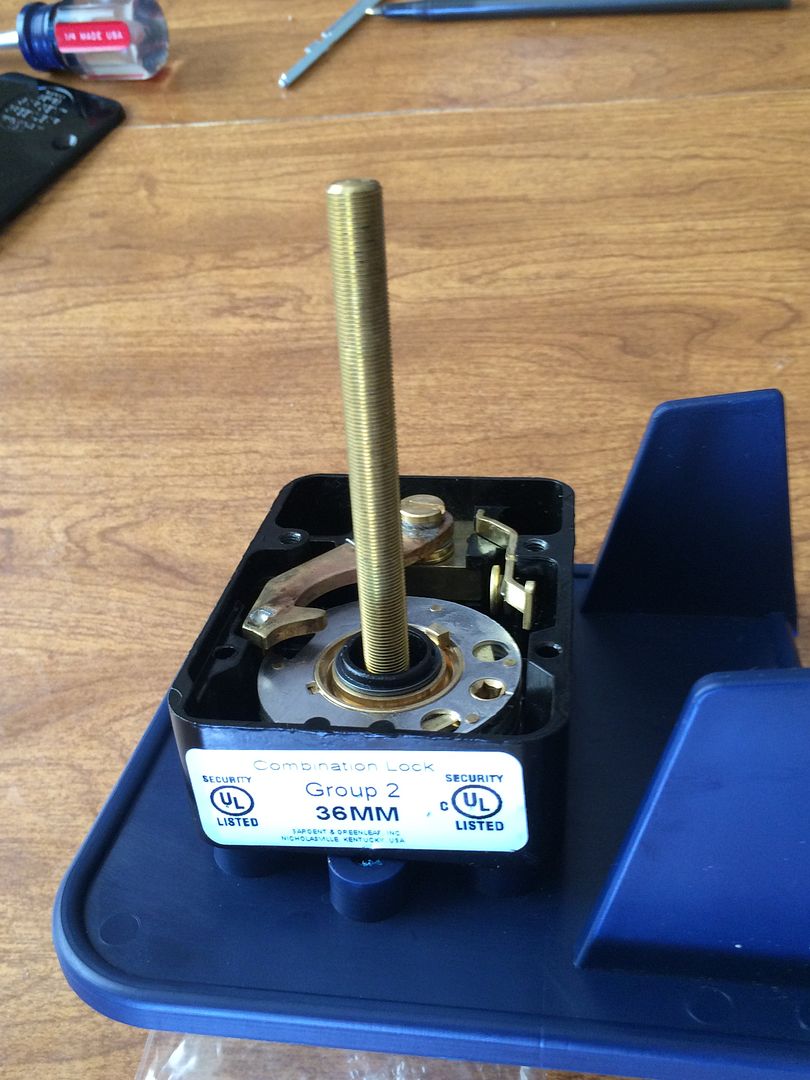
Let's get started. Take the two screws off the back of the safe lock.

Image

And remove the back cover.

Image

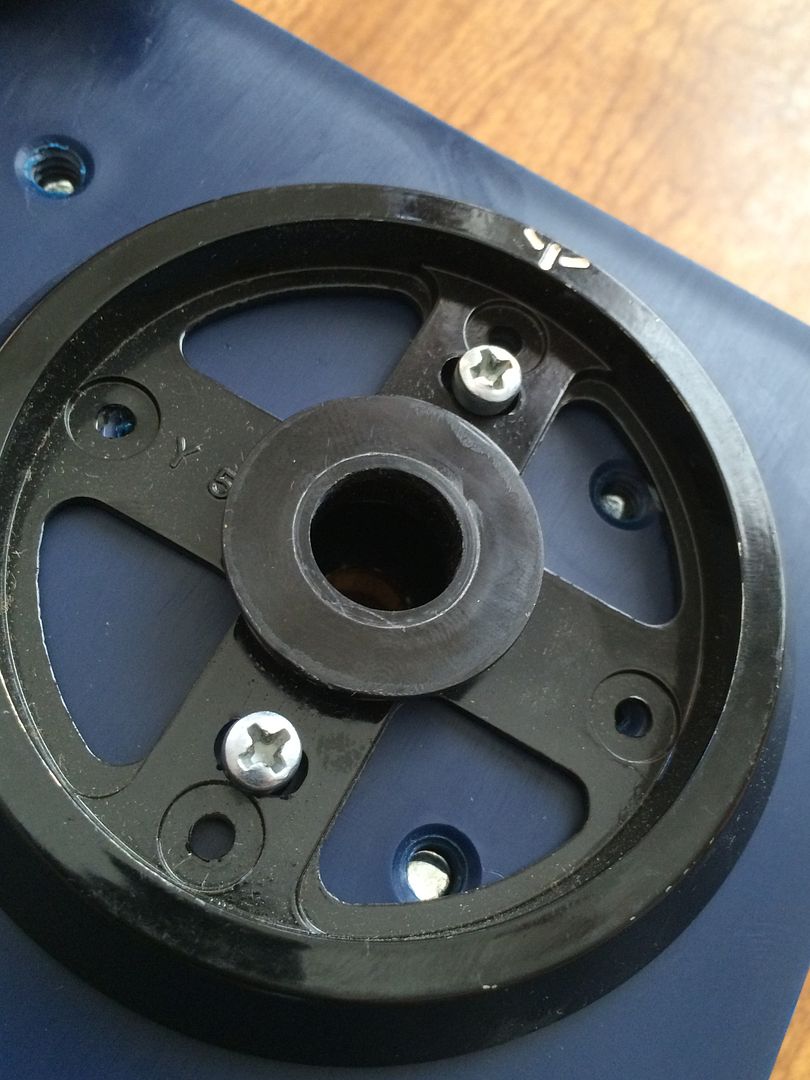
This is the drive cam.
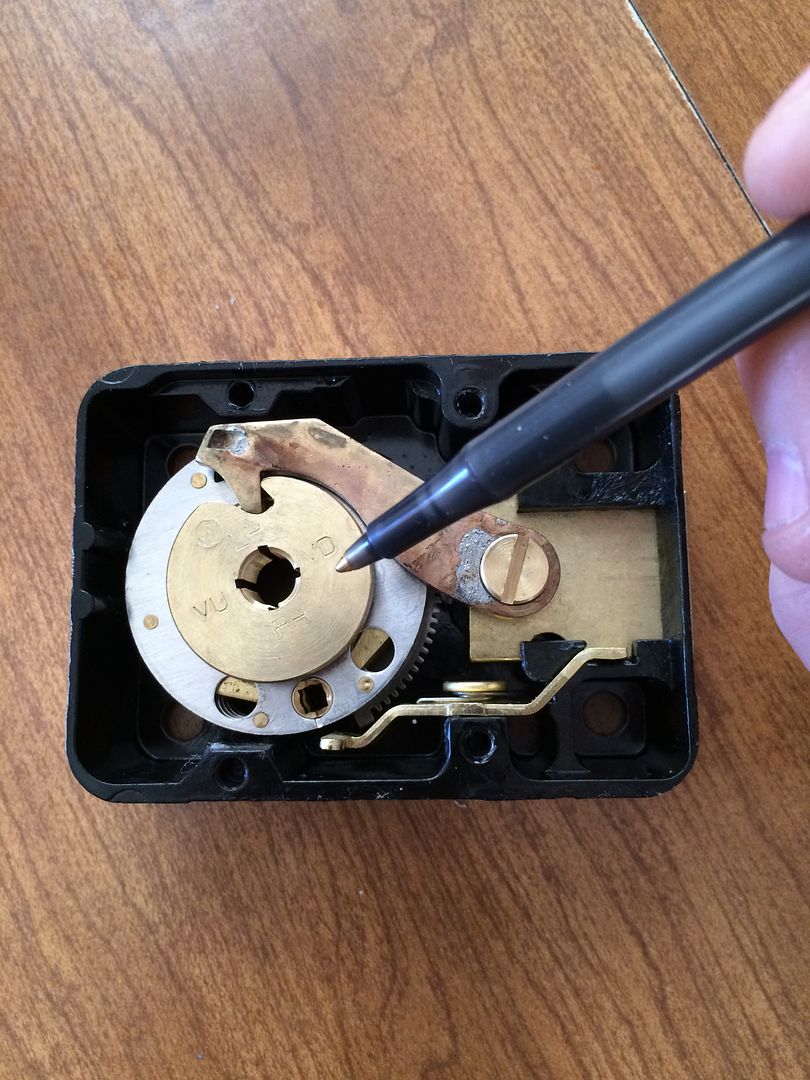
Image

It lifts right out.

Image

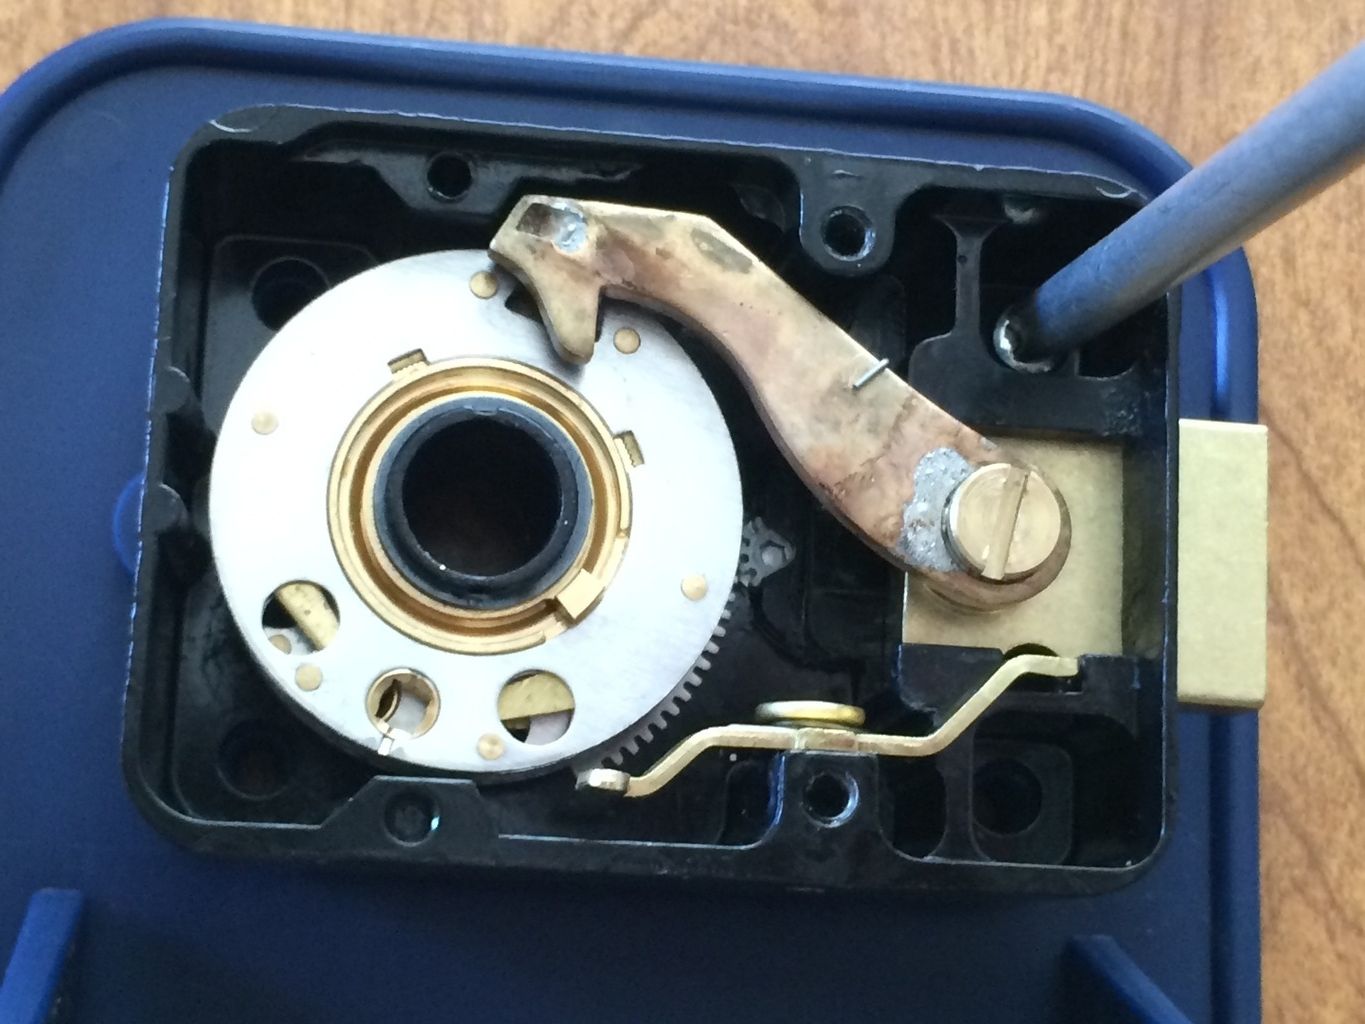
Place the lock body where it will go on the back of the mount (or safe door).

Image

Install the four screws that will hold the lock body in place. They go in the four corners of the lock, and will fully seat against the front of the lock body. (You are looking from the back of the lock when installing).

Image

Image

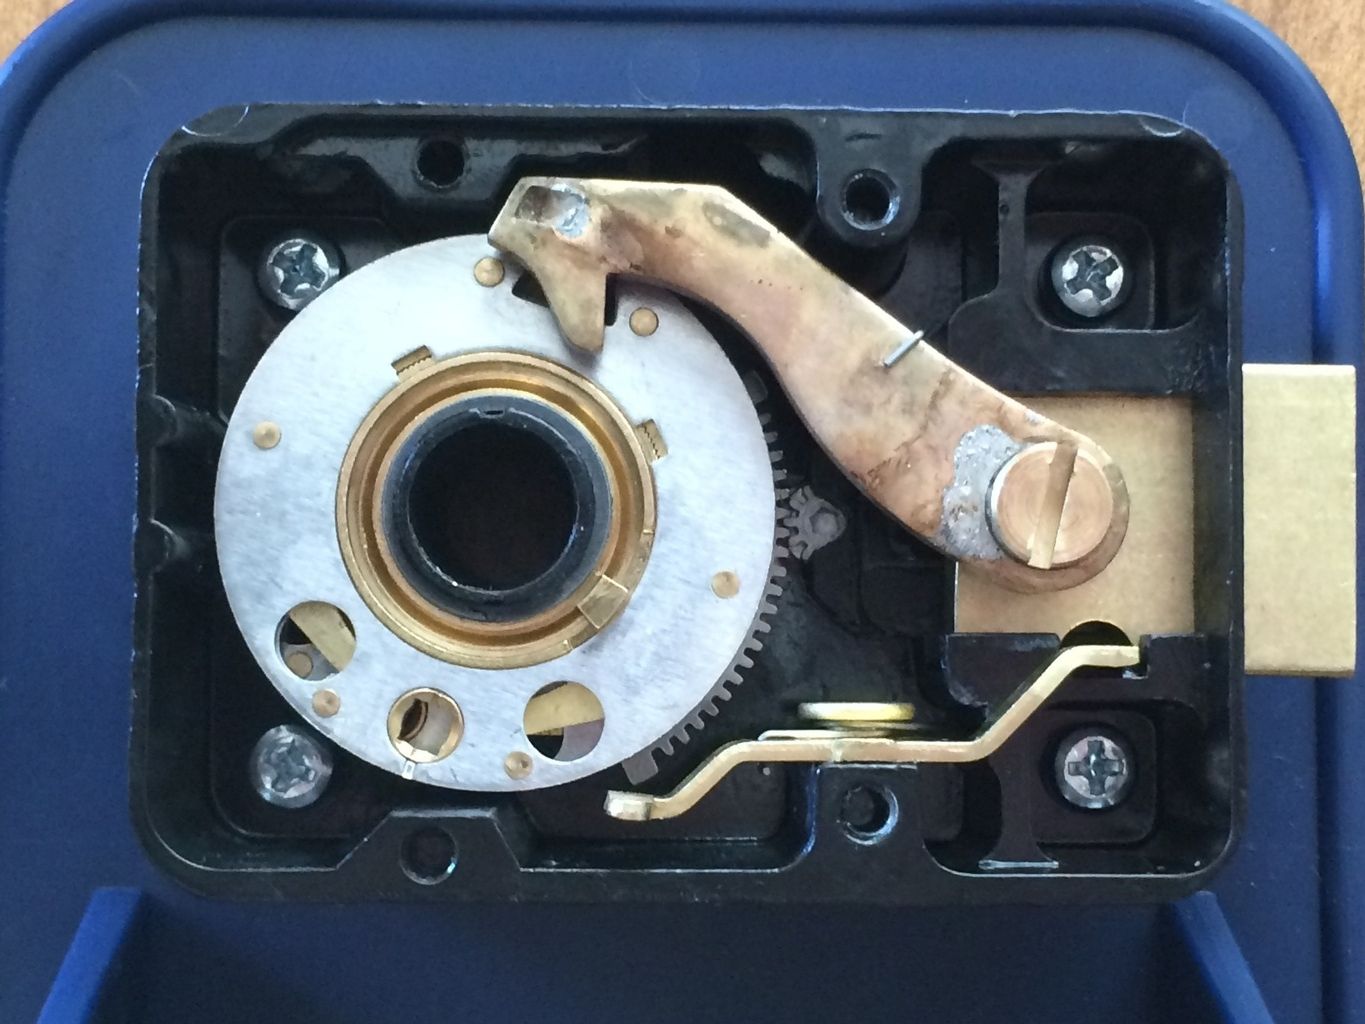
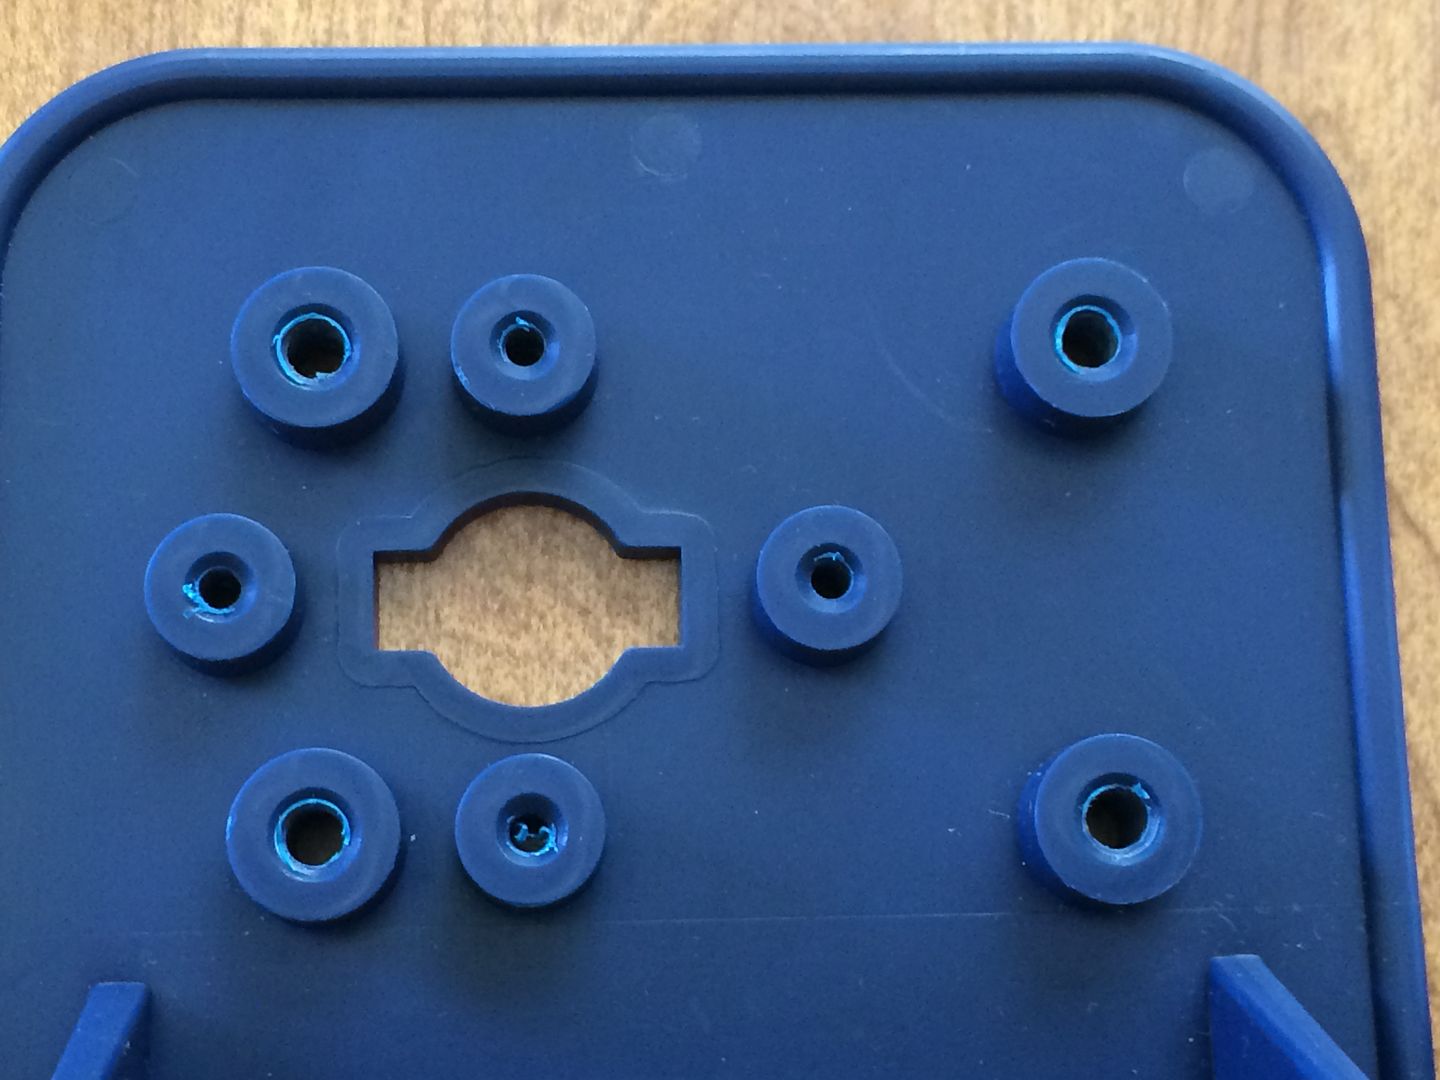
Flip the lock mount over. Now you are looking at the front of the mount/safe door.

Image

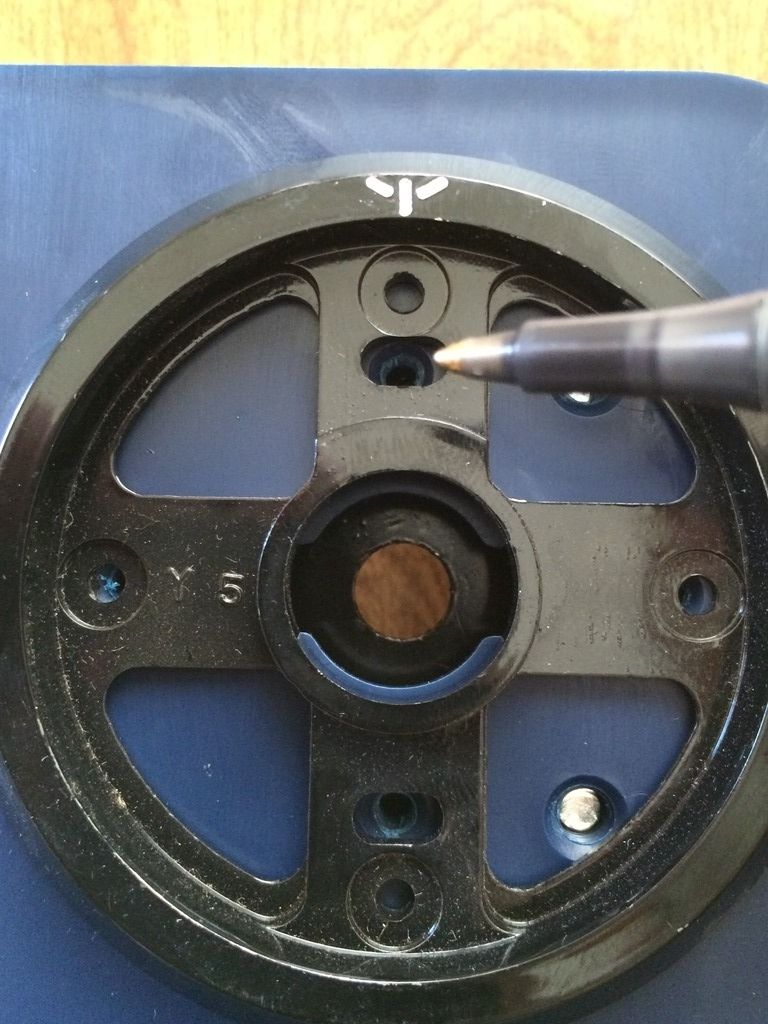
There are four screw holes that matter to us on the front. They are to the top, left, bottom and right of the spindle hole. These are for mounting the dial ring.

Image

Image

Image

Image

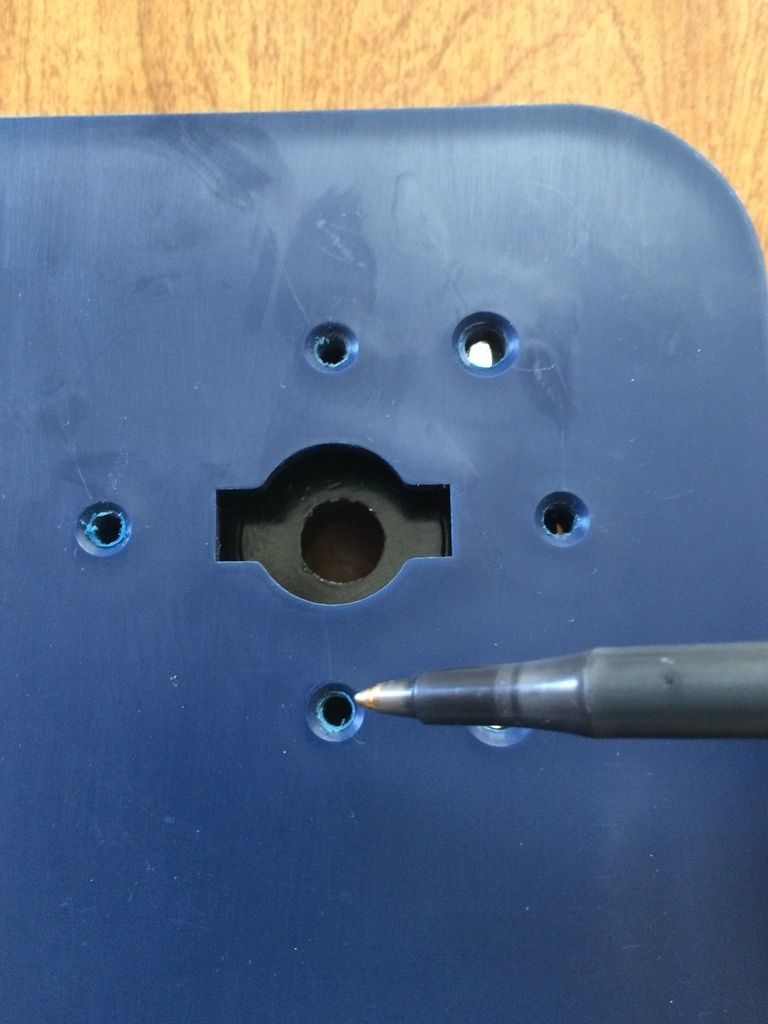
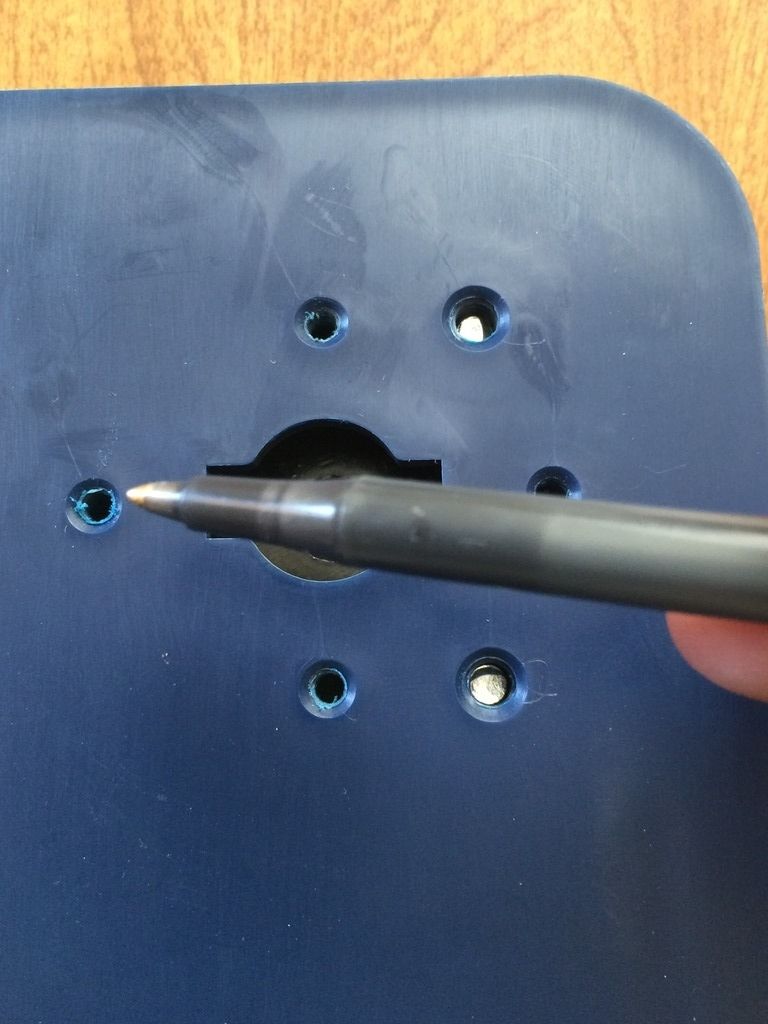
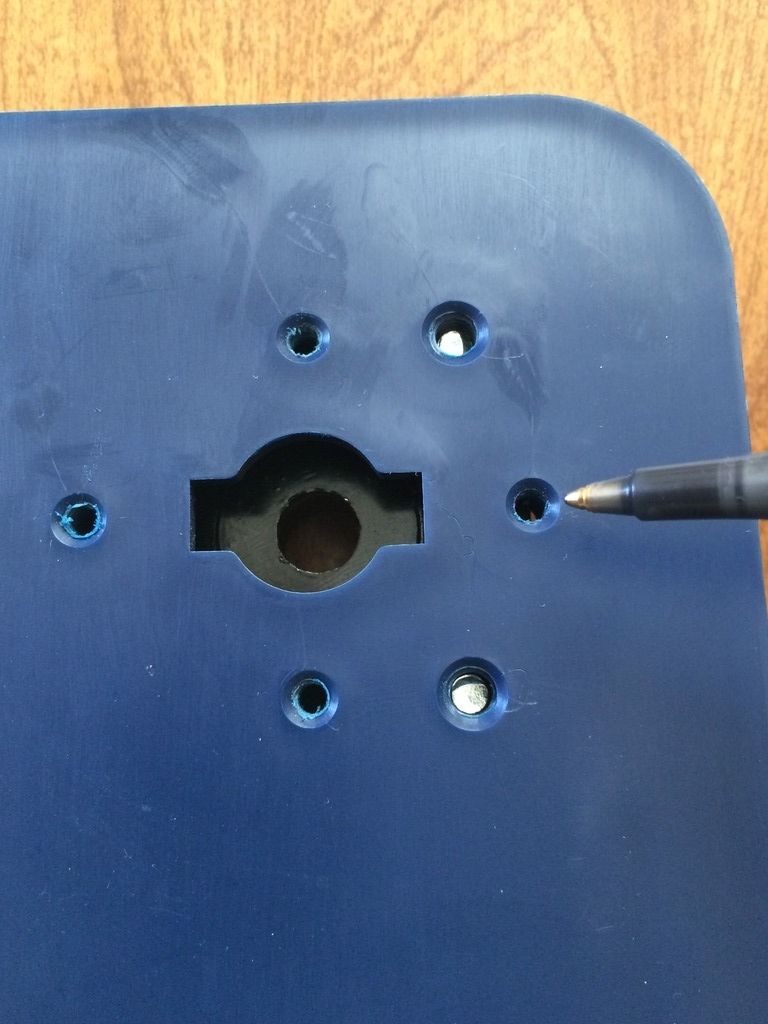
Which ones you use depend on the dial ring you are using. In this case, we will be using the top and bottom ones. Install the two screws, but leave them just loose enough that you can shift the dial ring around with a little effort. You don't want it flopping loose, but not so tight that you can't move it with your fingers.

Image

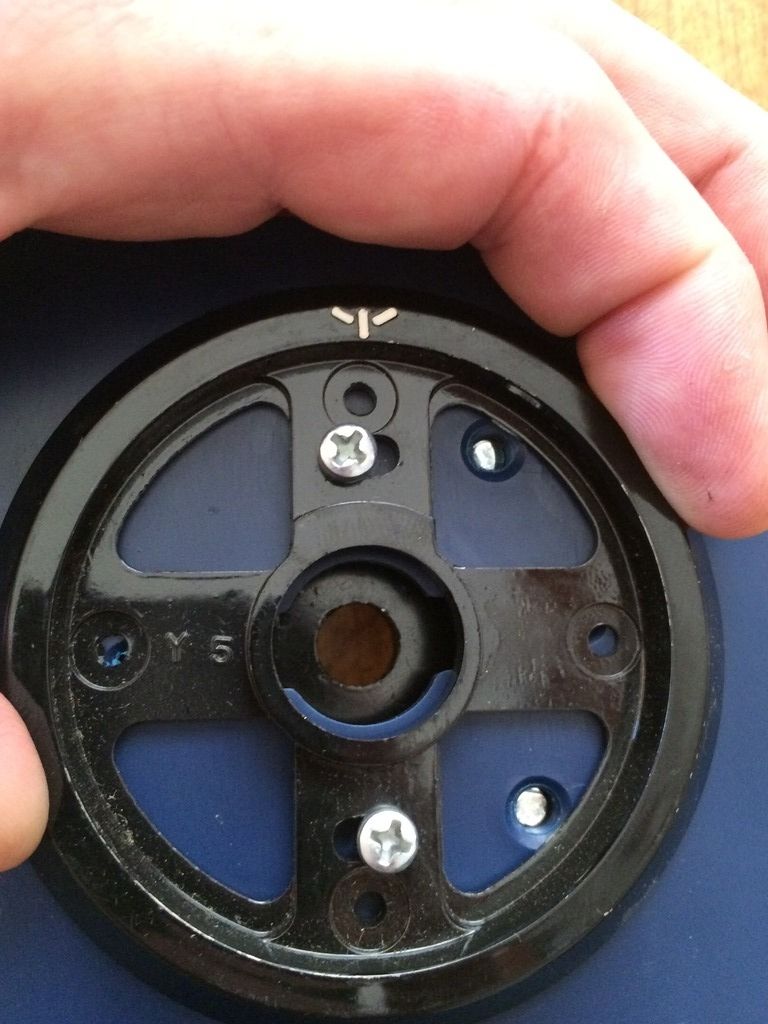
As you can see, this allows for a fair bit of shifting. This will allow you to align the dial ring to the spindle and lock.

Image

Image

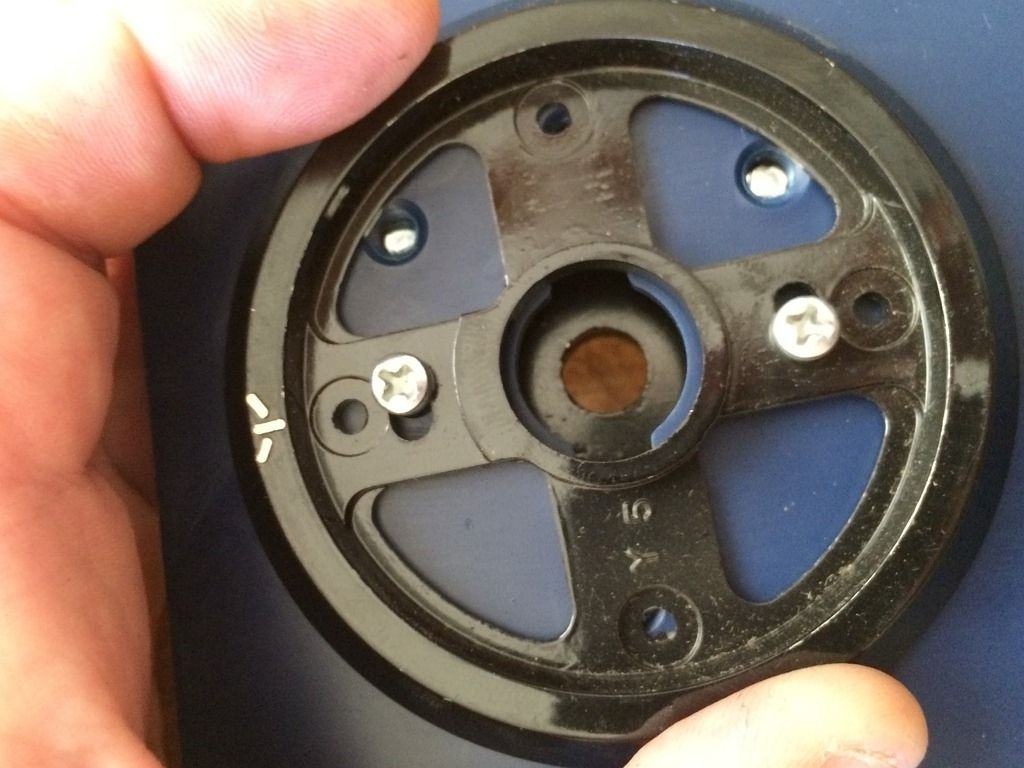
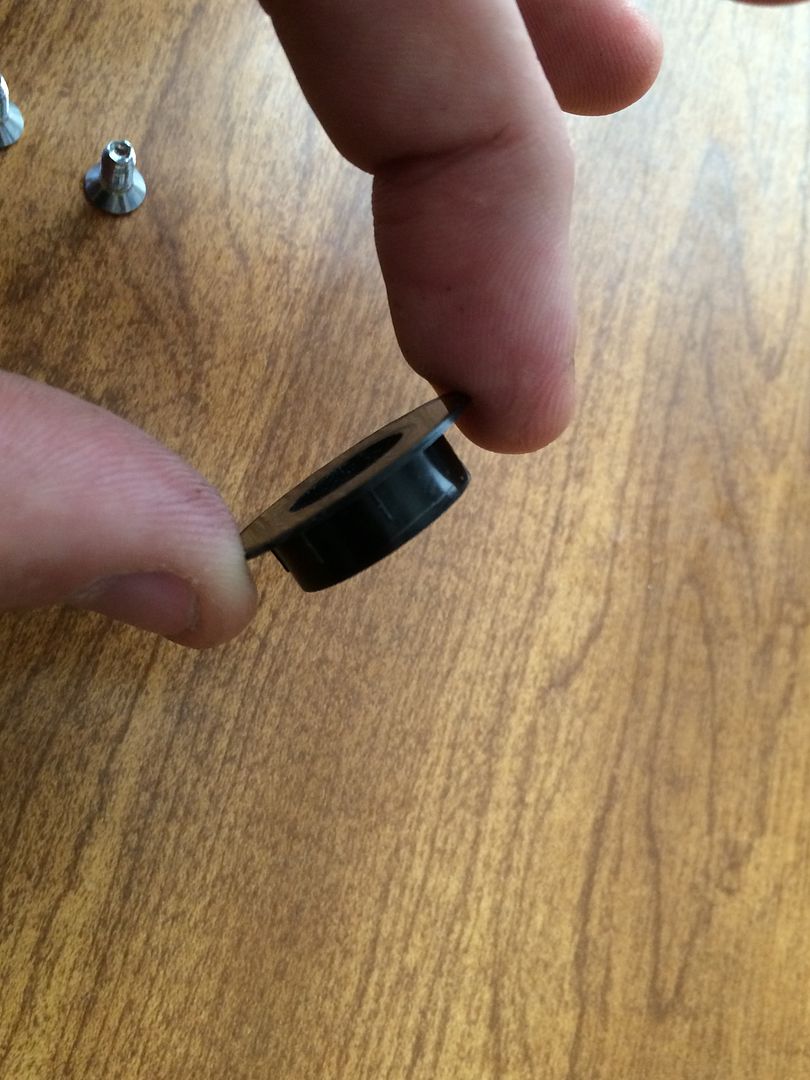
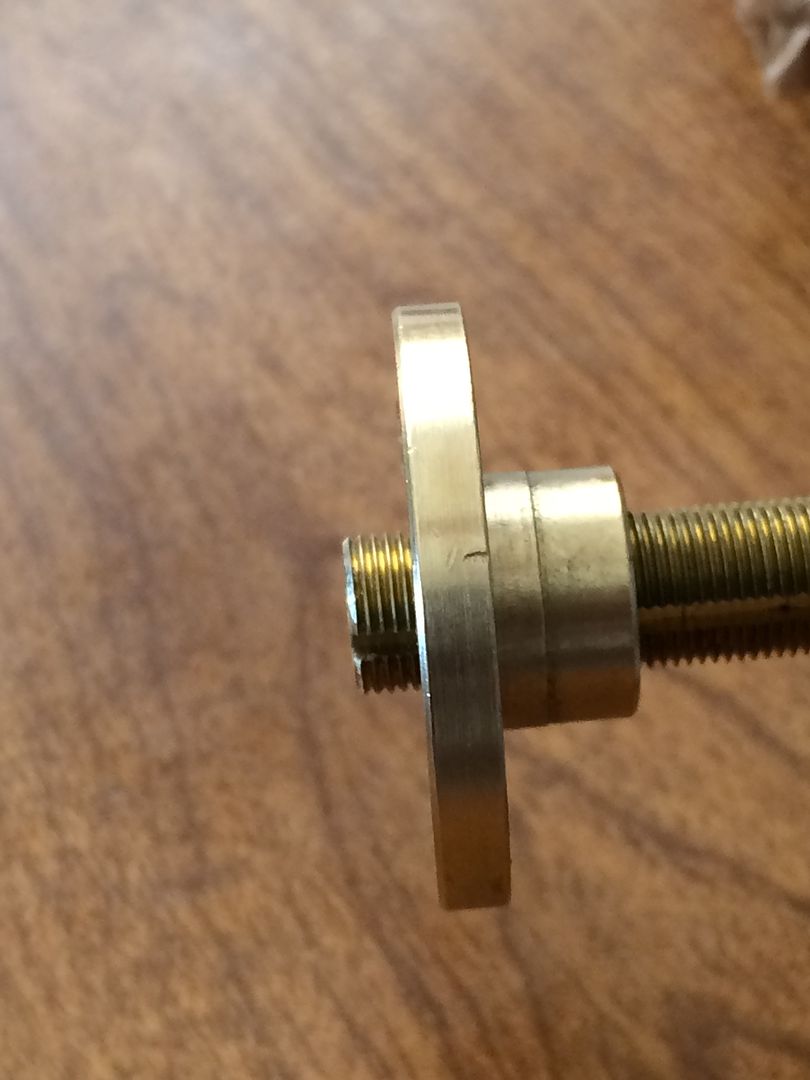
Now install the dial ring bushing.

Image

Image

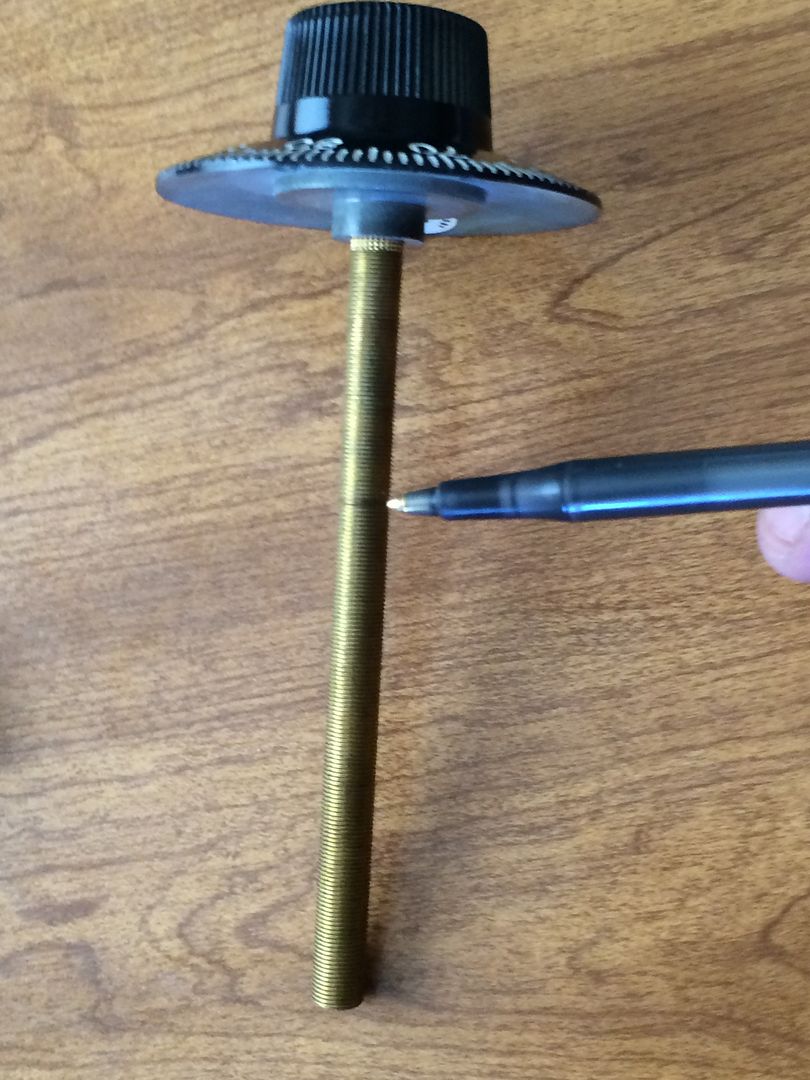
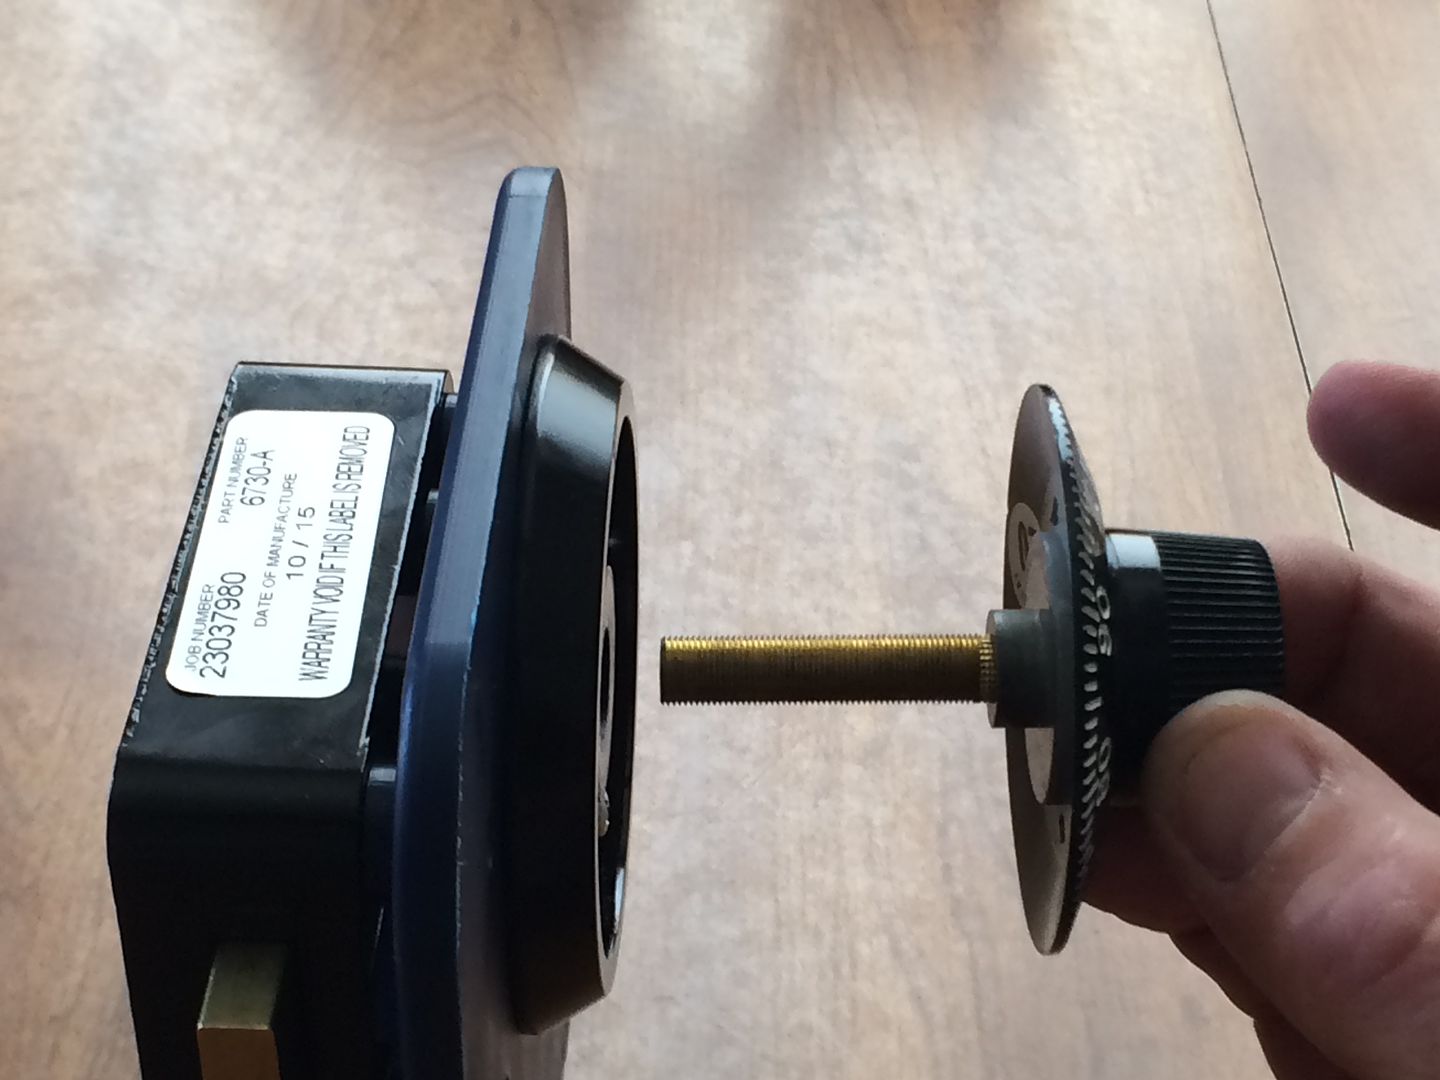
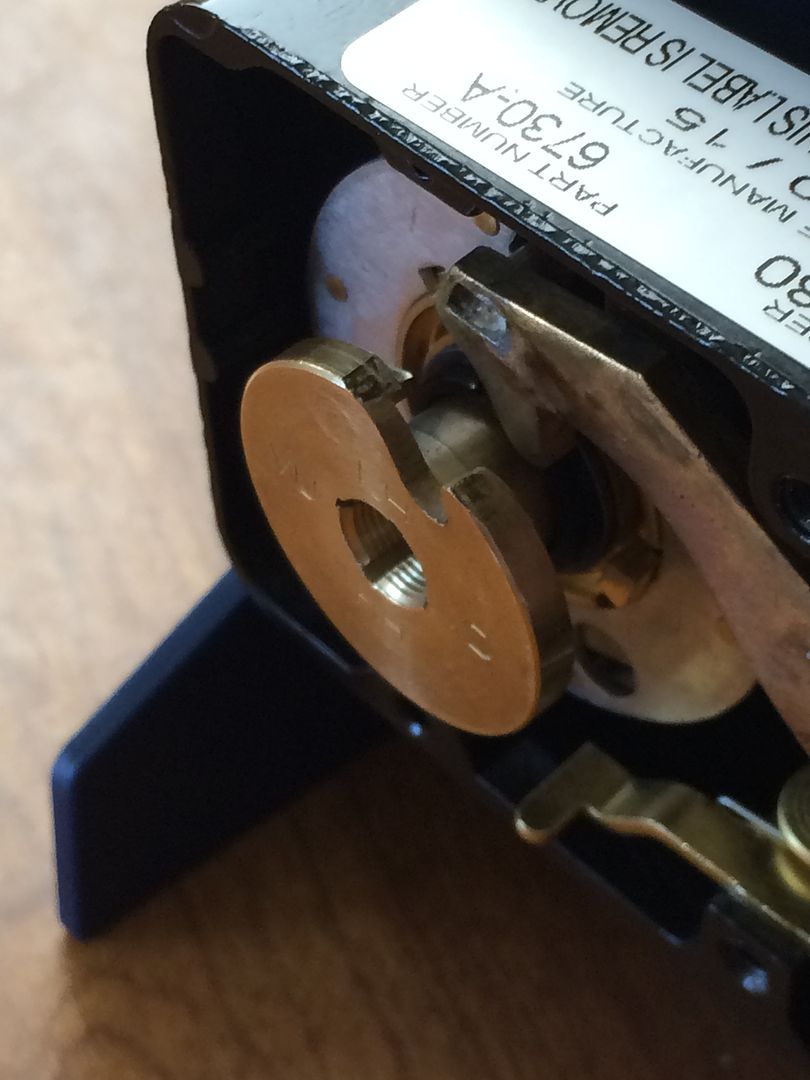
Next comes the dial/spindle.

Image

Image

Image

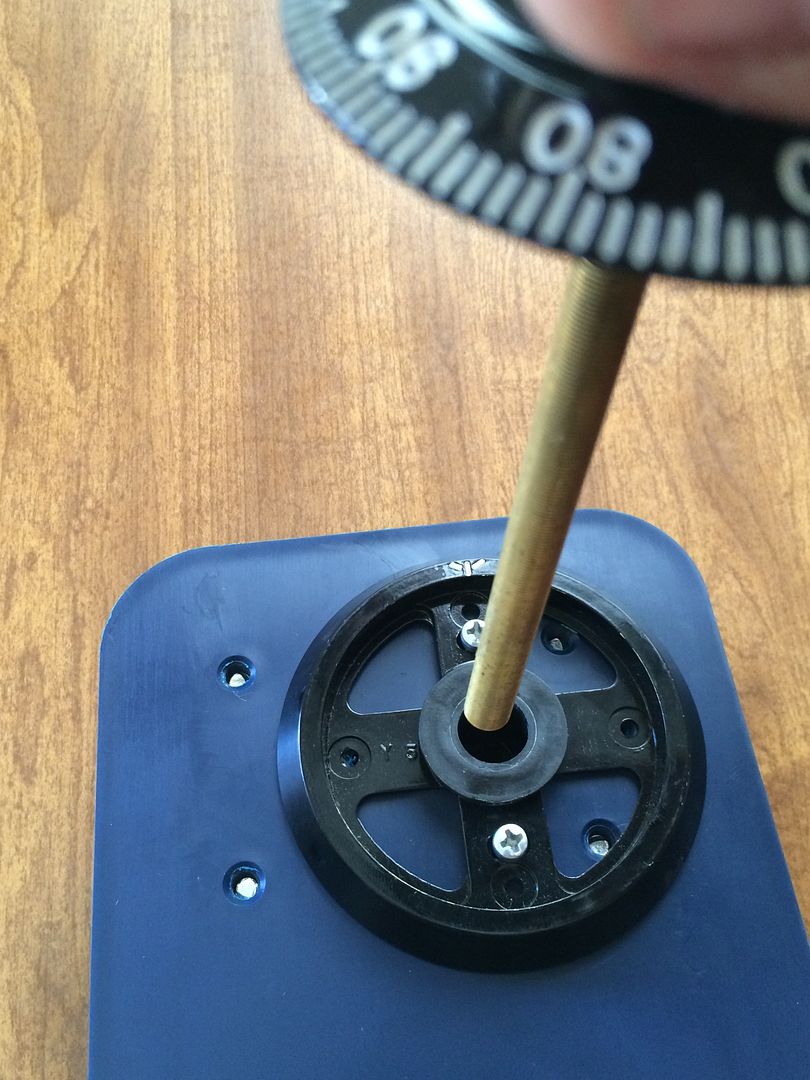
Hmm. Something look a little off to you?

Image

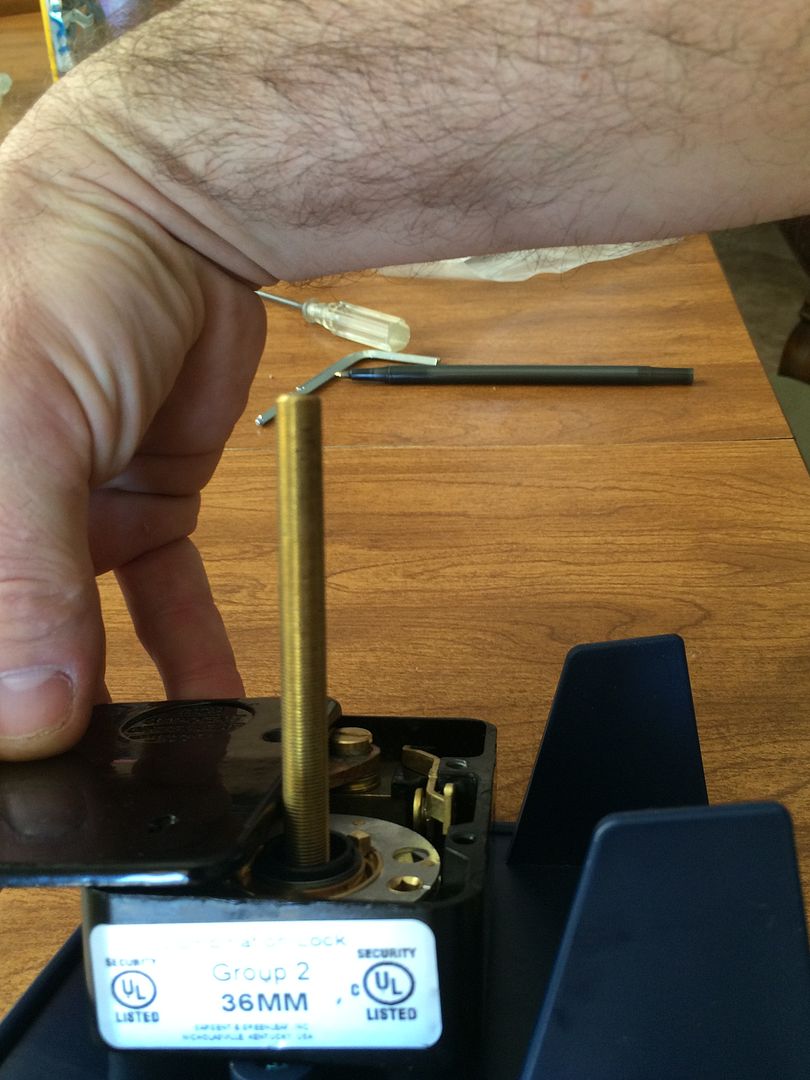
The back cover does not fit because the spindle is too long. Well, good thing there is a simple solution to that problem!

Image

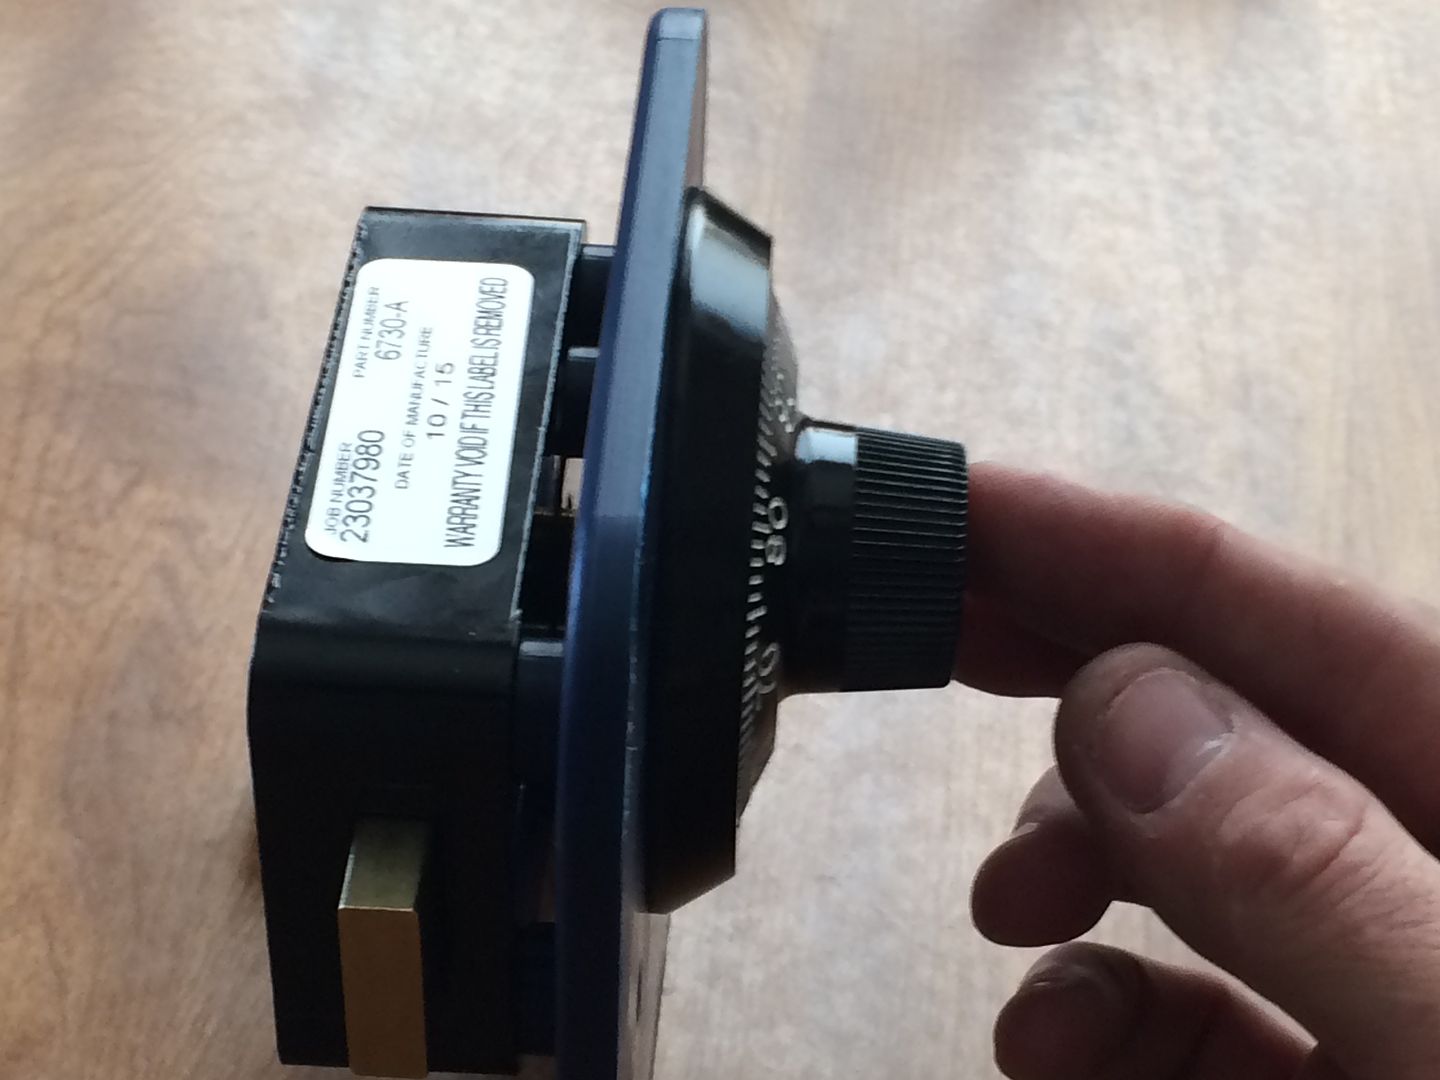
OK, now install the back cover.

Juuuust kidding. :twisted:

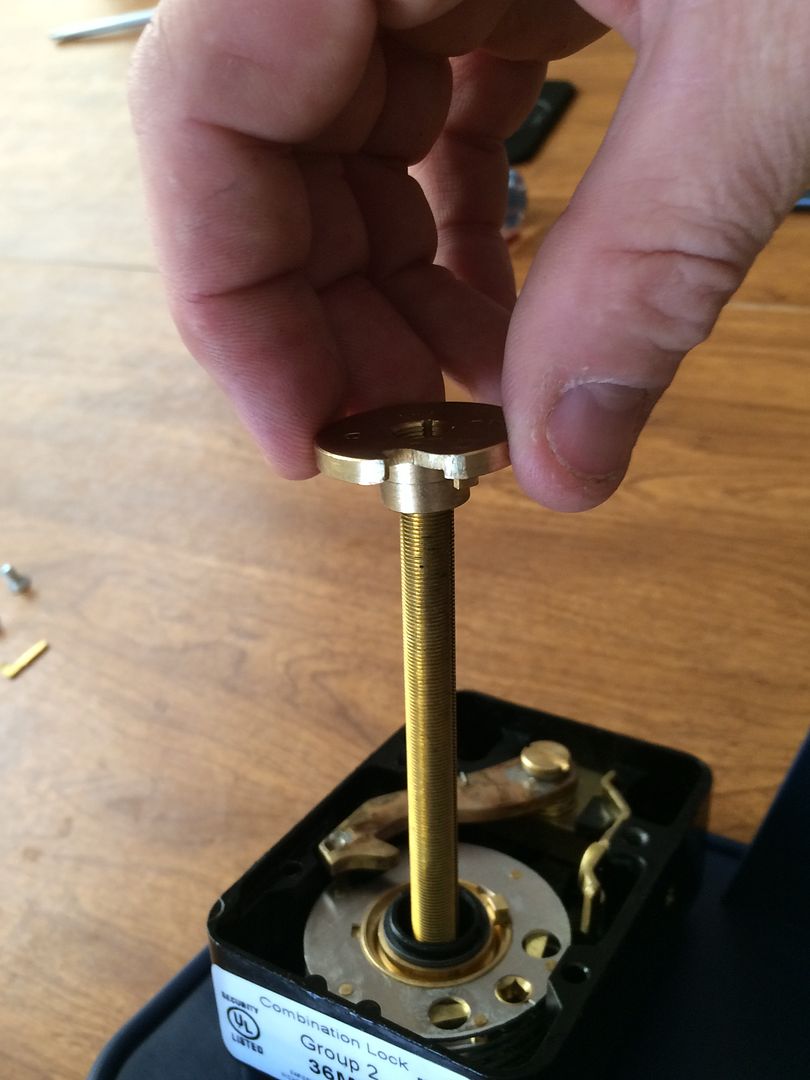
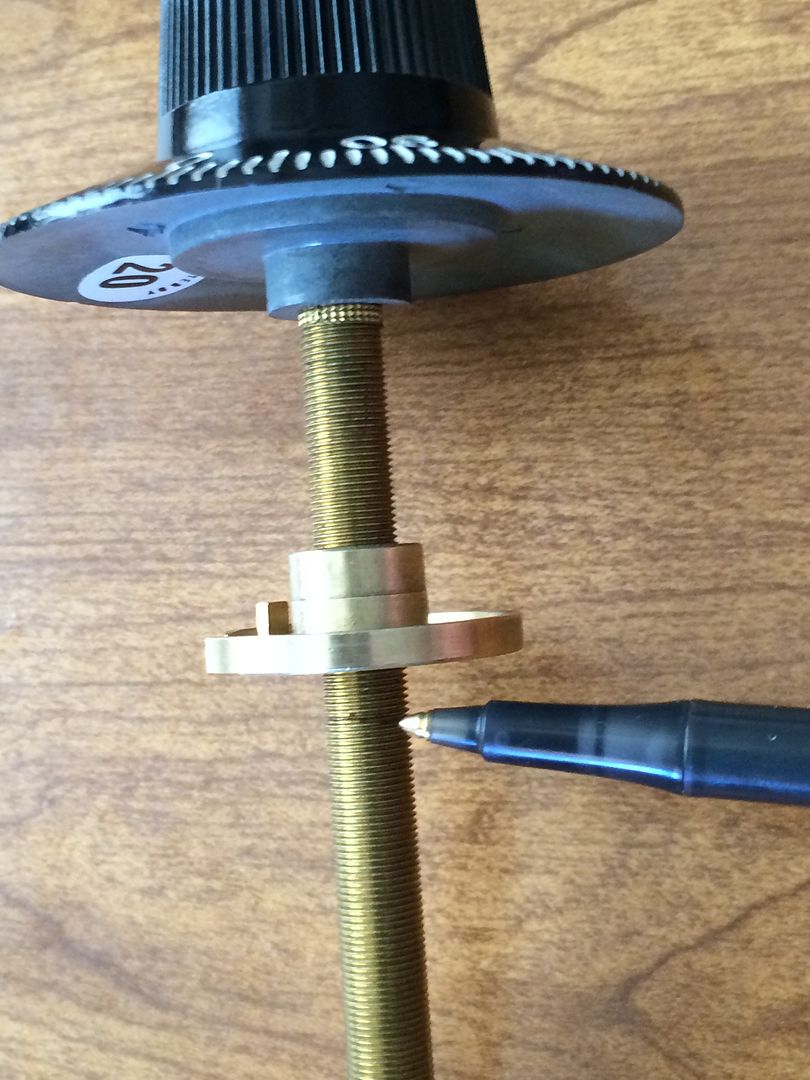
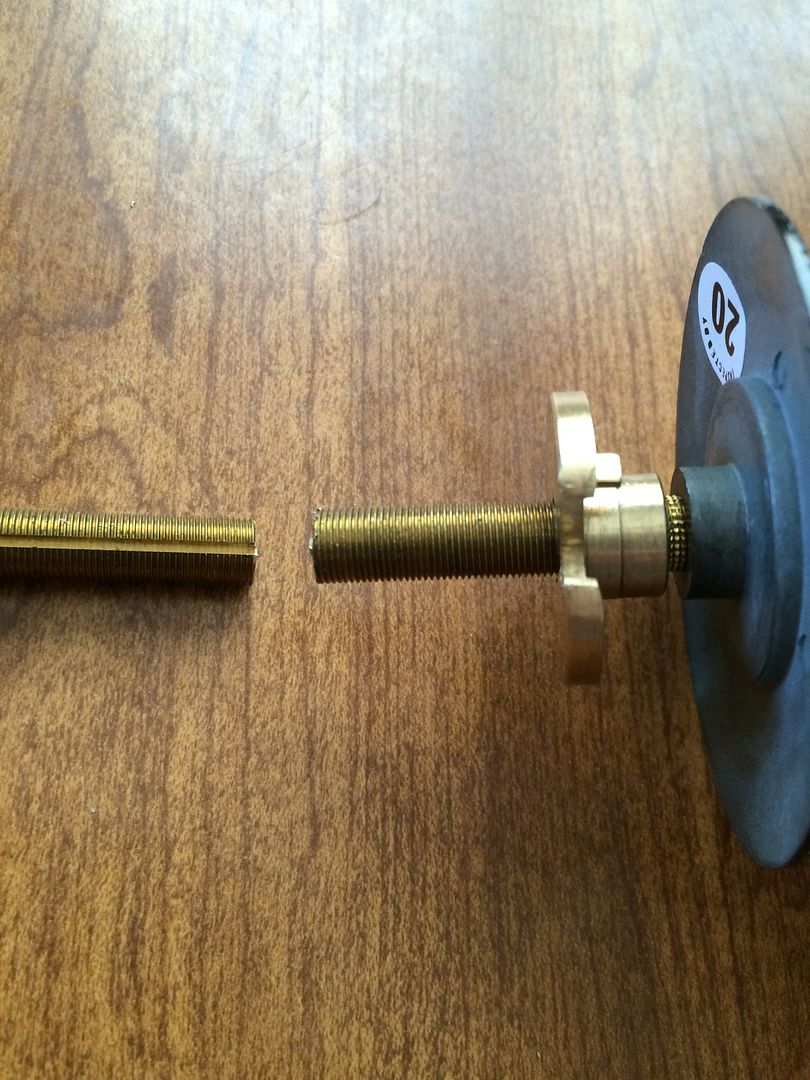
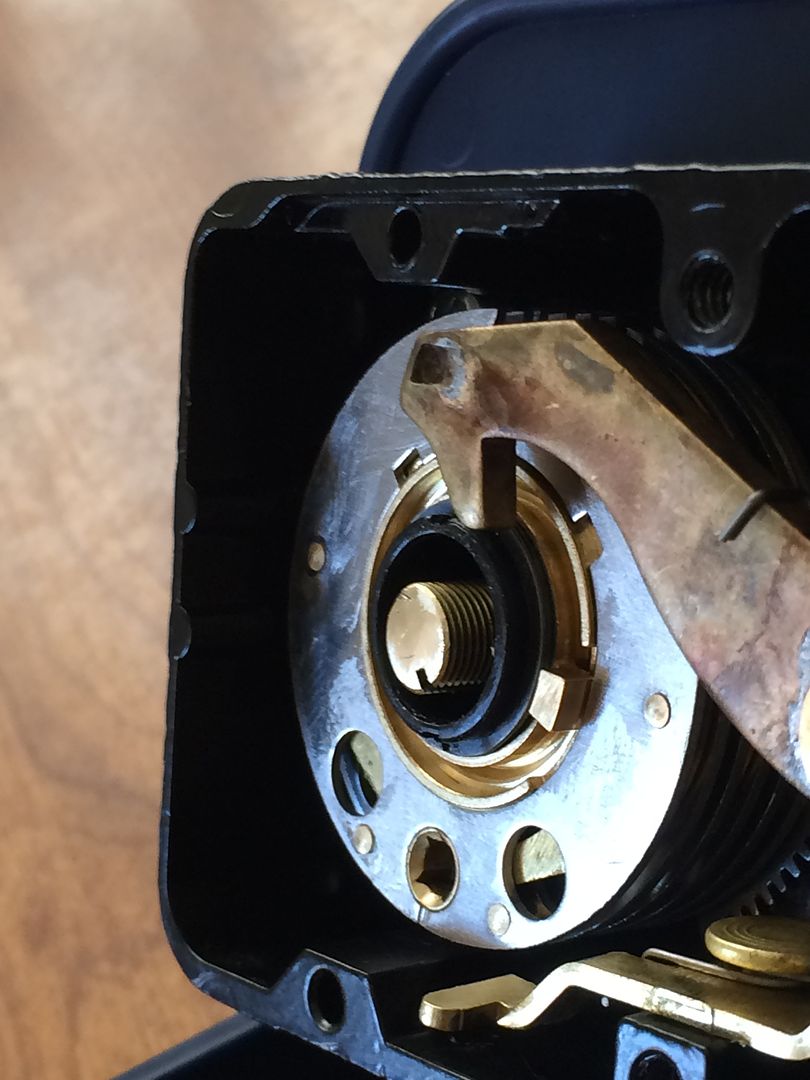
Thread the drive cam onto the spindle until it is all the way down.

Image

Now use a marker to mark the spindle at the top of the drive cam.

Image

Now remove the drive cam and spindle. Here is the mark. This tells you where to cut the spindle.

Image

But before you cut, thread the drive cam onto the spindle until it is further down than the mark.

Image

I prefer to thread it all the way down.

Image

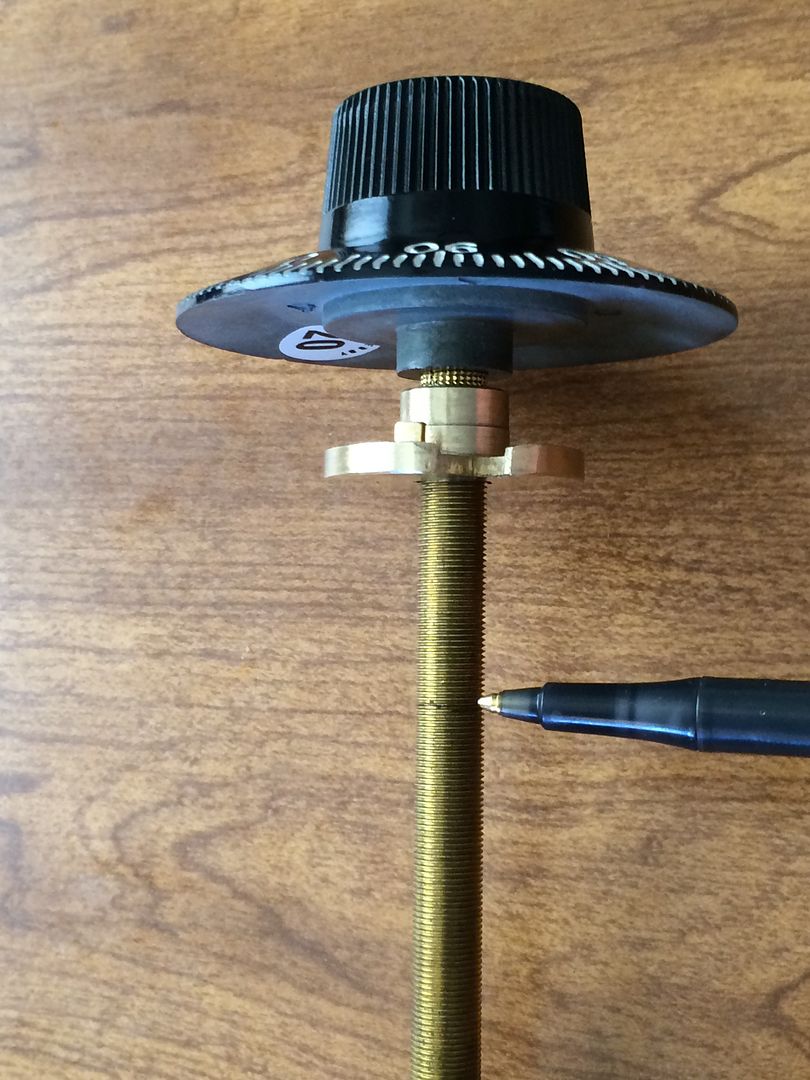
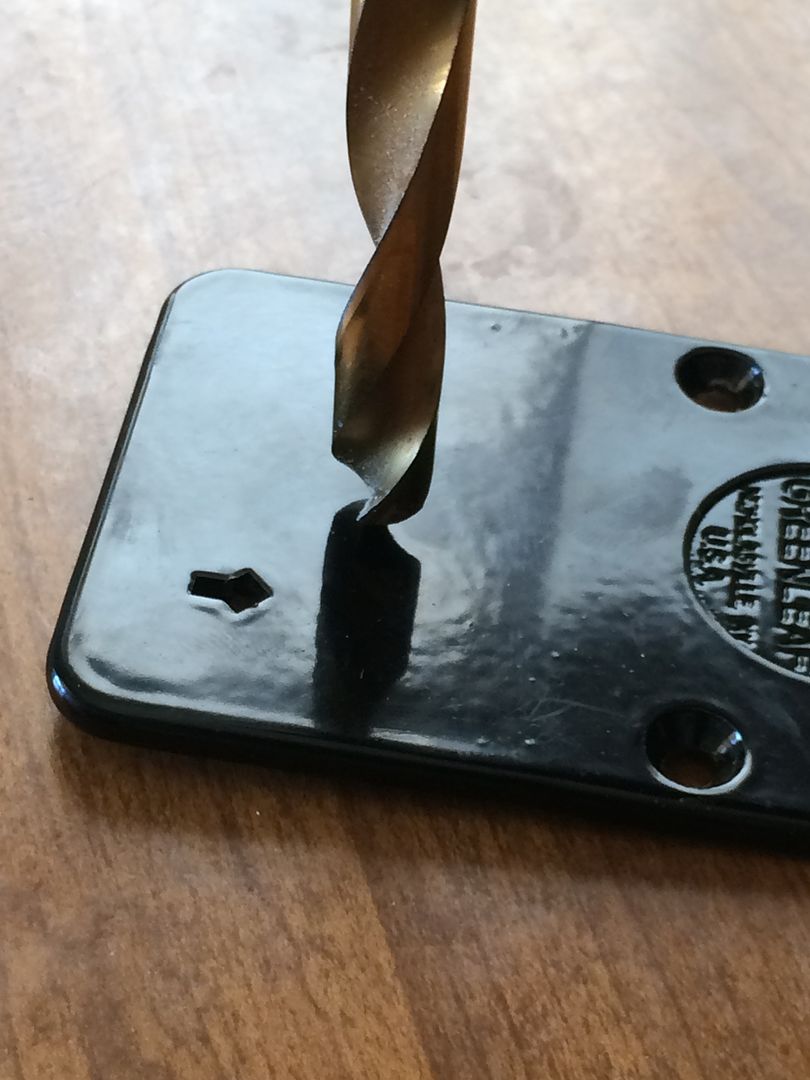
Now cut the spindle with a hacksaw or dremel at the mark.

Image

Image

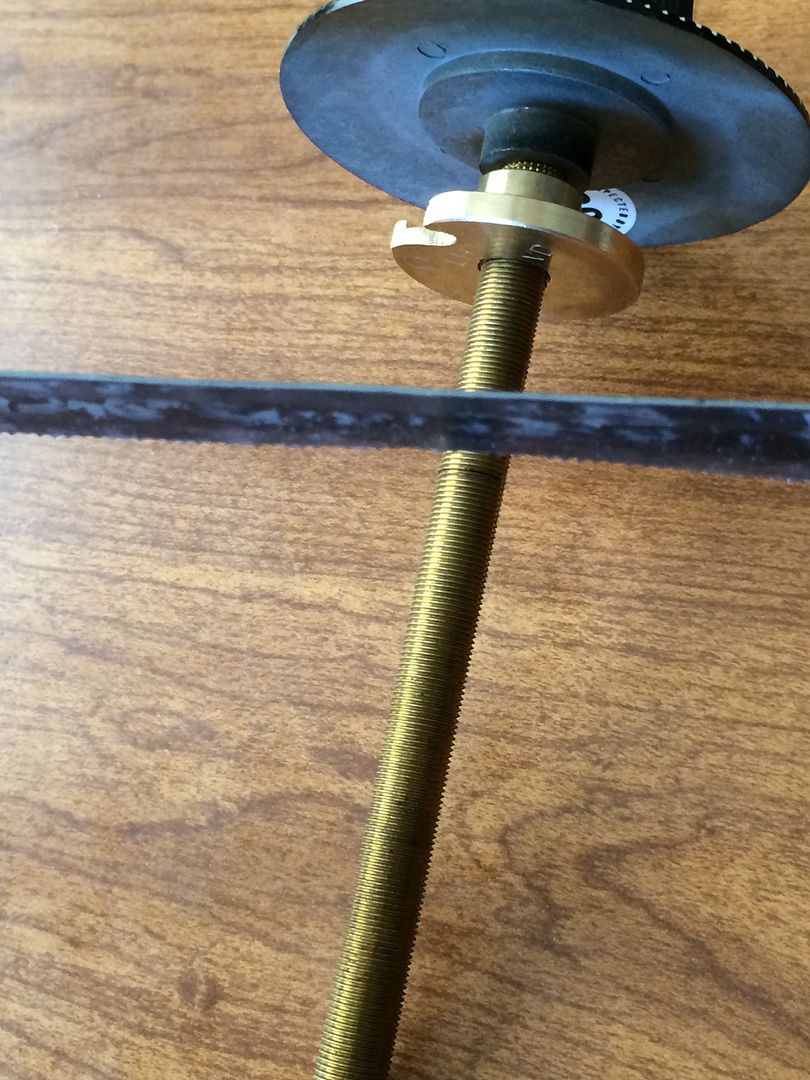
Clean up the edge a bit with a file.

Image

Image

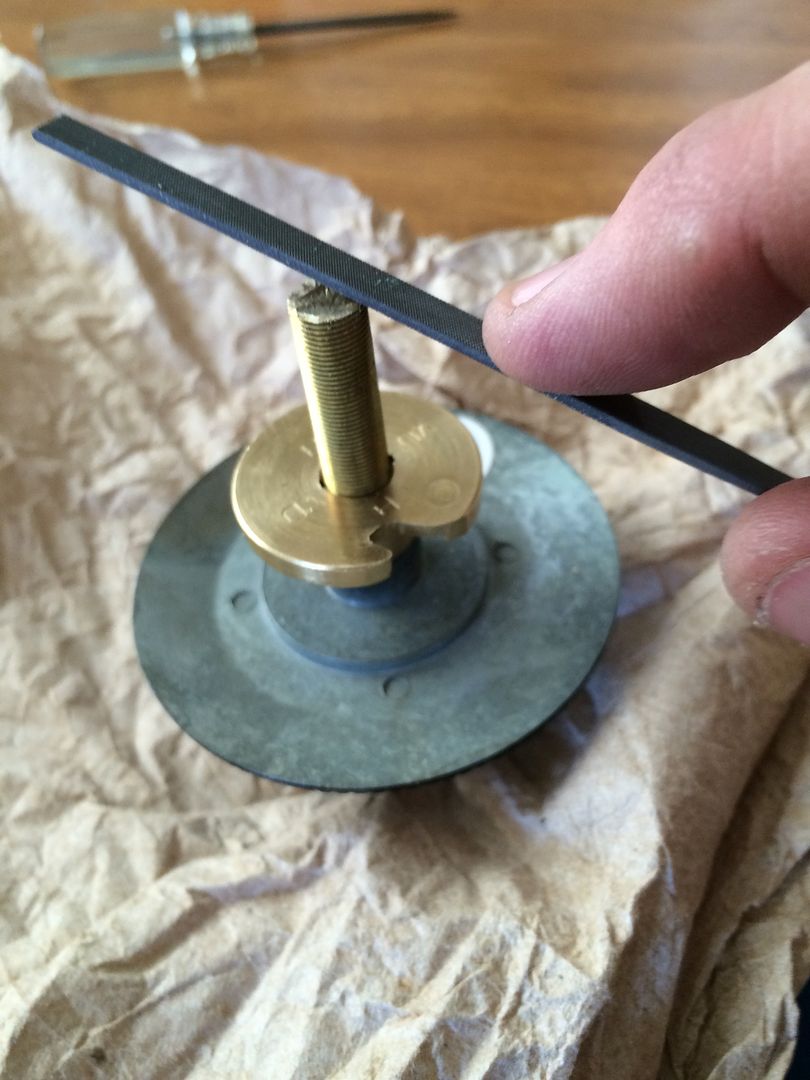
Now if you see the edge, it looks better than when you first cut it. But if you were to try threading the drive cam on at this point, you may end up cross-threading it.

Image

Luckily, you have already threaded the drive cam on before making the cut. You did do that, right?

Image

So you can now simply unthread the drive cam, and it will finish cleaning up the threads on the spindle as the drive cam is removed.

Image

Reinstall the now proper length dial/spindle.

Image

Image

Image

Thread on the drive cam.

Image

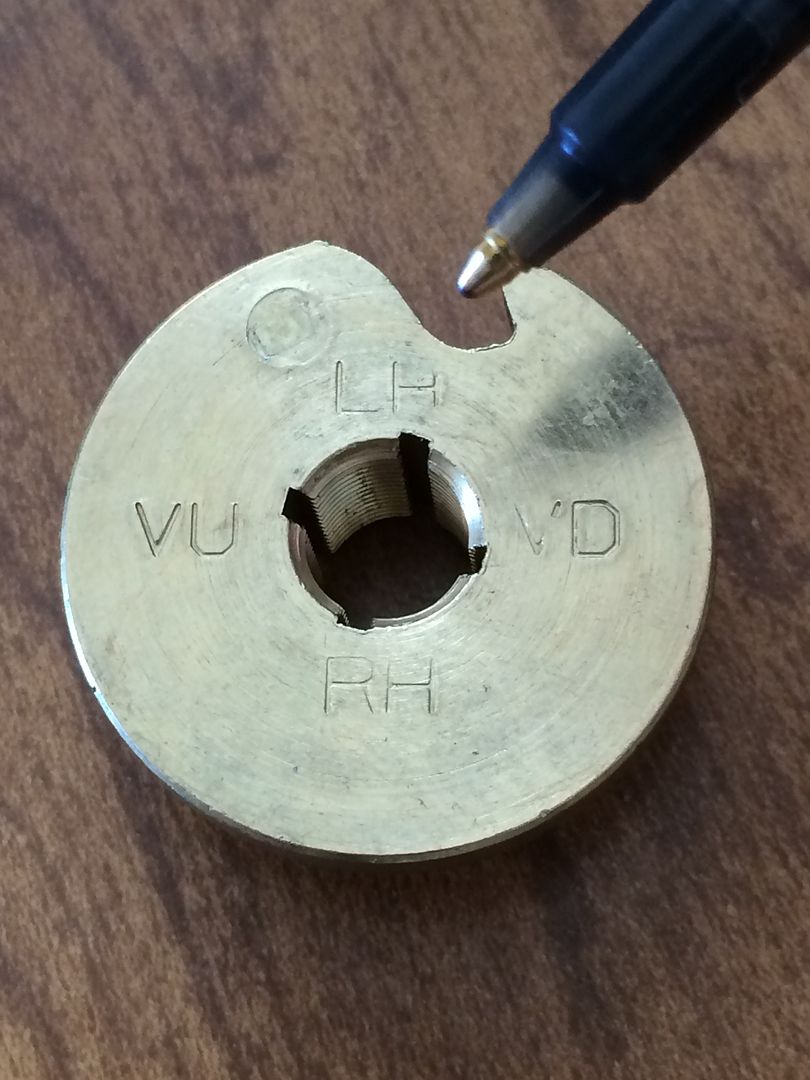
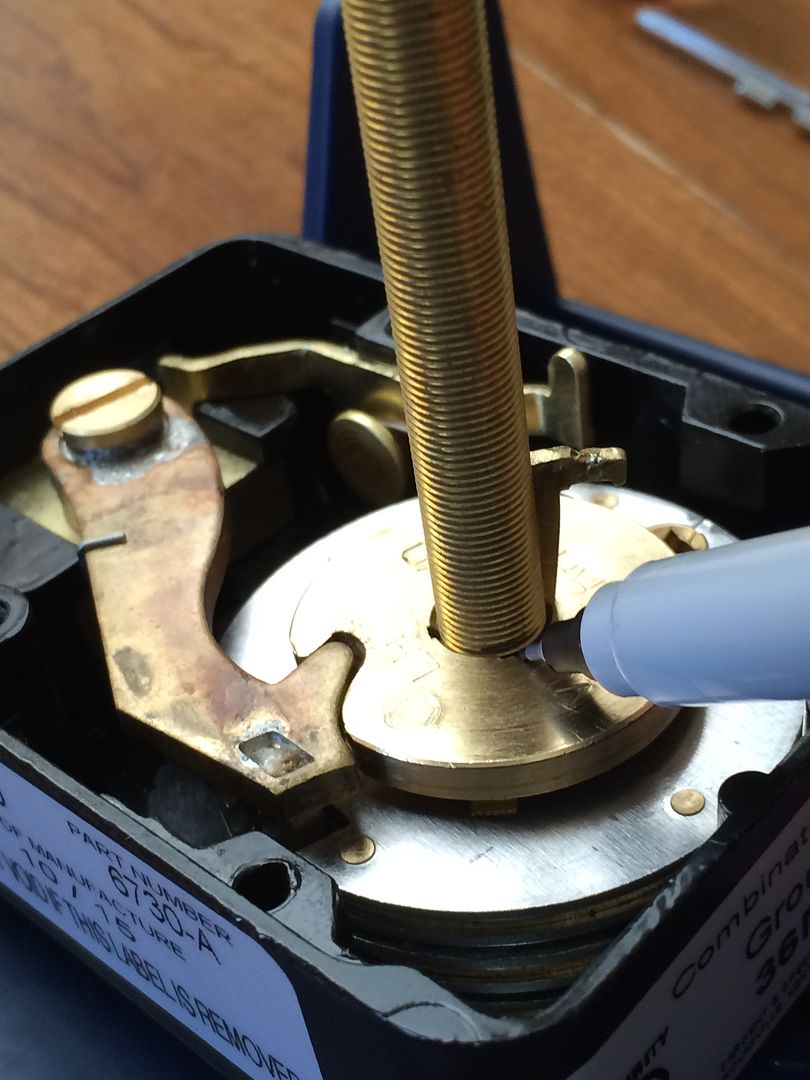
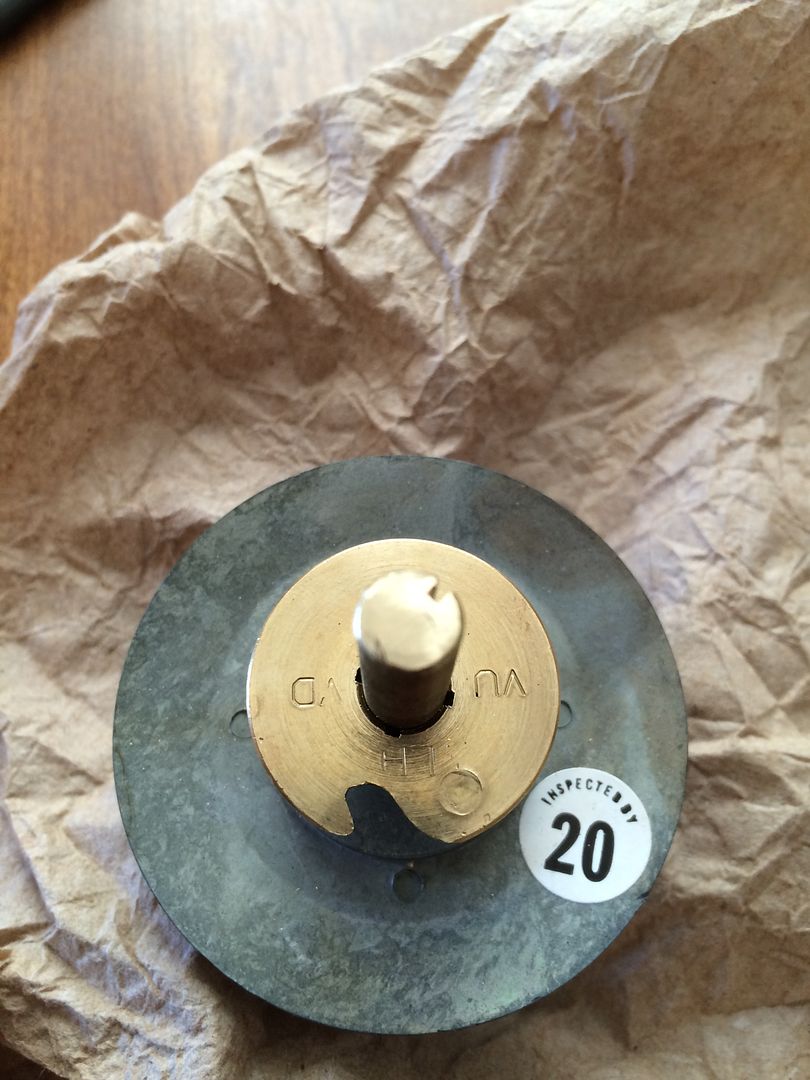
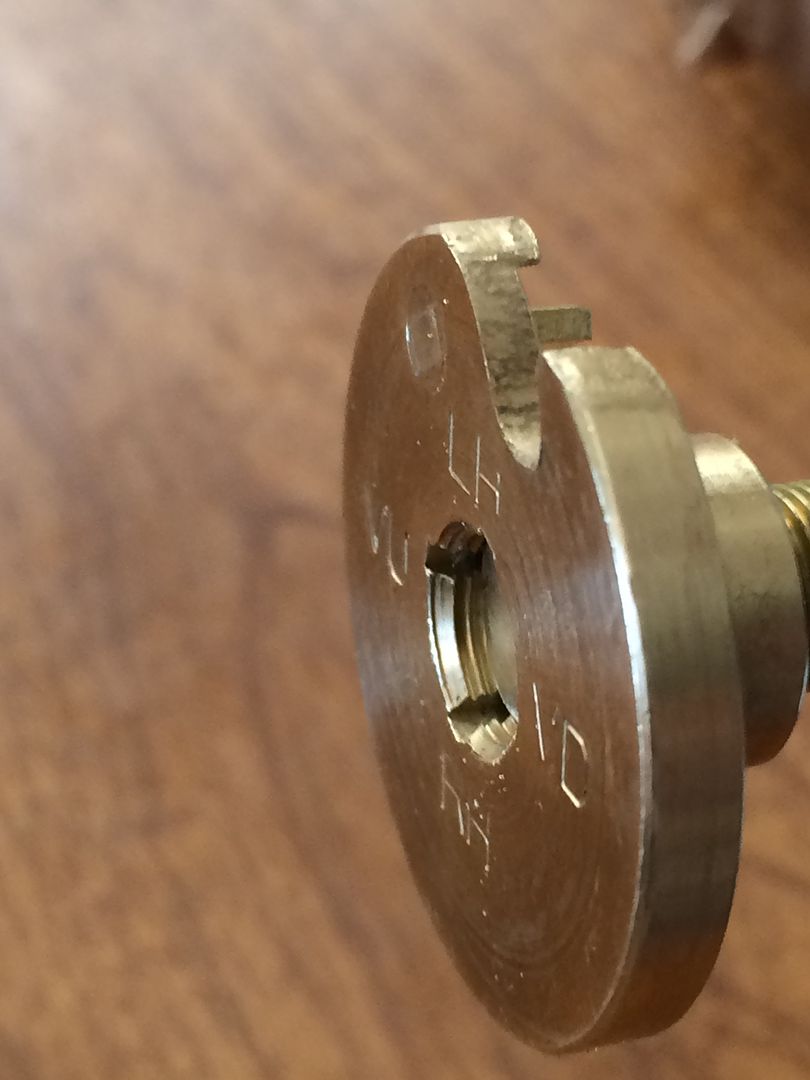
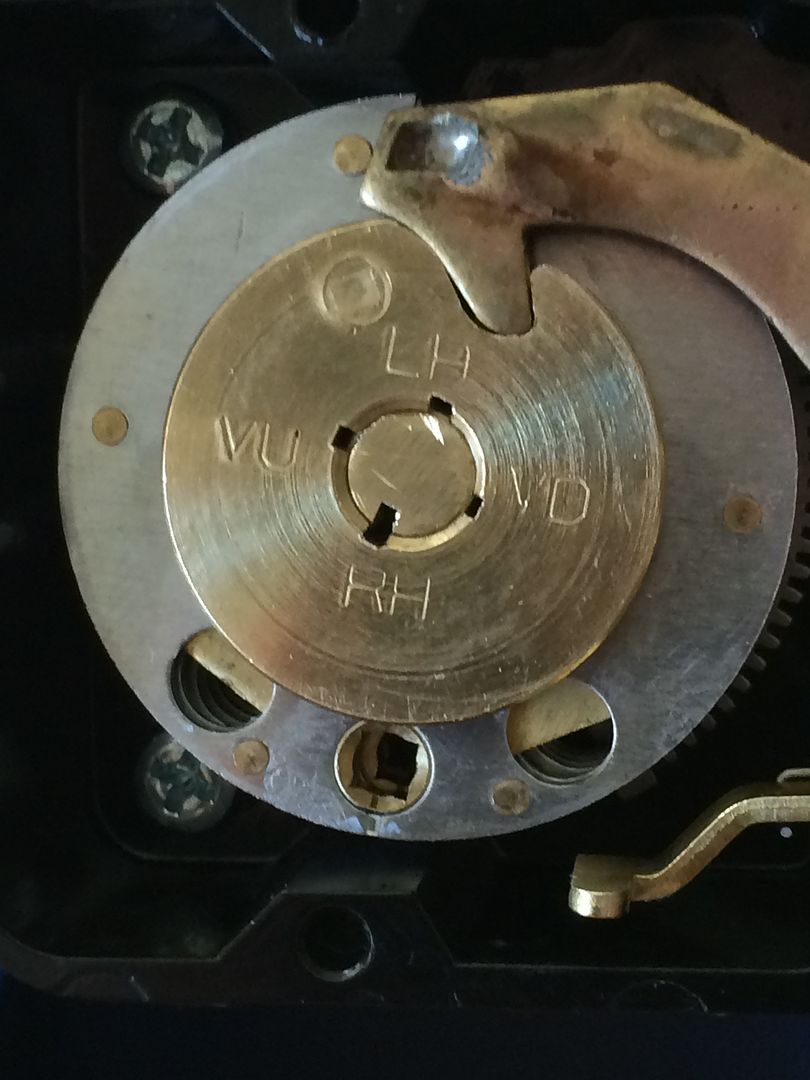
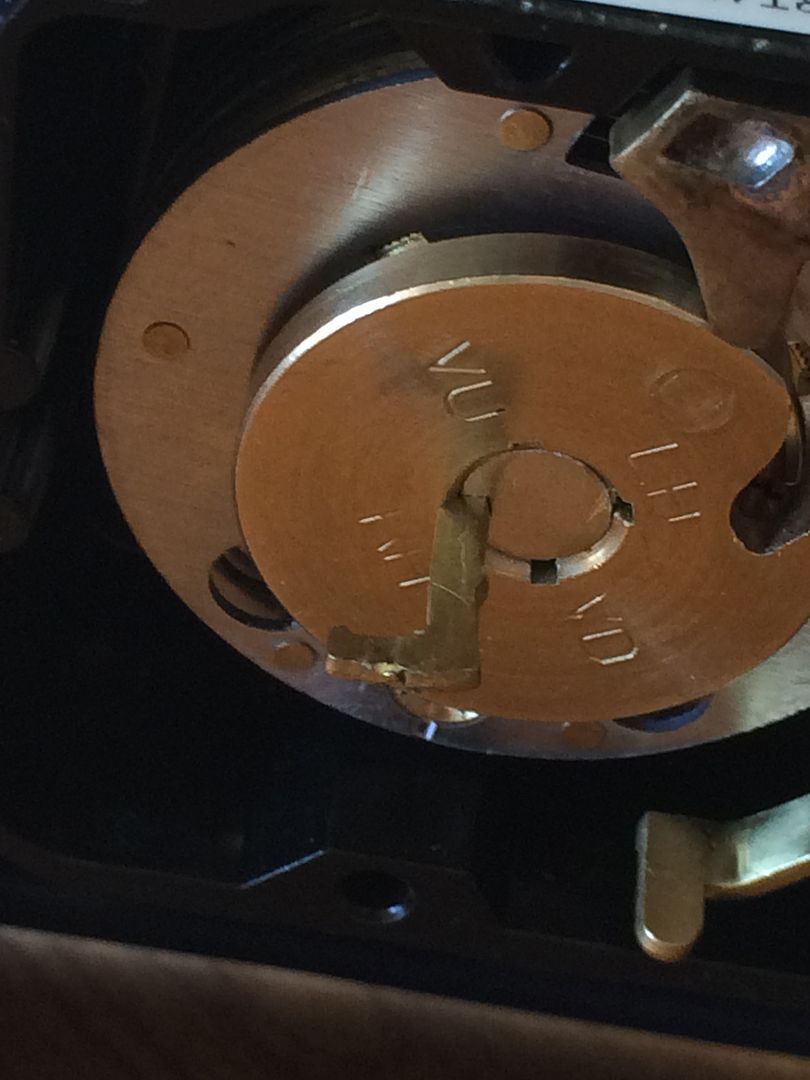
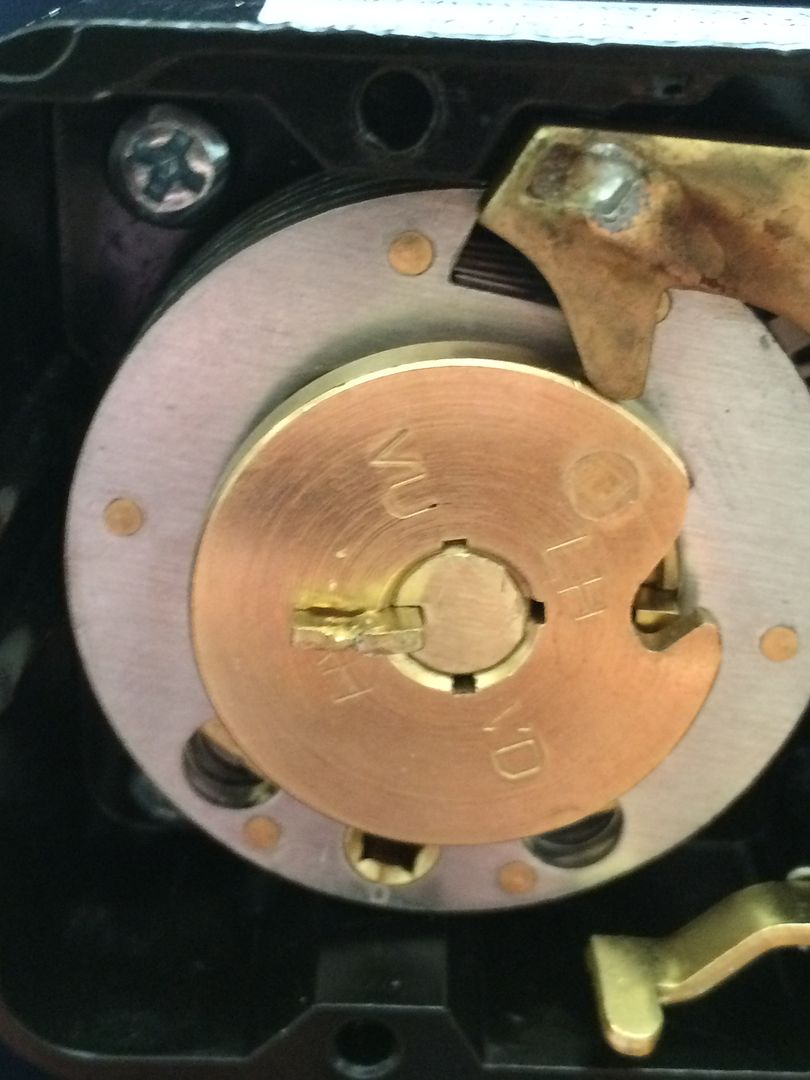
Align the slot in the spindle with the correct orientation slot in the drive cam. There are four orientations in the 6730. These are VU, VD, RH and LH.

Image

You are not aligning the gate (the great big cutout in the outer edge of the drive cam), but the slots on the inside. The orientation you choose is based on the way the bolt of the lock is pointing when viewed from INSIDE the safe.

The letters stand for: Verticle Up (VU), Verticle Down (VD), Right Hand (RH) and Left Hand (LH). This allows the 0 on the dial to be at the top of the dial. If you have the dial splined at the wrong location, the gate will be at (roughly) 25, 50 or 75 instead of 0. The lock will still function, but you will need to adjust your forbidden zone accordingly.

In this case, it is RH. So align the slot in the spindle with the slot at RH.

Image

Install your spline key.

Image

Image

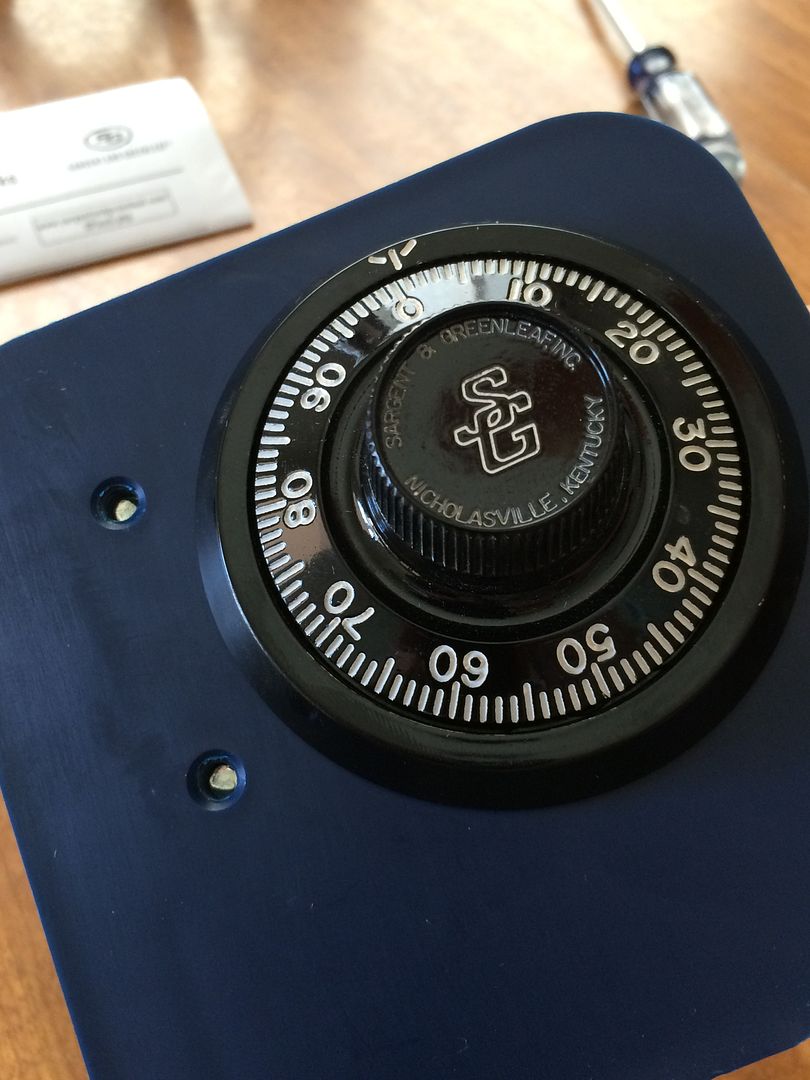
Put the back cover back on, and it is installed!

Image

Image

Set the combination, test it at least three times if it is being installed on a safe to be sure it is working, and you are good to go!


Hope this helps. As always, I am not a safe tech, and anyone should feel free to input additional information or correct any information that I got wrong.

Gordon
Just when you finally think you have learned it all, that is when you learn that you don't know anything yet.
User avatar
GWiens2001
Site Admin
 
Posts: 7550
Joined: 3 Sep 2012 16:24
Location: Arizona, United States

Re: Installing A Sargent & Greenleaf 6730 Safe Lock

Postby billdeserthills » 15 Mar 2016 14:31

OMG Gordon, you had me at drilling through the back cover, to make room for the spindle!
billdeserthills
 
Posts: 3827
Joined: 19 Mar 2014 21:11
Location: Arizona

Re: Installing A Sargent & Greenleaf 6730 Safe Lock

Postby cledry » 15 Mar 2016 16:59

Another nice write up Gordon.

A few notes. I use thread lock on the safe mounting screws, careful not to get any in the lock. I have an alignment tool to align the dial ring, it centers it exactly. I also use thread lock on the dial mounting screws. Most dial ring bushings I see press in from the back side of the dial ring, so go in before the dial ring is mounted. Not seen one like you have. The handing of the spindle is which way the bolt faces when looked at from the rear of the lock. Lastly the flag on the spline key now extends away from the spindle center but in the past S & G used to have it face toward the centerline of the spindle. If this part is loose and you don't have a fresh one you can kink the spline key but it is a stop gap measure.

Almost always attached to the back is some sort of external relocker, this is one of the most critical parts to make sure it is installed properly and securely and engaged fully.

Lastly there should be a slight gap around the bolt where it engages the boltwork when everything is at rest.

Oh I forgot. I set the drive cam in place and hold it and spin the dial into place, I don't start screwing the cam onto the spindle first, if that makes sense.
Jim
User avatar
cledry
 
Posts: 2836
Joined: 7 Mar 2009 23:29
Location: Orlando

Re: Installing A Sargent & Greenleaf 6730 Safe Lock

Postby GWiens2001 » 15 Mar 2016 17:55

Have to agree about the thread locker. Just did not need it for a lock on a mount stand, so did not think to mention it. Your experience shows in remembering to mention it, Cledry. ;)

Figured some new people may not realize which side of the lock is the front and which is the rear for the handing of the safe. So for them, I stated that it was 'as viewed from inside the safe'. But yes, it would be from the rear of the safe lock.

Normally, I try to check a manual for which way the spline key faces, since on some locks it faces in, and some face out. Have learned the hard way not to simply face the new spline key the same way the last one was facing. Had one lock that I was working with, and could not figure out why it would bind up when I tightened the screws on the back cover. Turns out the old spline key was facing the wrong way, but had been filed down to help it fit.

Had not even considered mentioning the small gap between the bolt and the boltwork of the safe. Good advise. Otherwise, there is a lot of drag on the lock components as you try to force the bolt in/out while it is under load from the boltwork. Good way to cause a failure.

And Bill, got the recipient of this lock by posting that pic of 'drilling' the back cover of the lock when I saw him in chat. He was as shocked as you were! :lol:

Gordon
Just when you finally think you have learned it all, that is when you learn that you don't know anything yet.
User avatar
GWiens2001
Site Admin
 
Posts: 7550
Joined: 3 Sep 2012 16:24
Location: Arizona, United States

Re: Installing A Sargent & Greenleaf 6730 Safe Lock

Postby johnb007 » 19 May 2016 14:36

I had to do this same process a couple days ago. Had to go as far as drilling a new hole for the spindle (that was a good time). Nice write up, and good pics!
--
Currently hating this Chateau C970!
User avatar
johnb007
 
Posts: 55
Joined: 4 May 2013 21:22
Location: Fredericksburg, Virginia


Return to This Old Safe

Who is online

Users browsing this forum: No registered users and 1 guest