


Let me be clear on this from the start - internally, the U-Change is nothing at all like a SmartKey. Yes, the front of the cylinder looks similar (except for the size of the plug), but that is it.
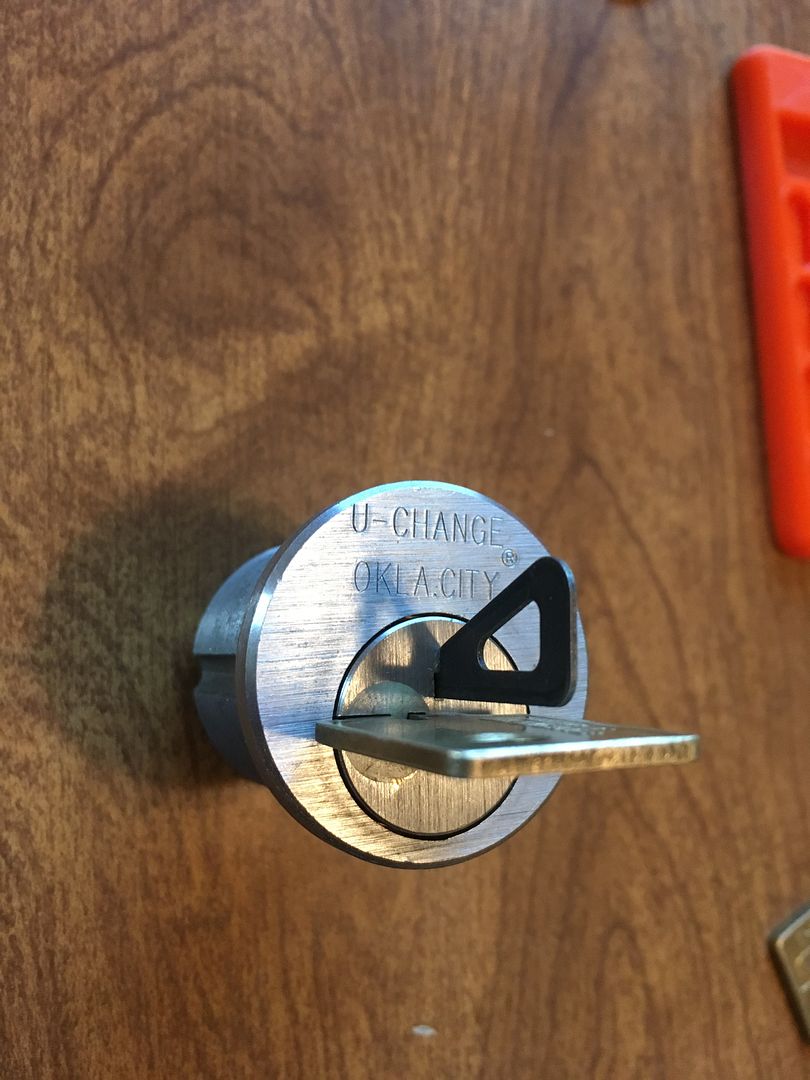
You may have seen the U-Change locks around on businesses. Yes, they look very similar to the SmartKey.
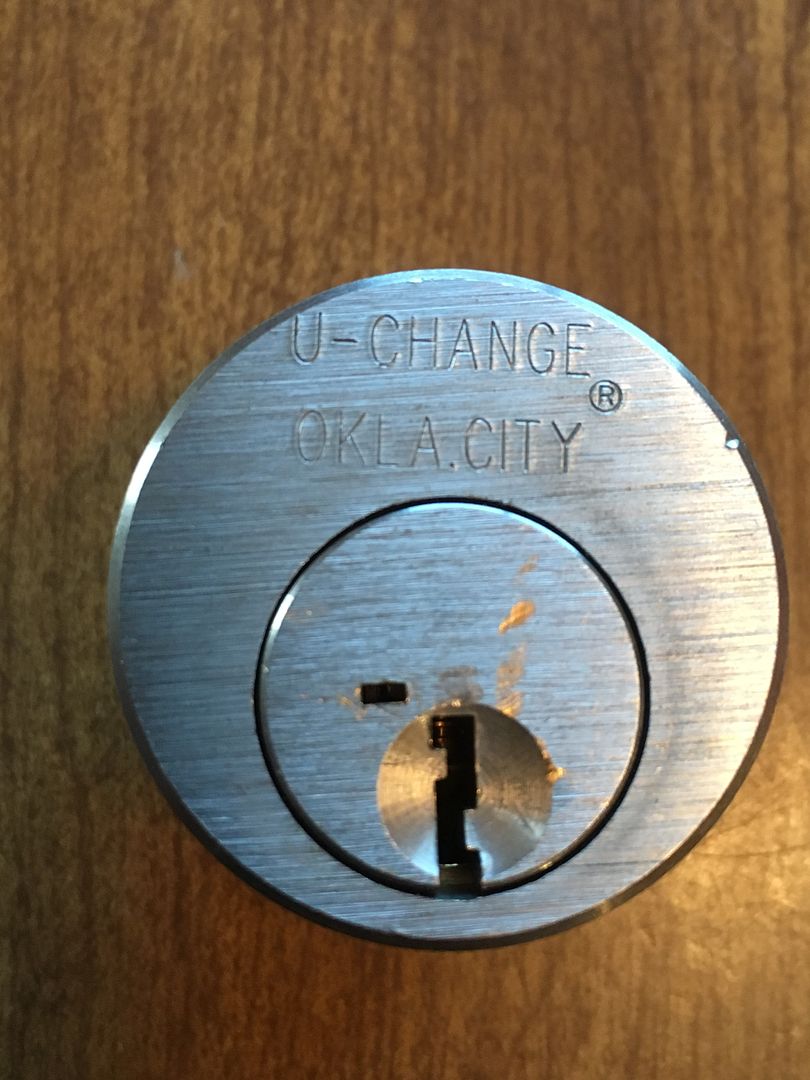
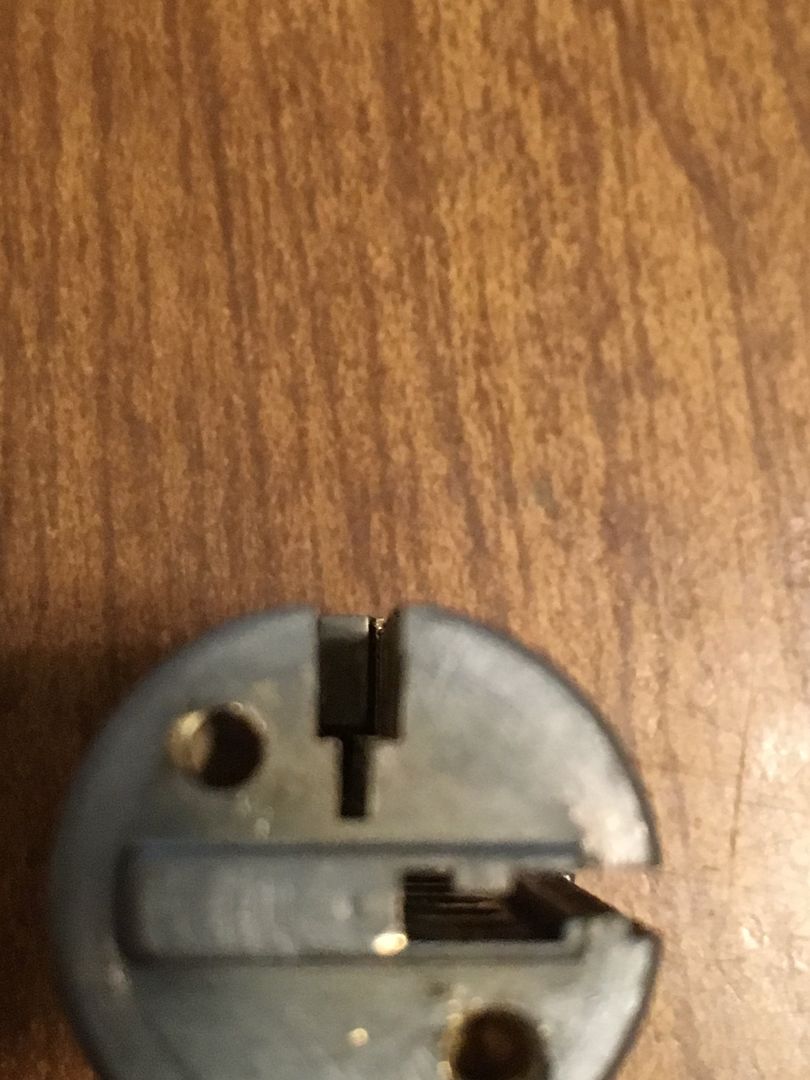
They even have a rekey hole in the same place.
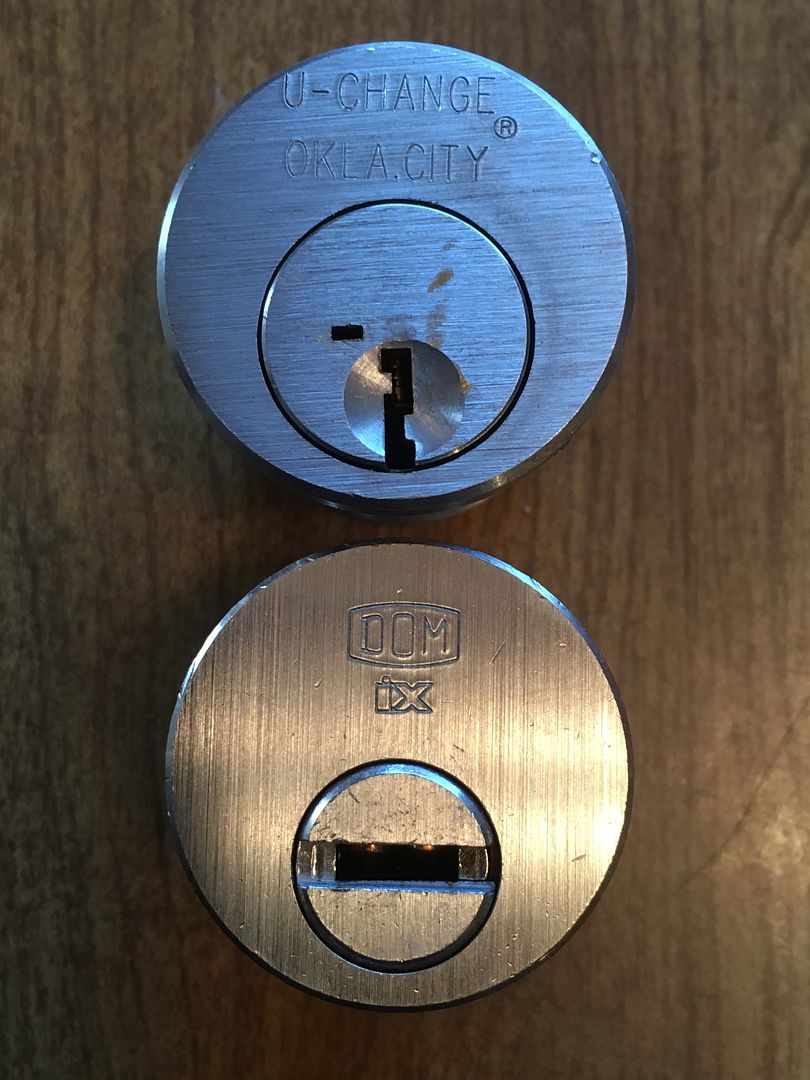
But there is where the similarity ends. The mortise cylinder itself is the same size as a standard mortise cylinder. But the diameter of the plug is very different. As in plug diameter of 19 mm (3/4").
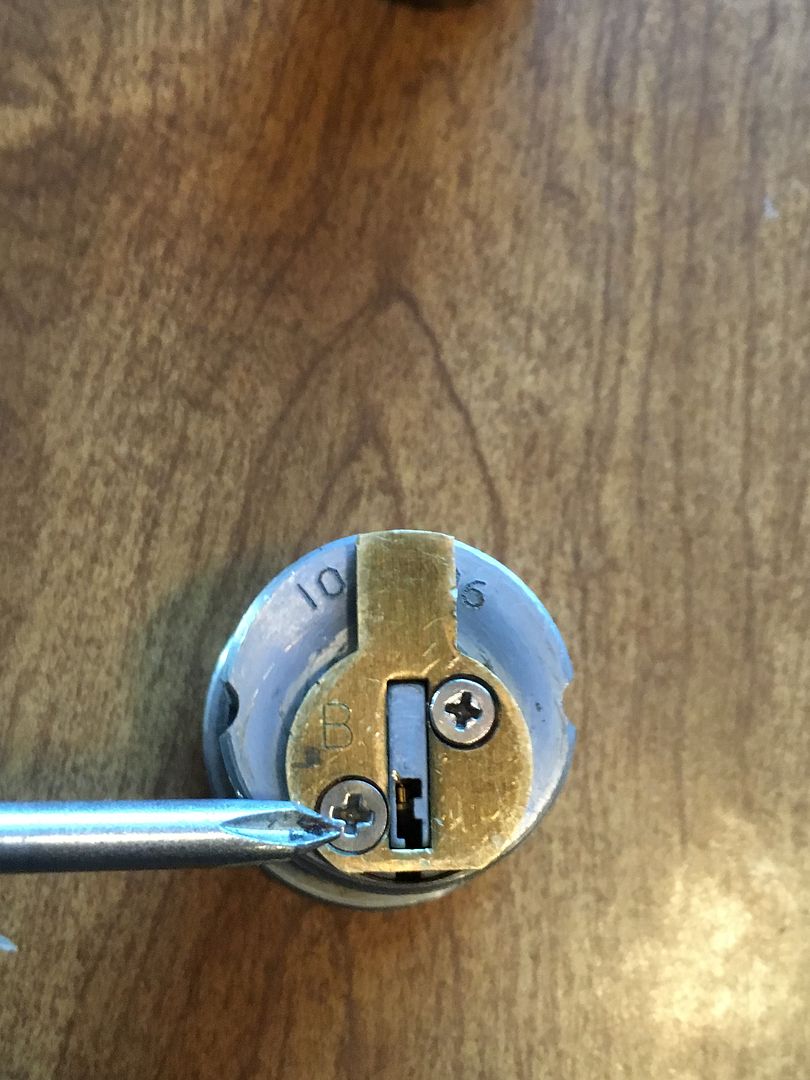
Take off the tailpieces.
Now look from the rear of the cylinder. Yeah, big difference from normal size. If you, as many of us do, notice locks as you walk around, the plug diameter of the U-Change should catch your attention.
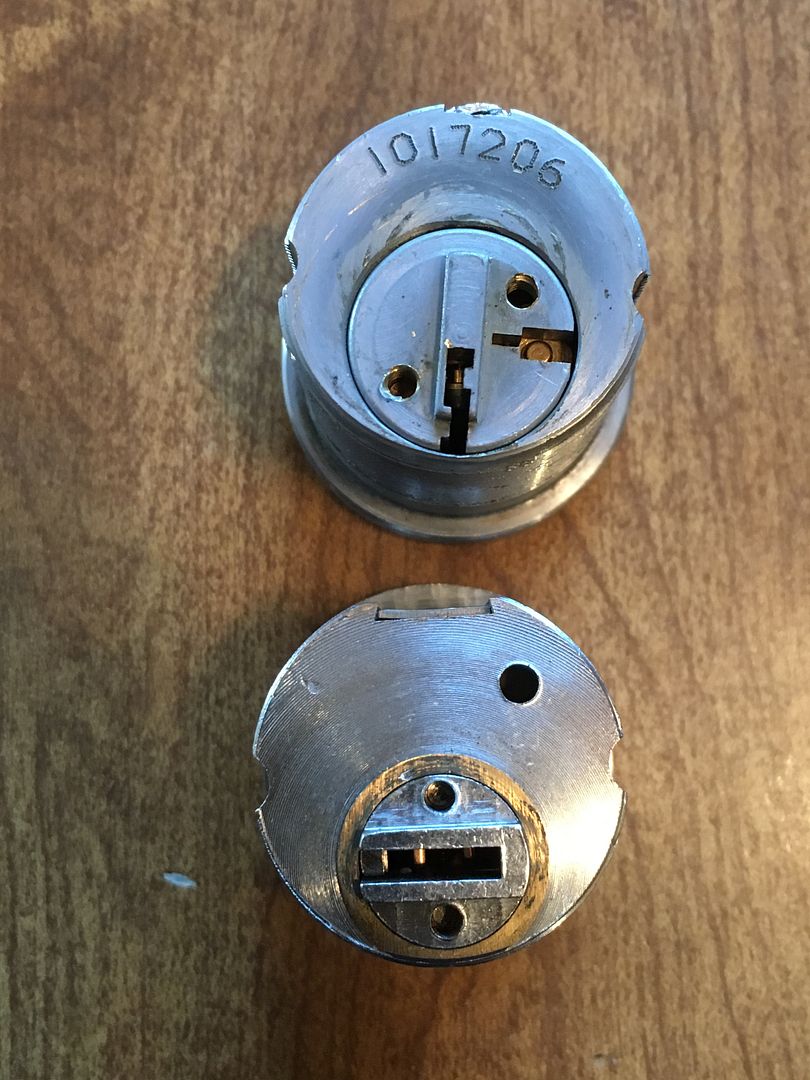
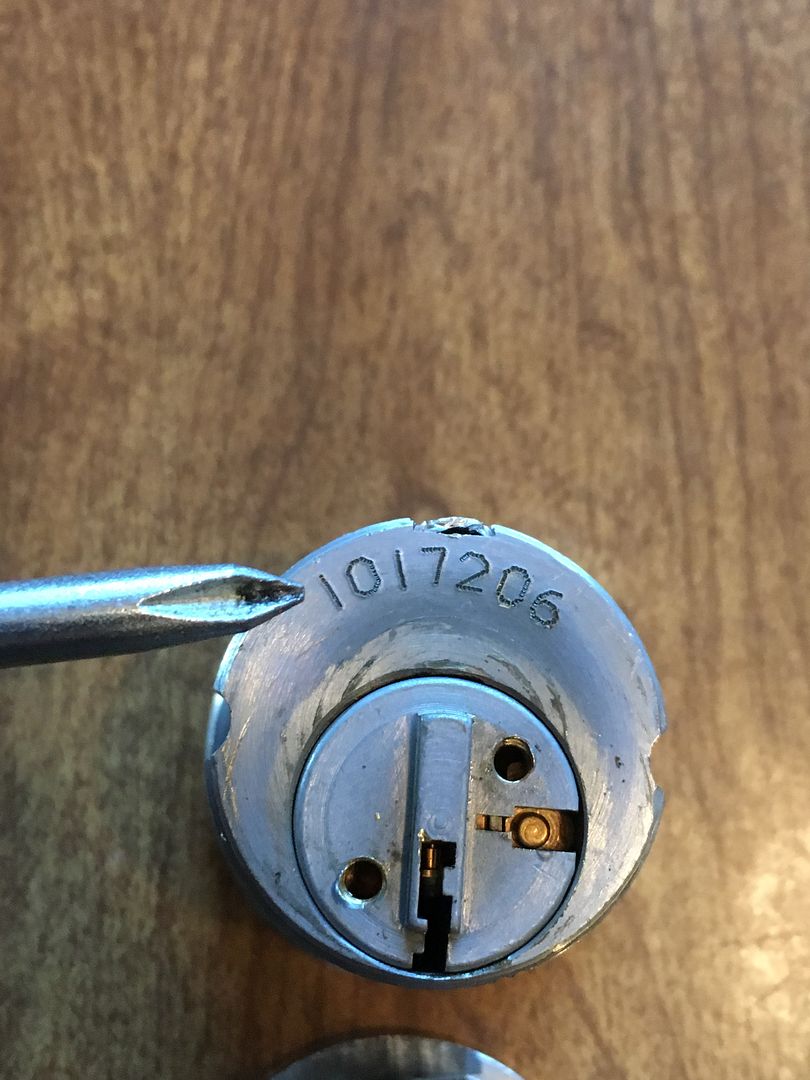
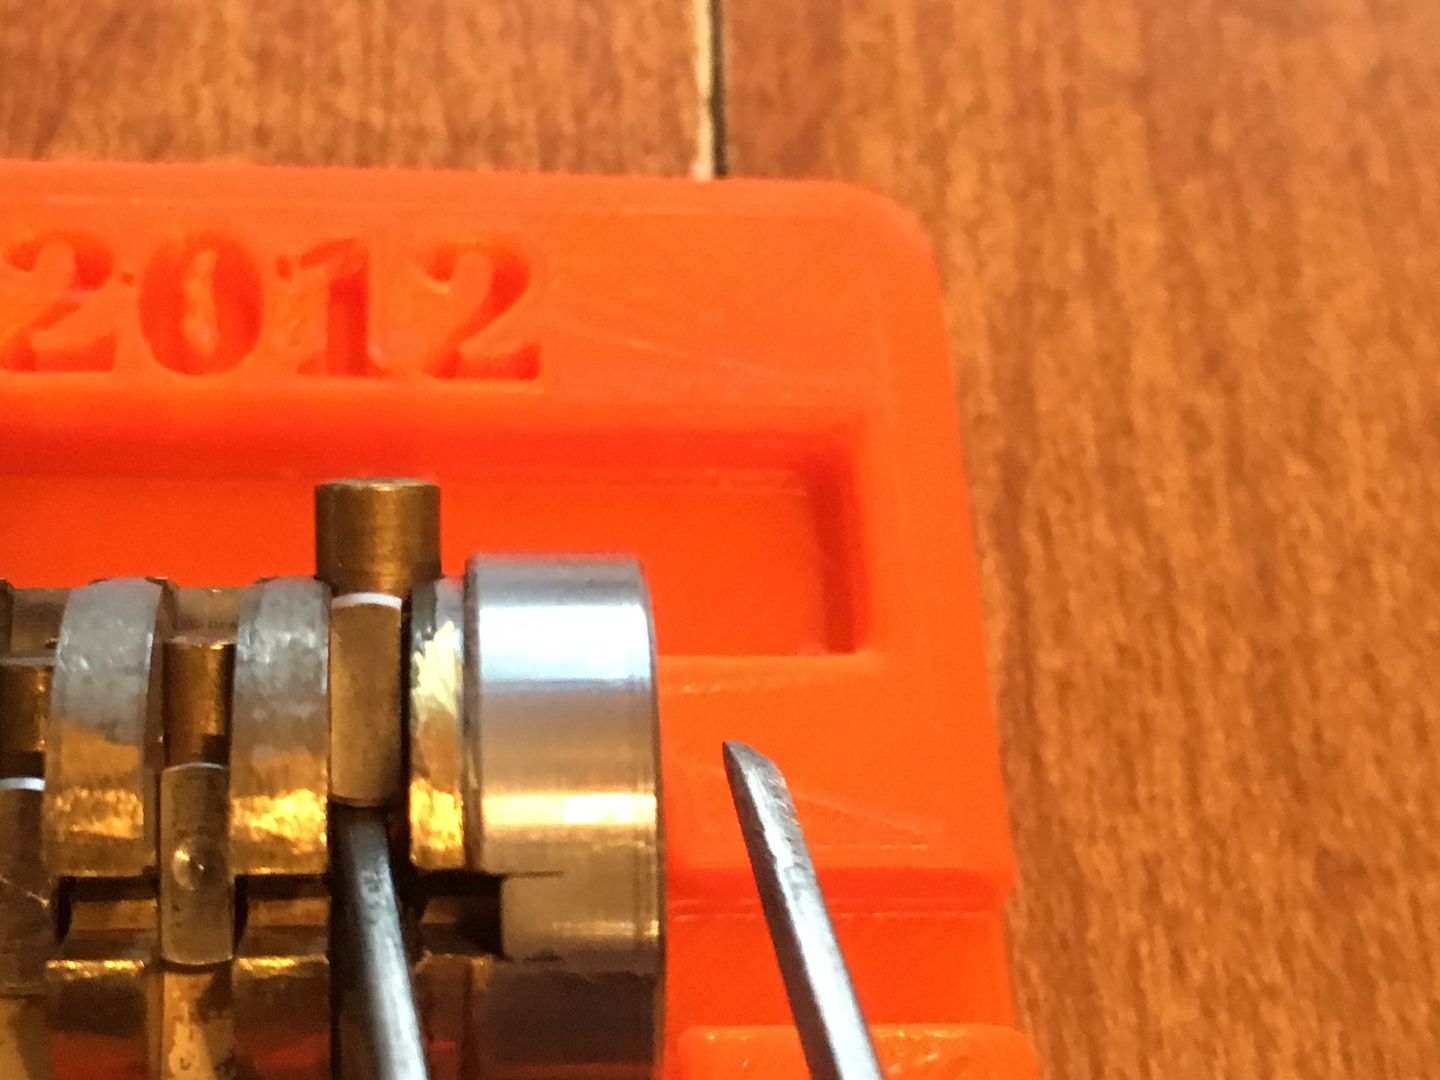
OK, enough size comparison. The back of each U-Change lock cylinder will have a unique serial number. This number is kept by the company, and from what I hear, they will only send keys to the registered purchaser of the lock. Blanks are not available. They will only send cut keys.
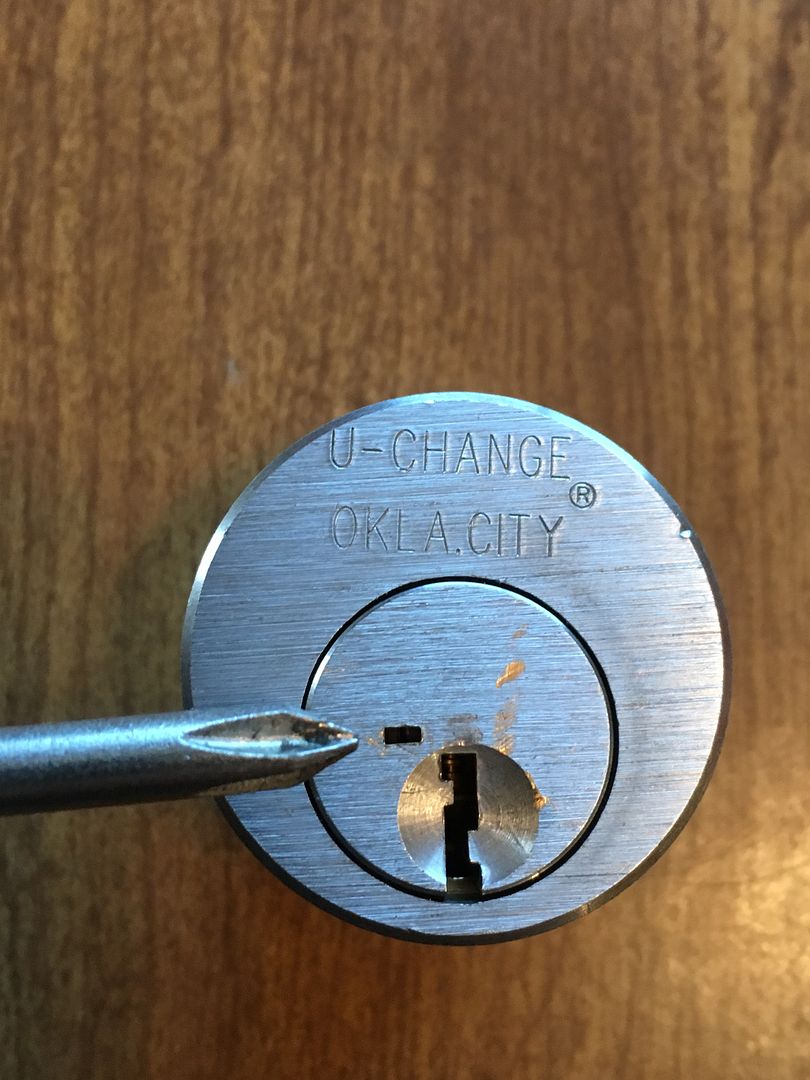
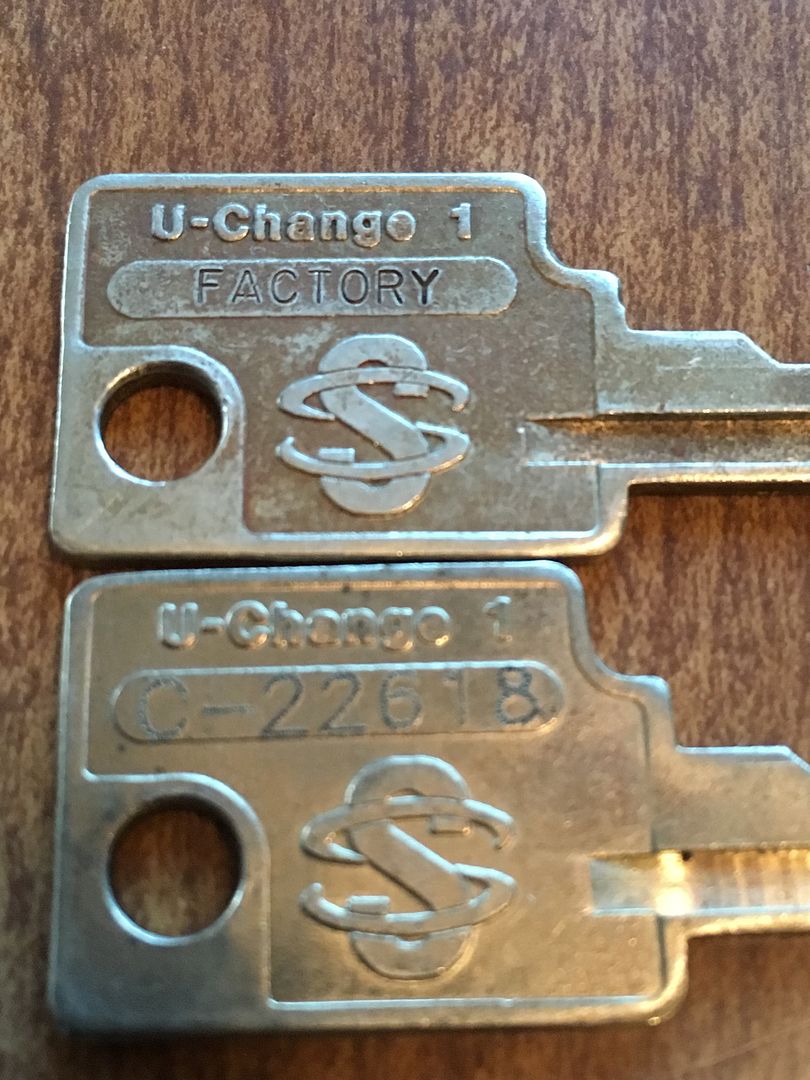
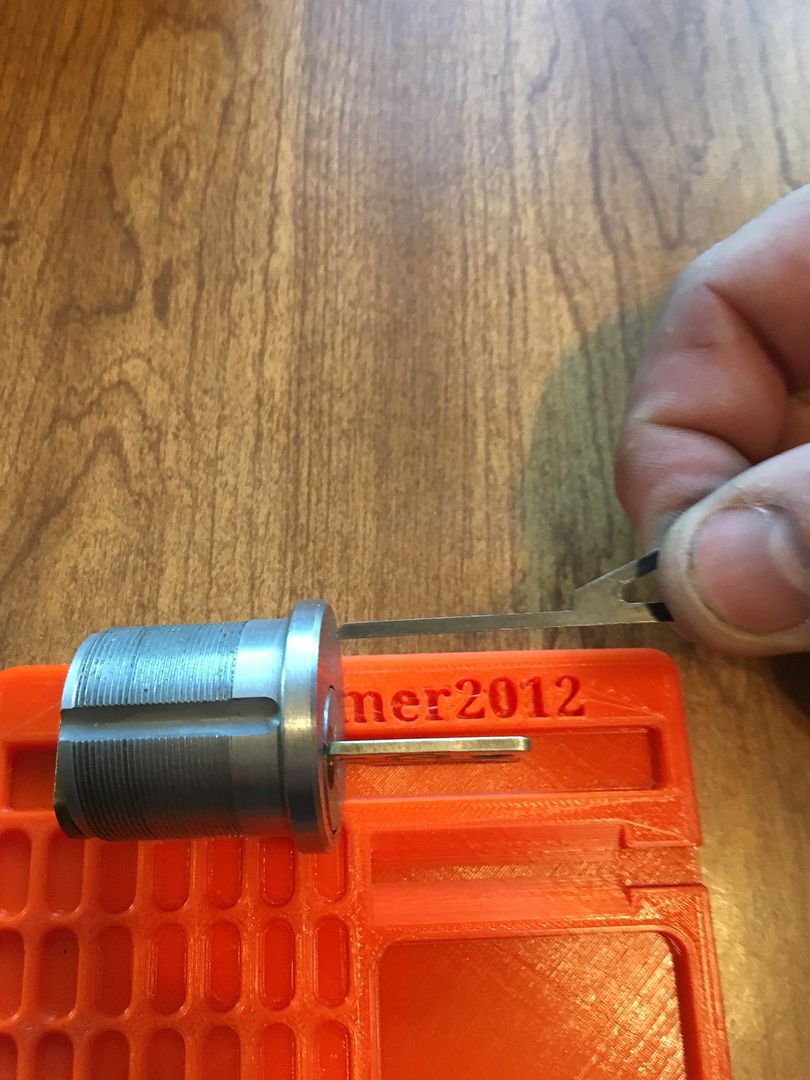
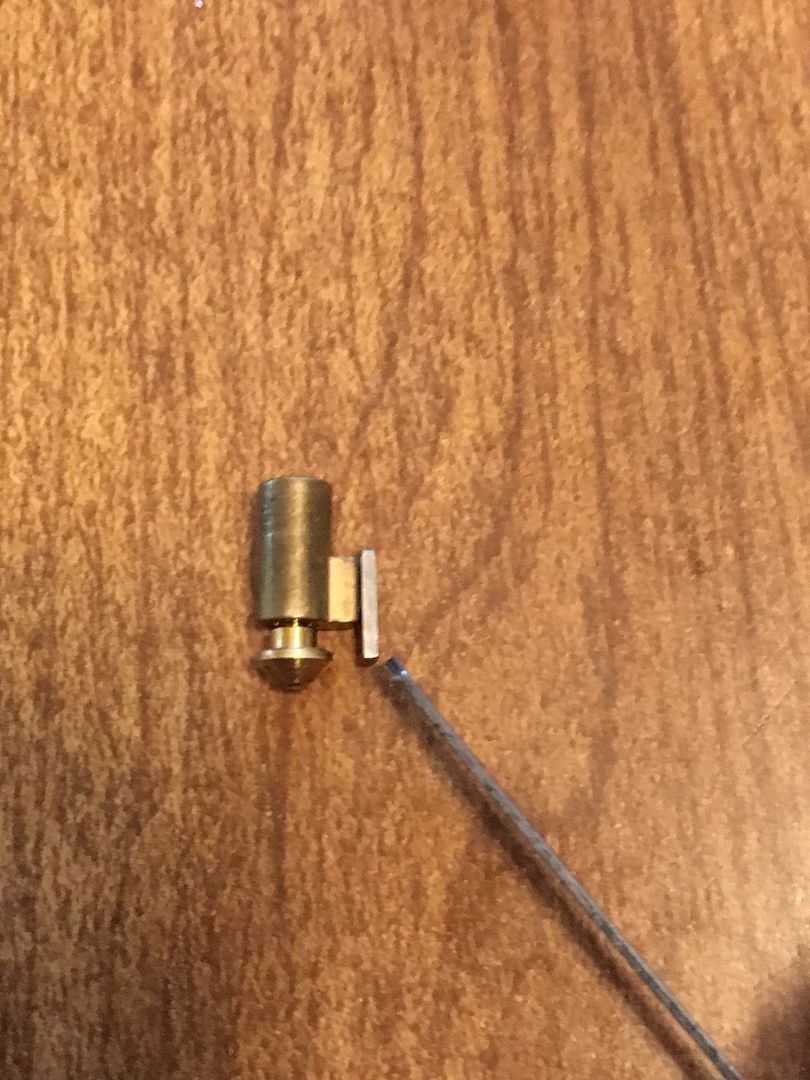
To demonstrate the way a U-Change is rekeyed, will use the factory reset tool, a factory key (all U-Change locks come from the manufacturer with the same key bitting and the key stamped FACTORY) and a spare key that has different bitting.

Put the key stamped FACTORY in the lock.
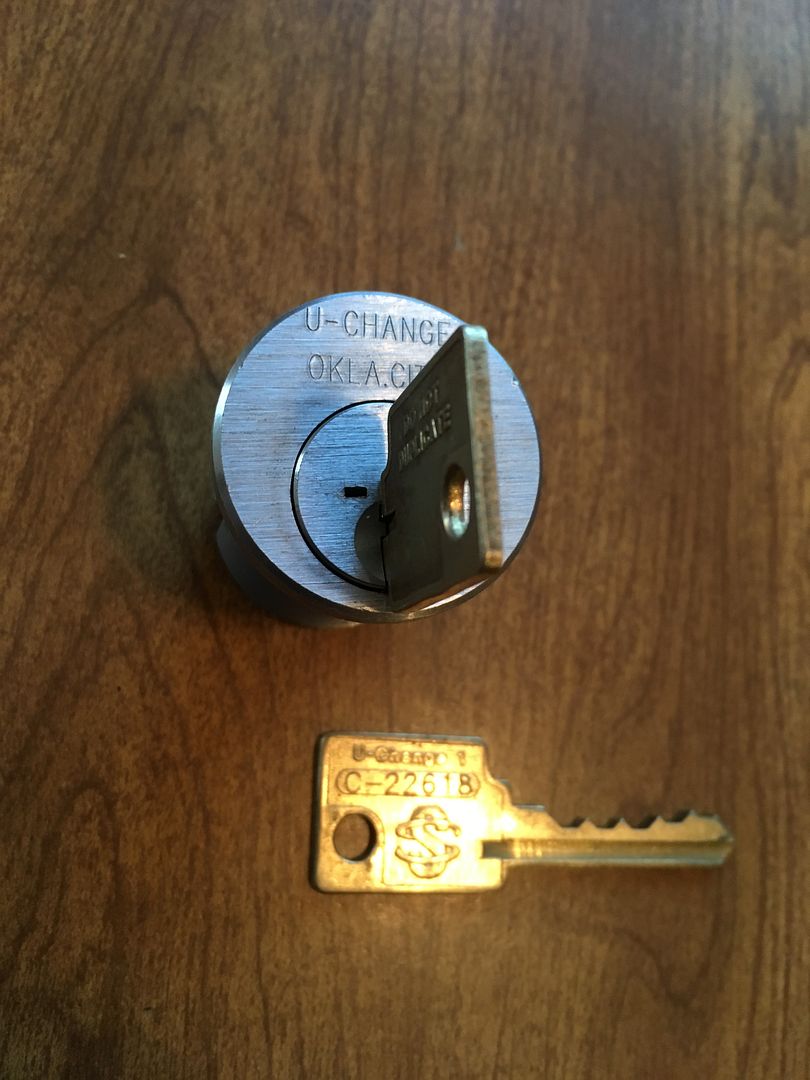
Turn it roughly 90 degrees clockwise. The rekey tool hole will be slightly to the right of straight up pointing to the edge of the C in Oklahoma City.

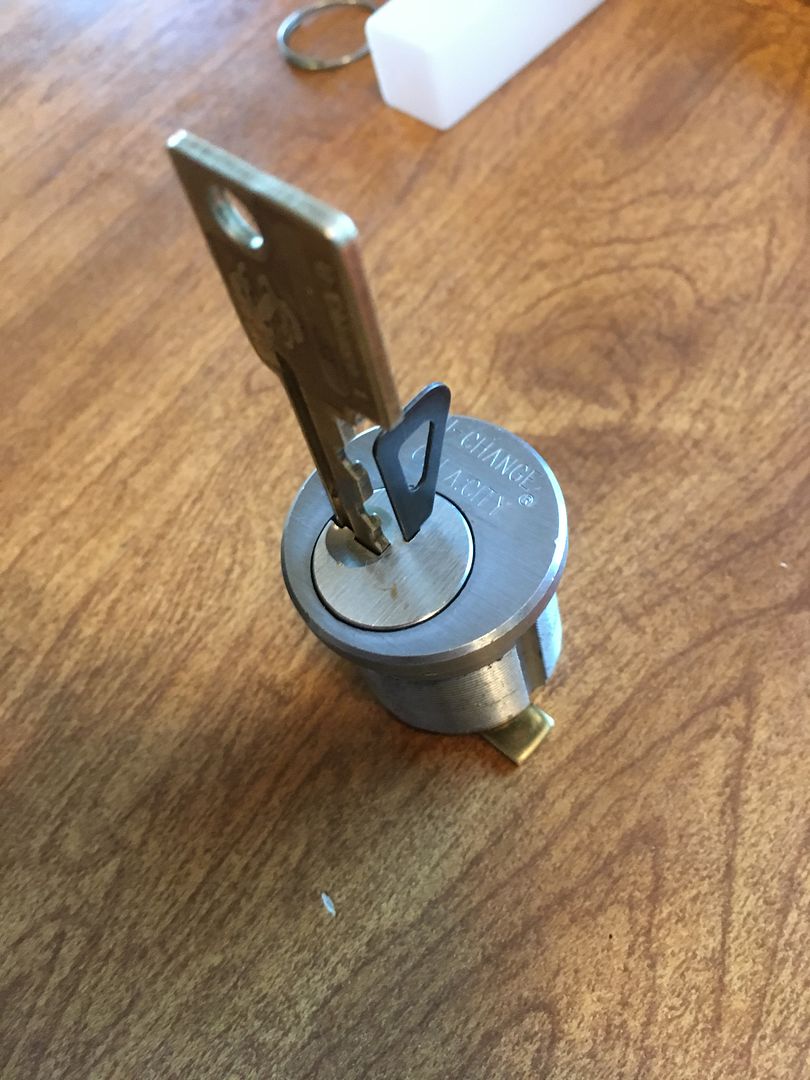
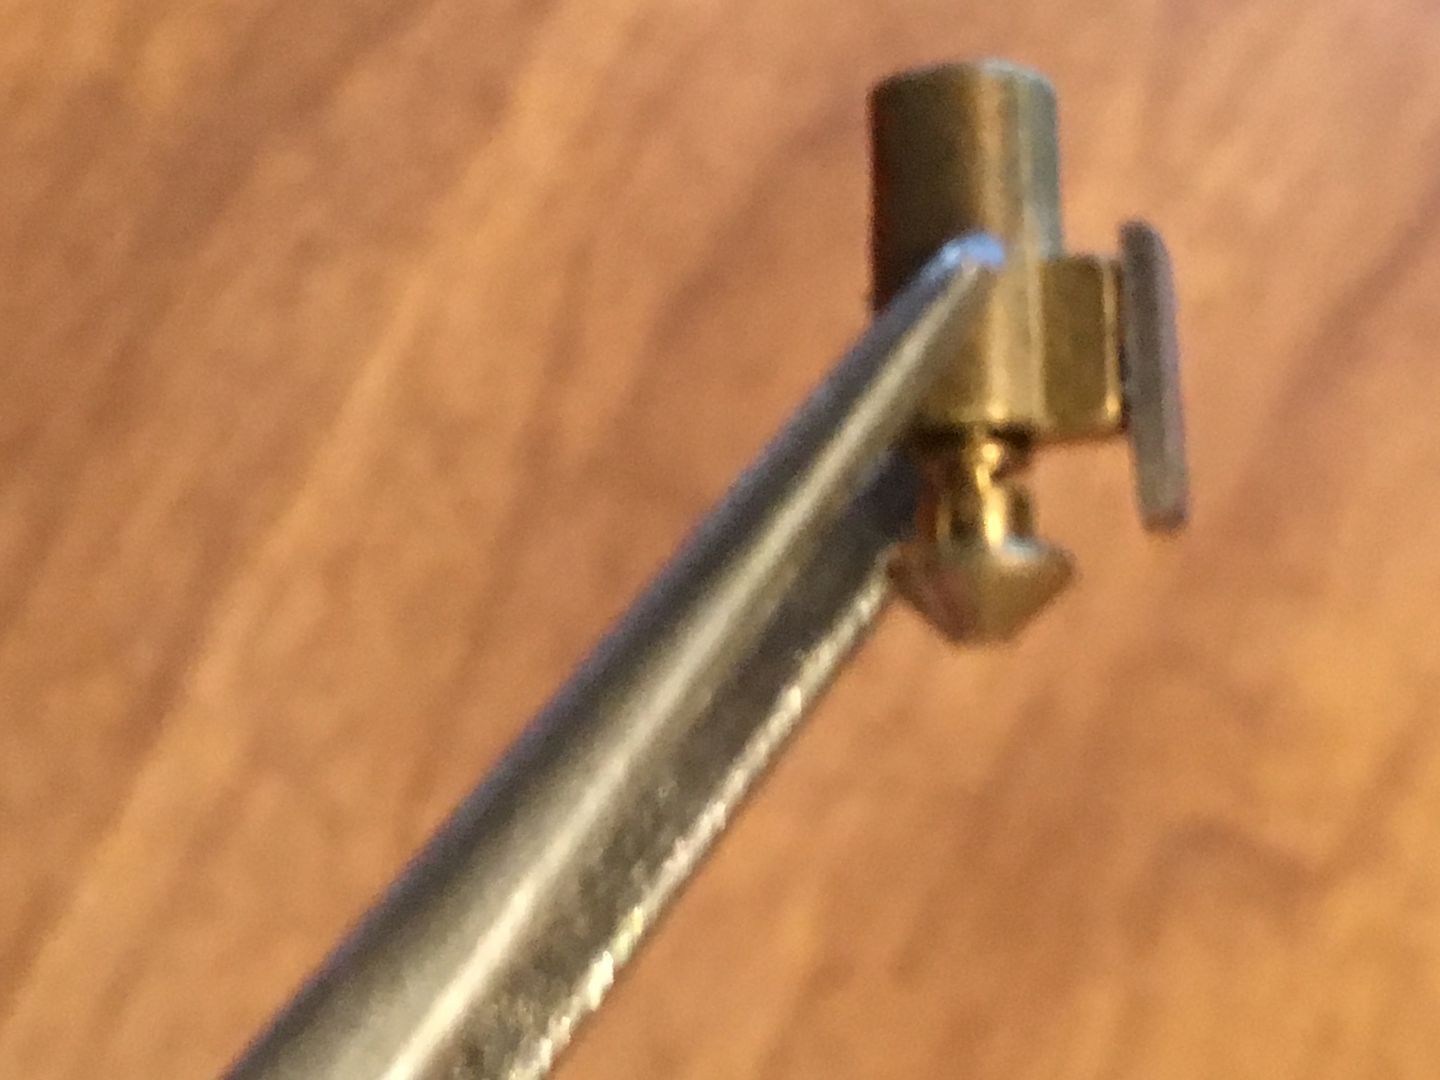
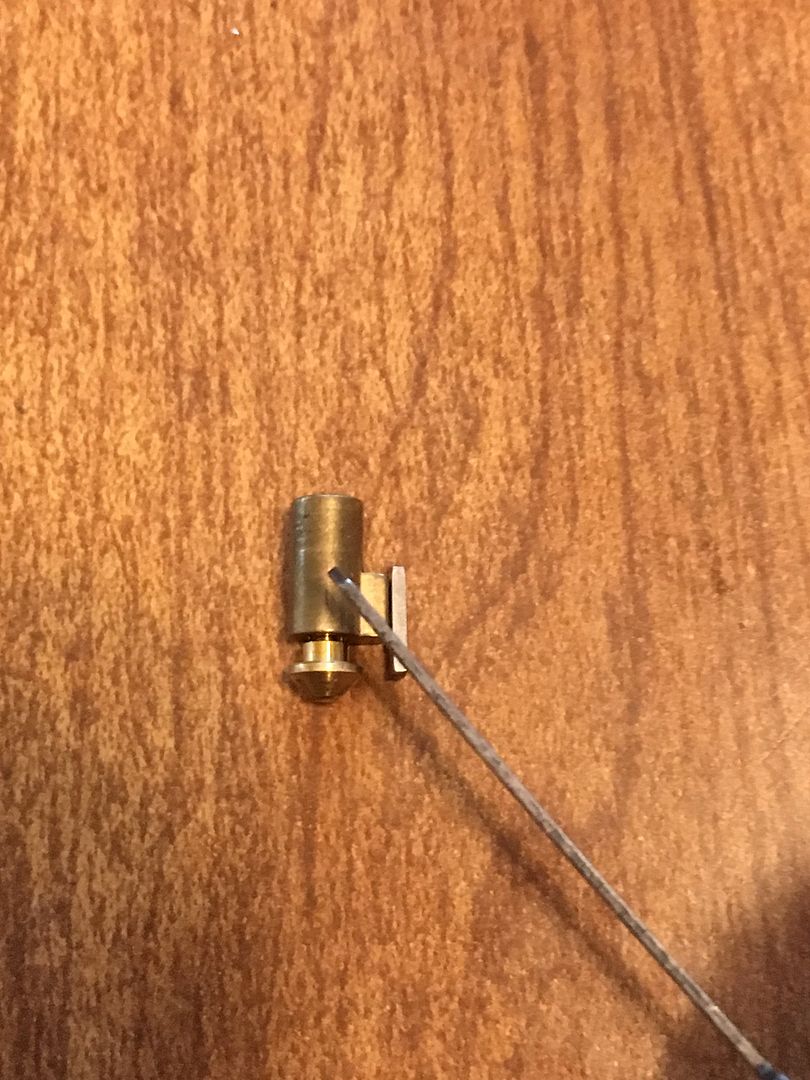
Insert the key change tool in the hole fully.

the tool is longer than the Kwikset tool. Will show you what happens internally later. It lines up here.
When the tool is fully inserted, then the key can be removed from the lock.
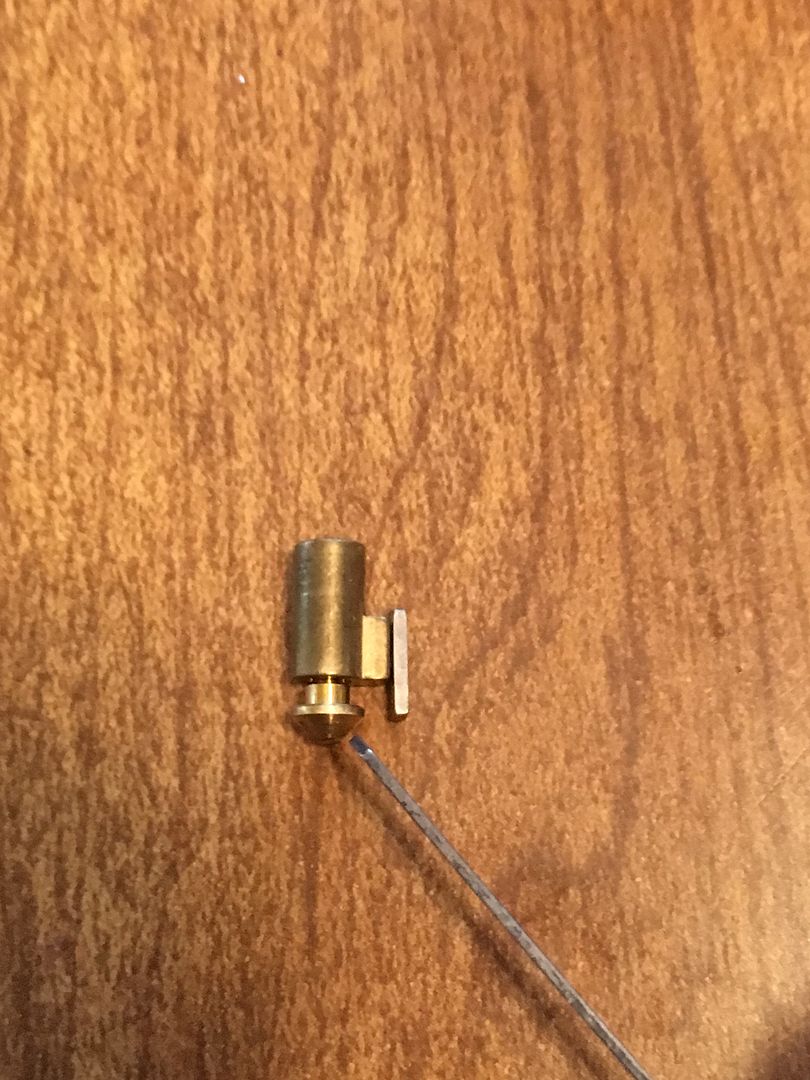
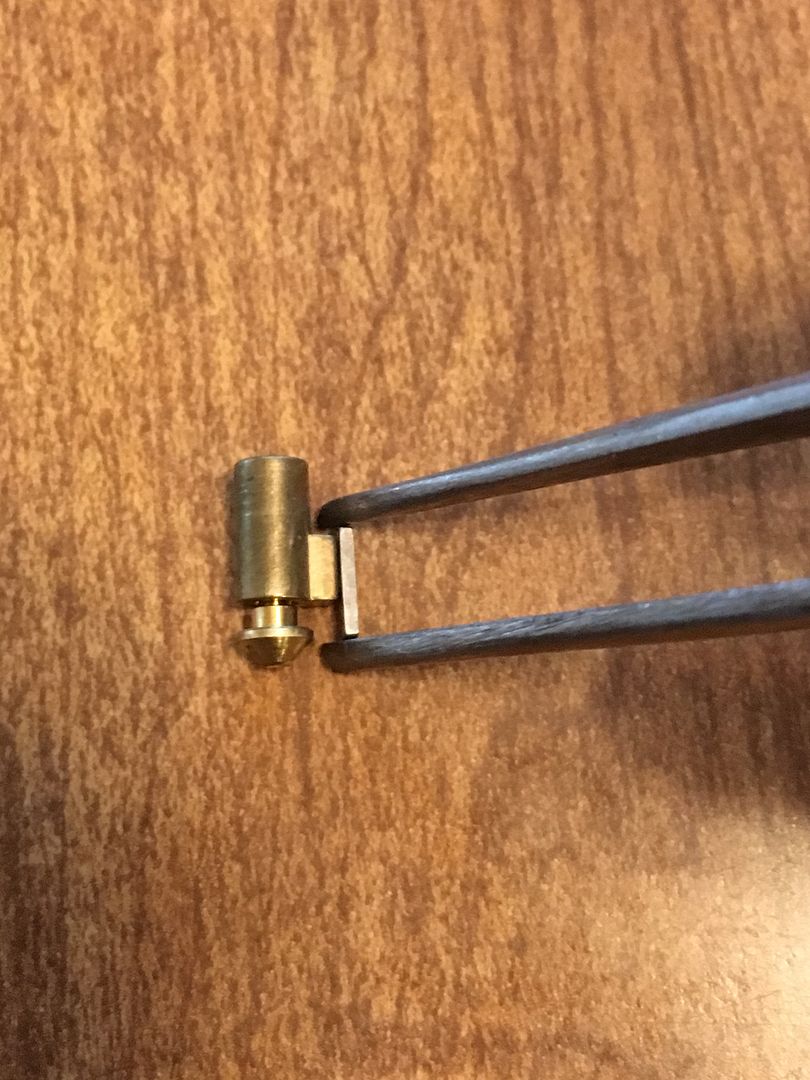
Insert the new key.
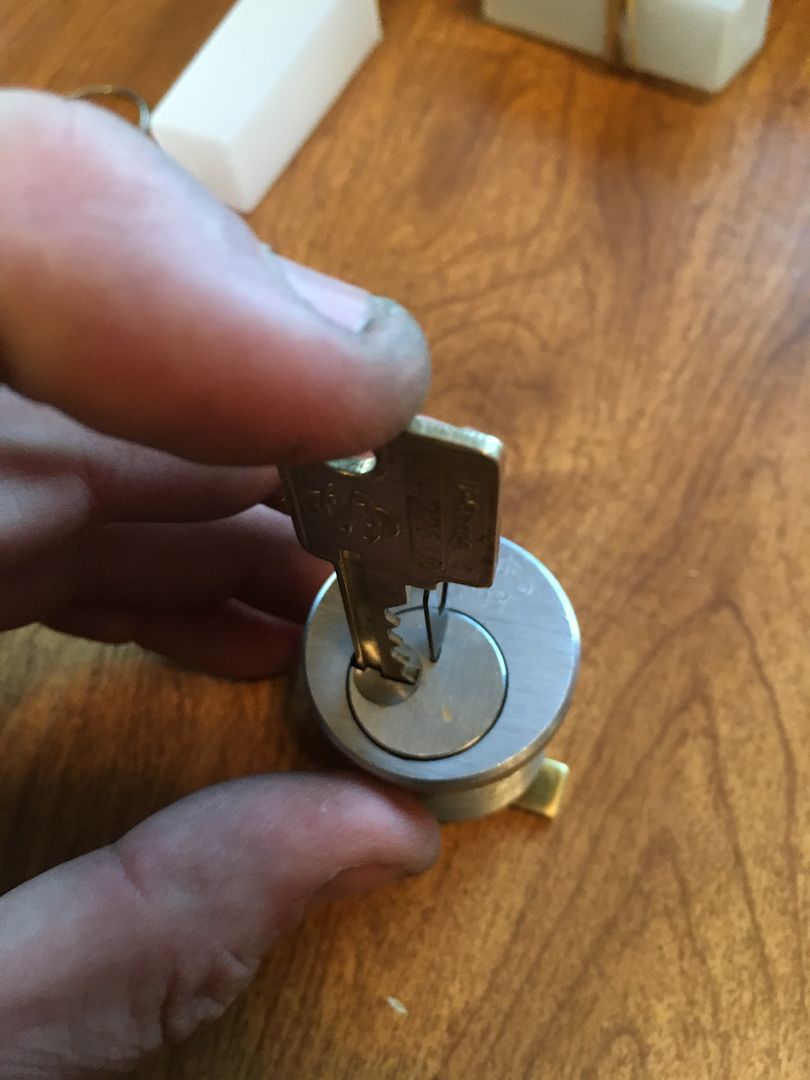
Remove the rekey tool
Turn the key back to the locked position. Congratulations! You have now rekeyed the lock.

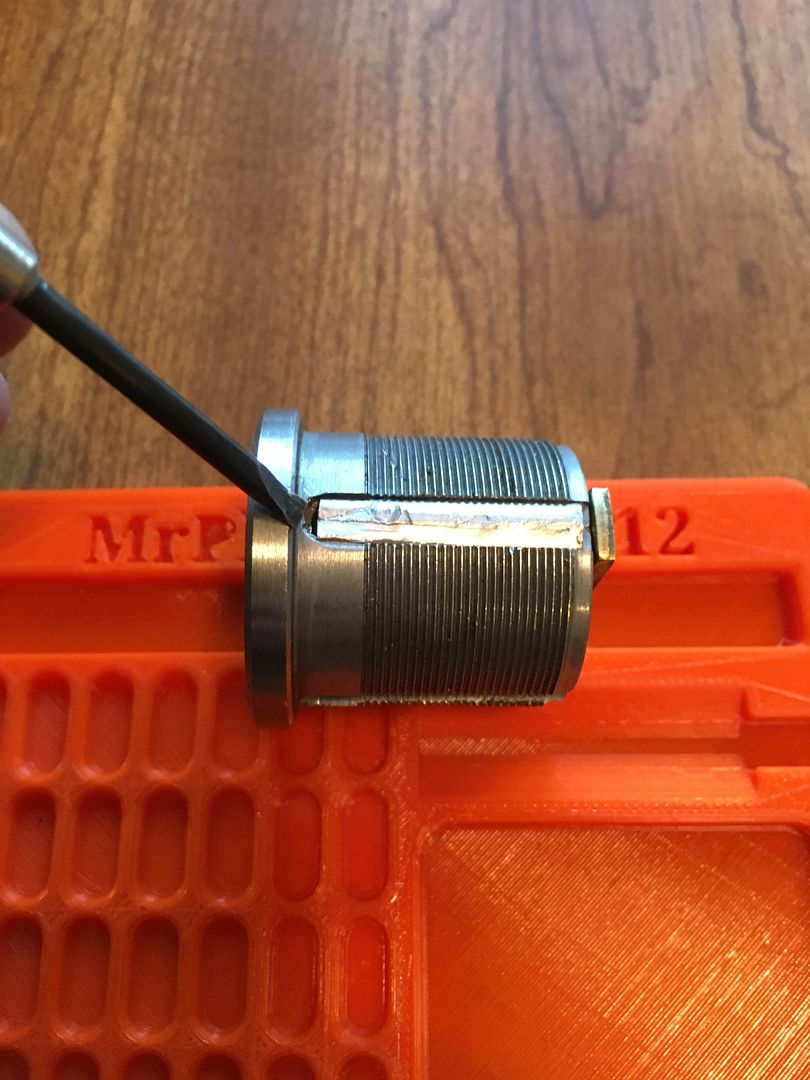
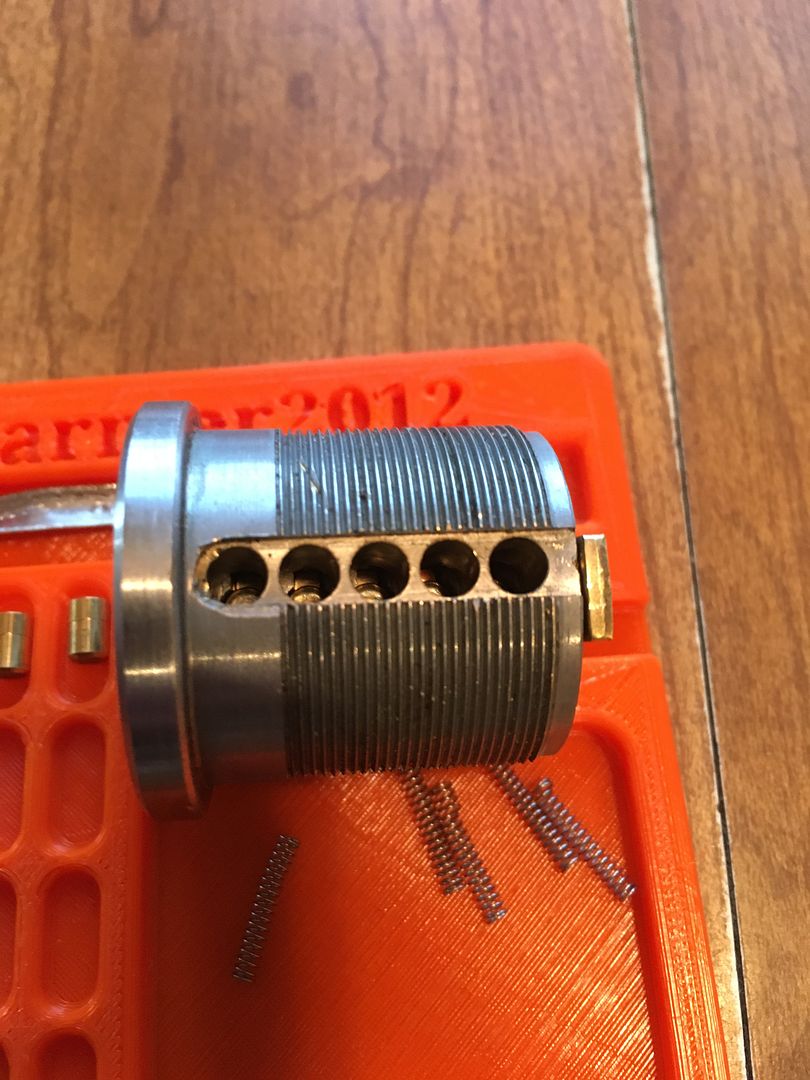
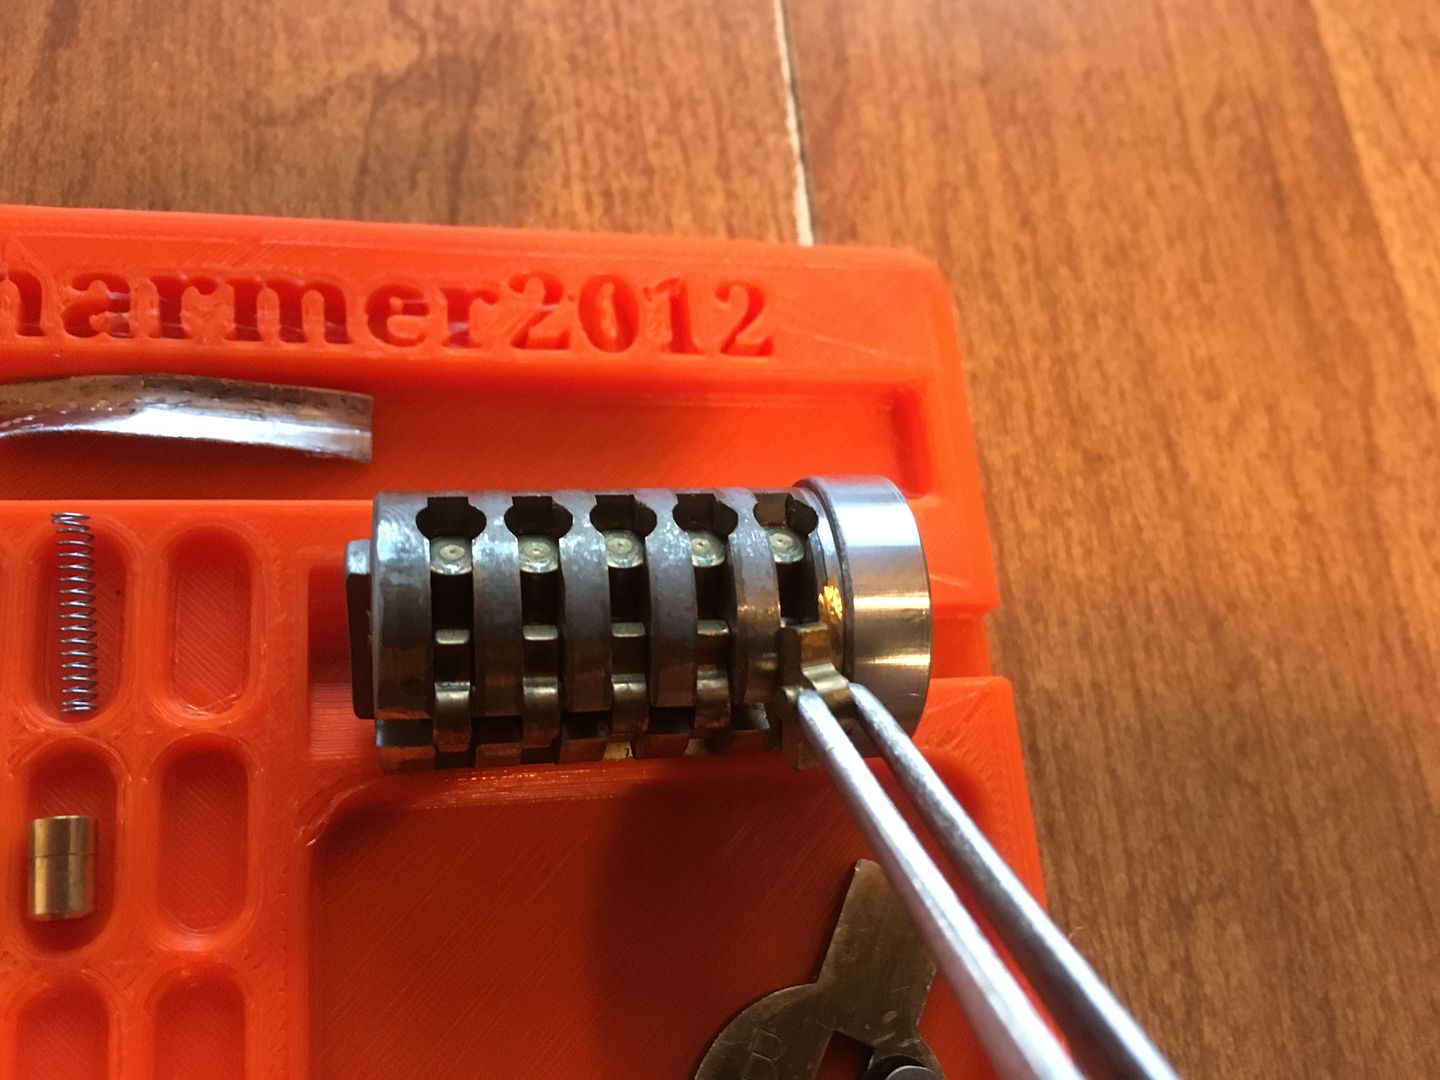
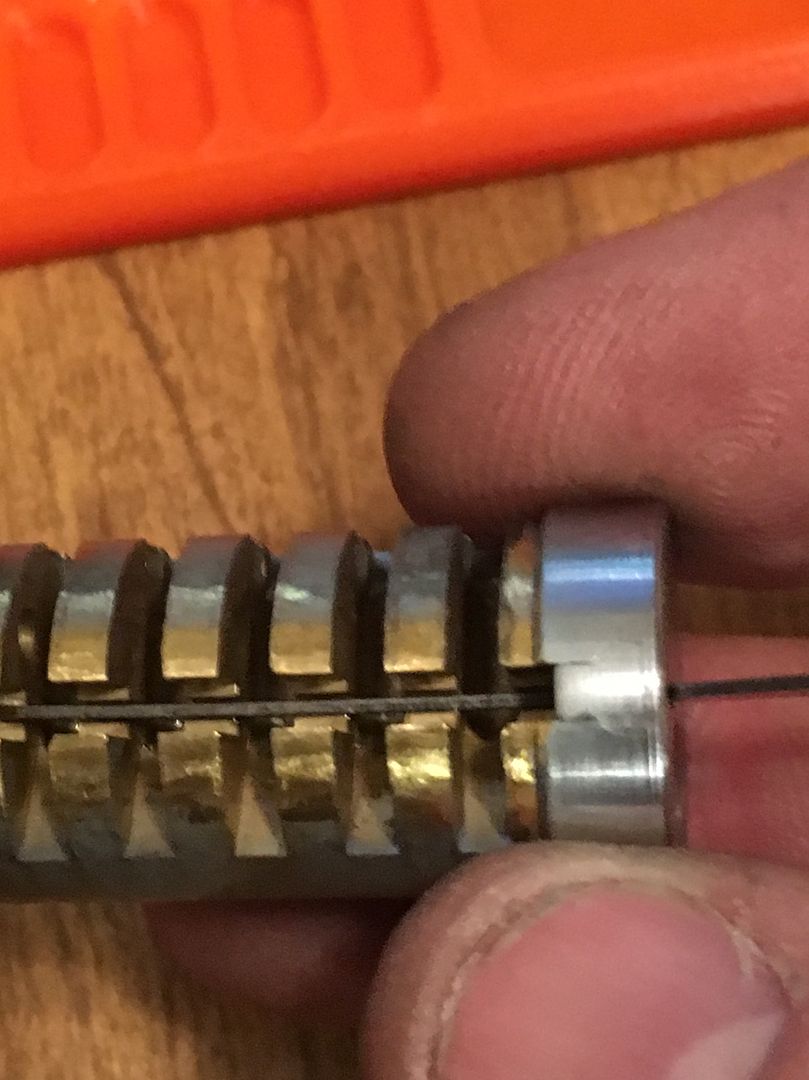
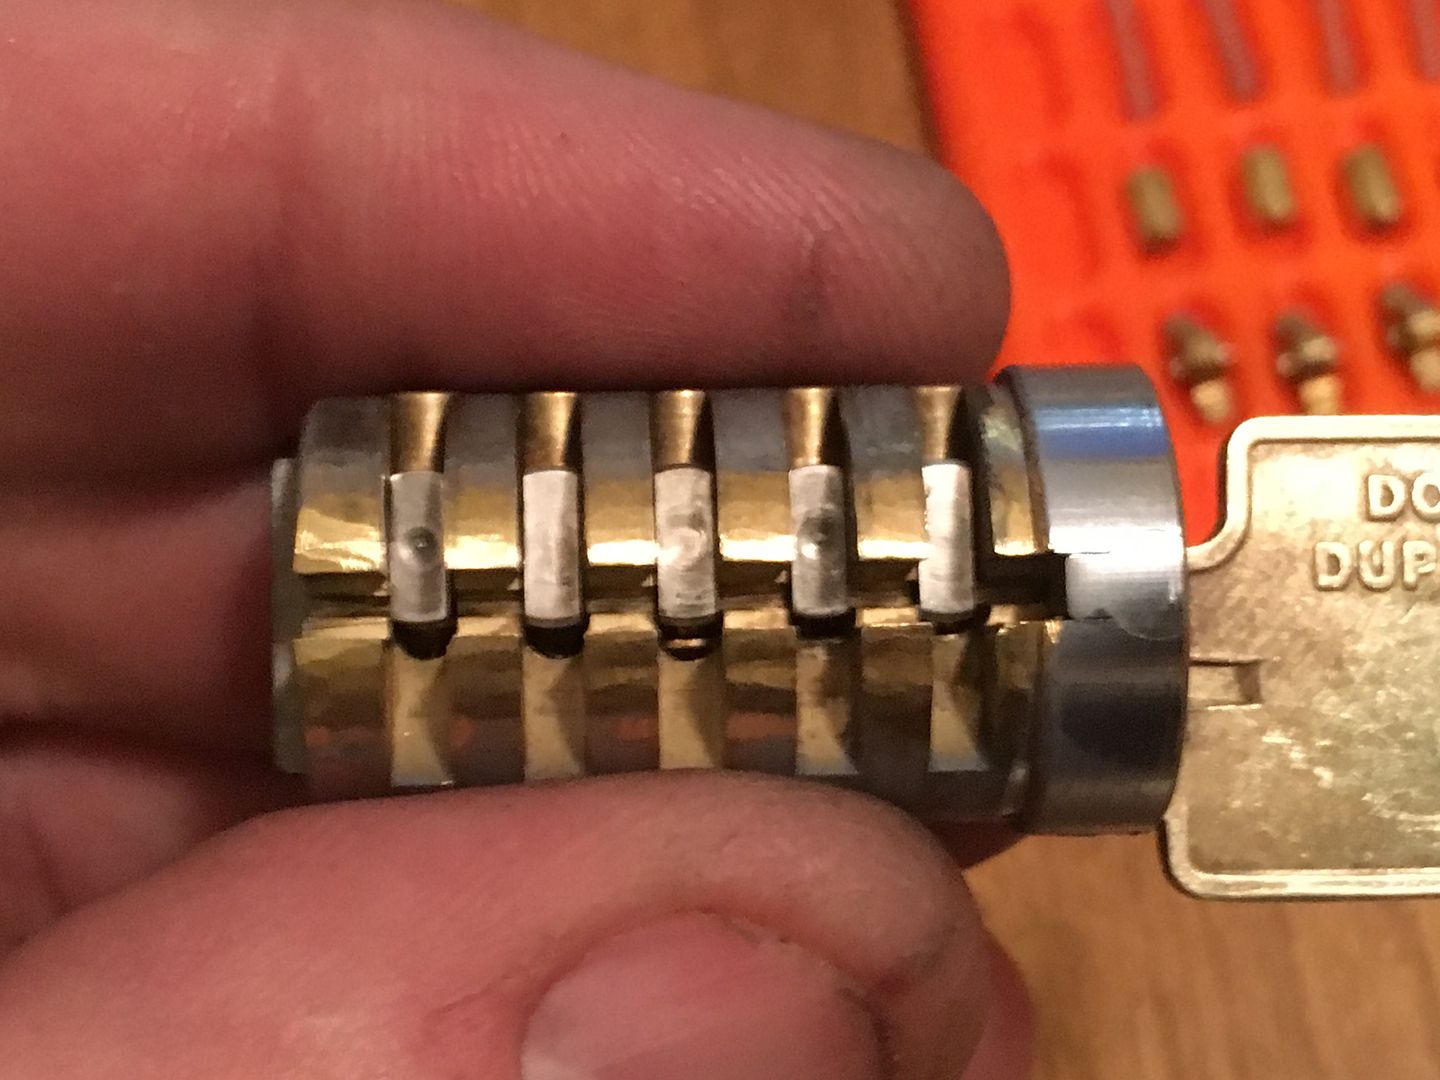
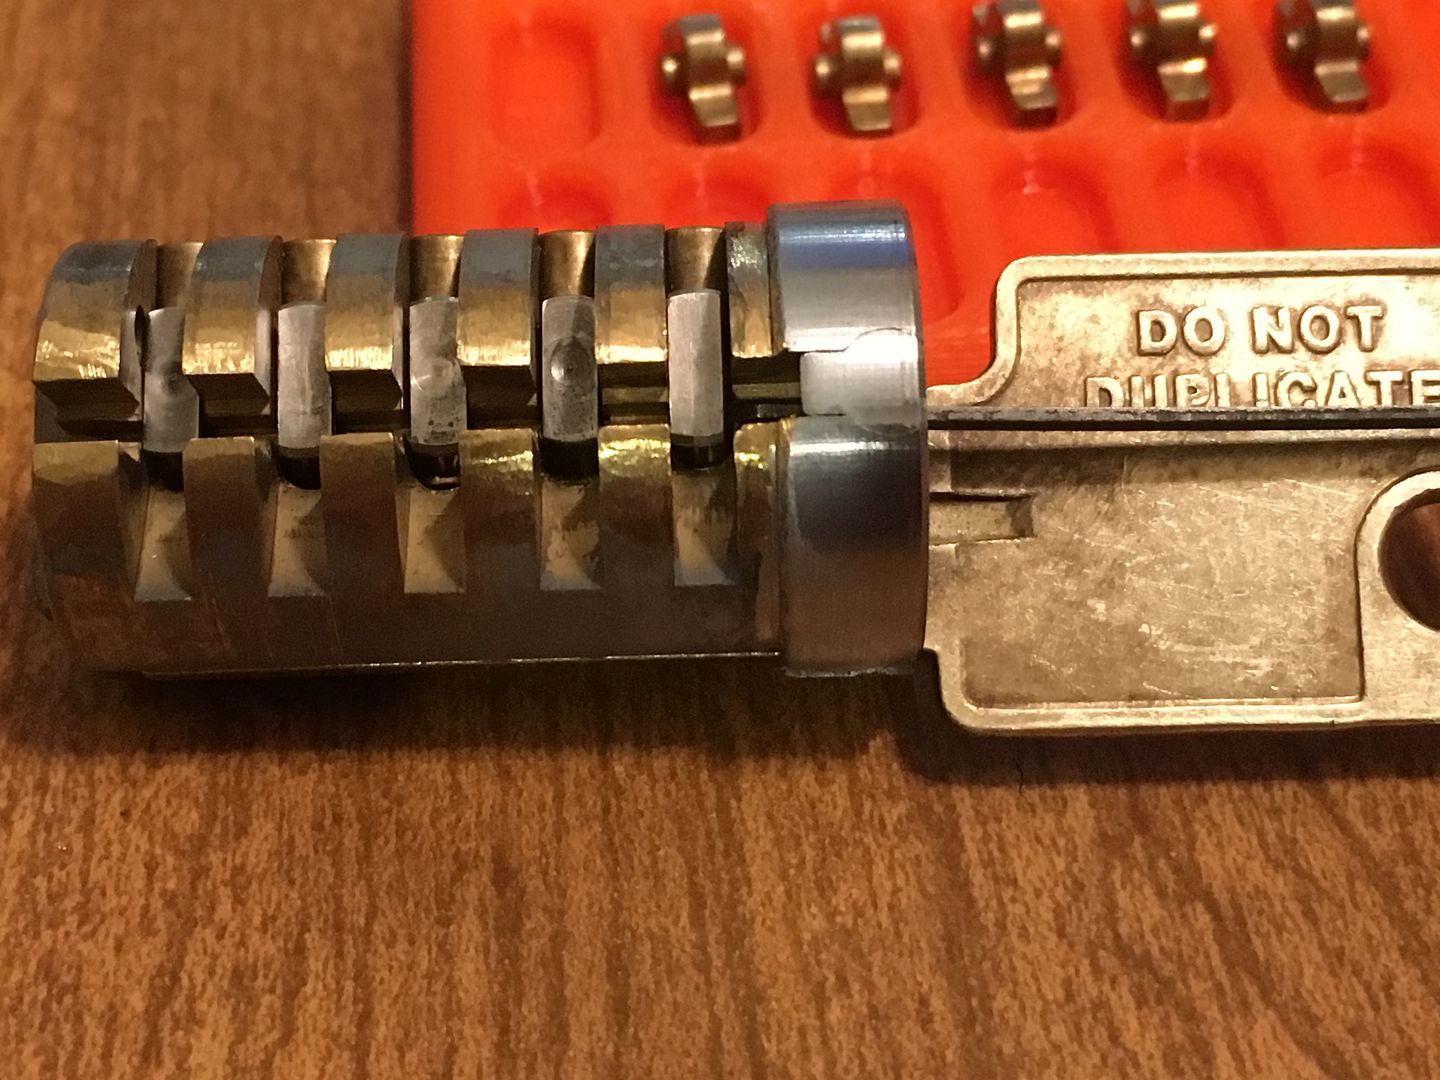
OK, here come the gutshots:
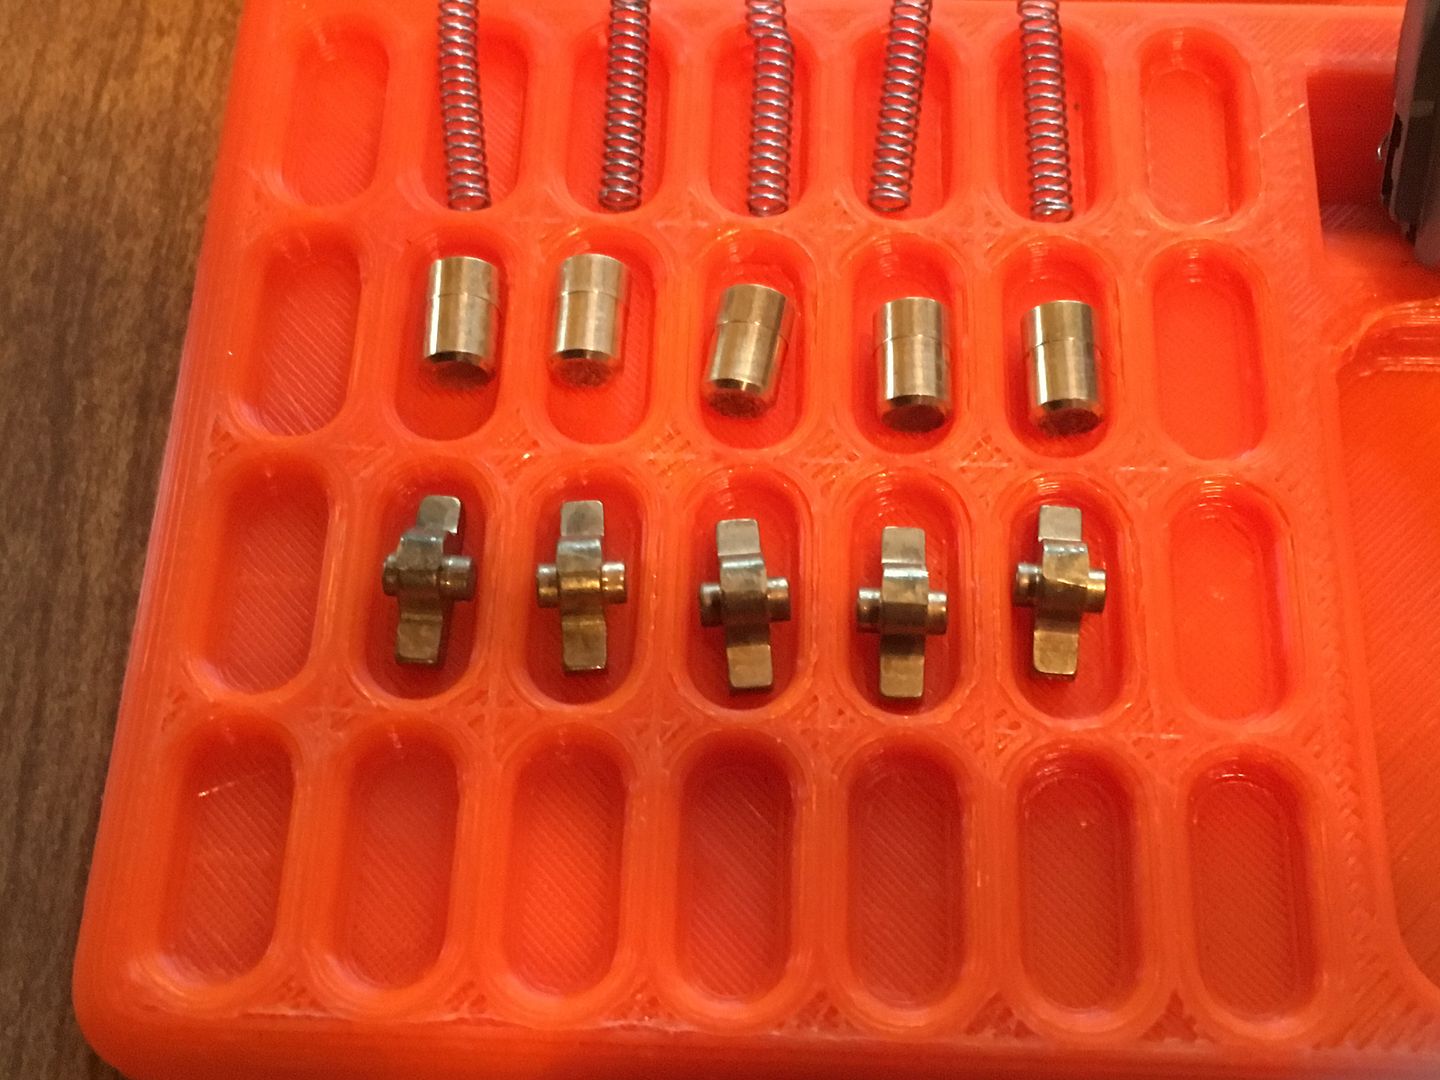
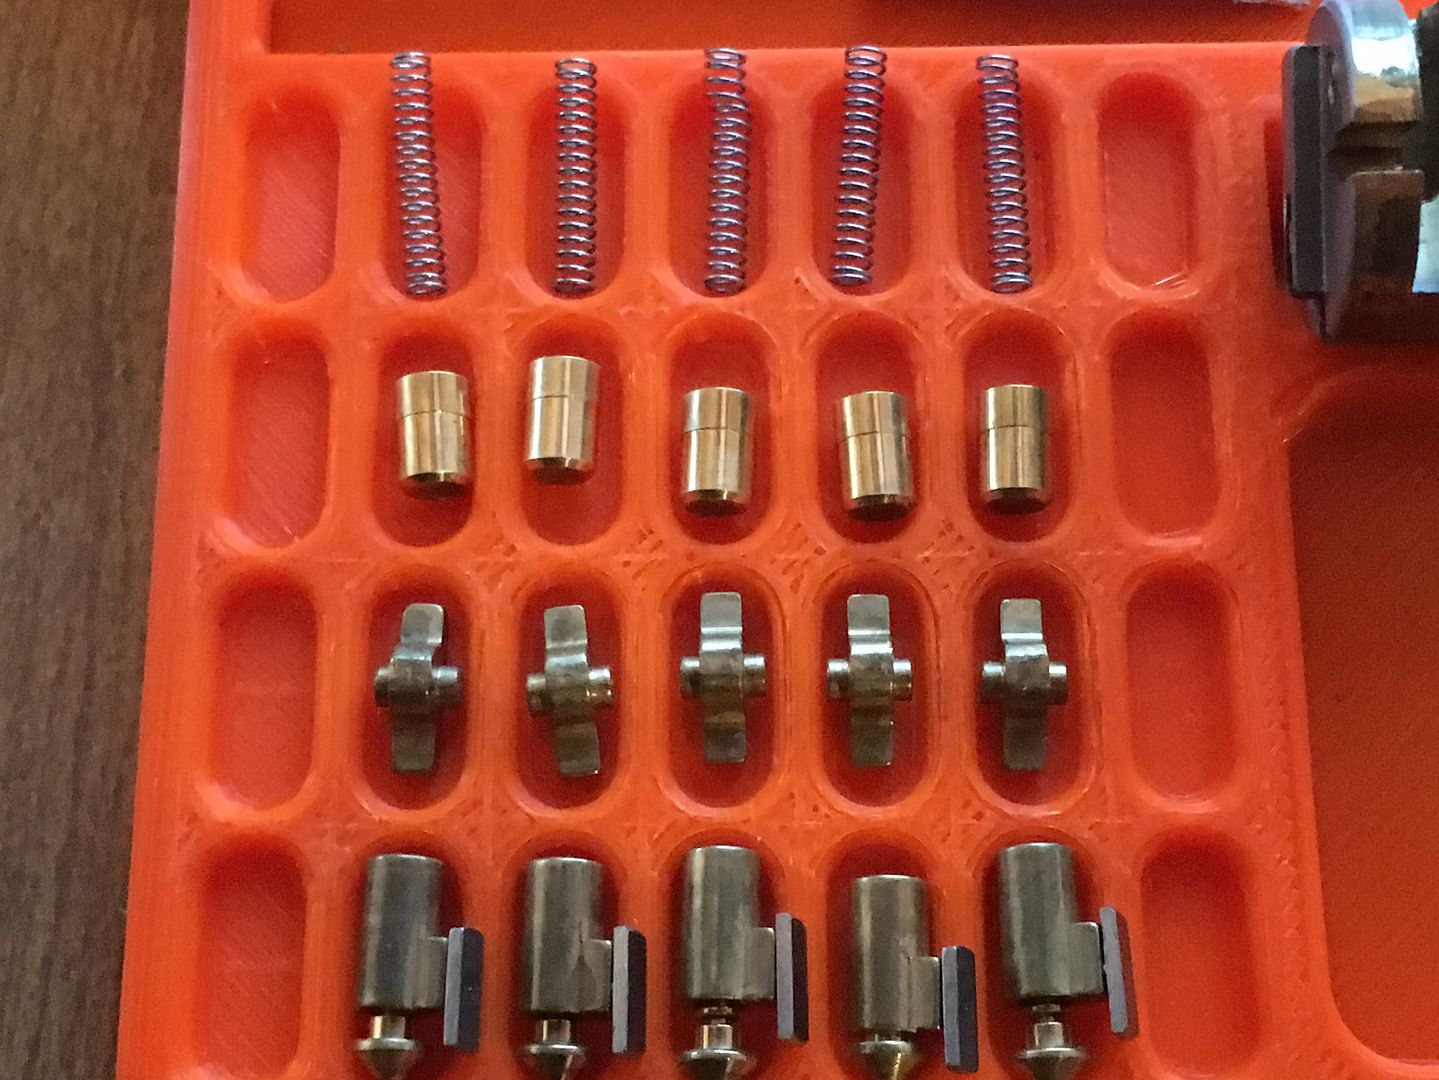
There is a strip along the top of the pin channels. Am taking it off only to show all the parts. Of course, a 19mm (3/4") plug follower can be used.
Yeah, nice fit on the springs. Wouldn't you agree?

The top of the driver pins are hollowed out, allowing the springs to fit (very loosely) inside.
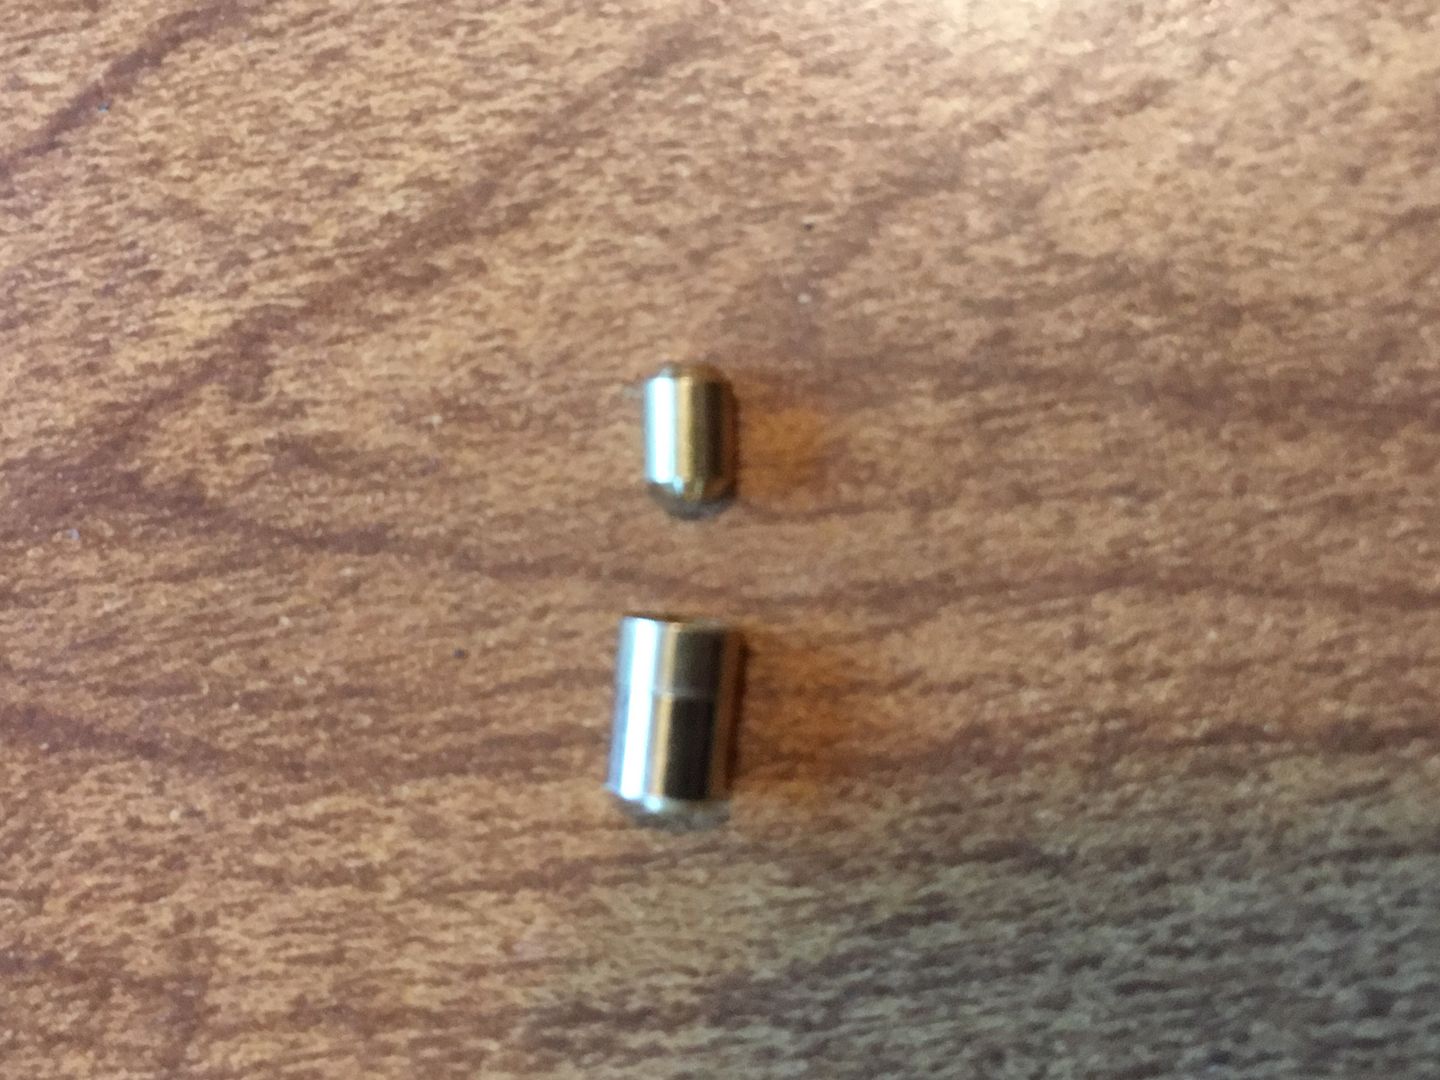
OK, one more size comparison. U-Change driver pin on the bottom, normal driver pin found in most pin tumbler locks around the world above. The normal pin tumbler driver pin would fit very nicely in the hollow space in the top of the U-Change driver pin.
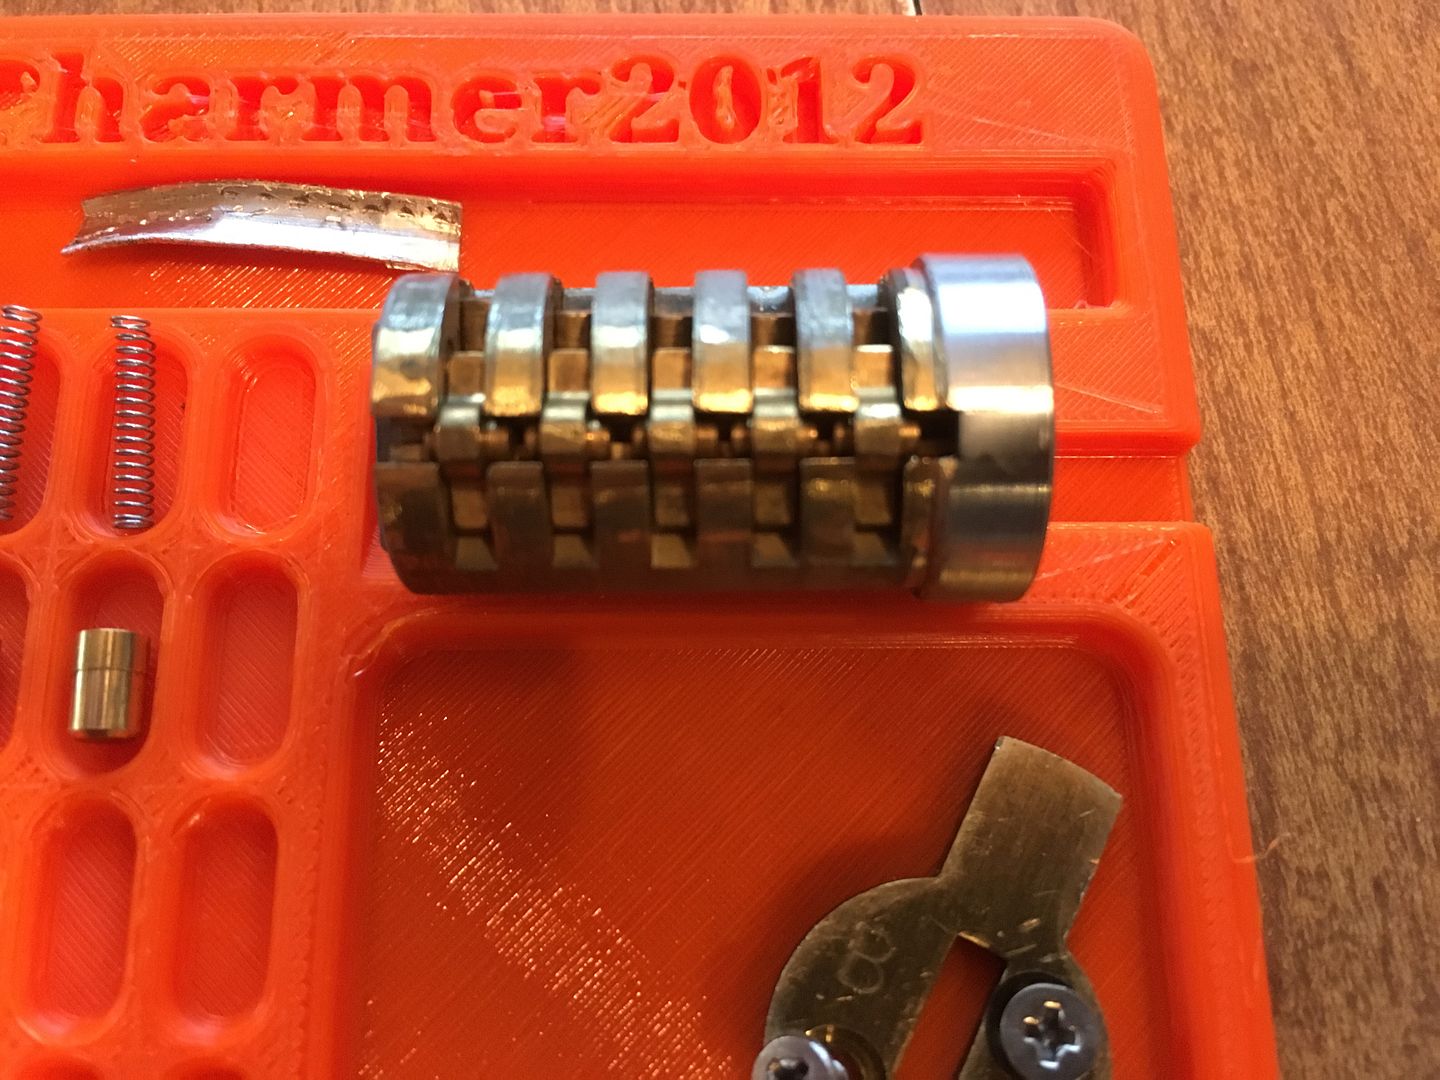
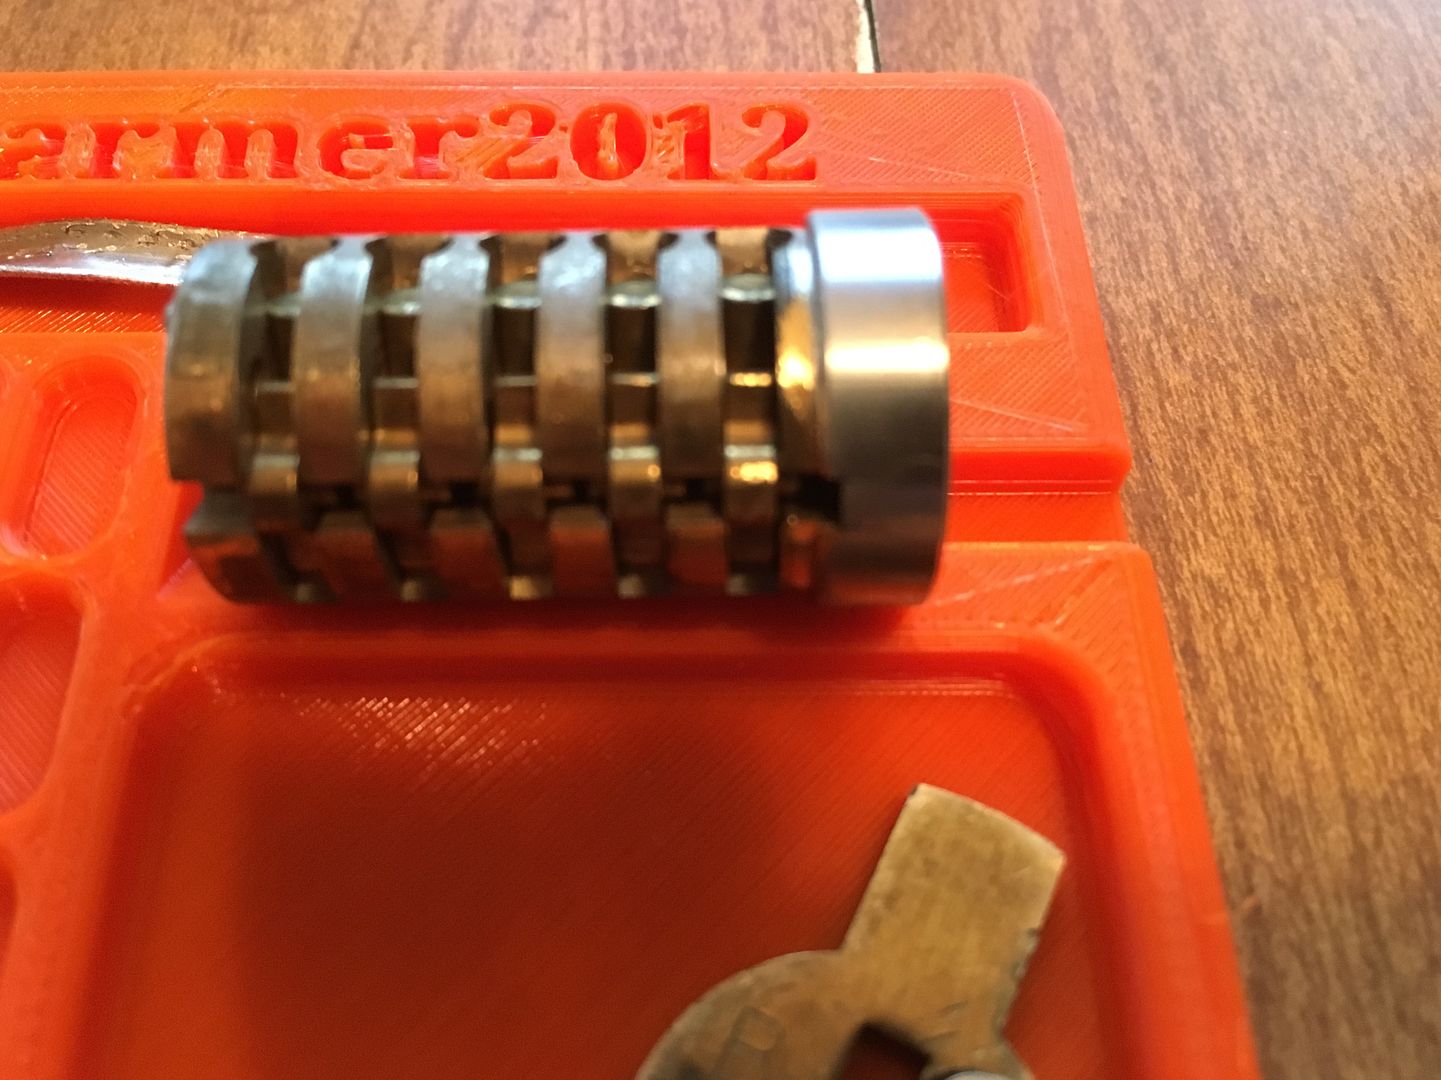
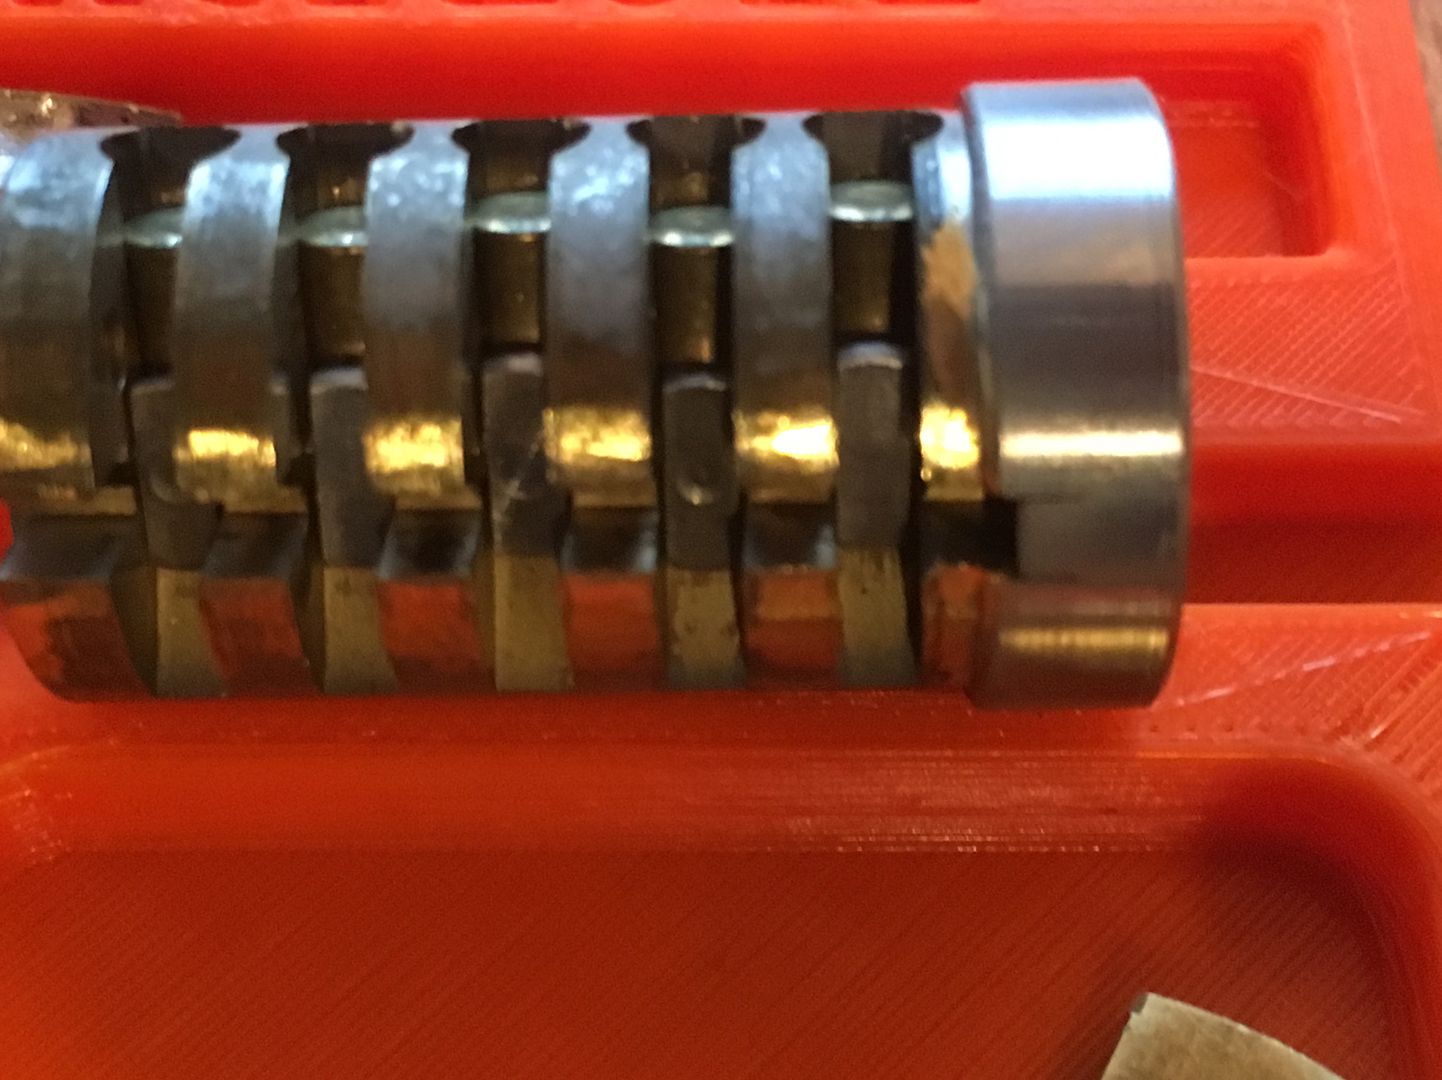
You will notice that even though the driver springs and driver pins come out the top of the cylinder, the key pins won't.
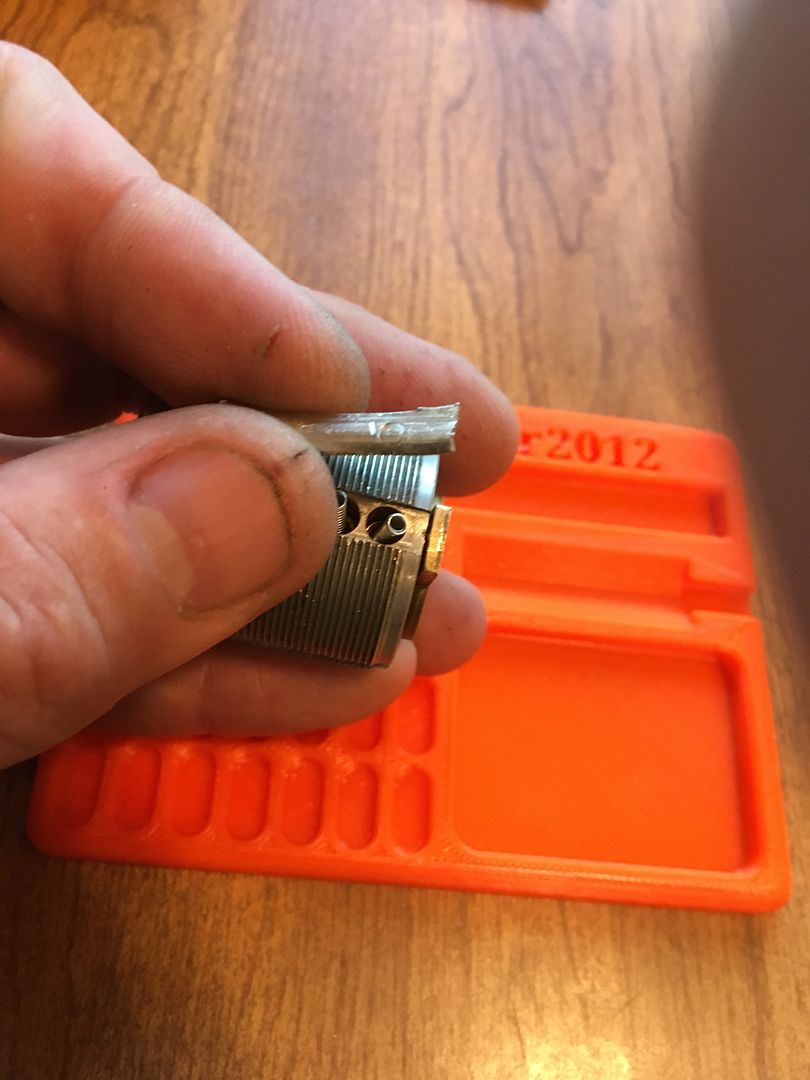
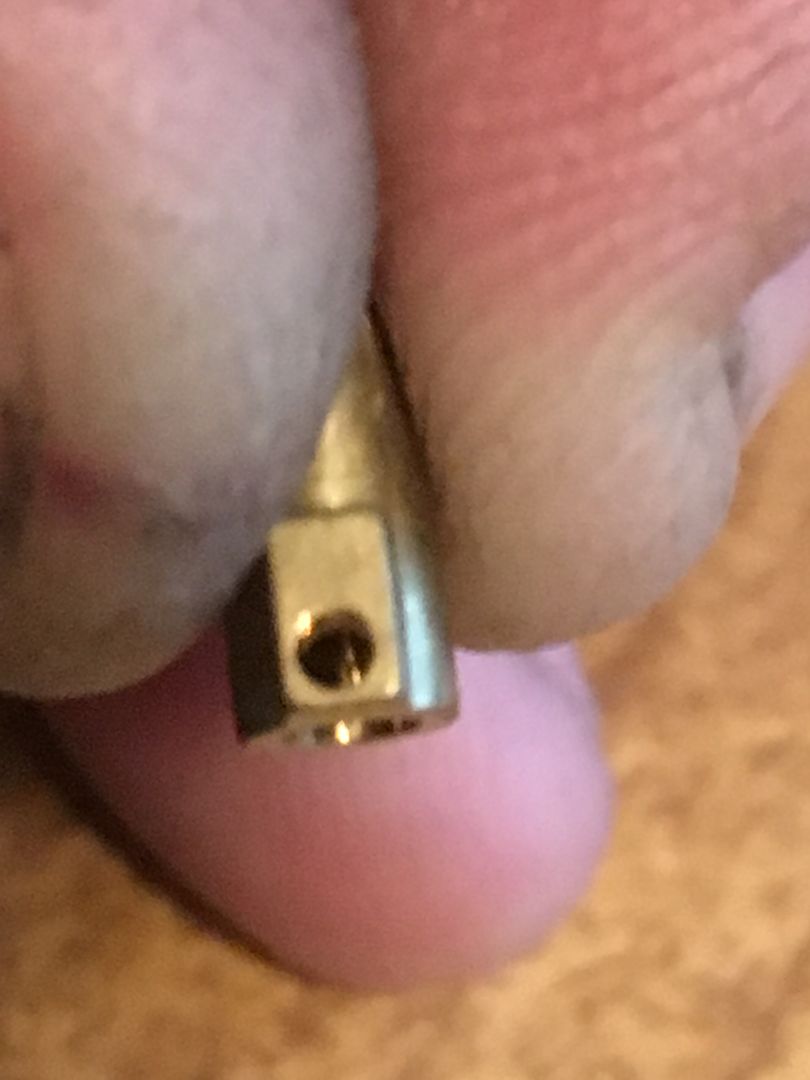
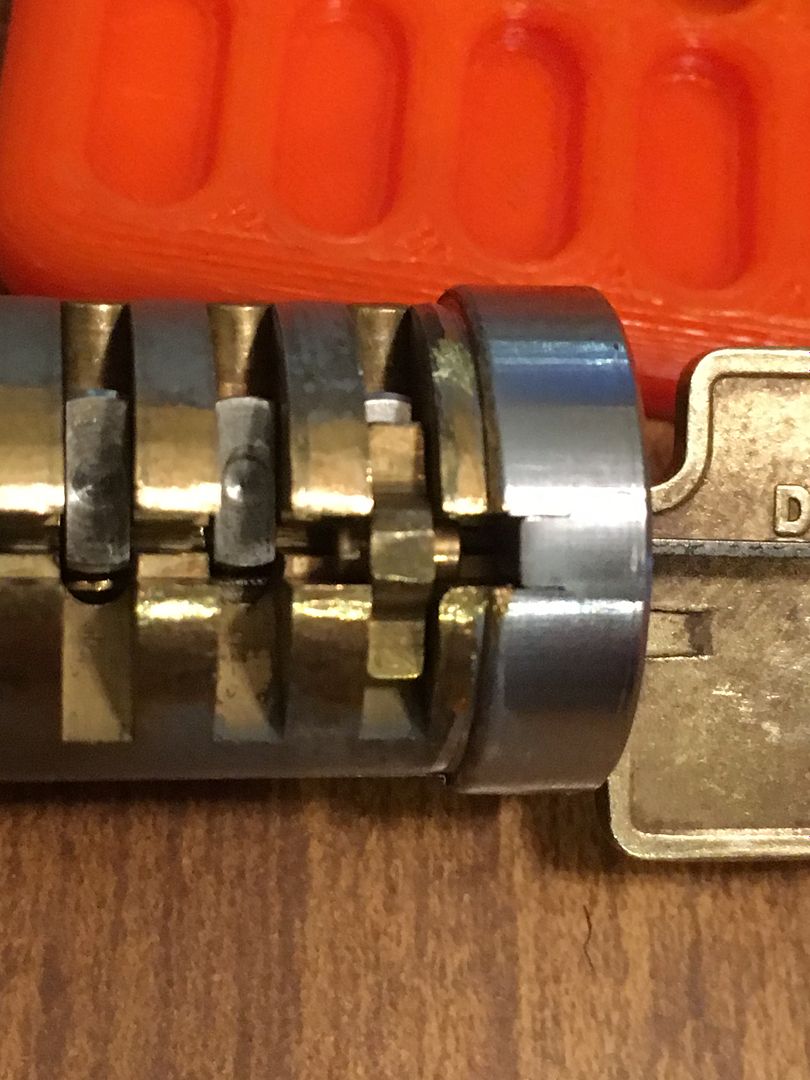
To find out why, you need to remove the plug from the cylinder.

Rotated the plug slightly
Here you can see rockers that will need to be removed. The purpose of these will be explained very soon.
close up of the rockers.
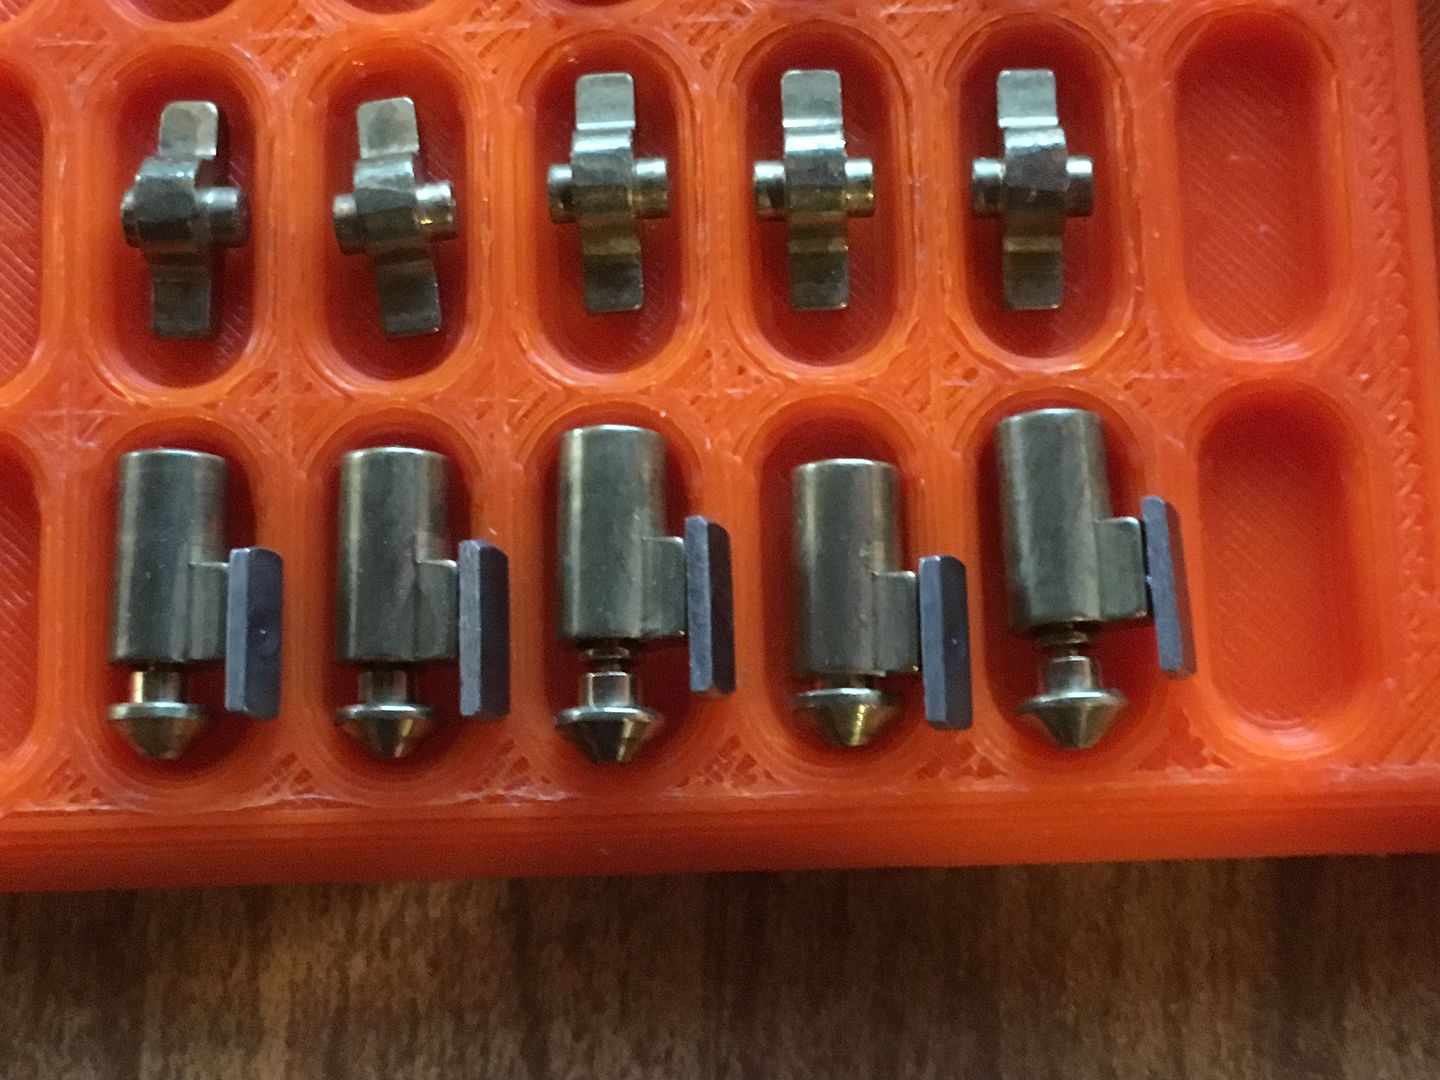
Now you can see the key pin assemblies (yes - assemblies) hiding behind the rockers.
Removing one of the key pin assemblies.
Aligned the same way you saw it in the plug:
and rotated 90 degrees - here is where things start looking funky.
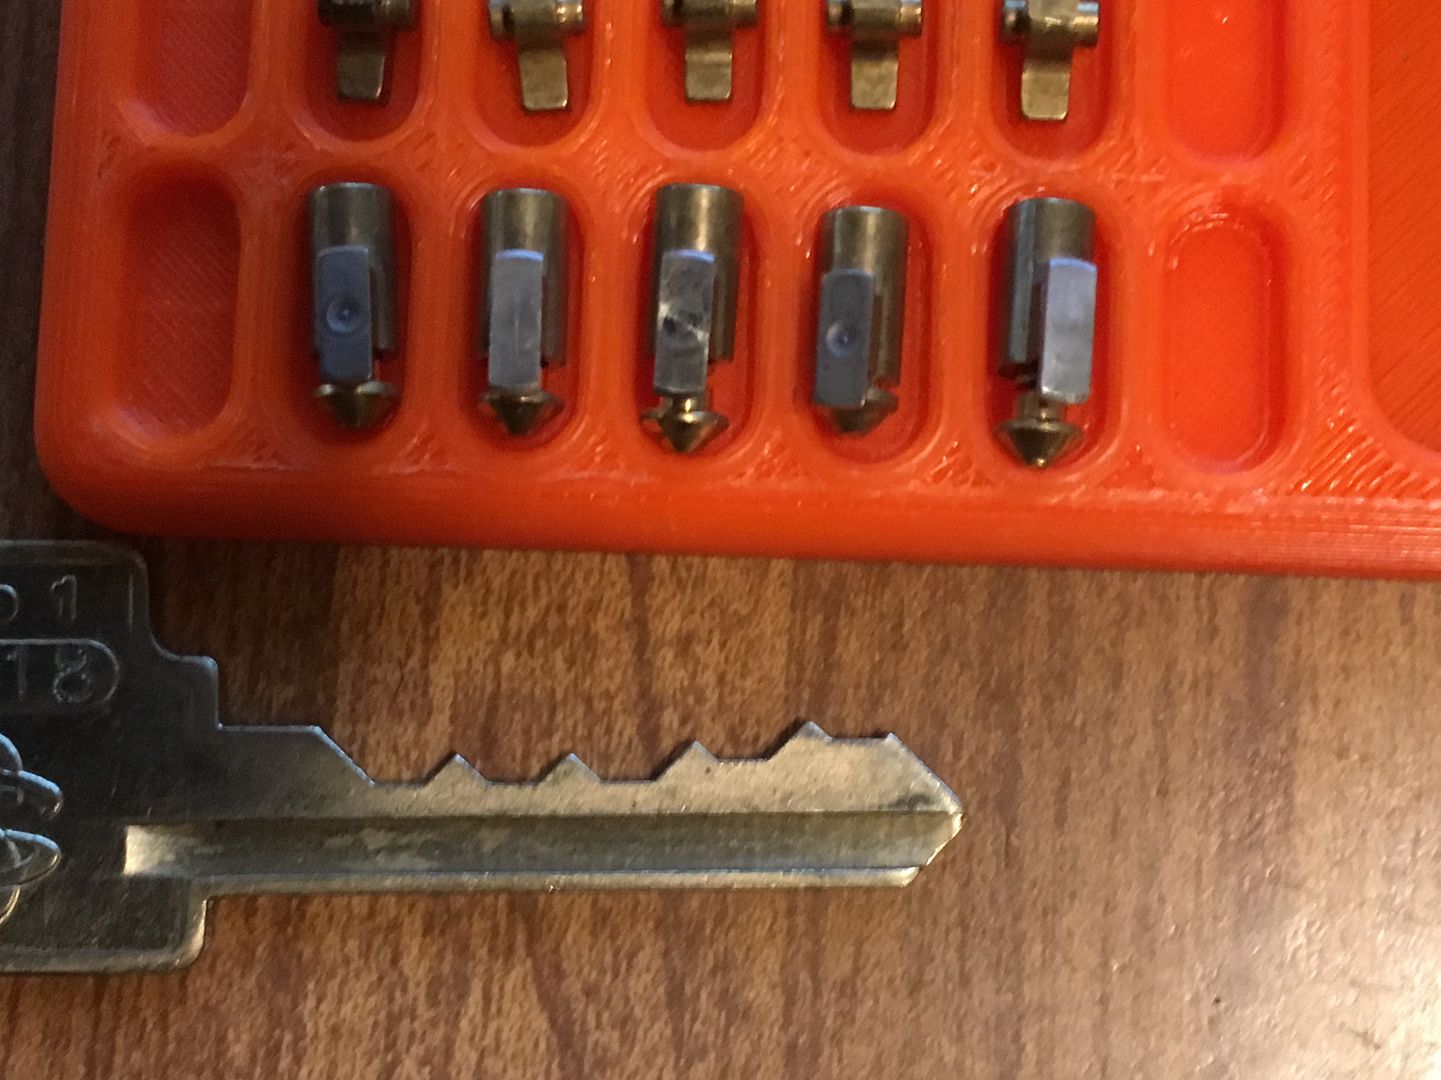
Remove the rest of the key pin assemblies.
The things aligned as they would be with the key.
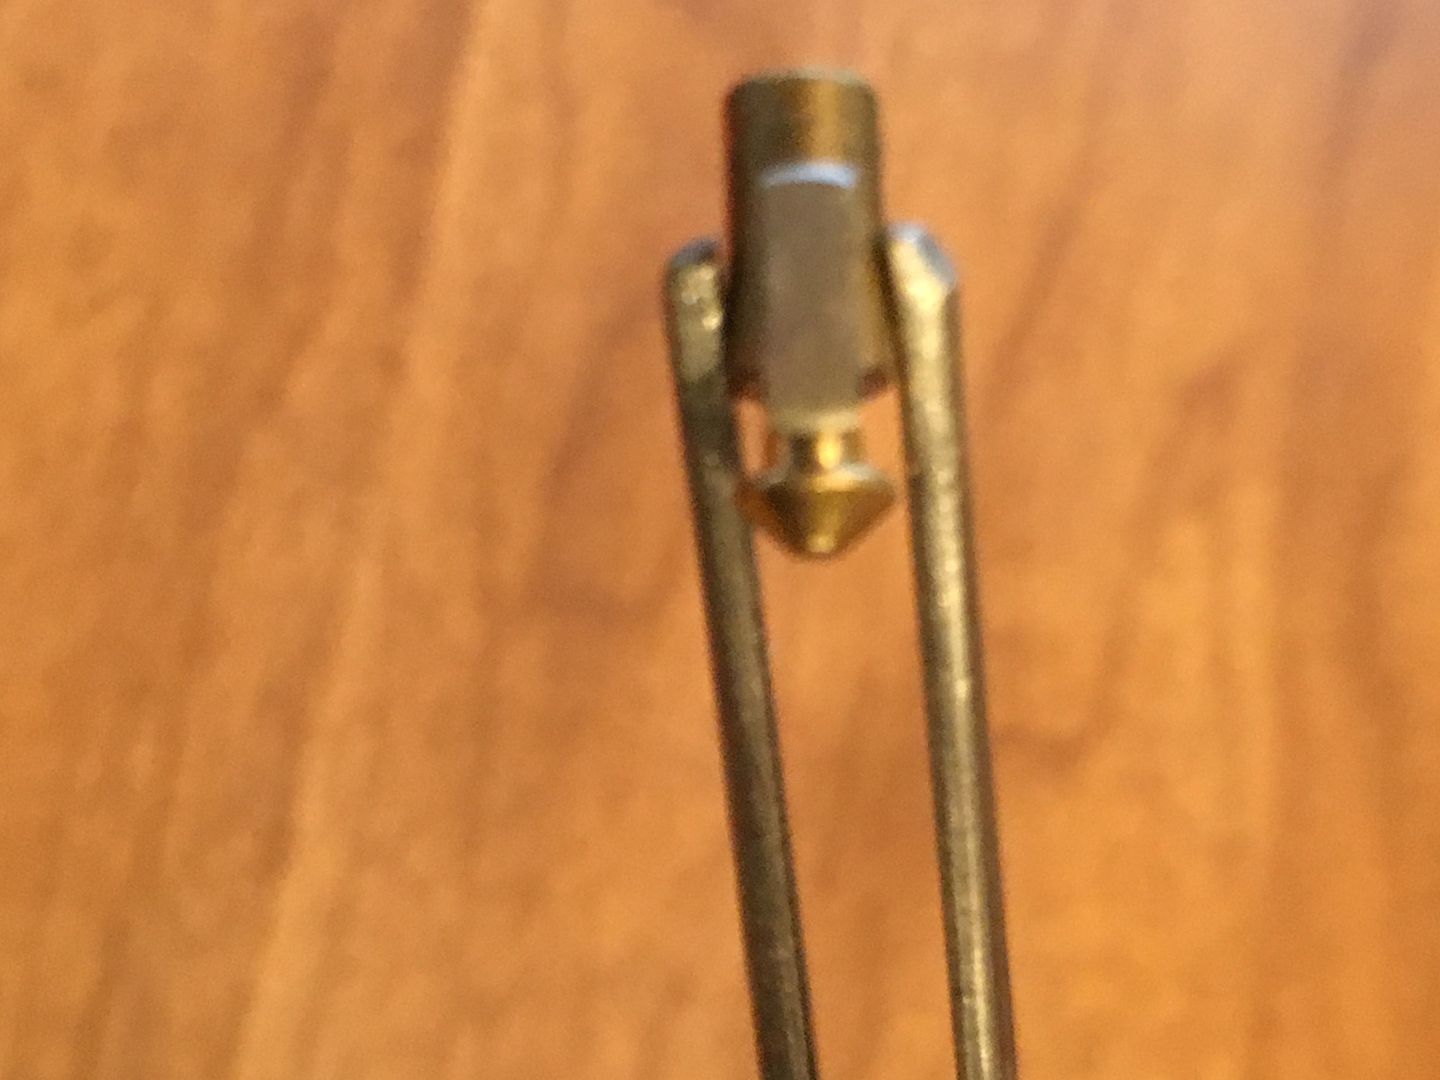
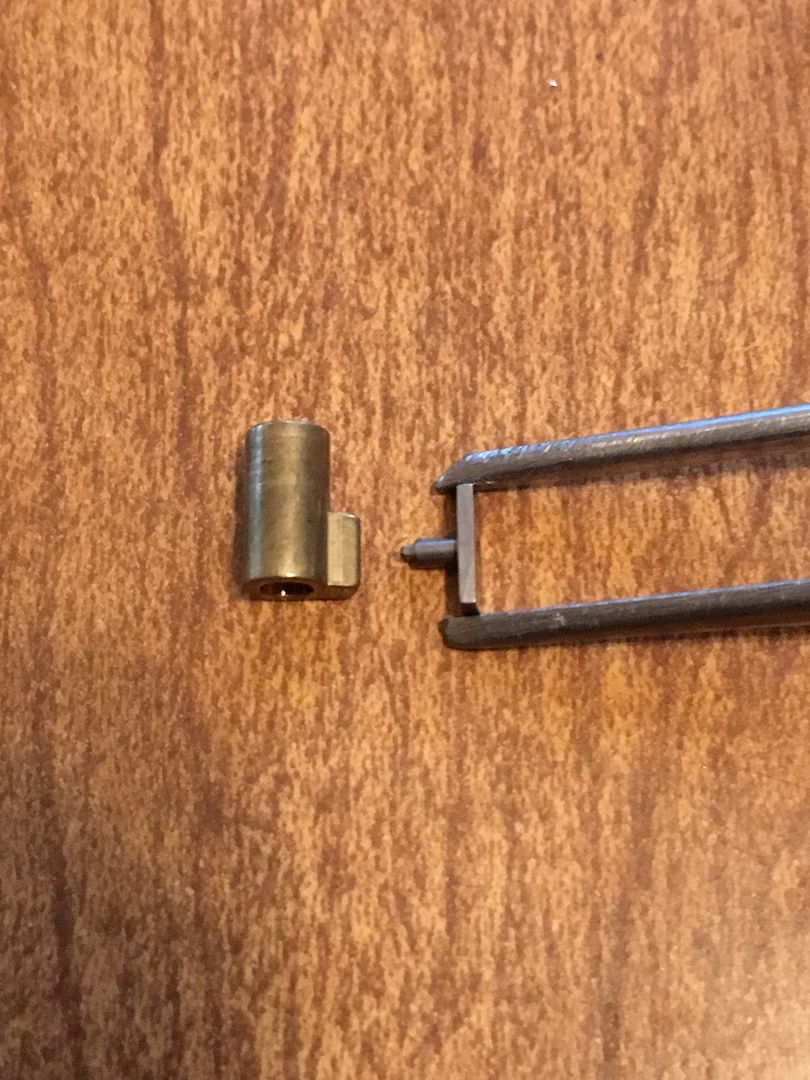
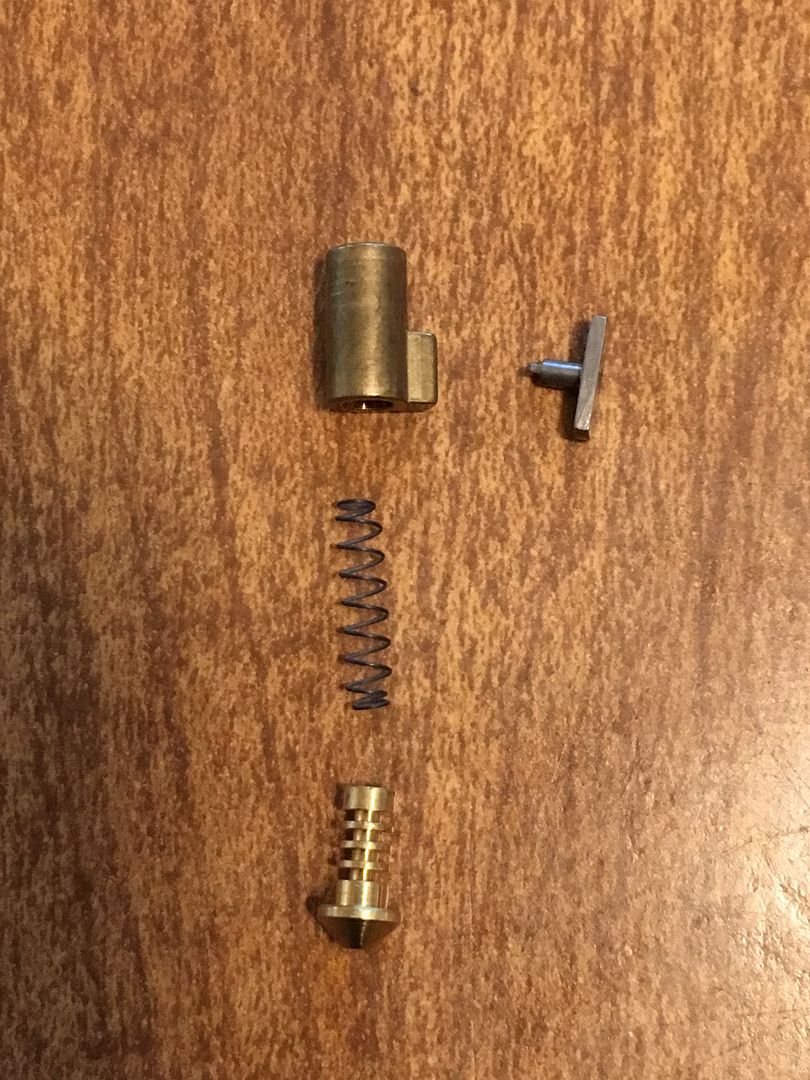
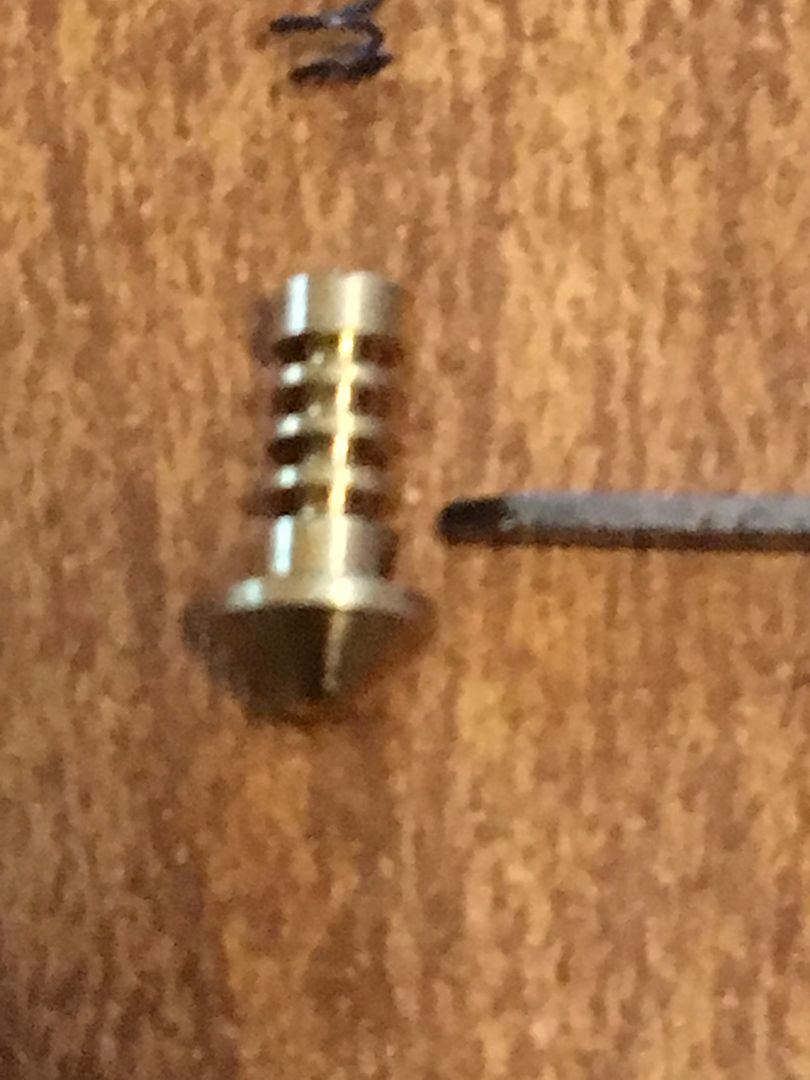
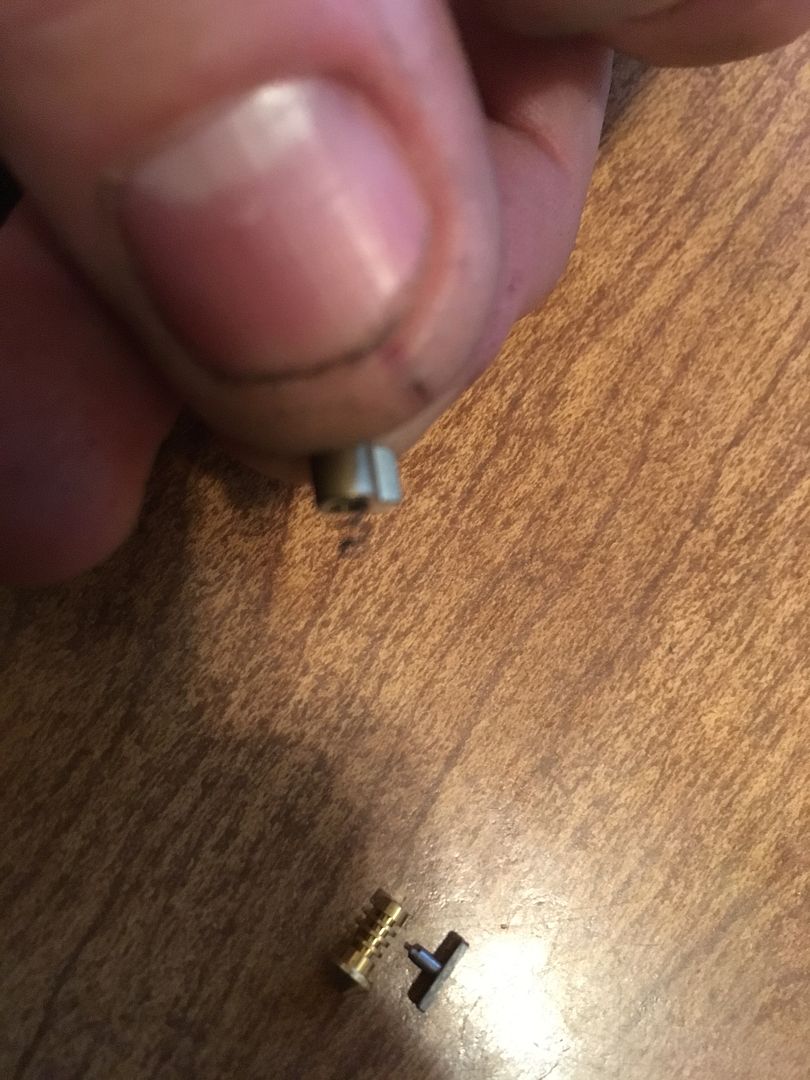
OK, the four parts of the key pin assembly. All five key pins have identical parts.
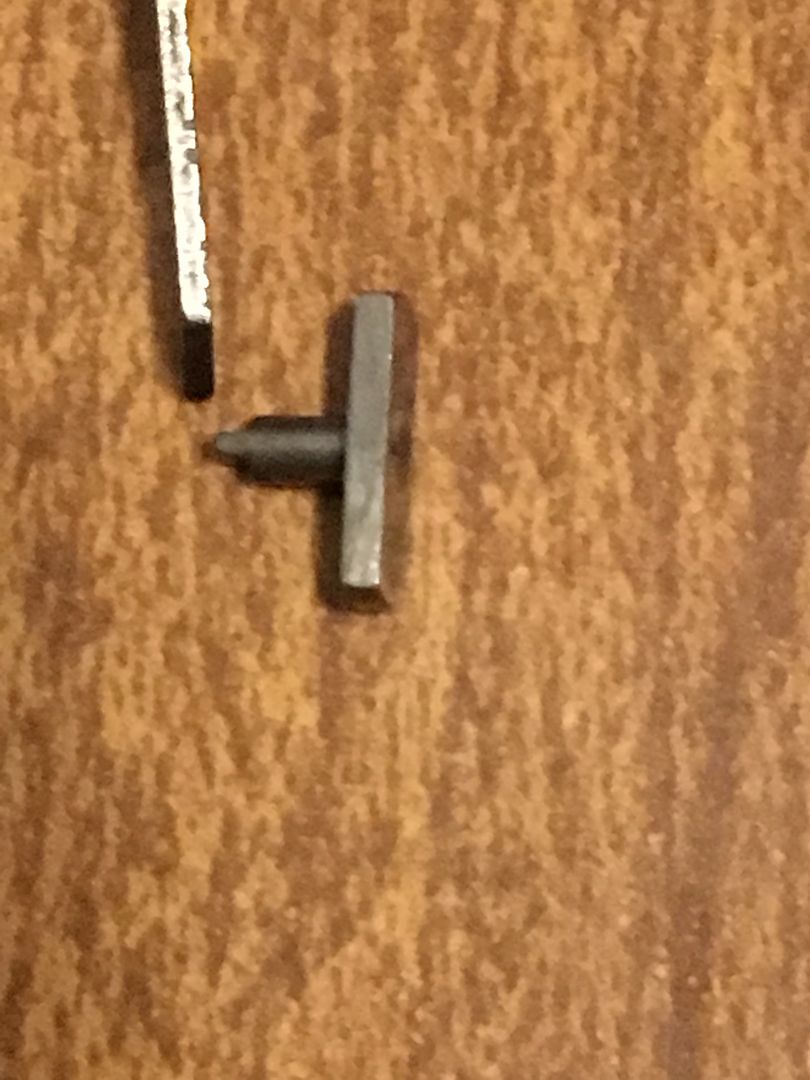
First, the T-Pins (the parts are what I call them. Don't know what U-Change calls them).
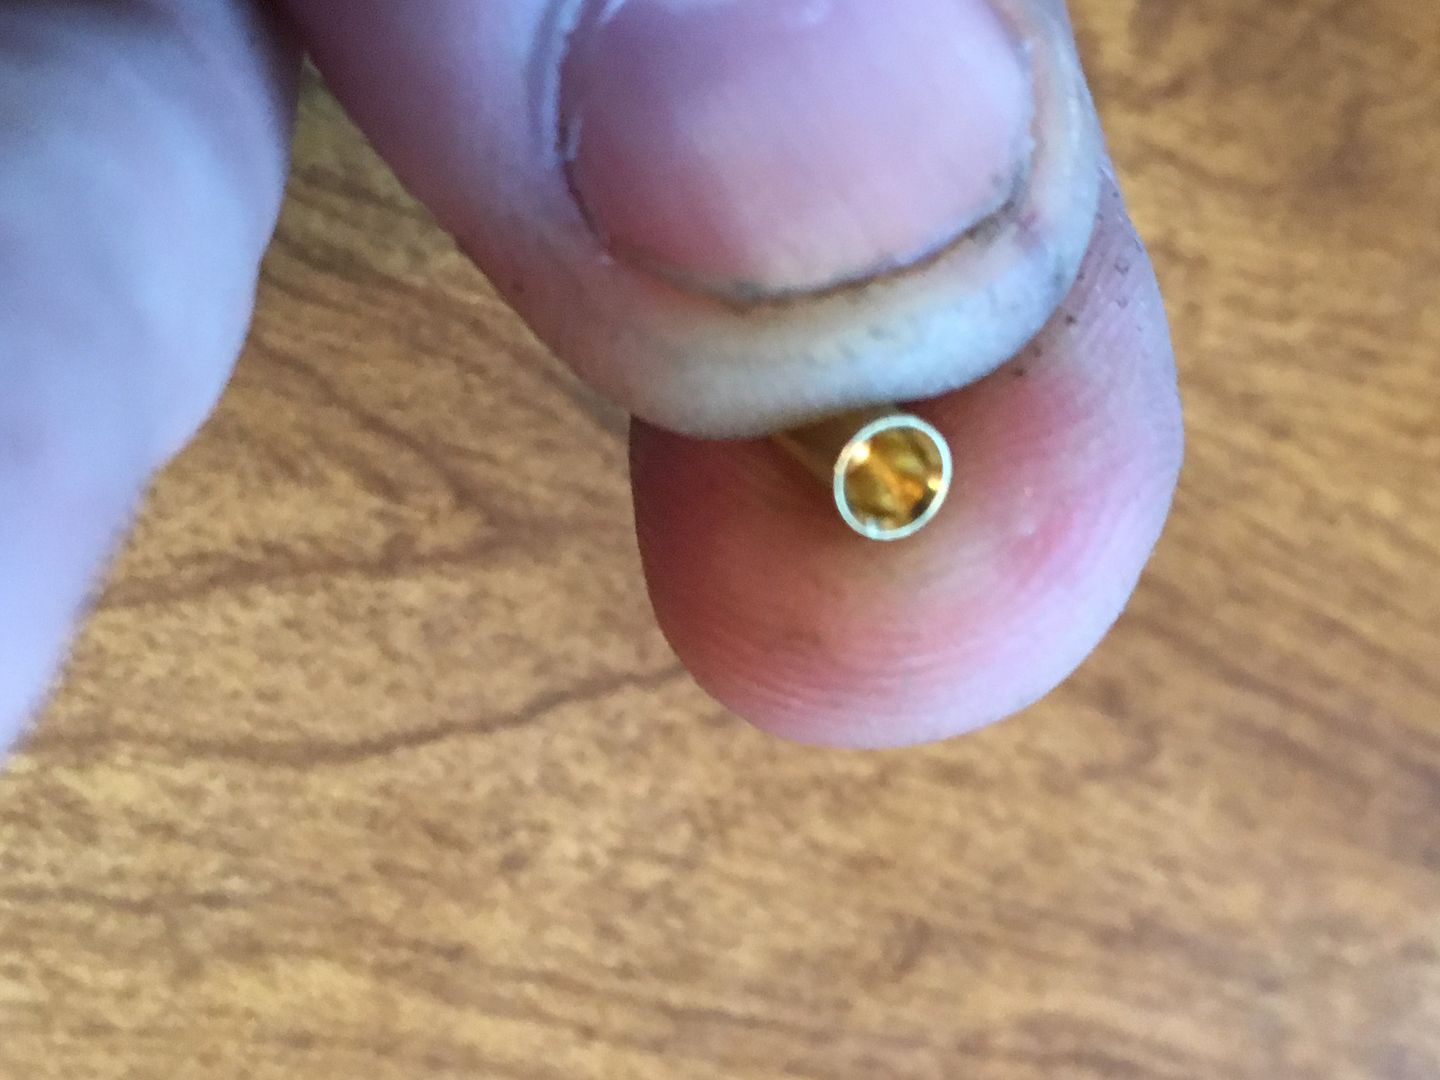
The upper Key Pin body
The lower key pin
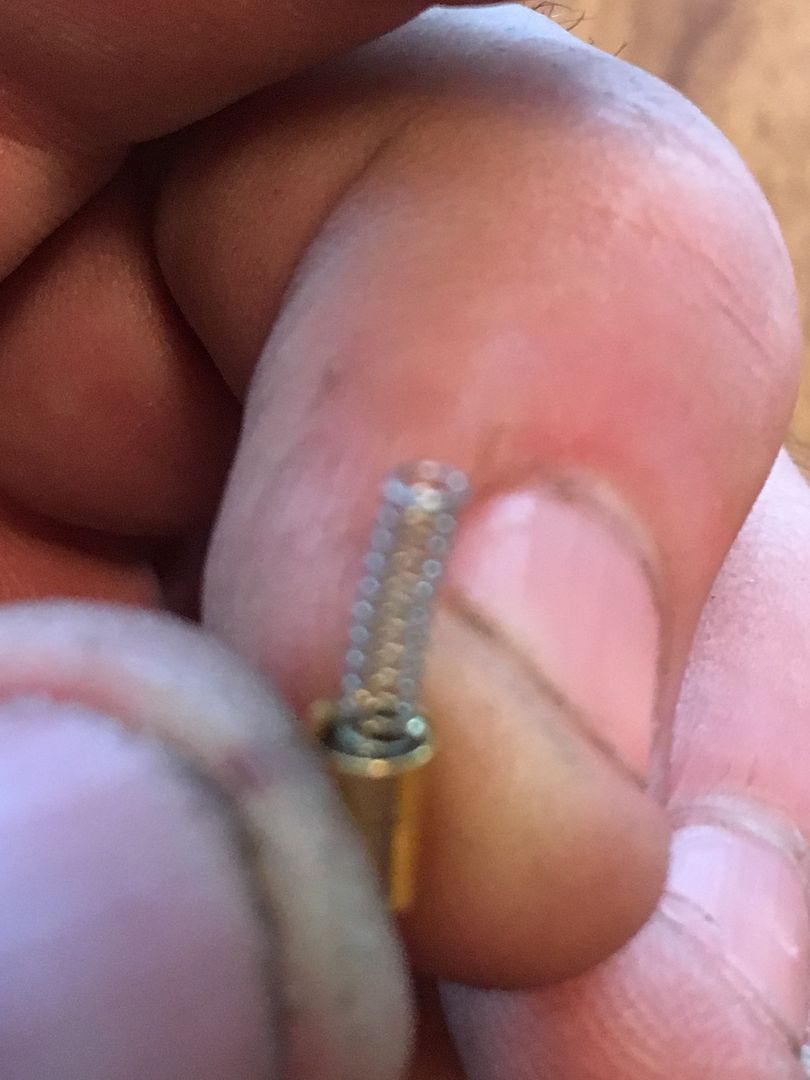
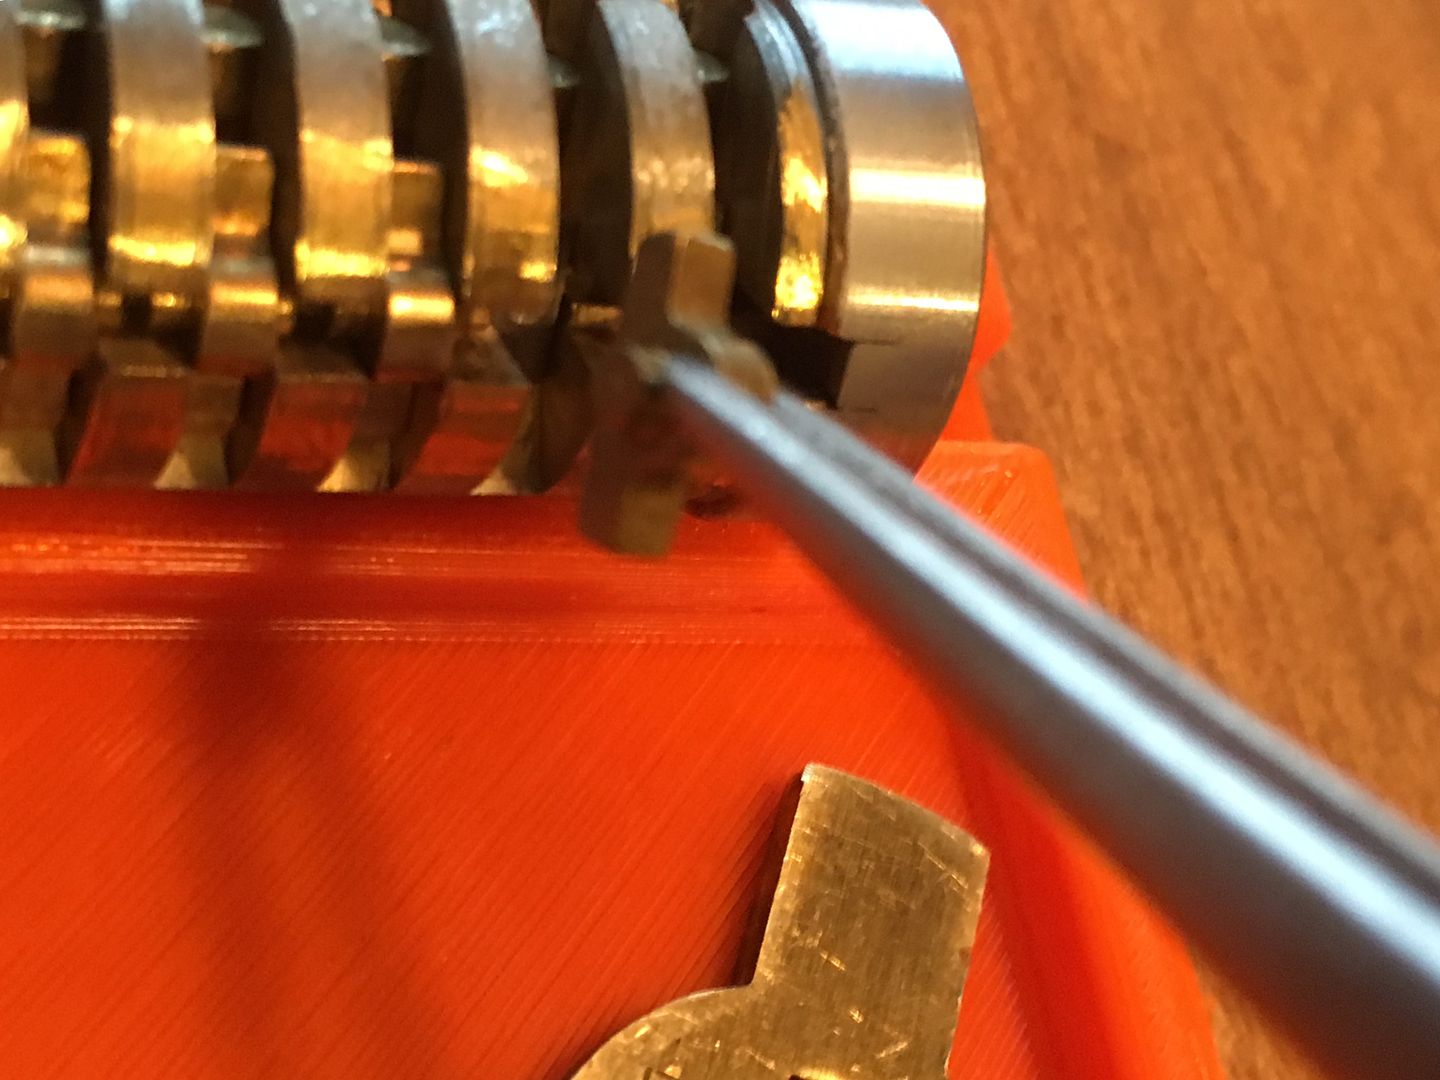
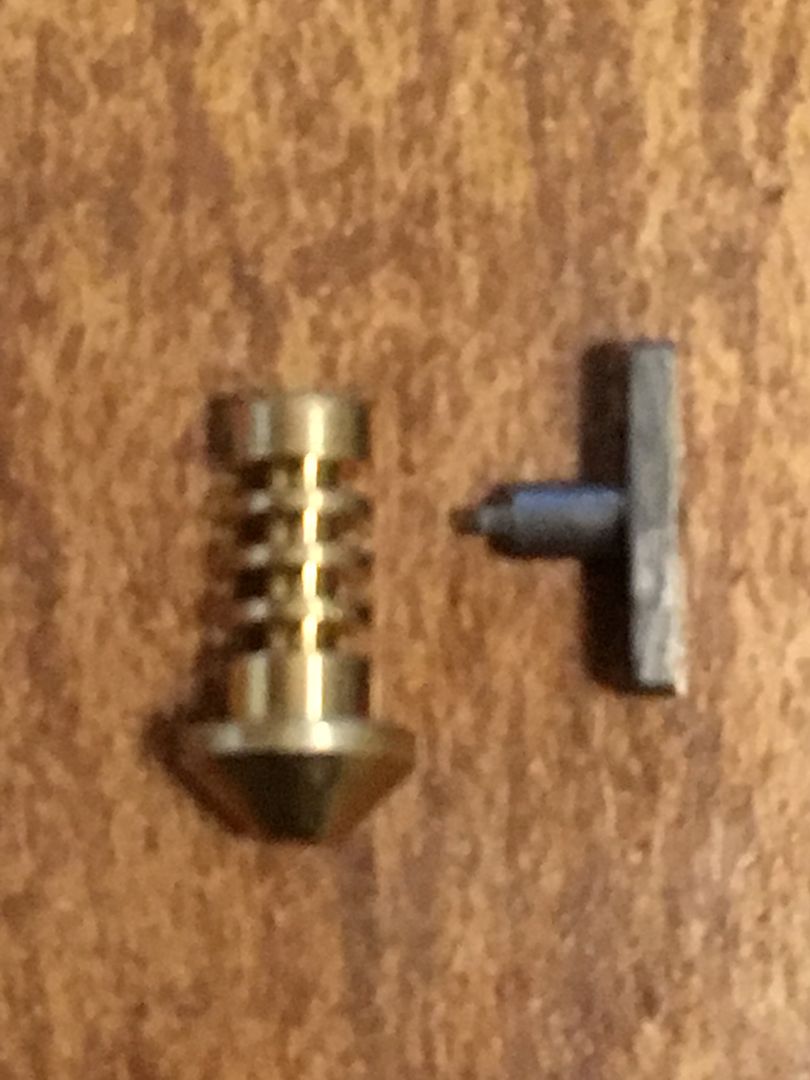
And the fourth part. Well, you can't see it yet. So use something to grip the top and bottom of the T-Pin. Watch closely:
Pull out the T-Pin:
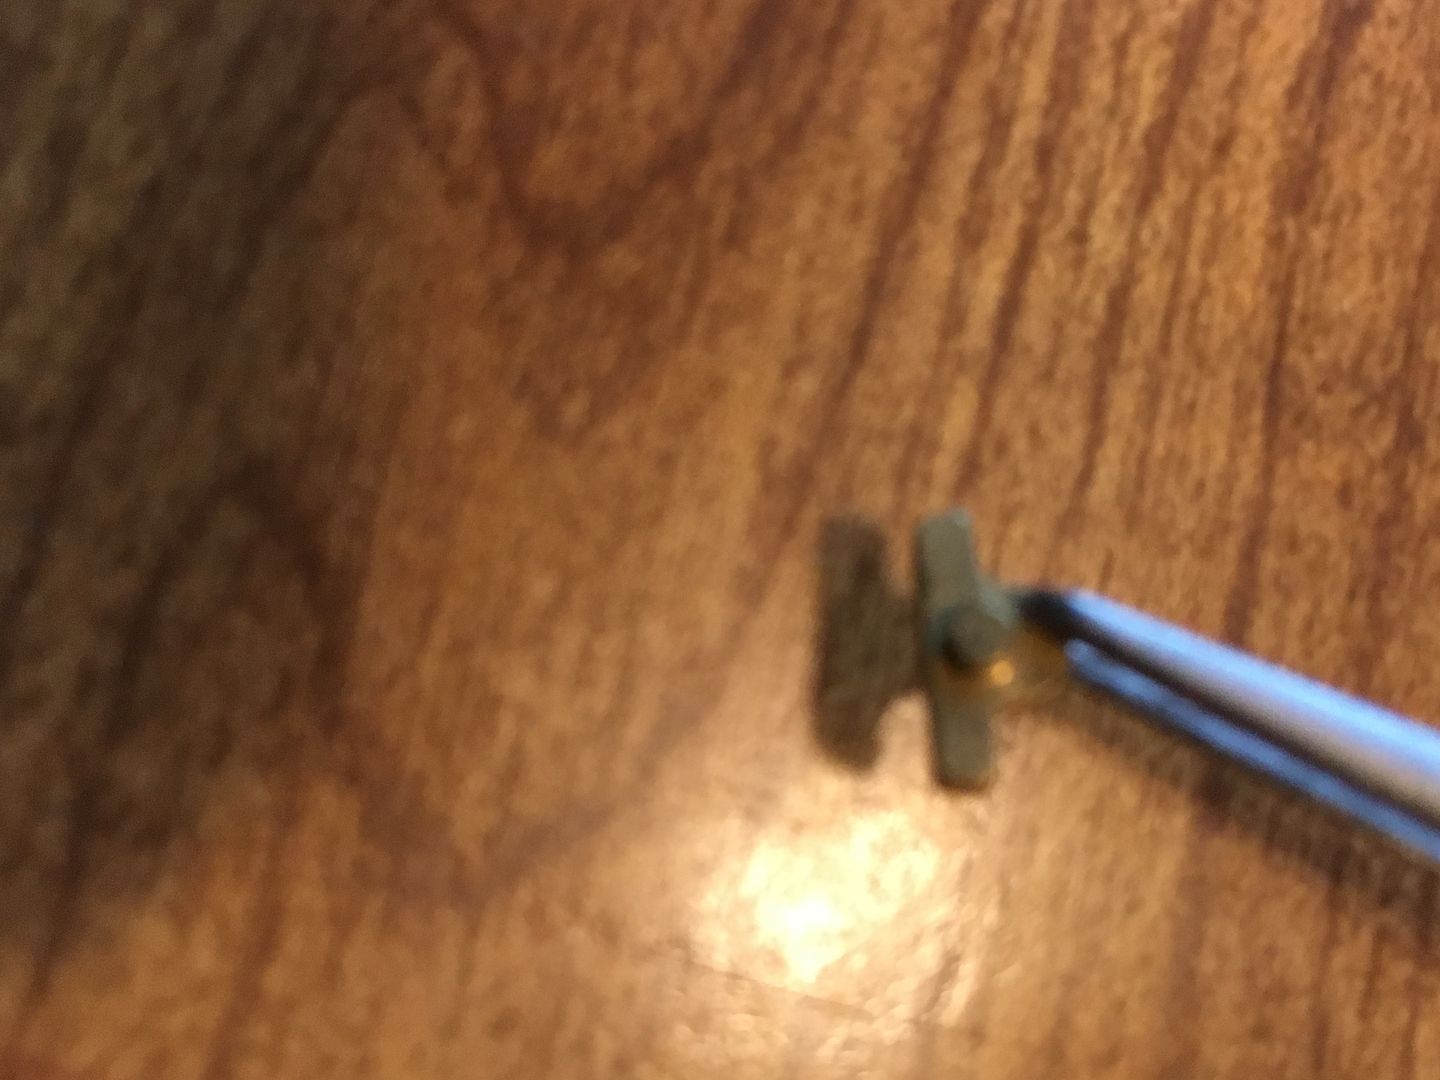
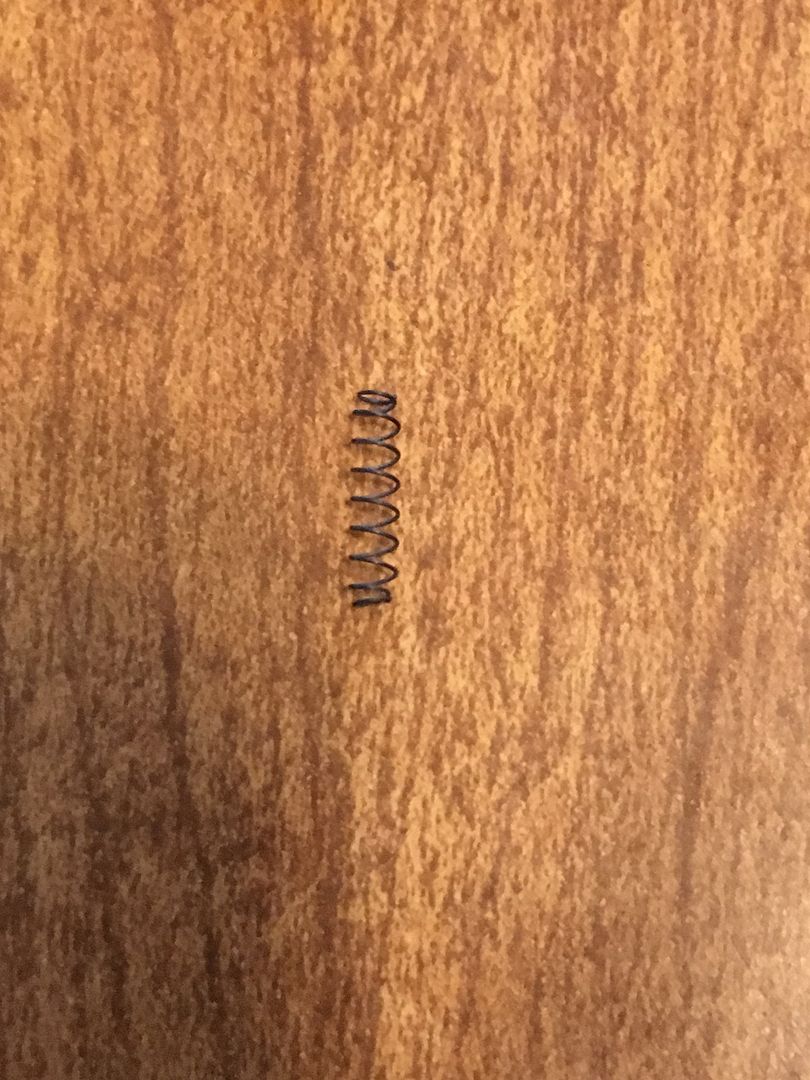
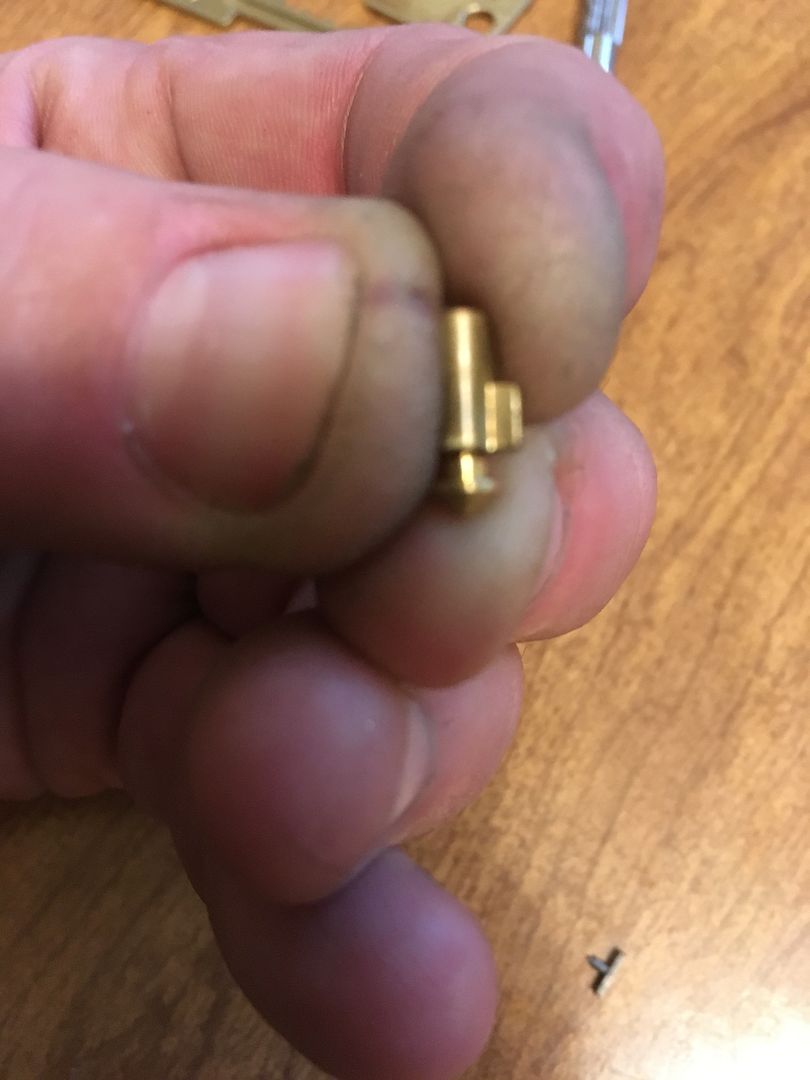
Ummm... look at the last two pictures. Something seem missing in the second picture? Took the second picture that way intentionally, as a warning. You see, the lower key pin...
... does not fit loosely in the upper key pin. There is a strong spring between them, and the T-Pin keeps them assembled.
To quote myself from a few years ago:
GWiens2001 wrote:When taking apart my first U-Change lock, I wanted to take apart the key pin assembly so I could see how it worked. The key pin assemblies have springs inside them, and they can launch the top part of the key pin assembly a loooooong way.I can assure you that those top parts of the key pin assemblies can play a really, really, really good game of hide-and-seek.
Luckily, we have tile in most of our house, or never would have found it. As it was, it went from the living room, down the hall, and into the front of one of the bathrooms. I'd estimate it traveled 15 meters from where it launched. Found the spring about 2 meters from where it launched. I spent an hour pulling off couch cushions and moving furniture around before I worked my way down the hall with a flashlight held near the floor to highlight anything on the floor, but I did find the key pin part.
So I recommend that if you want to take apart the key pin assemblies from a U-Change, do it inside a small bag.
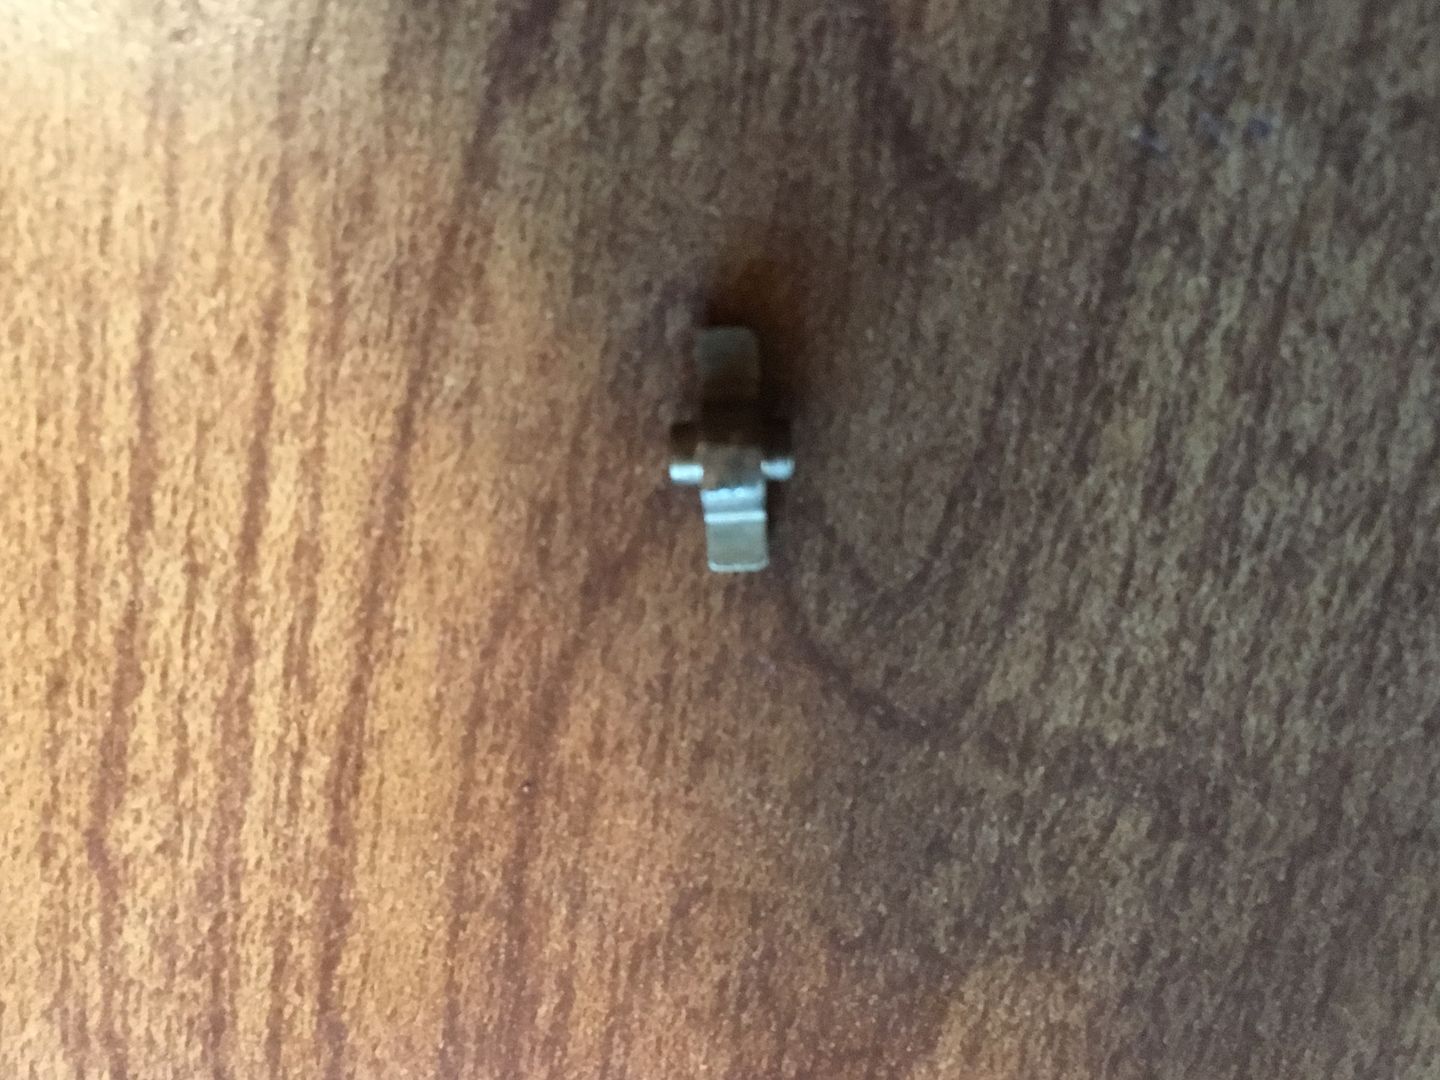
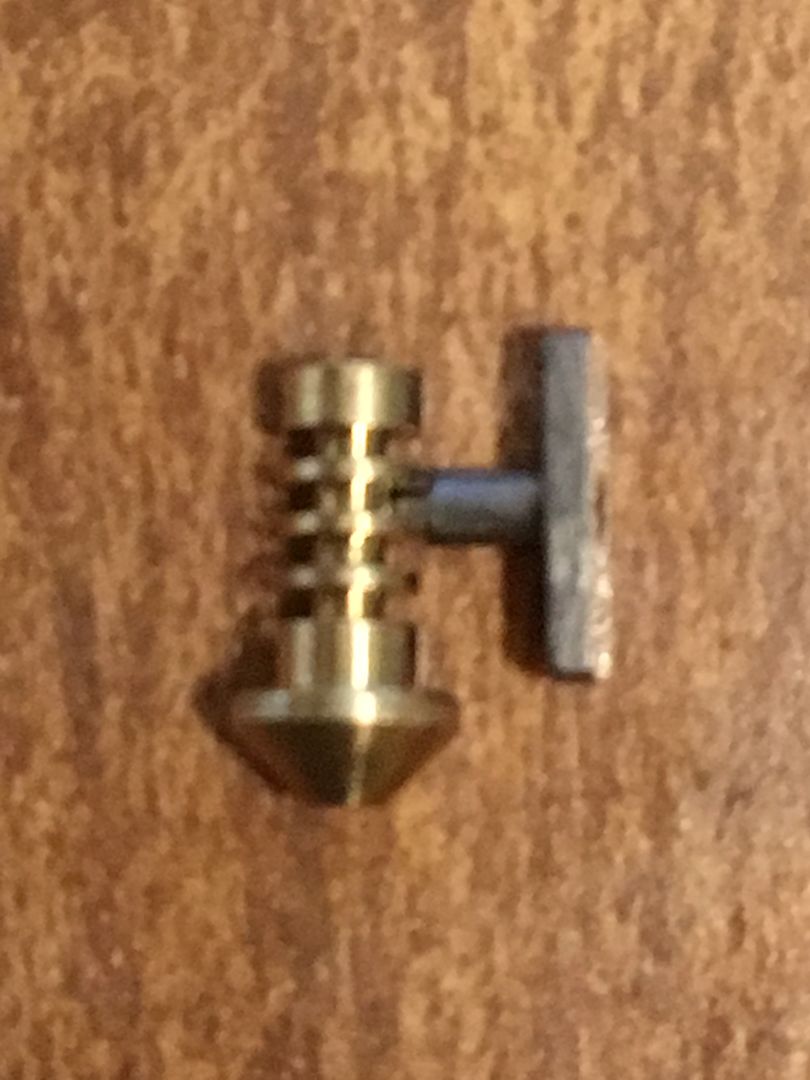
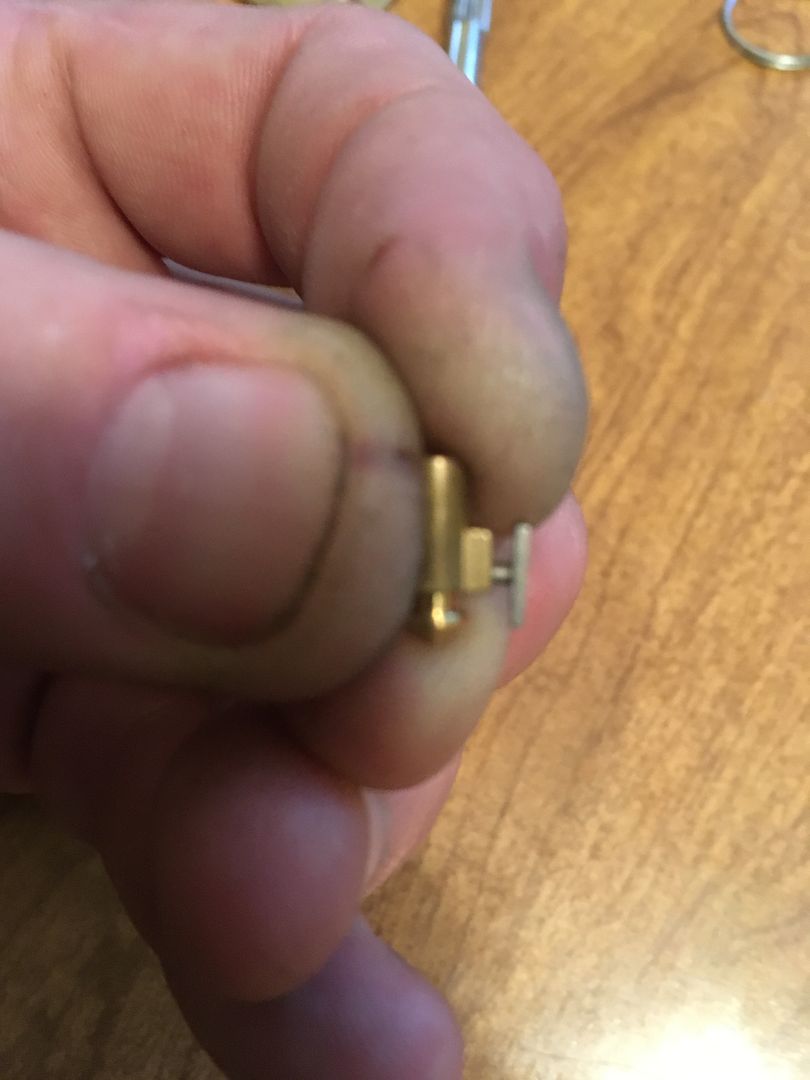
Here are the four parts of the key pin assembly
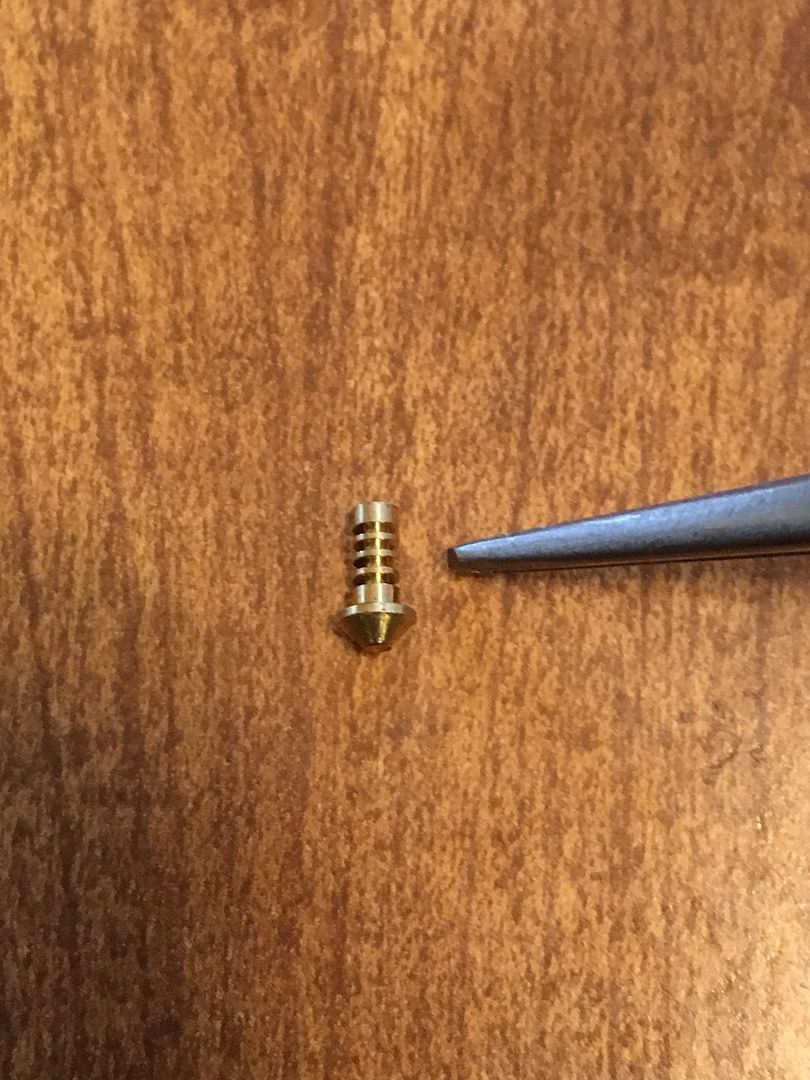
Now if you look closely at the T-Pin, you can see the end is narrower than the main part of the shaft.
And there are four grooves on the lower key pin shaft.
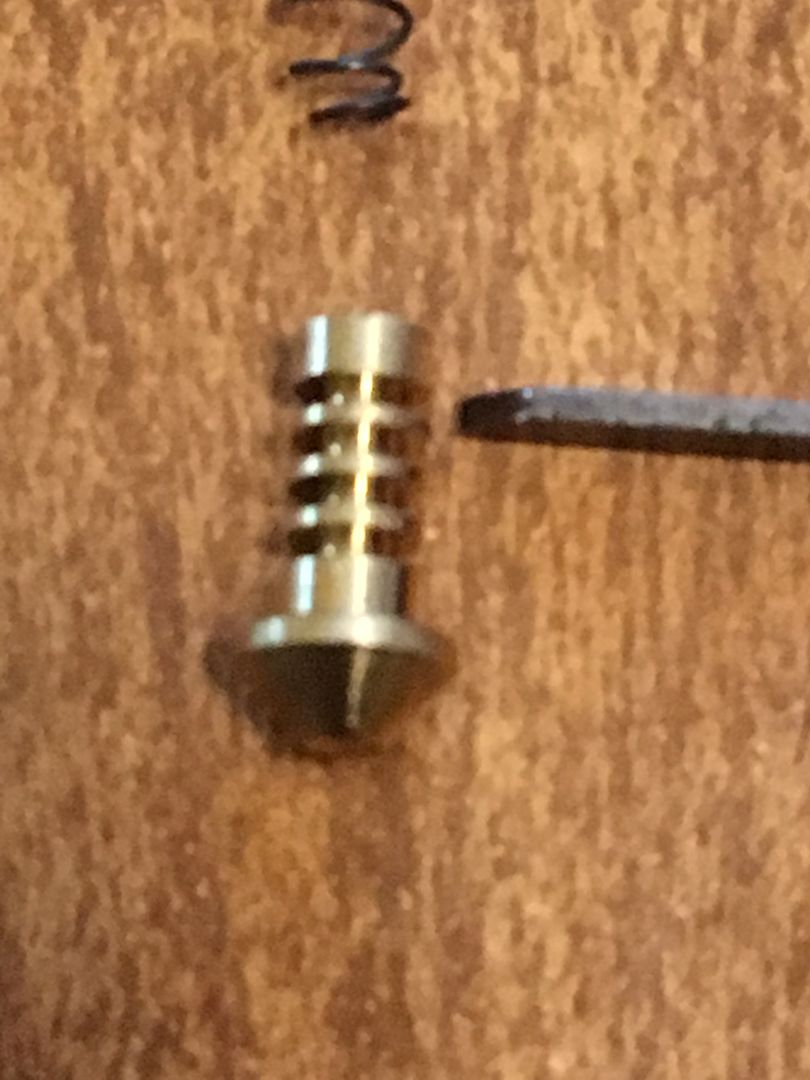
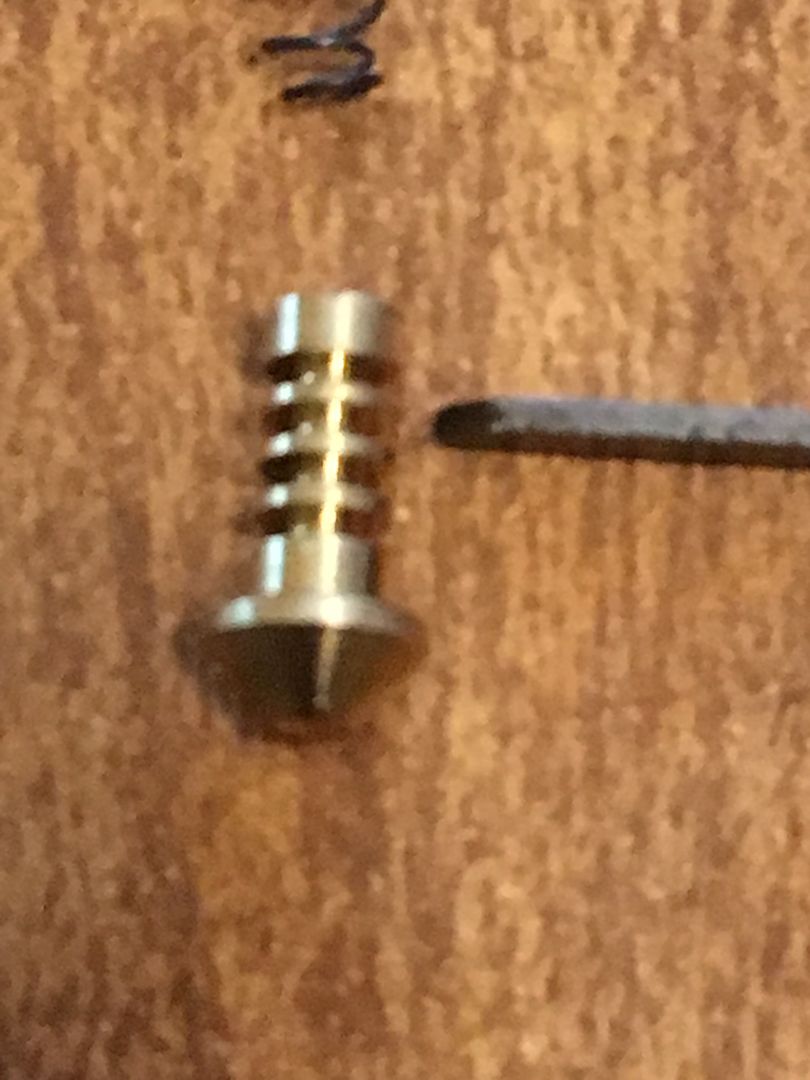
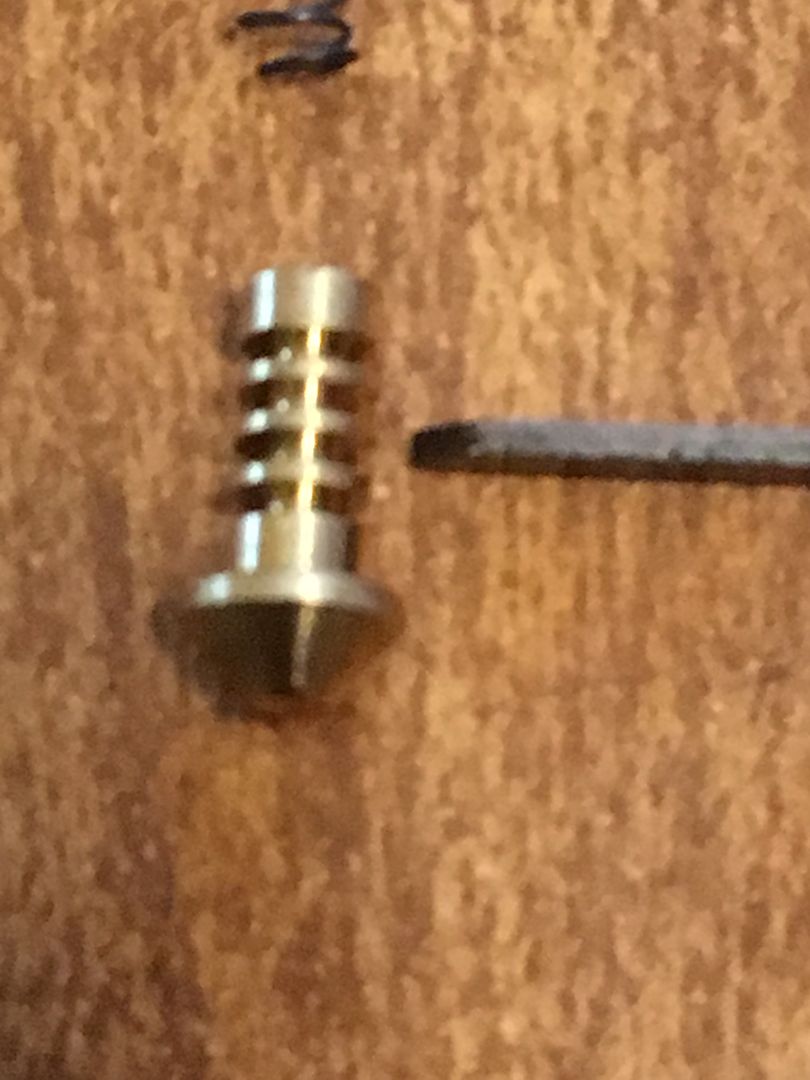
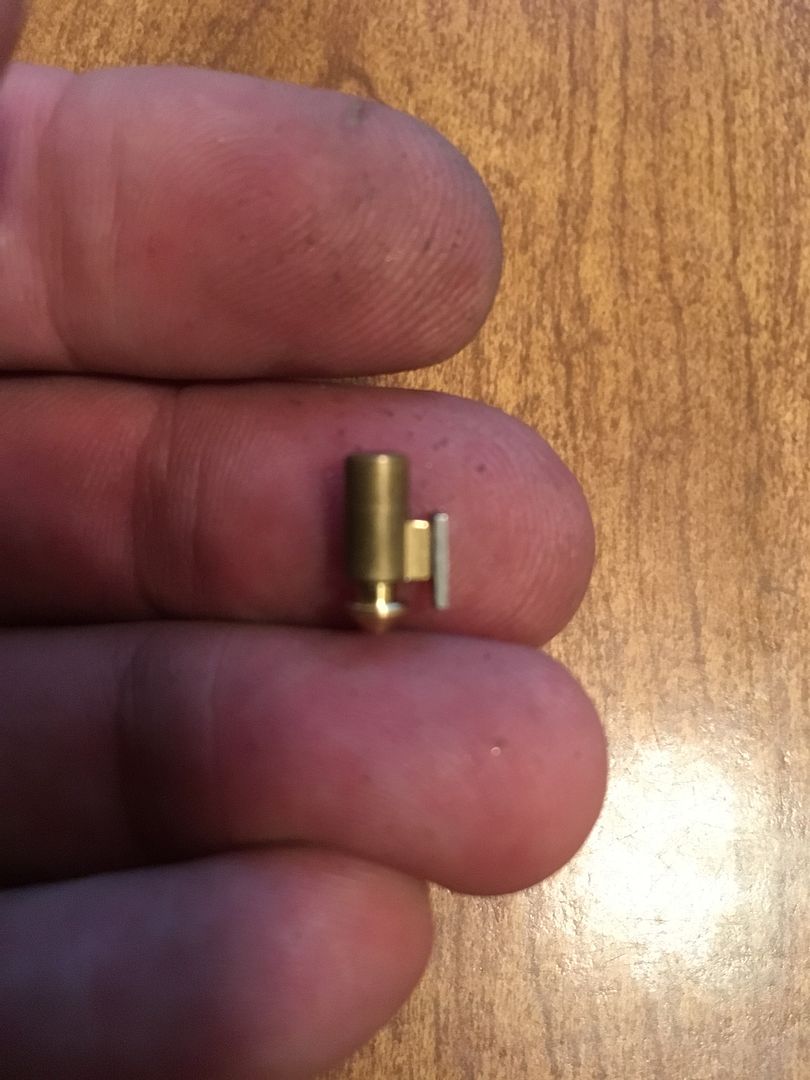
The upper part of the key pin is hollow...

With a hole in the side for the T-Pin to fit.
The four grooves in the lower key pin are for the four bitting depths on a U-Change. The T-Pin narrow end fits into the groove of the respective bitting depth.
To assemble the key pin assembly, put the spring in the upper key pin
Push the lower key pin into the upper key pin, compressing the spring. Hold it firmly. Trust me. Hold it firmly.
Put the T-Pin into place, aligning it with the lower key pin grooves.
Assembled!
The rocker (remember that, from waaay up near the top of the post?) is there so the T-Pins can not be removed far enough to cause the key pin assemblies to come apart inside the lock when rekeying.

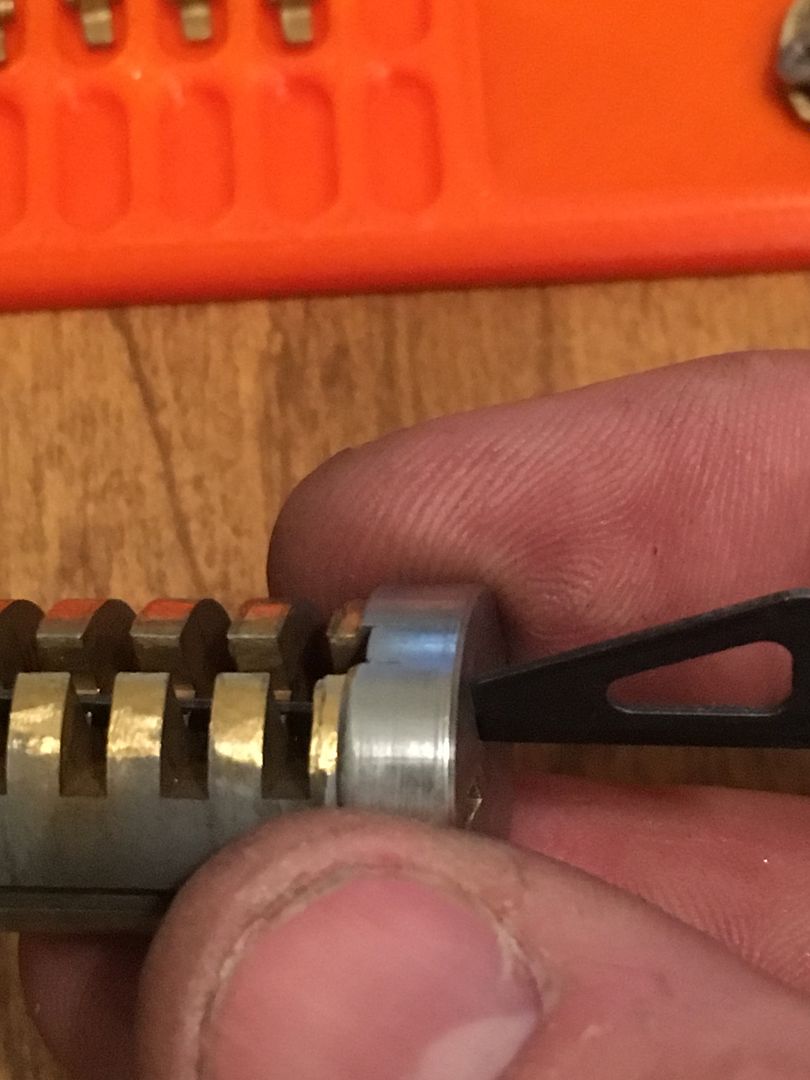
Looking at the plug before reassembly, you see a groove down the side where the rekey tool will fit.

The same groove seen from the back of the plug shows better where it is. The narrower part is for the tool, the wider part is for the rockers and T-Pins.
A couple of pics showing the tool in the groove.
Why don't I show a picture of the key pins being disengaged for rekeying with the tool? Remember my warning about being careful when disassembling the key pins? Yeah. That is why.
Here is the plug with the key pins in place...
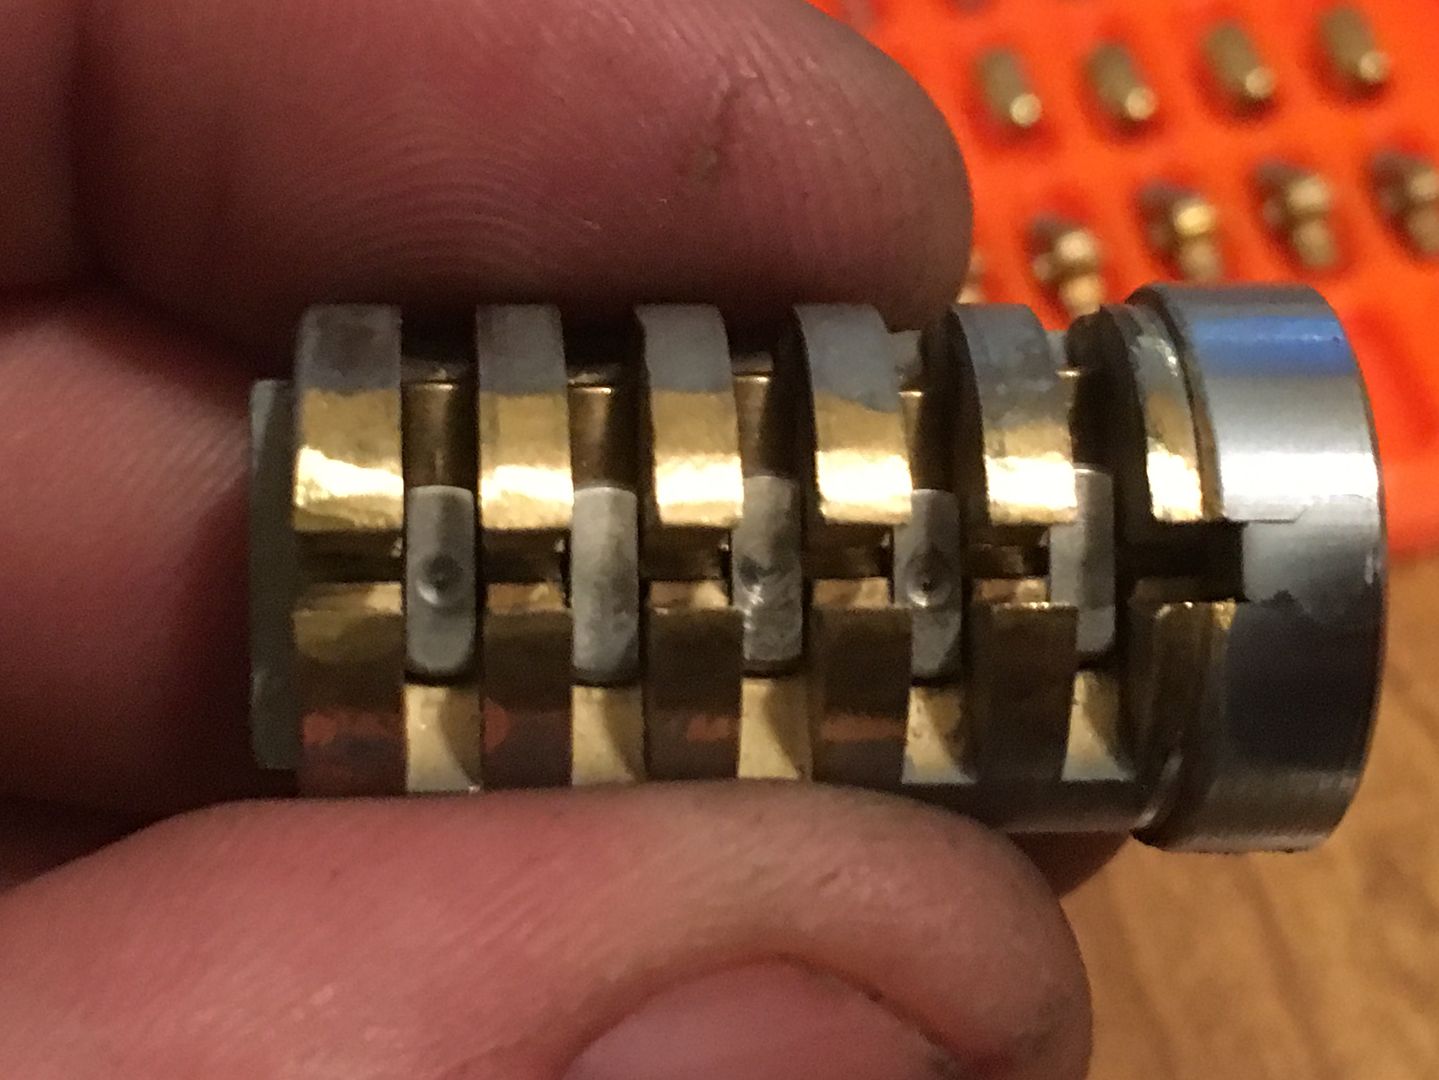
And the key pins aligned with the top of the plug when the correct key is inserted.
The tool would align like this when rekeying.
The rockers, when not rekeying, are in this position:
When being rekeyed, they lift up like so:

They are still pinned in place by the shell of the lock, but will allow the T-Pins to lift just enough to disengage the lower key pin from the upper key pin, but not come apart.
That about covers it, people. Hope it helps answer some questions some of you may have on this lock. Probably not correct answers, but answers never the less.
Gordon

