


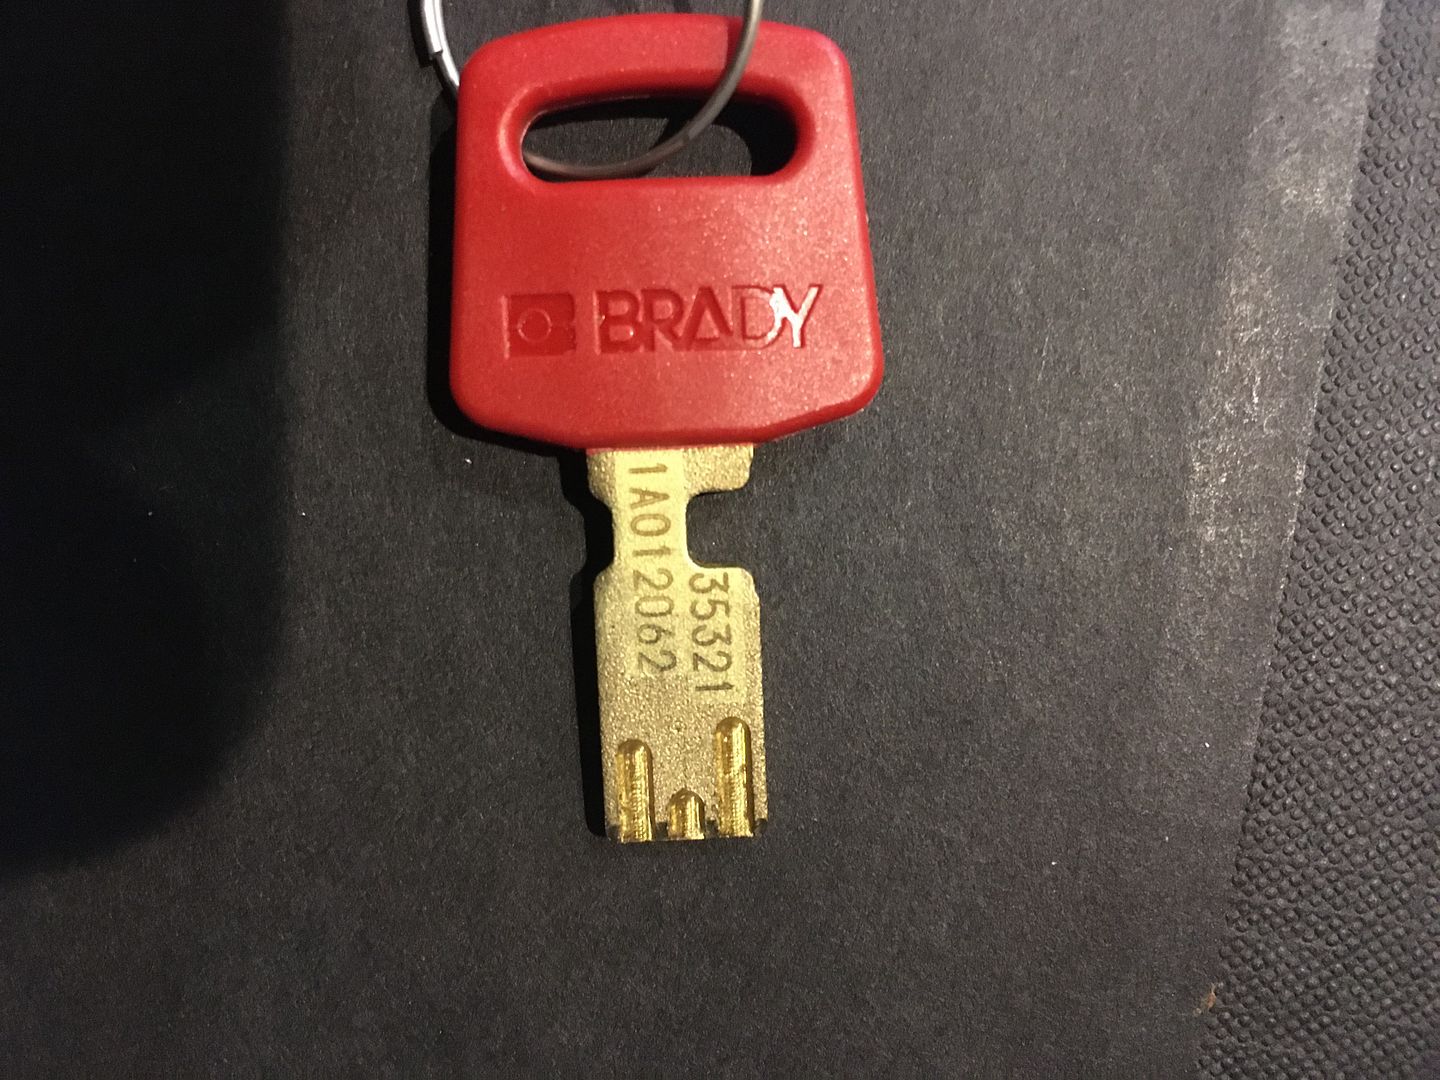
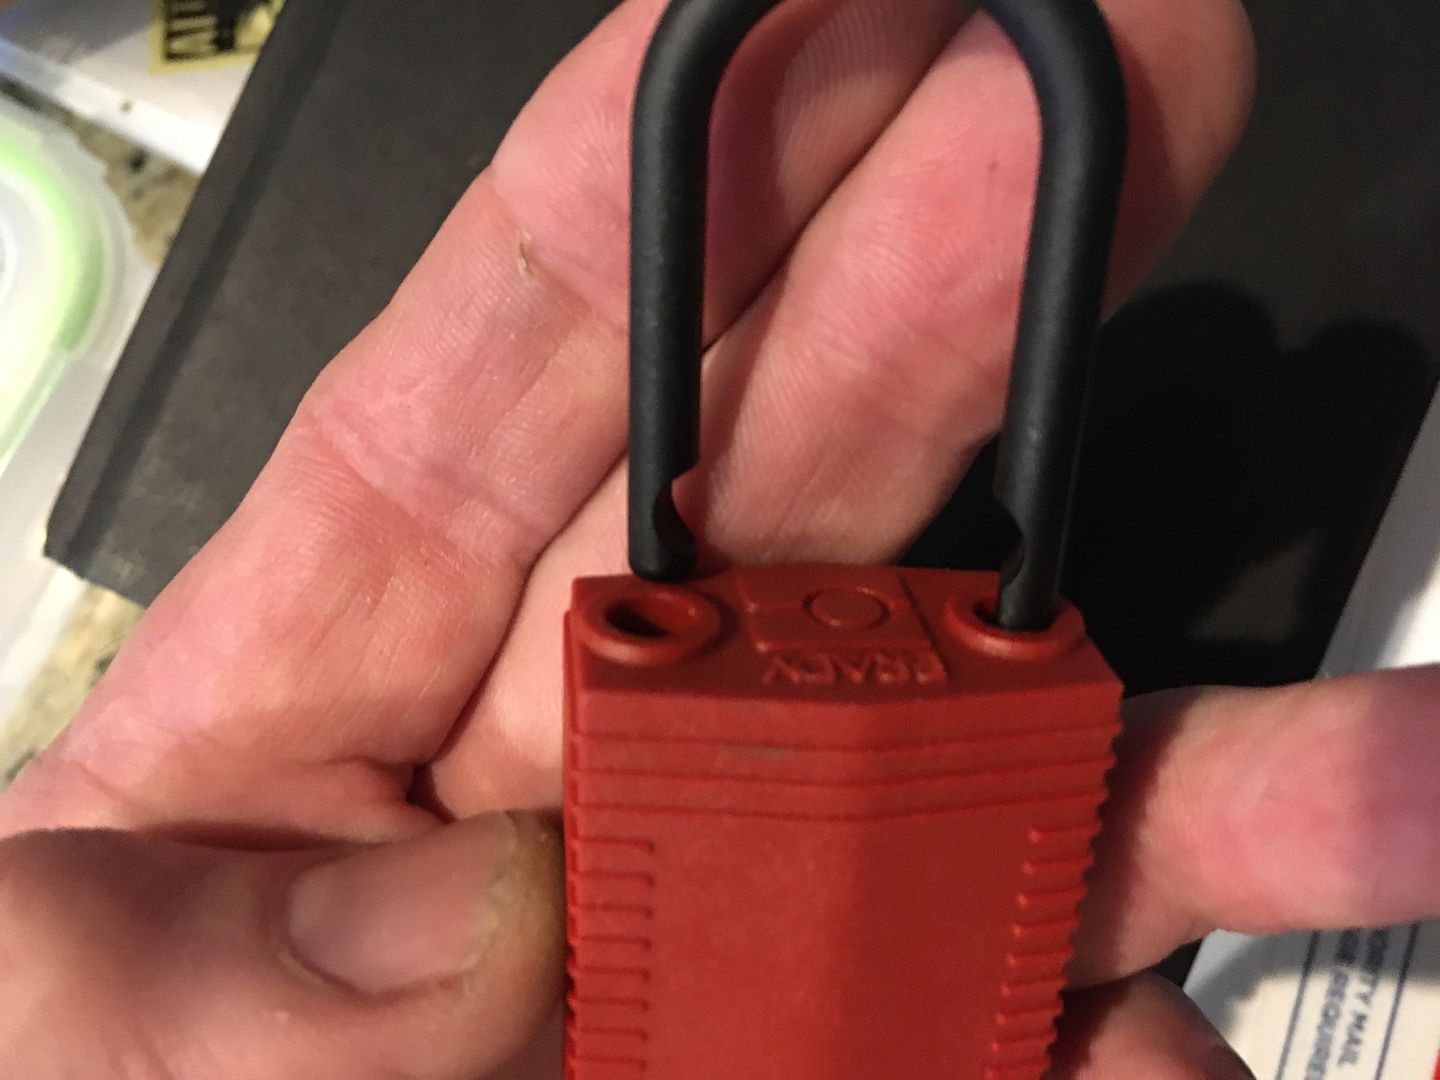
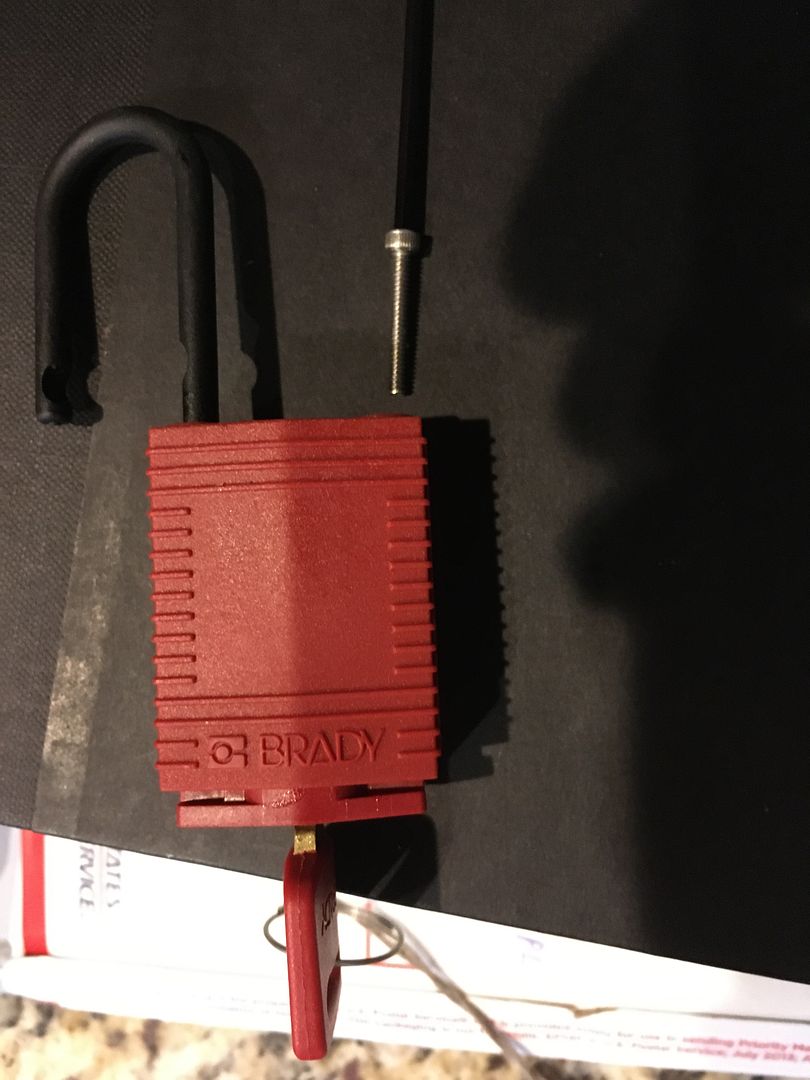
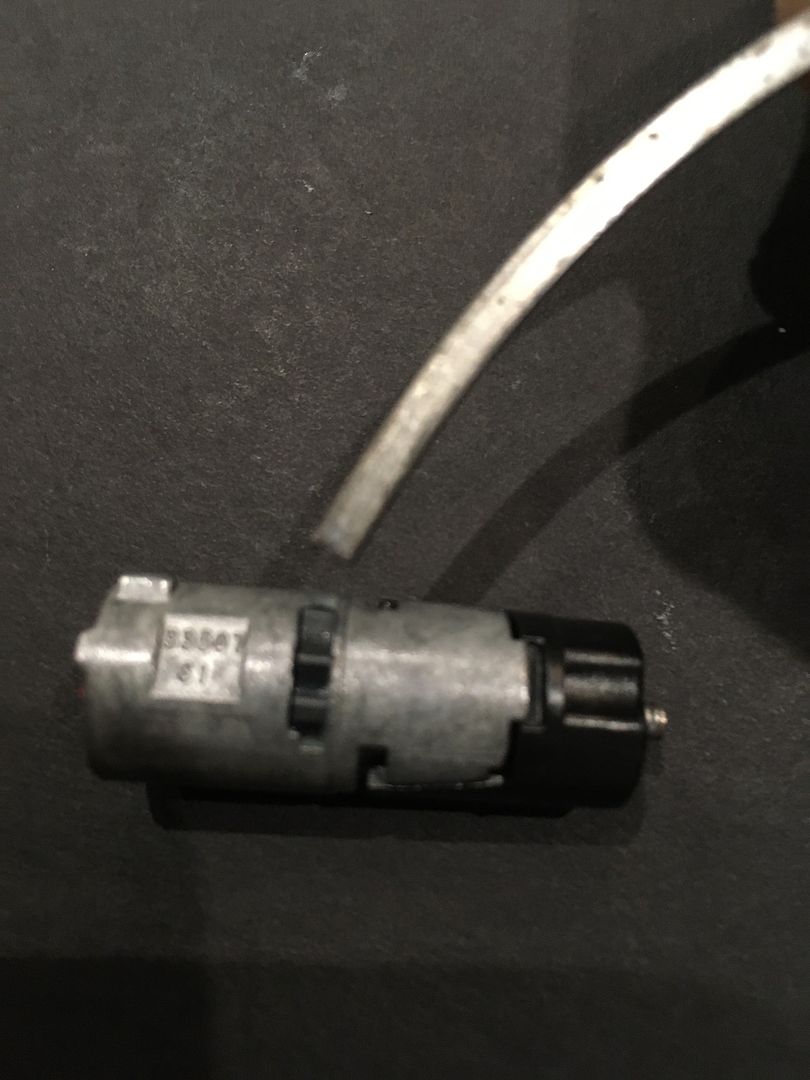
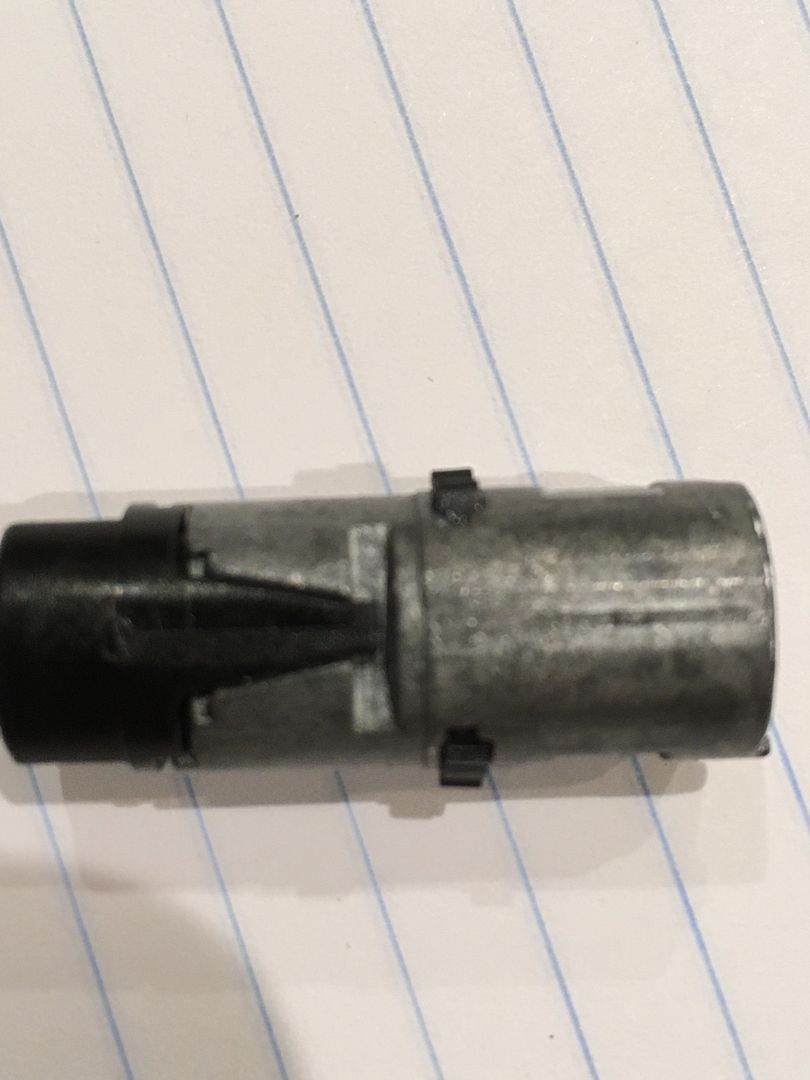
These look pretty interesting with a fairly unique key. These are push key locks. These locks are also only available in key retaining models. For those familiar with the TuBar lock, this lock will look like a cheapened version of that lock. It works on the same principles as the TuBar.
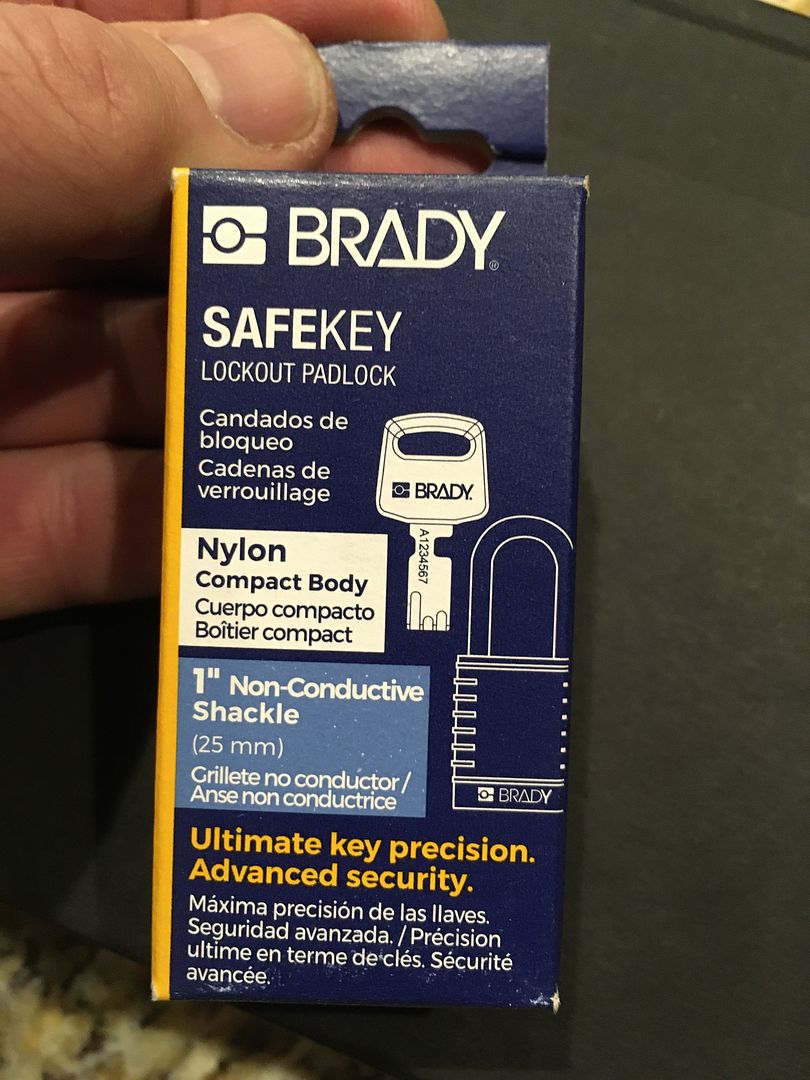
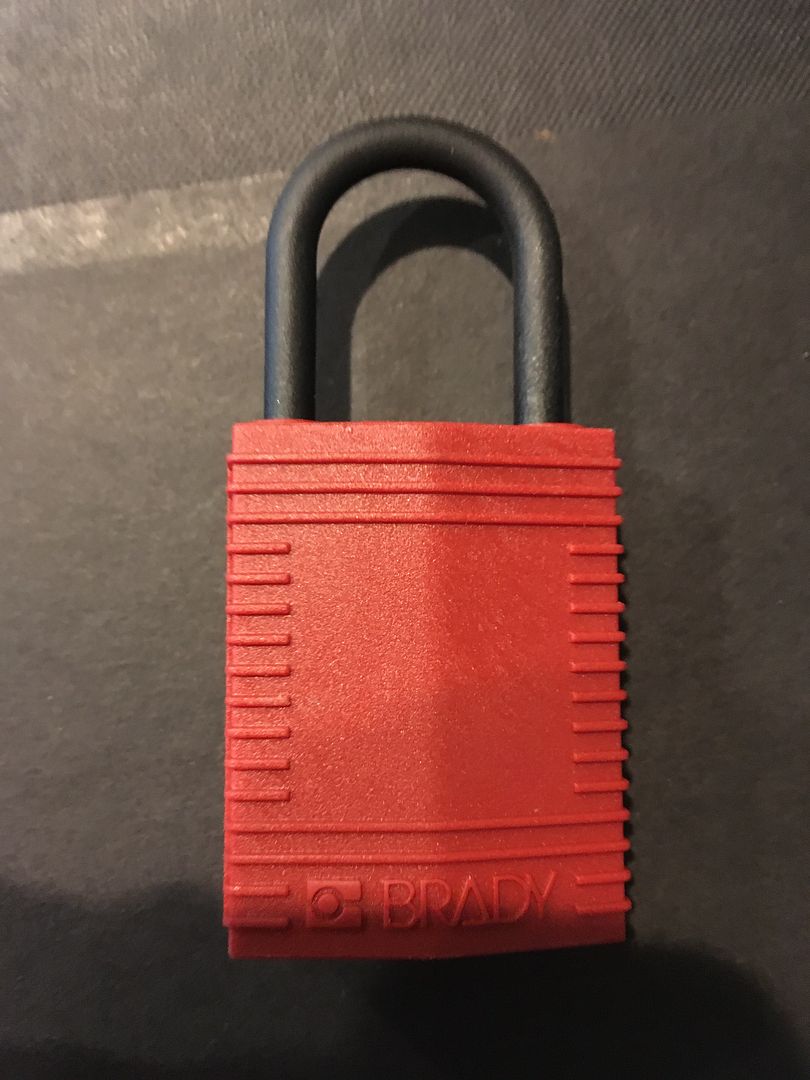
This one is the non-conductive version. But disassembly is the same for both versions, and aside from the non-conductive shell, locking balls and shackle for electrical areas versus aluminum body with steel locking balls and shackle, the internals are all the same.
The cost is around $13-$19, depending on whether you want the non-coductive or aluminum version. Obviously the aluminum is more durable than the plastic body and shackle.

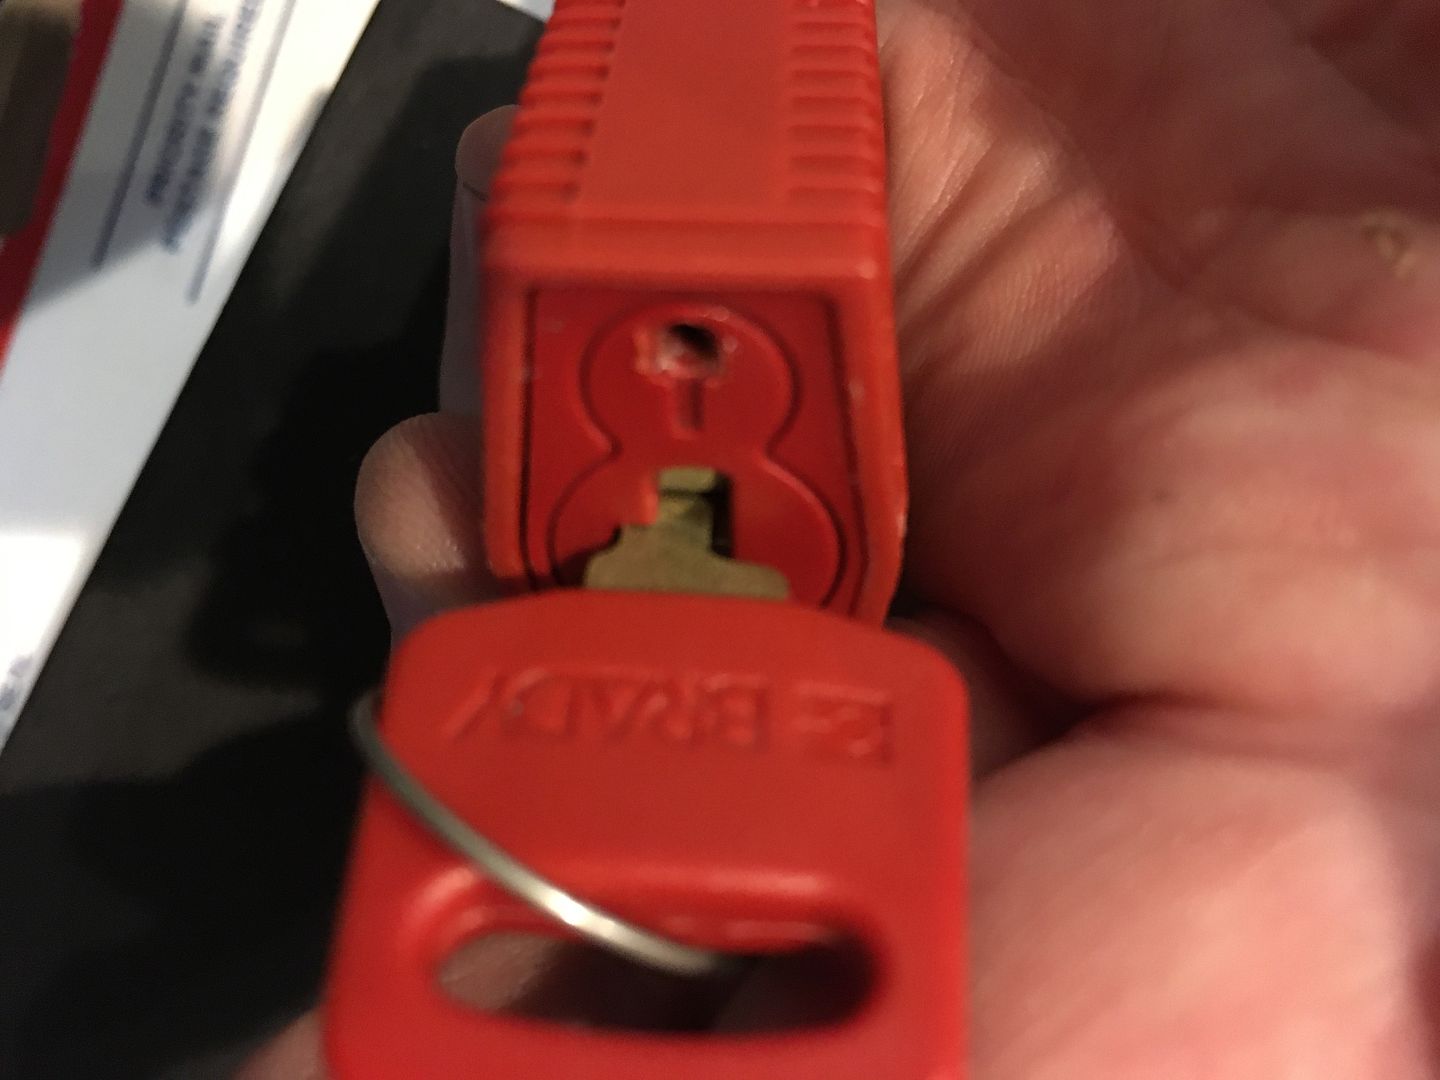
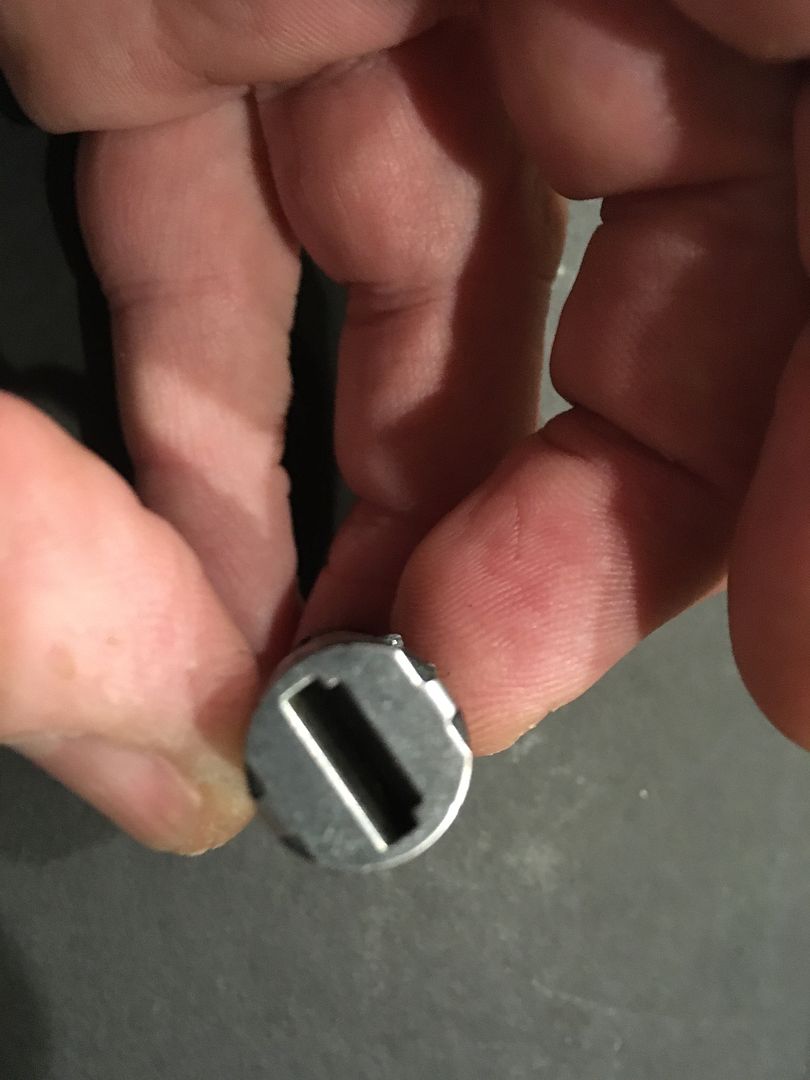
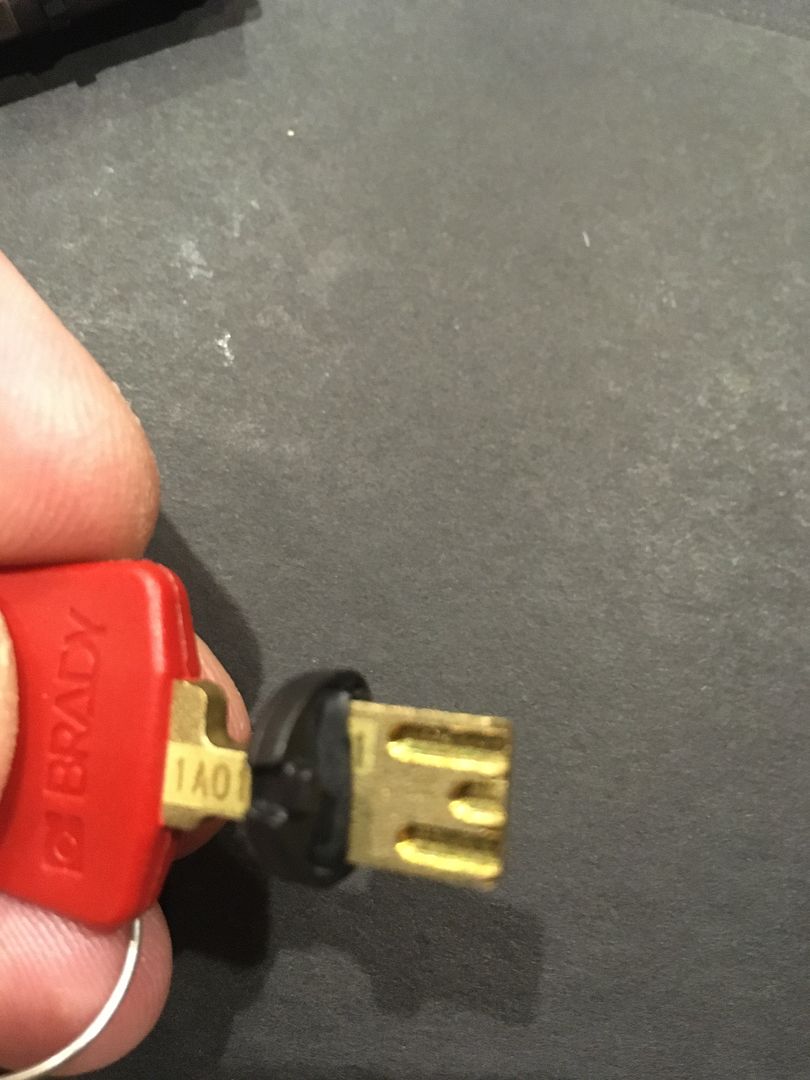
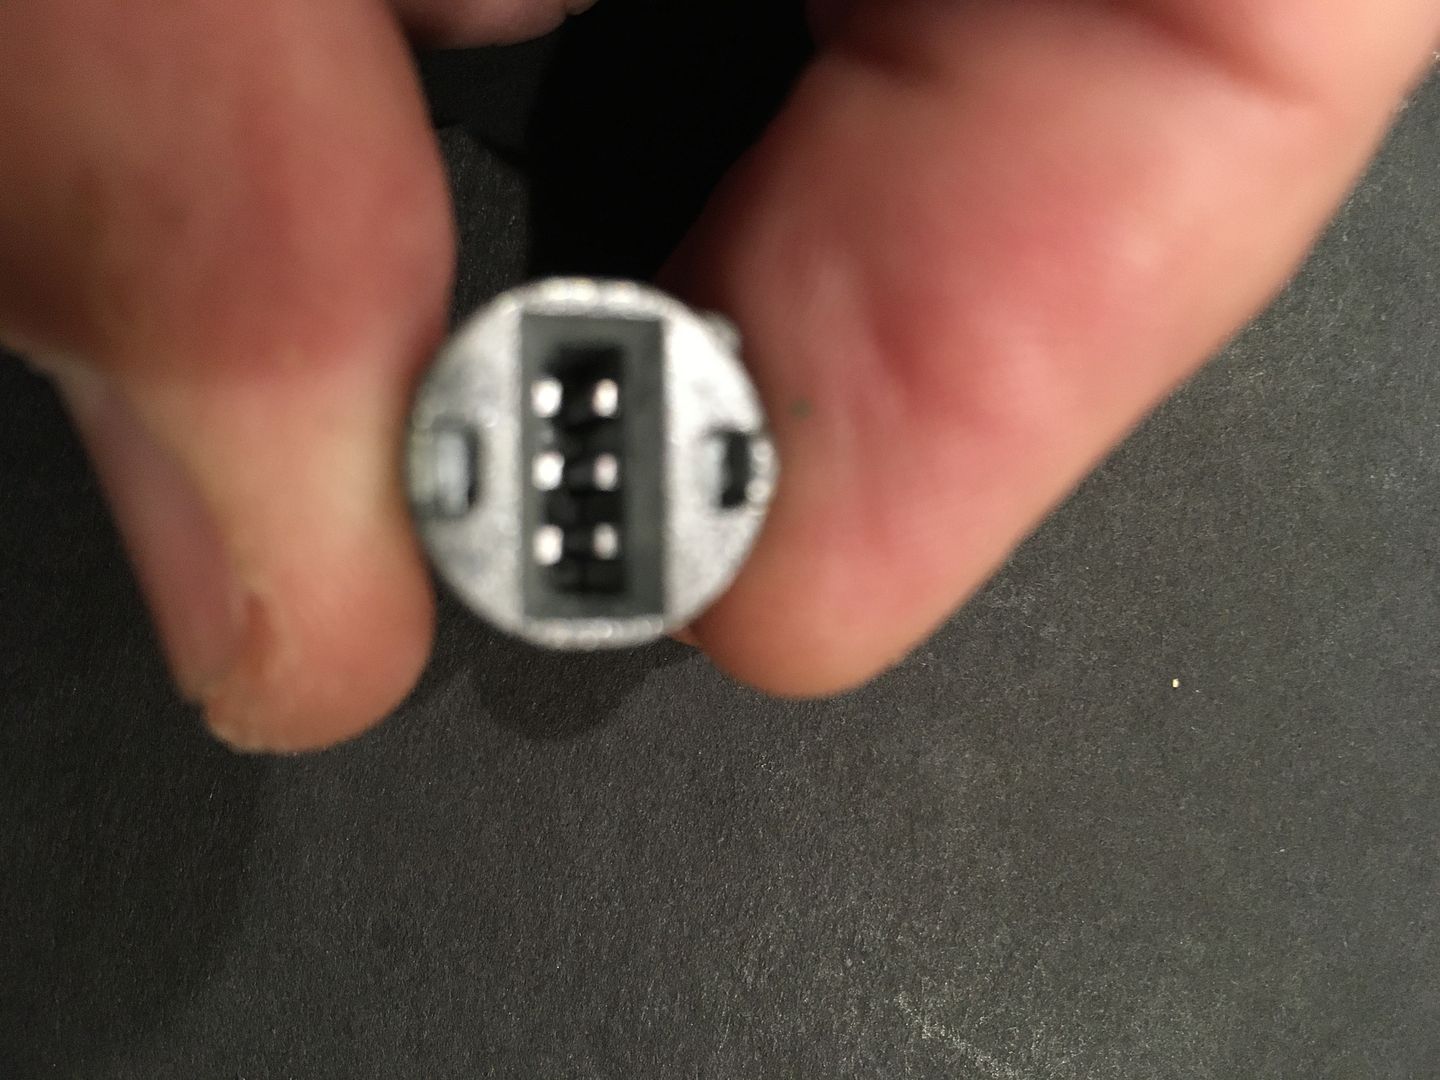
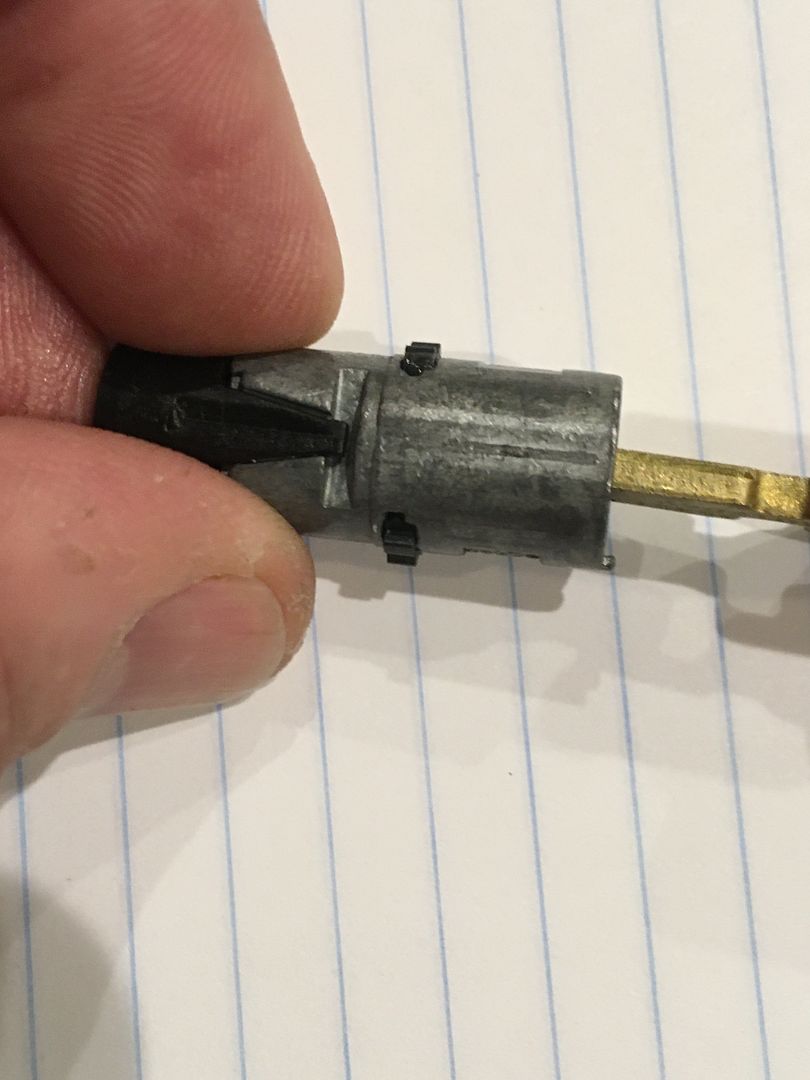
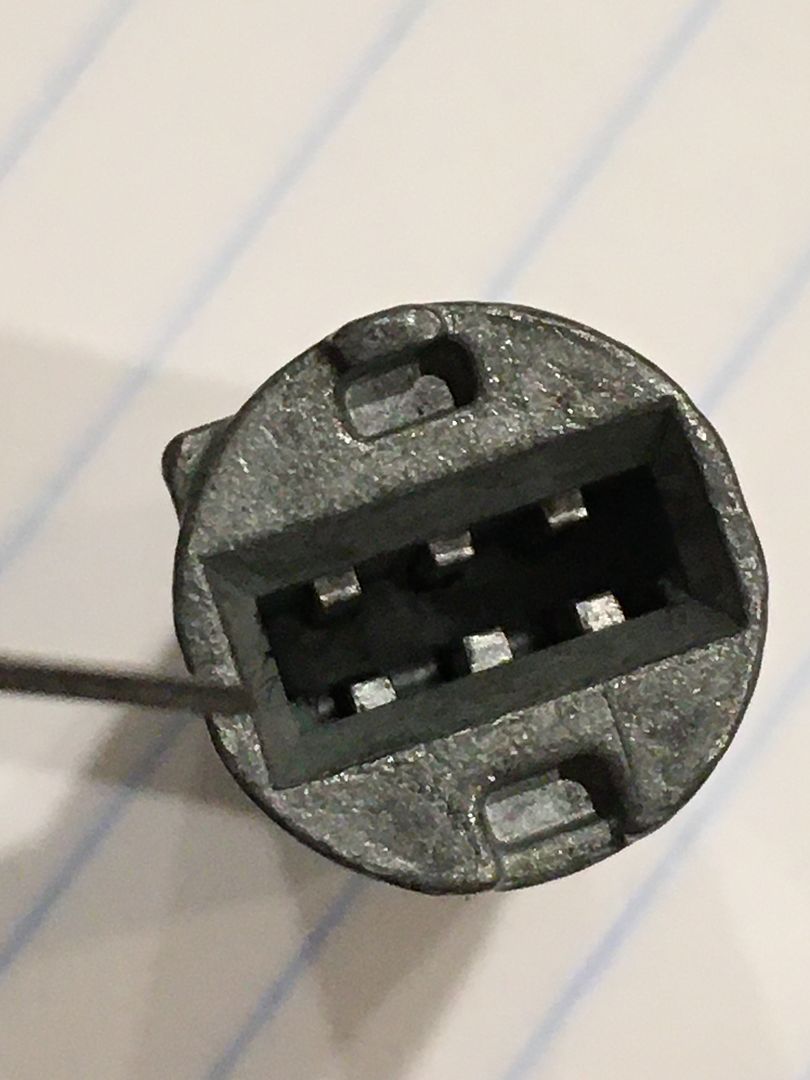
The keyway is a little odd looking. This is to allow the key, which has an off-center throat cut, to turn.
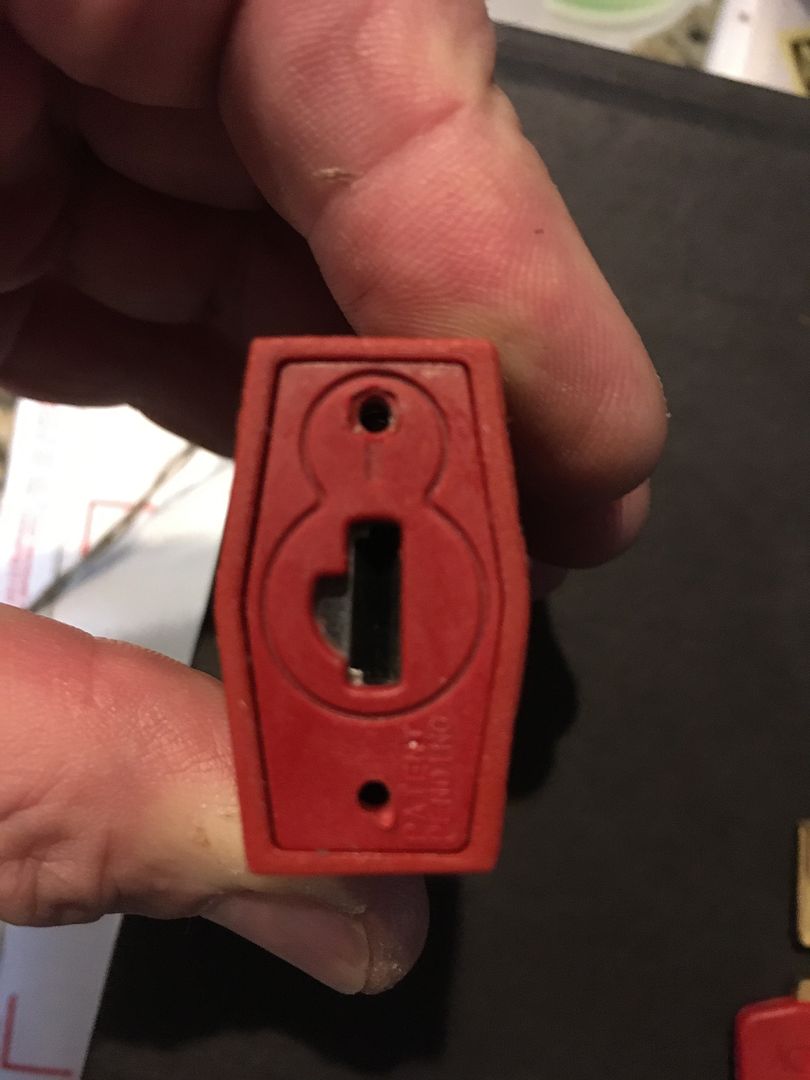
The reason for the off-center keyway and cutout is to make it harder to tension this lock for picking, not that it is all that difficult to do so.
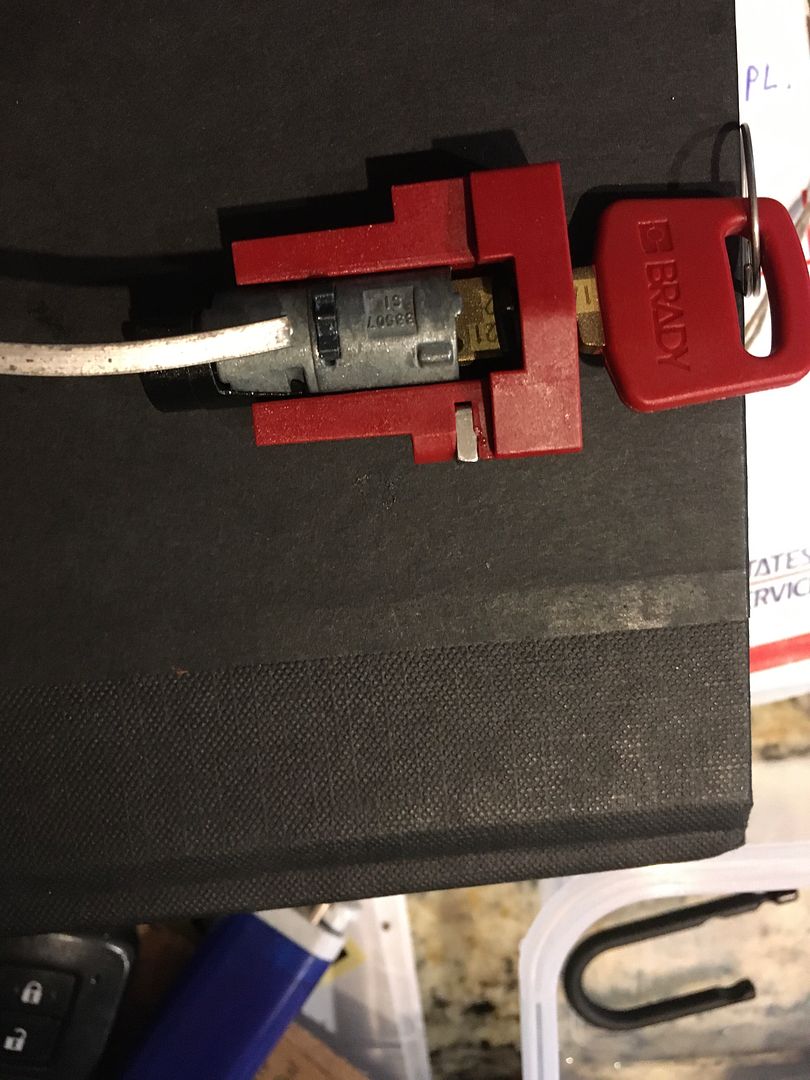
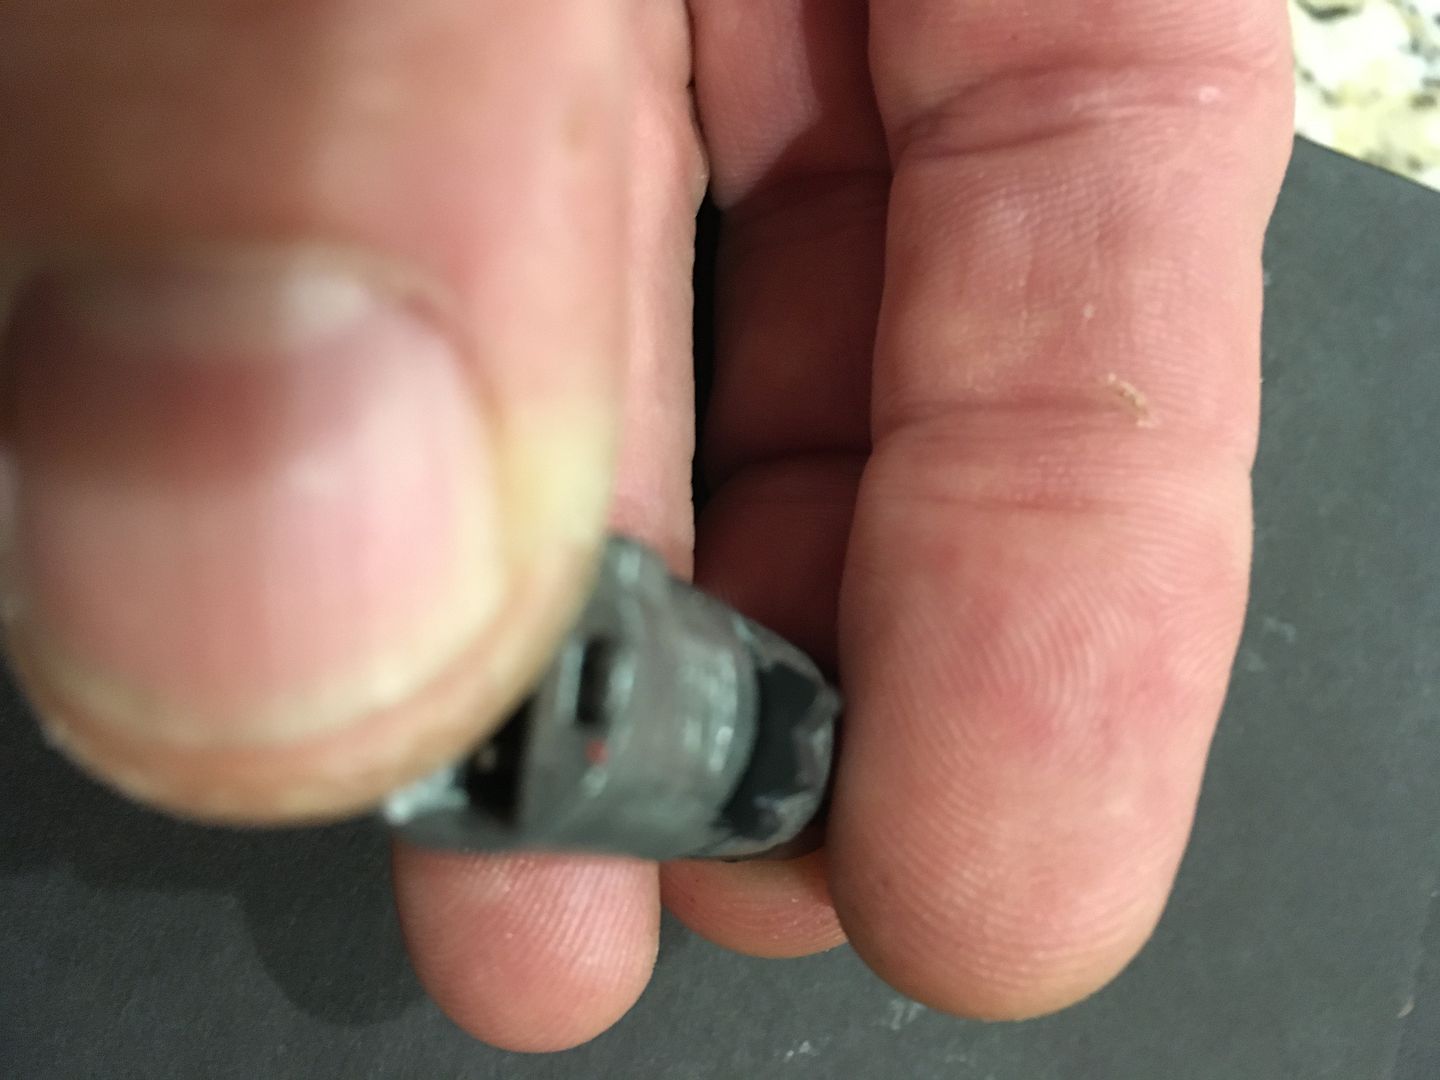
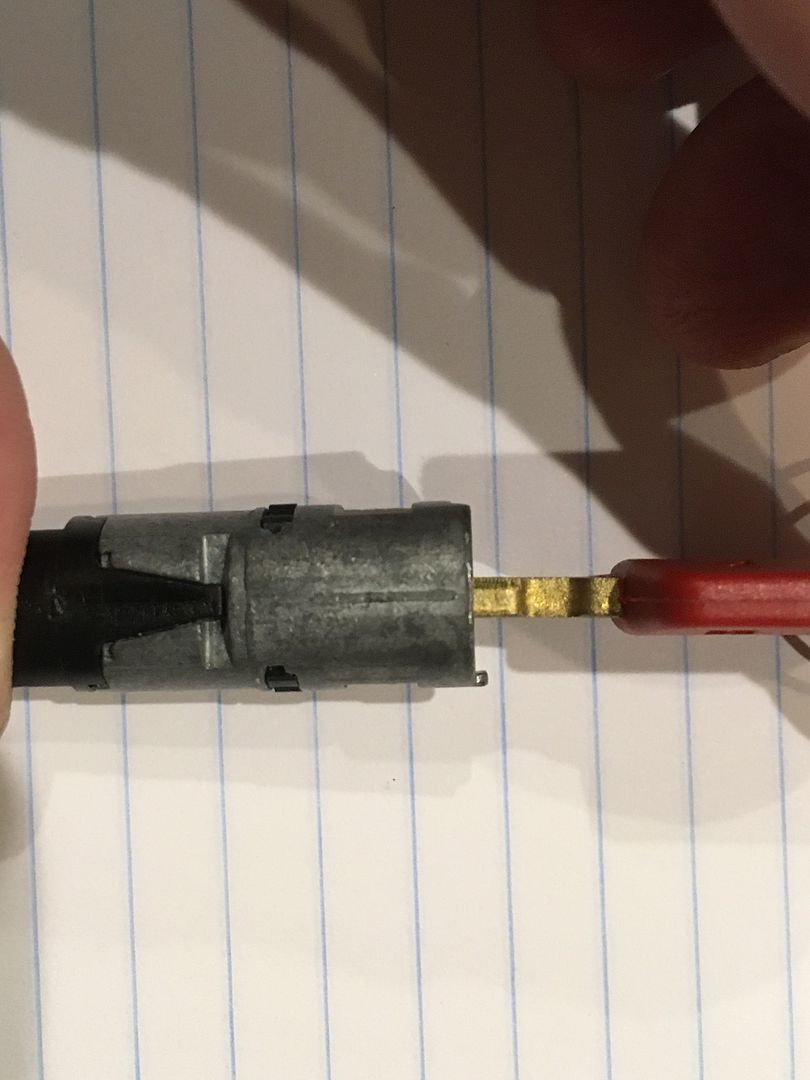
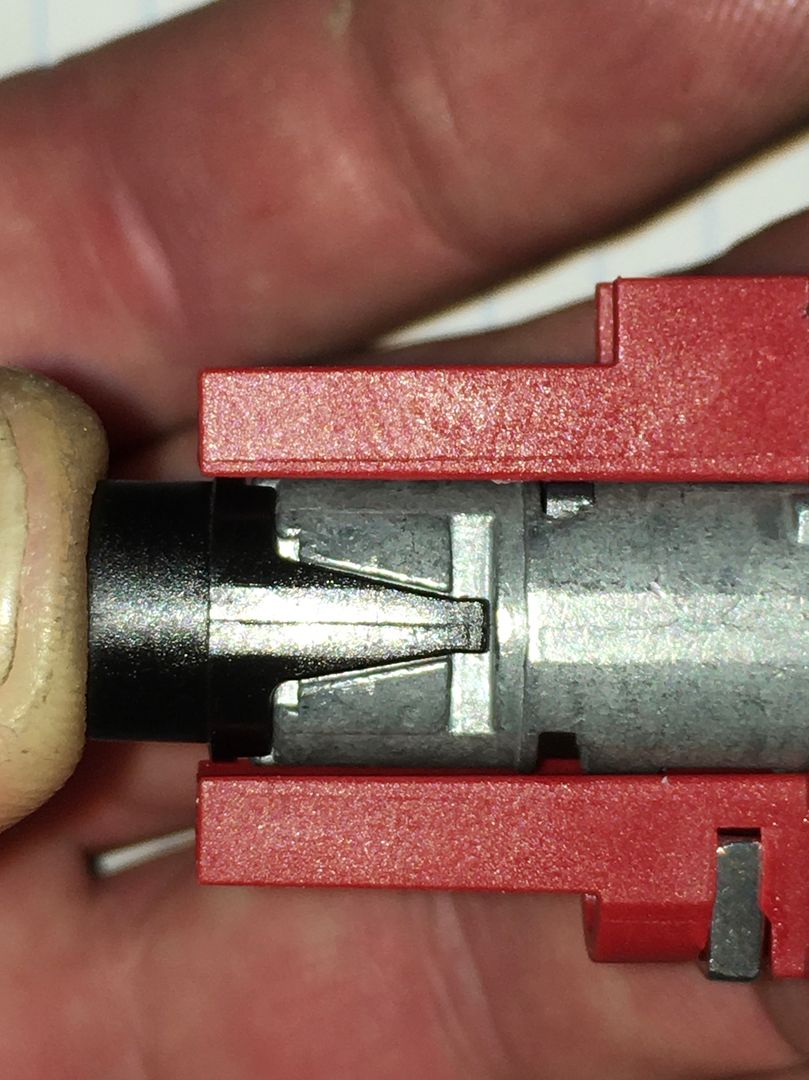
On to disassembly. Open the lock.
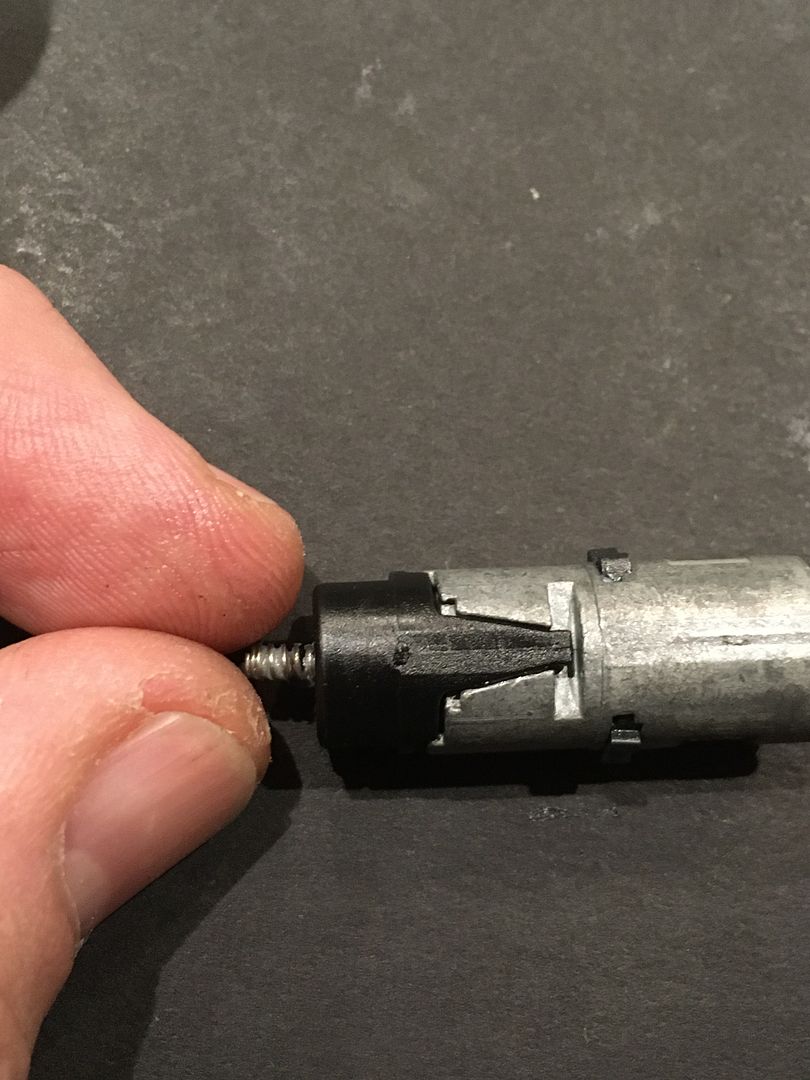
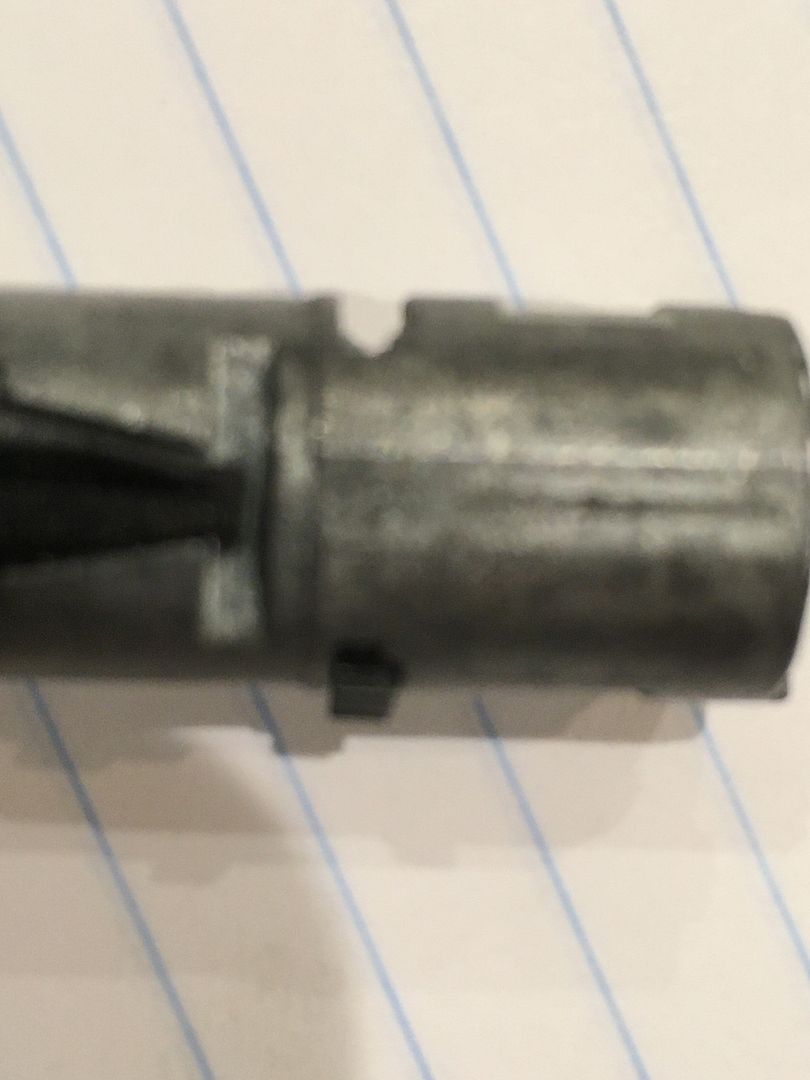
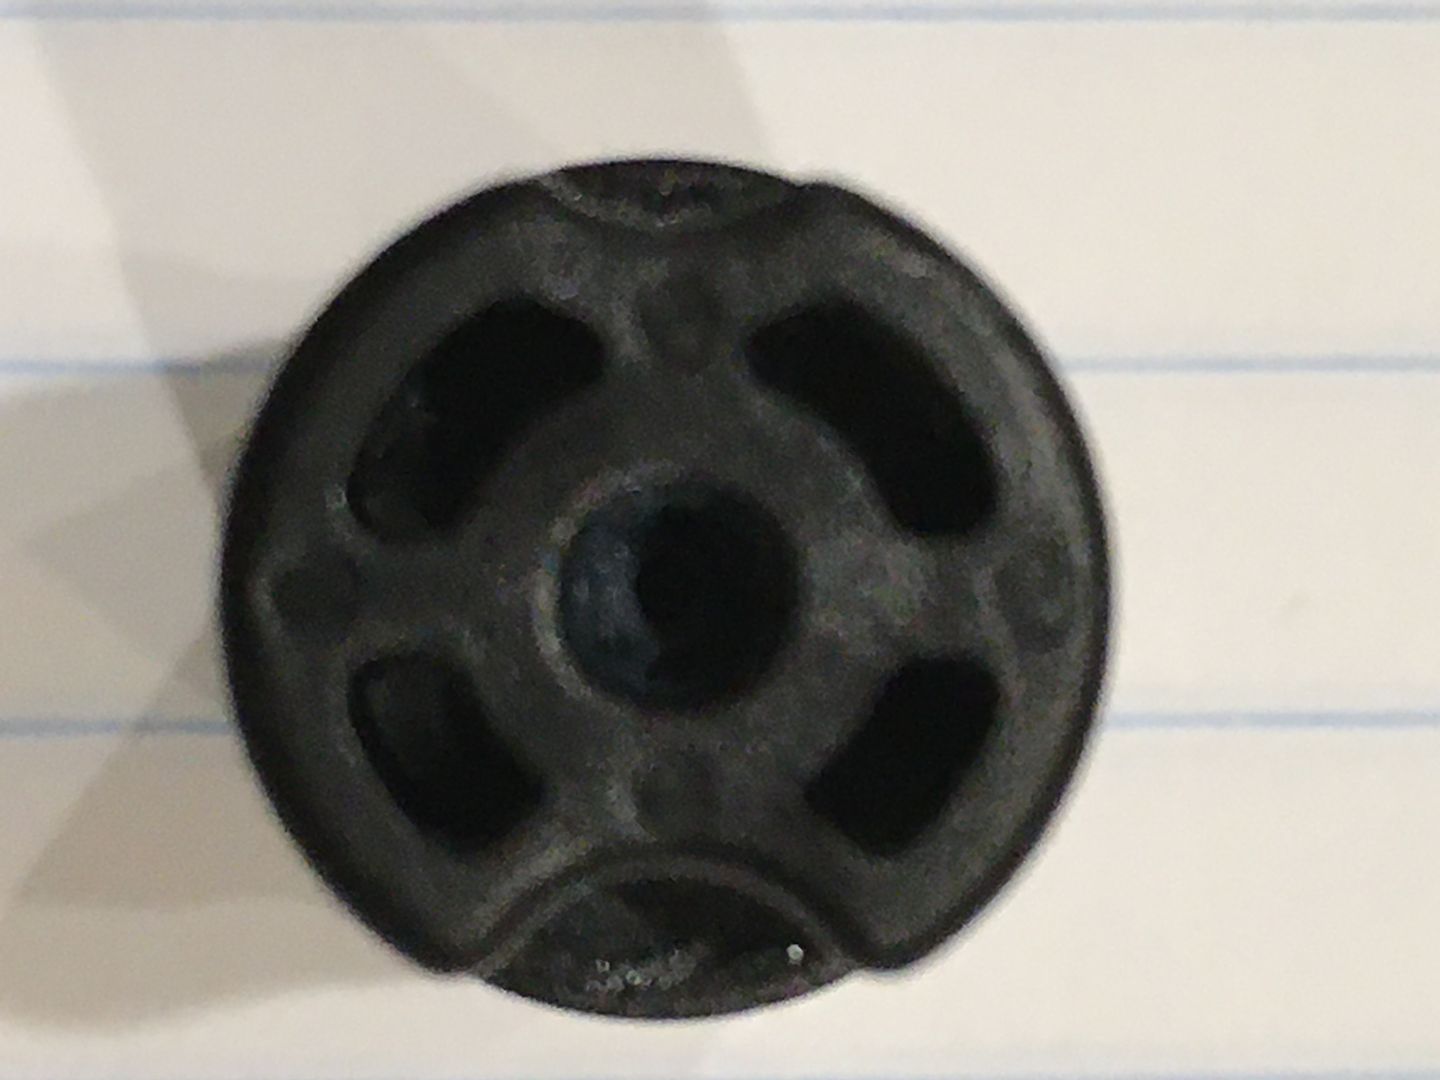
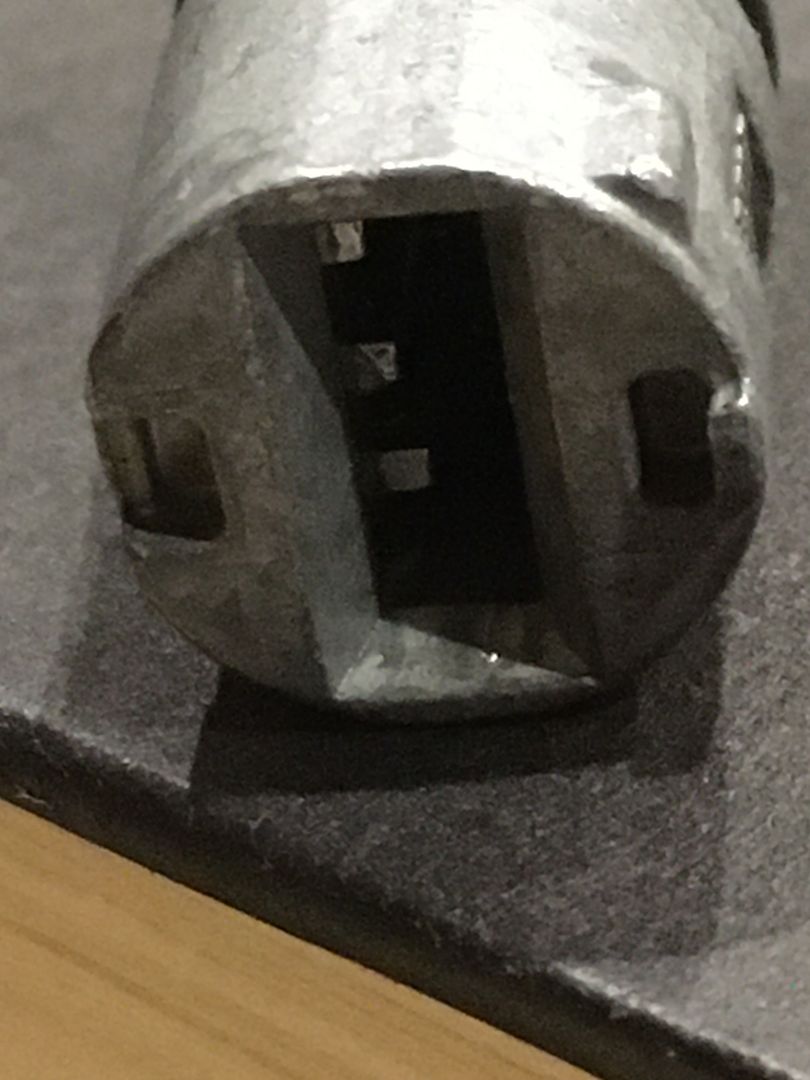
Look into the shackle toe hole. See the screw?

The size of that allen screw is
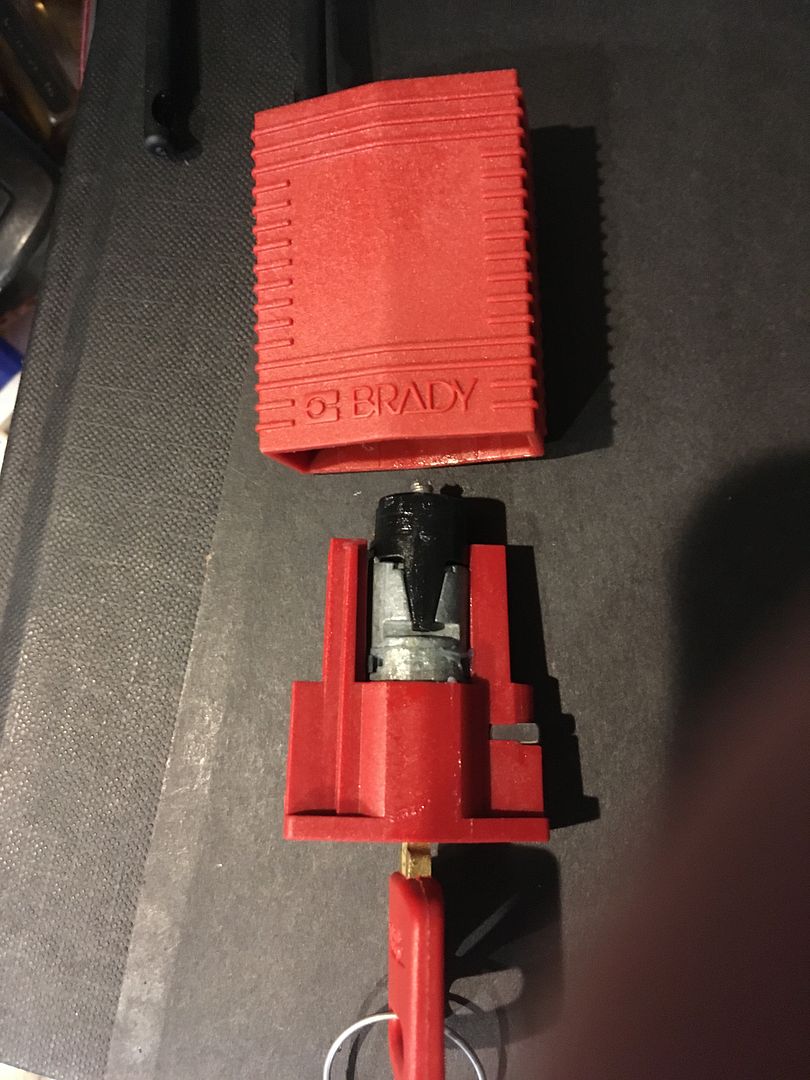
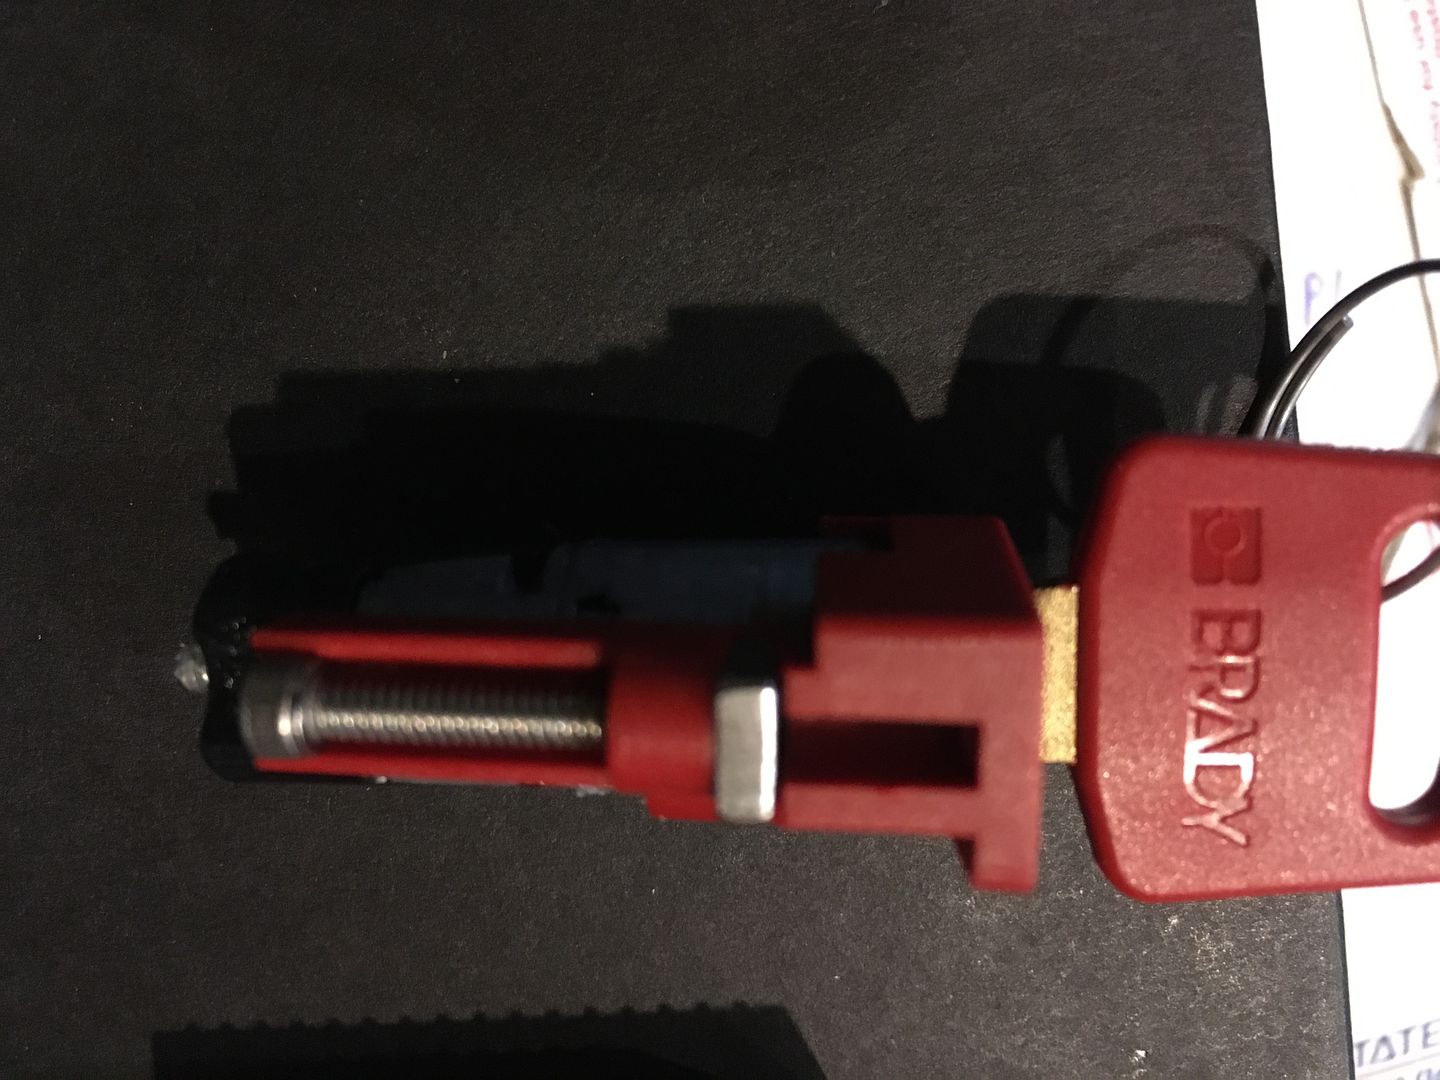
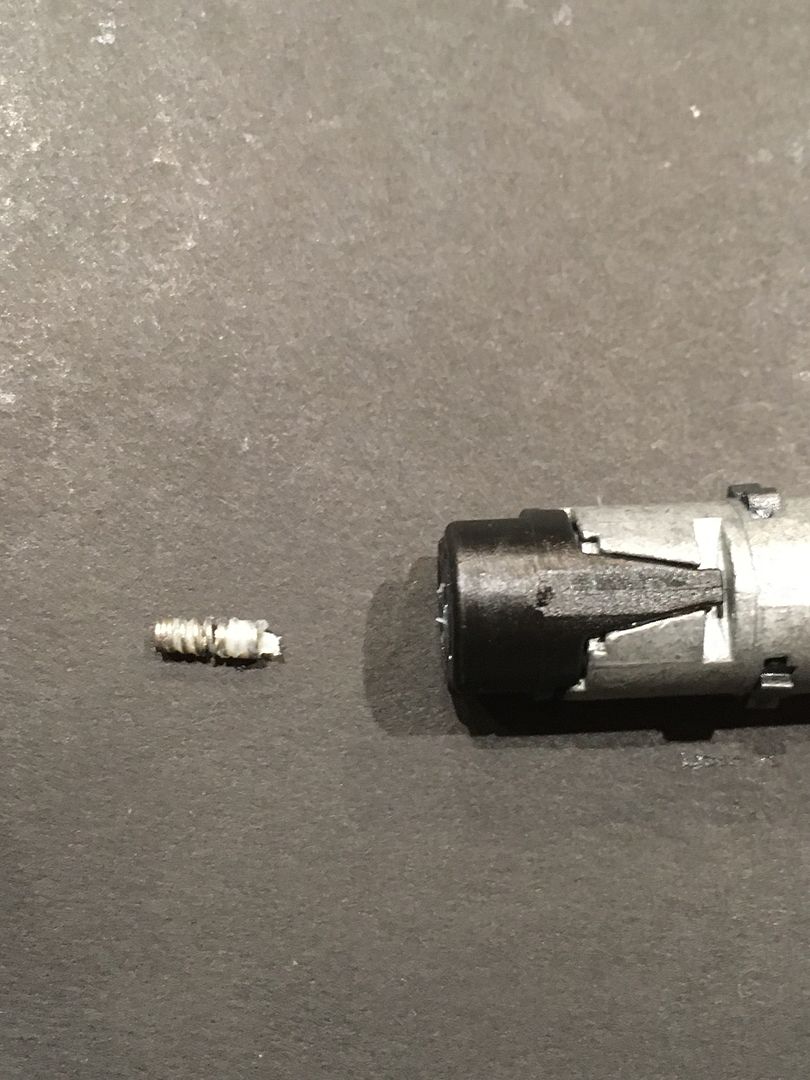
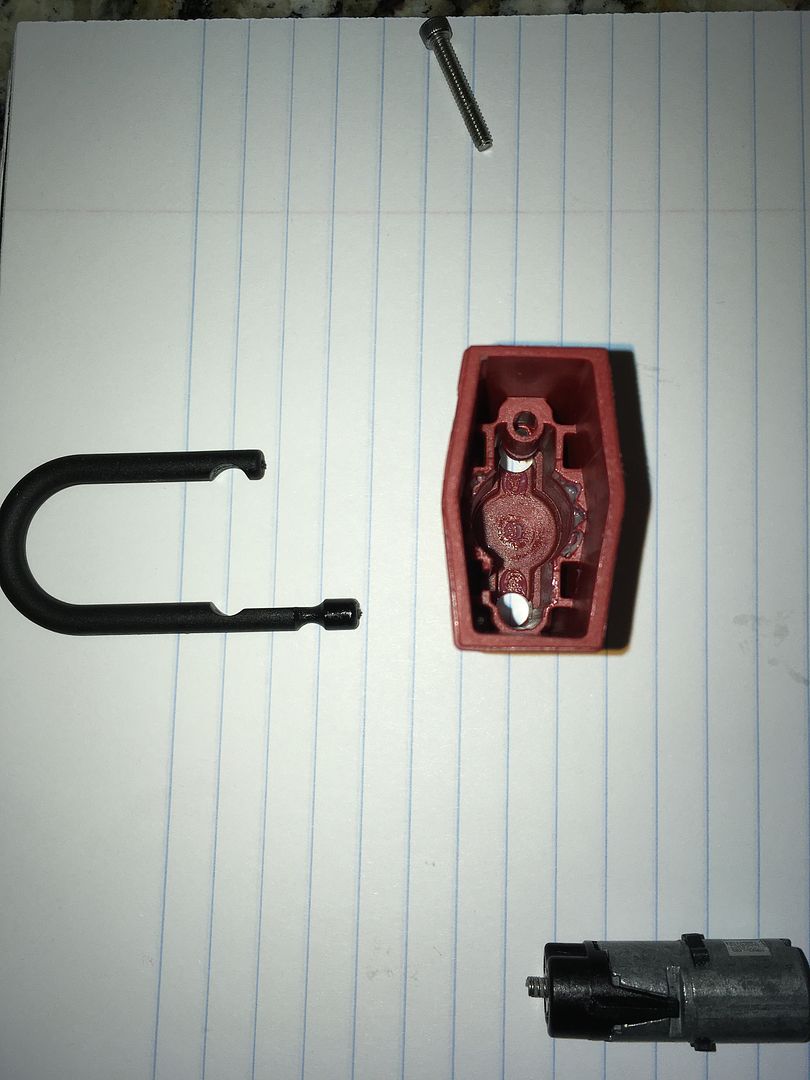
Remove the screw.
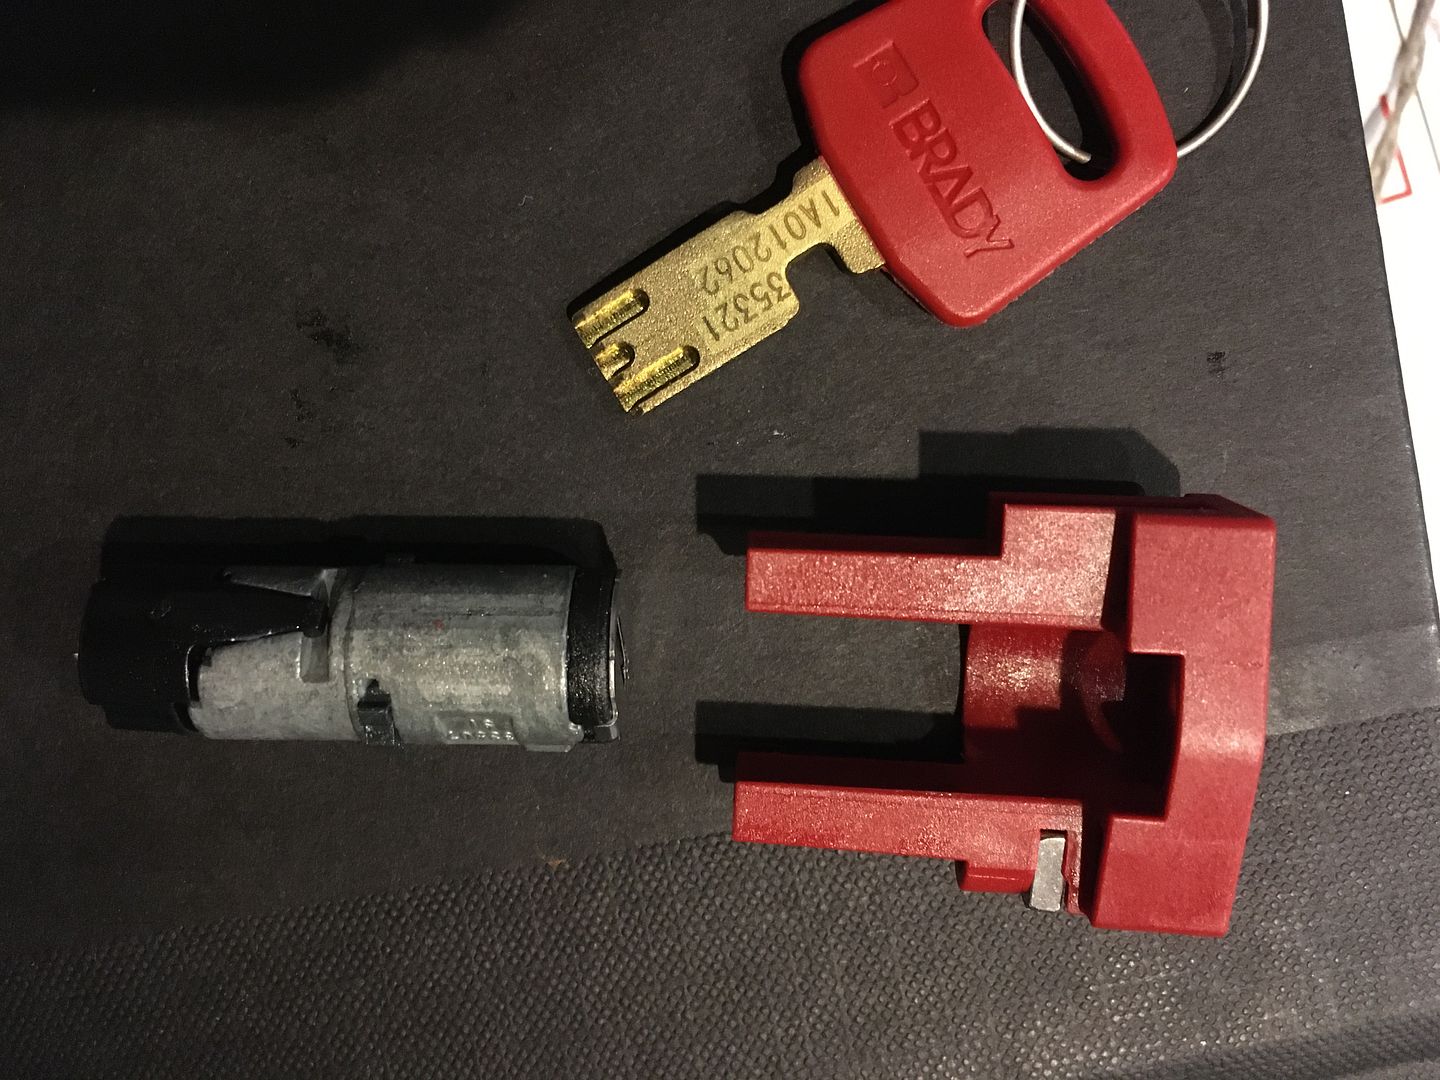
That allows the core carrier to be removed from the padlock body.
Look in the padlock body. You can see the blue glass locking balls. One has fallen into the center area and would need to be pushed back to the side before reassembly.
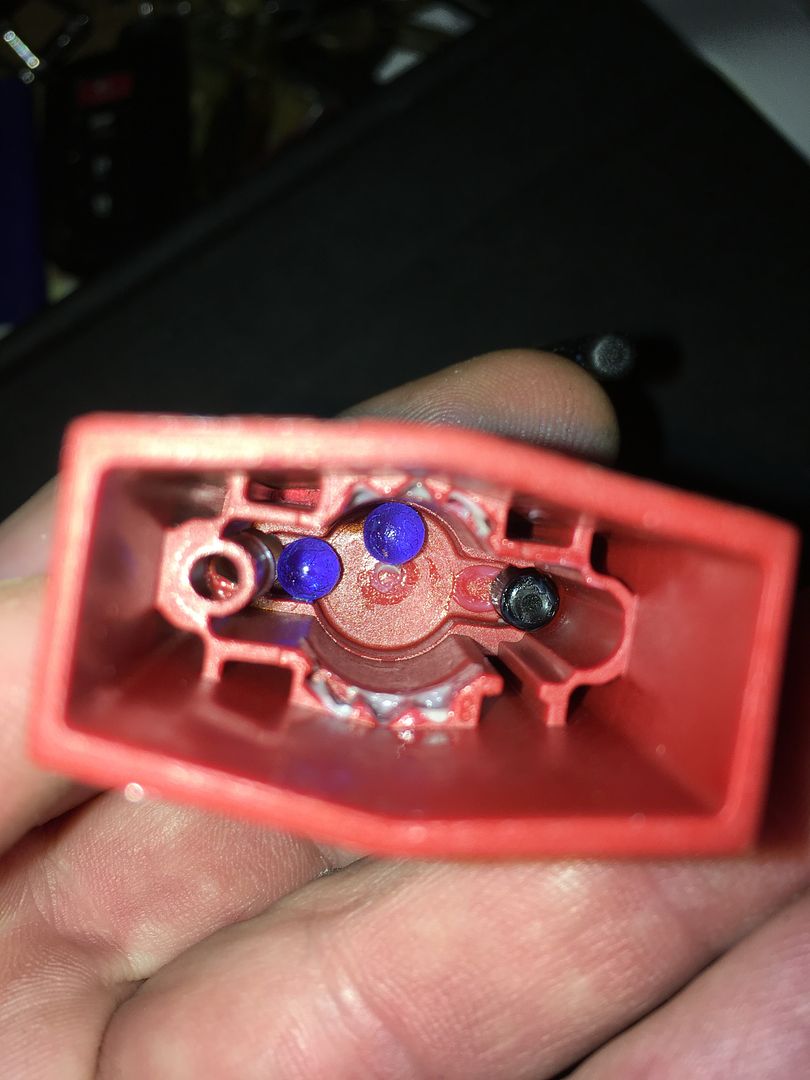
Remove the locking balls and the shackle.
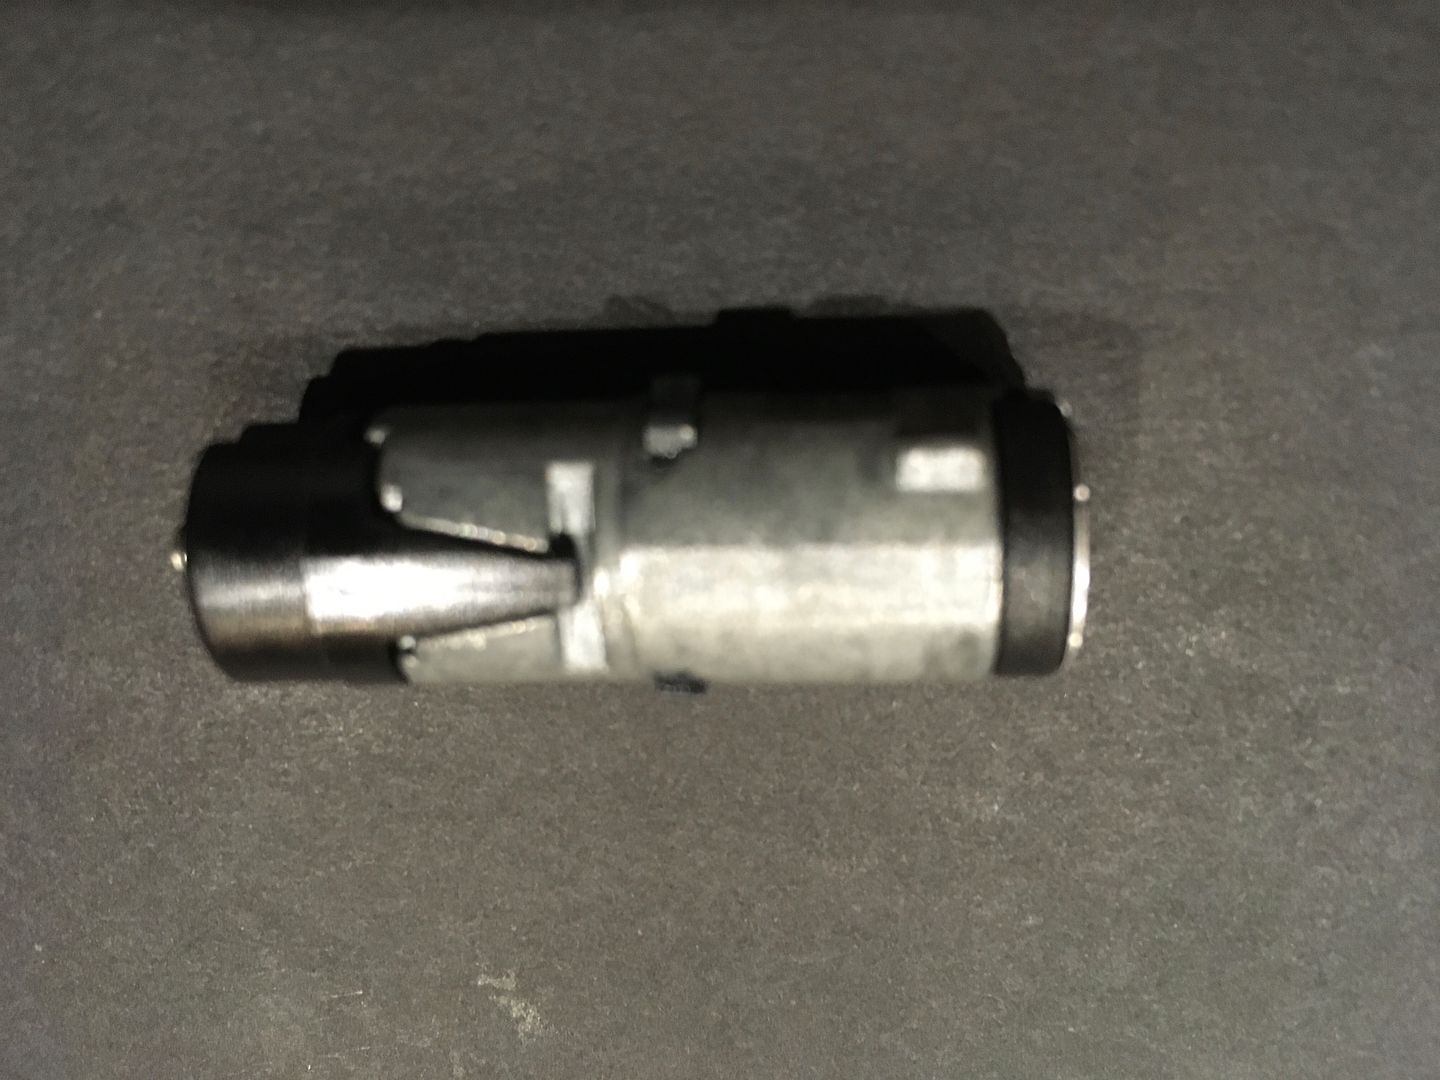
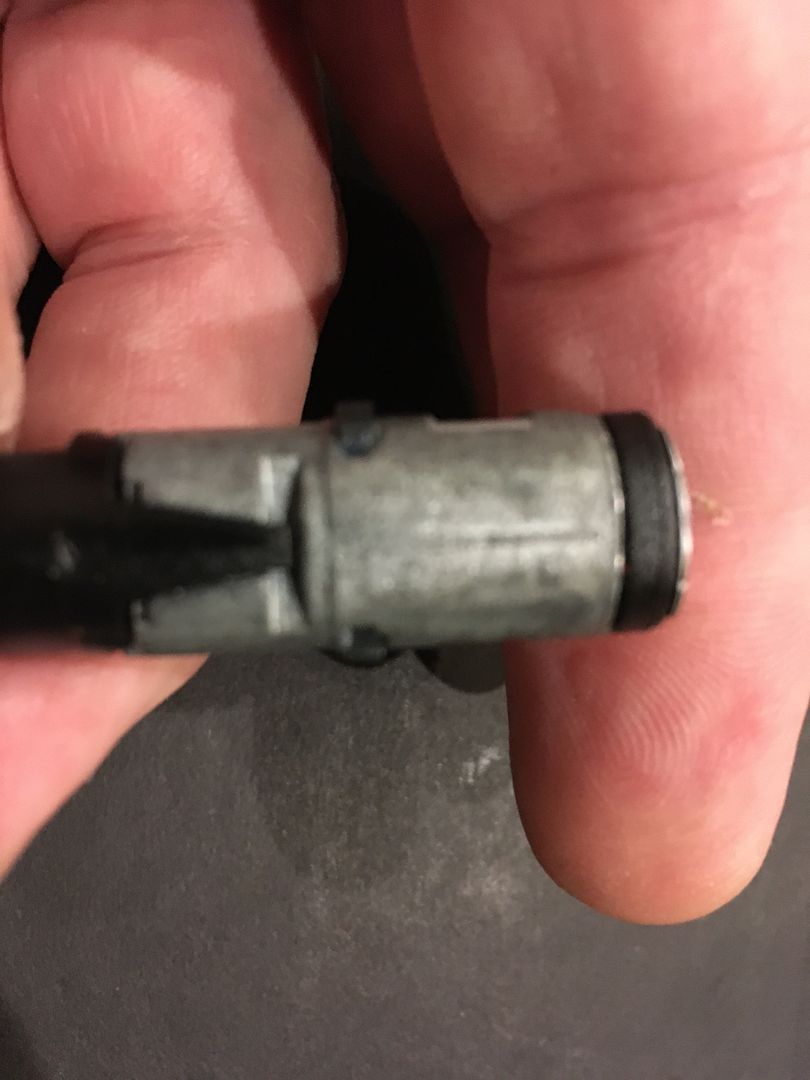
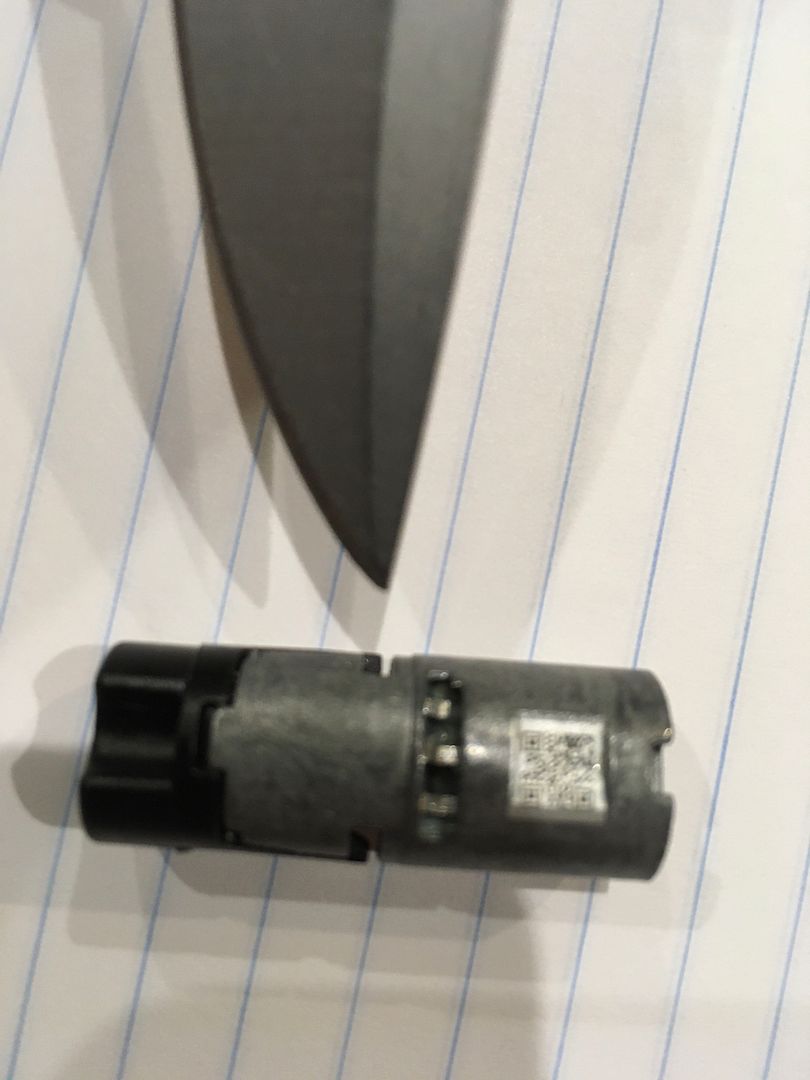
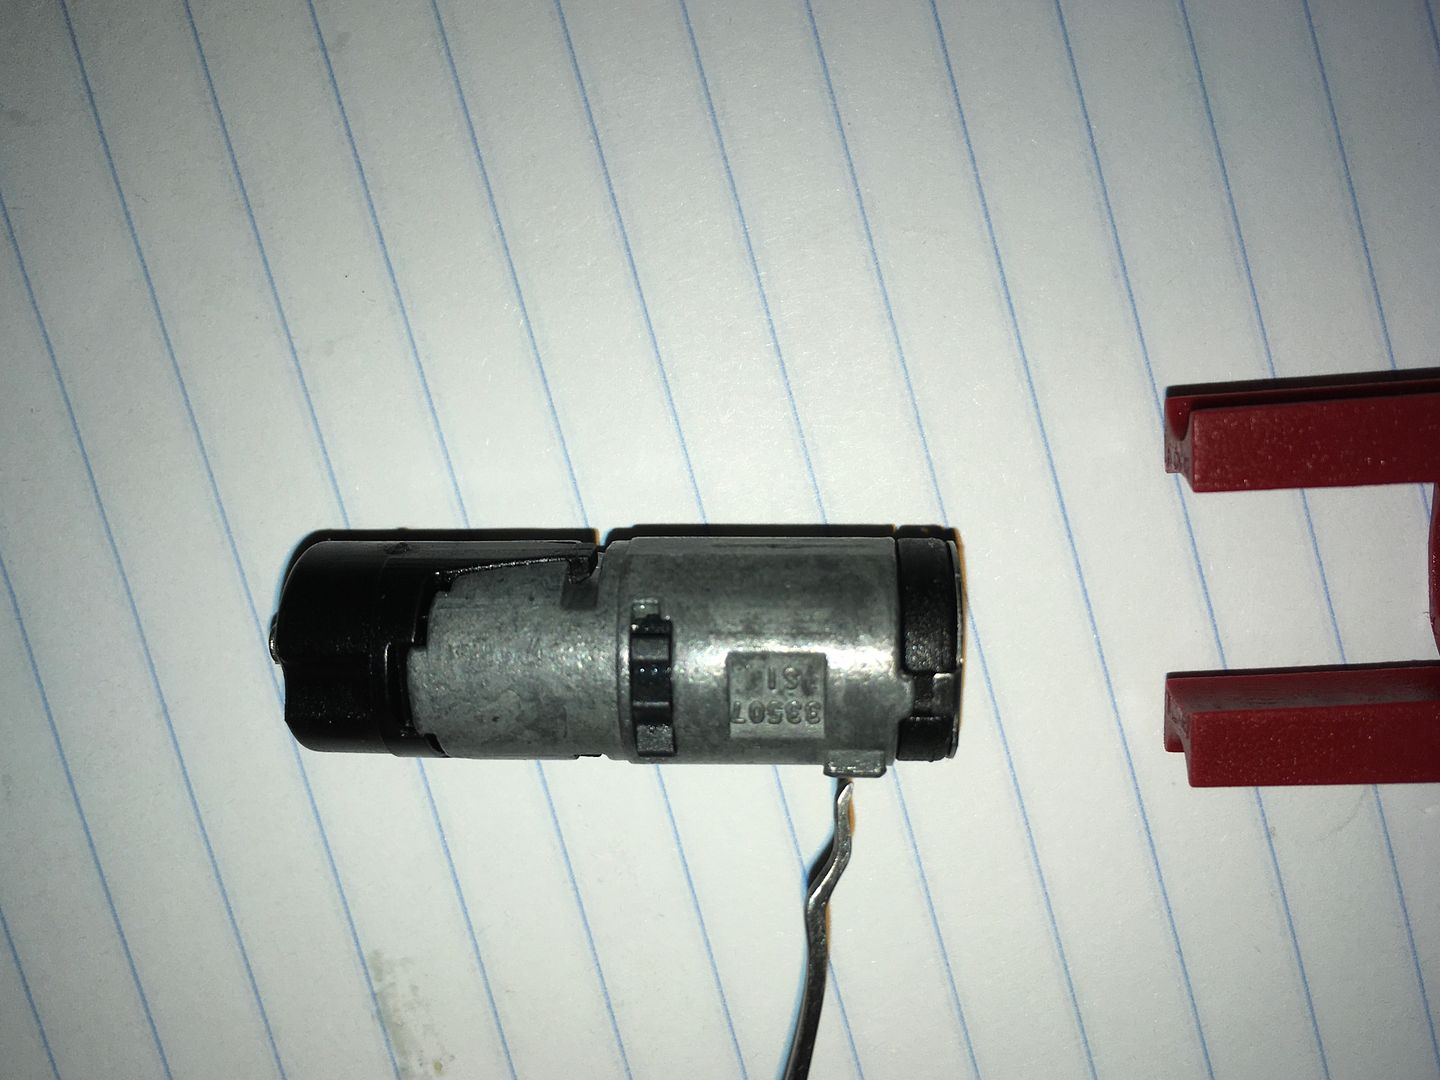
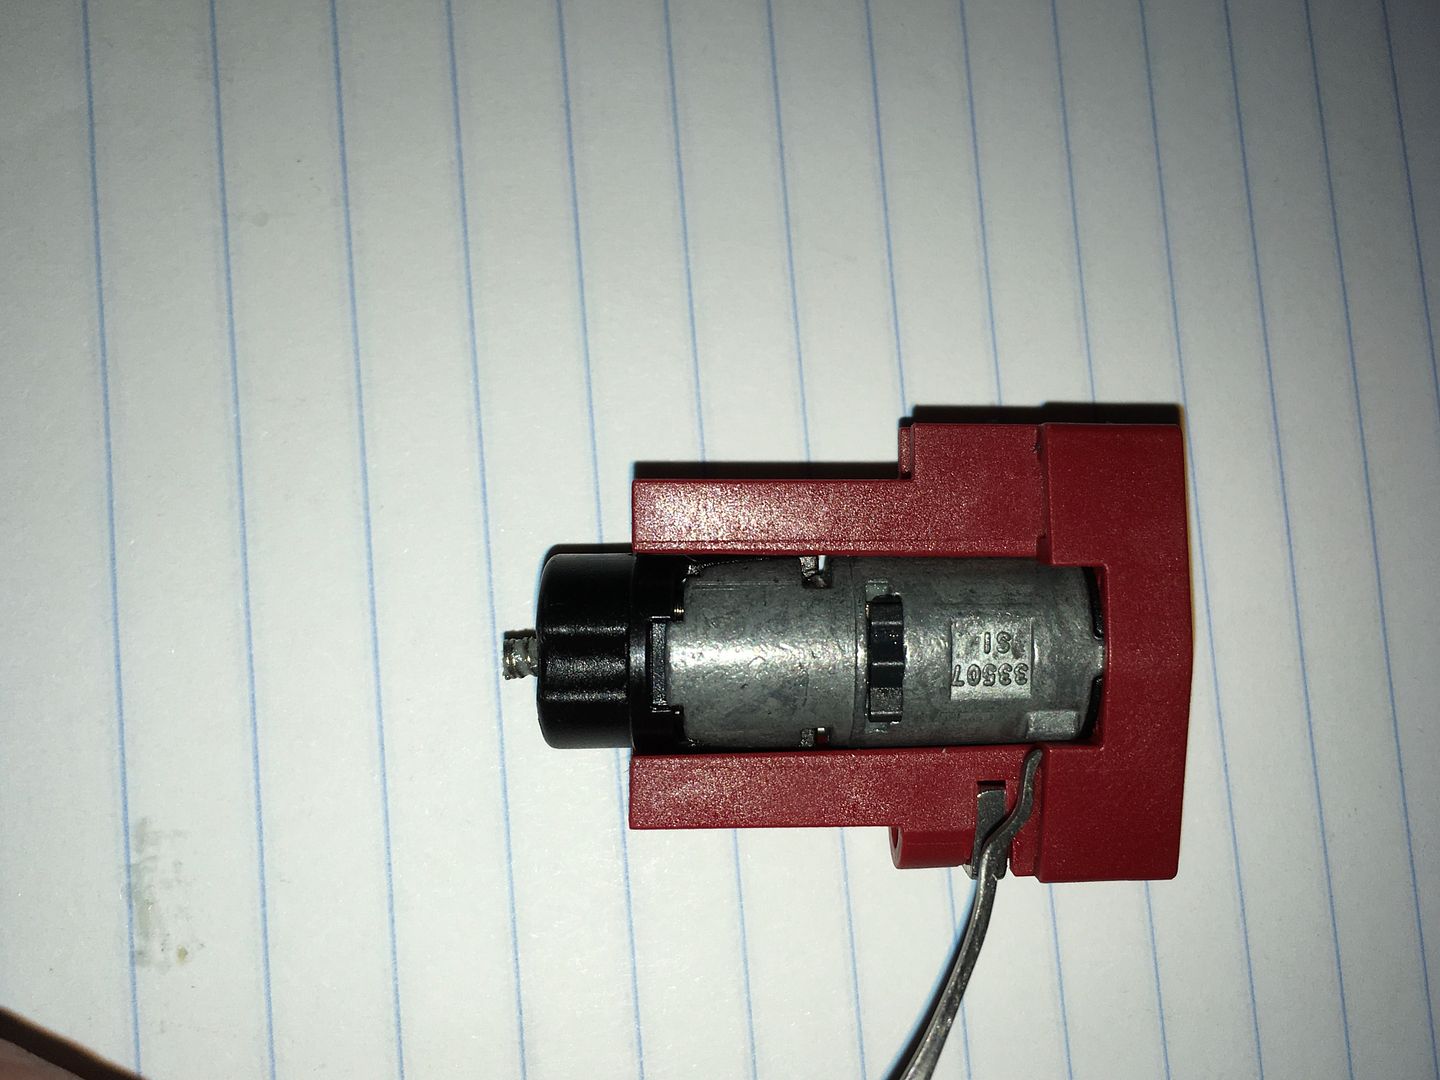
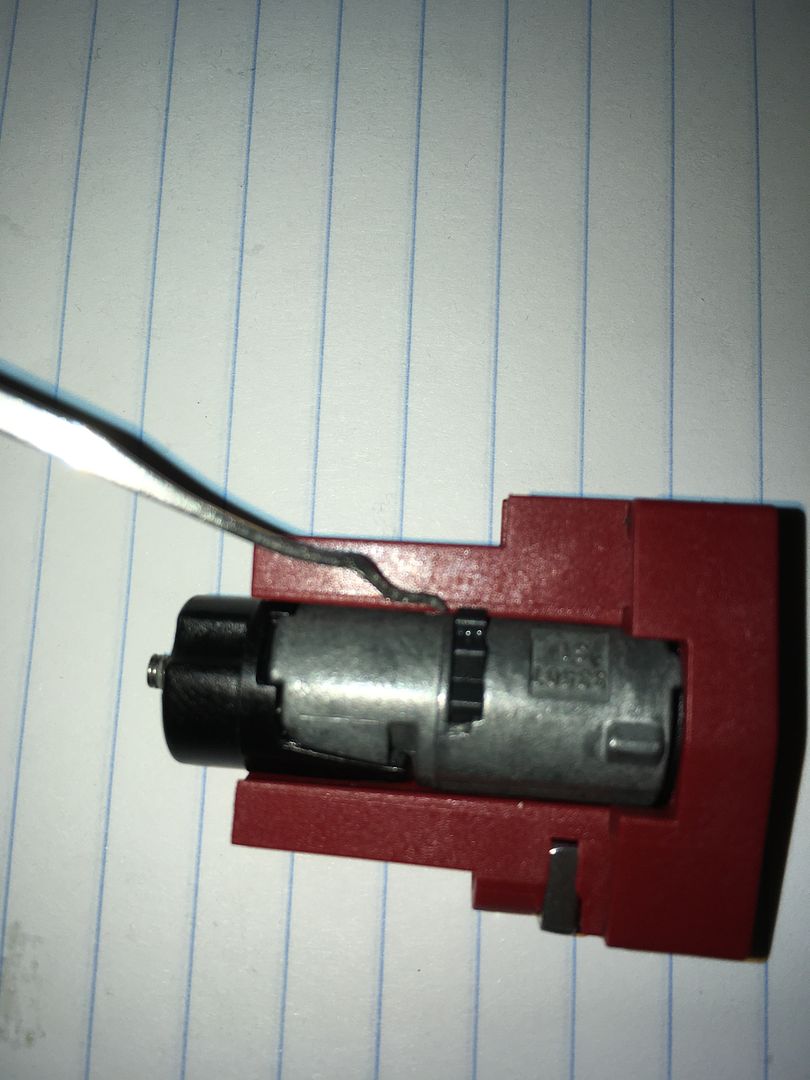
Now to the core carrier.
Viewed form an angle, you can see one of the two sidebars. The other one is on the other side. More on the sidebar shortly.
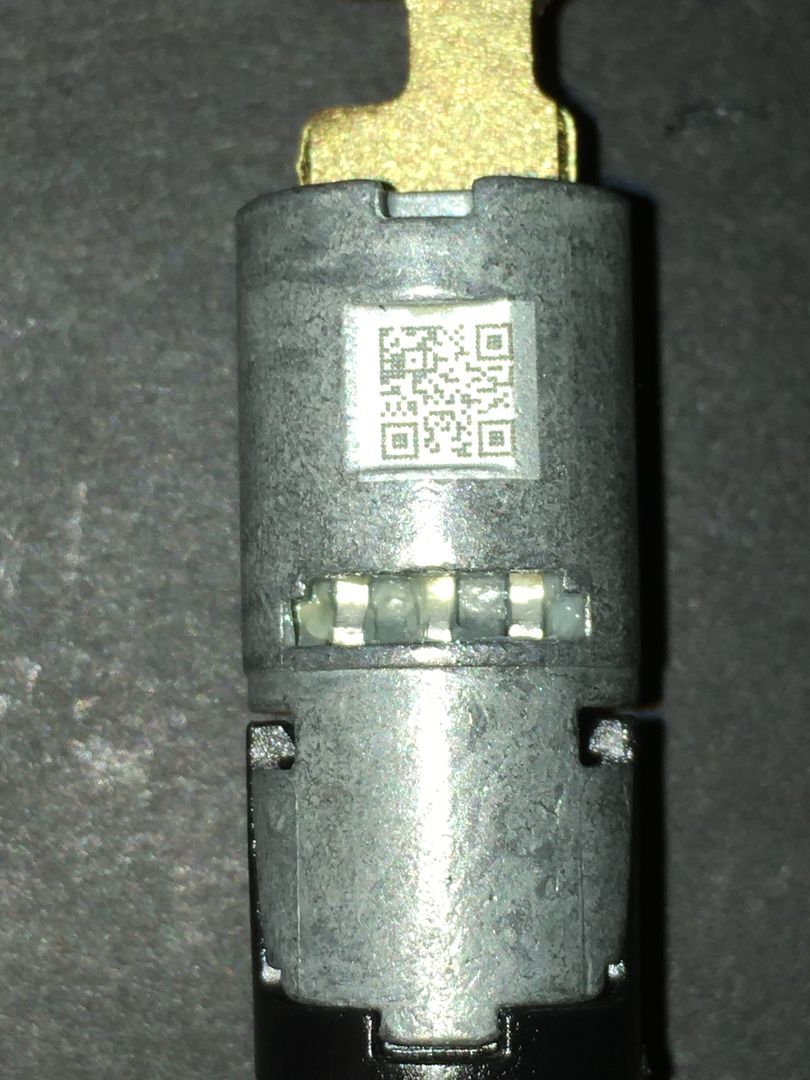
Turned the carrier 90 degrees so you are looking at it from the side. When first removed from the padlock body, the key is still inserted and the lock is in the unlocked position.
Turn the key to the unlocked position and remove from the lock core.
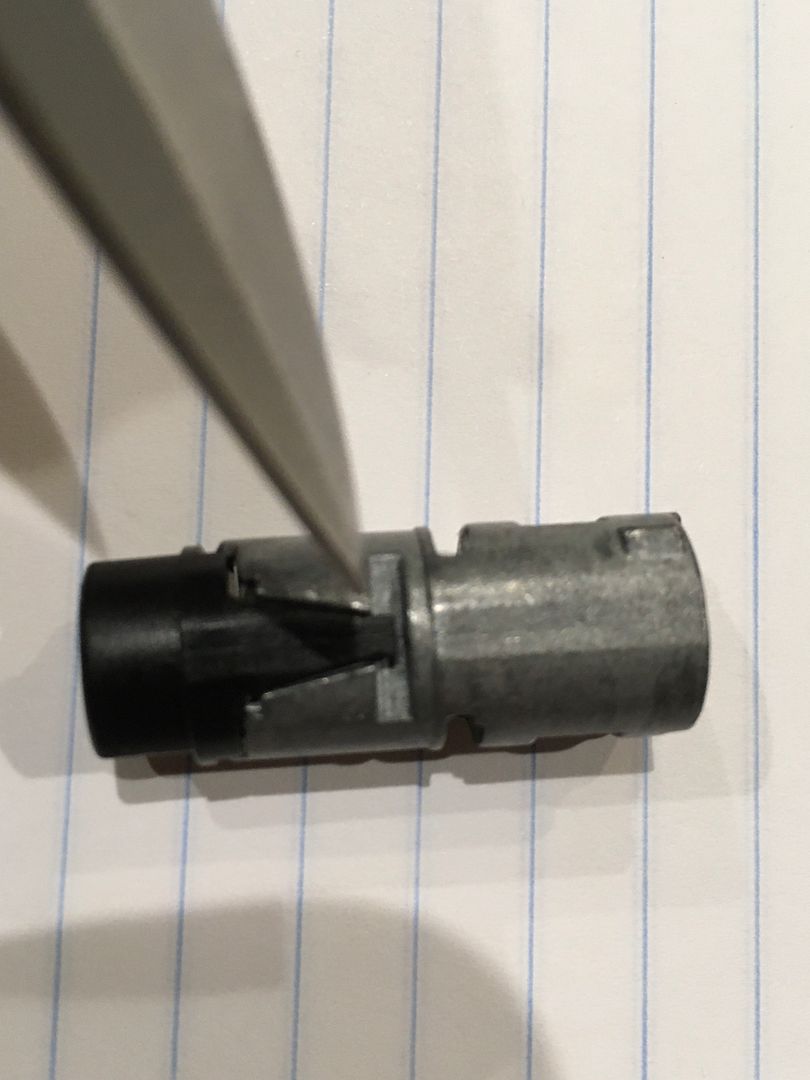
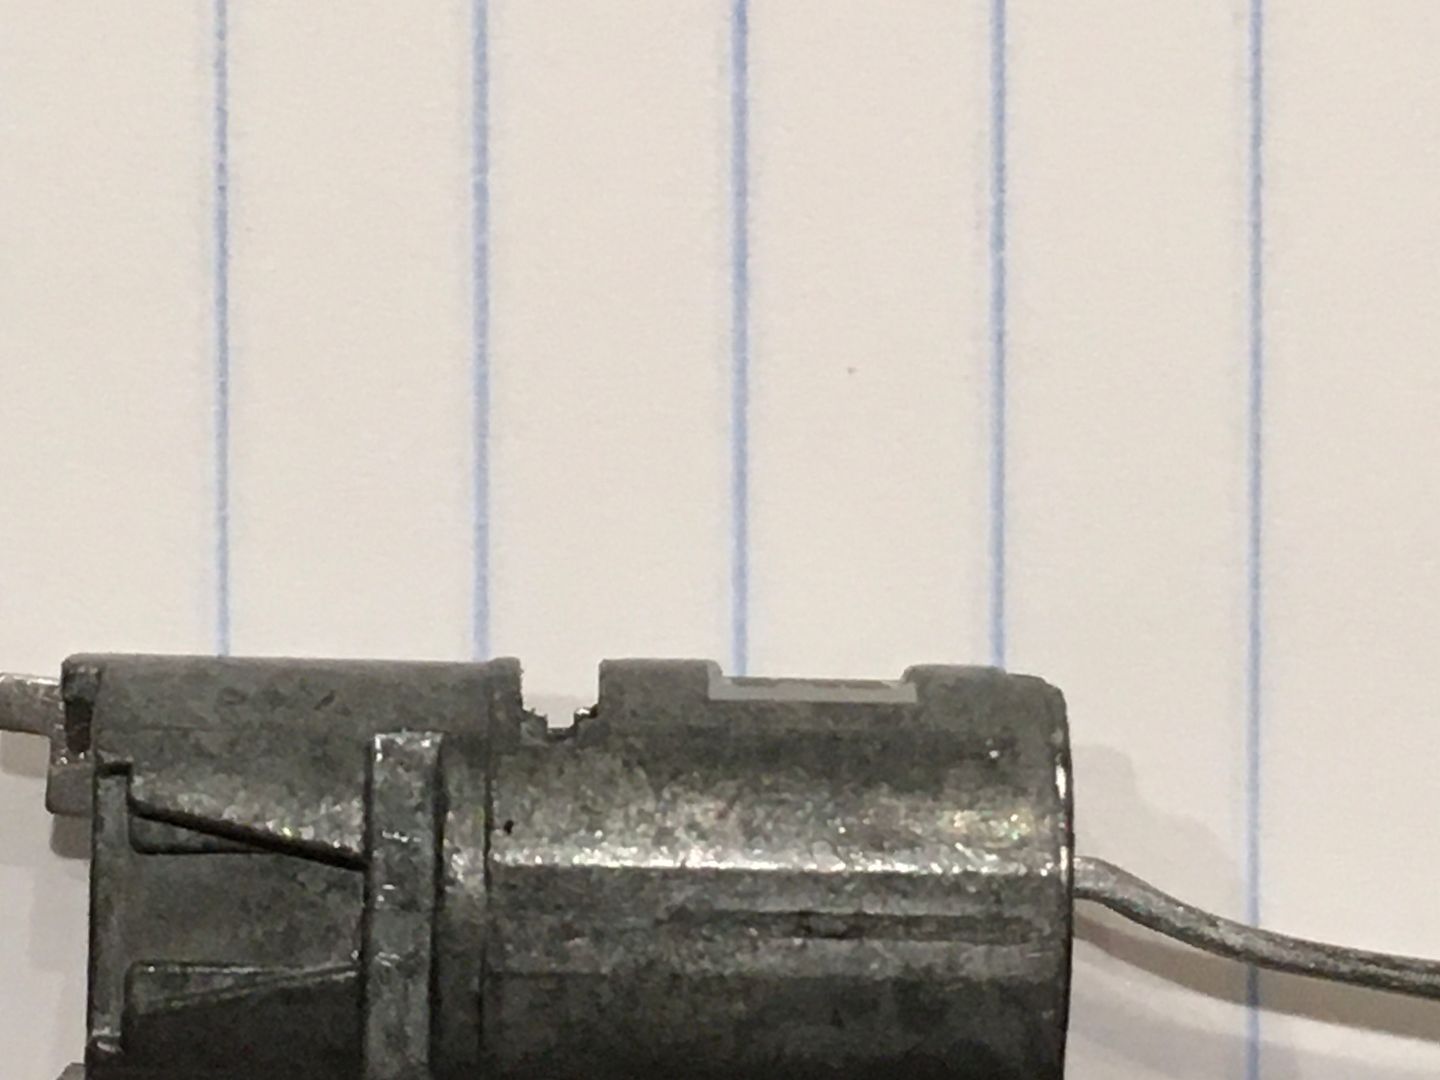
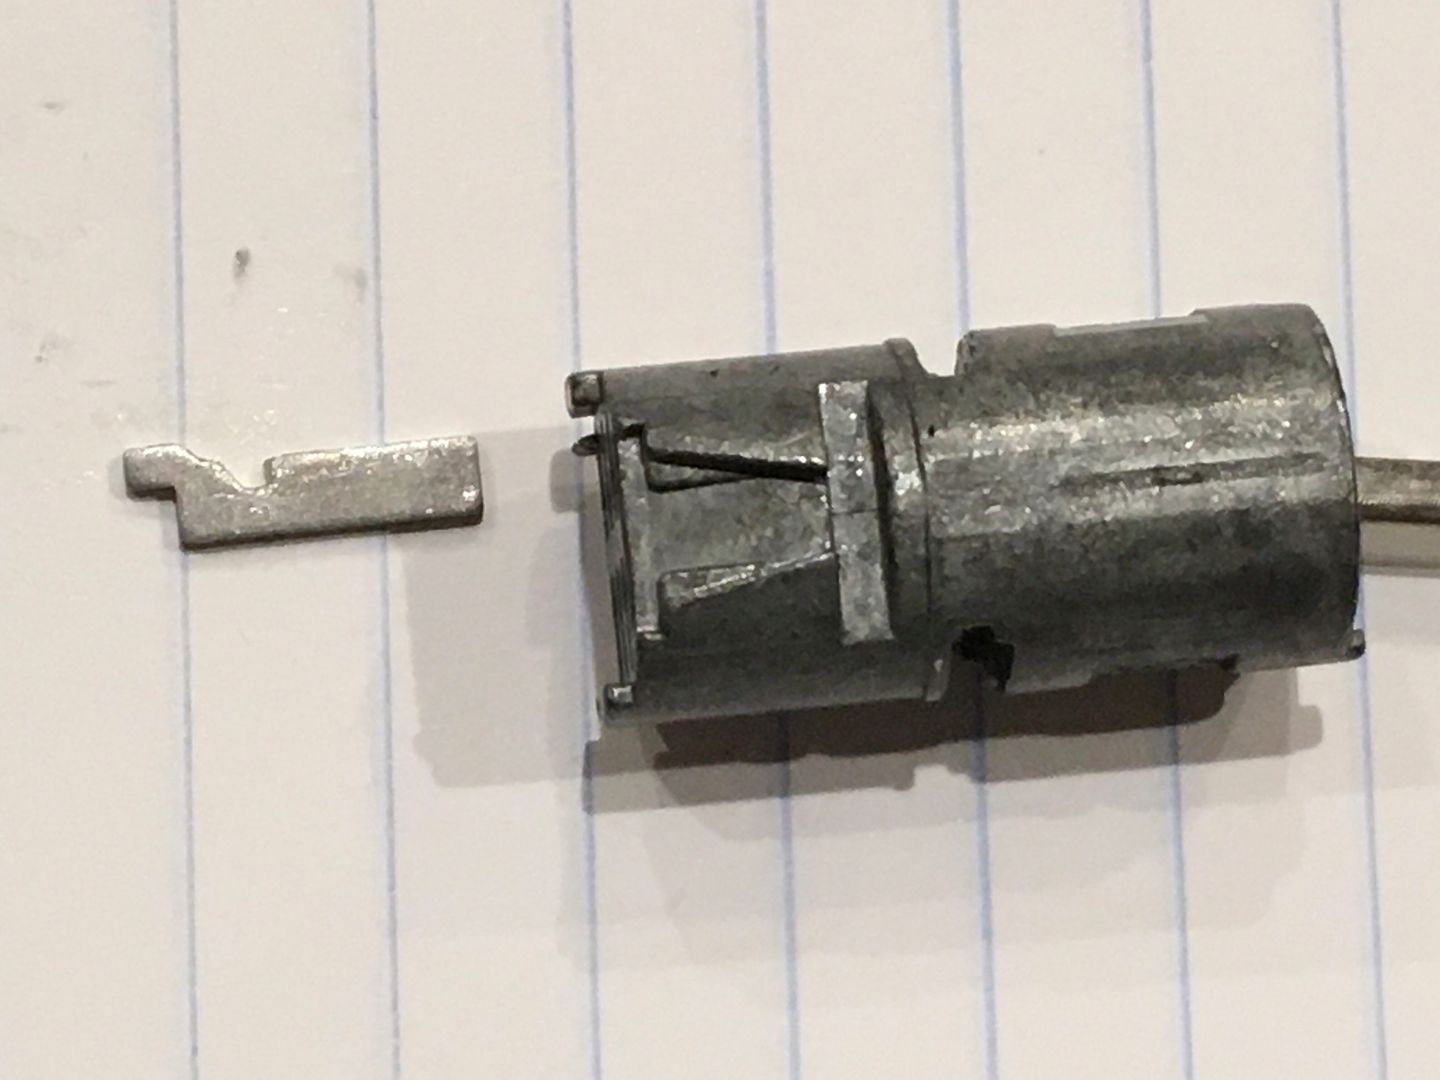
Remove the lock core from the carrier.
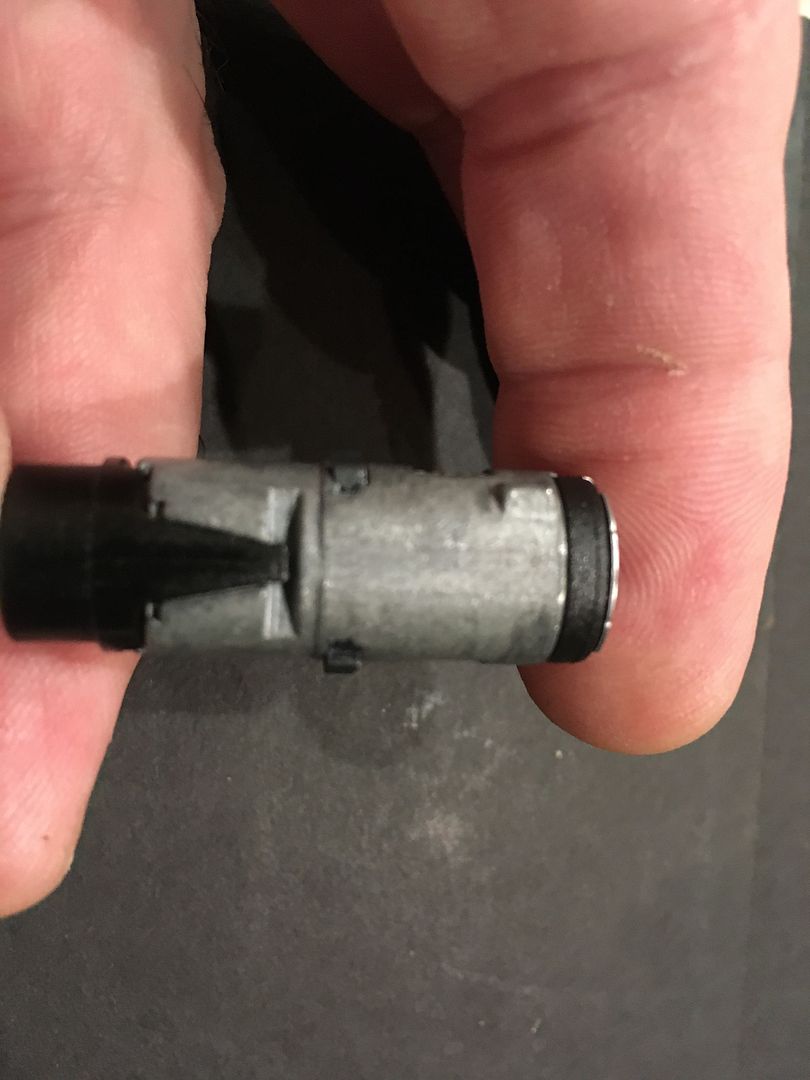
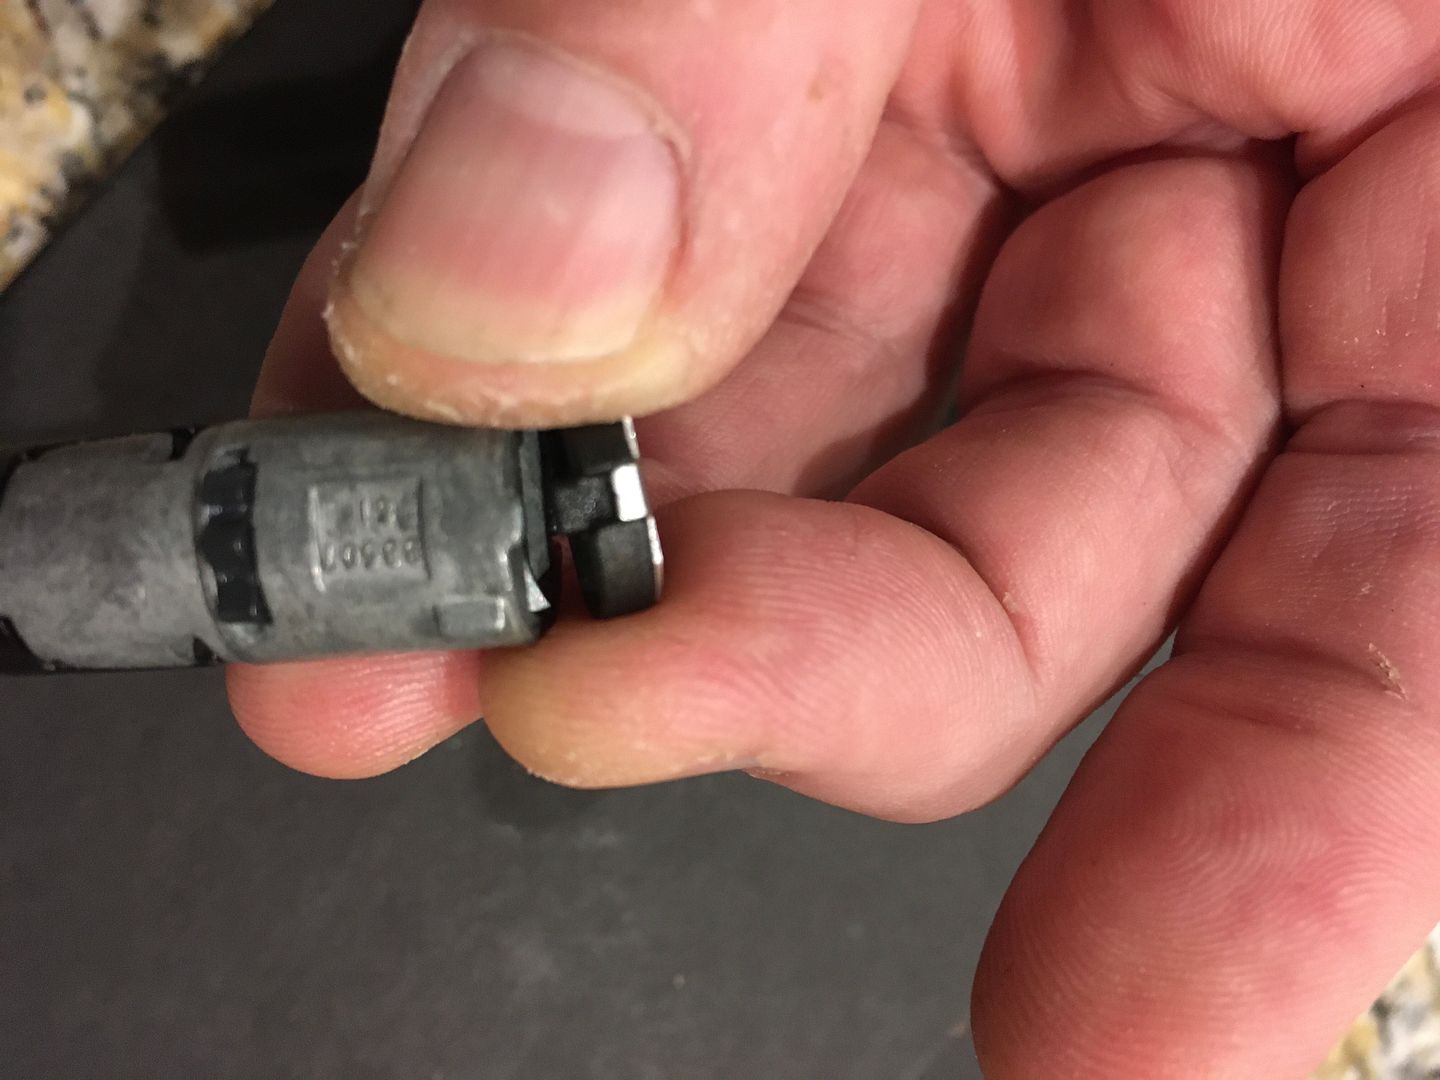
The keyway end...
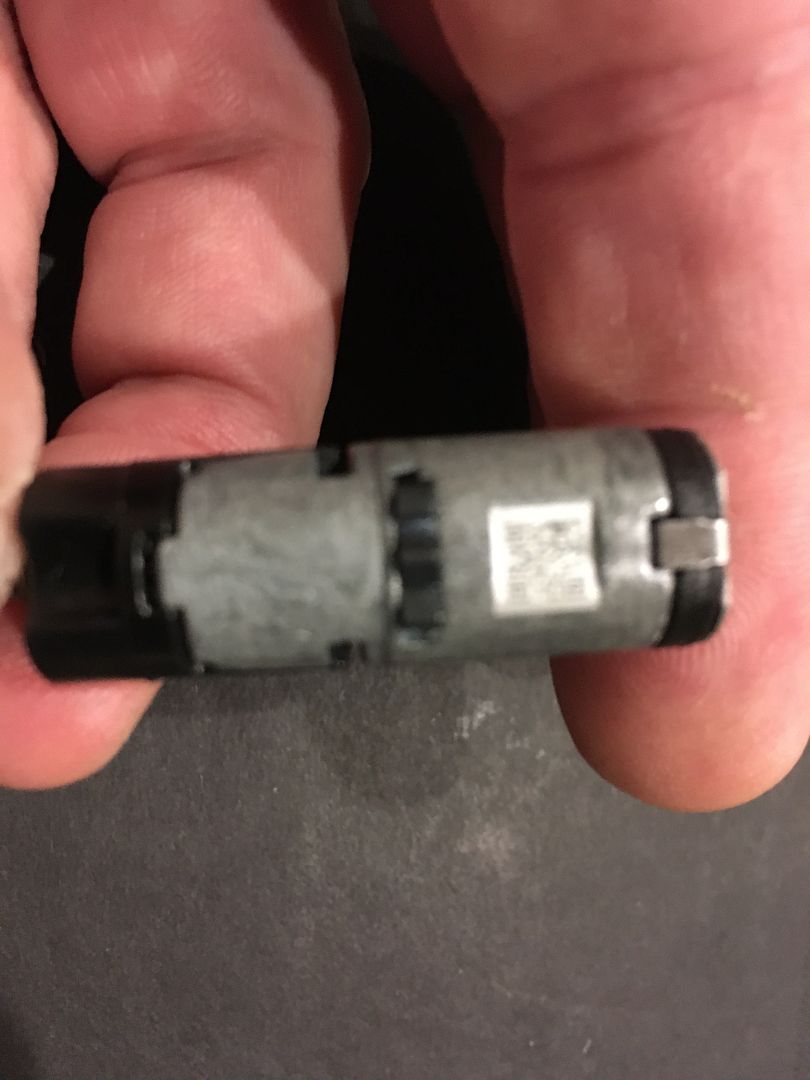
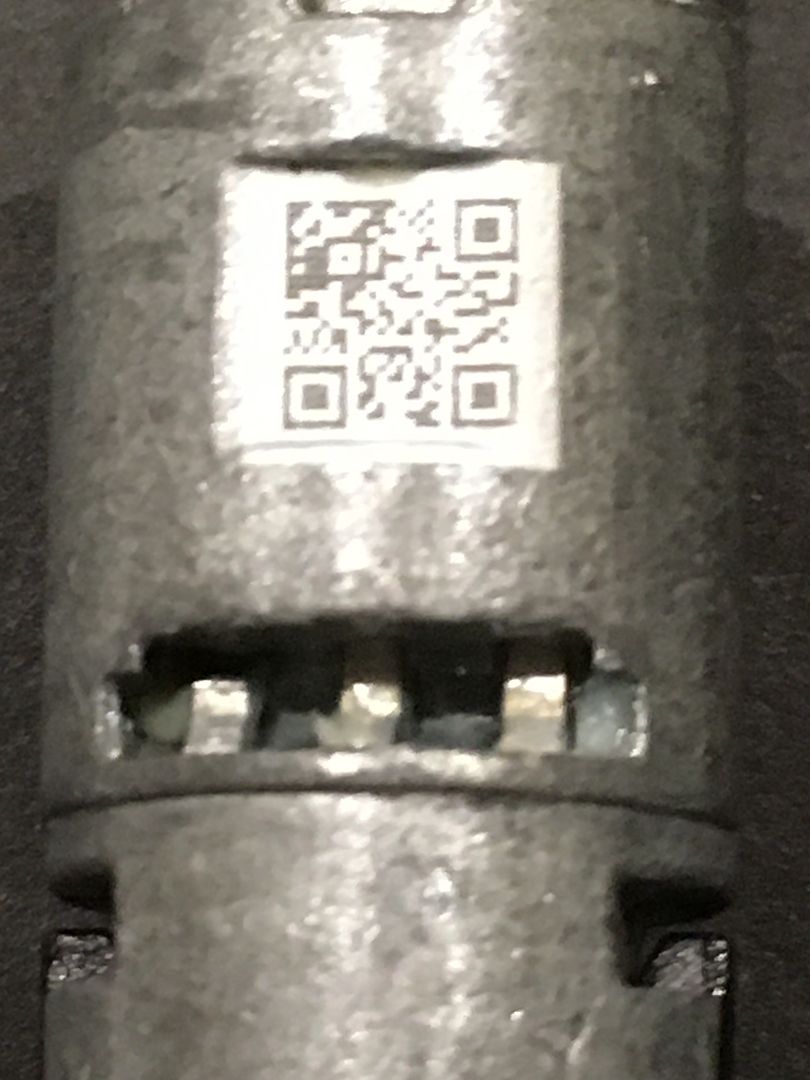
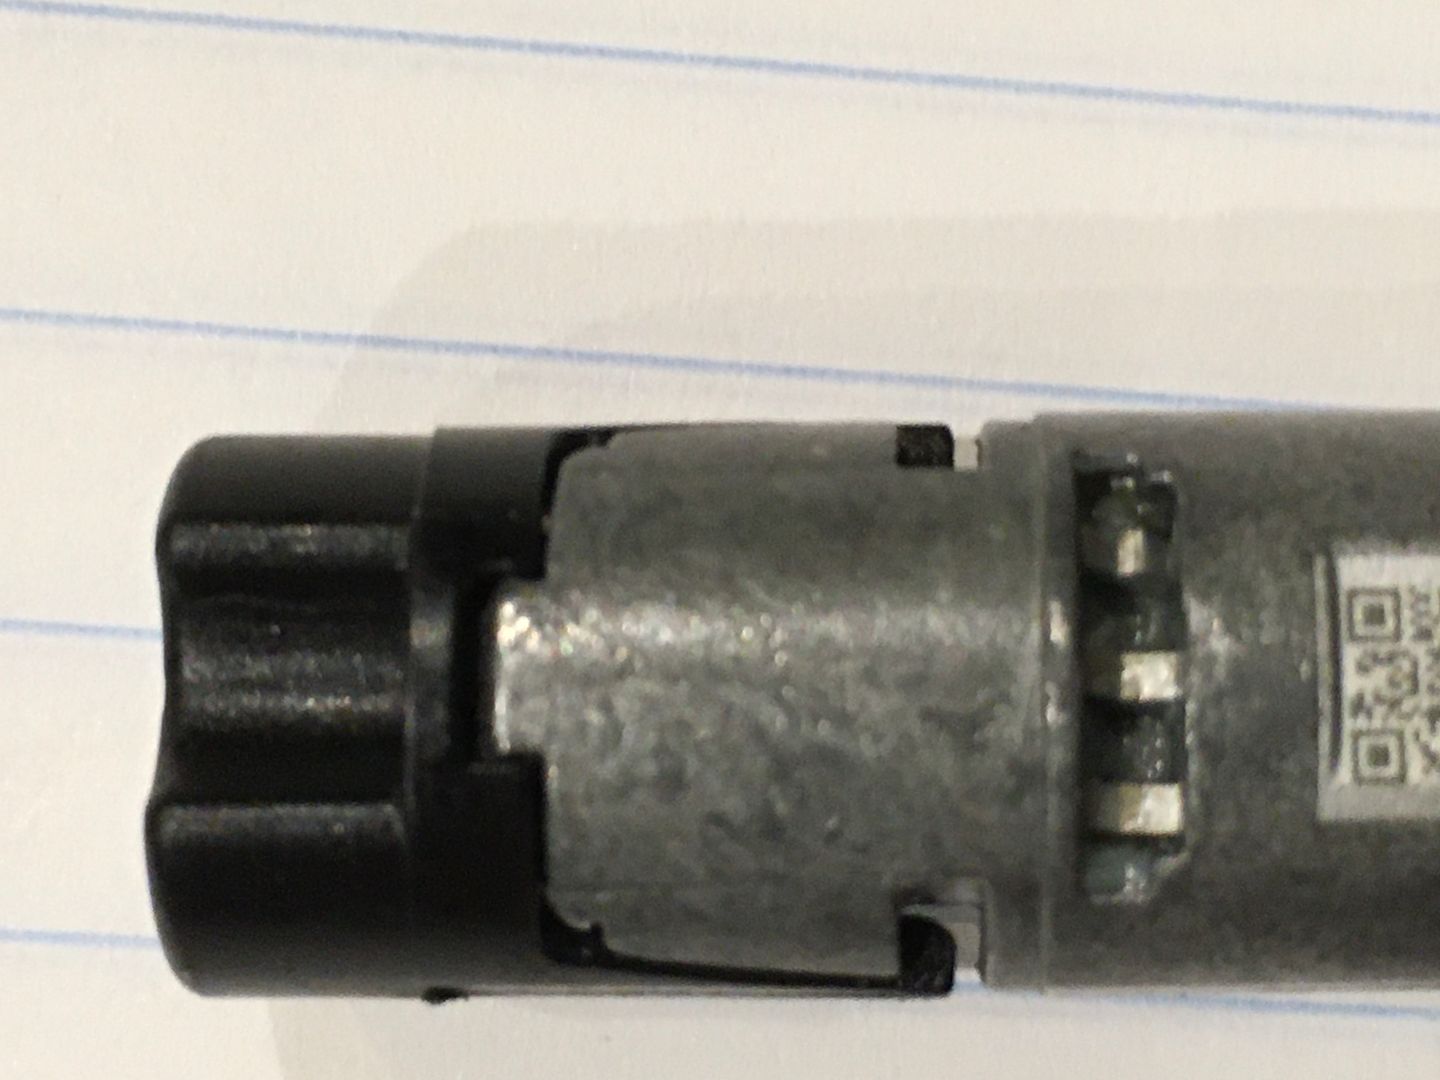
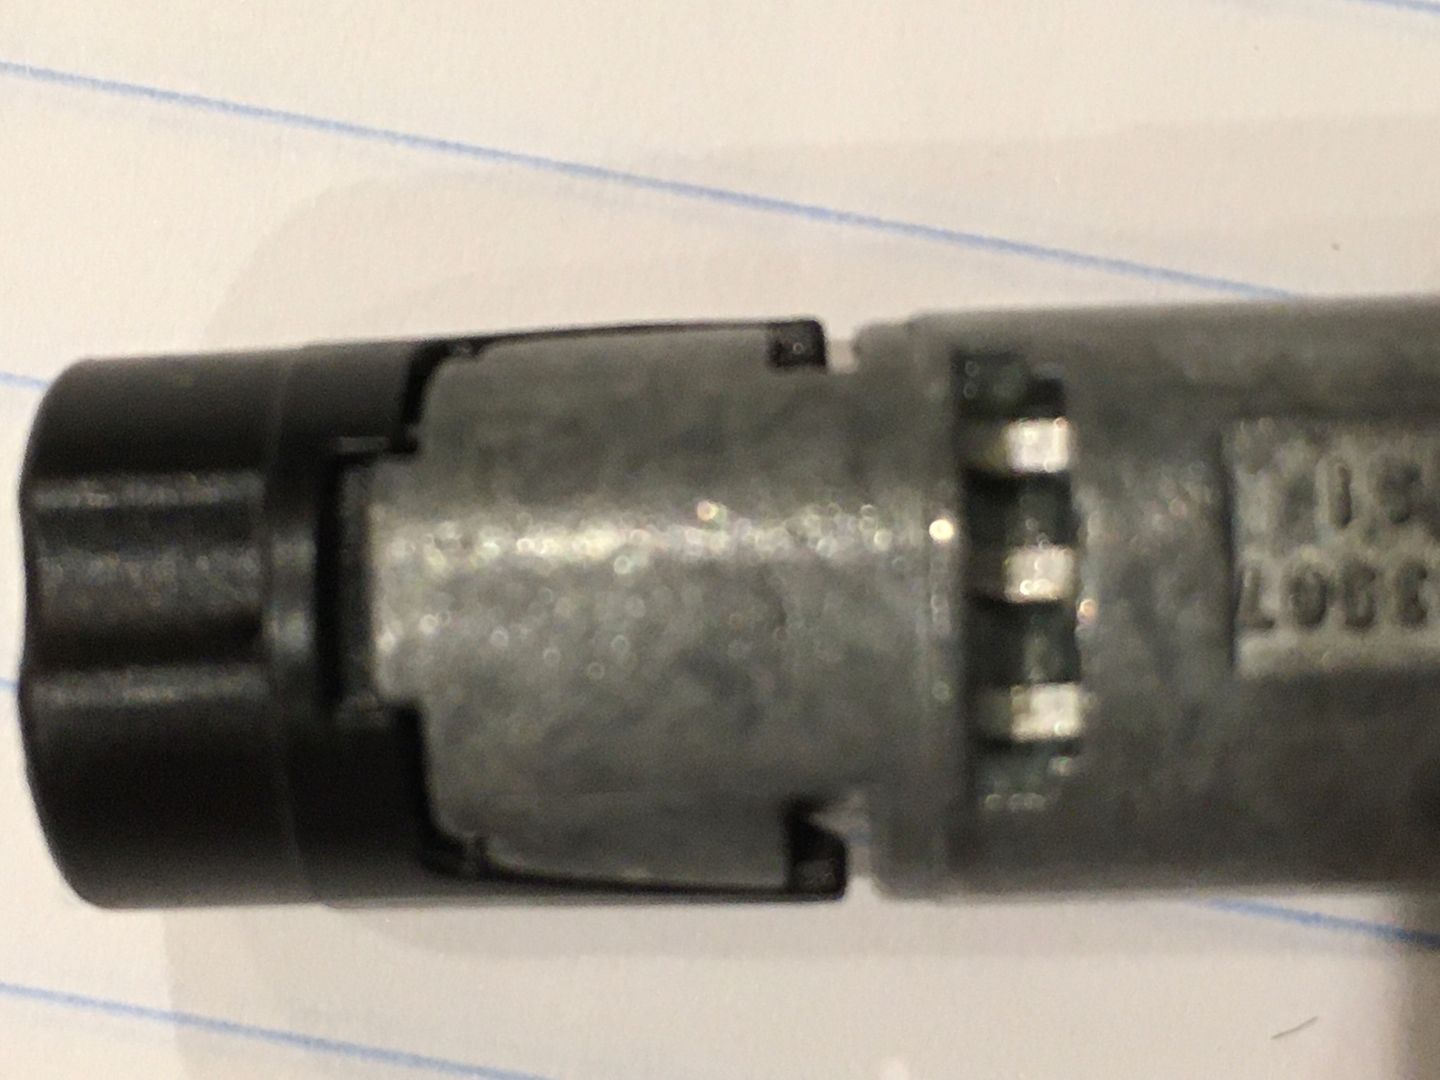
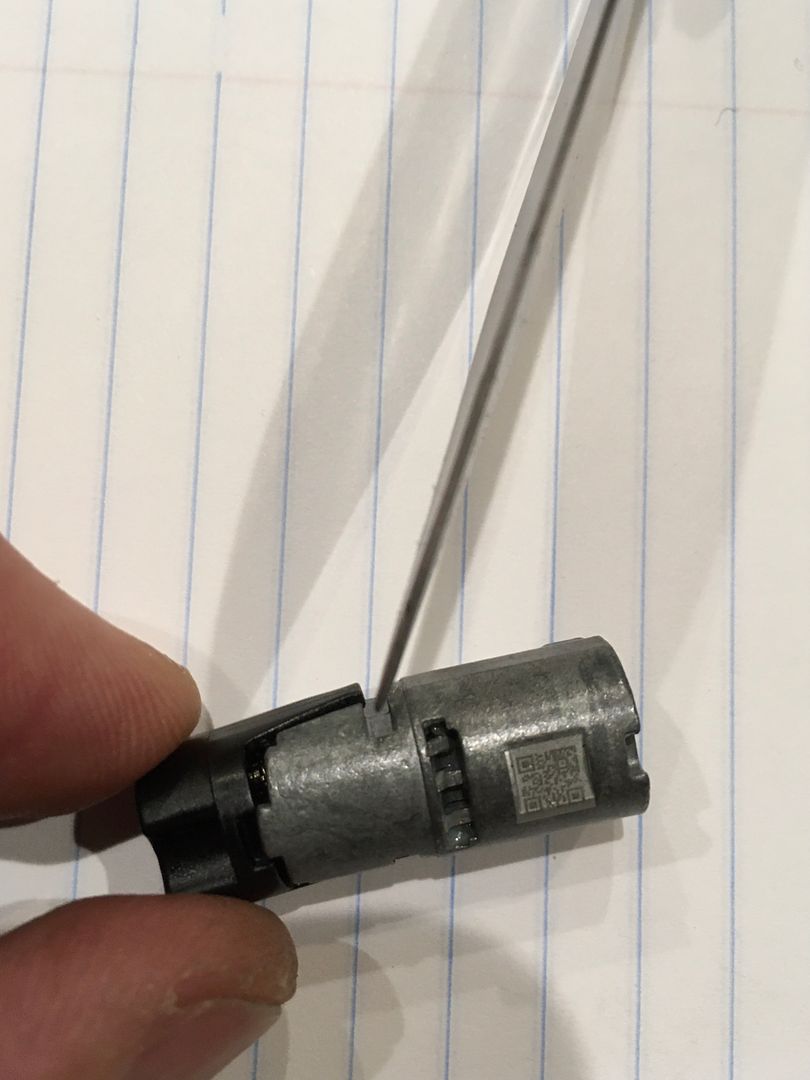
The four sides of the lock core. This side shows one of the sidebars. Note that this side with the sidebar does NOT have a QR code on it. Pay attention to which parts go on the QR code side and which go on the non-QR code side.
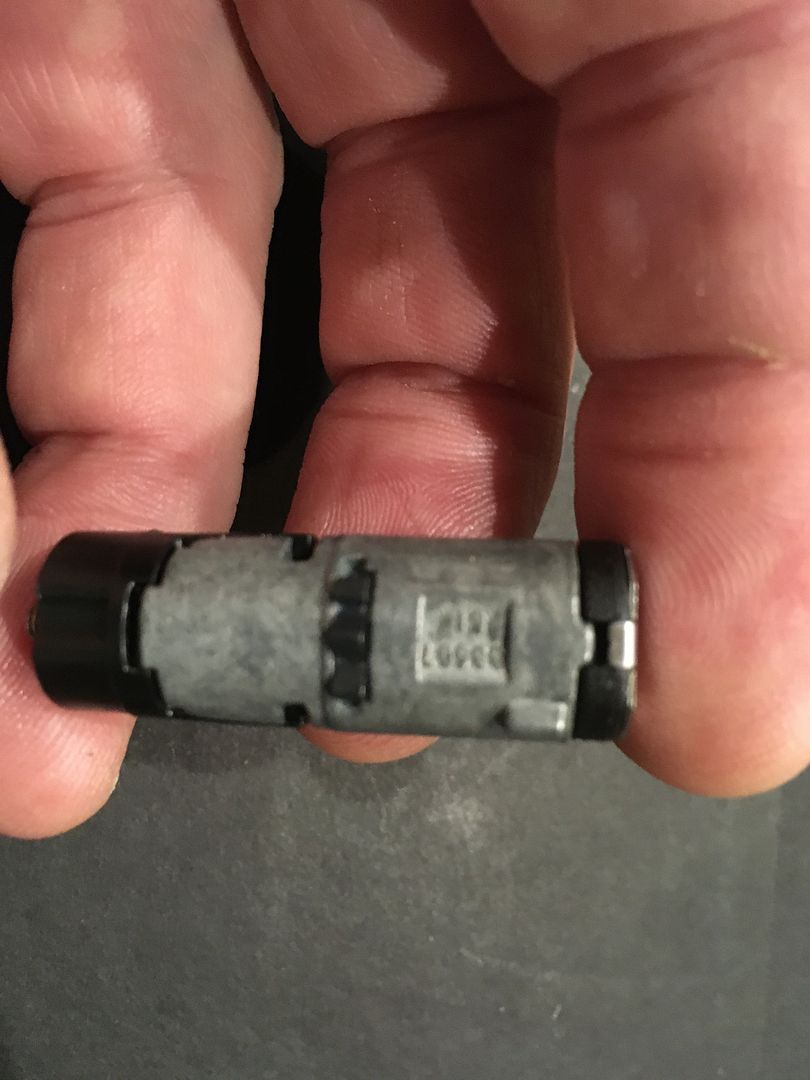
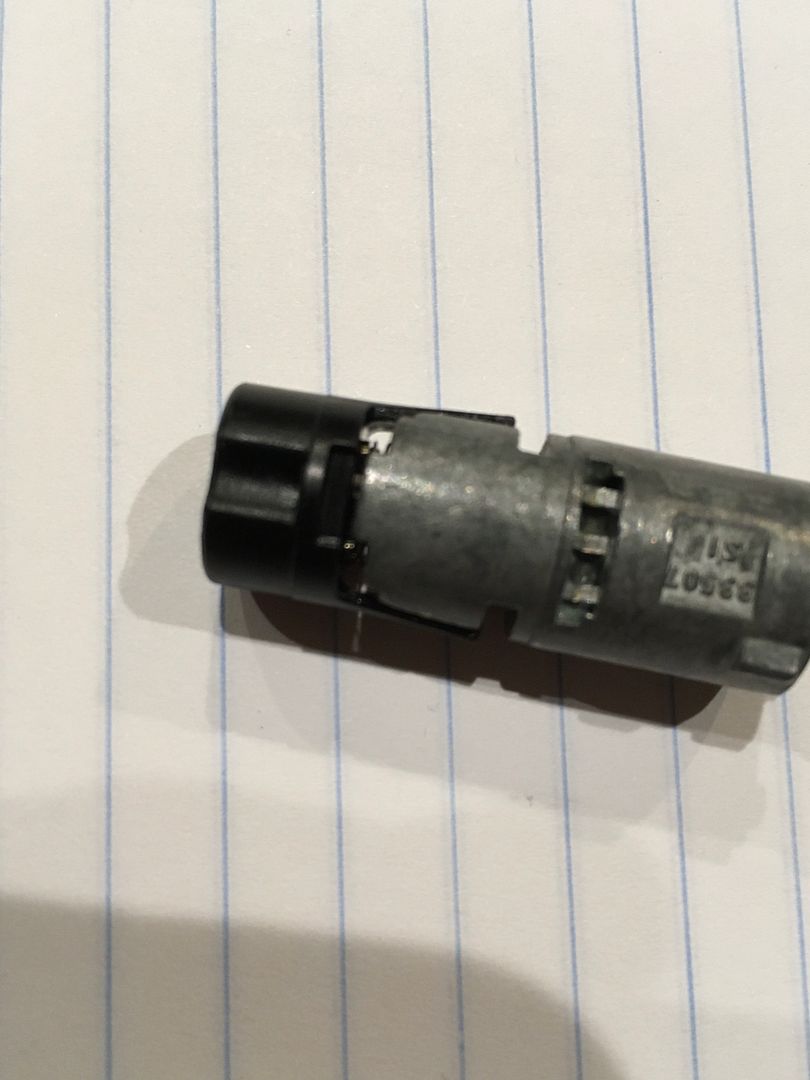
QR code side...
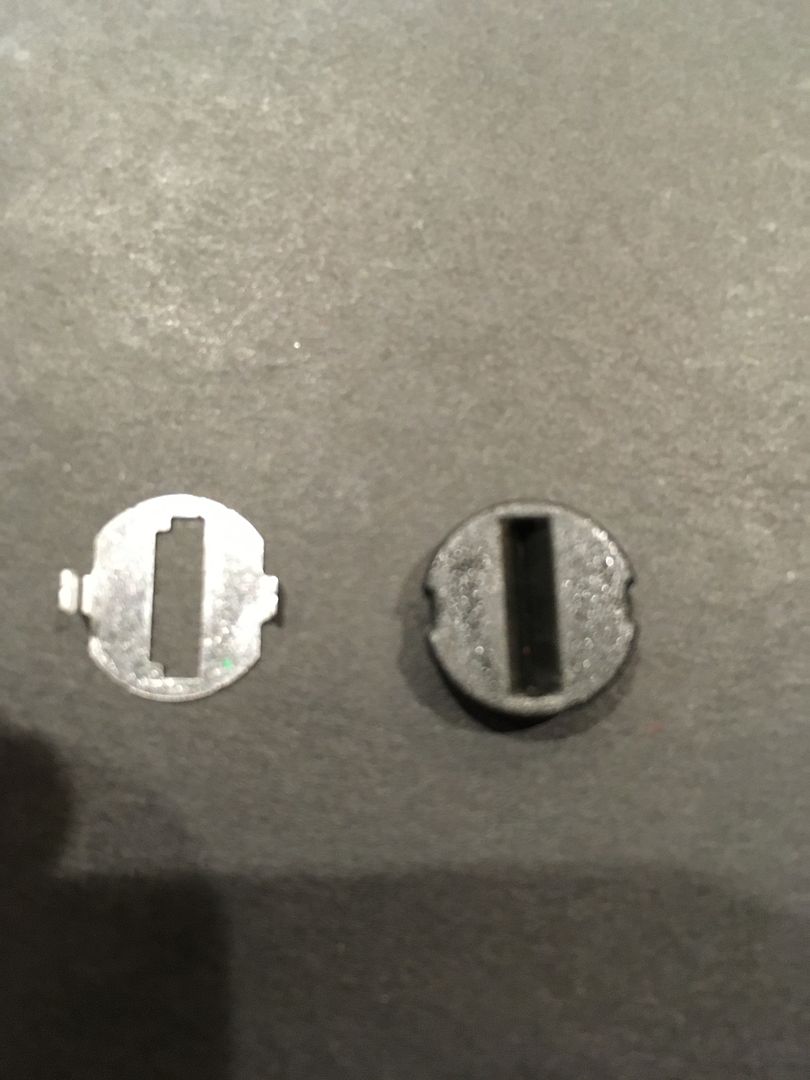
Note that the keyway end cap and weather/dust seal need to be aligned properly when being reassembled. One side has a narrow tab, the other has a wider tab.
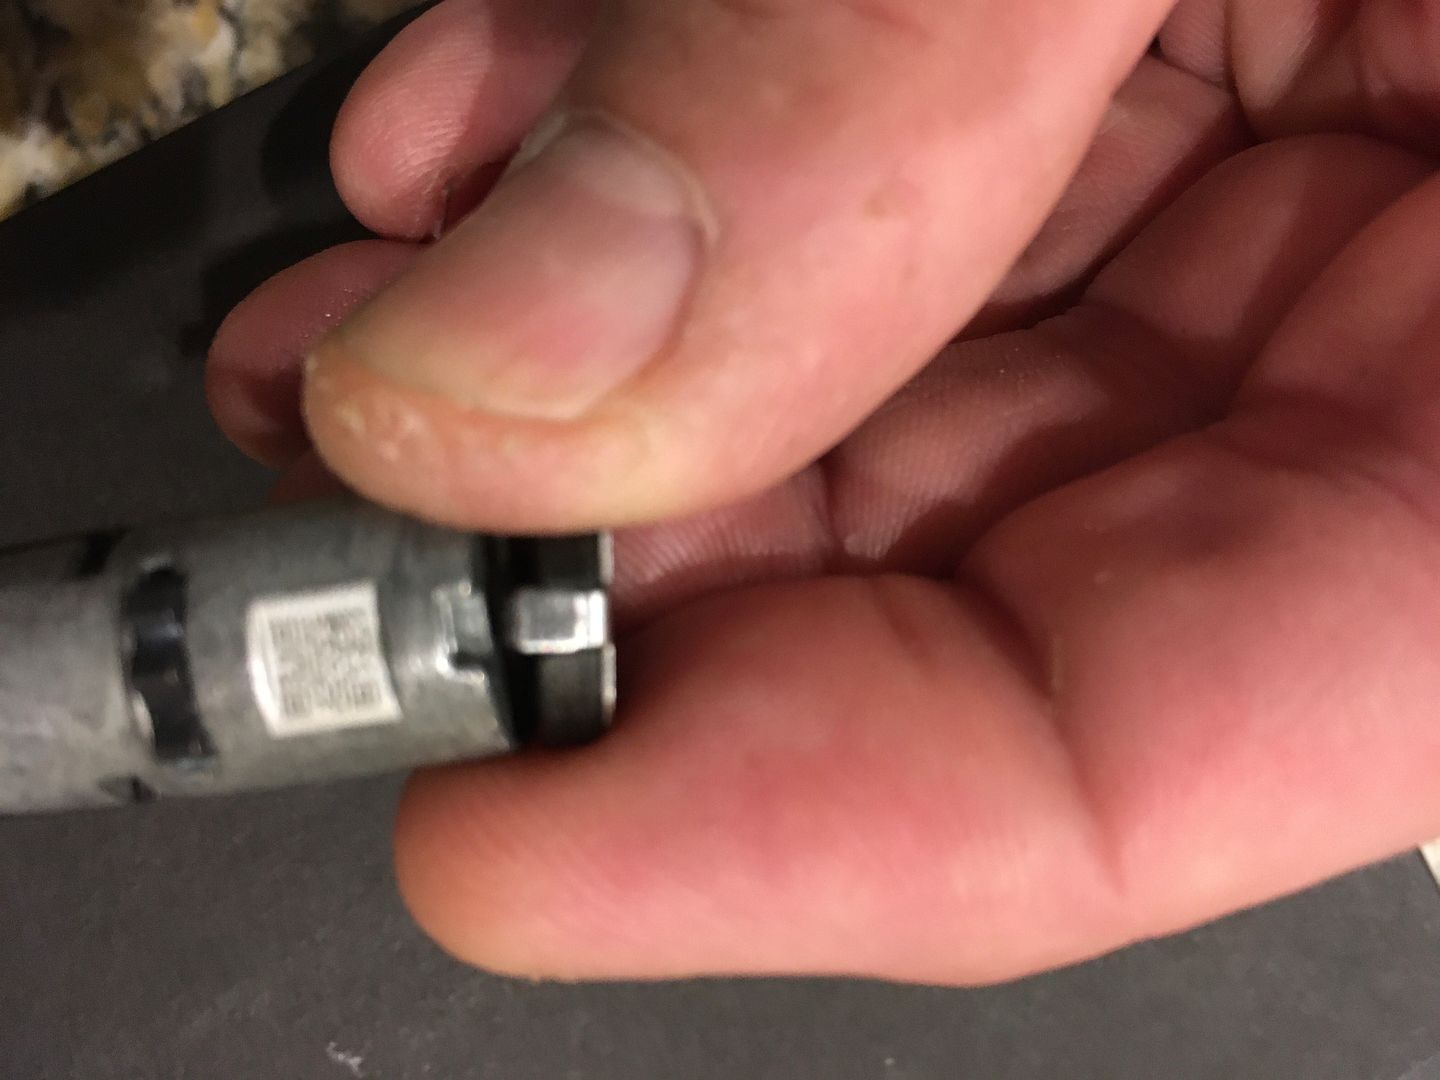
Remove the end cap and seal together.
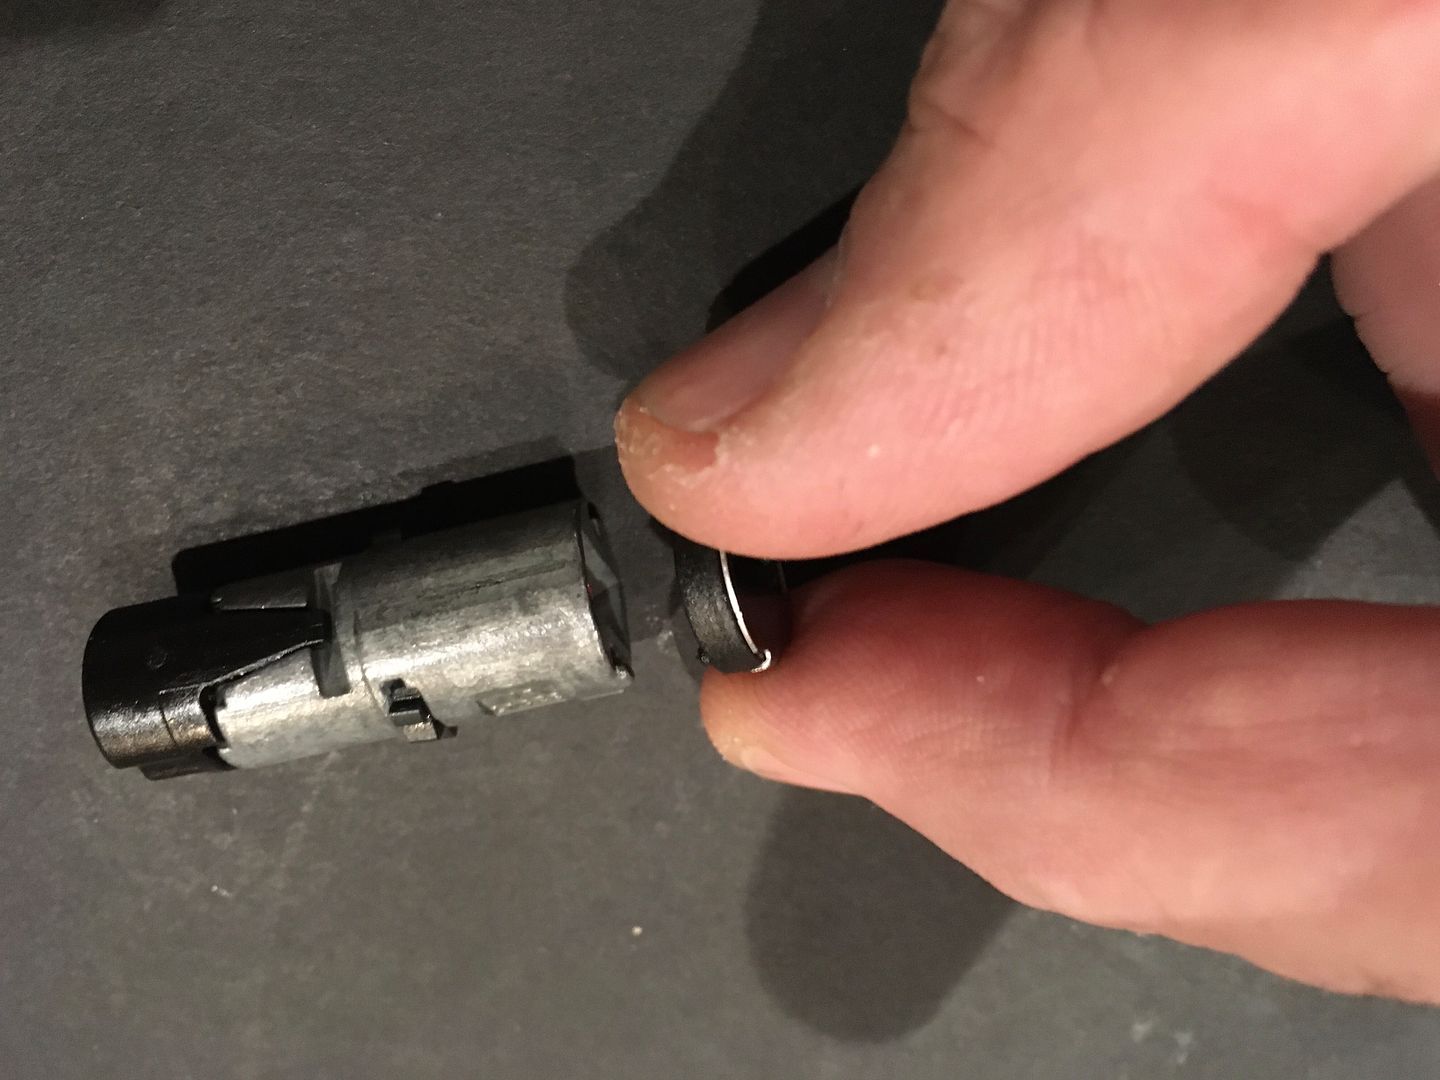
Viewed from the inside side:
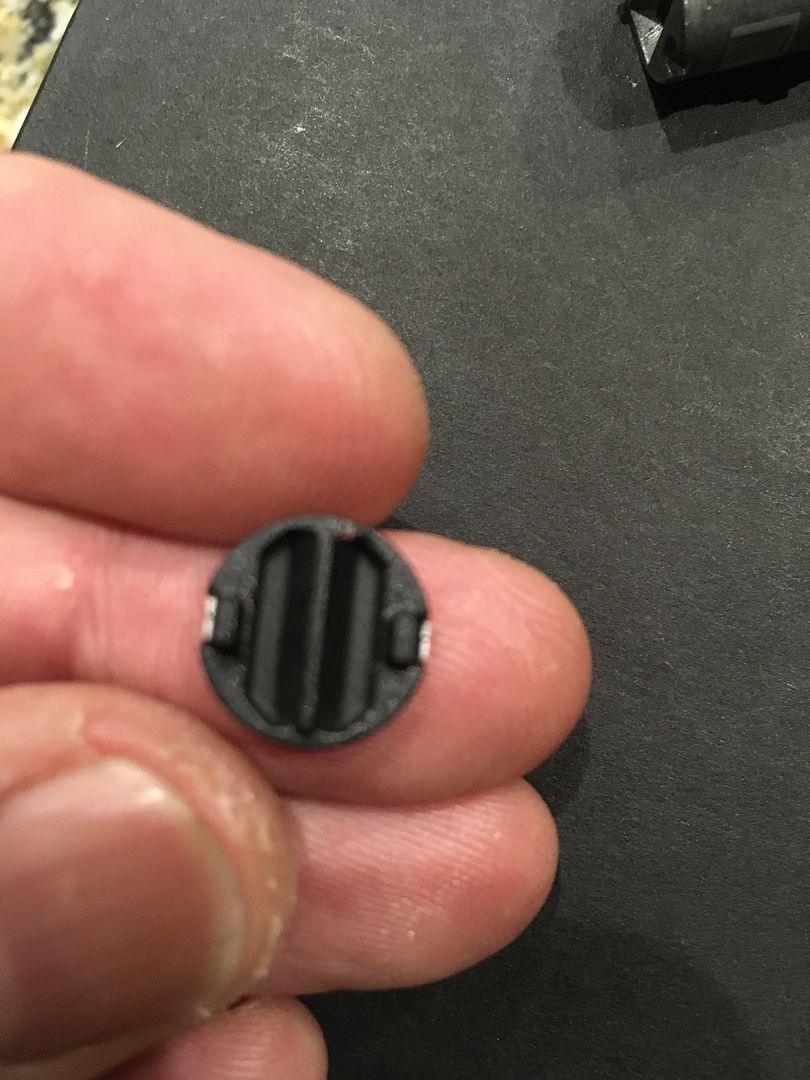
Remove the seal from the end cap.
The seal may not look like it, but it is split so it forms around the key when the key is inserted. It can also provide some picking annoyance and prevent reading the sliders.
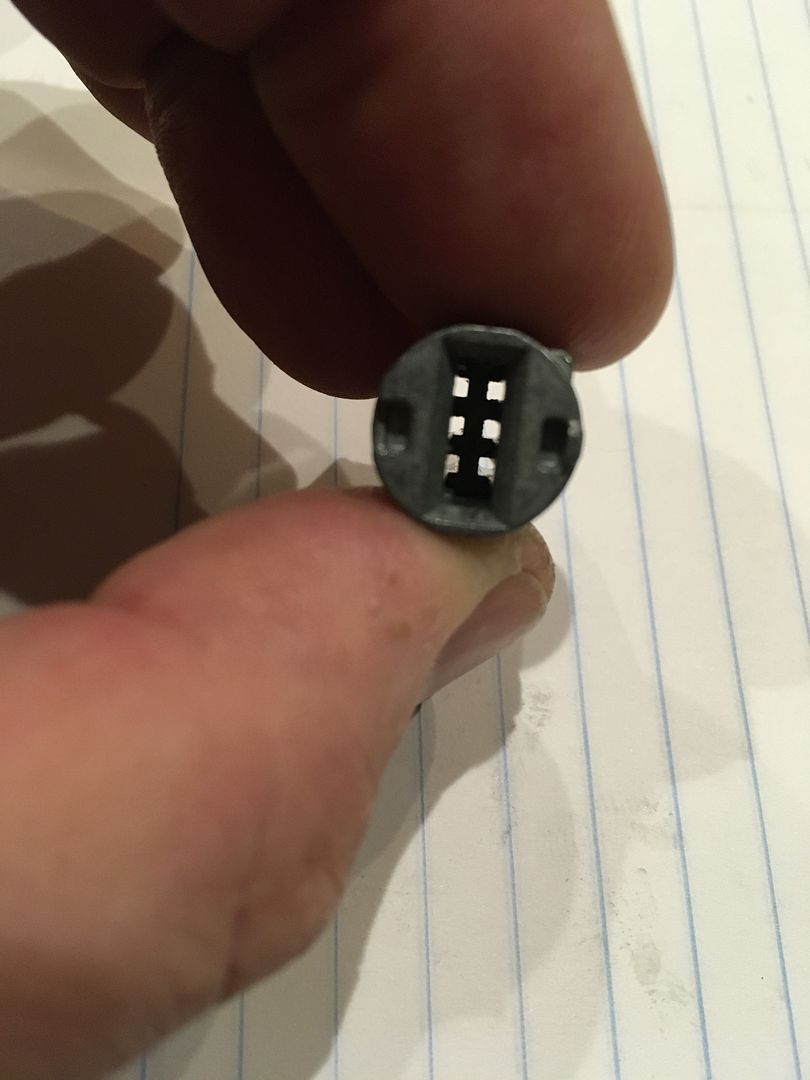
Now if you look in the keyway, you can see the six sliders that the key moves. They are the square looking things on each side.
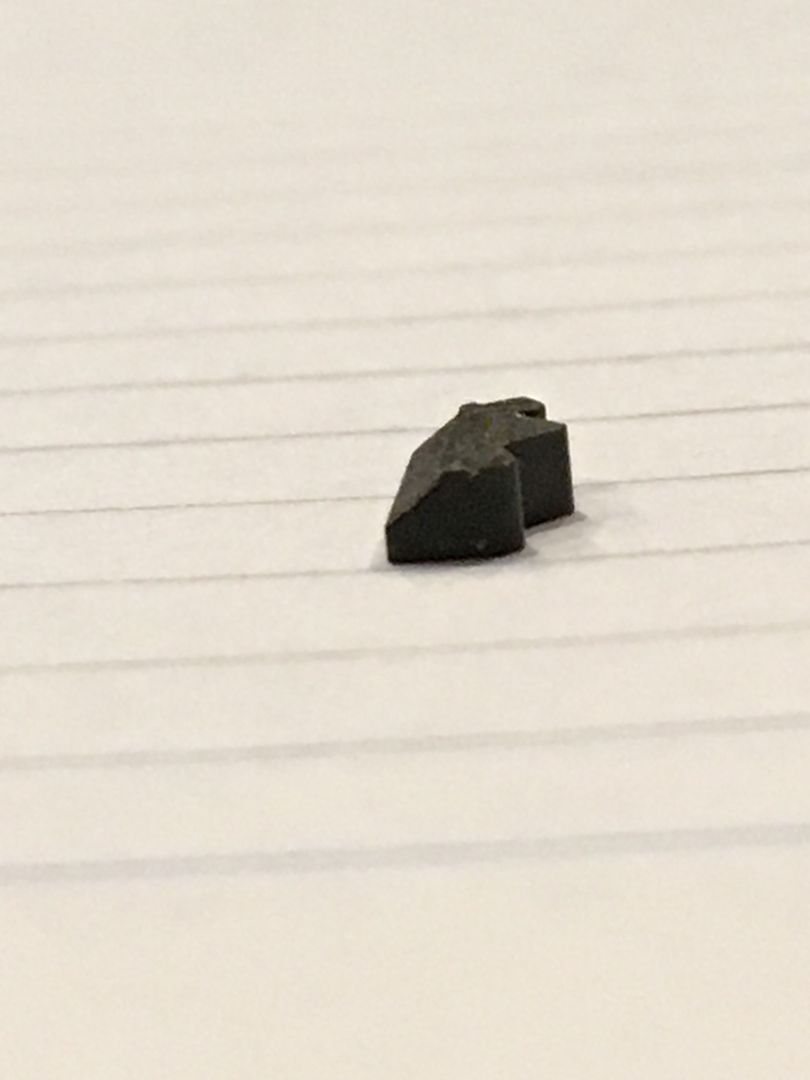
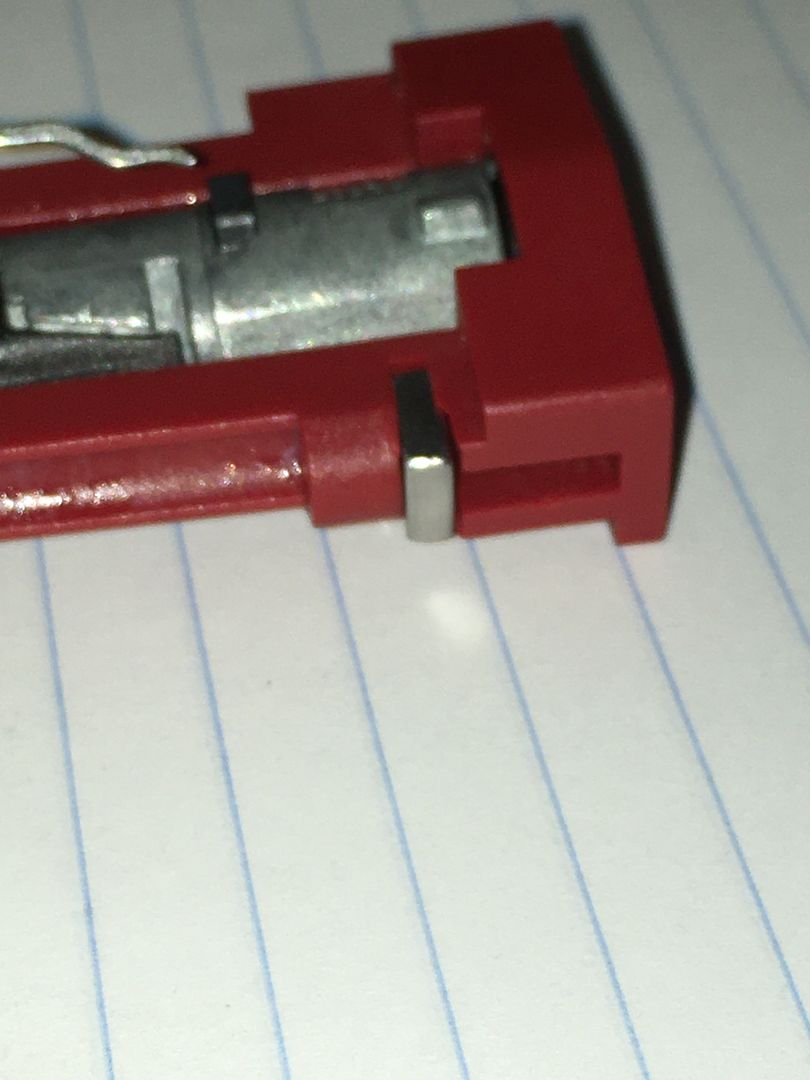
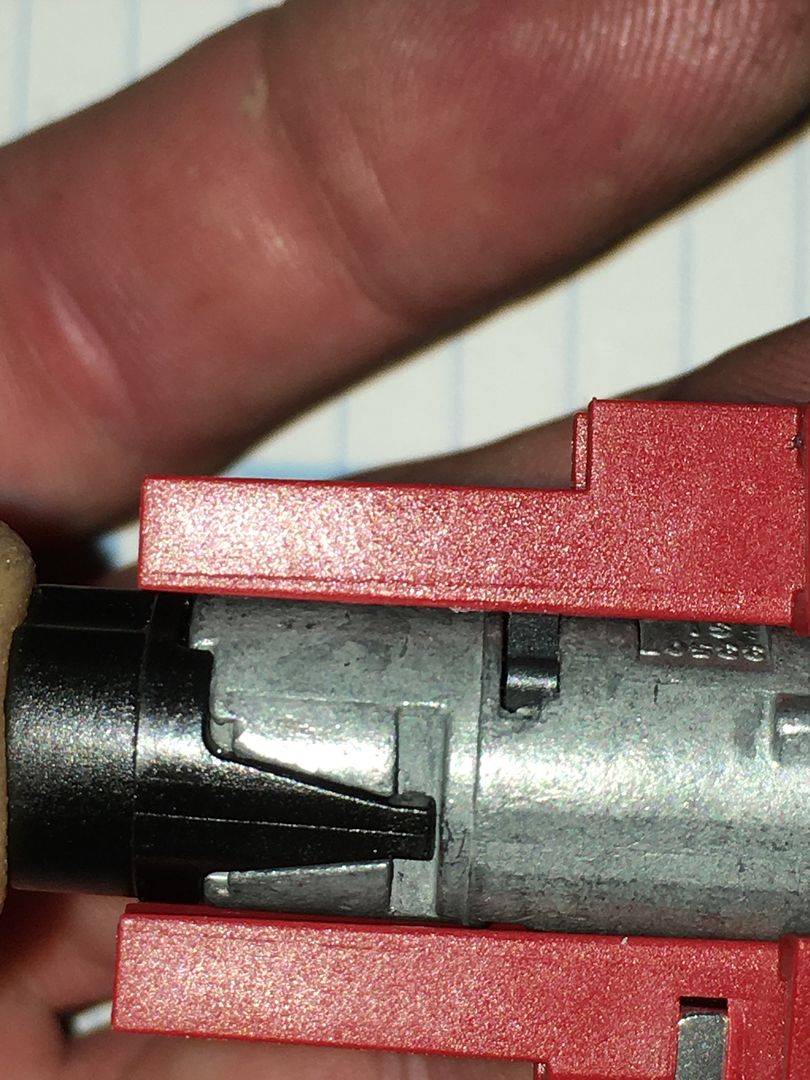
From the side, here is one of the sidebars.
It sticks out a fair way when the wrong key is inserted.
Lets take a closer look at that sidebar. Probably intended to inhibit picking, the sidebar is rather chunky looking from the side. This is the side that faces the front of the keyway.
The other side has a ramped edge that faces the innermost end of the core.
The sloped edge must face away from the keyway opening so the sliders moving back to the locked position as the key is removed push the sidebar outwards, locking the padlock.
Remove the spring from the end of the core. This spring takes out slack in the fit of the core in the lock body.
The core, without any key inserted at all, has the sidebars pushed out, keeping the padlock locked.
If a wrong key is inserted, the sidebars are still out, of course.
When the correct key is inserted the sidebars are free to be pushed inwards when the key is turned in the carrier.
One sidebar removed.
Looking in the sidebar cutout in the core body with no key or an incorrect key inserted, the sidebar is blocked from being pushed in when the key is turned.
With the correct key inserted and pushed in, you can see the sloped cuts (gates) in the sliders are lined up beneath the sidebar, allowing the sidebar to be pushed in on this side. Of course both sides must be properly aligned for the lock to open.
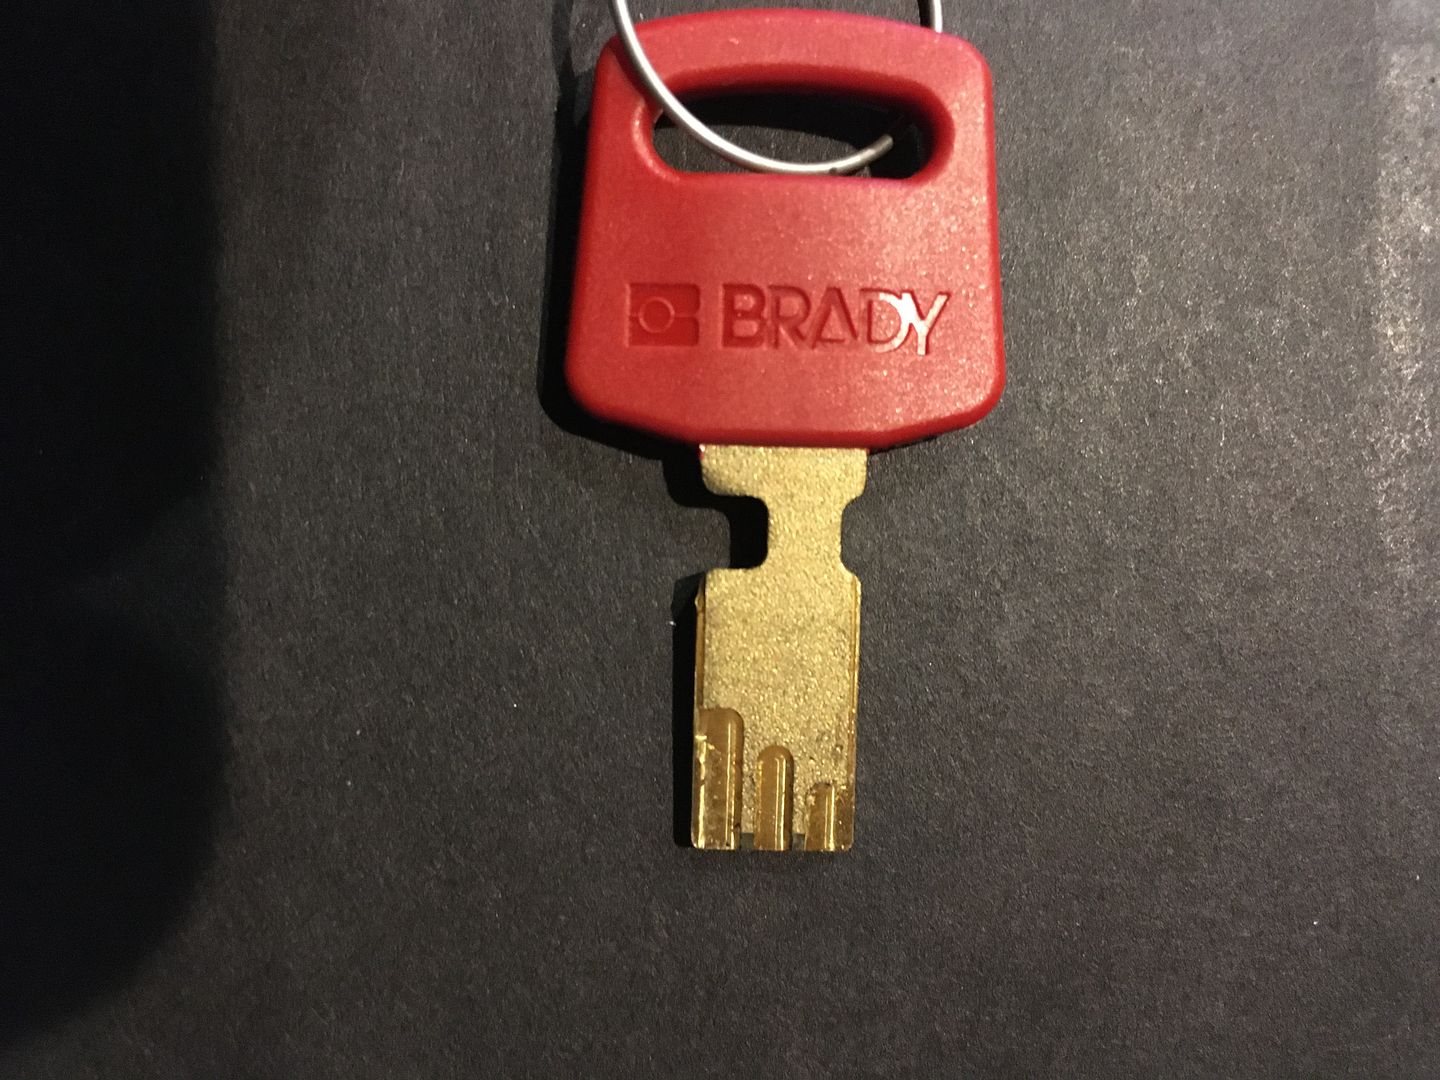
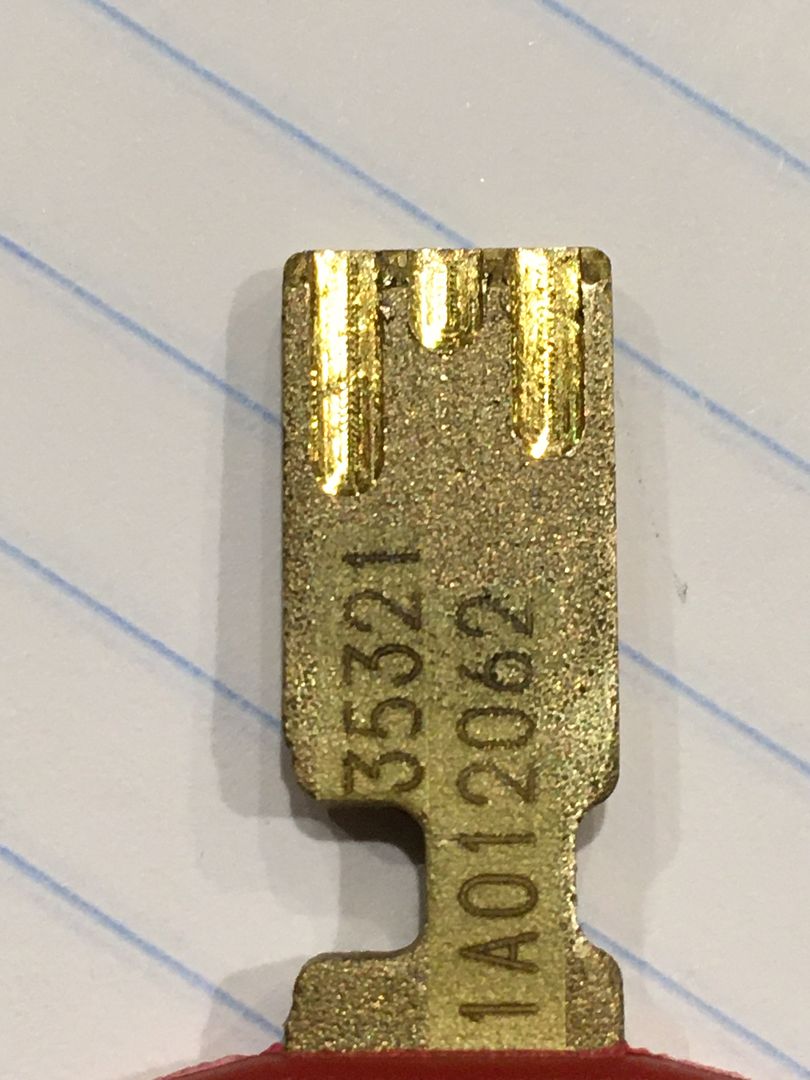
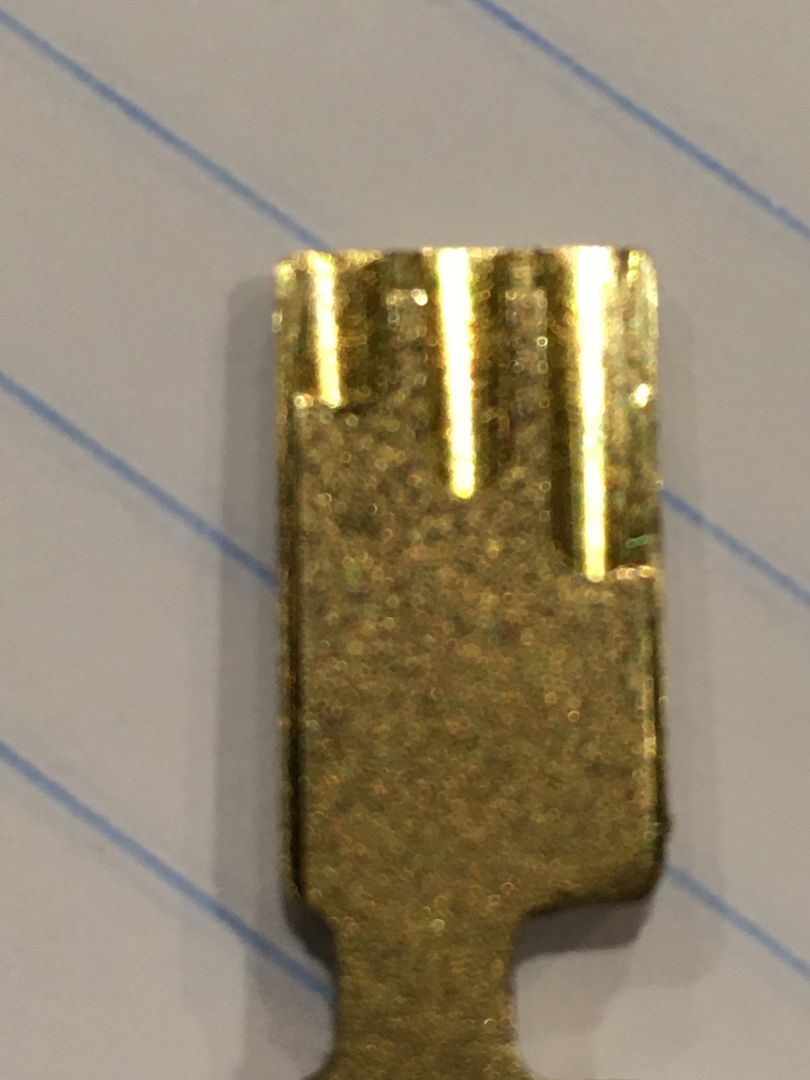
Looking at both sides of the key. You can see the off center throat cuts mentioned before. Also note in the second picture that side has warding cuts to be sure the key can only be inserted in the correct orientation.
In the lock core body, you can barely see the wards in the keyway here and on the other edge of the same side.
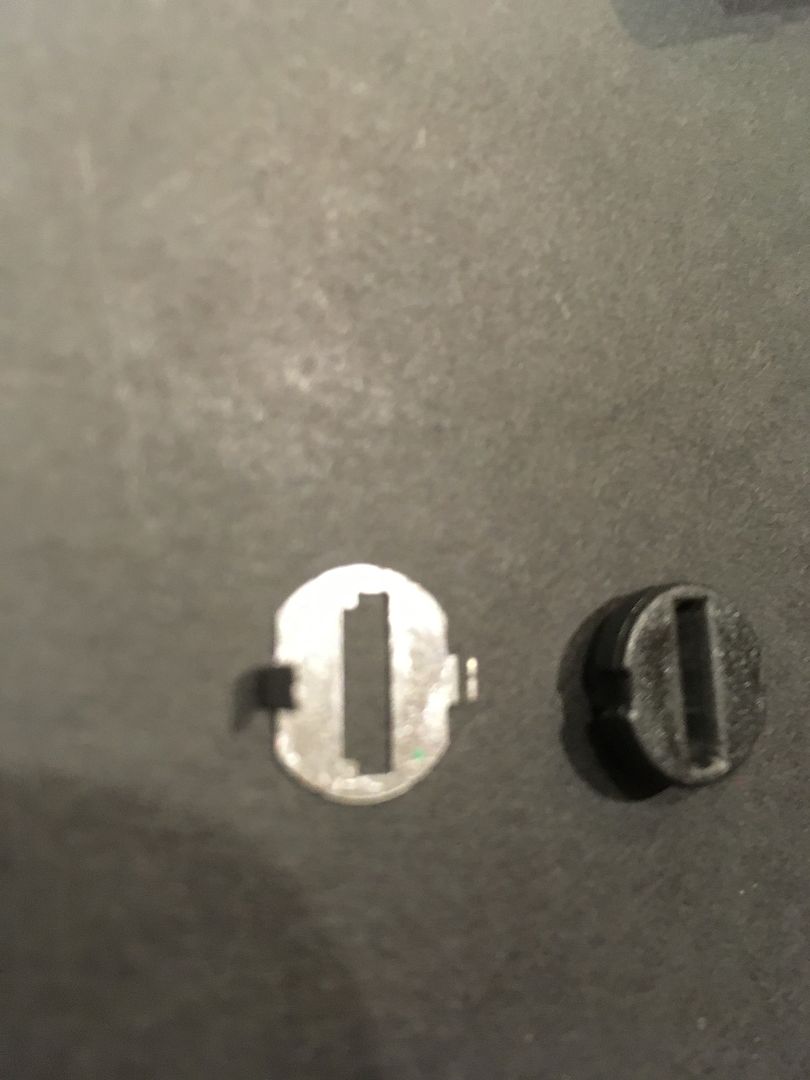
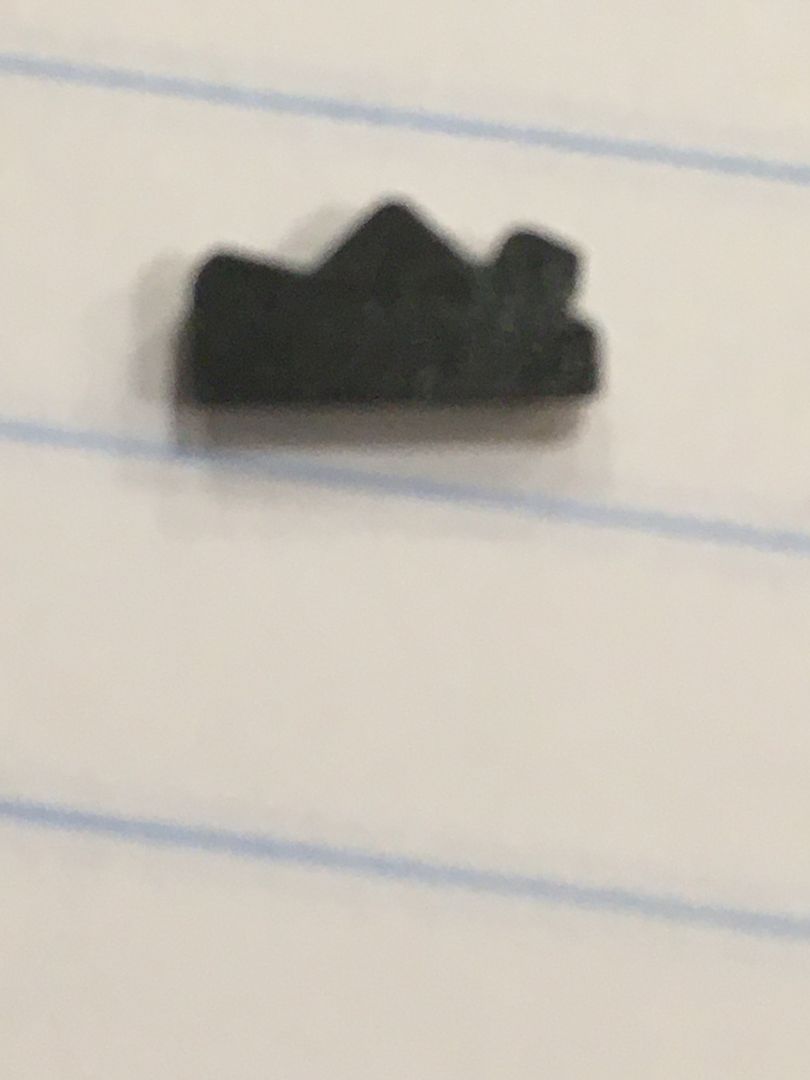
Before taking off the end cap/locking actuator, look closely. Like the front keyway cover, it has to be oriented correctly during reassembly. The wide locking ball groove is matched to the narrow tab on the core body and the narrow groove on the end cap matches with the wide tab on the core body.
When reassembling, the wider cutout faces the shackle to hole (the side the screw is removed from)
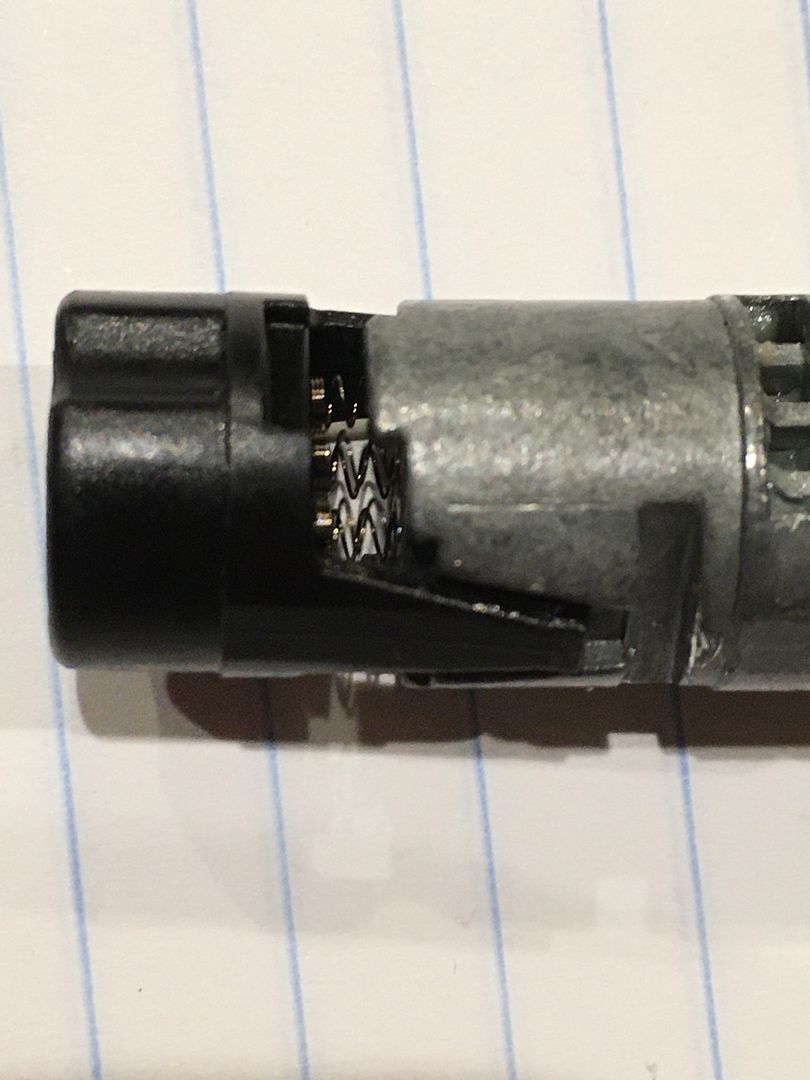
Now to take off the end cap/locking actuator. Note this gap here.
Pry up the tab and tip the end cap to pull that side out of the gap.
Do this on both sides.
Carefully remove the end cap/actuator. Note there are six springs that are under some tension that would just love to take flight to locations unknown.
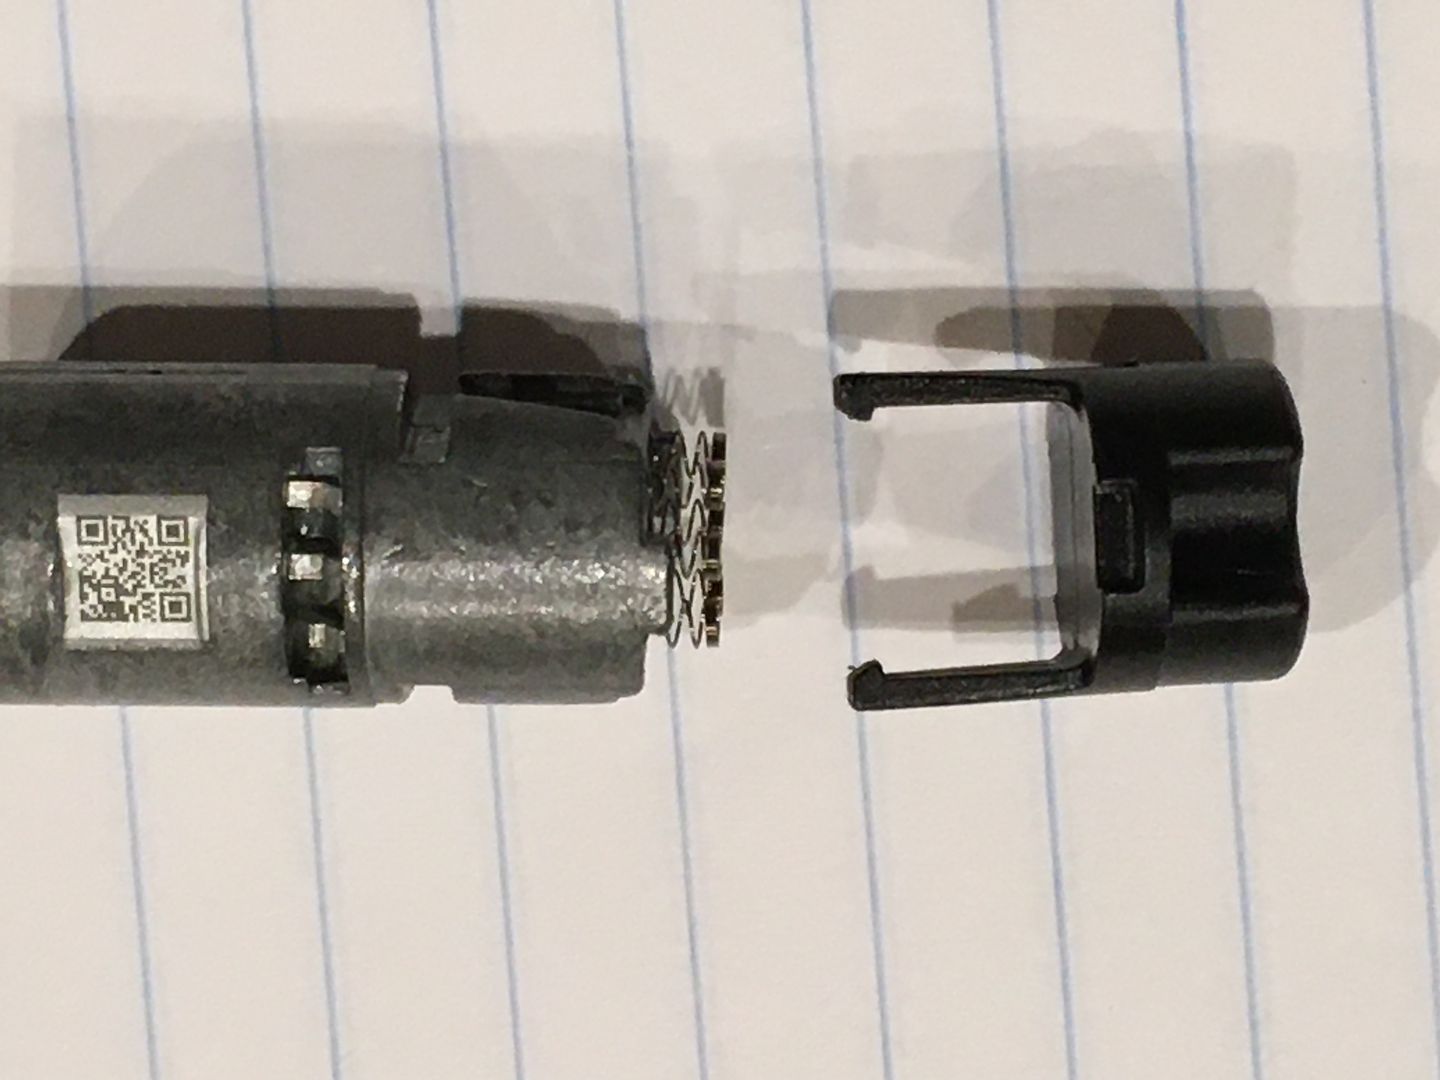
It is best to orient the core so it is standing up so you can keep the sliders in order for reassembly.
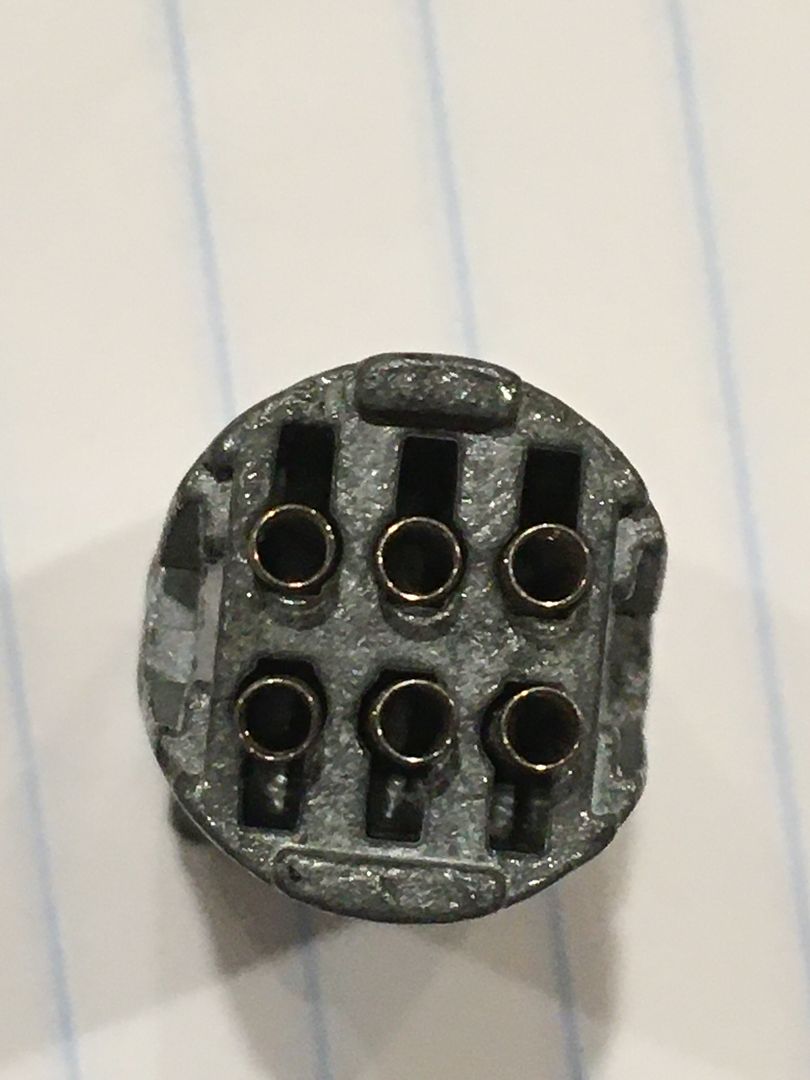
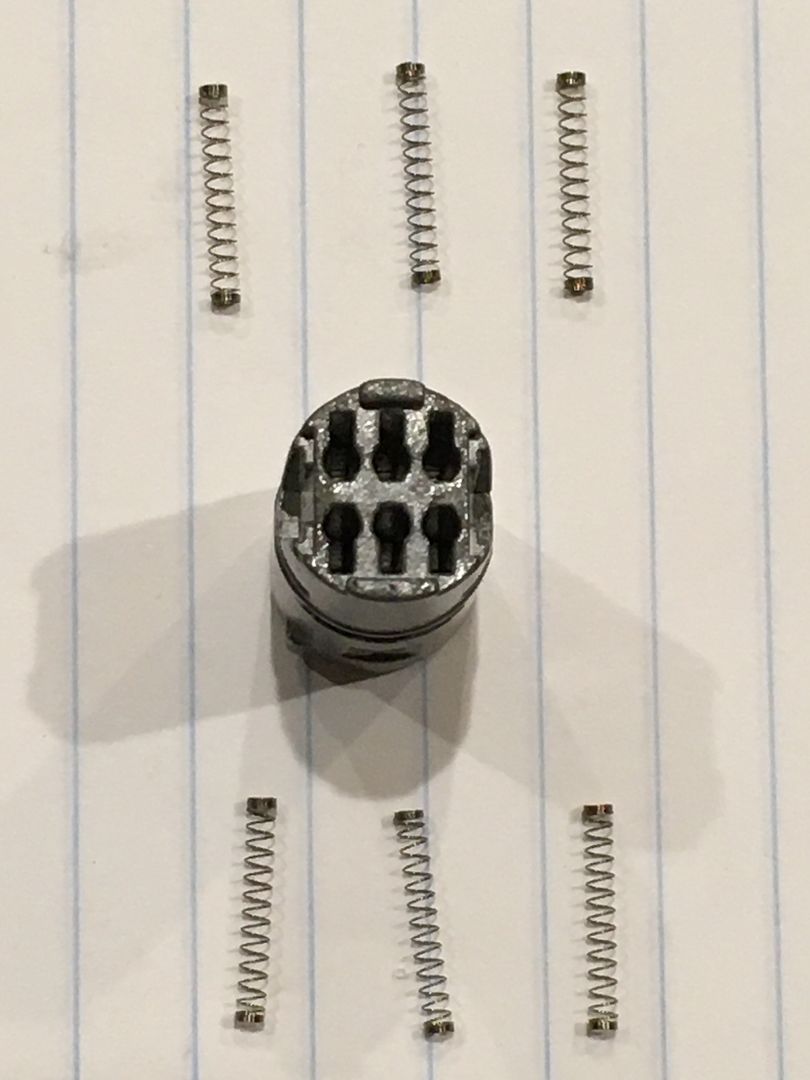
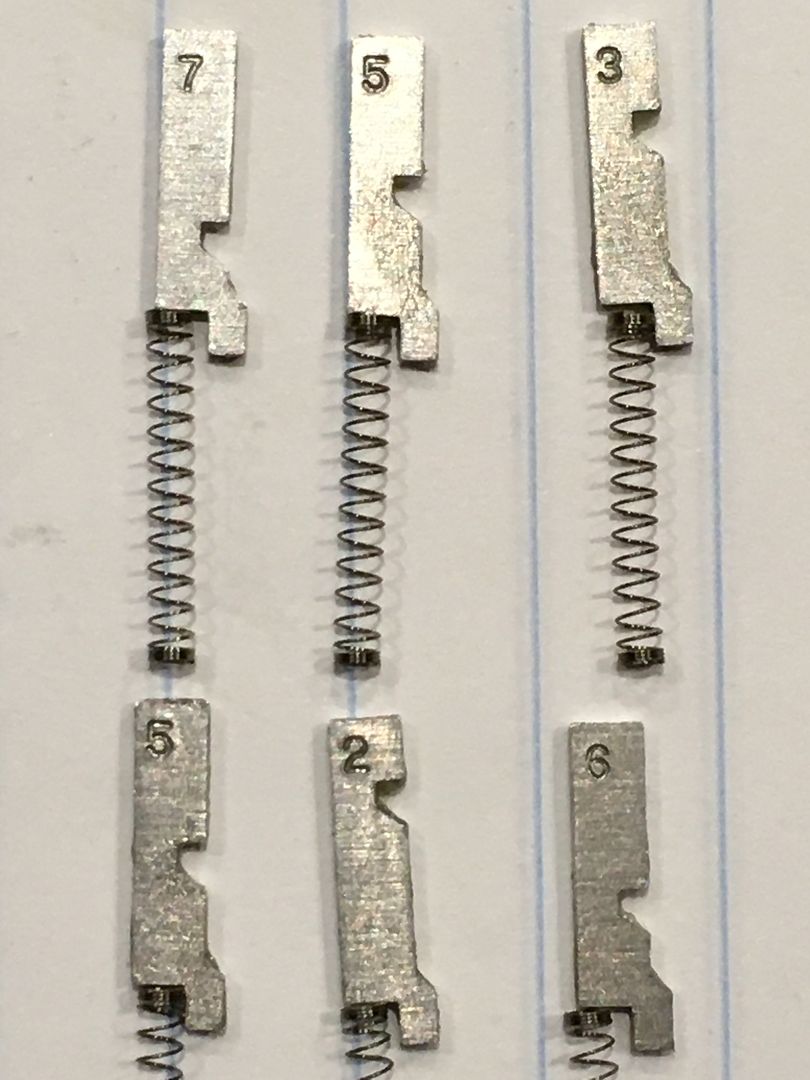
This lock has 6 sliders, each of which has 7 bitting positions possible. So it has a pretty fair number of key permutations possible. Not all possibilites would be used. But the total numbers is:
Now take a pick and start pushing out one of the sliders.

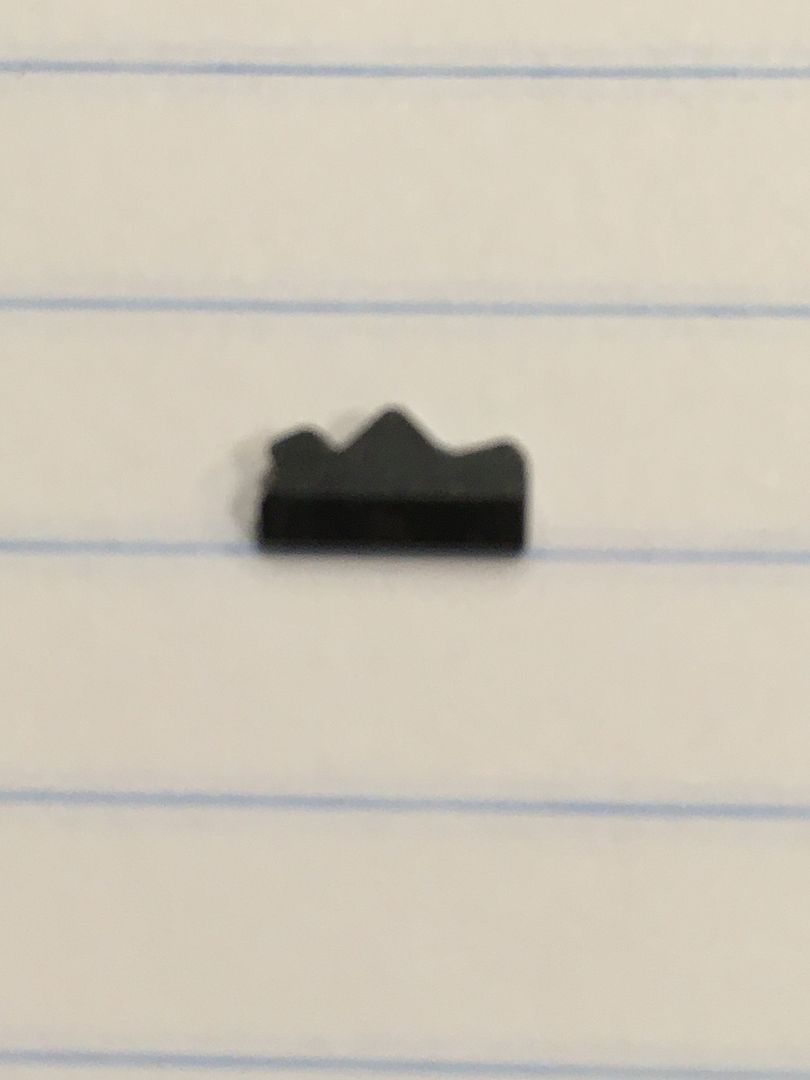
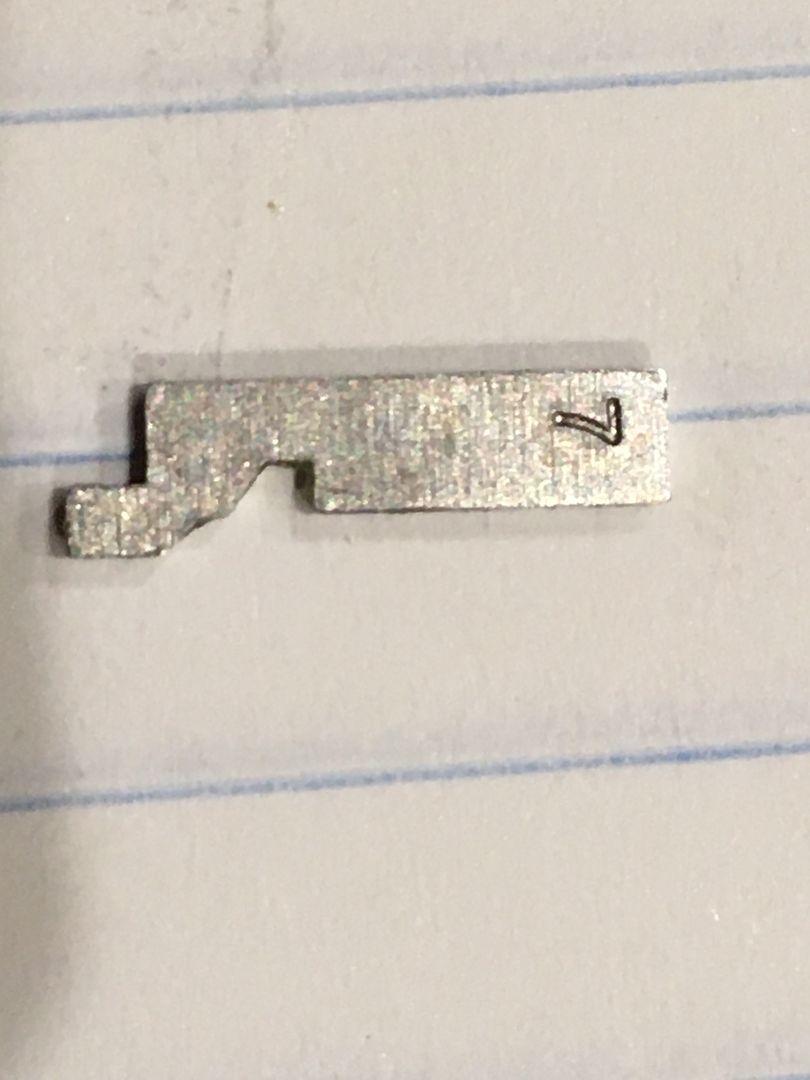
Here is one side of the slider. You can see the sliders gate. The off center tab faces away from the key and the ramp is facing away from the keyway opening.
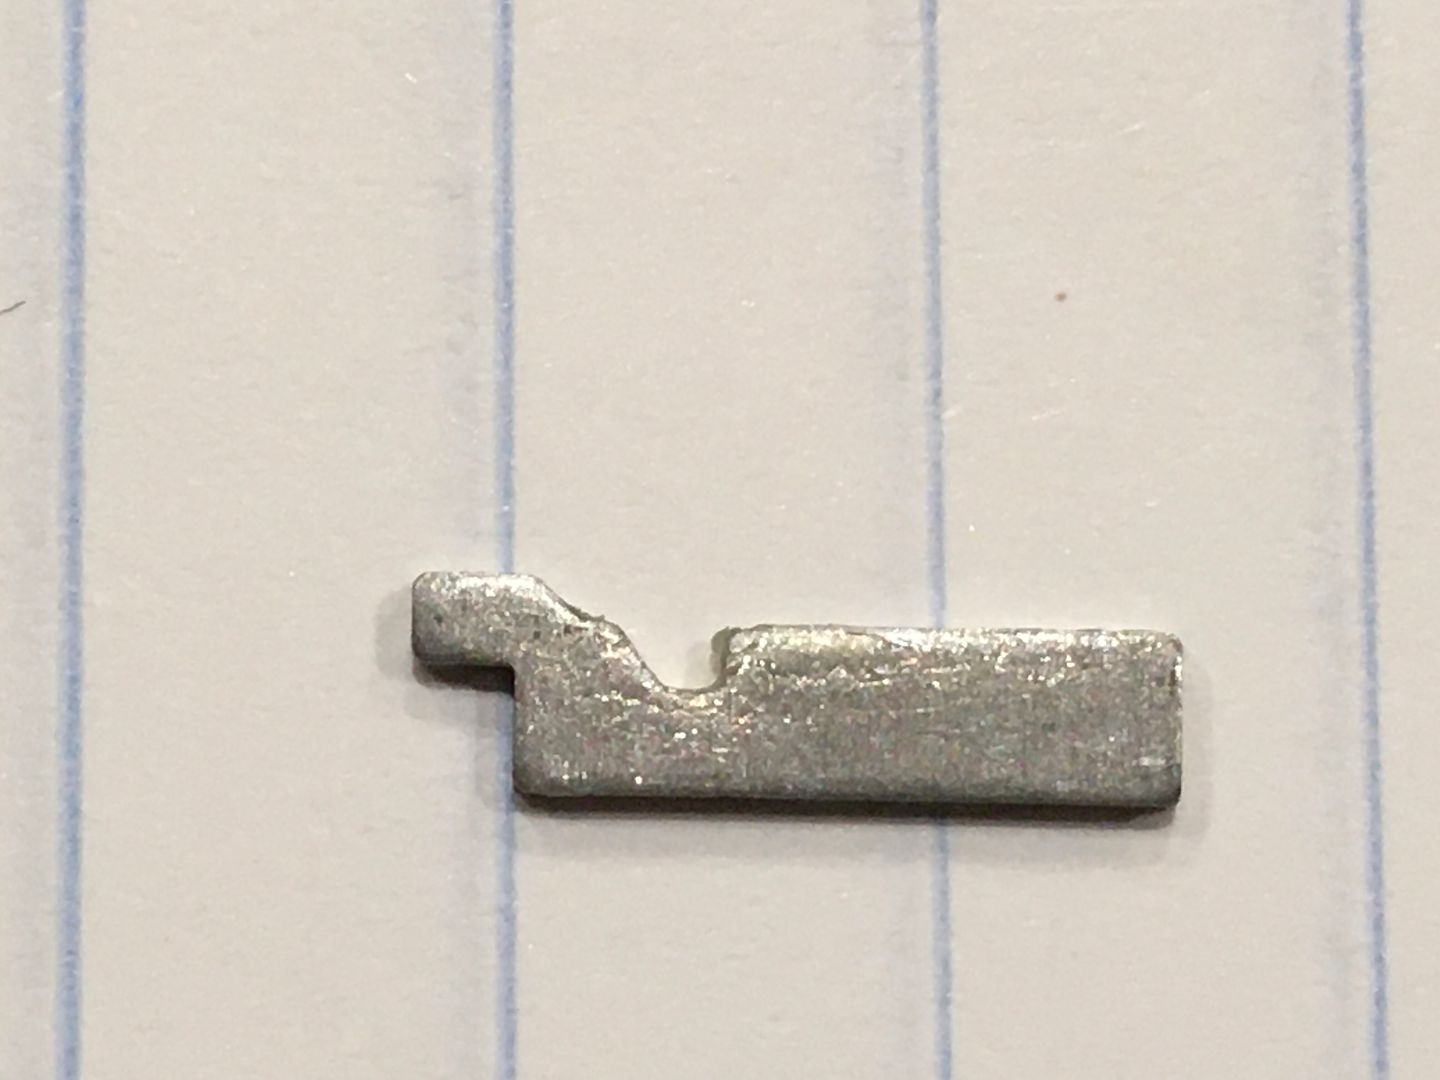
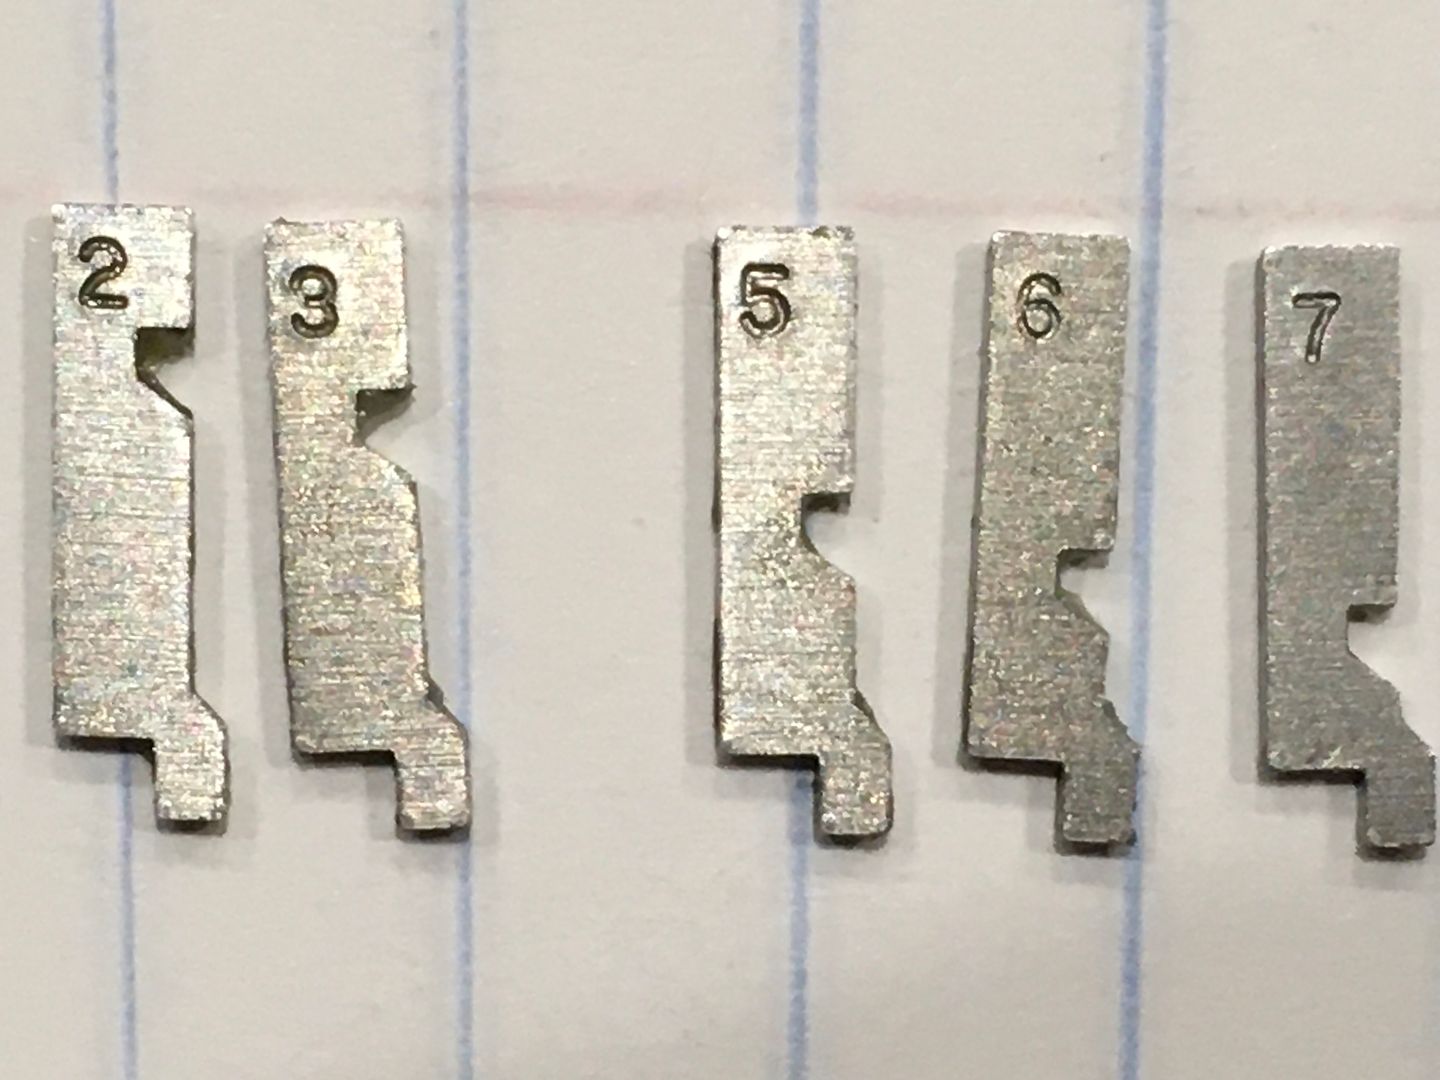
The other side provides something useful. The size/cut of the slider/key bitting! More on this shortly.
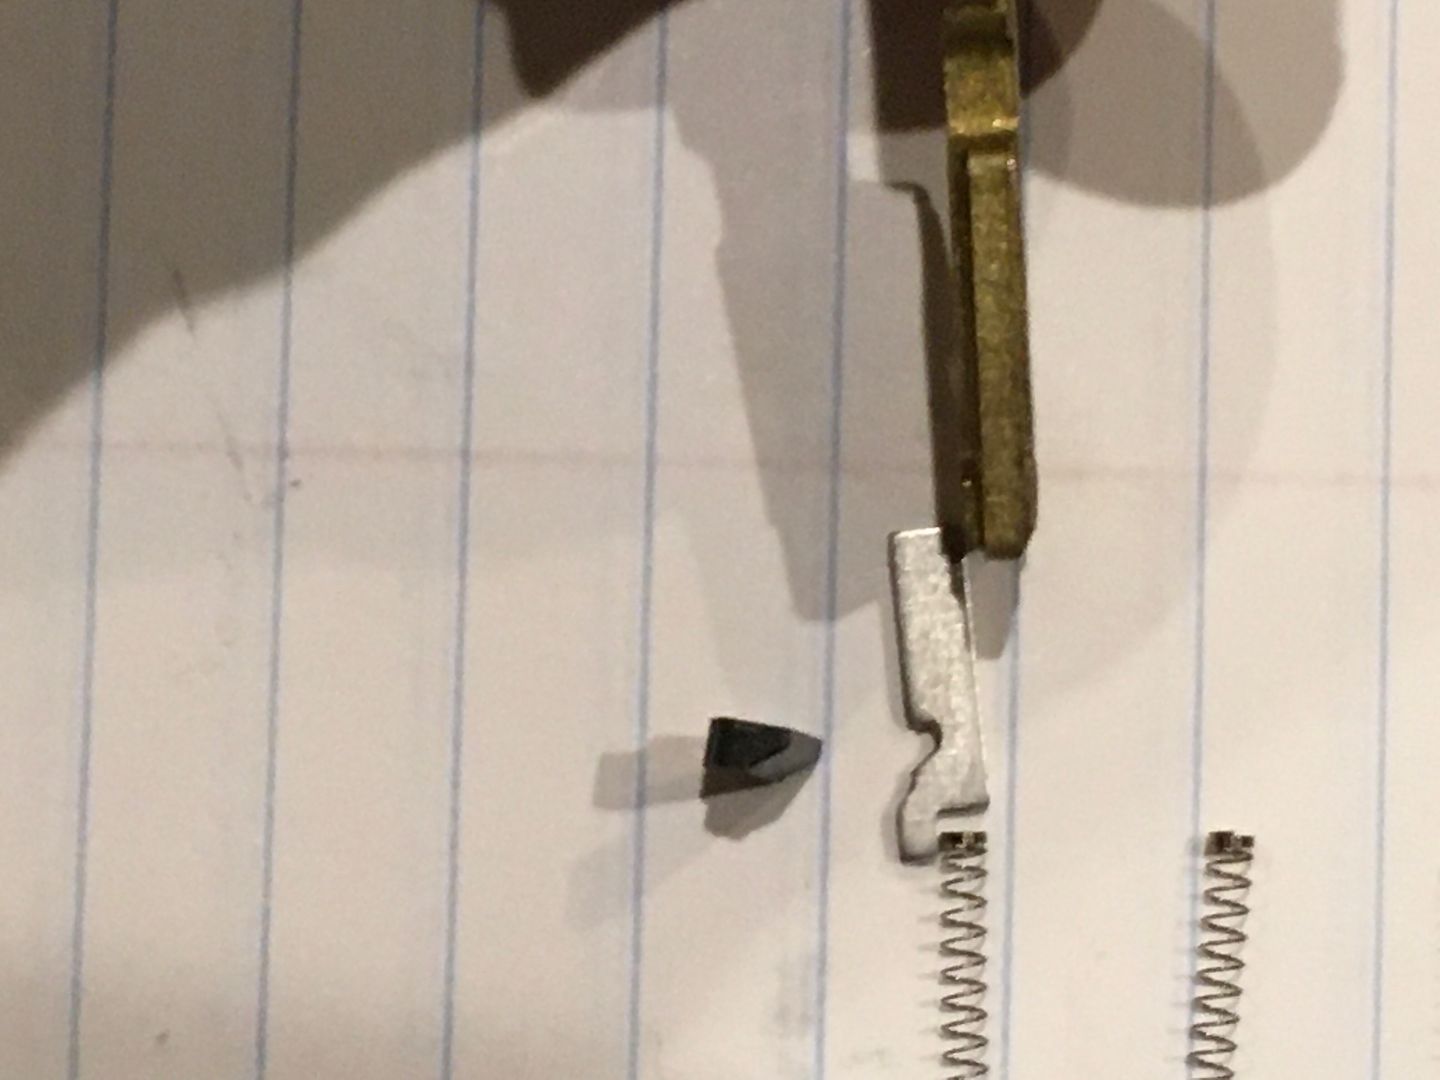
The key, slider, spring and sidebars roughly aligned in the correct positions. This is to give a visual of how the parts fit and work together.
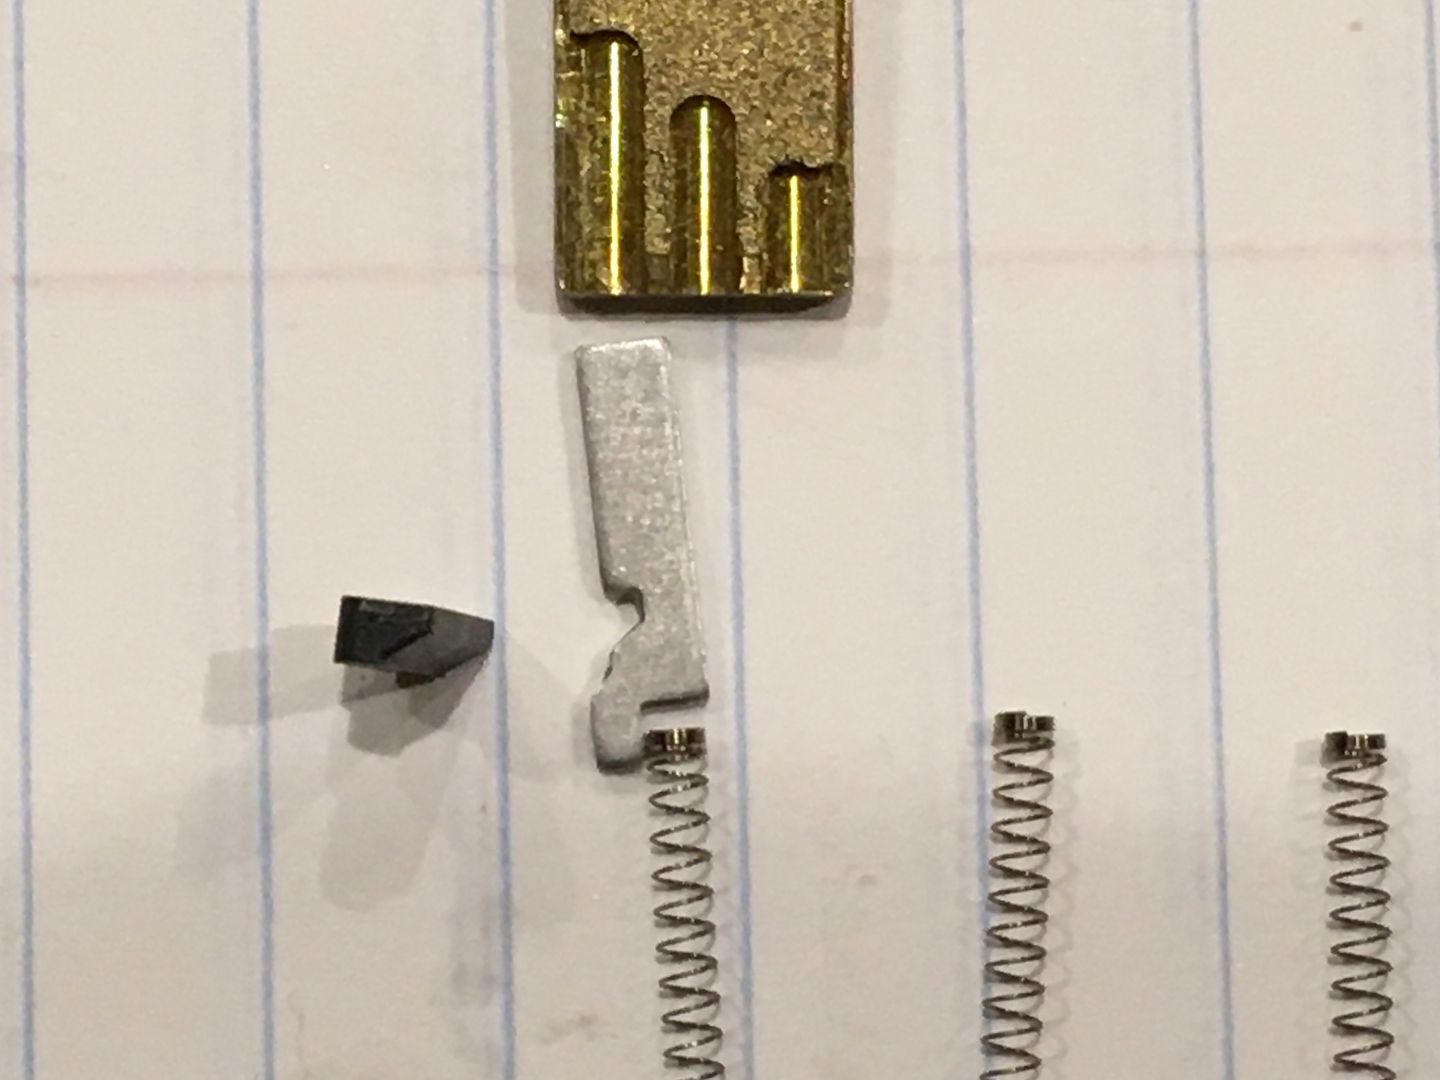
Here the key is turned to the correct orientation relative to the orientation of the rest of the parts.
Remove the remaining sliders on the same side, keeping them in order.
If you make note of which pins are in which location, reassembly is much easier.
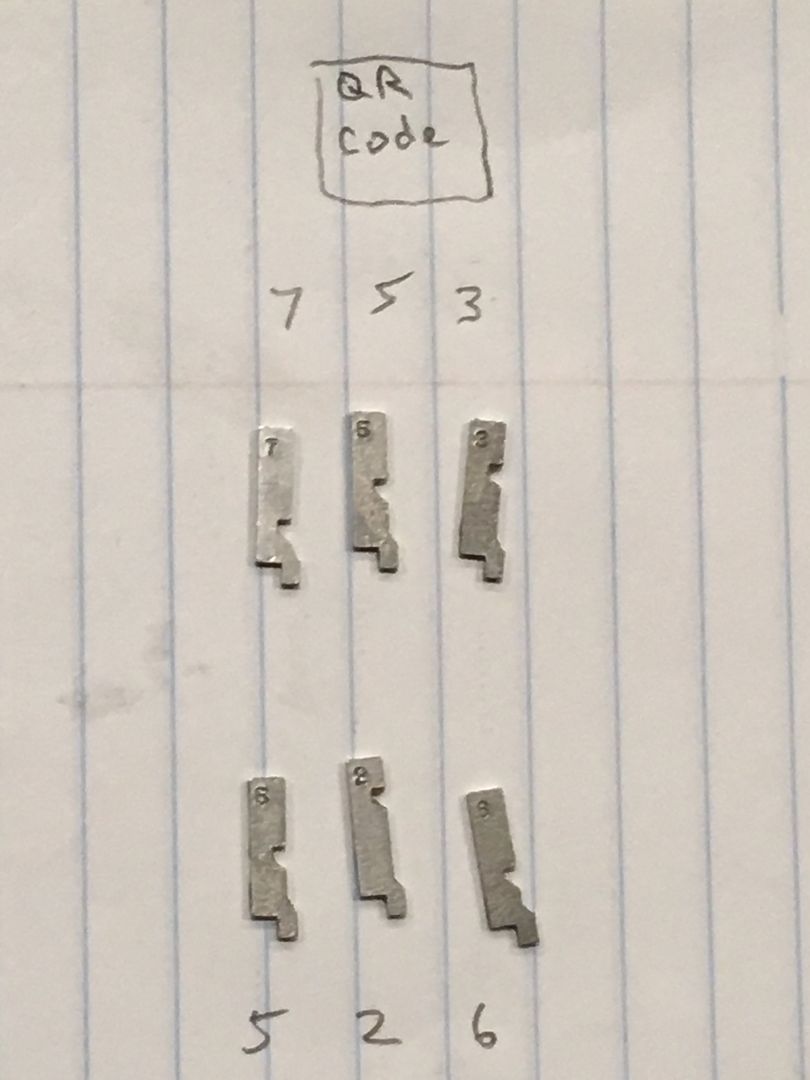
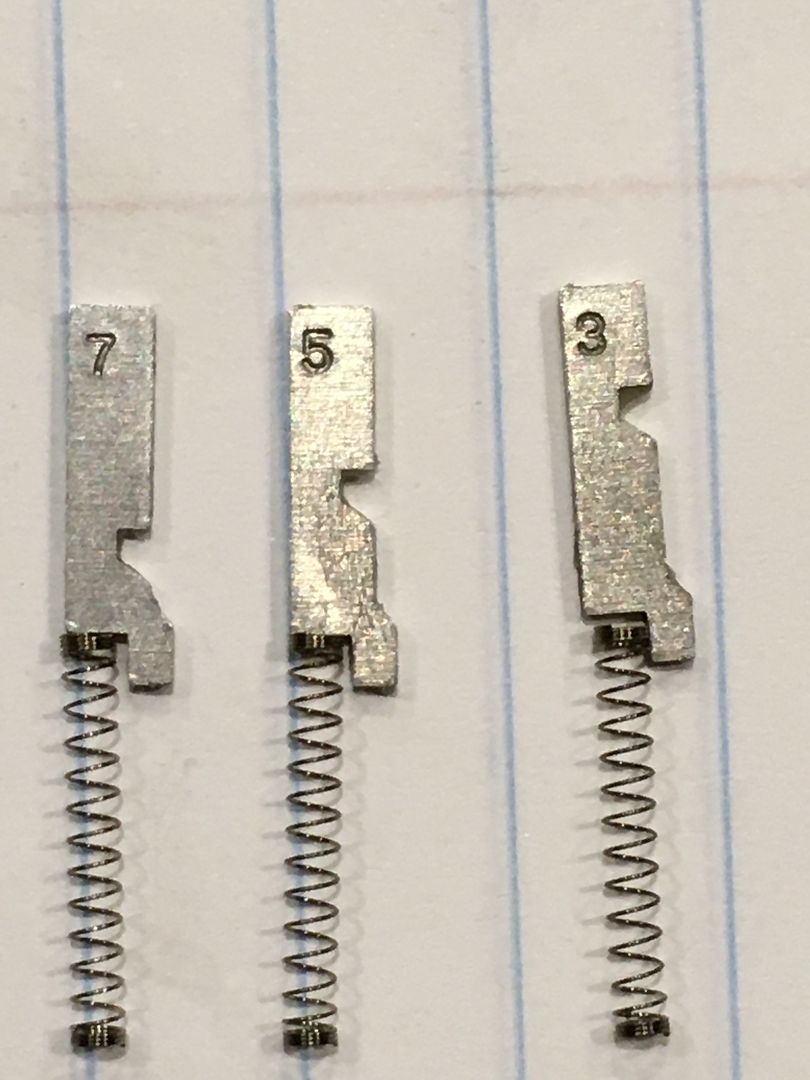
To give an idea of the rough differences in bittings, here are sliders in numerical order. The deeper the cut in the key, the less the slider has to move.
Looking at the two ends of the core body.

The pins in one side reinstalled and looking at an angle into the keyway.
Now with the keyway lit.

Did you notice anything useful when you were looking in the lit keyway in the above picture? Look closely at the sides of the sliders. I'll wait.
Still waiting.
Yes. You can see part of the numbers on the side of the sliders! So if you have an otoscope with a narrow end you could probably scope the keyway and know what the bitting of the key must be!
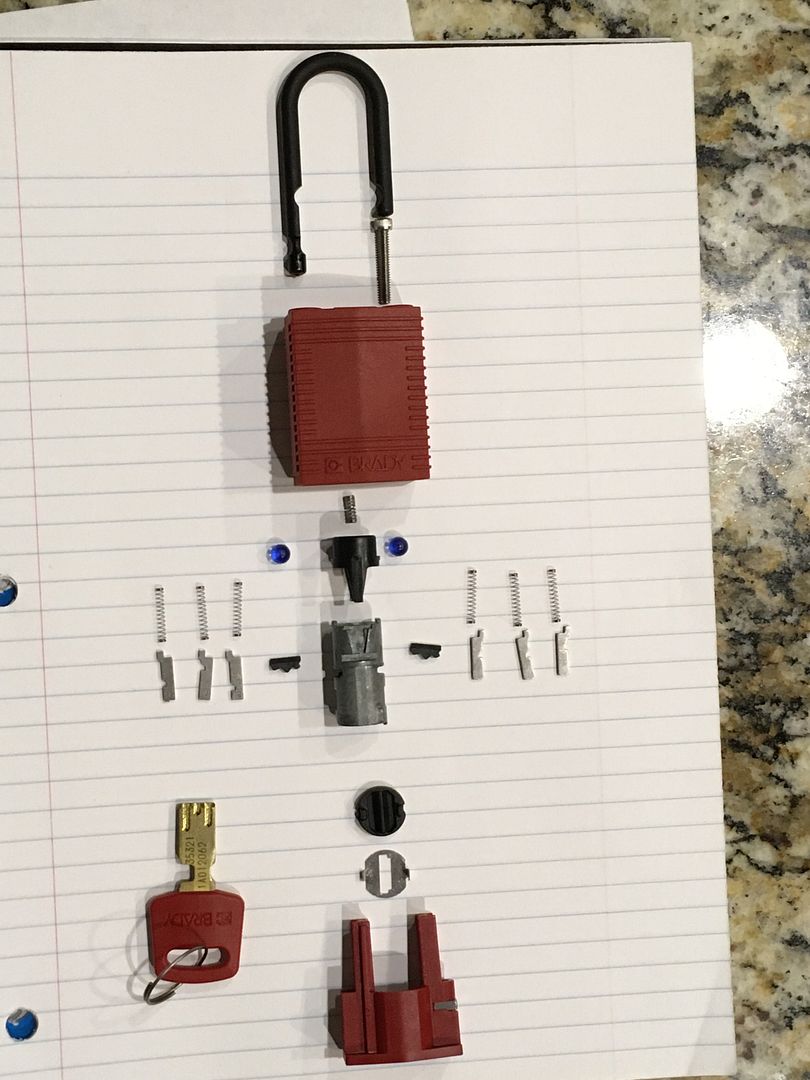
OK, here for your enjoyment (and to give Oldfast a heart attack) is an exploded view of the Brady padlock fully disassembled.
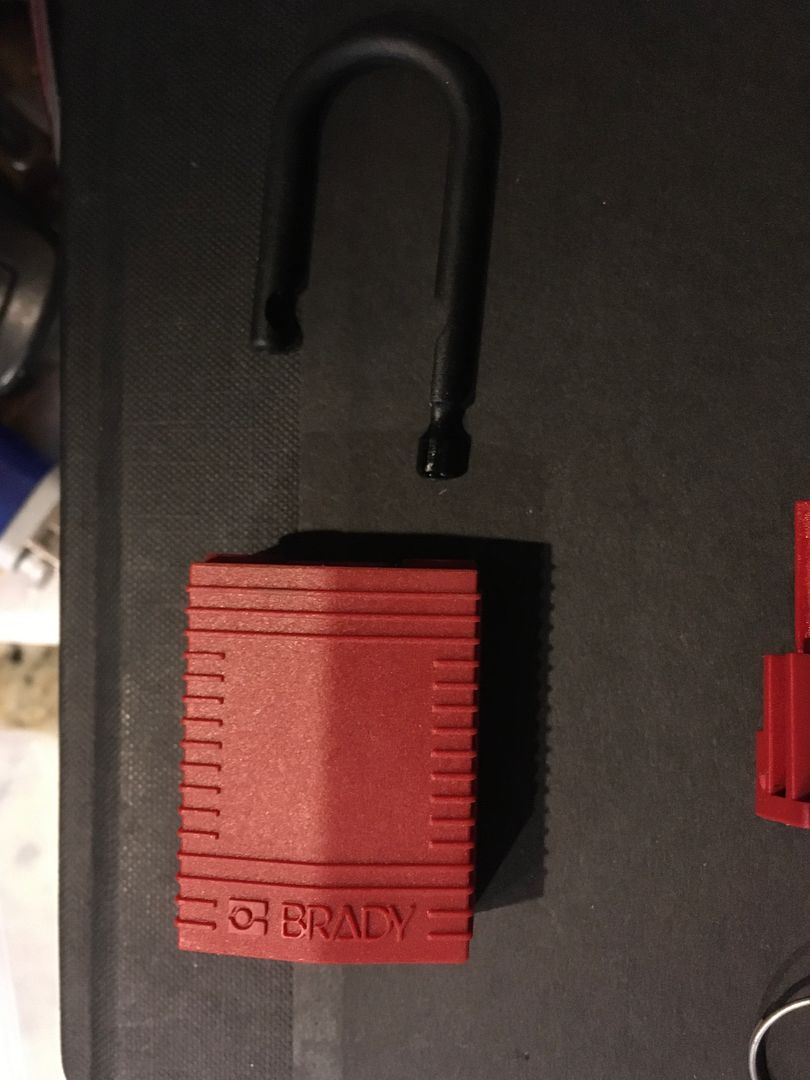
OK, reassembly notes. The shackle heel (the long end of the shackle) will go into the hole in the shackle body that does not have any obstruction or narrowing. The shackle toe goes in the end with the narrow part with a smaller hole for the screw.
Remember the tab I mentioned on the outside of the lock core body?
Orient the lock core so the tab fits in the side of the core carrier that is cut deeper. Here the core is oriented in the locked position. The pick is pointing to the tab that limits rotation of the core.
If the incorrect key is put in the lock is turned, this is where the sidebar blocks the core from turning enough to unlock.
Better angle to show just how much the sidebar blocks the rotation.
Correct key, the sidebar starting to slide under the core carrier.
And fully turned to the unlocked position.
Put the locking balls into the padlock body. Slide the core carrier in the padlock body. Unlock the lock and open the shackle. Install the screw. Retest everything and you are done!
And so am I. Hope it was worth the read.
Gordon


