


After seeing Lauren’s post on this lock, decided to get one and take it apart to see how it works. My thanks to Lauren for bringing this lock to my attention with the thread.
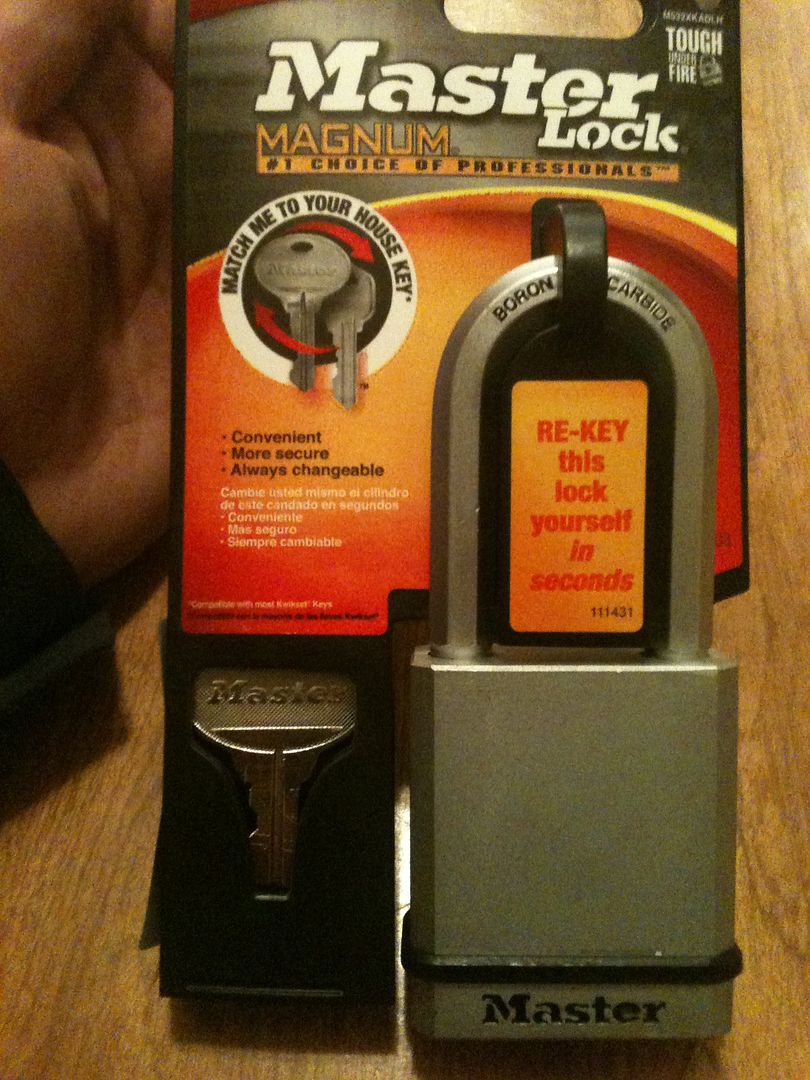
Let us be clear - when we say this lock is rekeyable, we do not mean it must be disassembled. This lock is similar in some ways to the Smartkey, but different enough to keep the patent lawyers not happy, but less upset.
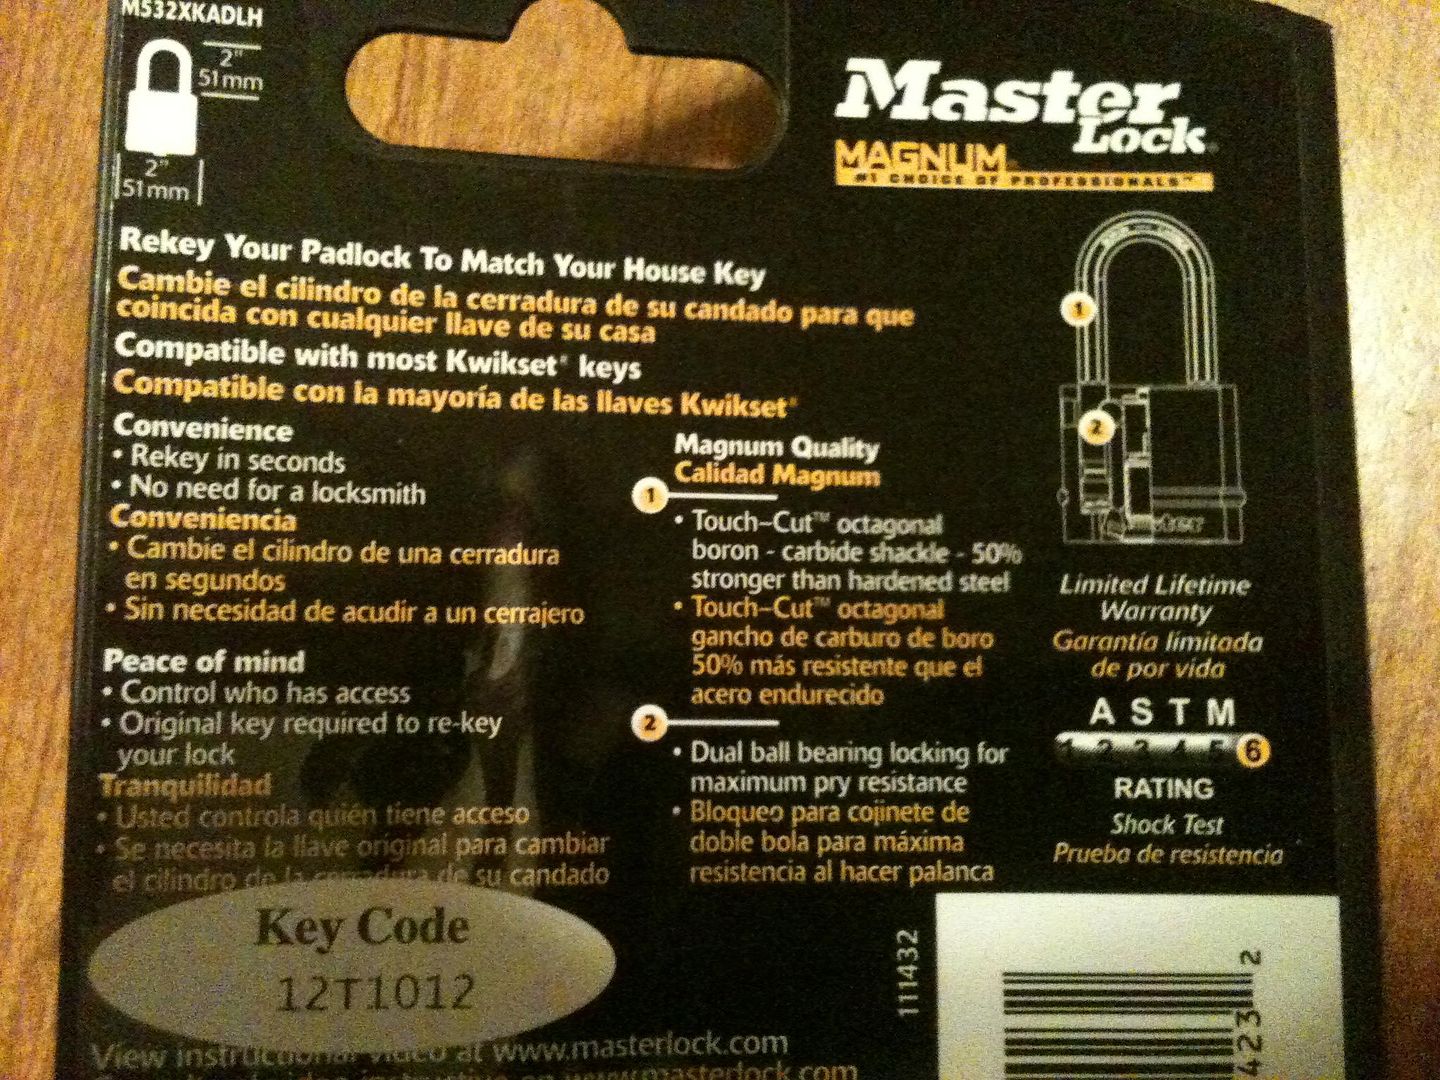
Here are the printed rekeying instructions:
In actual usage, here are how the rekeying is done…
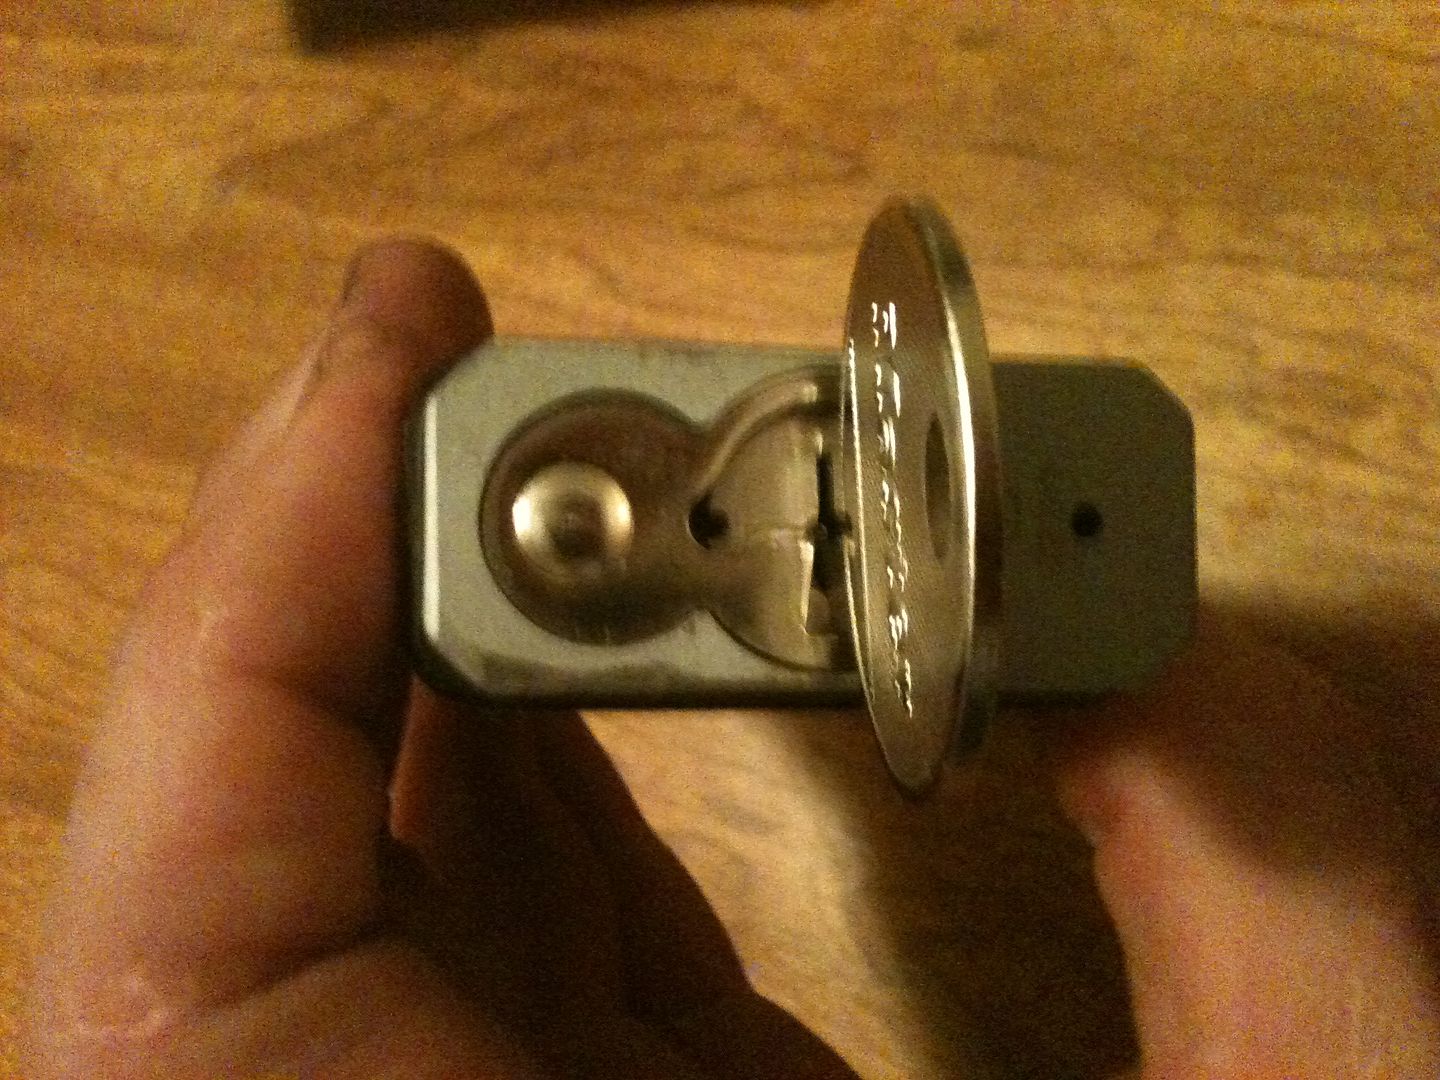
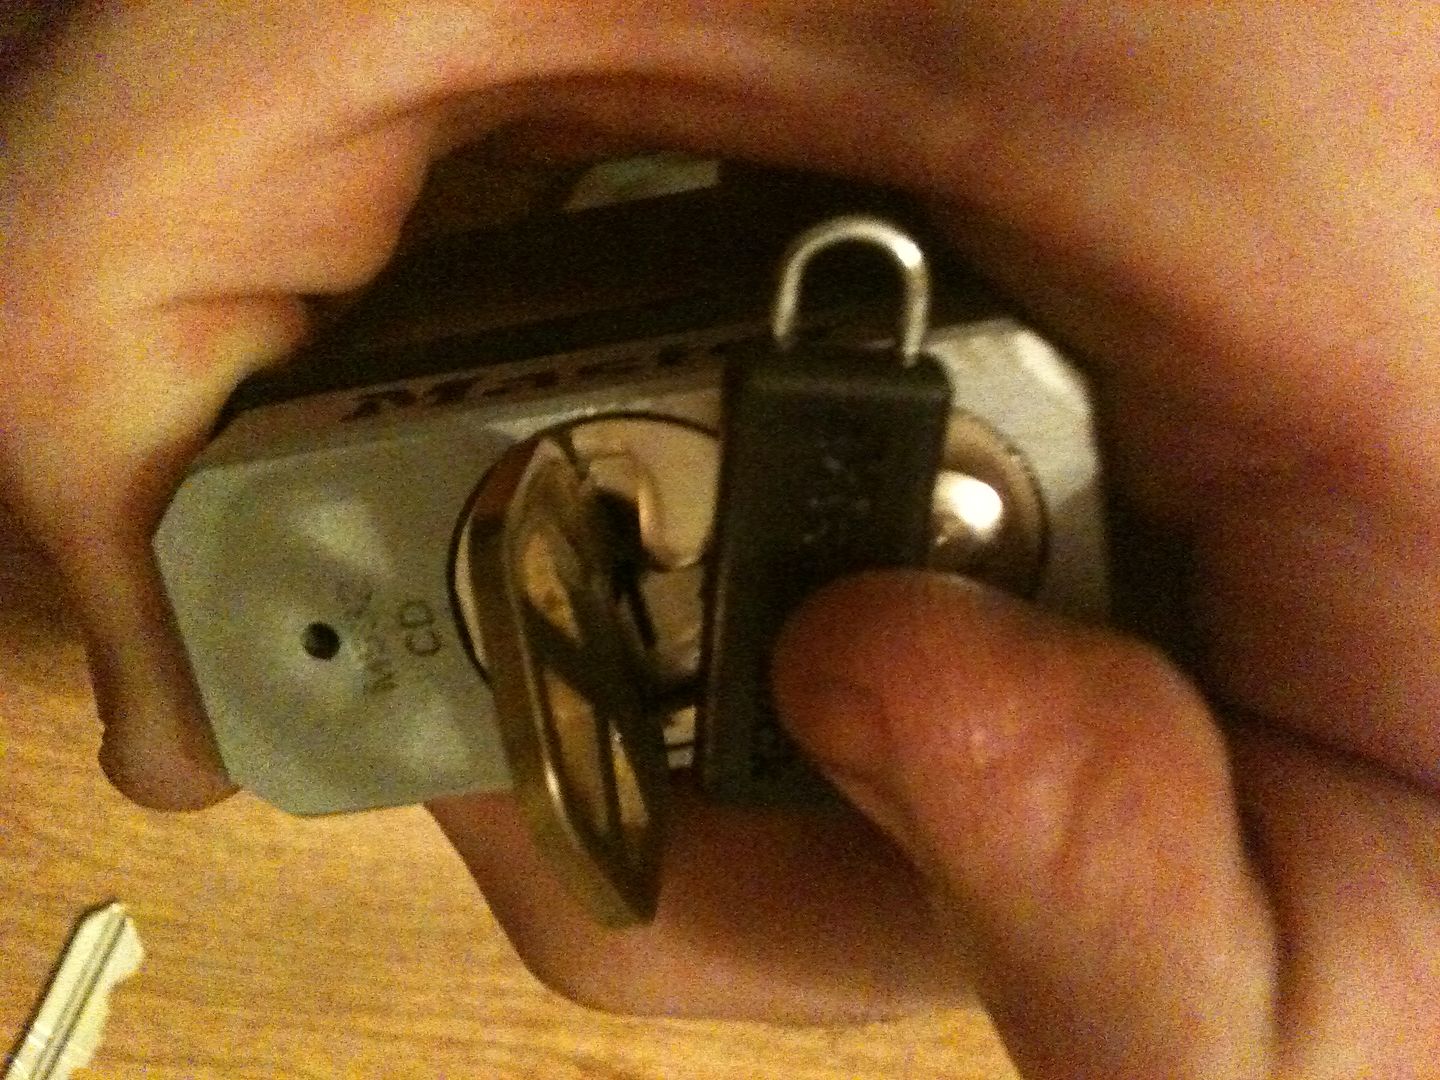
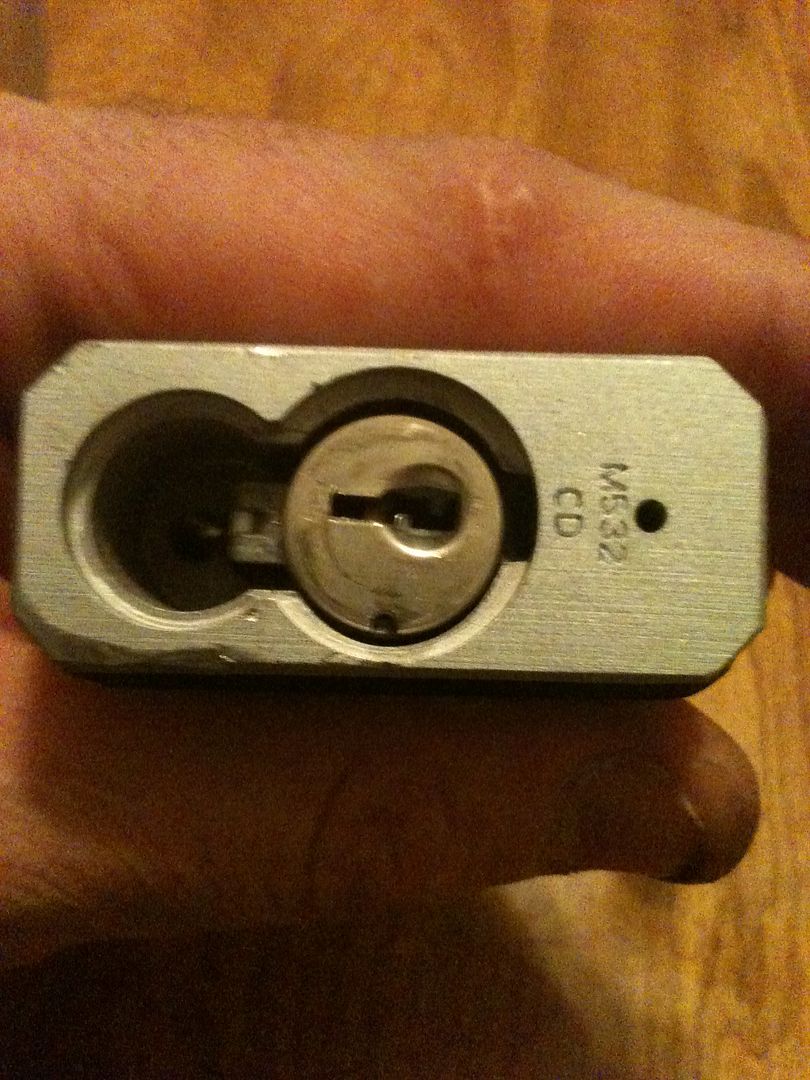
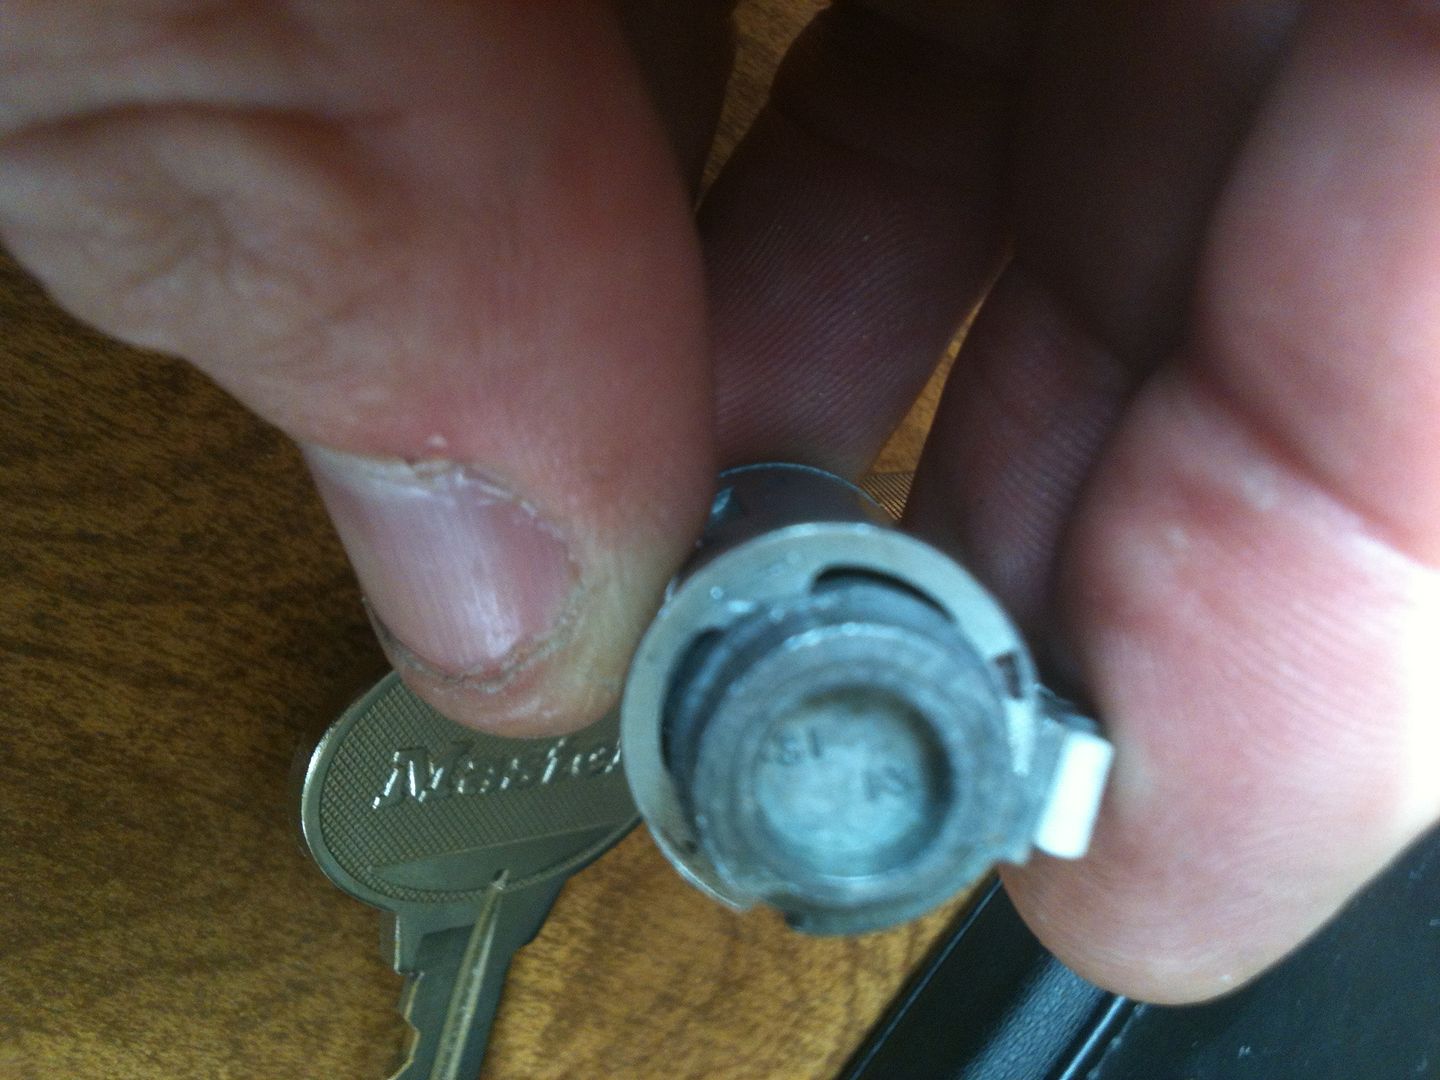
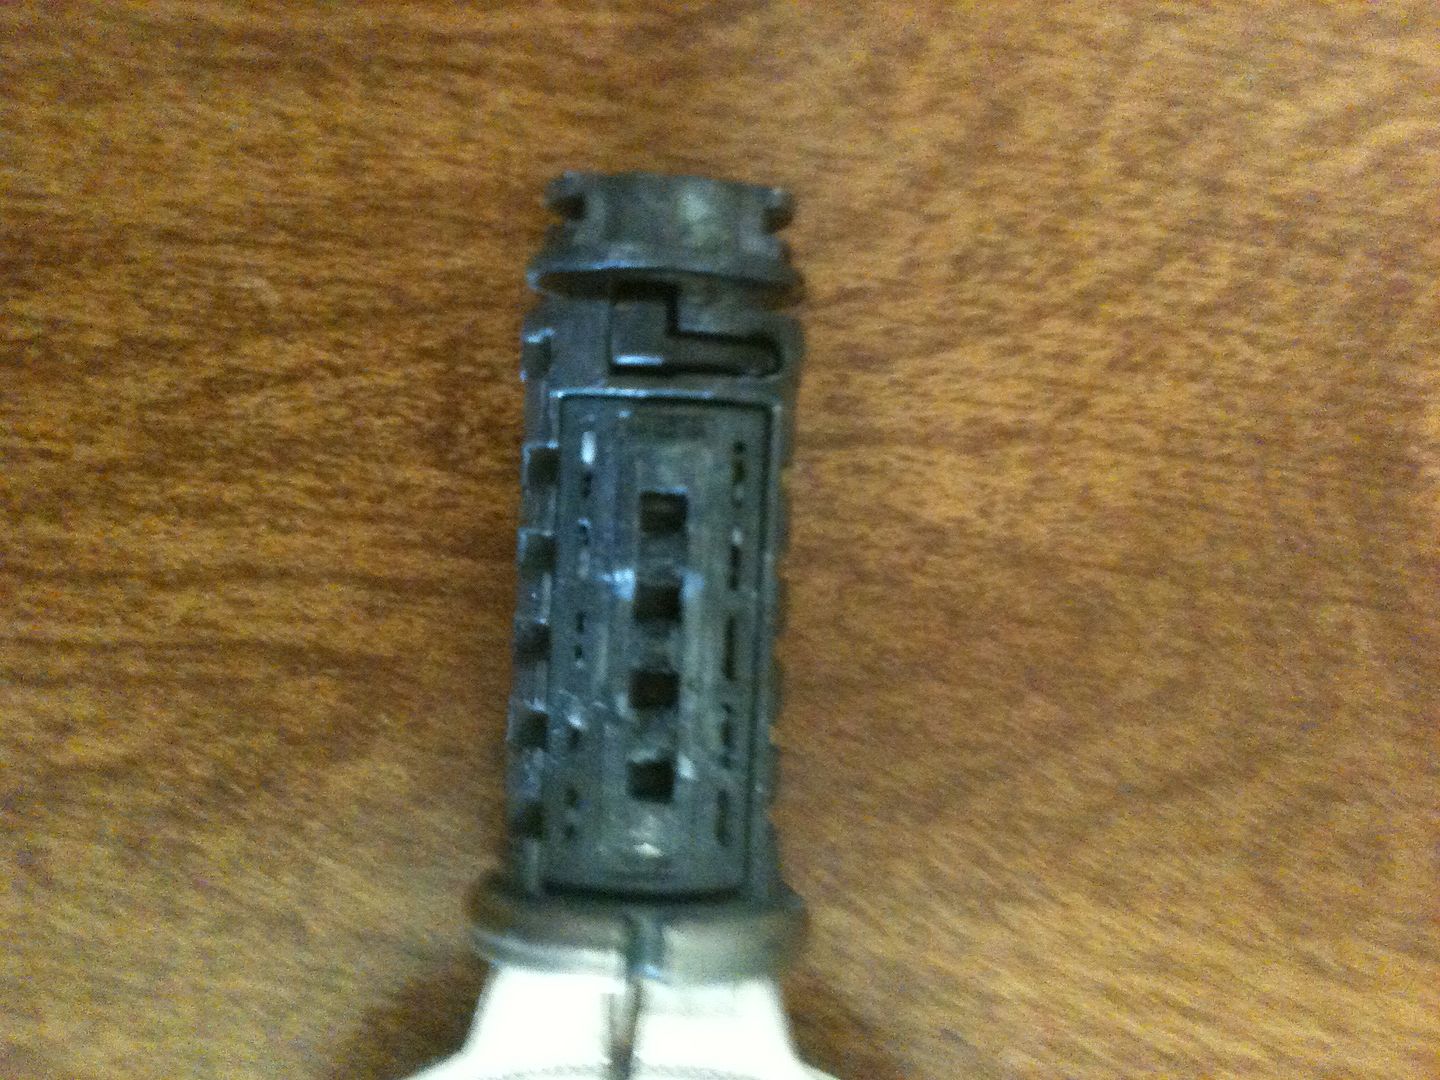
The lock bottom:
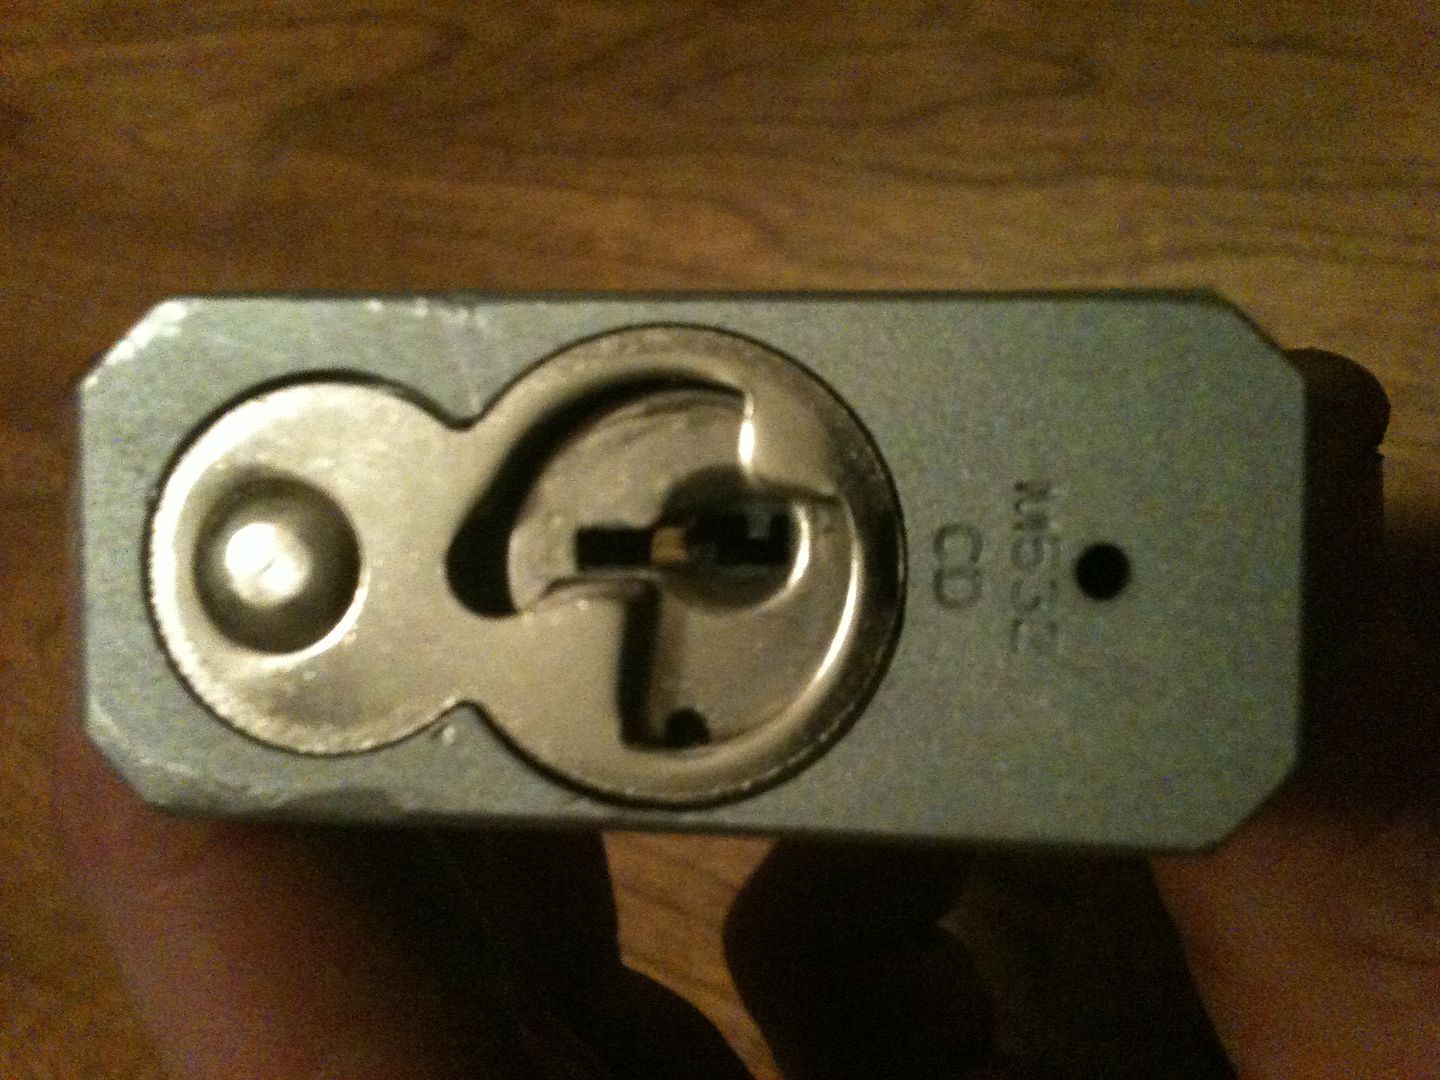
insert key
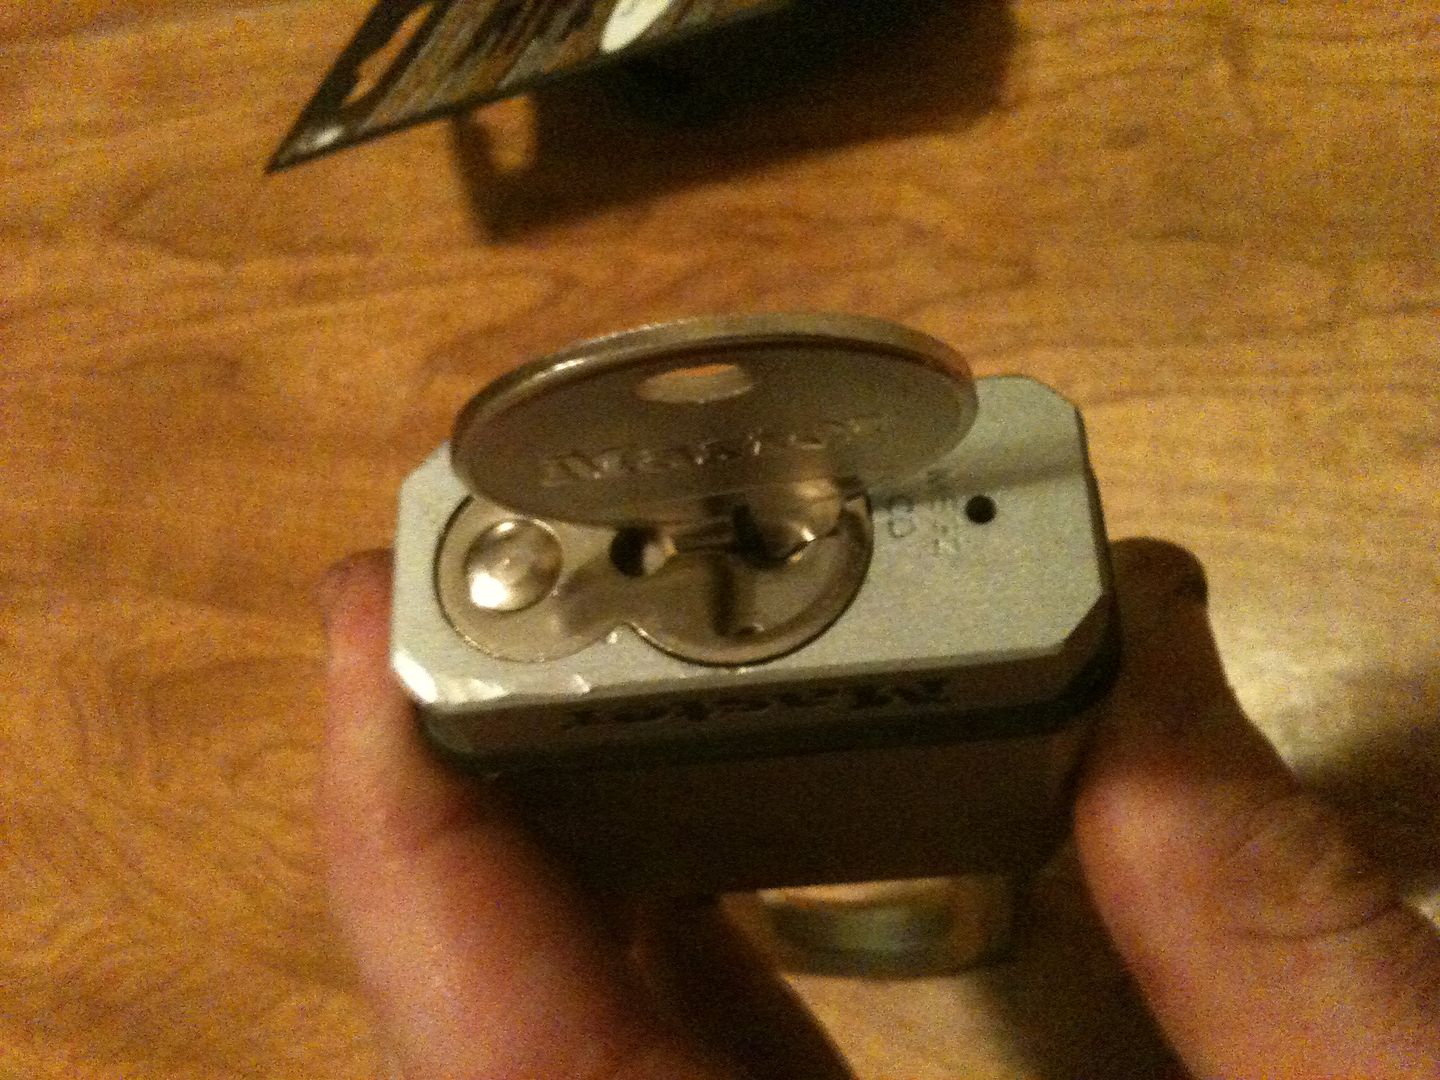
Turn 90 degrees
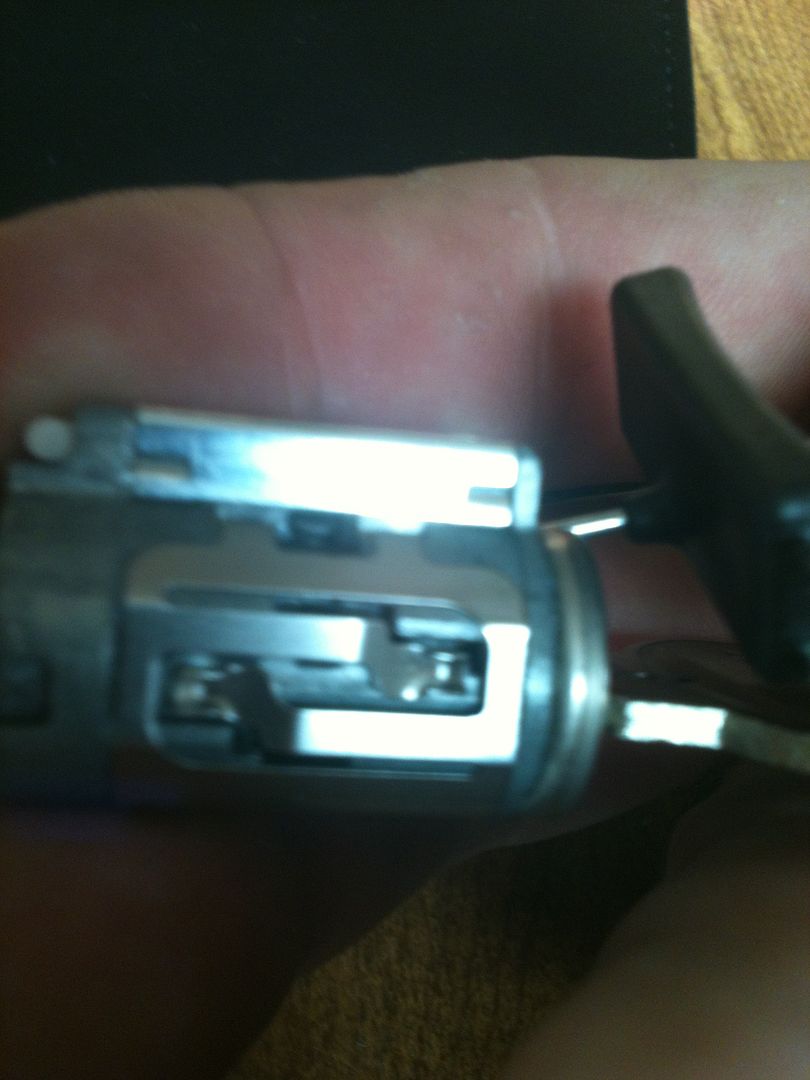
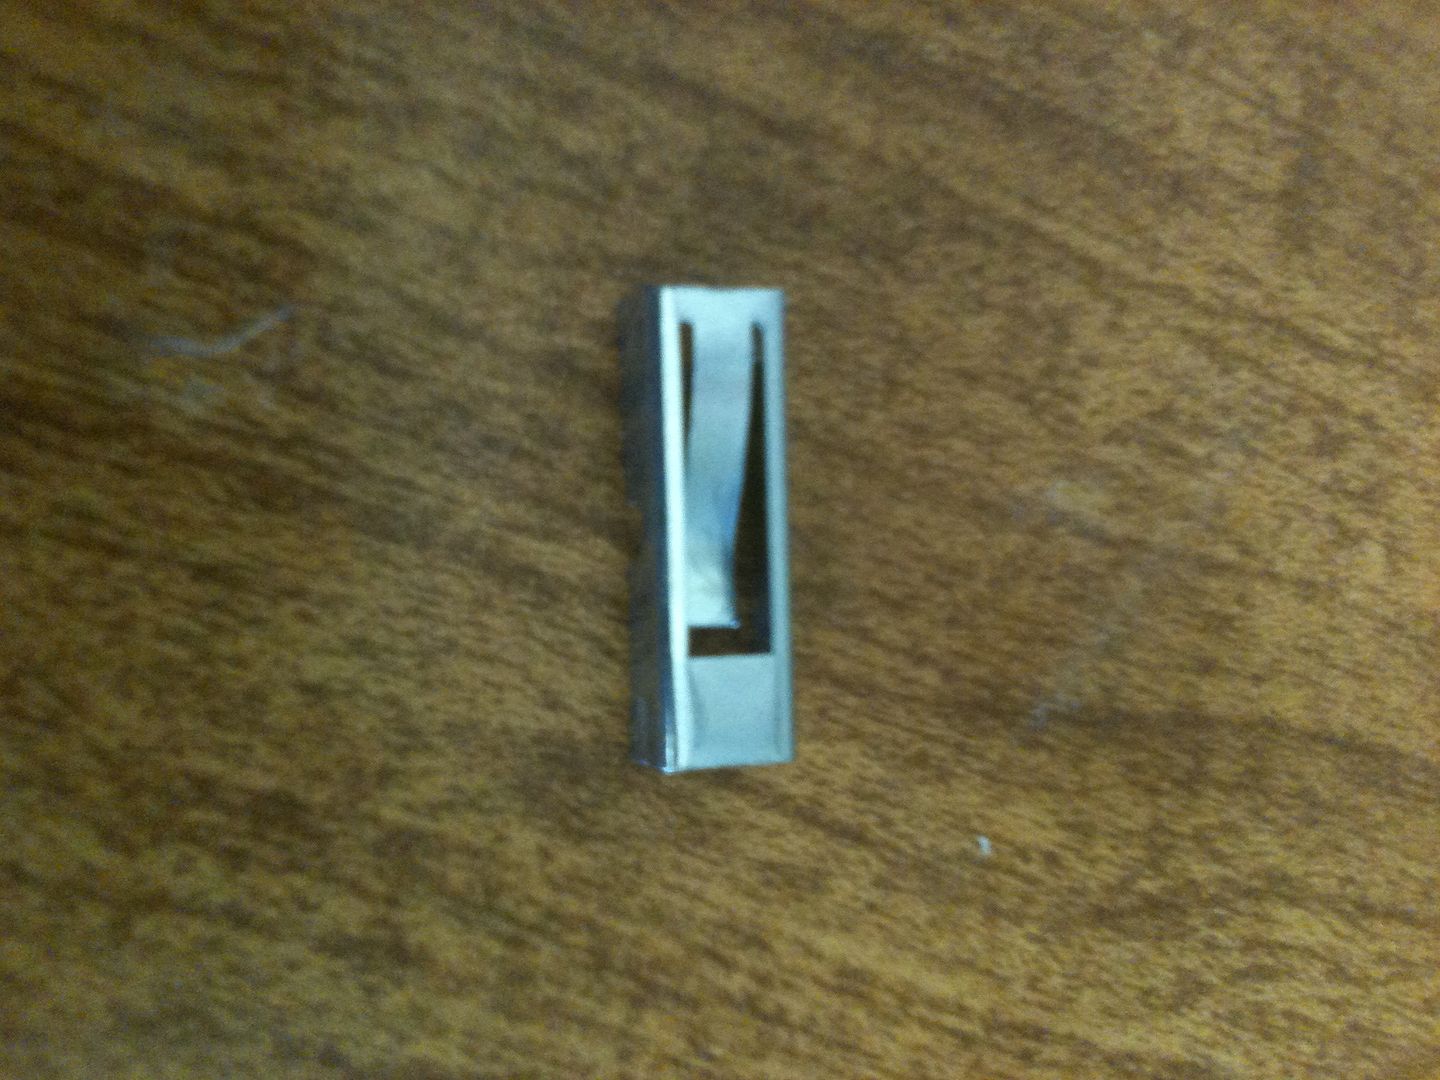
Here is the rekey tool - though any straight tool small enough to fit into the keyway will work.
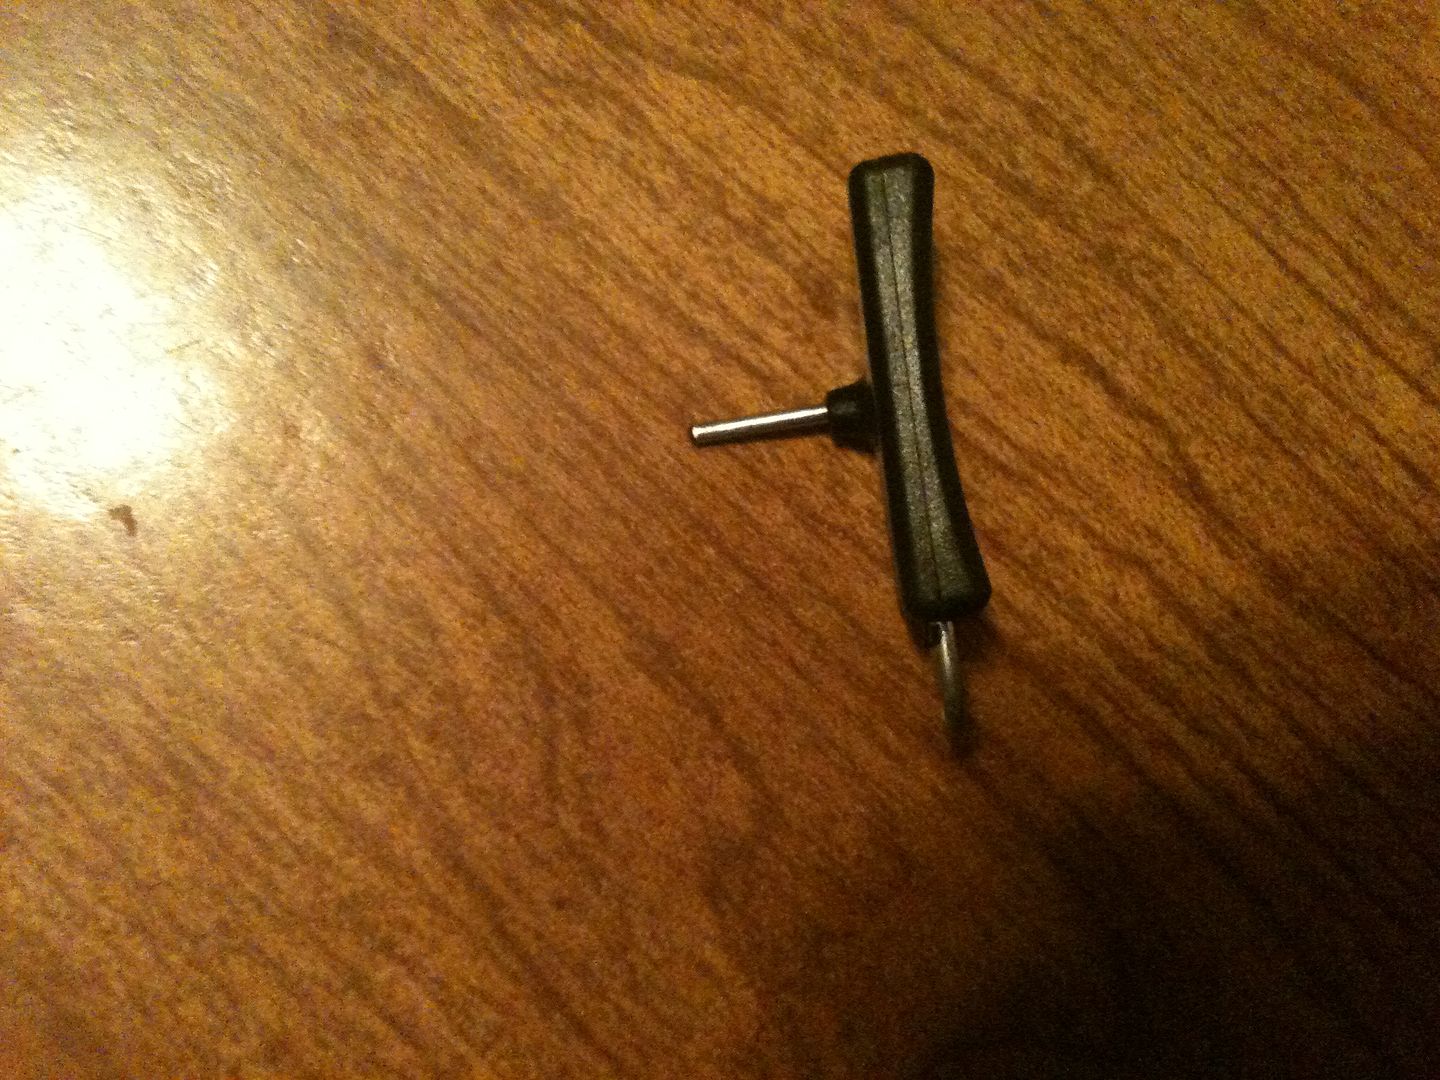
Press the tool into the rekey hole
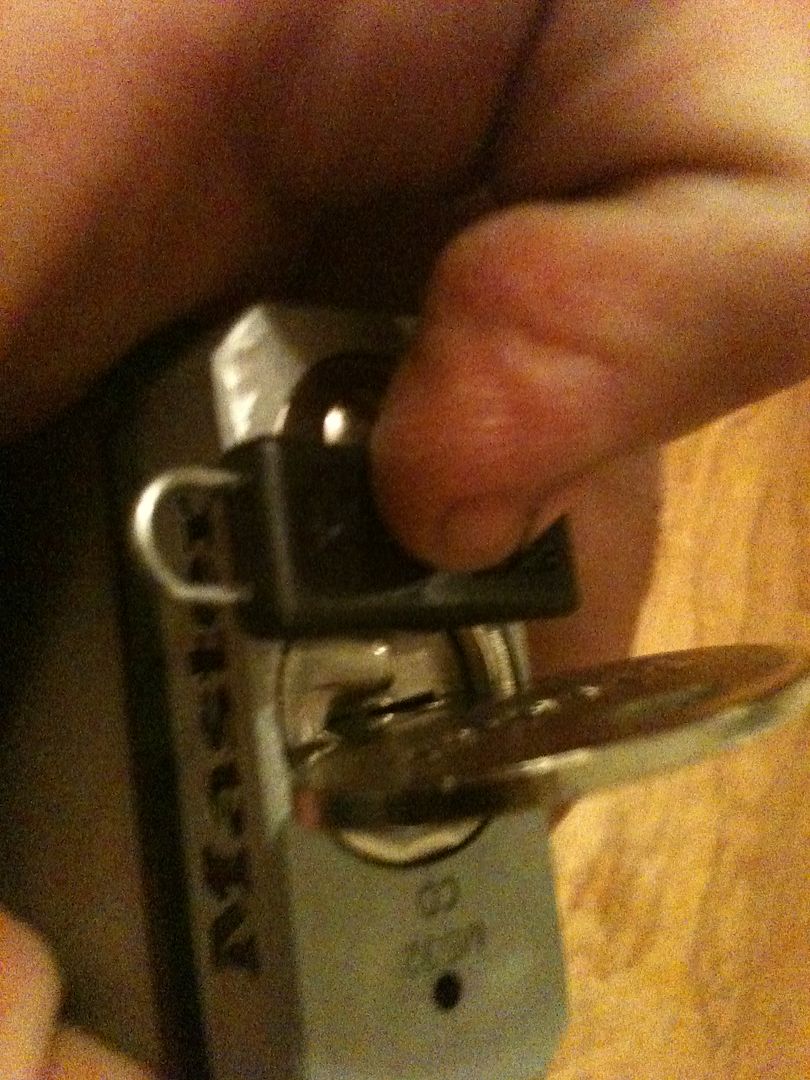
NOTE: Keep the tool fully pressed down for the rest of the procedure. If you don’t, there will be problems! Yes, that is personal experience talking.
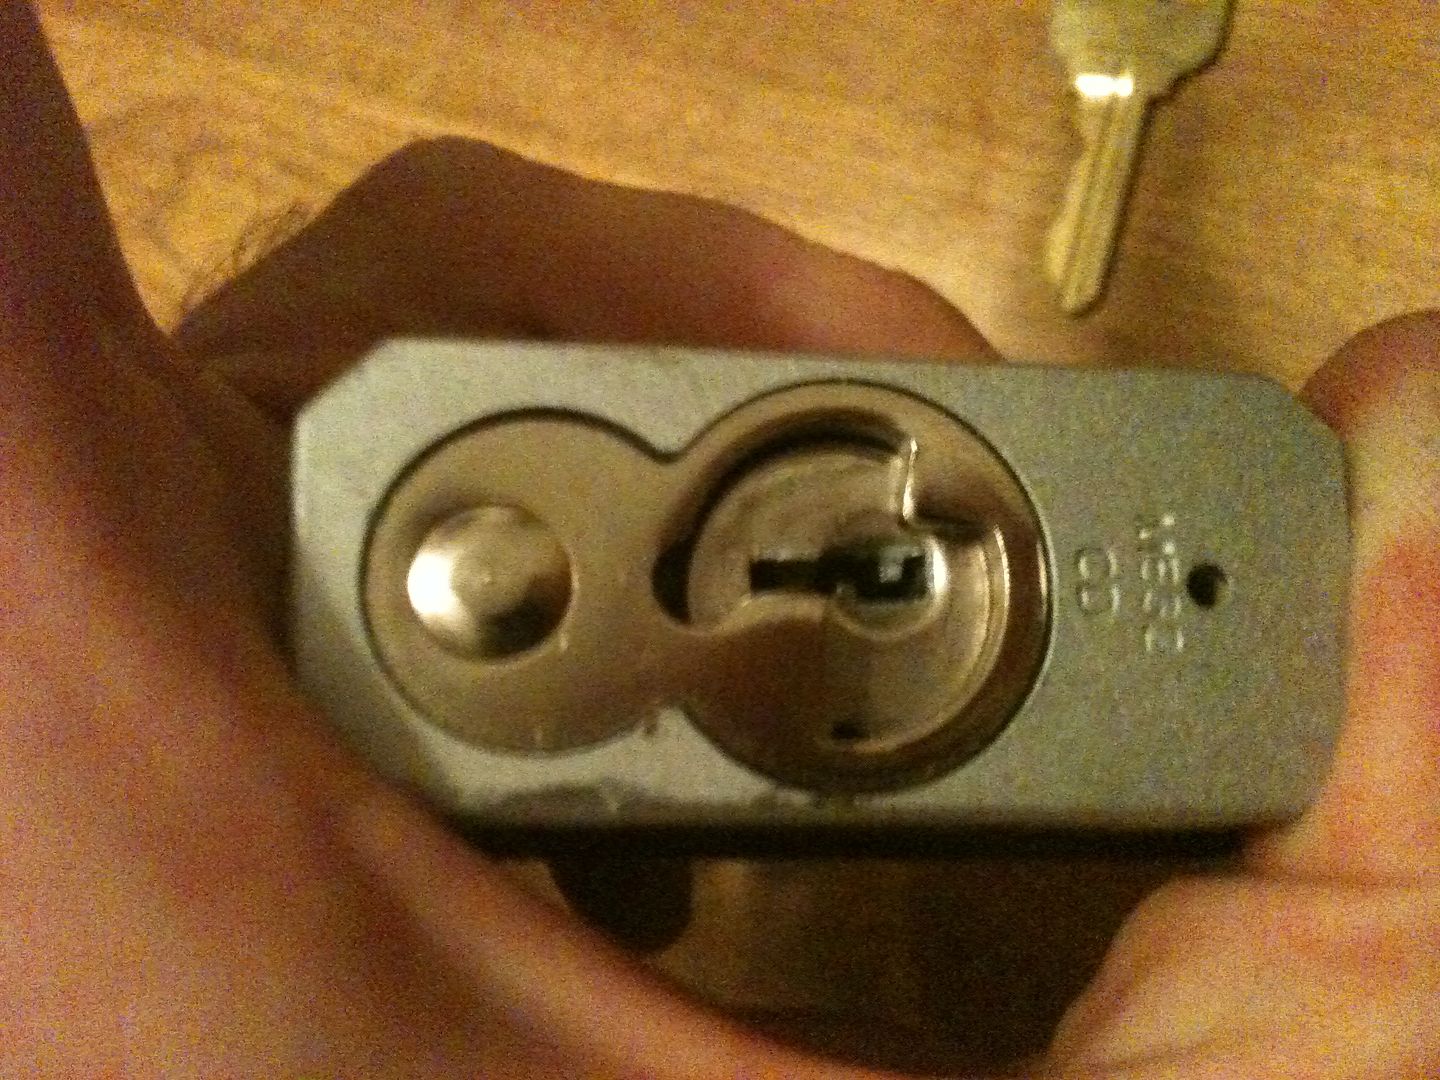
Remove the key
Insert your new key. (This lock only accepts the Kwikset keys)
Remove the tool.
NOTE: Here is a tip not in the instructions - Keeping the key turned, wiggle the key up and down two or three times. You will hear the wafers (yes, this is a wafer lock) aligning with the wafer carriers.
Now turn the key back to the locked position.
Remove the key, and you are done rekeying. The process takes only a few seconds.
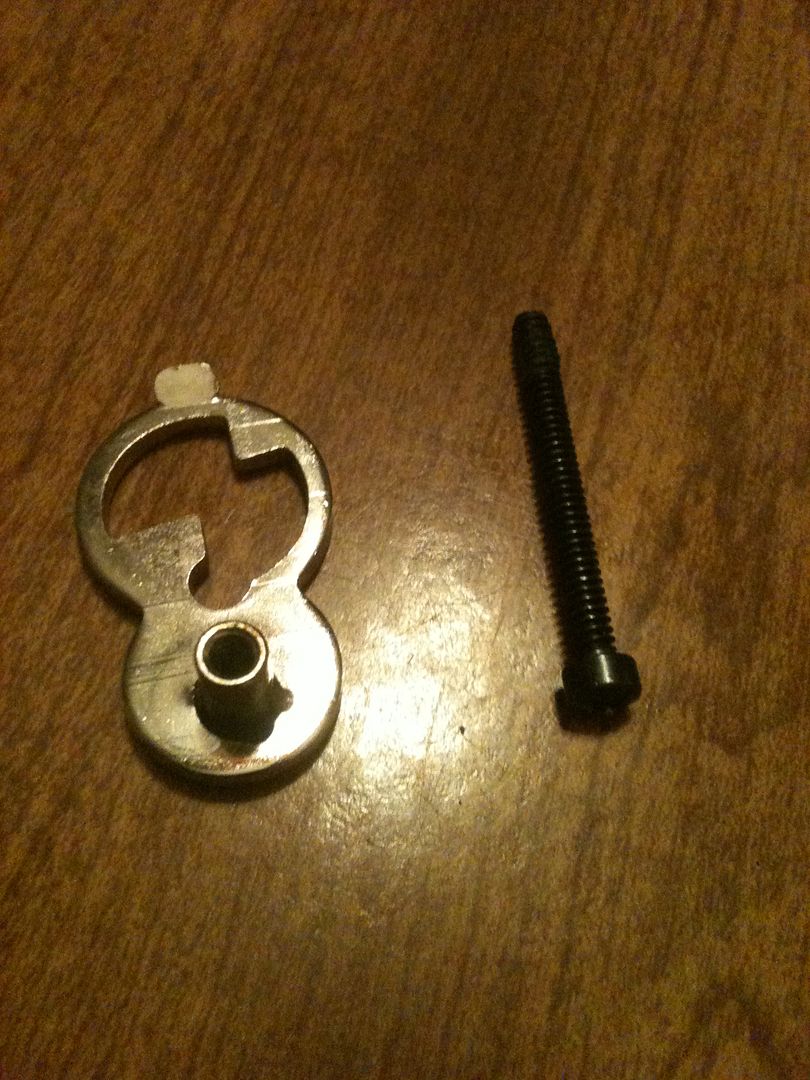
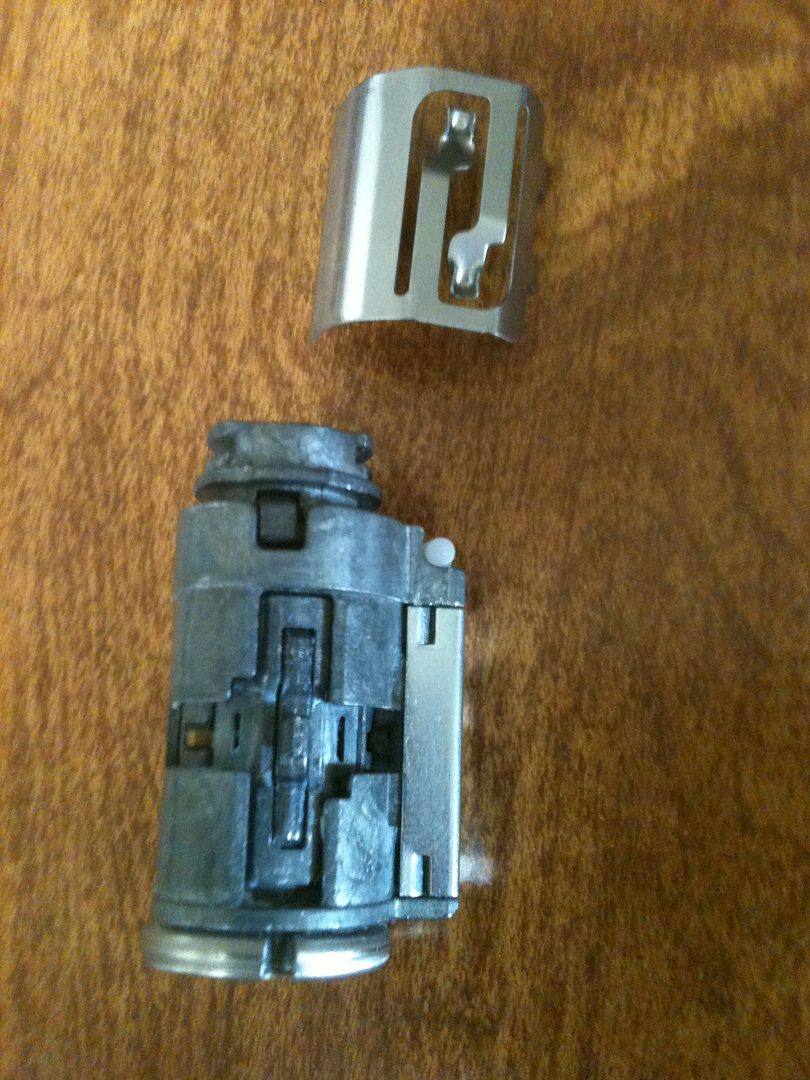
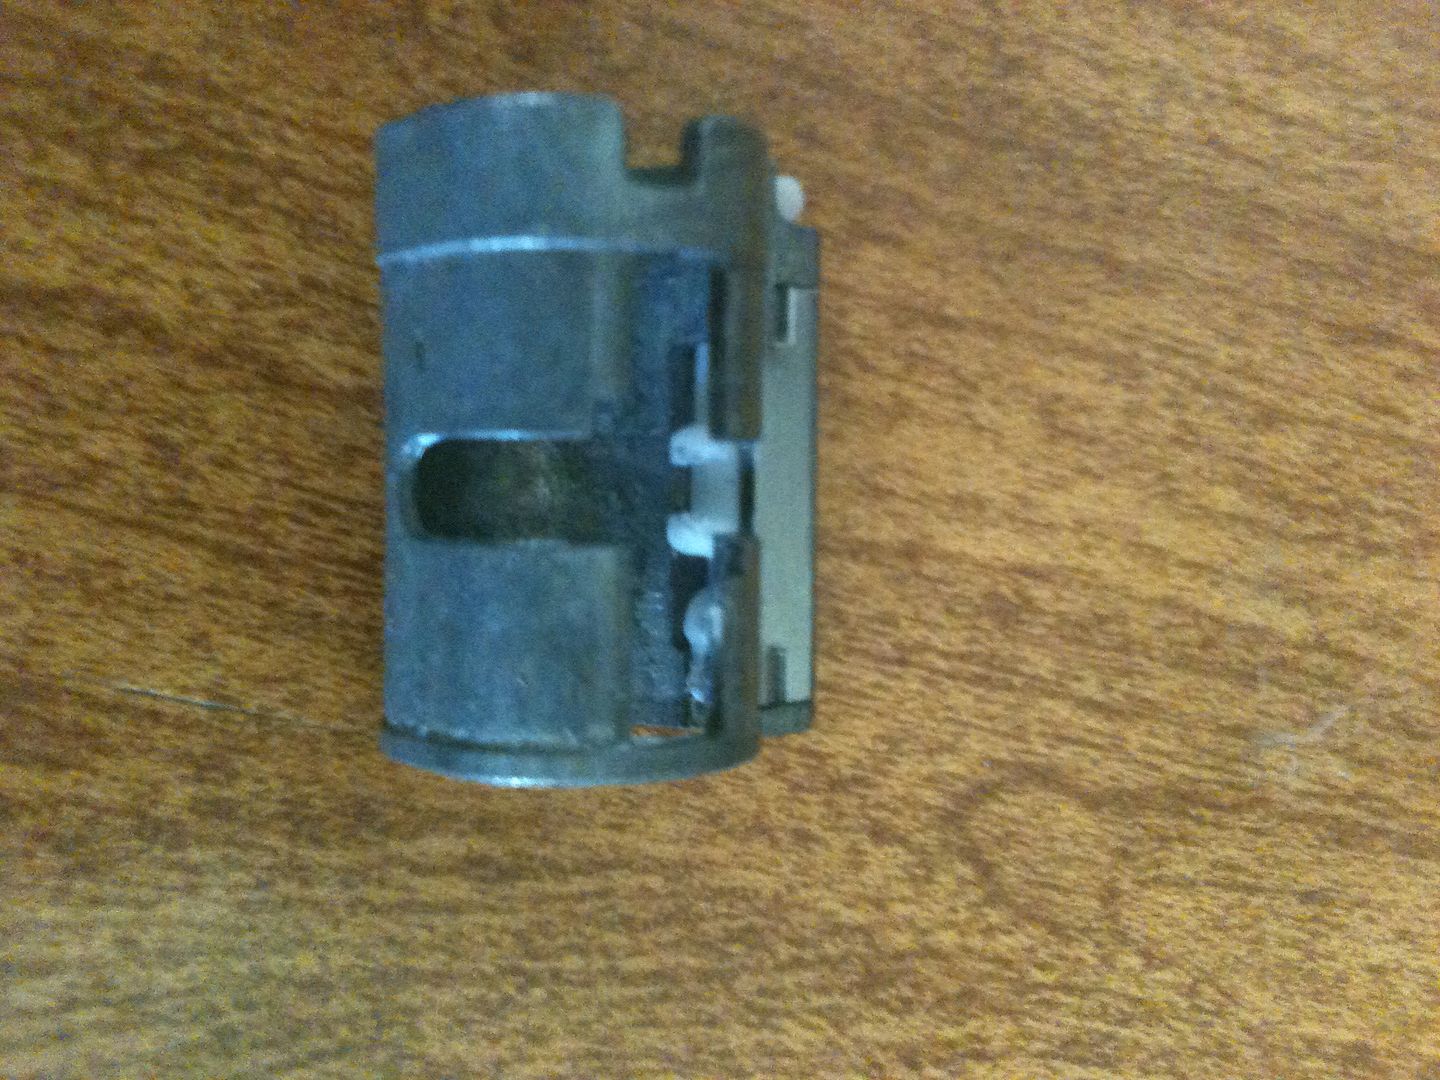
So how does this magic work? Glad you asked. Time to take this baby apart. Remove this screw…
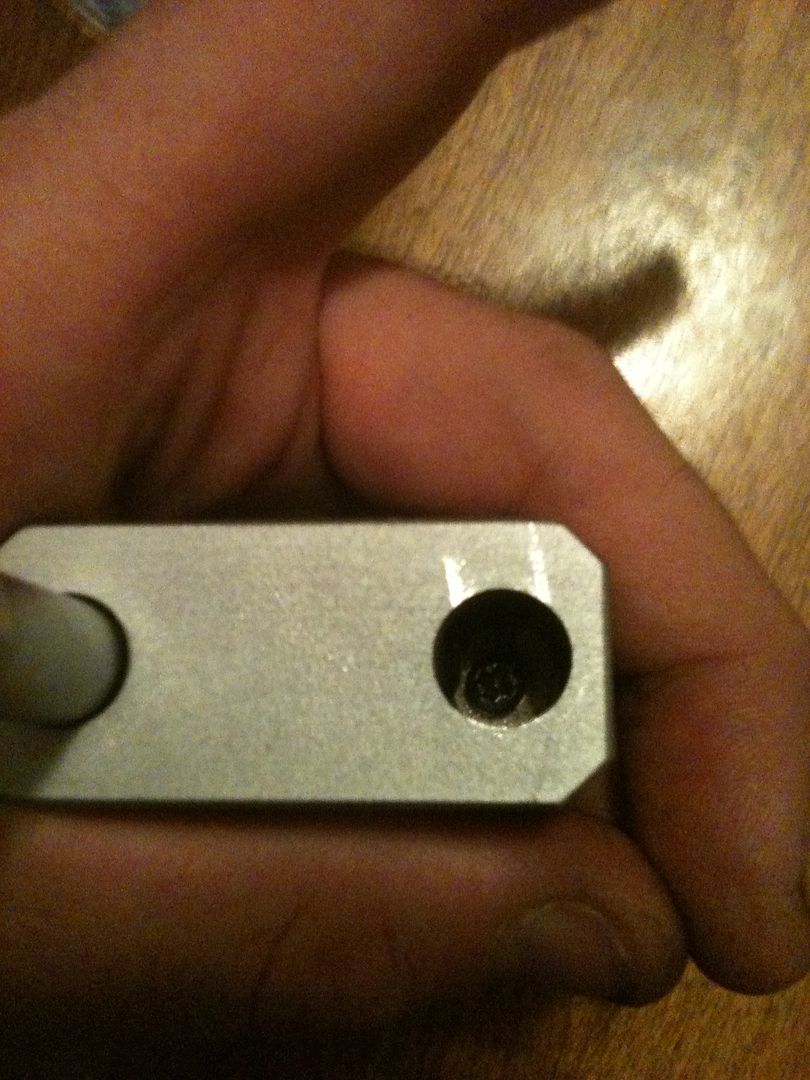
It releases the lock core retainer from the bottom of the lock.
And remove the core. Just tip the lock and it falls out.
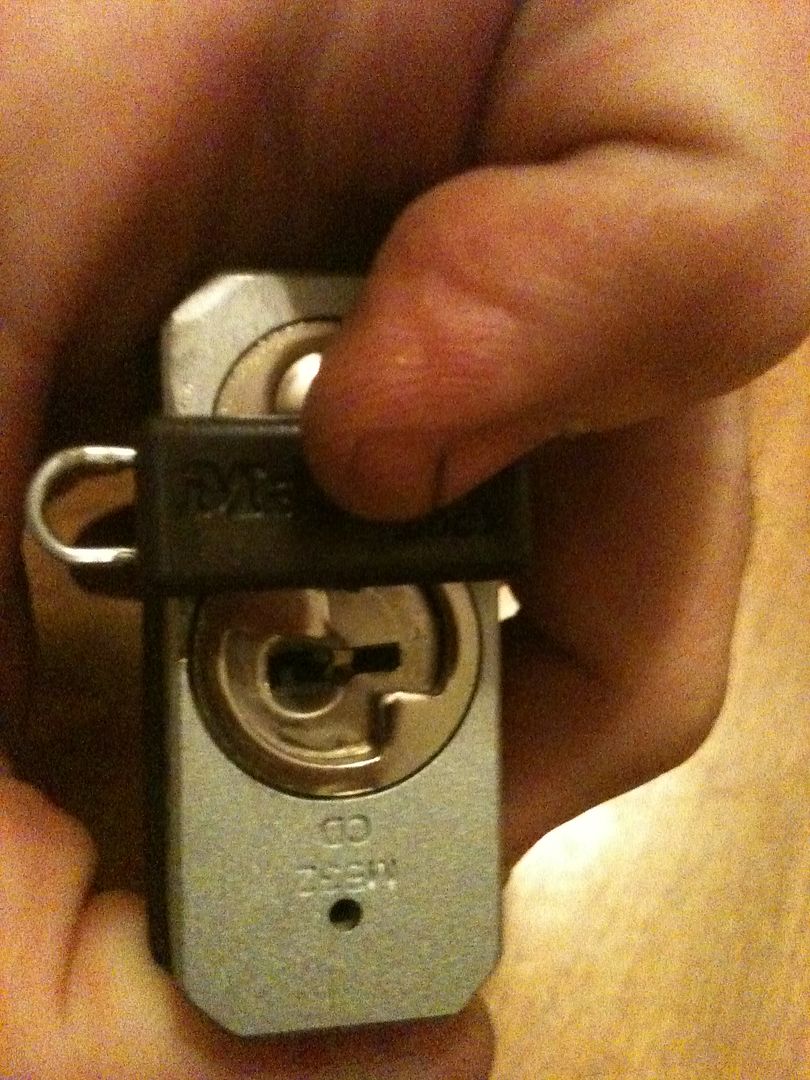
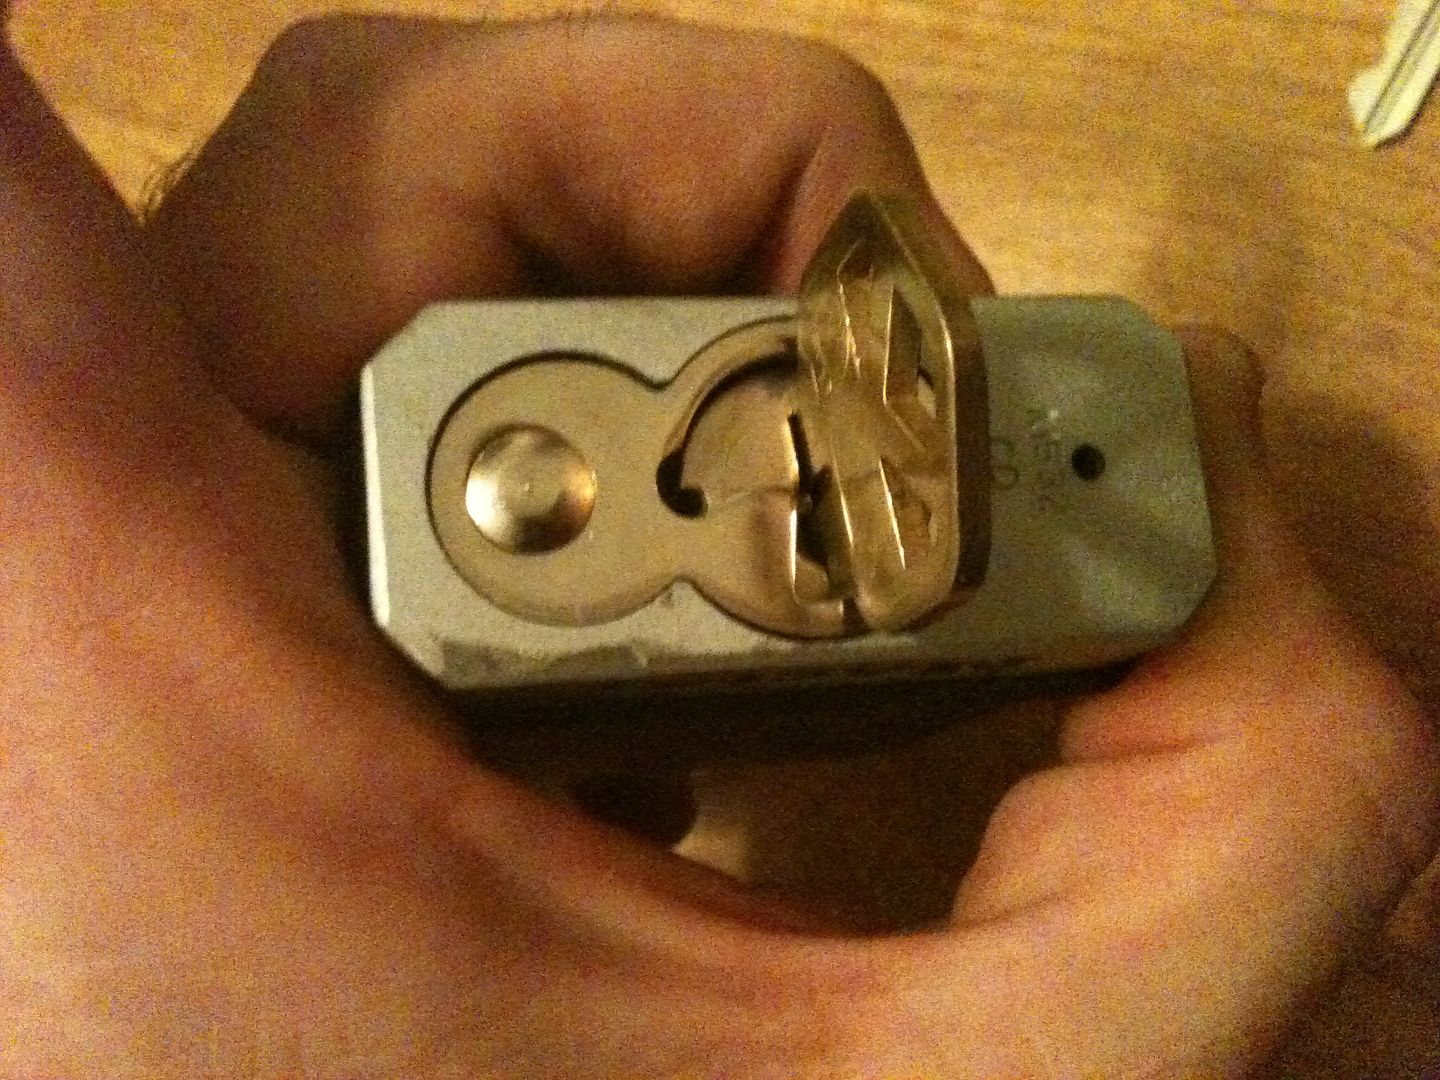
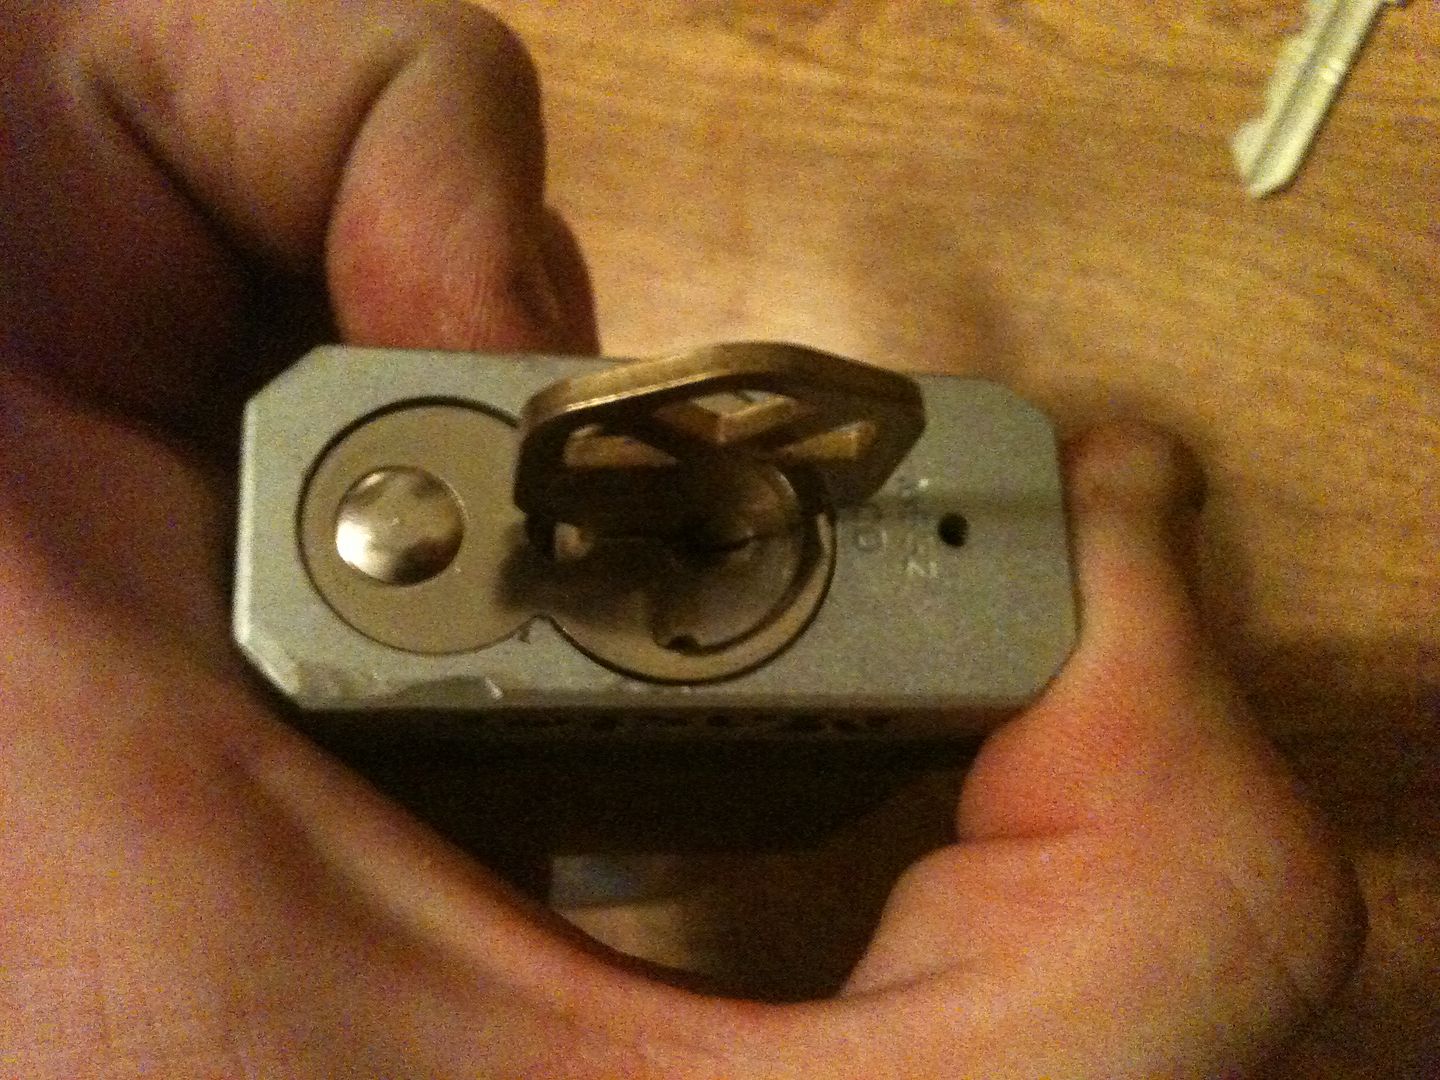
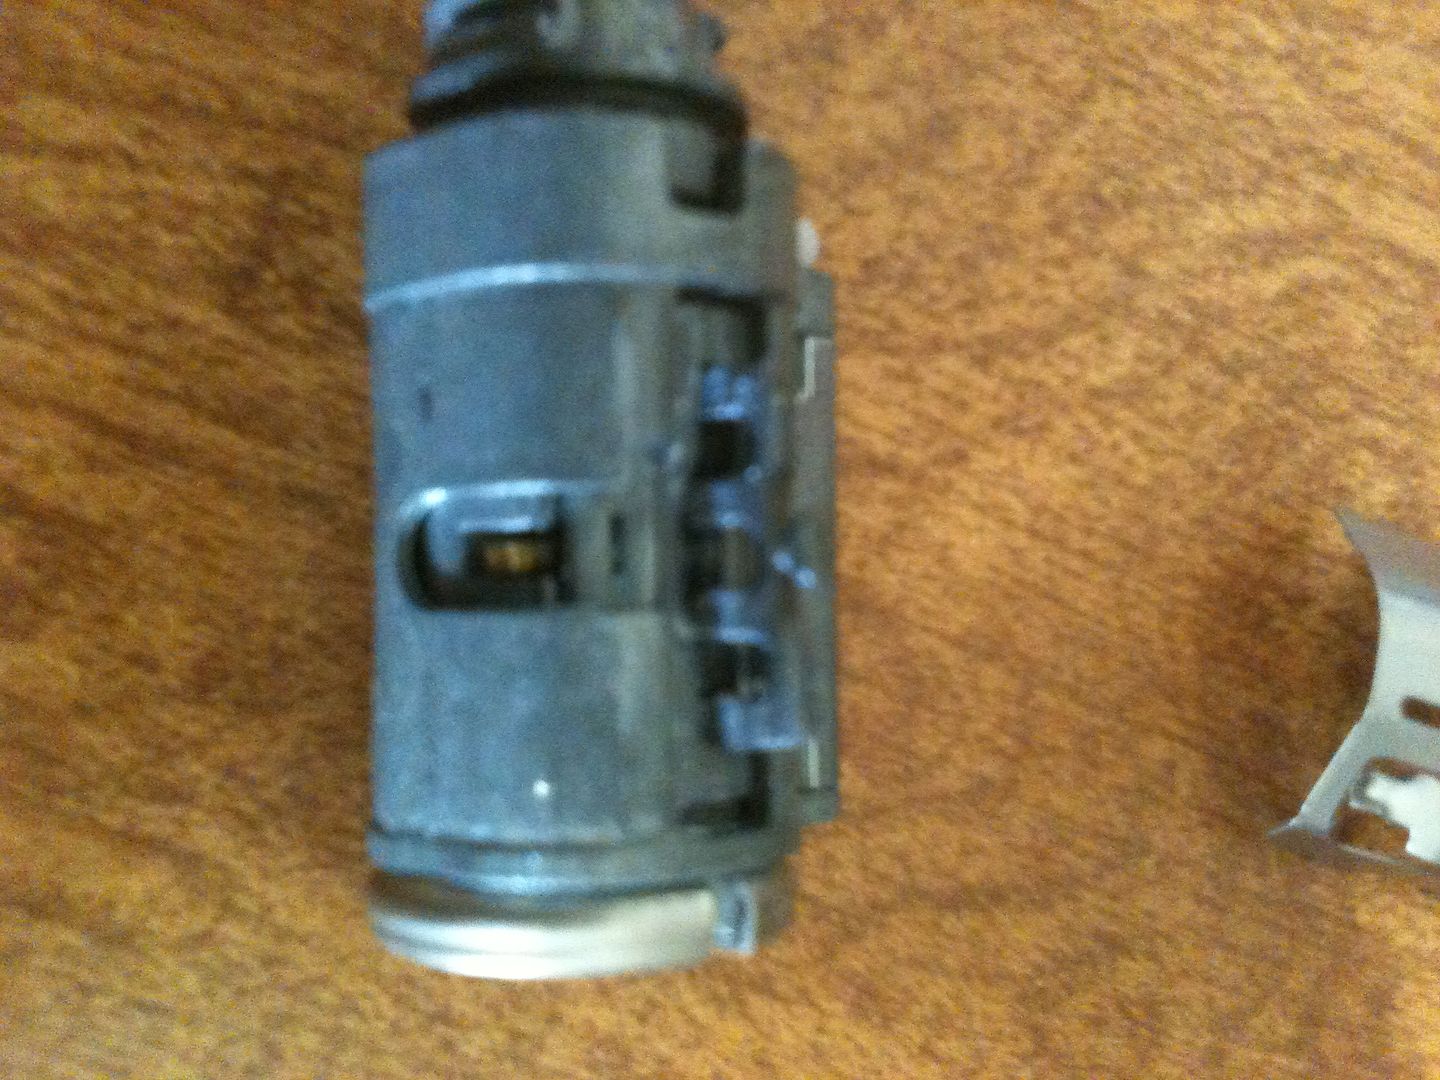
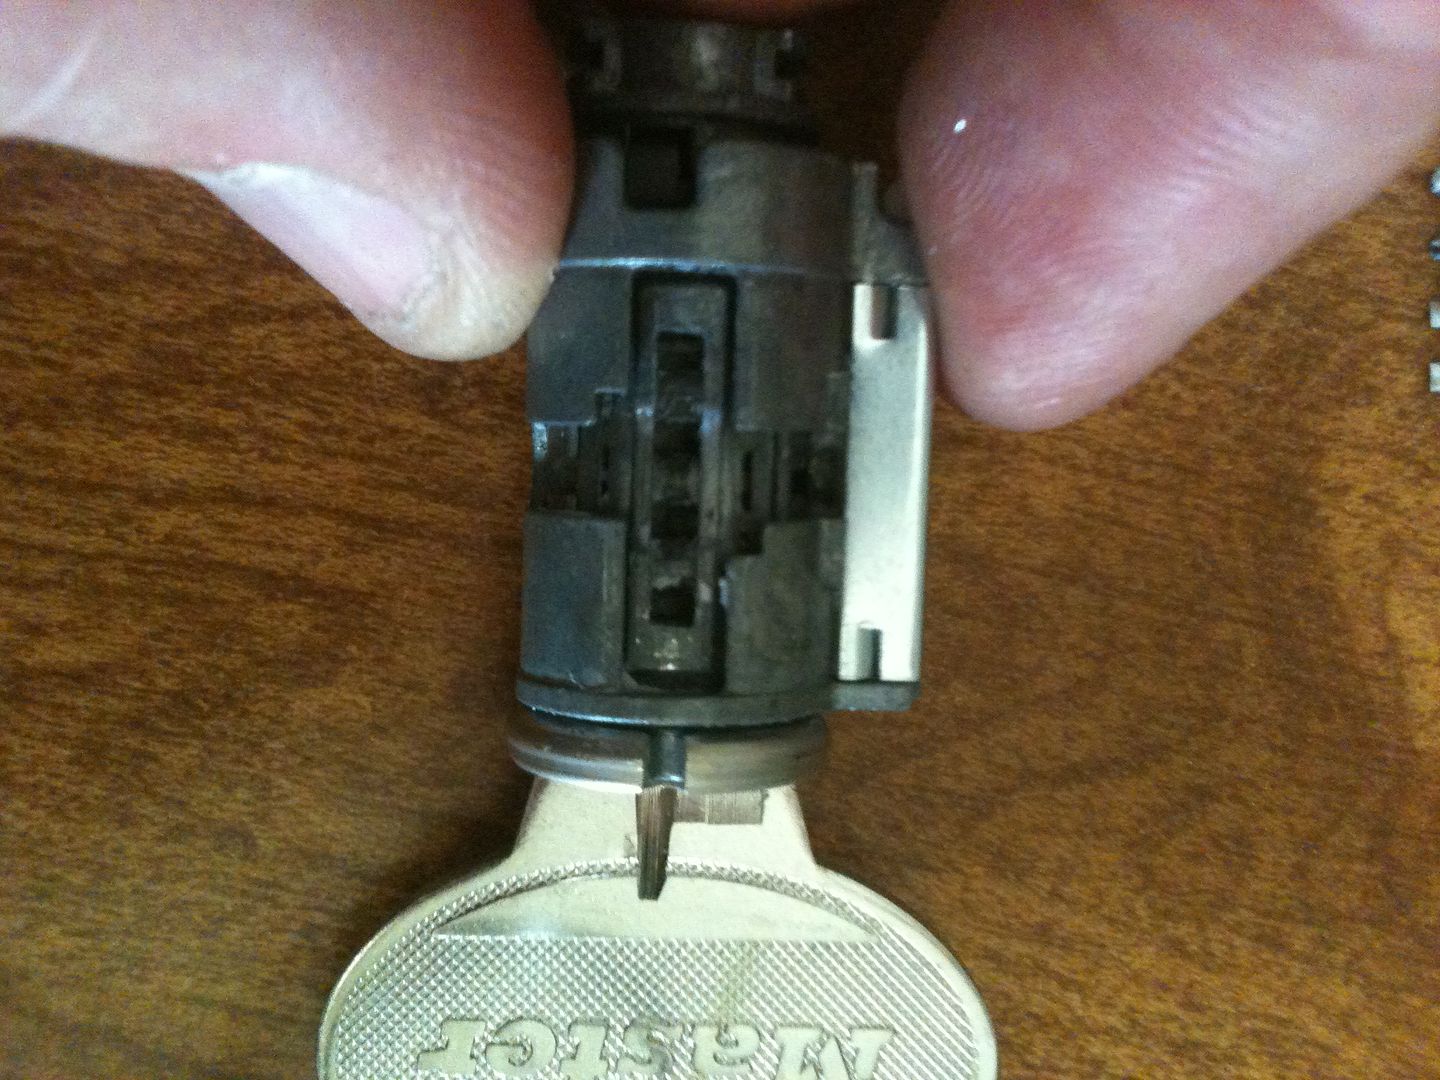
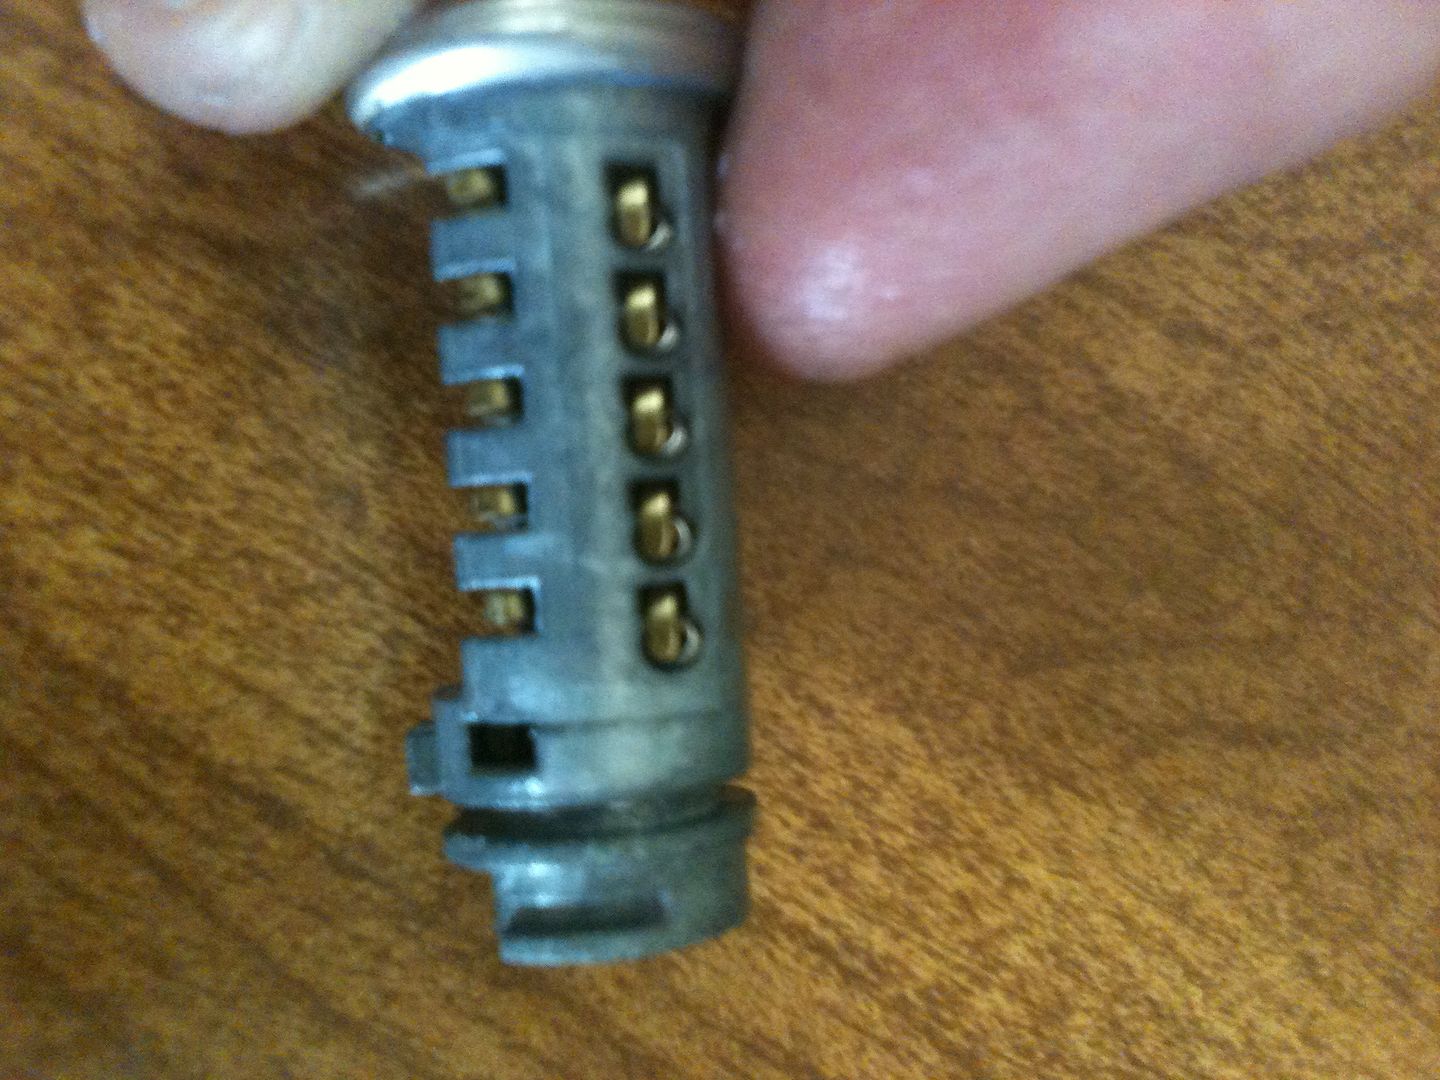
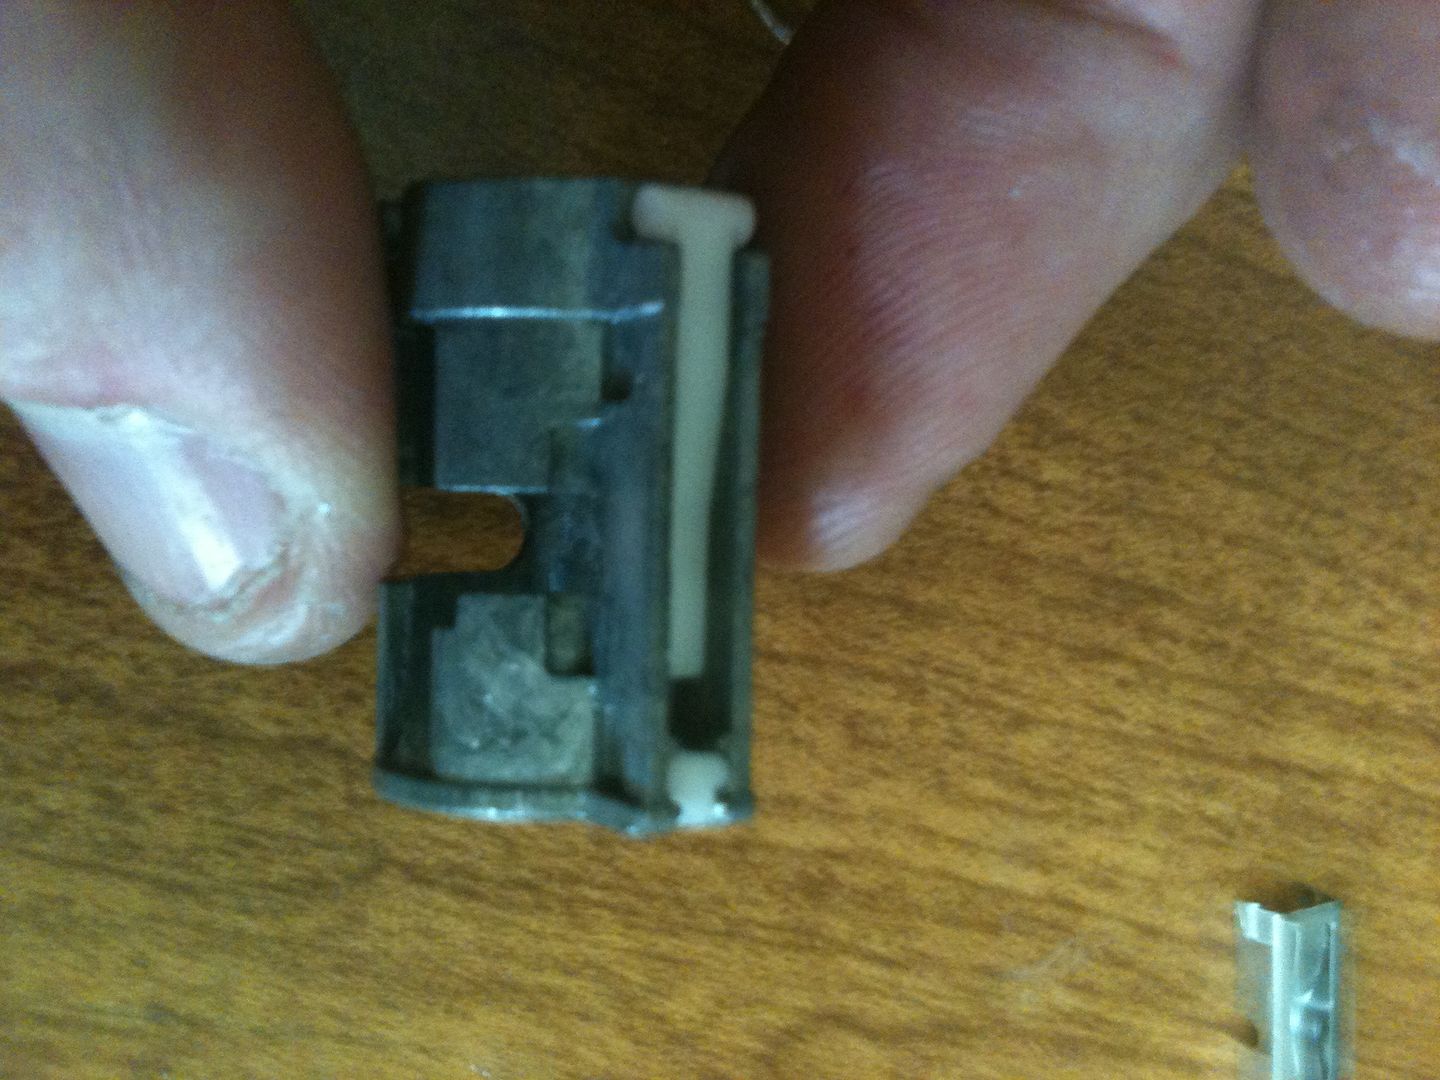
OK, when the key is turned 90 degrees, the rekey hole lines up with this other hole in the ‘bible’. The bible in this lock does not hold springs and driver pins.
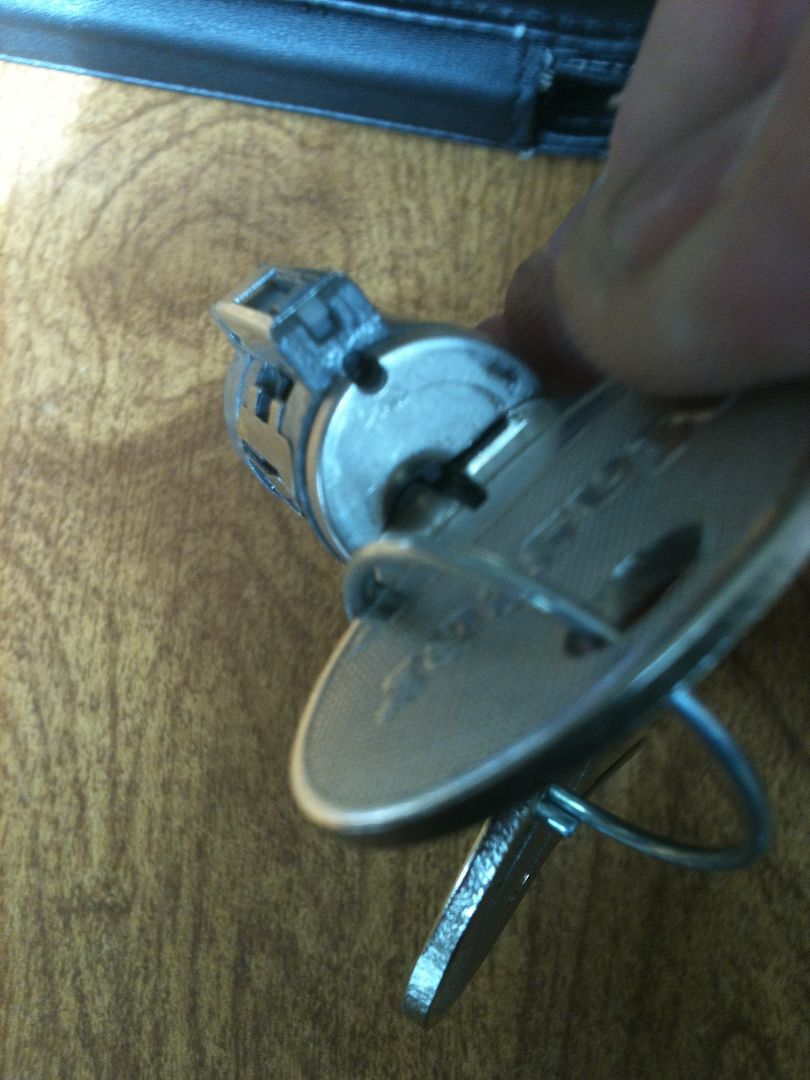
On the right side, you see the springs that push on the side bar.
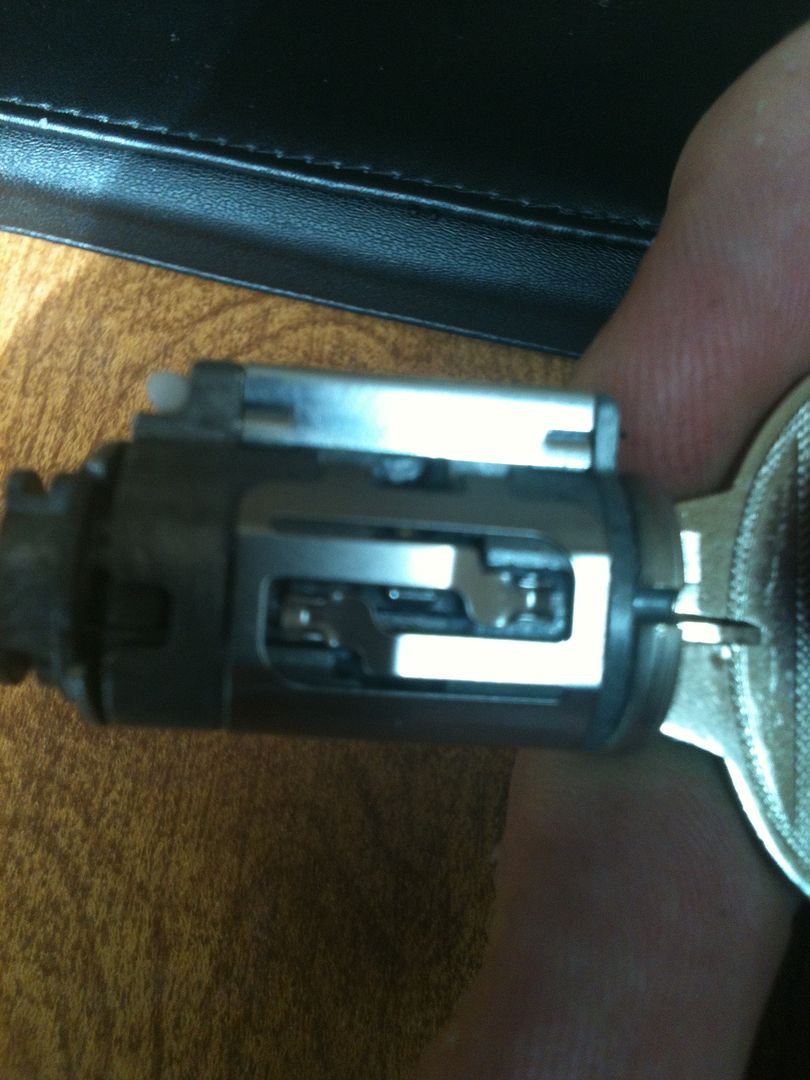
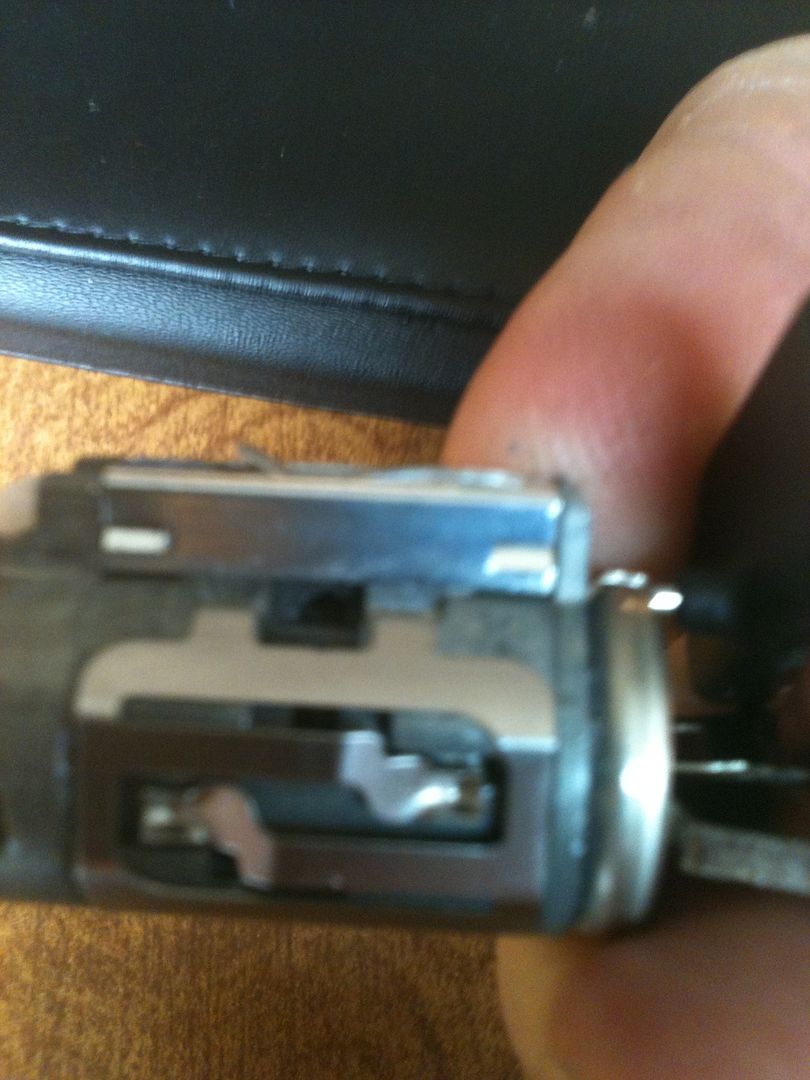
If you look at the hole below the cap that is reflecting so much glare, you can see two parts… a part that is lifted to free up the wafers (the knob in the center of the hole), and a white plastic part that is actually moved by the rekey tool.
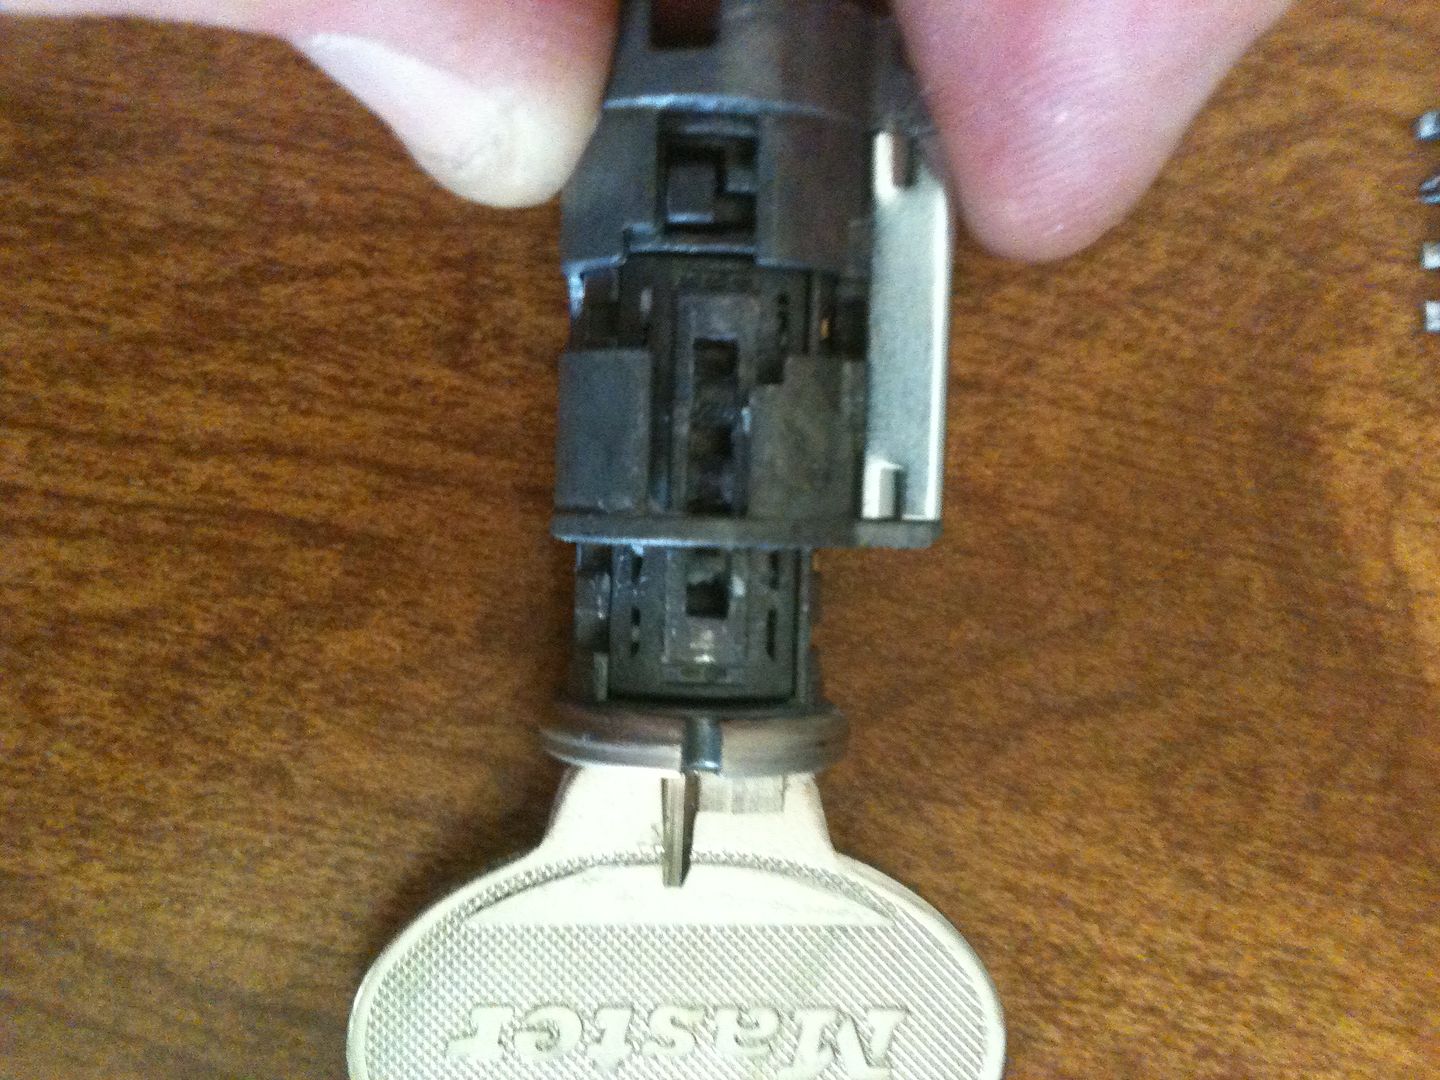
When the tool is used, the knob you saw above is lifted up into the bible.
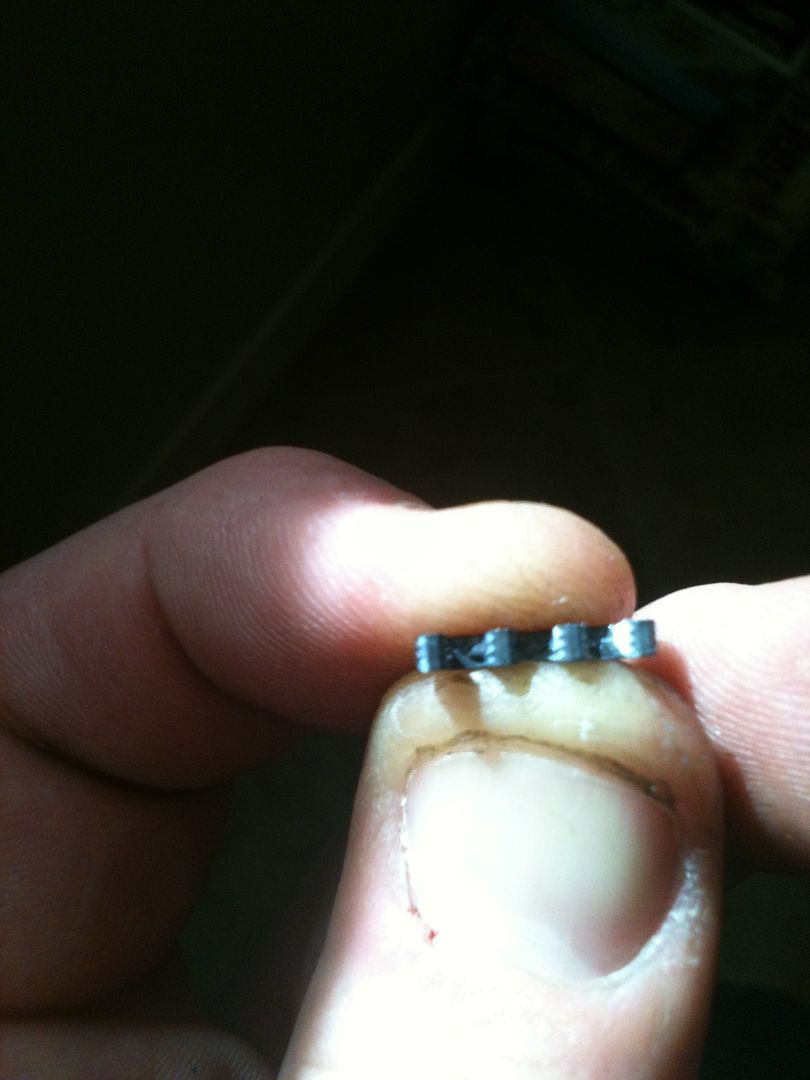
Removal of the core requires removing this c-clip from the back of the cylinder.
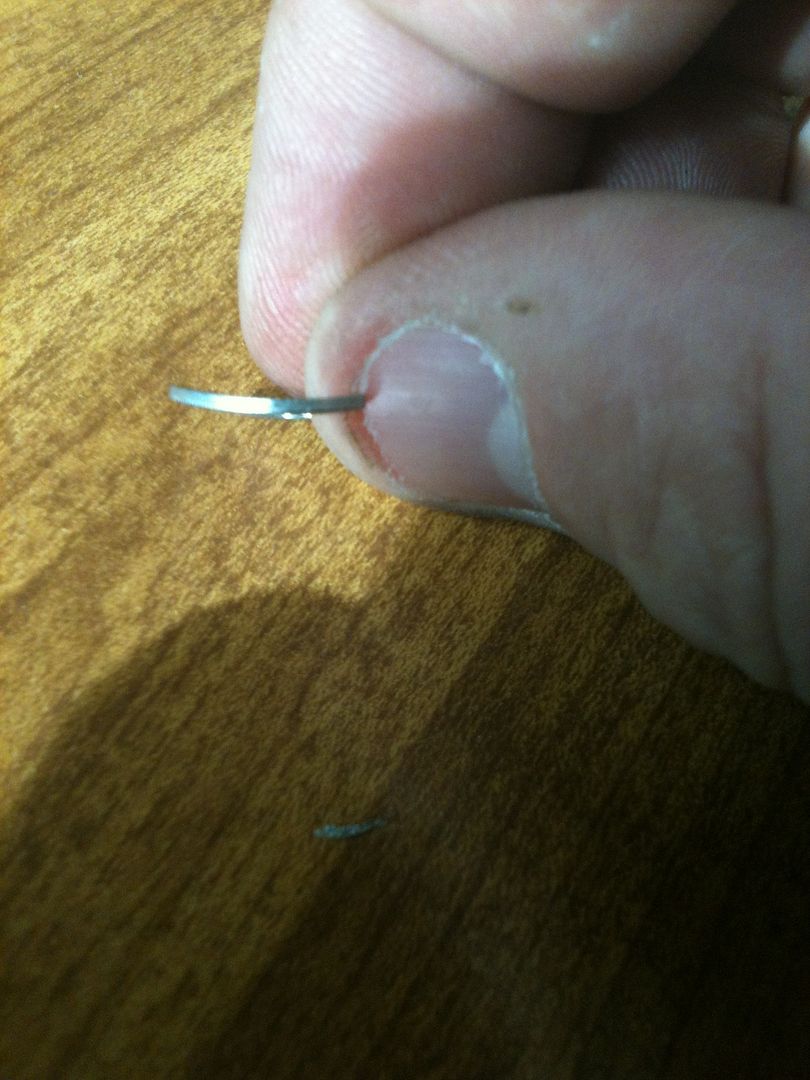
The clip is not flat!
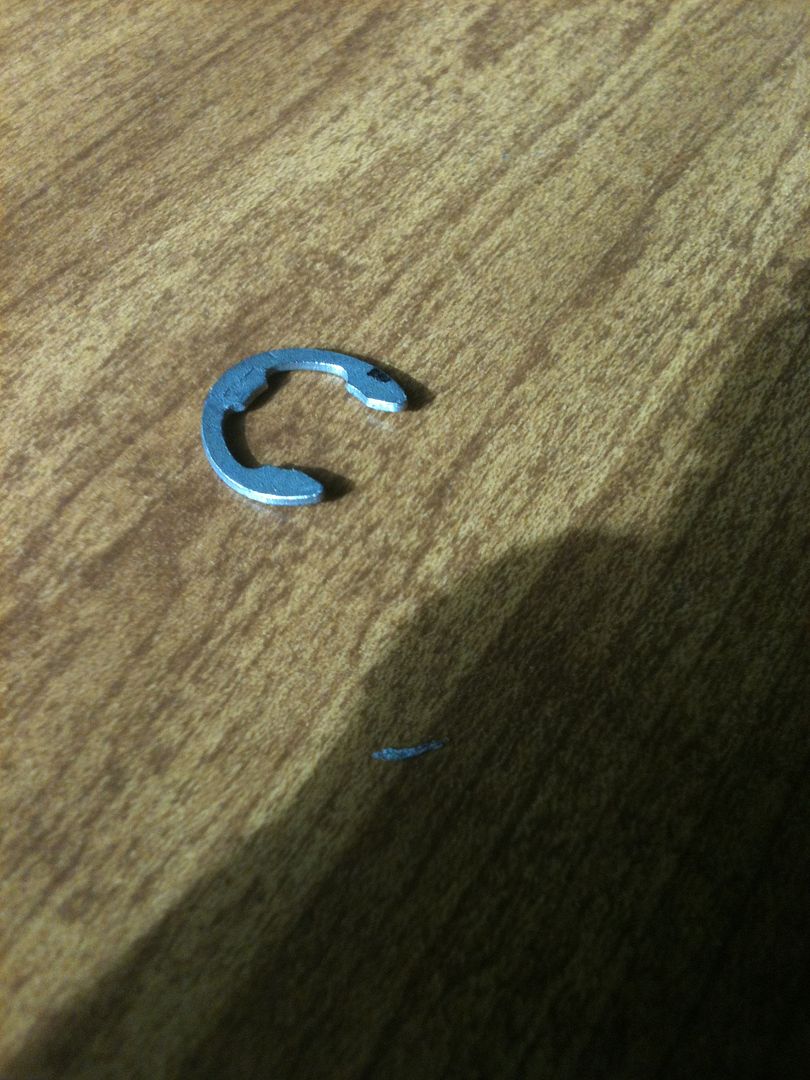
It is purposefully bent to work as a spring as well as a retainer.
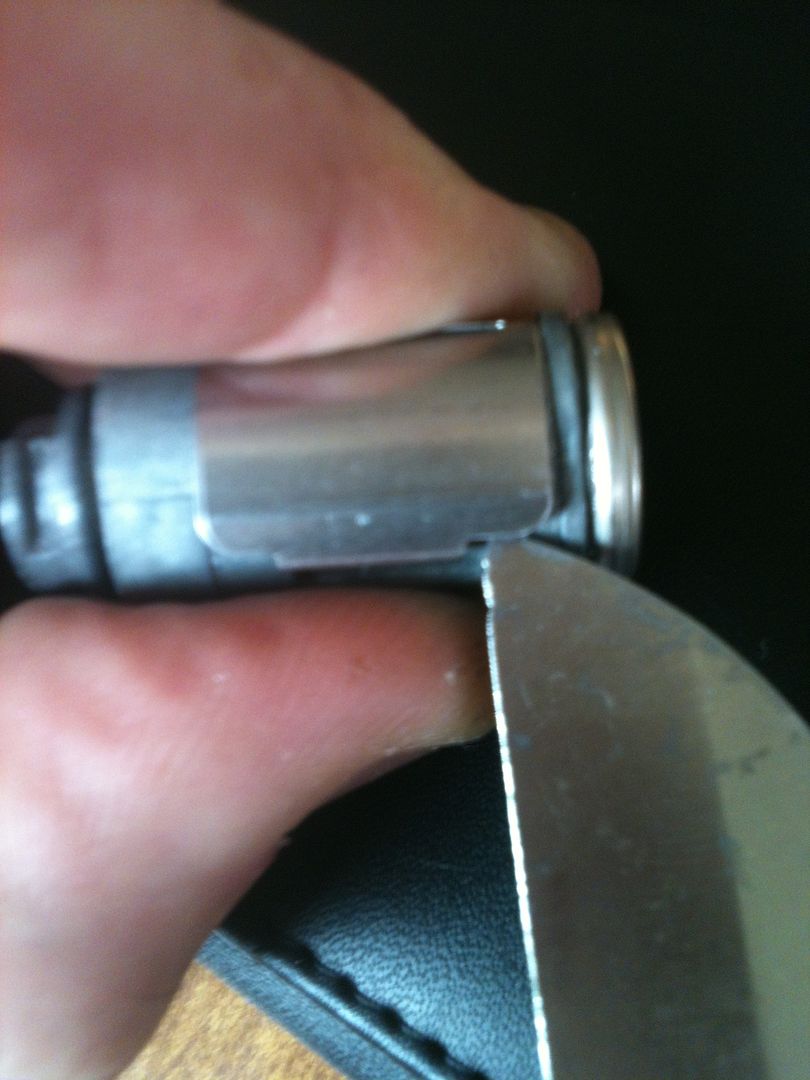
Now to start removing some of the spring covers. Of course, it is perfectly safe to use a knife to do this. (
WARNING TO OLDFAST - beyond this point, thar be gut-shots!!!
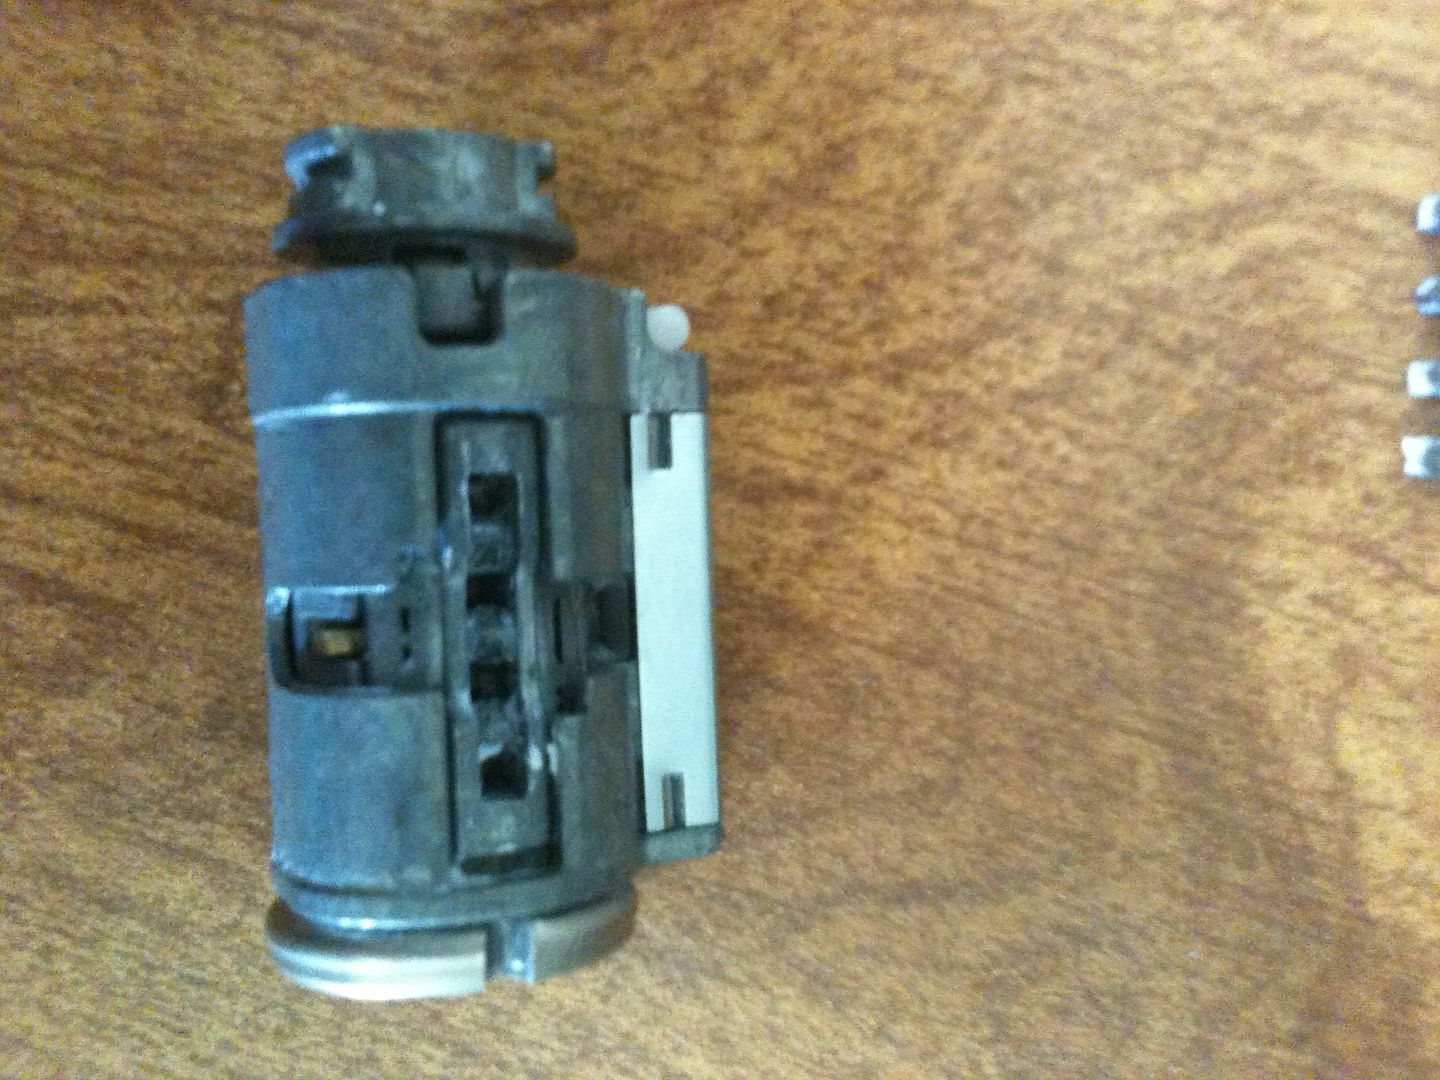
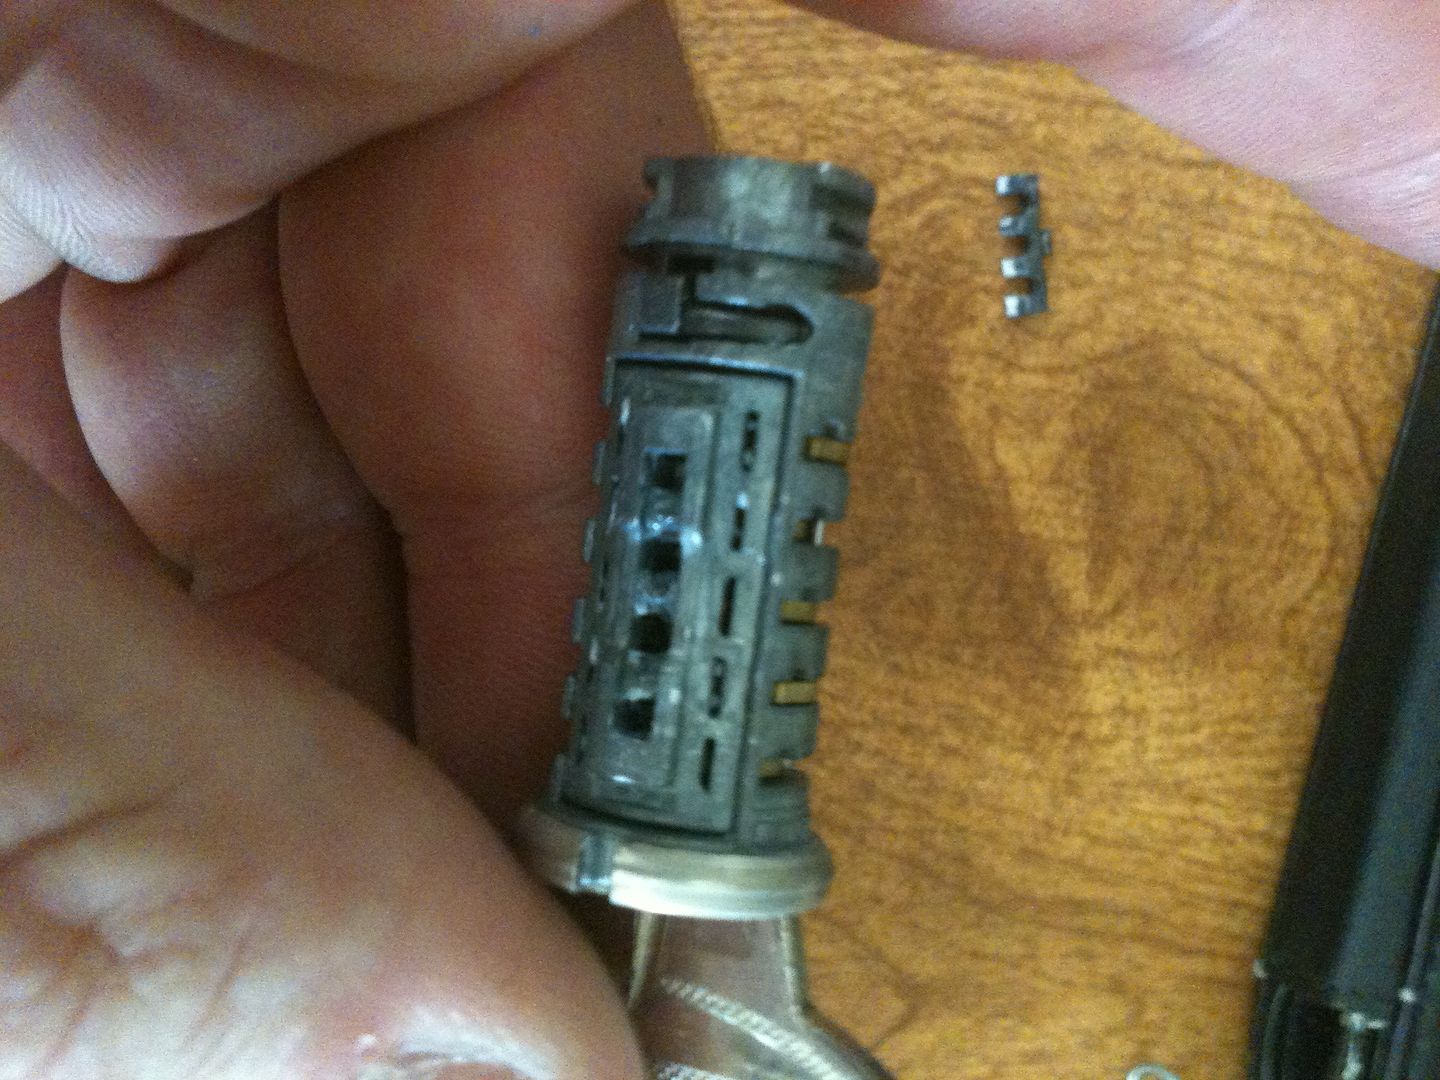
The rekey parts can be seen here. As you can see, if the key is not turned 90 degrees, that knob is not even close to lined up with the part that raises it up for rekeying.
Raised up and out. (Sorry about the focus. Took these pictures months ago, and not about to take the lock apart again to retake a couple of pictures.)
If you have the key, disassembly is much easier, as it lines up the wafers. Shimming is a pain in the rear with this cylinder.
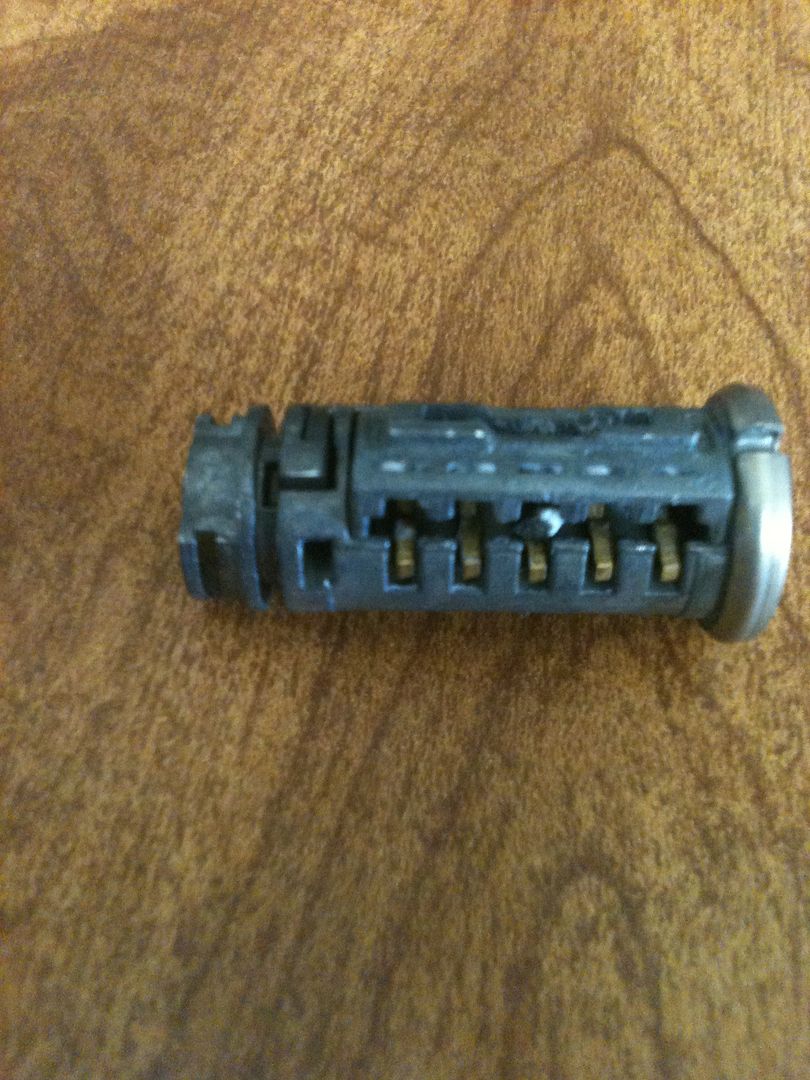
The plug!
Now you can see where the white plastic part lines up to lift the knob on the rekey part.
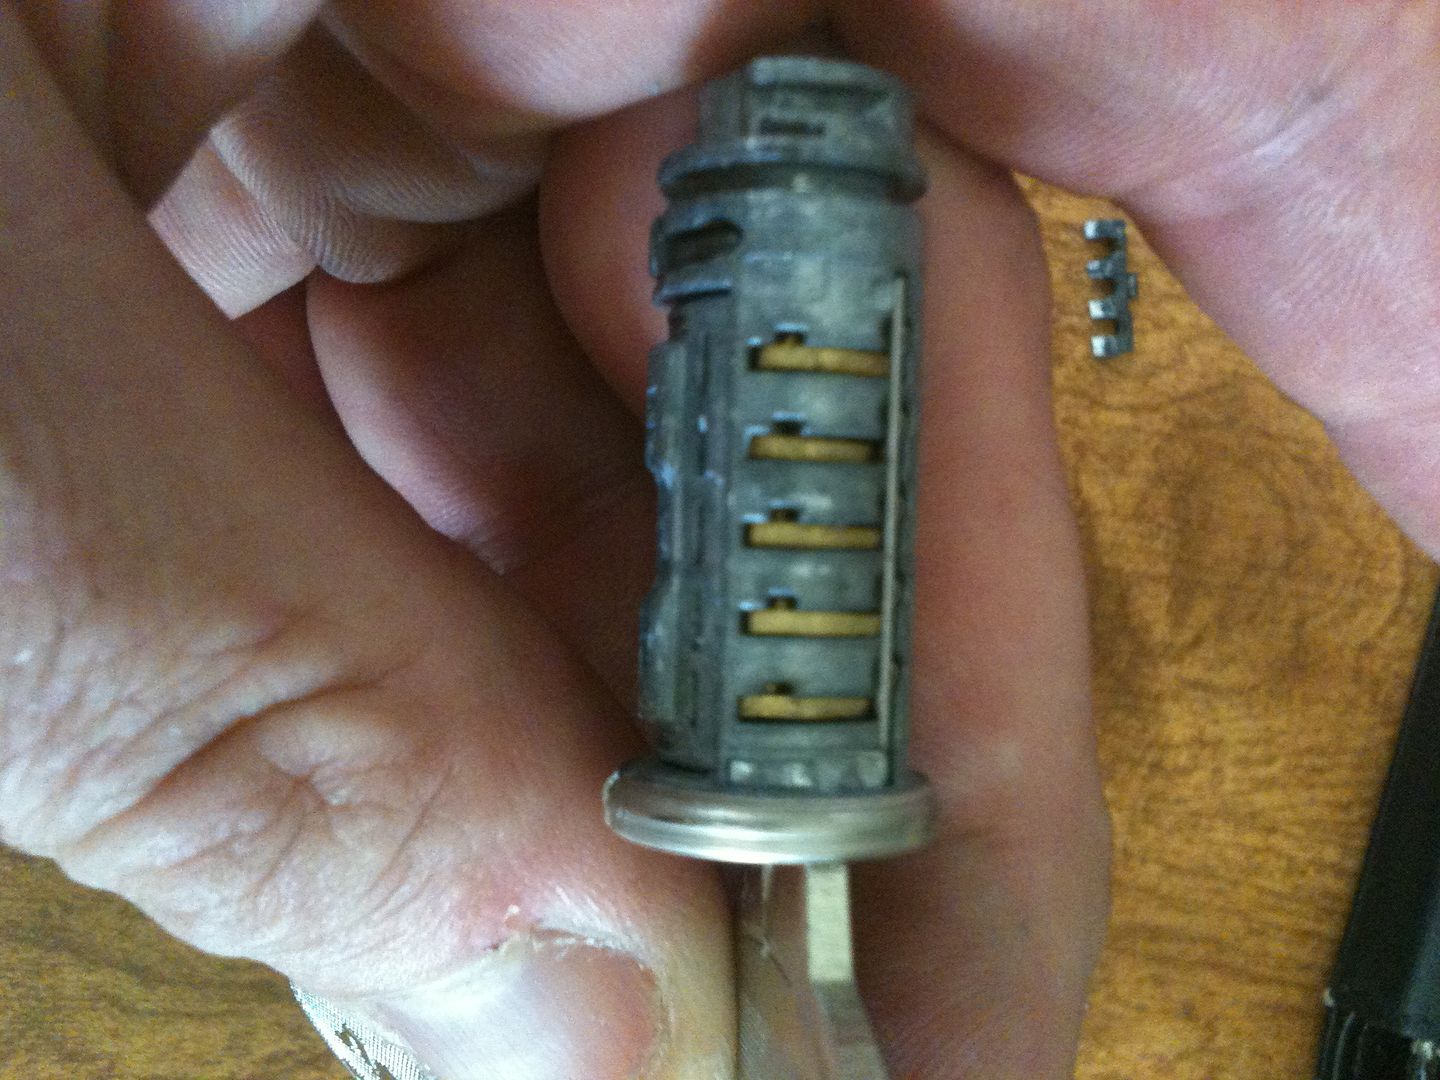
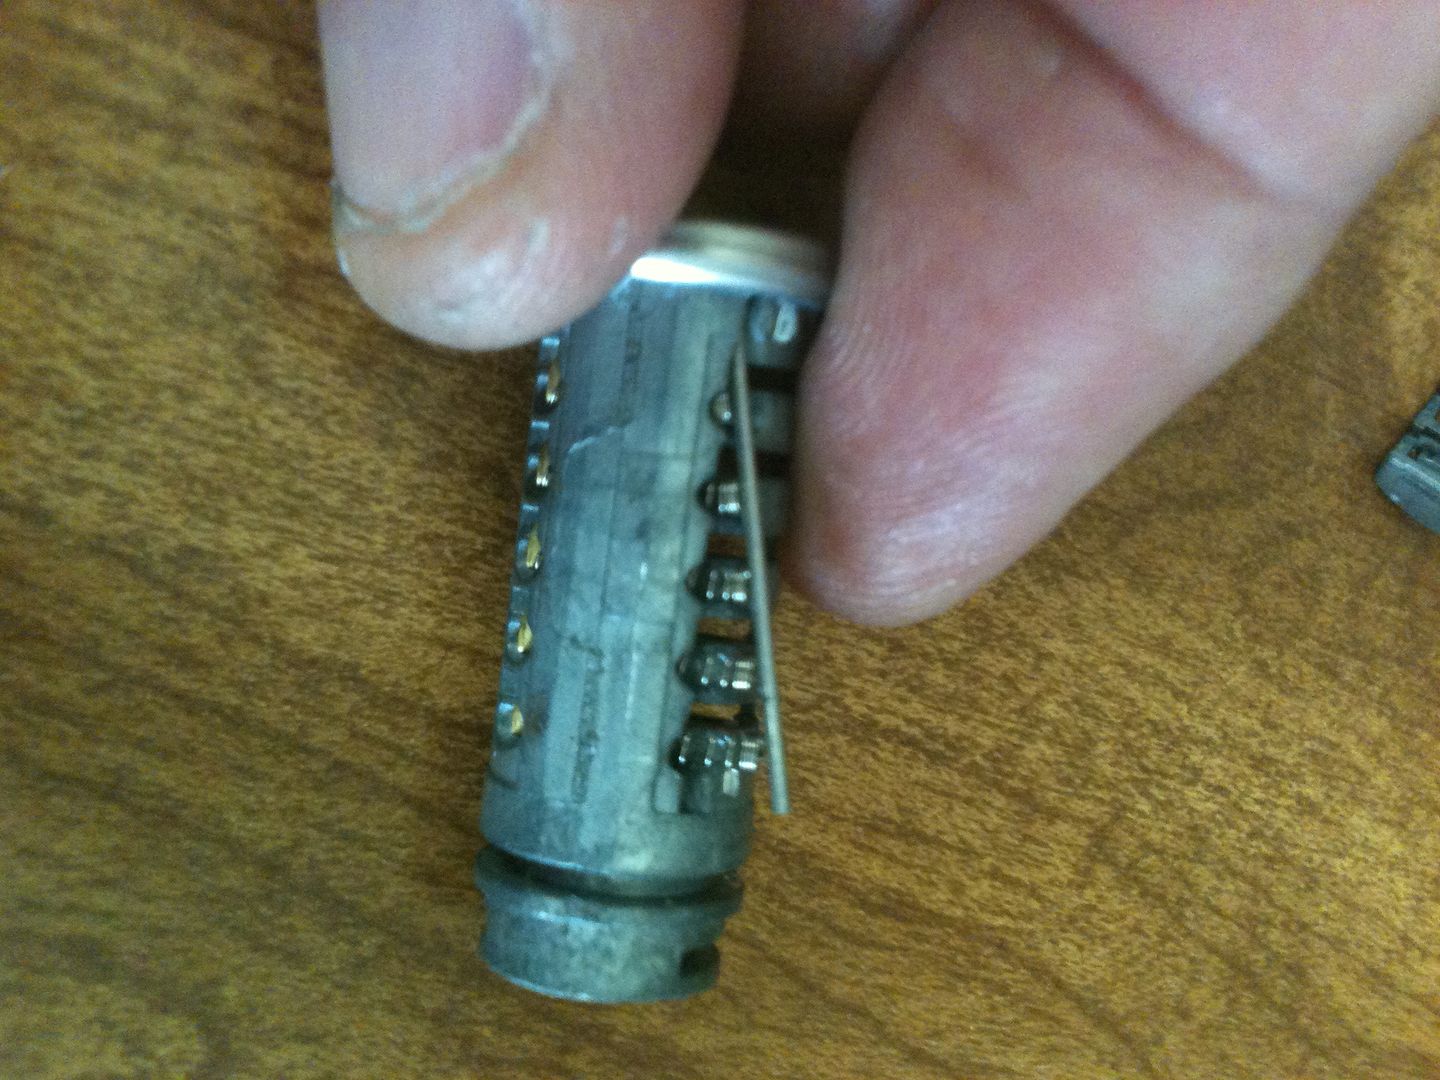
The wafers lined up. Notice that just past each wafer there is an opening. That stiff wire on the right is used to retain the wafers.
Rotating the plug…
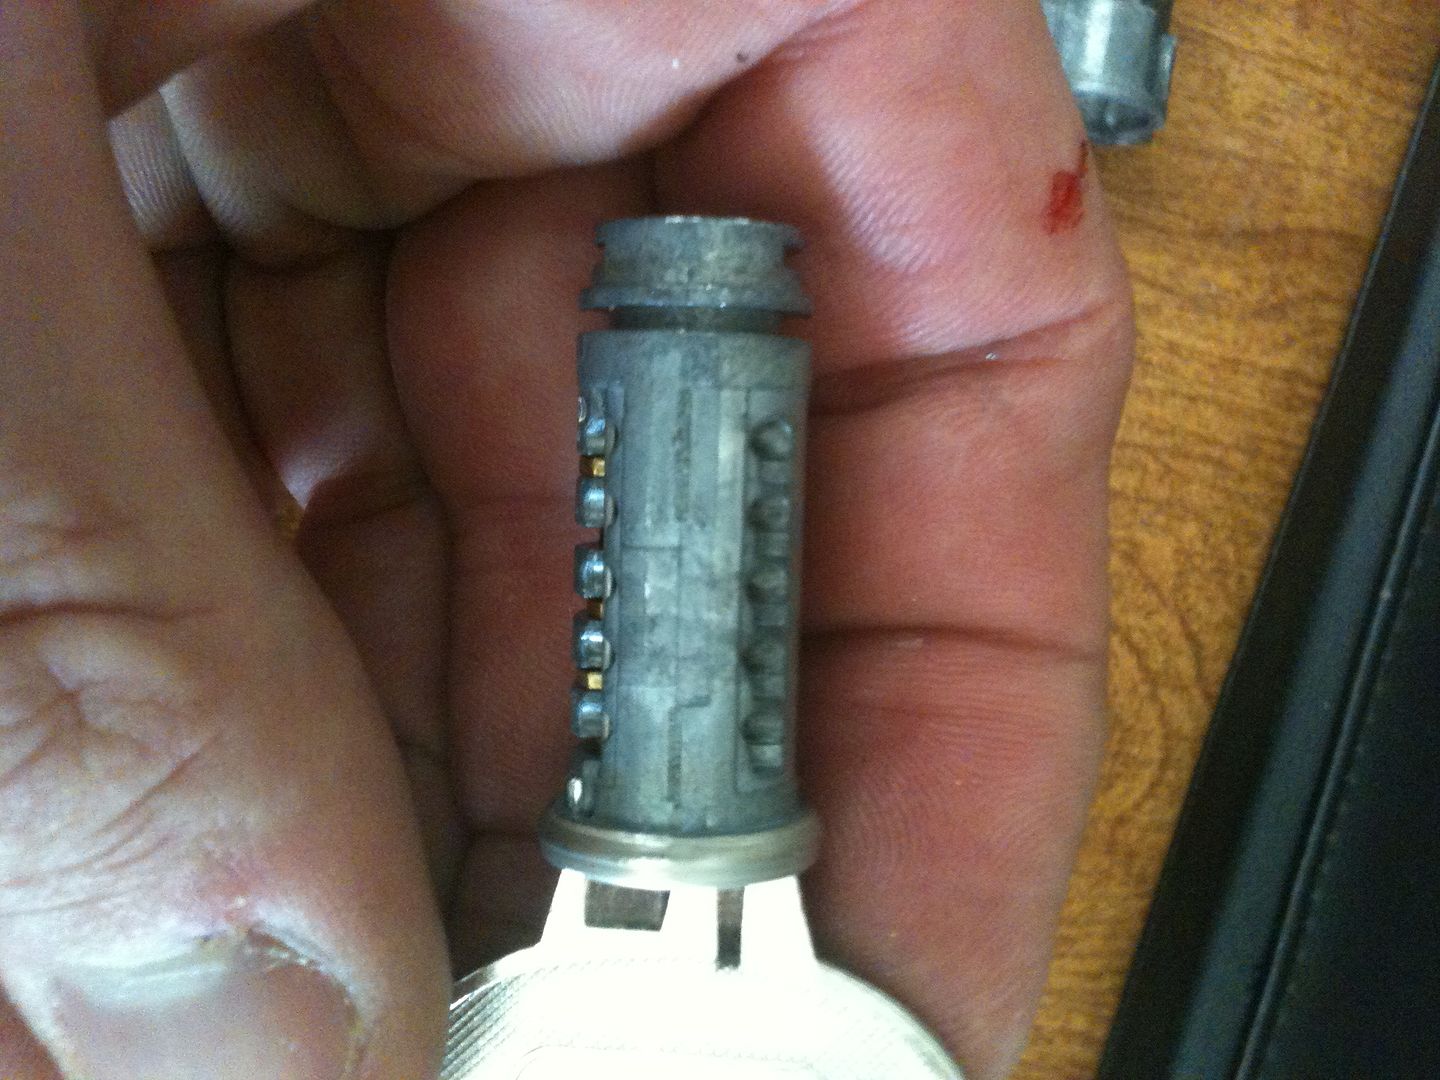
Bottom left hole shows something a little different. This is why it is easier to remove the plug with the key.
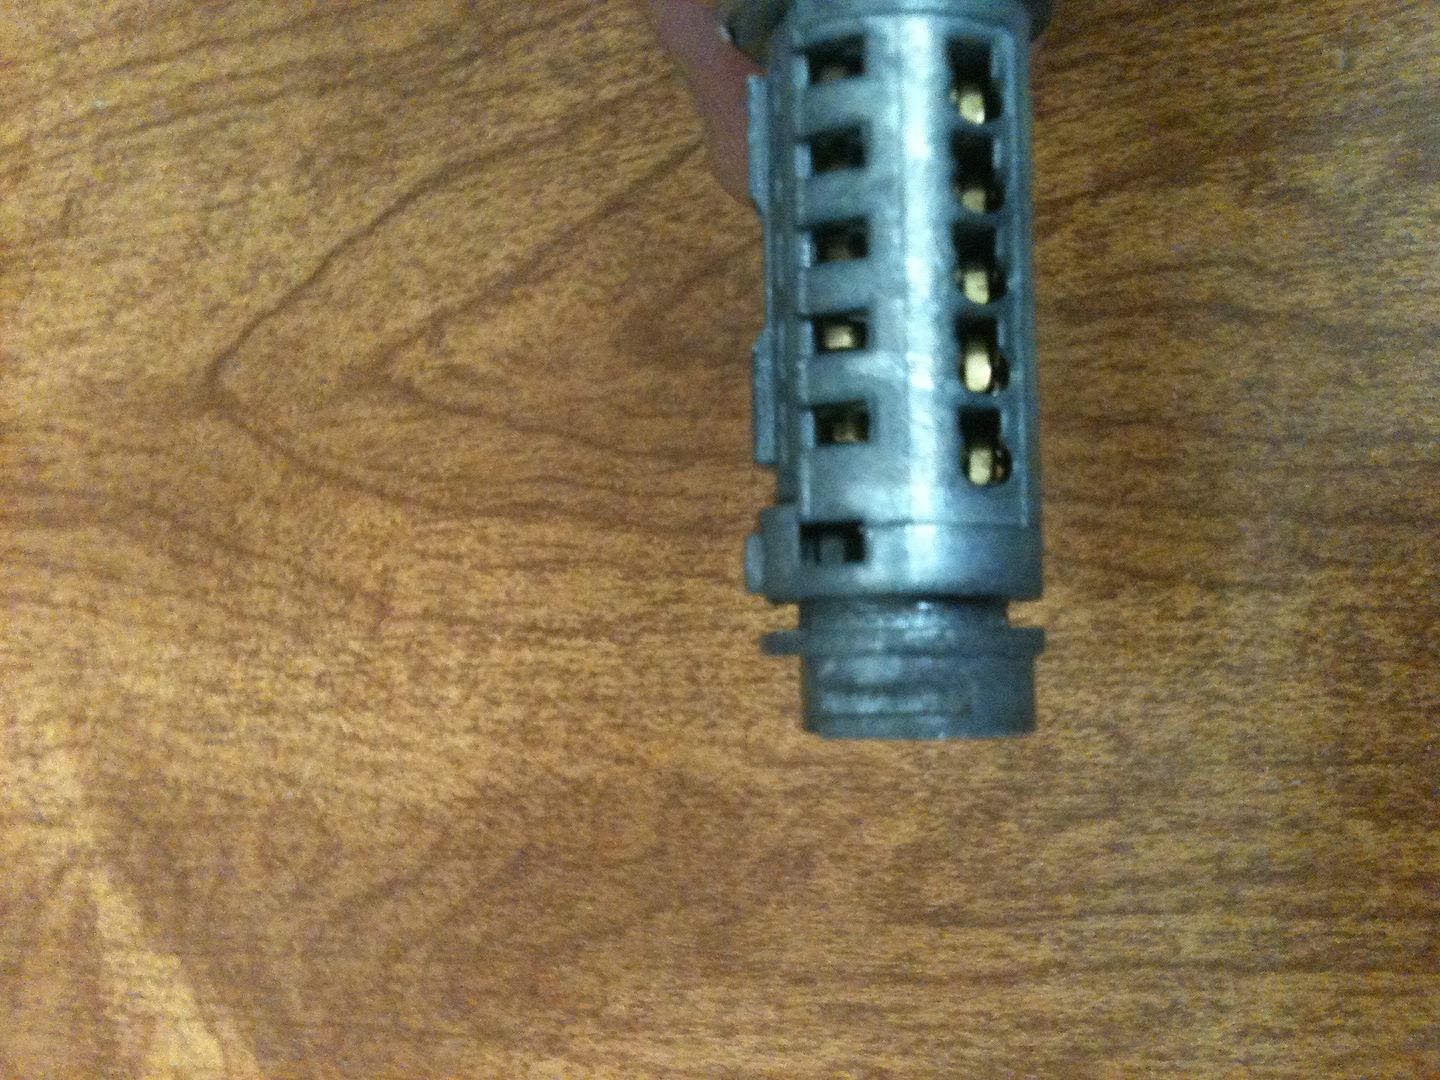
All the way on the left is the other side of that retainer. Along the top is the part of the plug that houses the sidebar and the key change part we removed earlier.
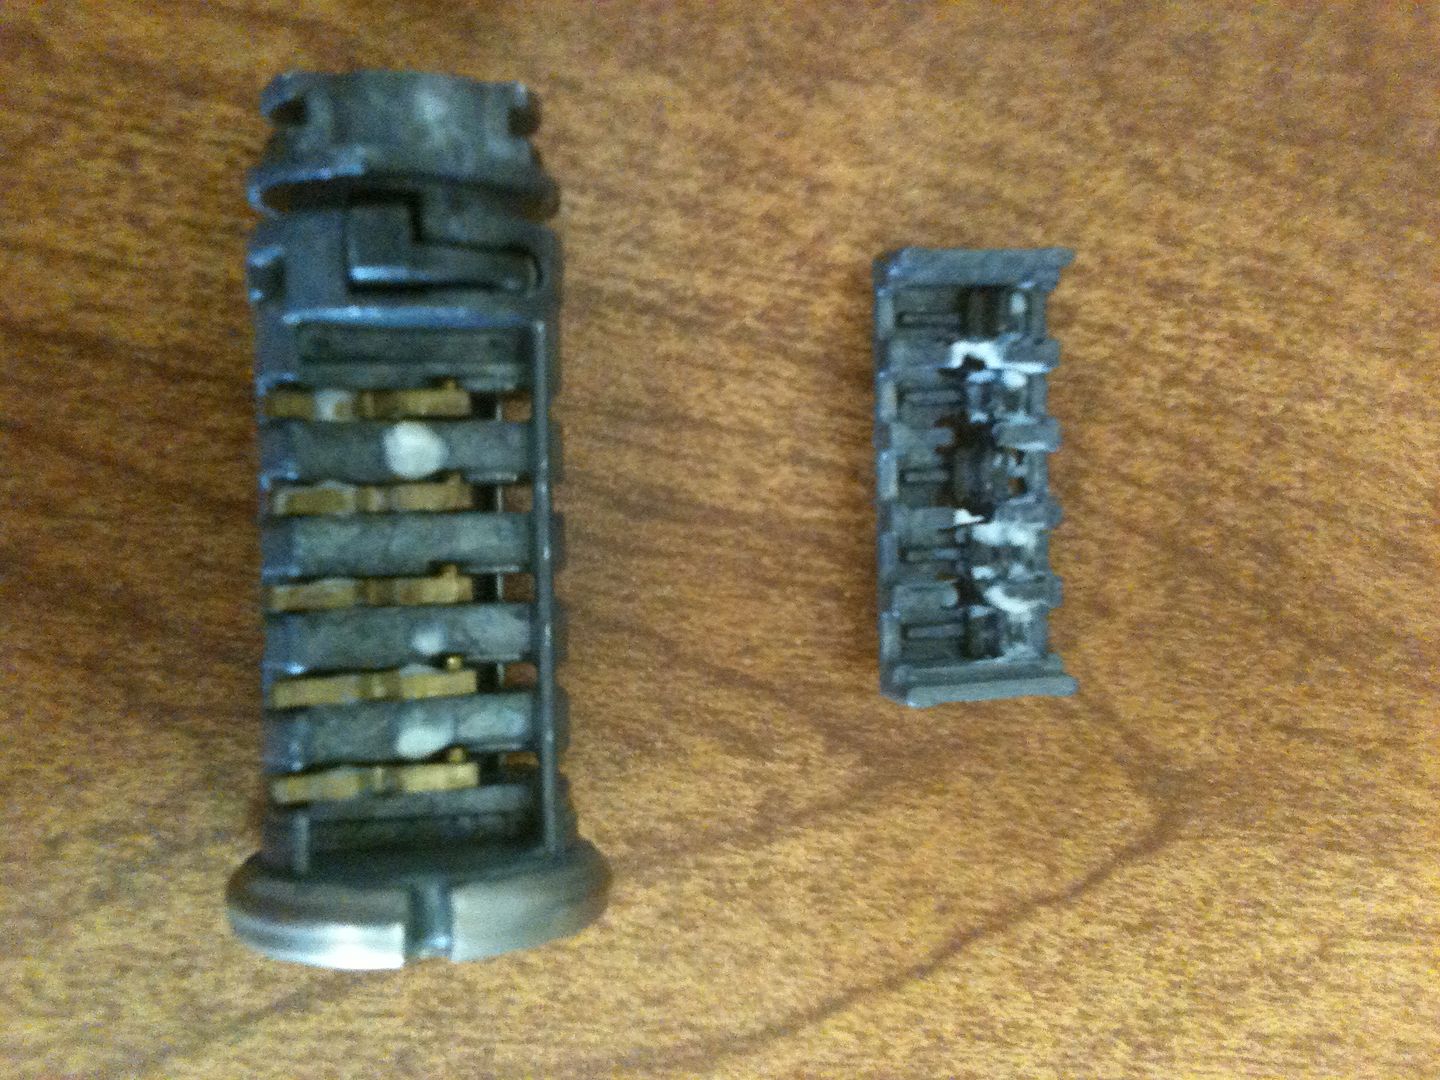
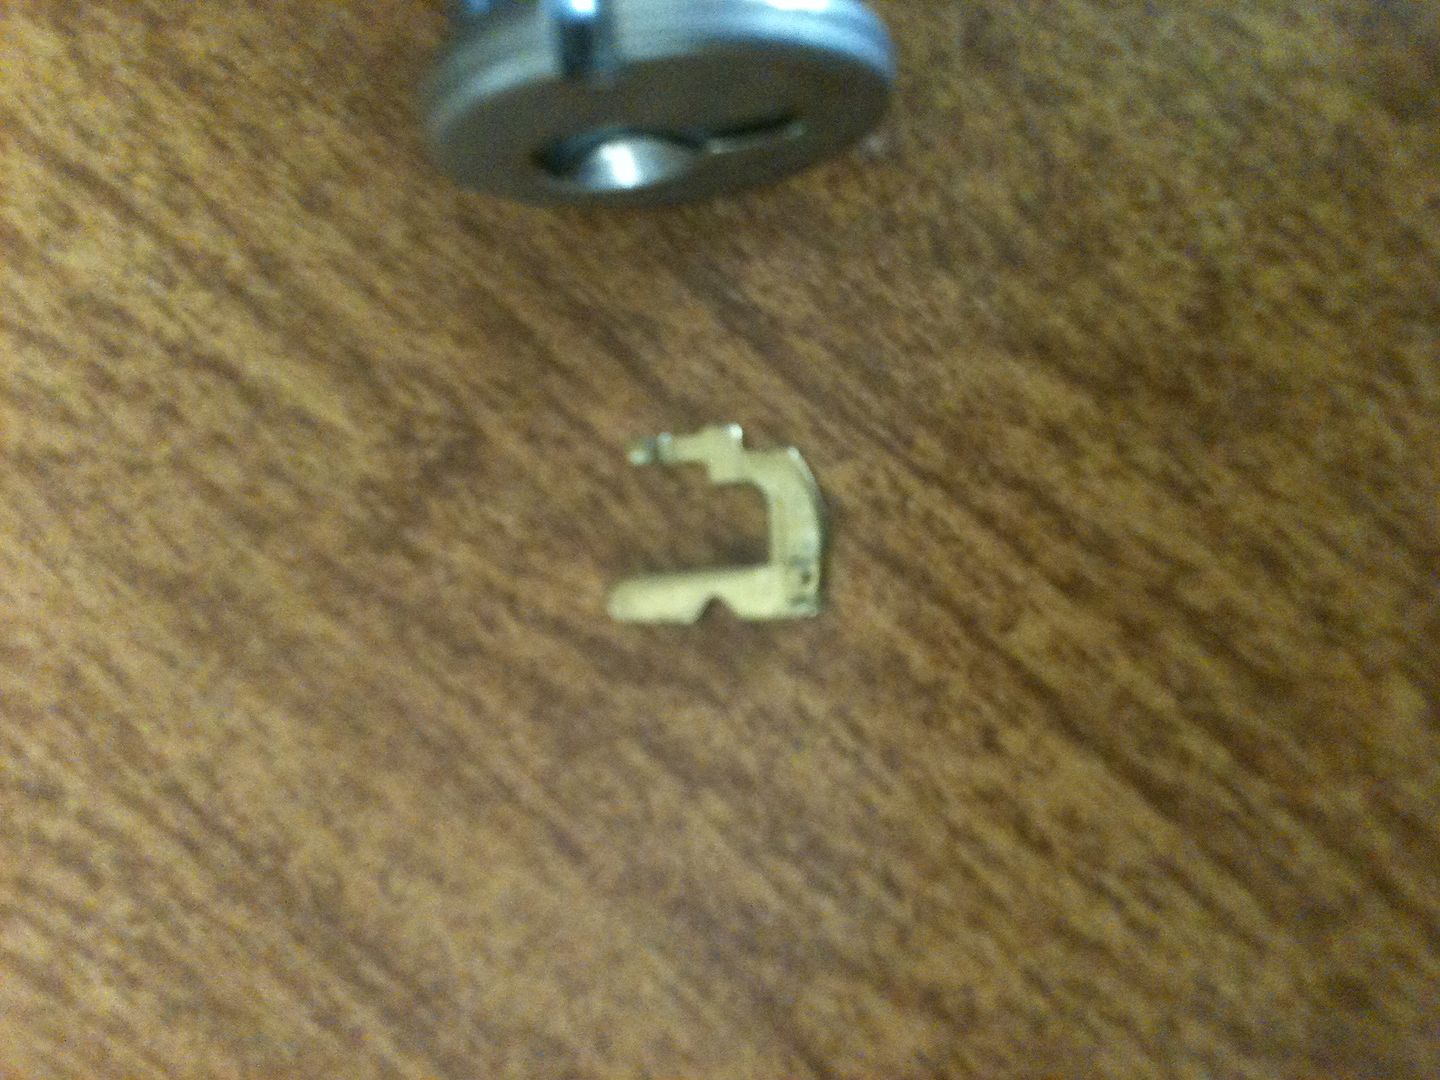
Remove that part of the plug On the left we have the main part of the plug that also has the keyway and the brass wafer carriers. On the right, the other part with the five individual sidebars. There is a groove in each wafer carrier for the two parts of the sidebar to fit into. (The EVVA 3KS has two grooves for the sidebar, but only has two sidebars - one on each side. But this, of course, having five side bars, is a much higher quality lock!) ***smirks to himself*** ***giggle giggle***
One of the side bars. The edges are serrated.
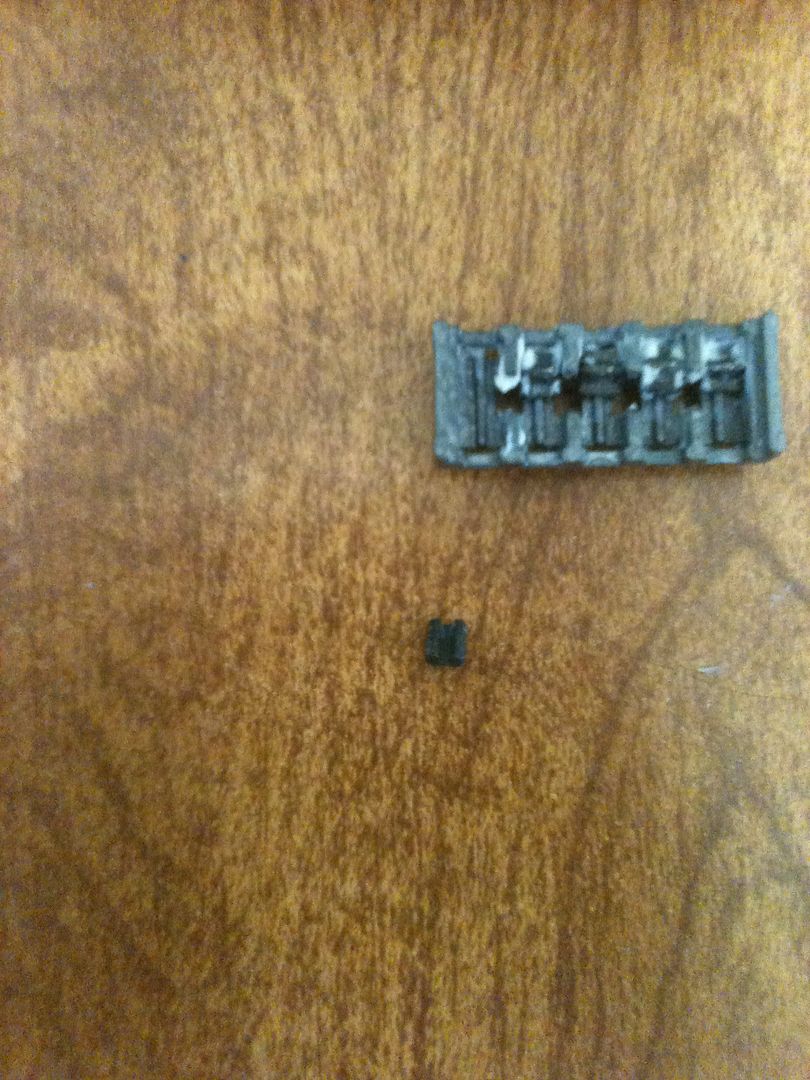
The serrations let the other part we removed lock the sidebars in place.
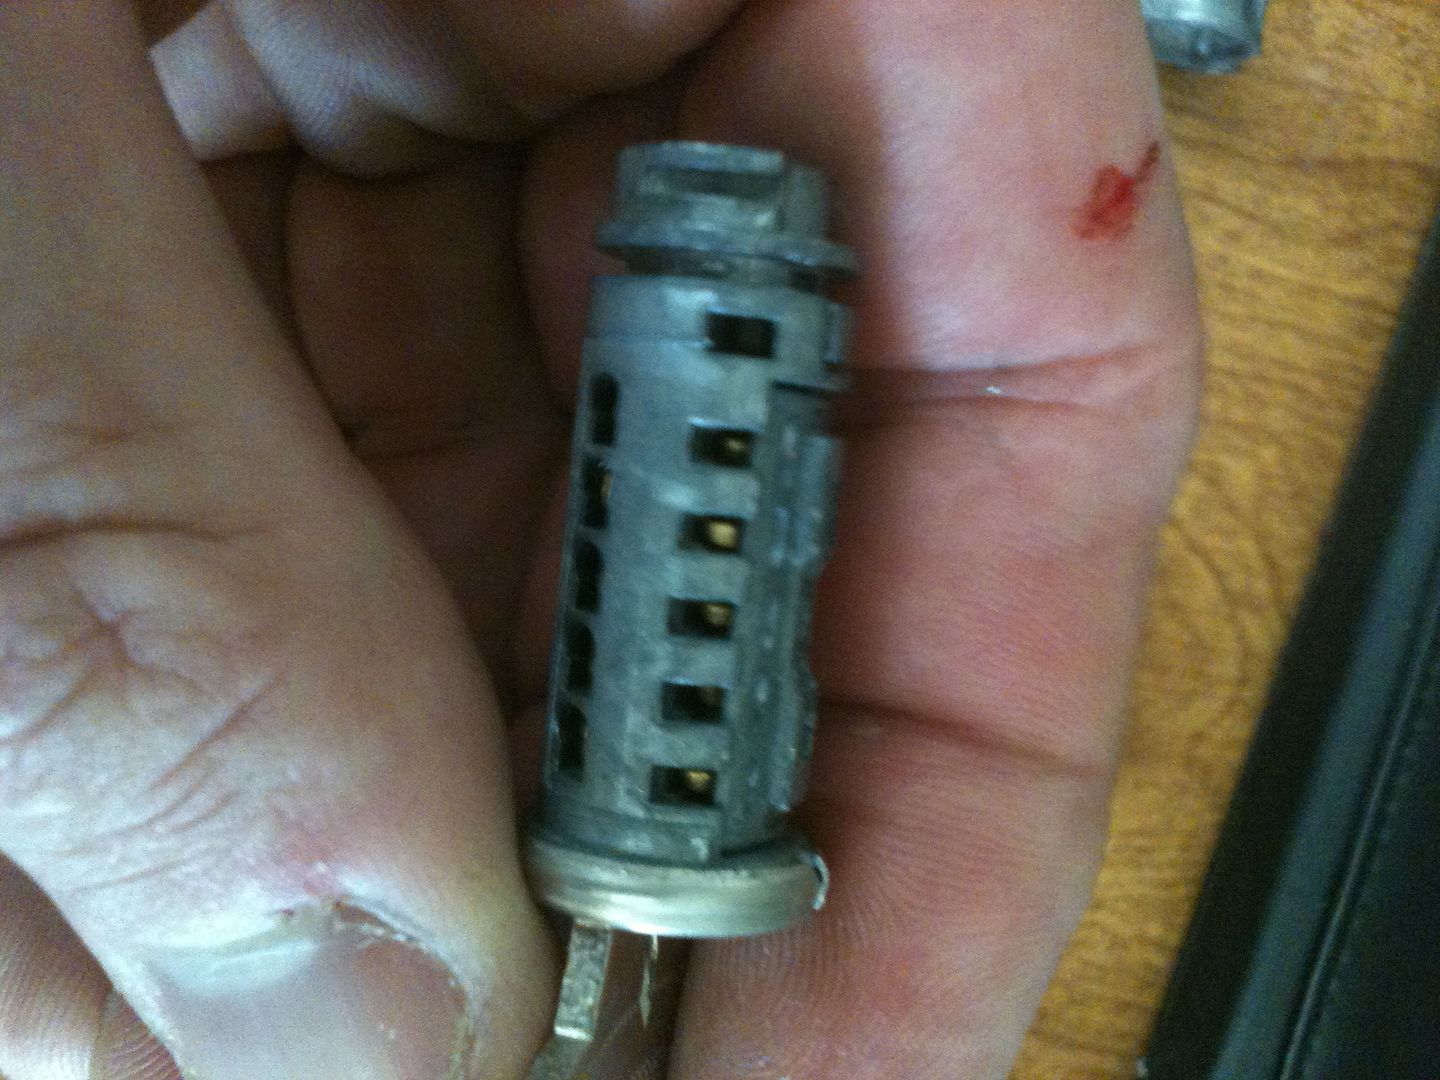
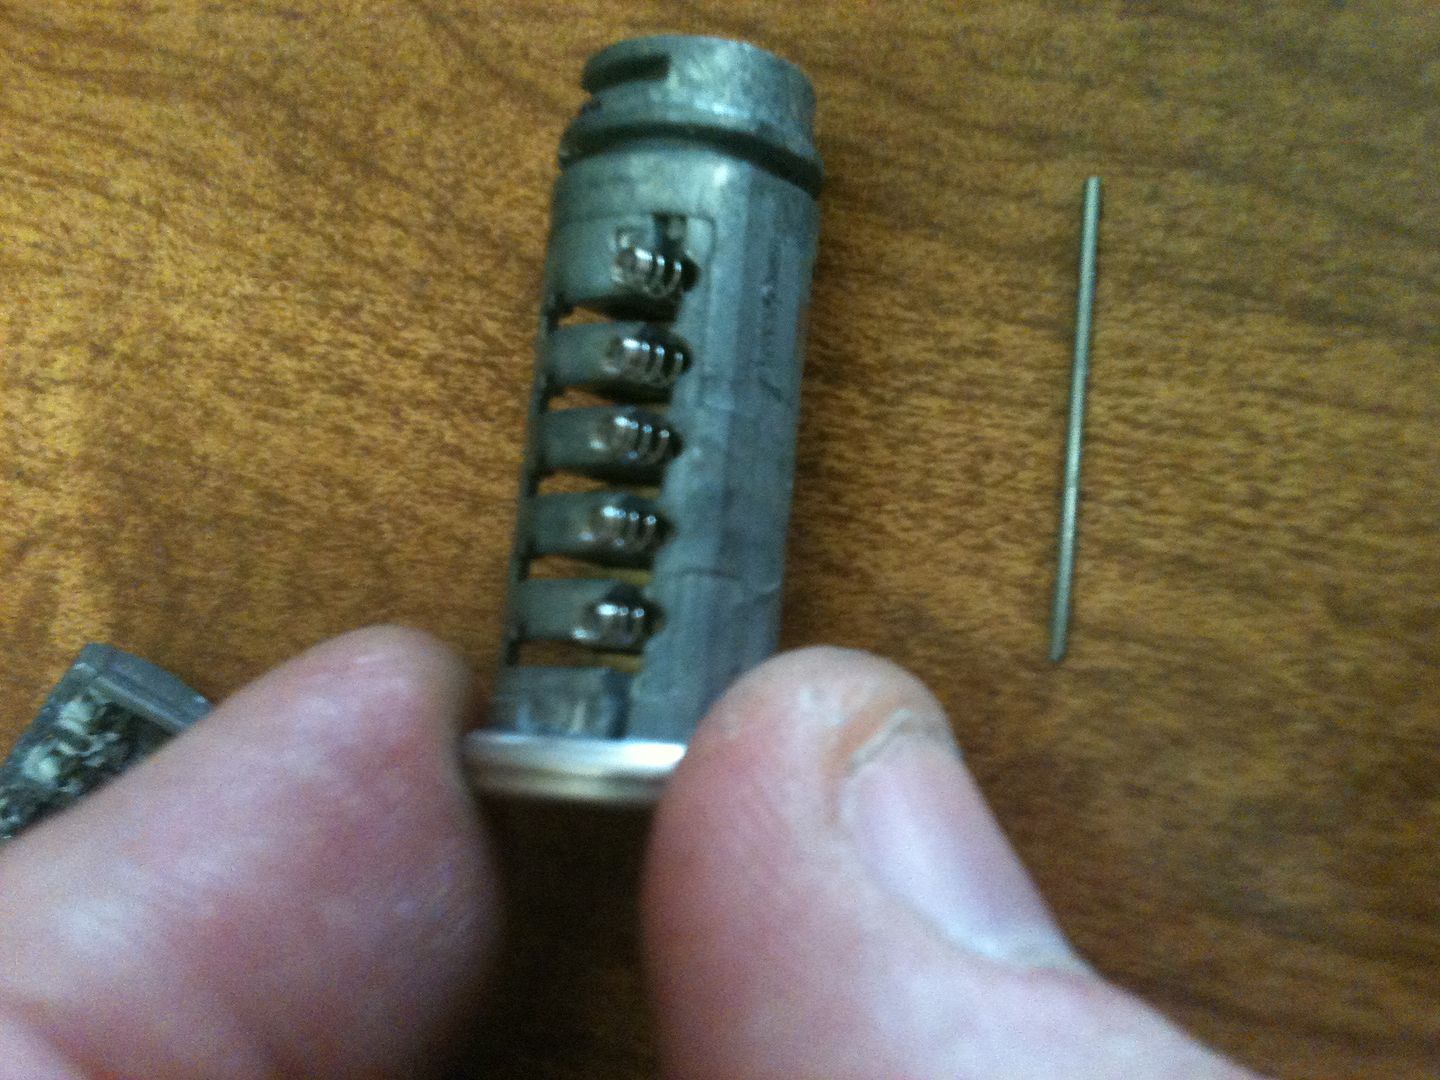
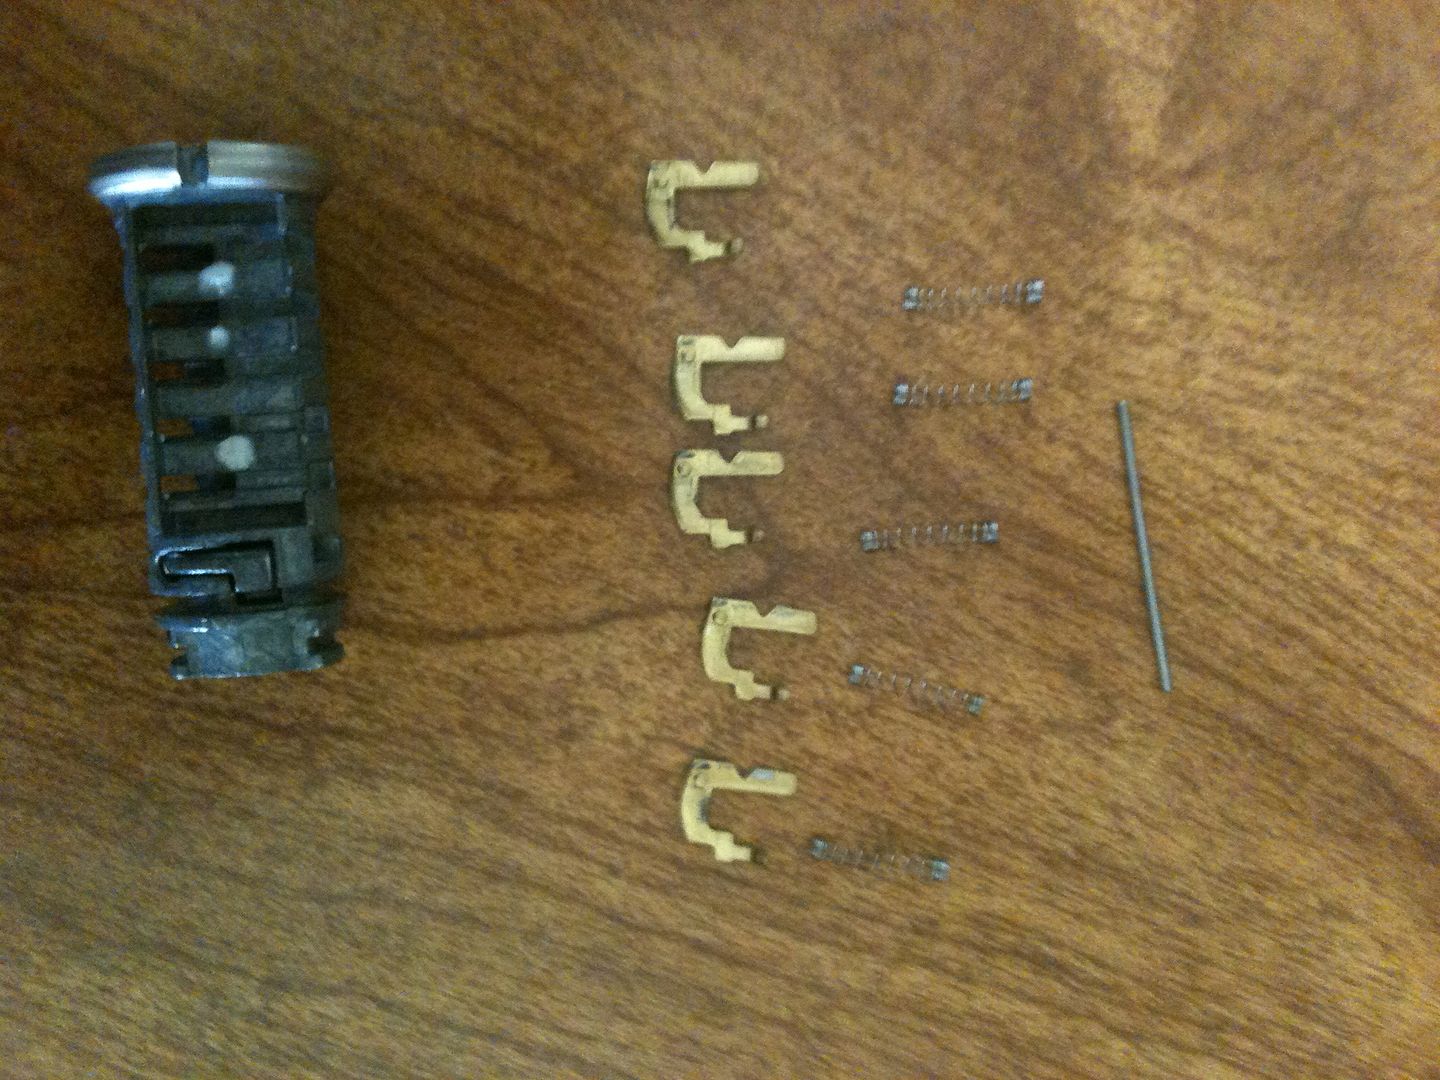
Now for the wafer carriers. Viewed from underneath, you can see the carriers and the springs. Those horizontal parts are also the same part as the vertical parts.
Remove the stiff wire opposite the last picture. It is lightly staked in place. Beware - those springs may want to launch.
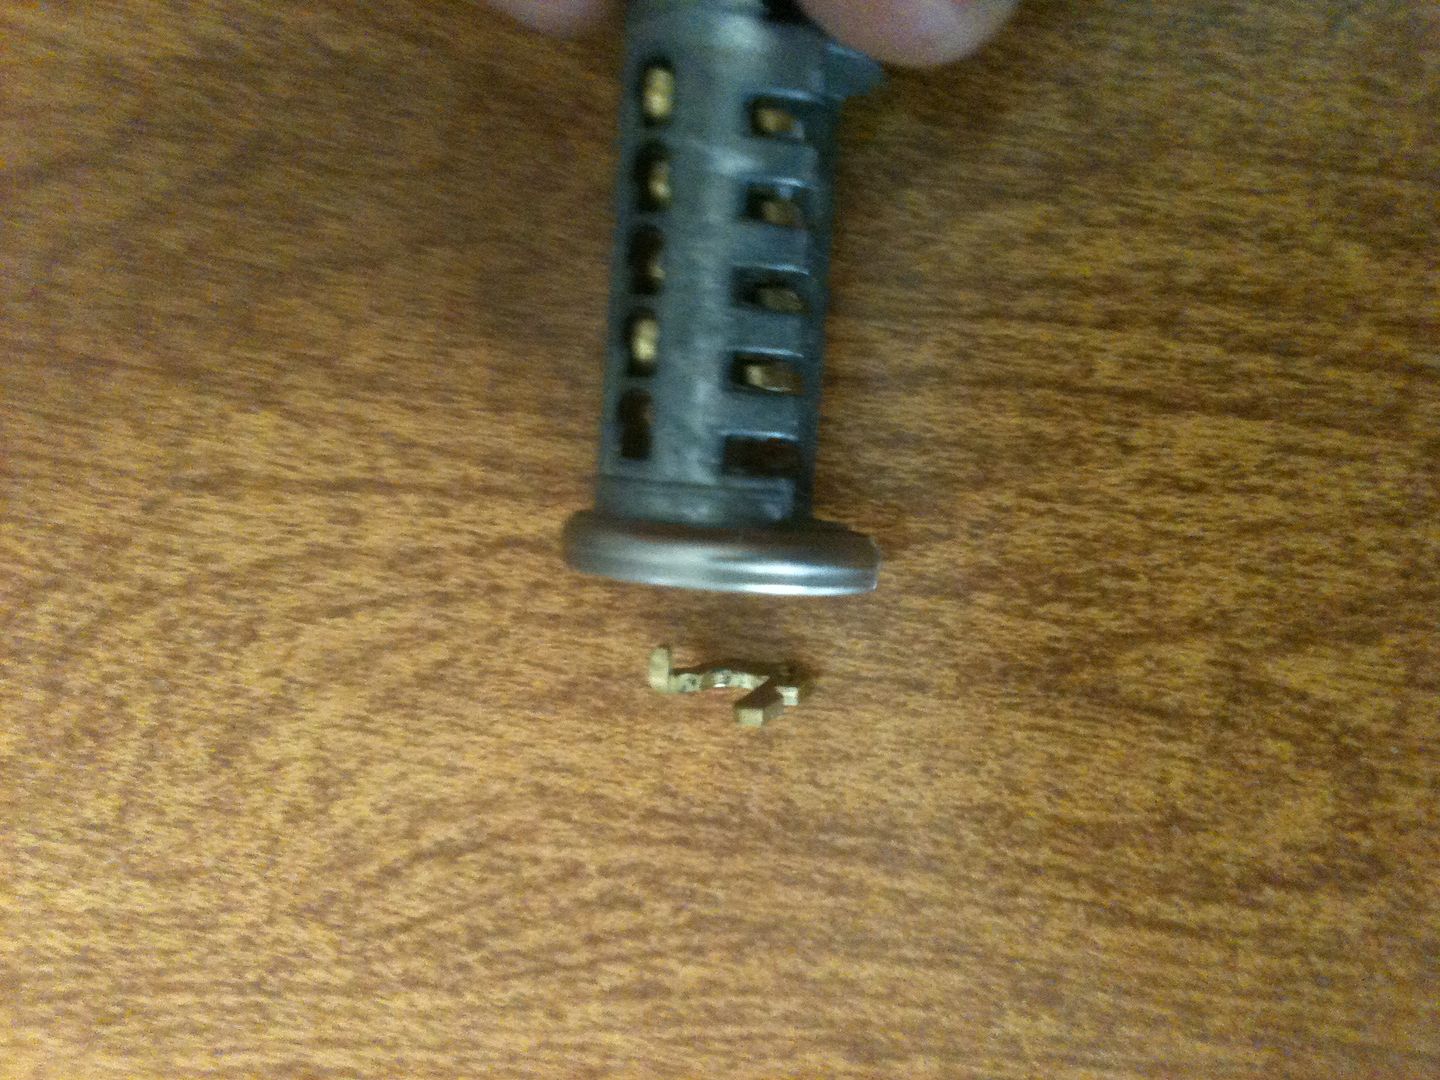
Once the springs are removed, the wafer carriers can be removed by lifting them out the holes on the side where the wire and springs were removed. At the bottom of the picture, you can see one of the carriers, and the groove for the sidebar.

The spring cap from the top of the bible.
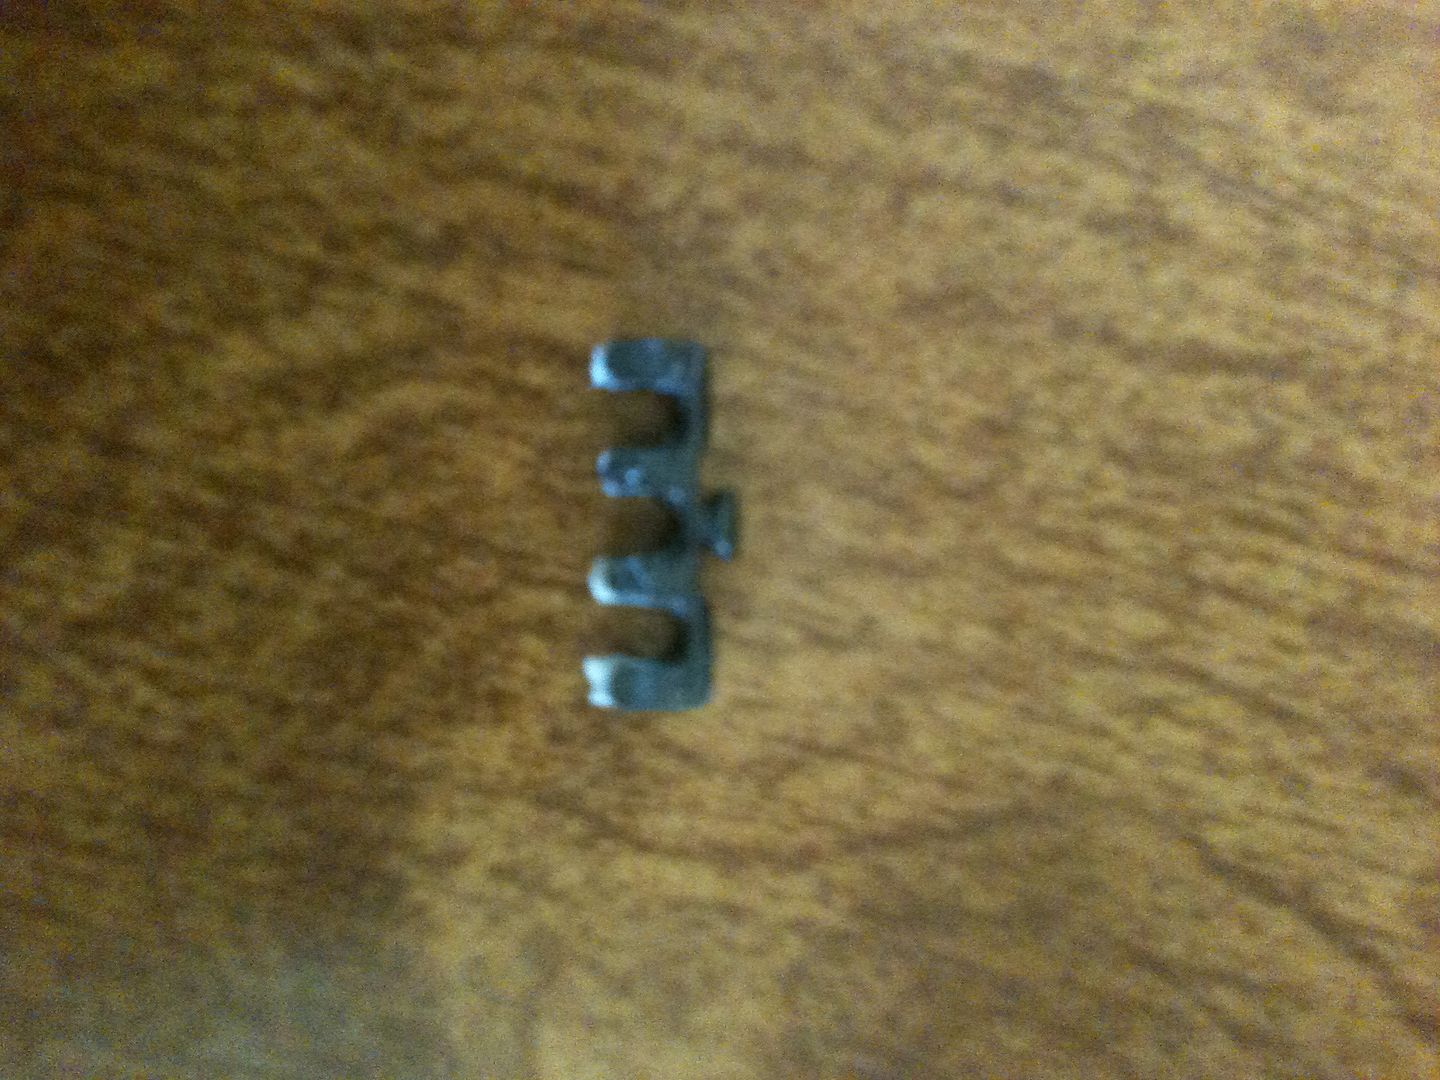
The white parts that lifts the rekey part
The lower white part cams with the rekey tool to lift the upper part.
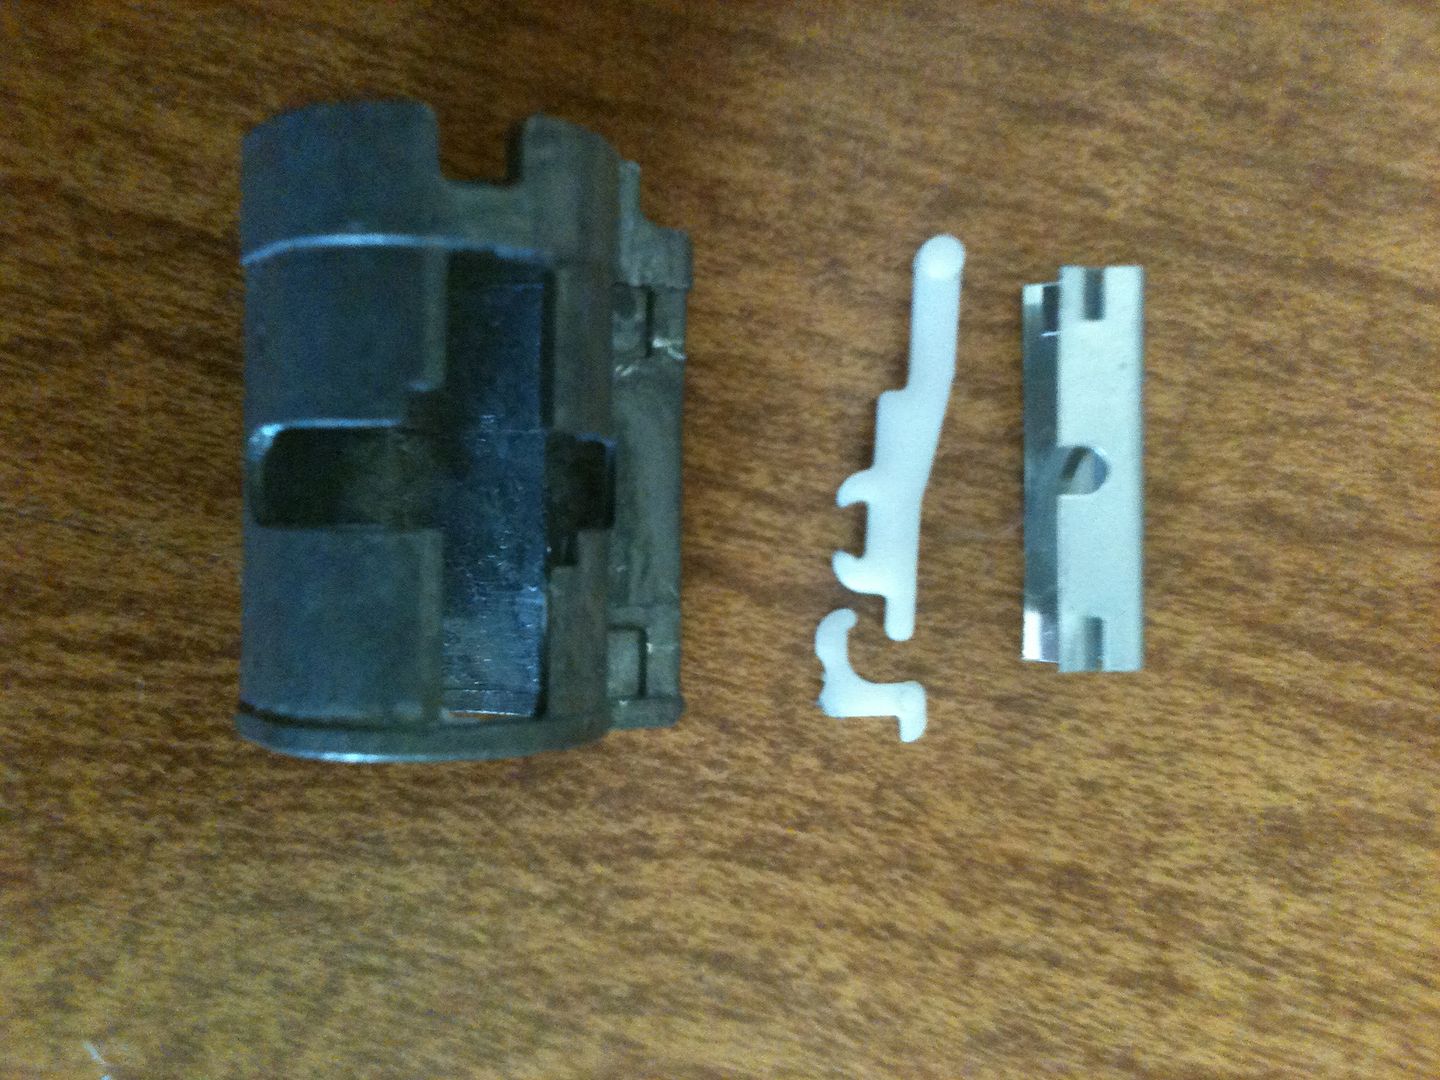
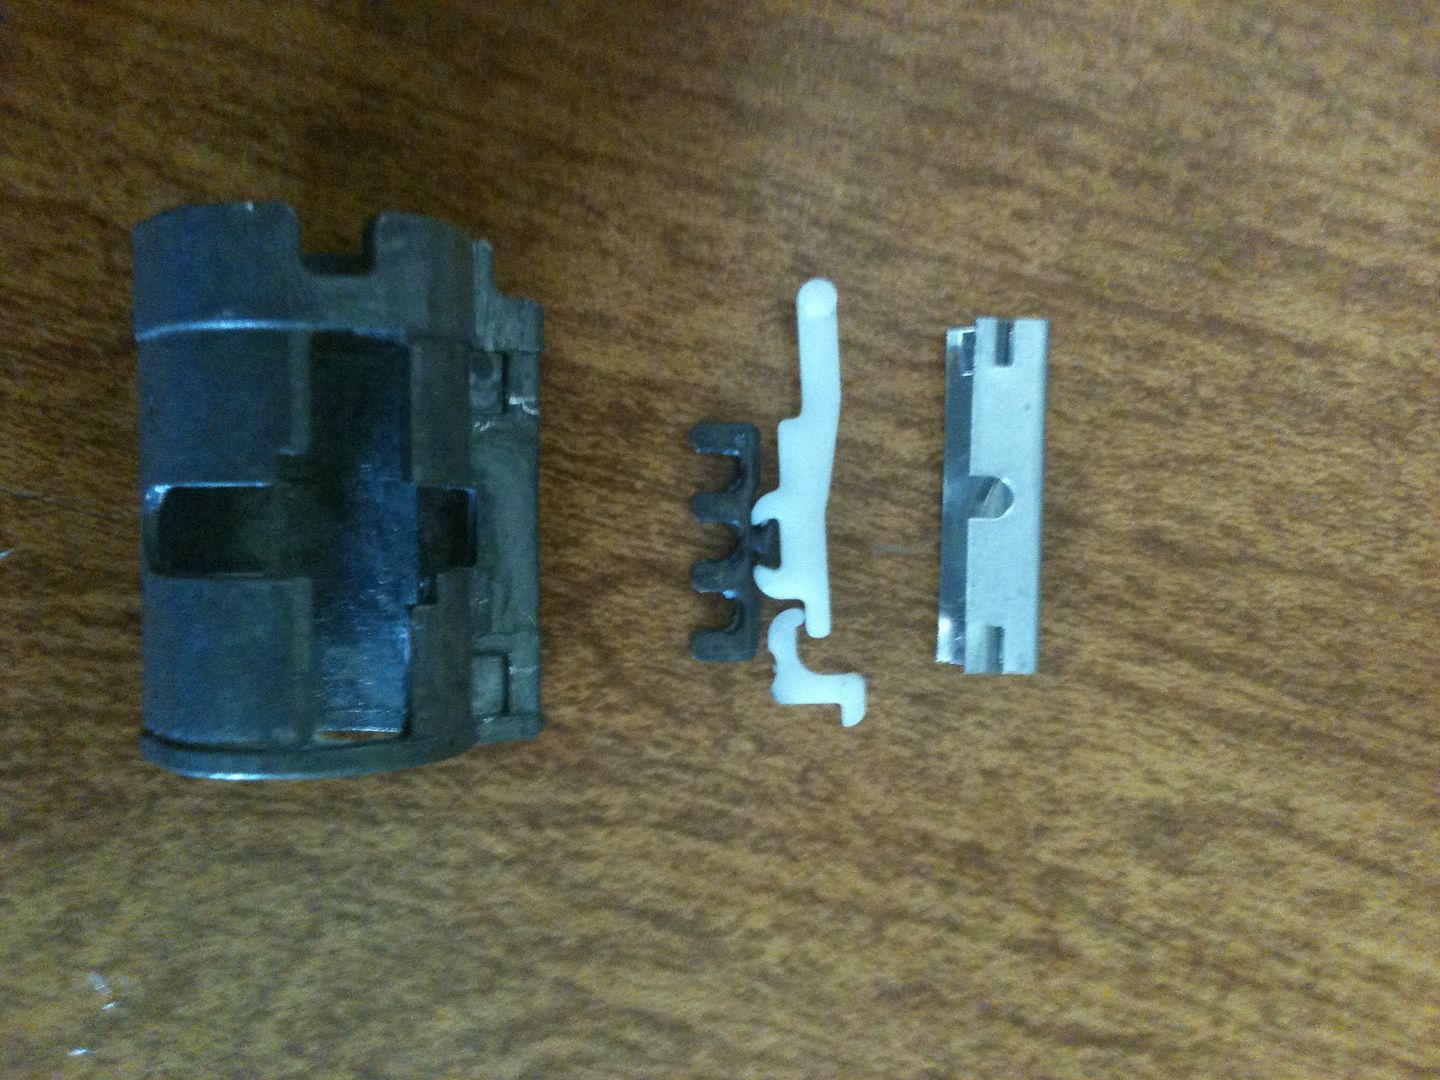
So the rekey on this lock does not mesh the wafer carriers and the wafers as with the SmartKey. The bitting is entirely based on the height the individual sidebar is held at by the four-pronged part in the above picture.
So that is how that lock comes apart, and how it functions.
This lock cylinder feels very cheap, and is not difficult to pick. Apply light tension, and find the binding wafer carrier. Lift it until the sidebar for that carrier clicks into place. There are very light serrations on the side of the wafer carrier, both above and below the true gate. But they are very shallow, and with light tension you can push the wafer carriers past them. At true set, they have more movement due to the width of the true gate. Then go to the next binding wafer carrier.
Have fun!
Gordon

