


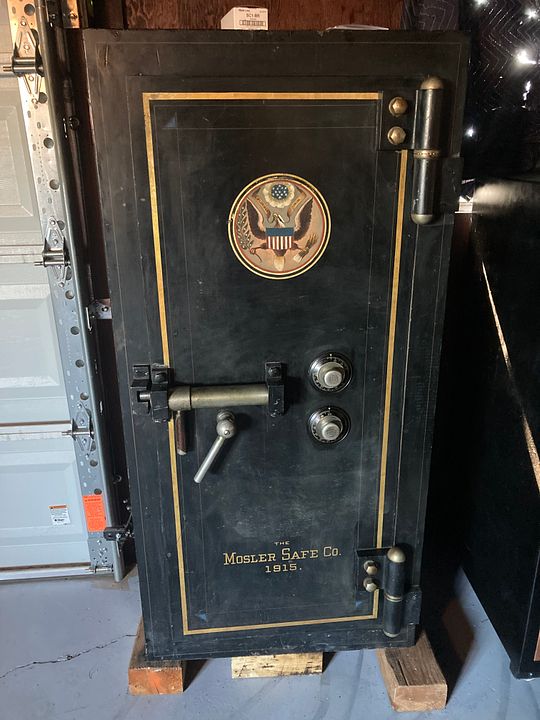
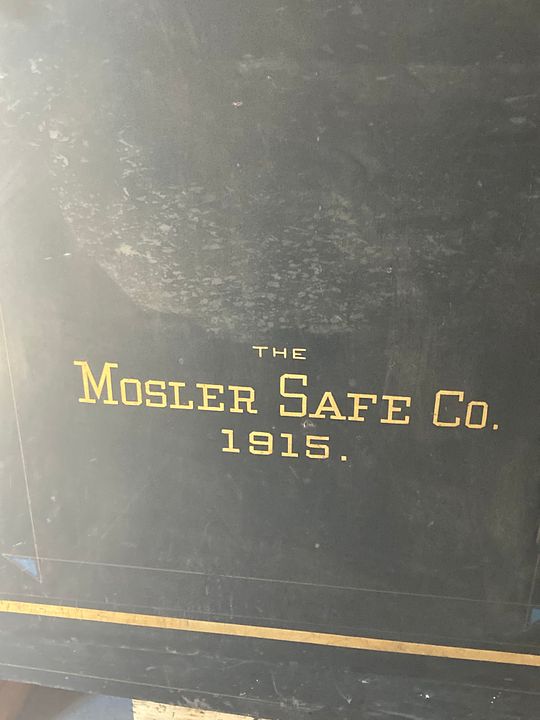
I believe the presidential seal on the safe is the second generation seal. The original presidential seal was quite cartoonish. This one is sort of half way between the original and the current one. The presidential seal is there because as I understand it, these were purchased by the US Treasury Department for placement in the larger post offices. This particular one is supposed to have come from the Los Angeles, California main post office.
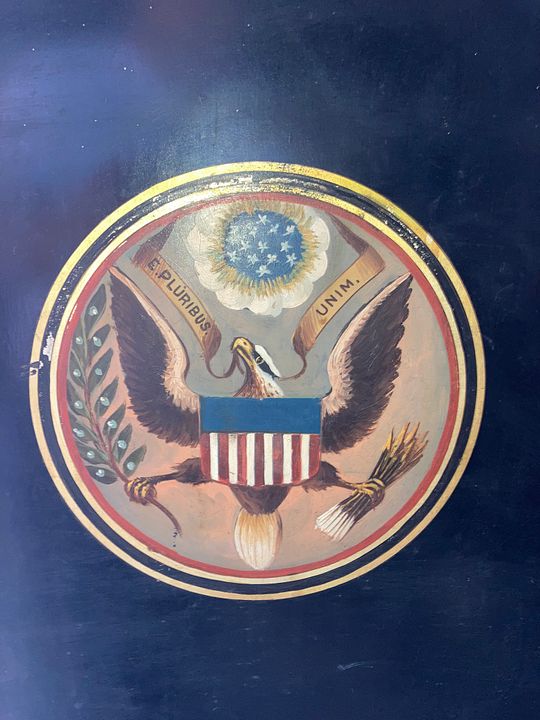
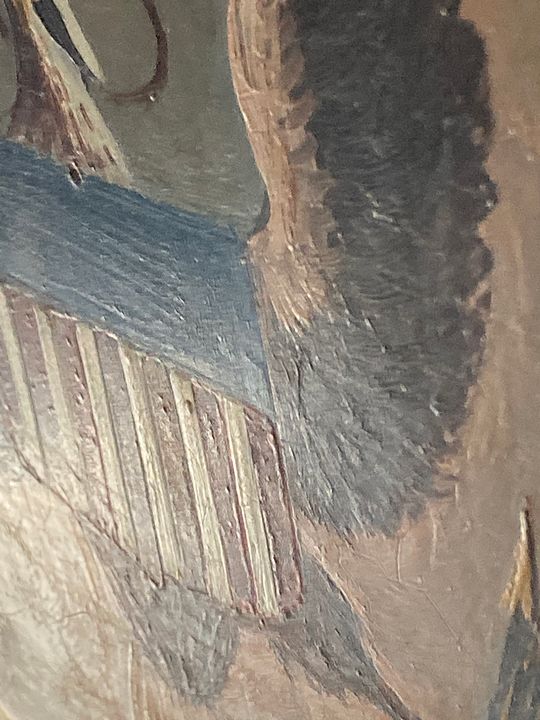
The seal itself is hand painted.
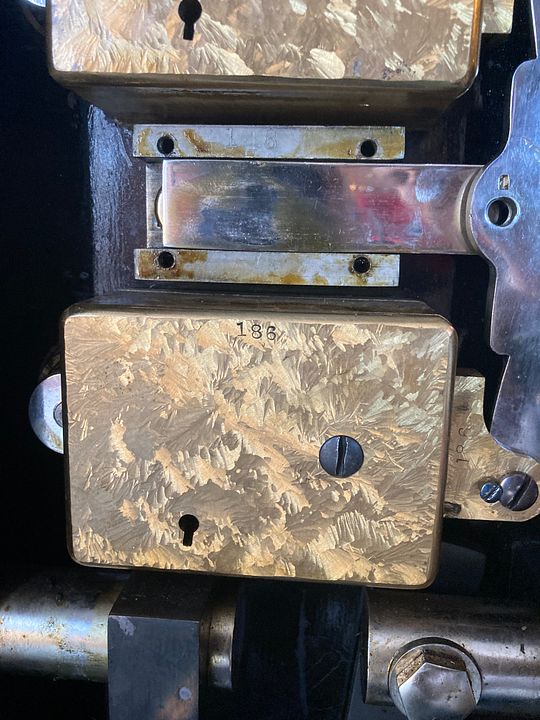
Mosler also painted the year on these safes as they made them. So this one is 106 years old.
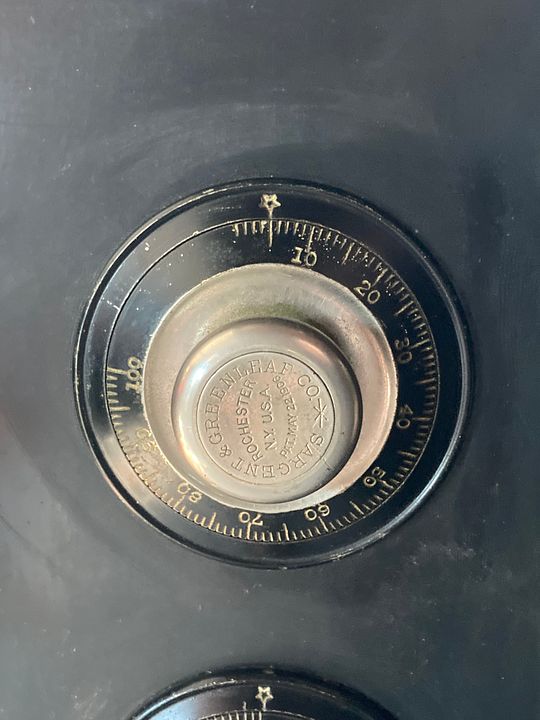
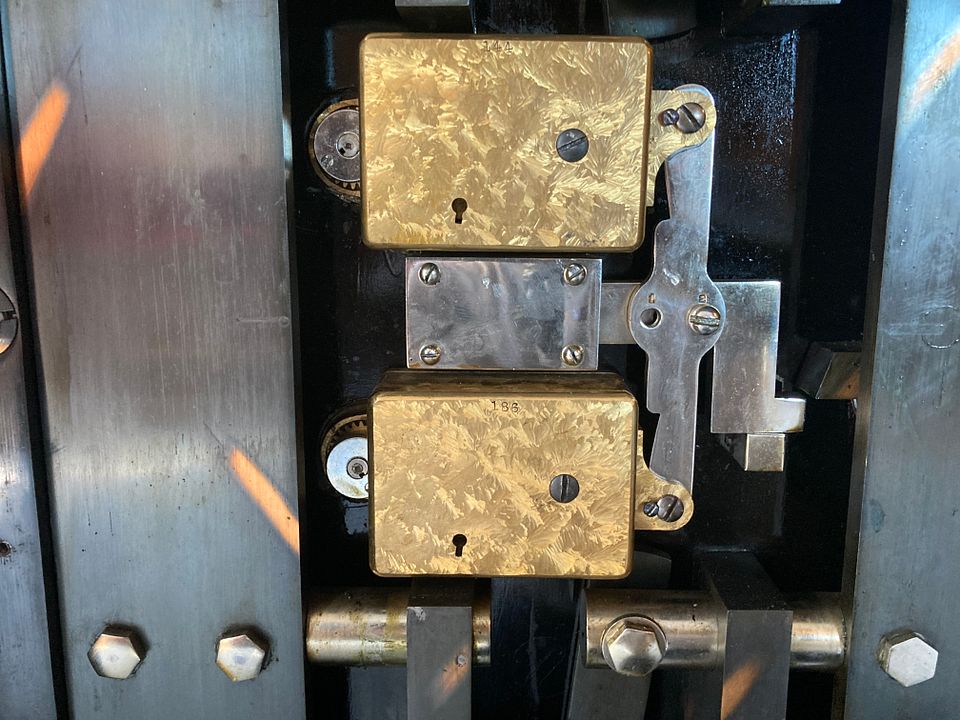
They came with two Sargent & Greenleaf 6575 bronze case locks. More details on them later.
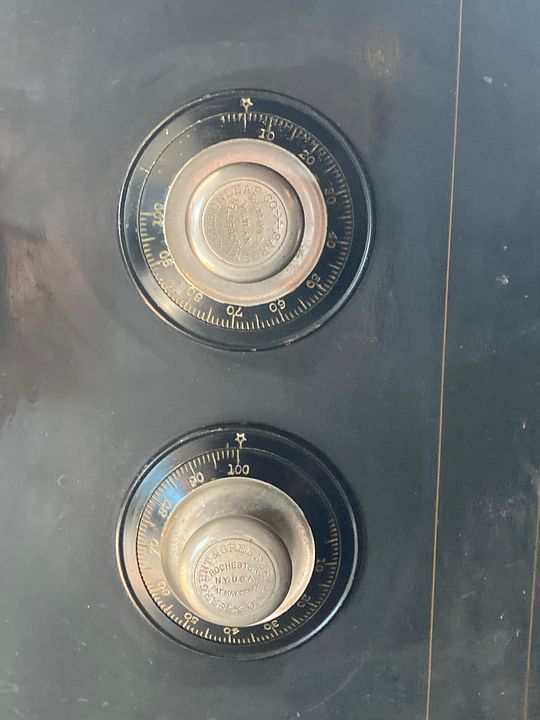
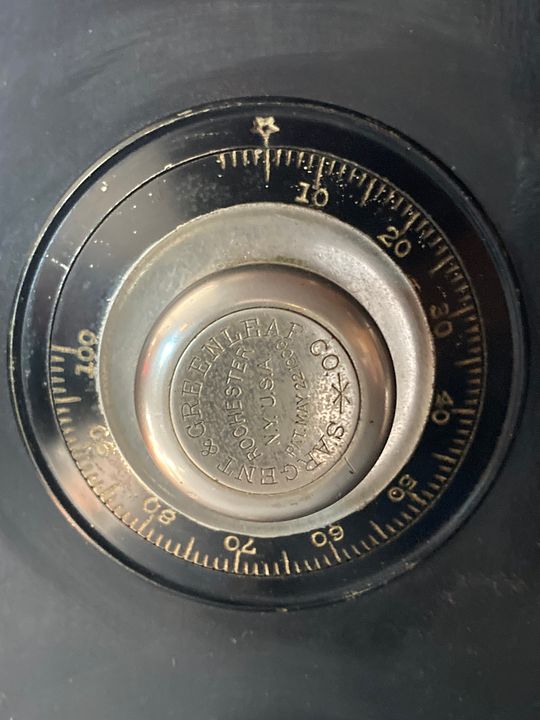
Note the 35 digit missing section on the dial. That way a person is less likely to set the final number in the forbidden zone.

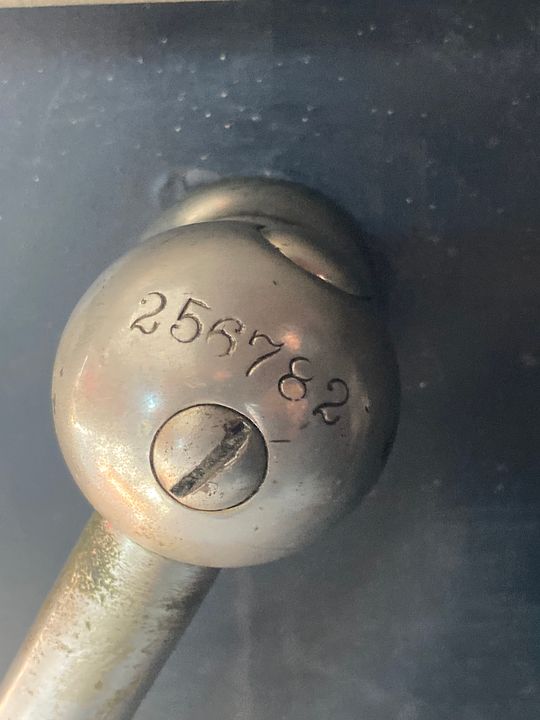
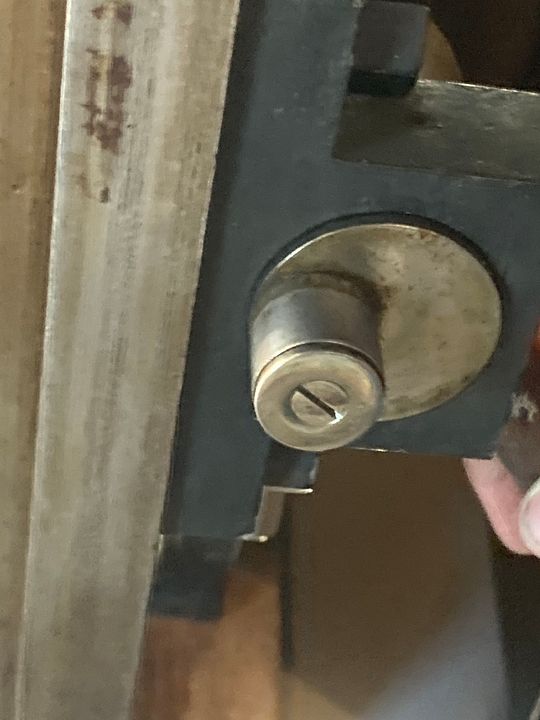
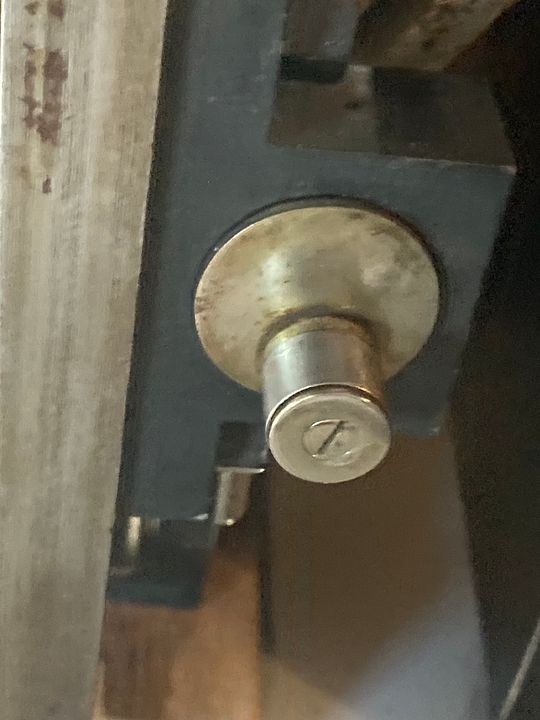
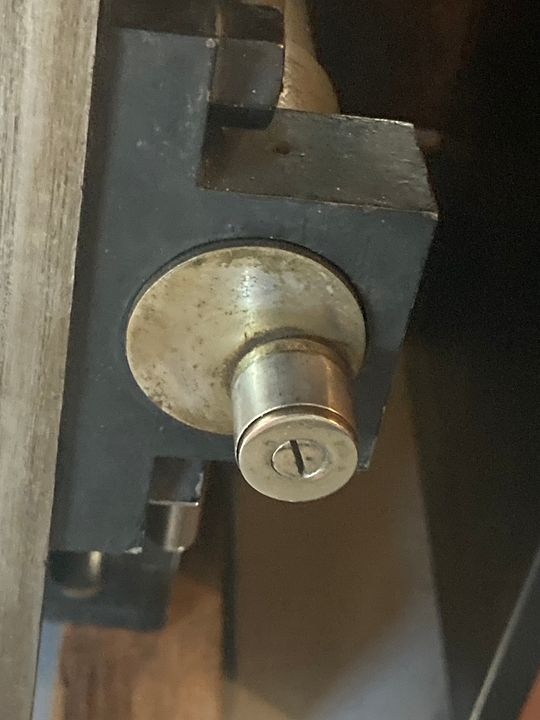
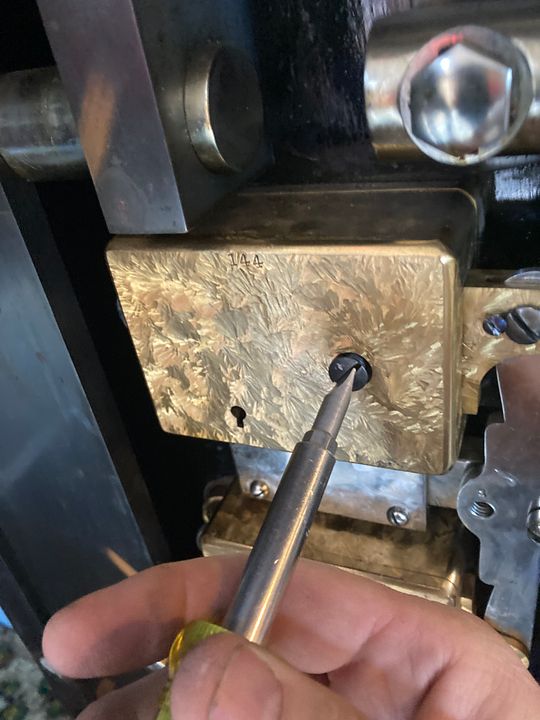
Serial number on the handle:
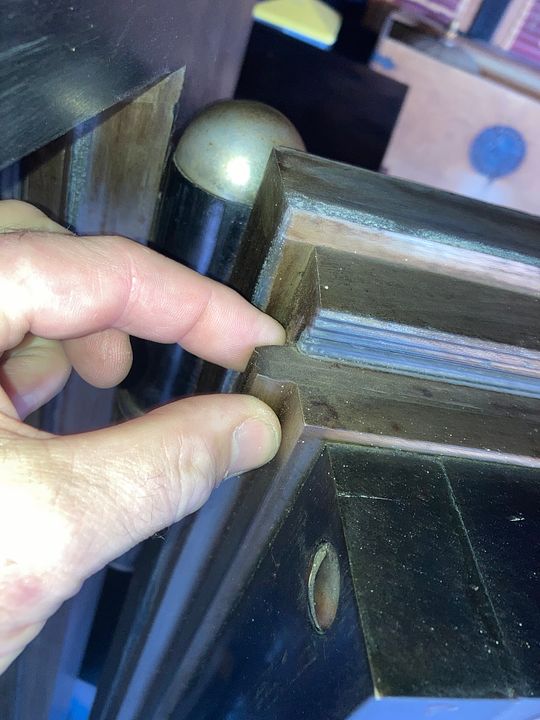
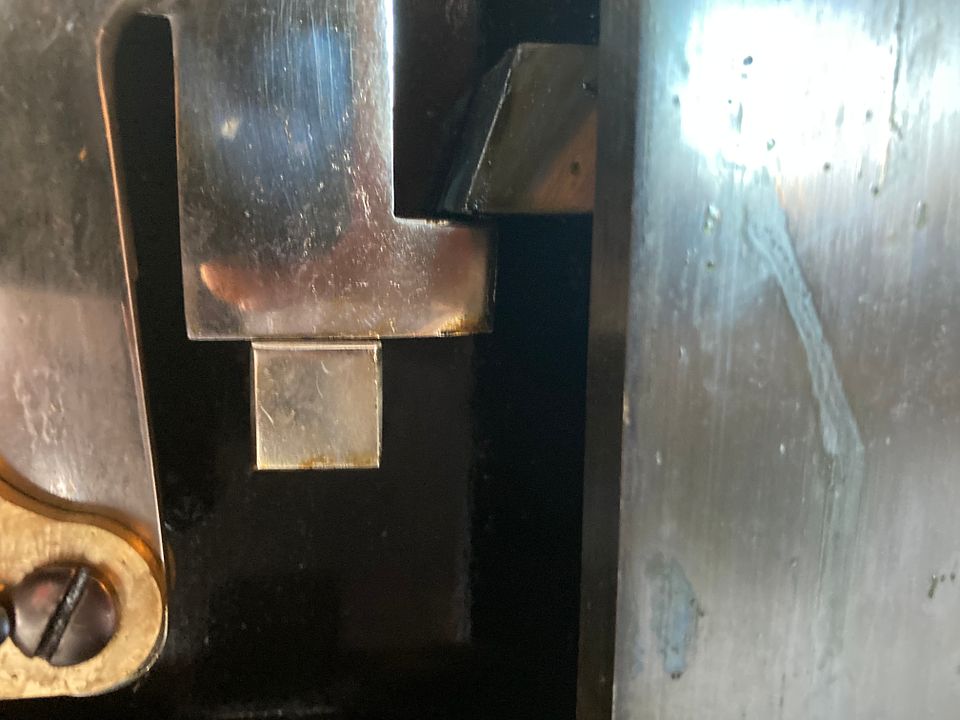
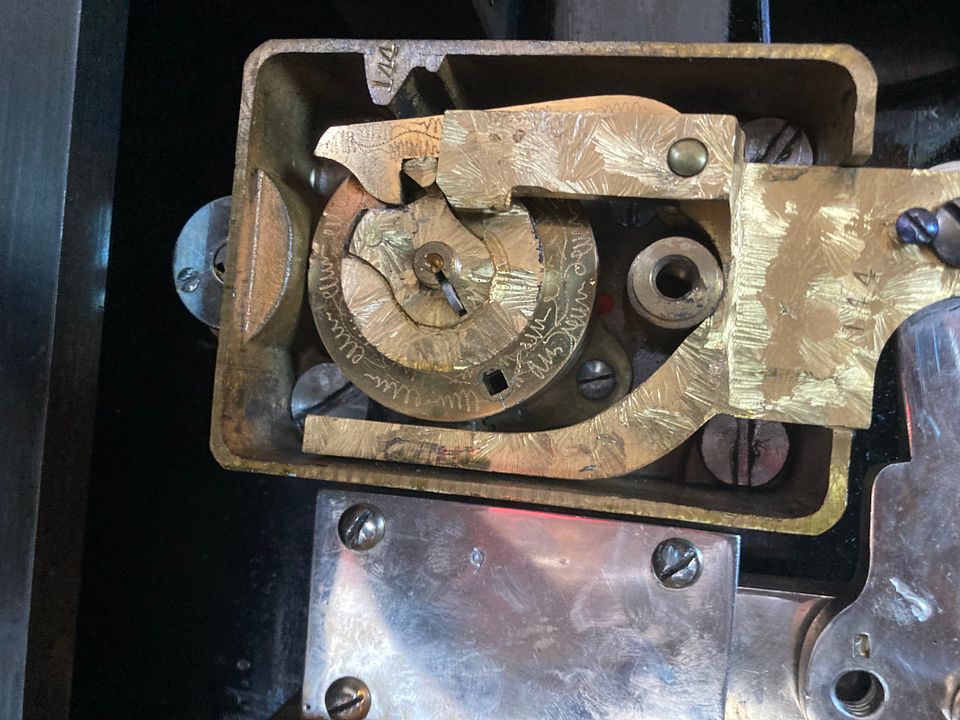
Here is the dial and the clinching arm (Not sure what the proper name is, please feel free to post any corrections in the replies).
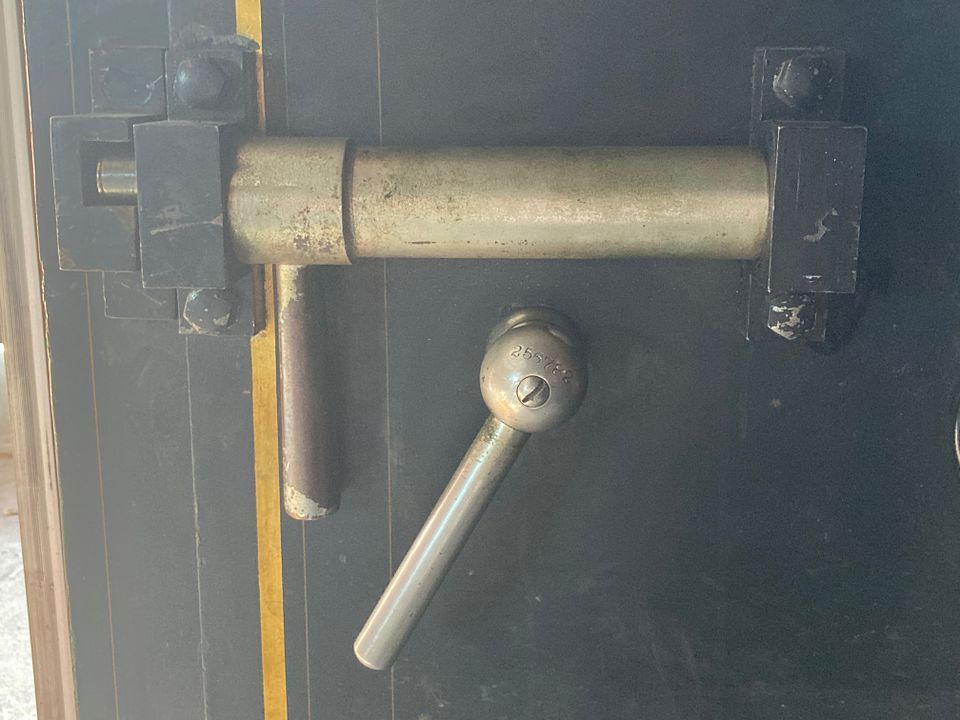
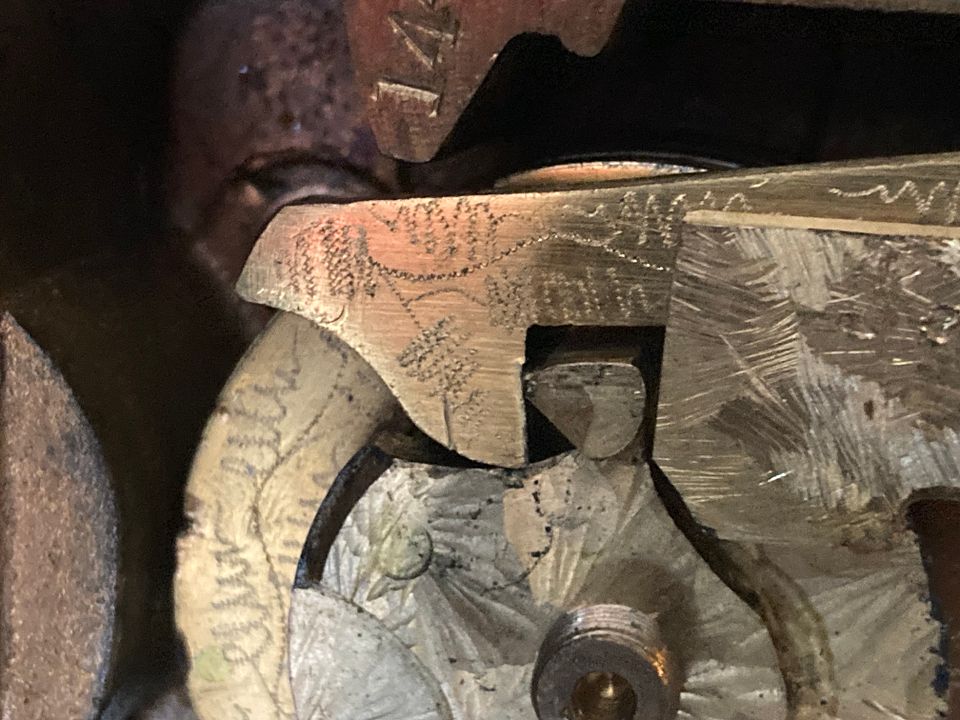
The clinching arm enters the notch in this position. Then it rotates back, down around and forward to pull the door in tight.
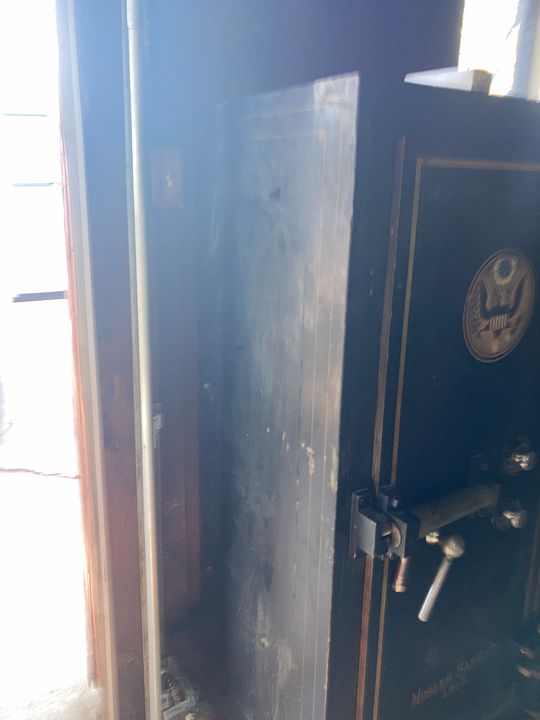
Here is what the hinges look like:
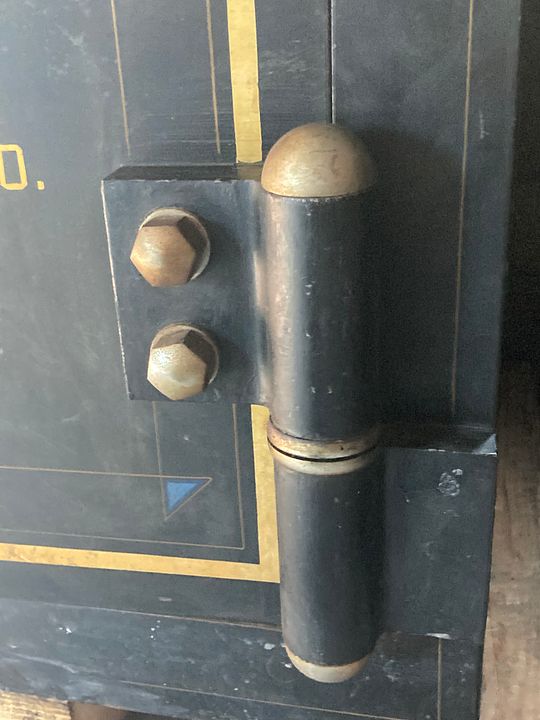
If you look close, you can see the individual bearings
The door here is partially open, allowing you to see the layers of steel in the door. This is a heavy safe! The door is three inches thick!
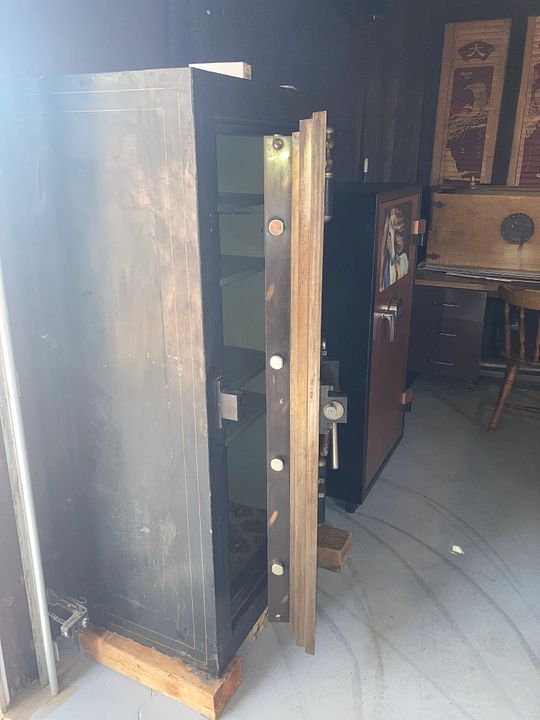
With the door open and the back panel removed, you can see the boltwork. There are 12 bolts. Four on each side, two on the top and two more on the bottom. In this picture, the bolts are in the unlocked position.
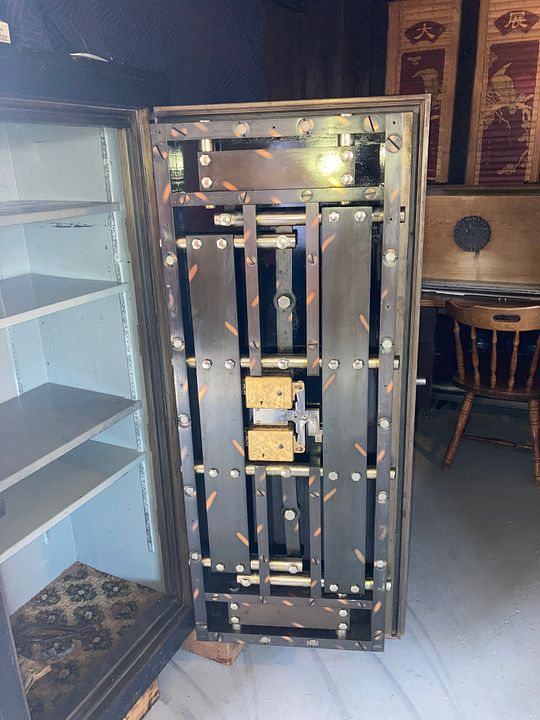
In this picture, the bolts are out in the locked position.
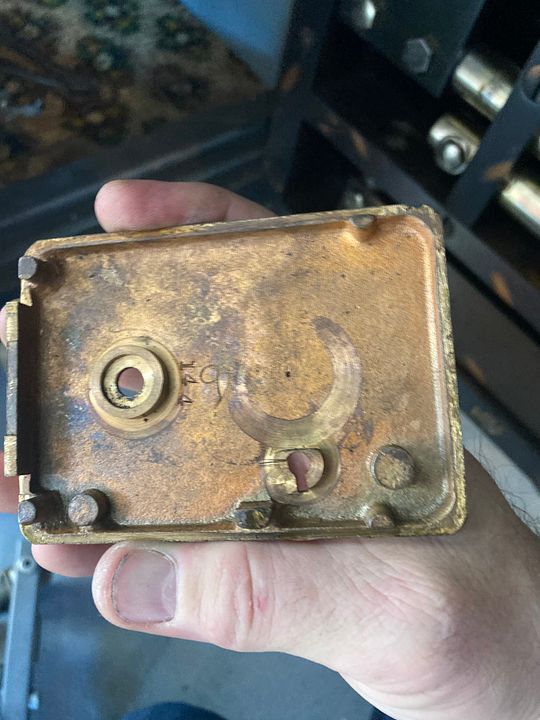
Speaking of the door’s back panel, here it is.
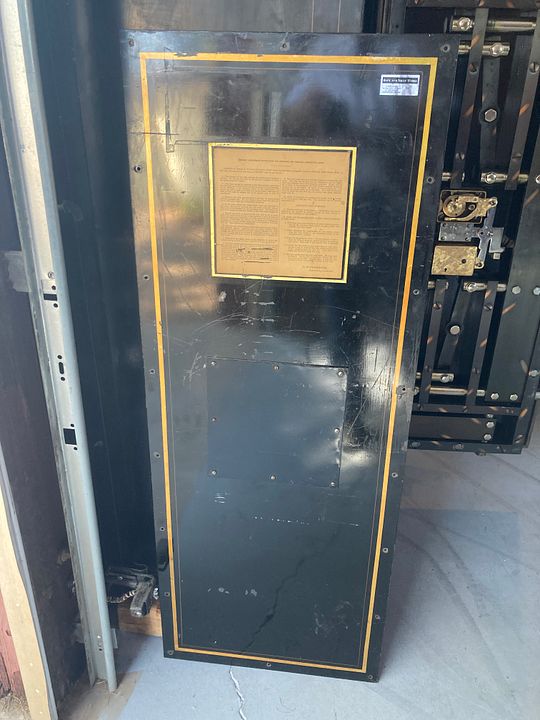
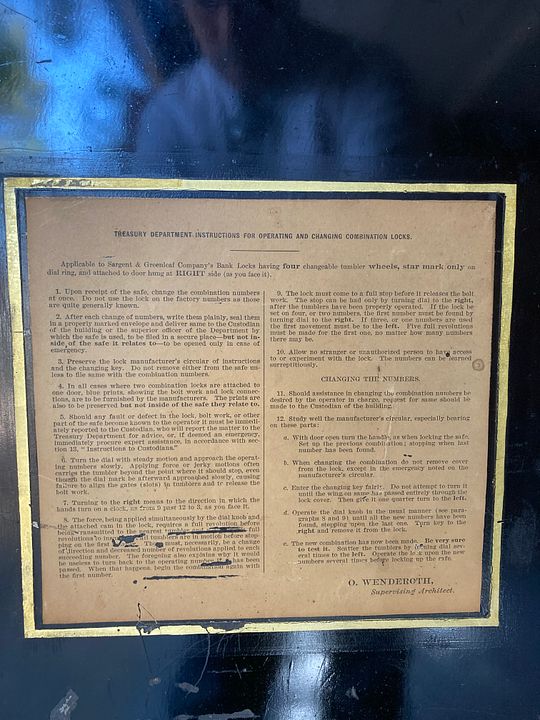
The paper glued to the back door is instructions.
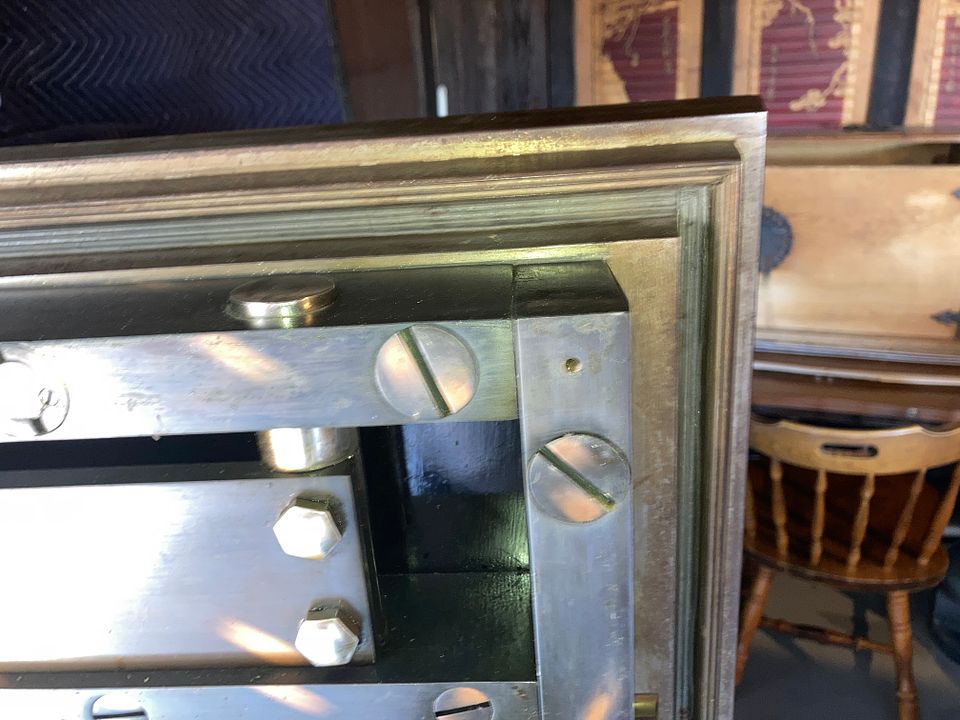
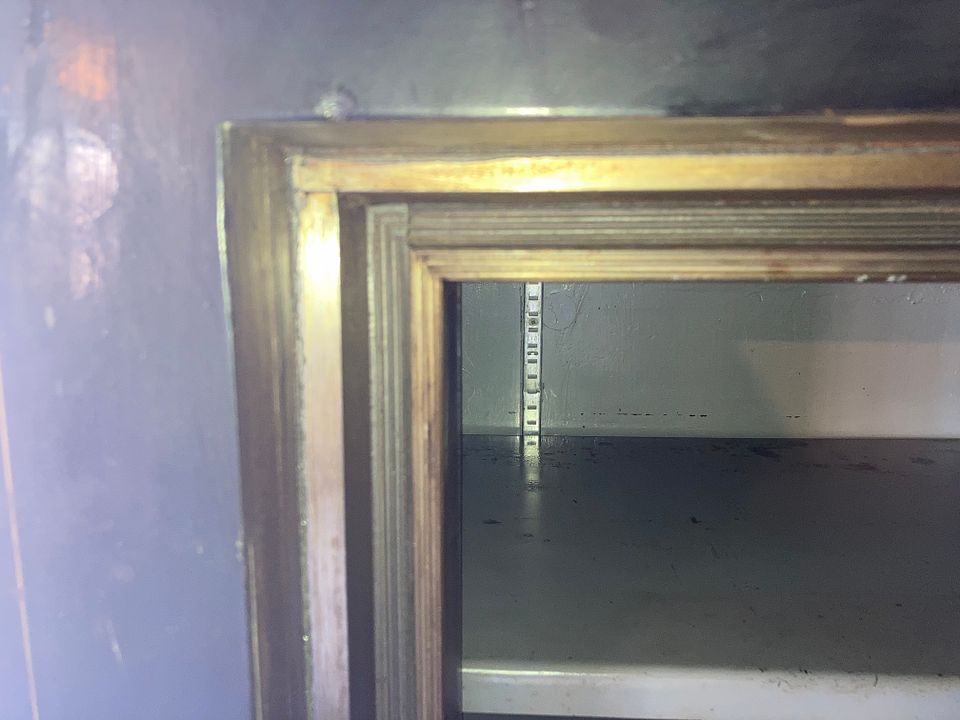
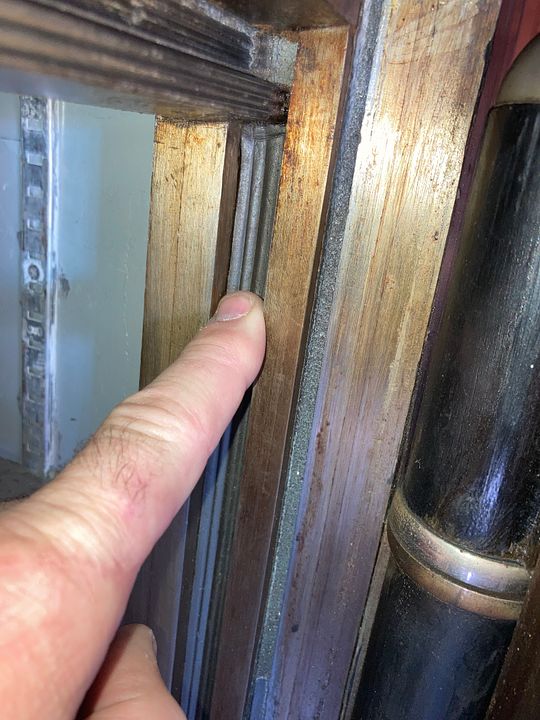
Here are a few pics of the rims/lips on the door and door jamb. The dark corrugated parts in the recessed areas are some sort of seal, possibly old rubber. A bit hard to tell. But they do make for a nearly airtight seal. Some are on the door, and some are on the door frame. The reason they are corrugated is because the metal parts that press into the seals are shaped like that.
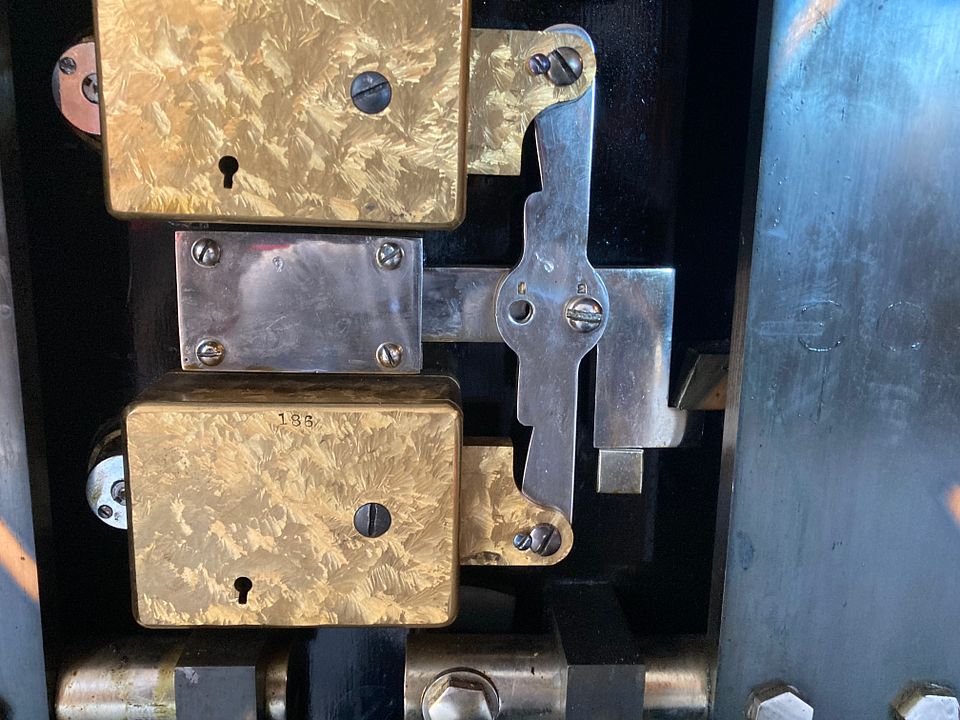
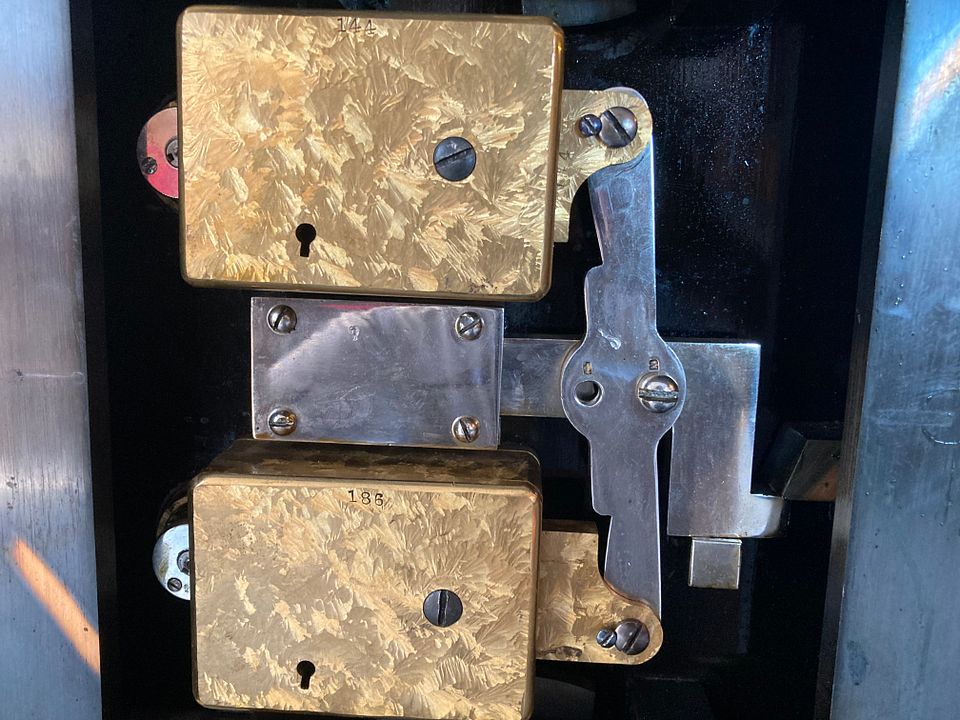
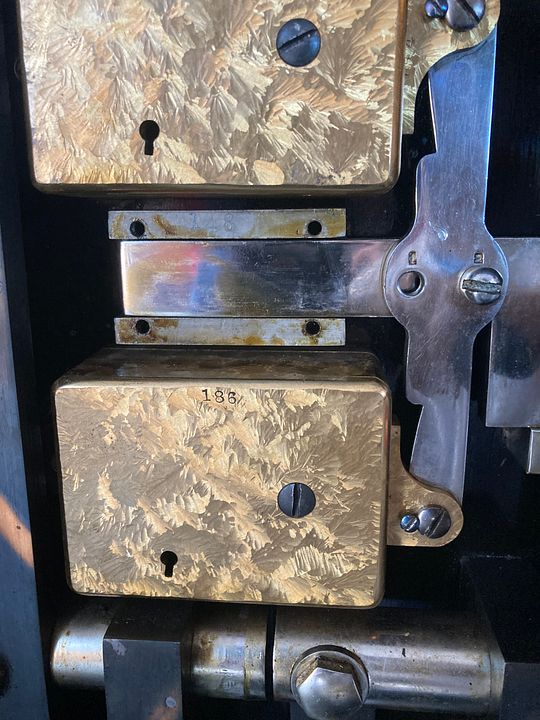
So now we are getting down to how the locks use the balancer bar to block the boltwork.
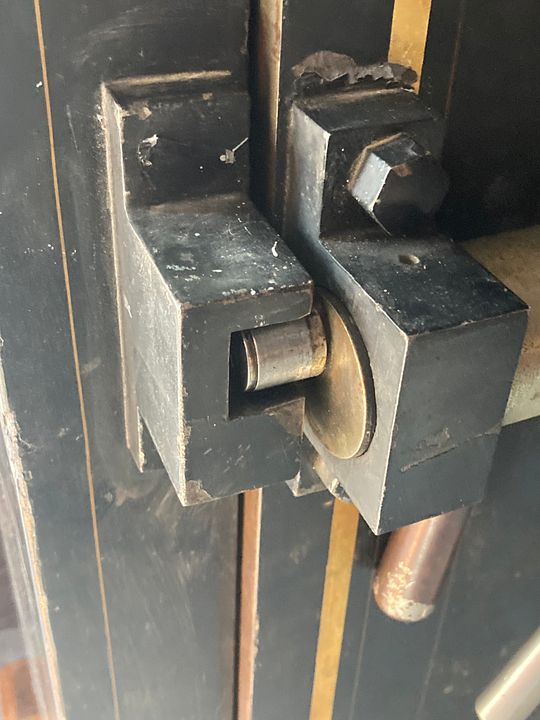
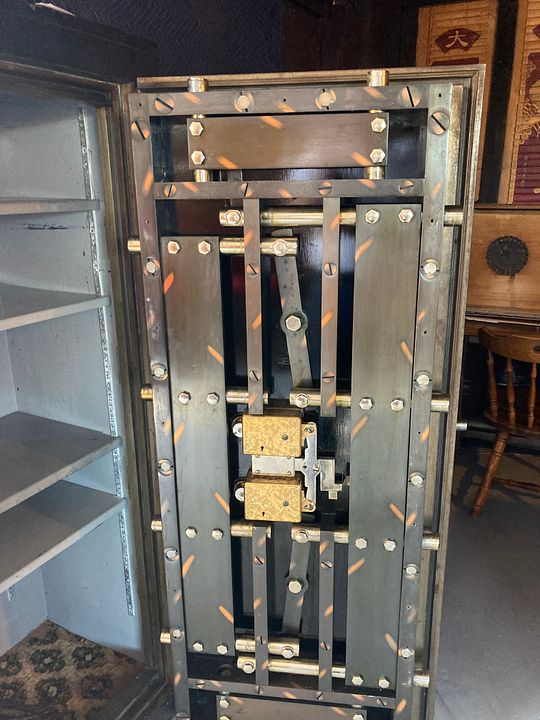
Here both locks are in the locked position. The balancer bar is pushed out by the lock bolts, and it blocks the boltwork from being able to pull in. Notice that the balancer bar (the vertical shiny metal piece) is currently vertical, but pushed outwards. That is because both locks are locked.
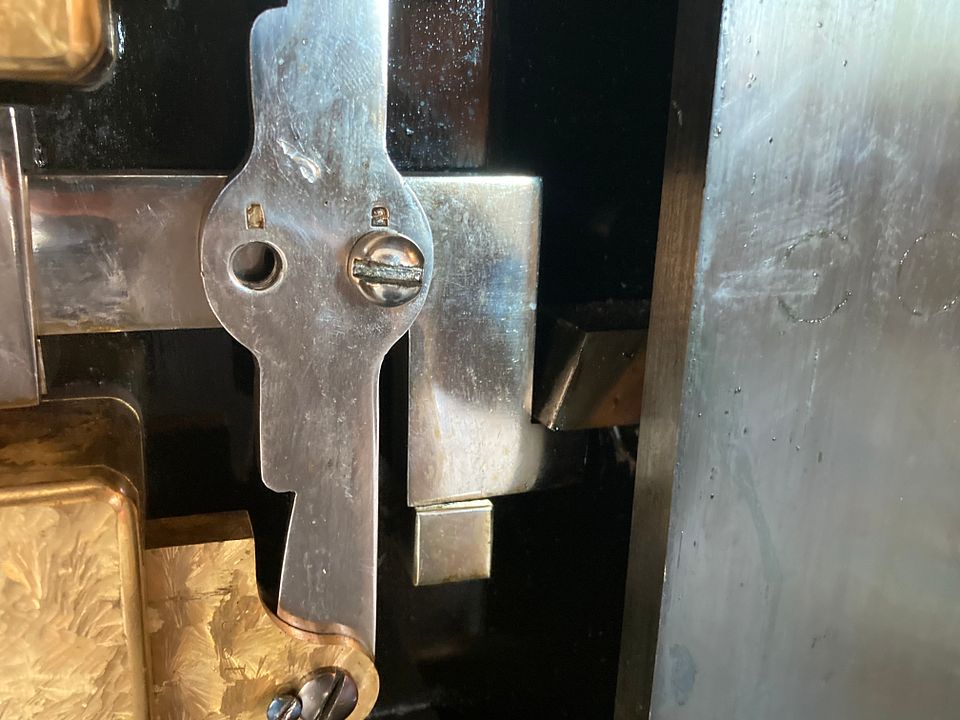
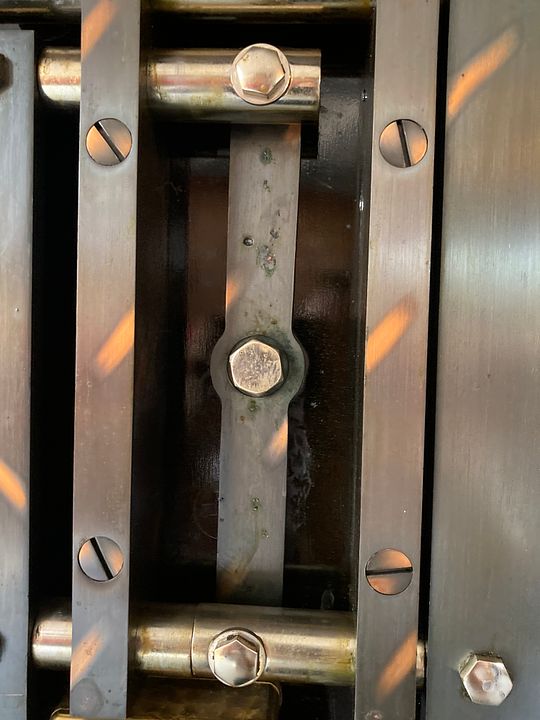
Here is a closeup of the balancer bar blocking the boltwork. Notice the numbers 1 and 2 in the center of the balancer bar. The screw is in the hole labelled 2. That means it is set up for two locks. If you just wanted to be using one of the locks, then you would retract one of the locks and move the screw from the 2 hole to the 1 hole. Then either one of the two locks can be used to lock or unlock the safe.
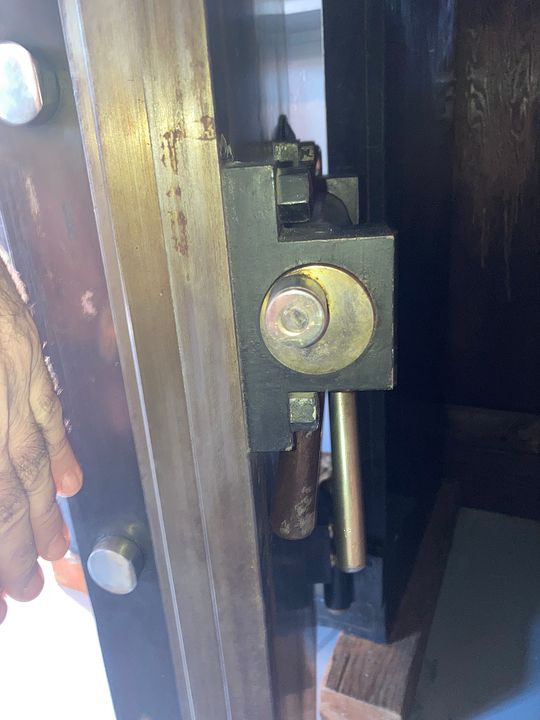
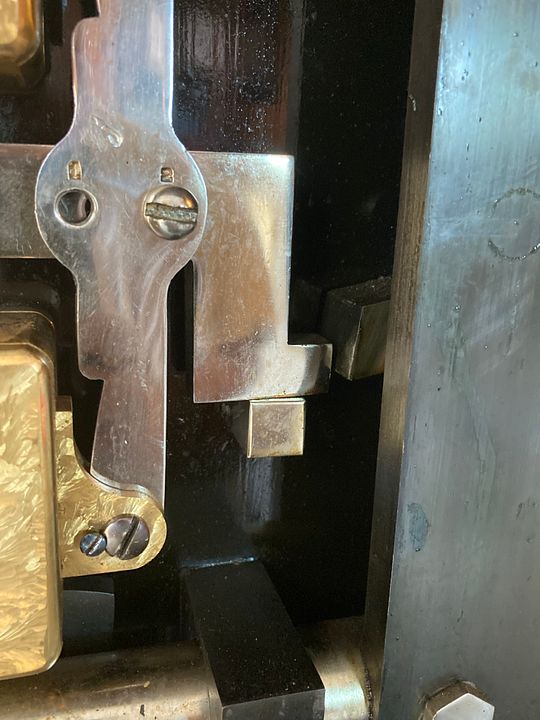
Here one of the locks is locked, and one is unlocked. You can see now why the bar is called the balancer bar. It allows the blocker to come back halfway. So one lock is definitely enough to keep the bolts from being able to be retracted enough to open the door. (At least when the safe is set up for two locks needed to operate).
And here is the fully unlocked position.
When fully unlocked, you can turn the handle without the internal part being blocked, which also pulls in the boltwork and the bolts.
In case you are wondering about the box the blocker bar attached to the balance bar, and what is inside…
You are out of luck! Muhahahah!
OK, fine. Nothing much to see. It is just a place for the blocker bar to go, and keeps it mounted in the correct position. Here it is with one of the locks locked, and the other unlocked.
Here it is fully locked with both locks.
These are pivot bars. Two of them link the side bolt carriers, and one for each the top and bottom bolt carrier. Locked position.
Unlocked position.
Here is a video of the bolts being moved back and forth between locked and unlocked a few times.
Teaser: after the next series of pics on the safe locks, there will be another video showing both locks being dialed (top first, then bottom) with the back covers off. Then the locks both being turned to unlock/lock the bolt so you can see the balance bar in action.
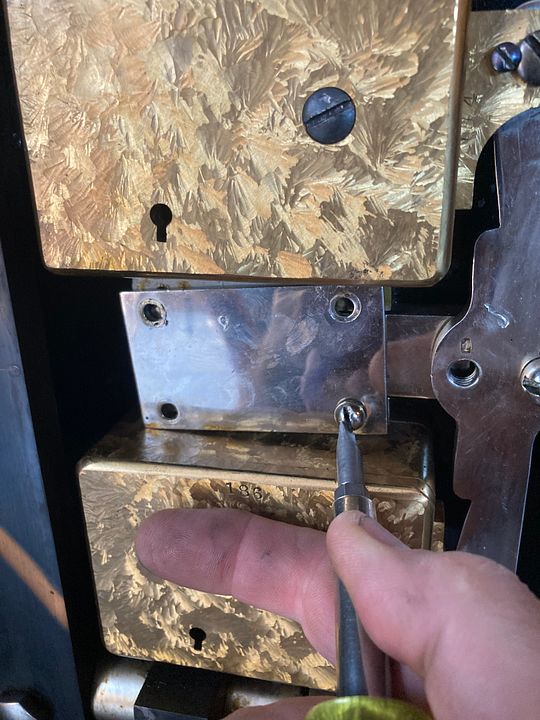
Until then, let’s start looking at the locks themselves. Sorry, but unlike most of my posts, I won’t be disassembling the locks.
Not LOBC. (Lock On Back Covers).
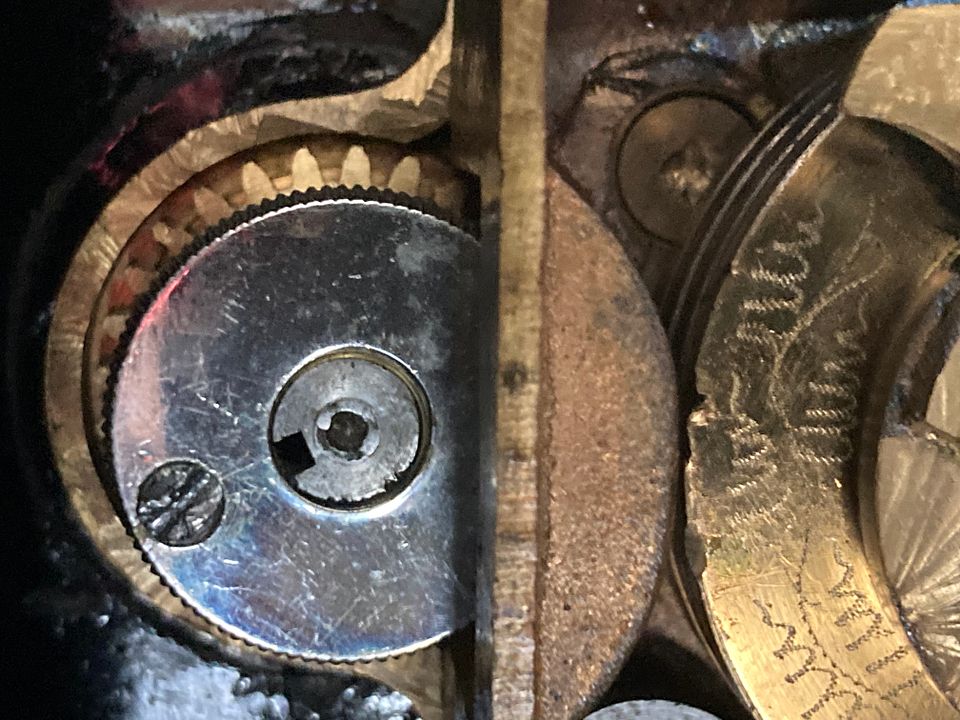
This is from a time when people still not only made the items that were well built and functional, but also decorative. Most people will never see the inside of their safe locks. But if someone did back when this safe was built, they would see even the internal parts were decorated.
These locks are offset indirect drive. The dial turns the gear on the left, which turns an idler gear (not seen - on the other side of the lock), and the idler gear turns the drive cam, which of course turns the wheels. Sort of like the old song - the head bone’s connected to the neck bone…
Here is that video showing the locks being dialed!
That about covers it, guys. Hope you liked it. Please feel free to post any corrections, tips or anything else.
Gordon


