


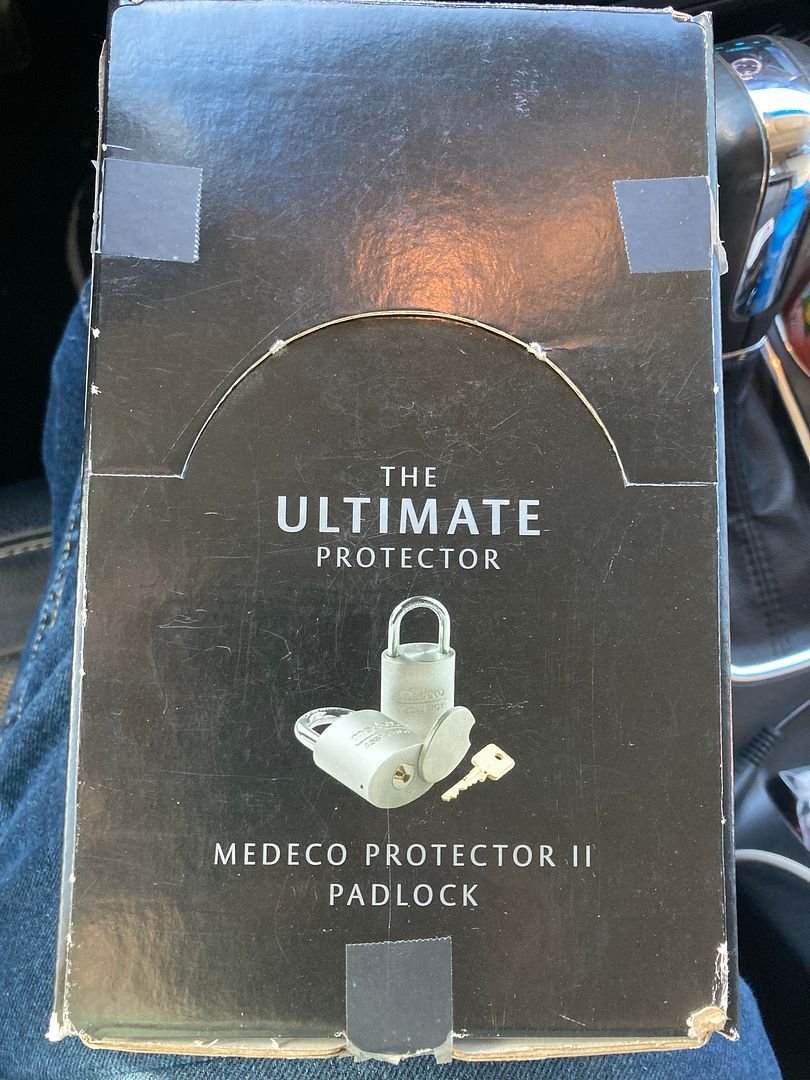
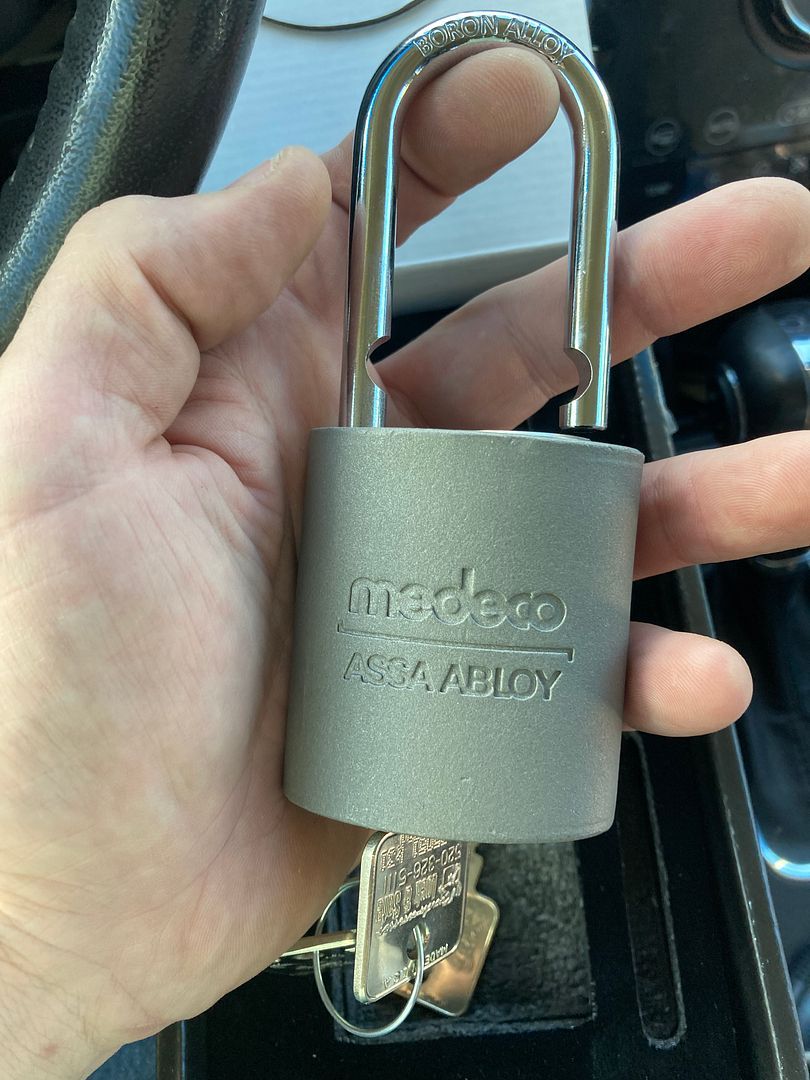
There are a variety of models to choose from. This one is the medium size, with the 5/16" (8 mm) diameter shackle and without the dust cover. I wanted the large size, with a 7/16" (11 mm) shackle and with the dust cover. You can see what the dust cover looks like on the cover of the box above. They didn't have the large one, so that will have to be acquired later.
This write-up will mostly deal with what the parts are, and how the lock is assembled/disassembled. But first the overview.
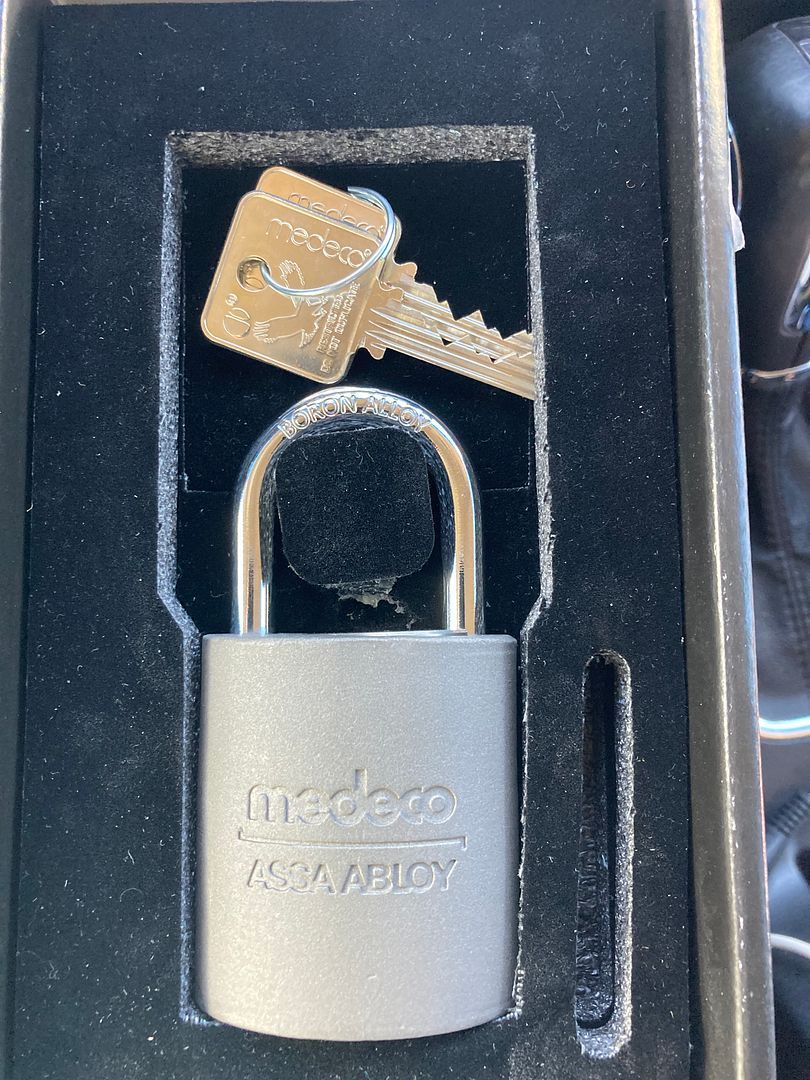
From the front, it is clear this is closely related to the S&G military padlocks.
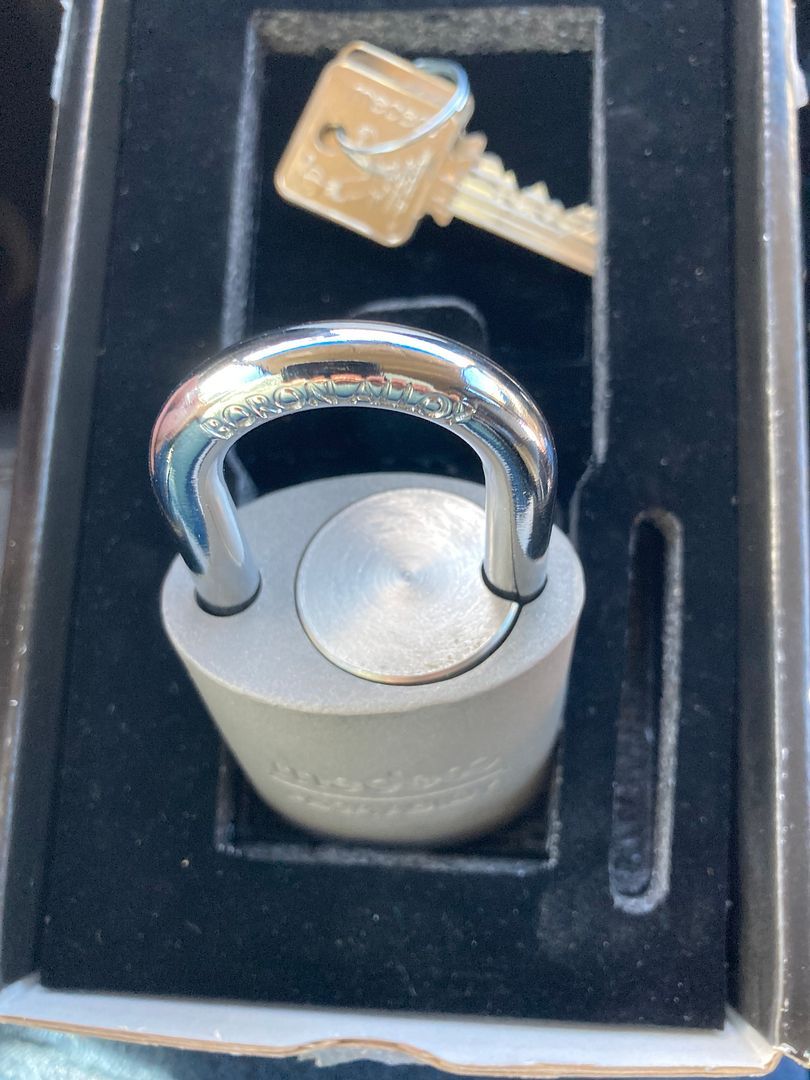
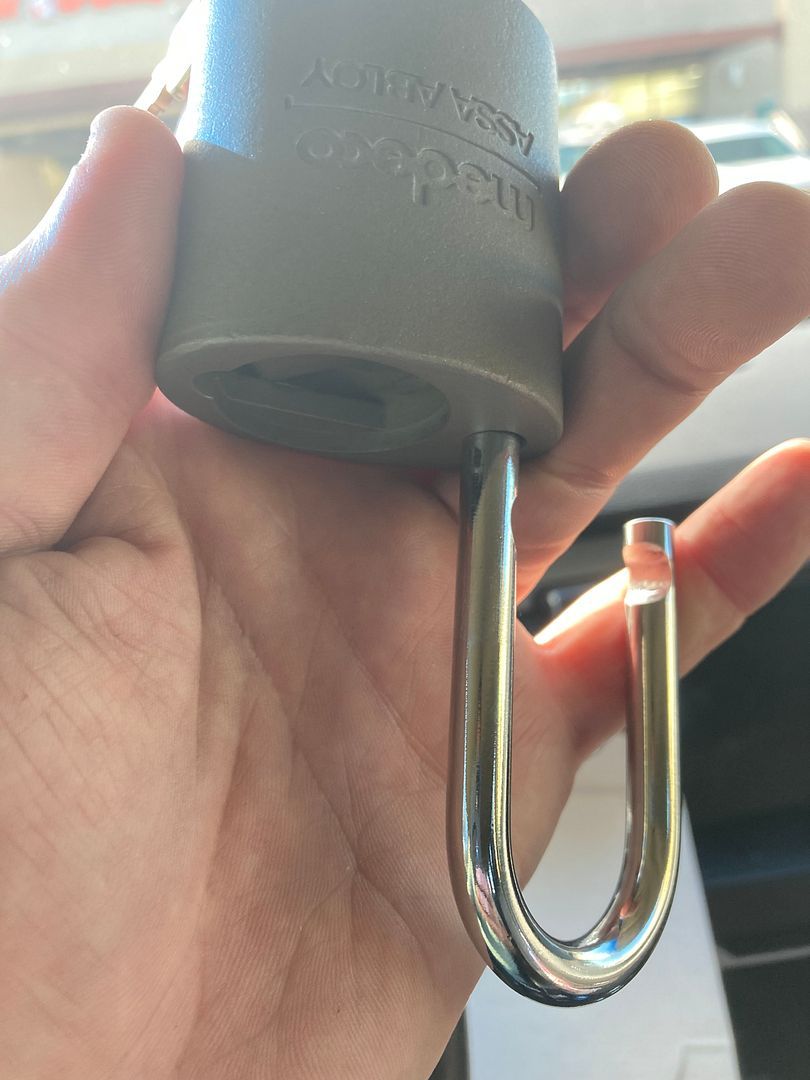
From the top, you can see this disassembles differently (at least for the first steps).
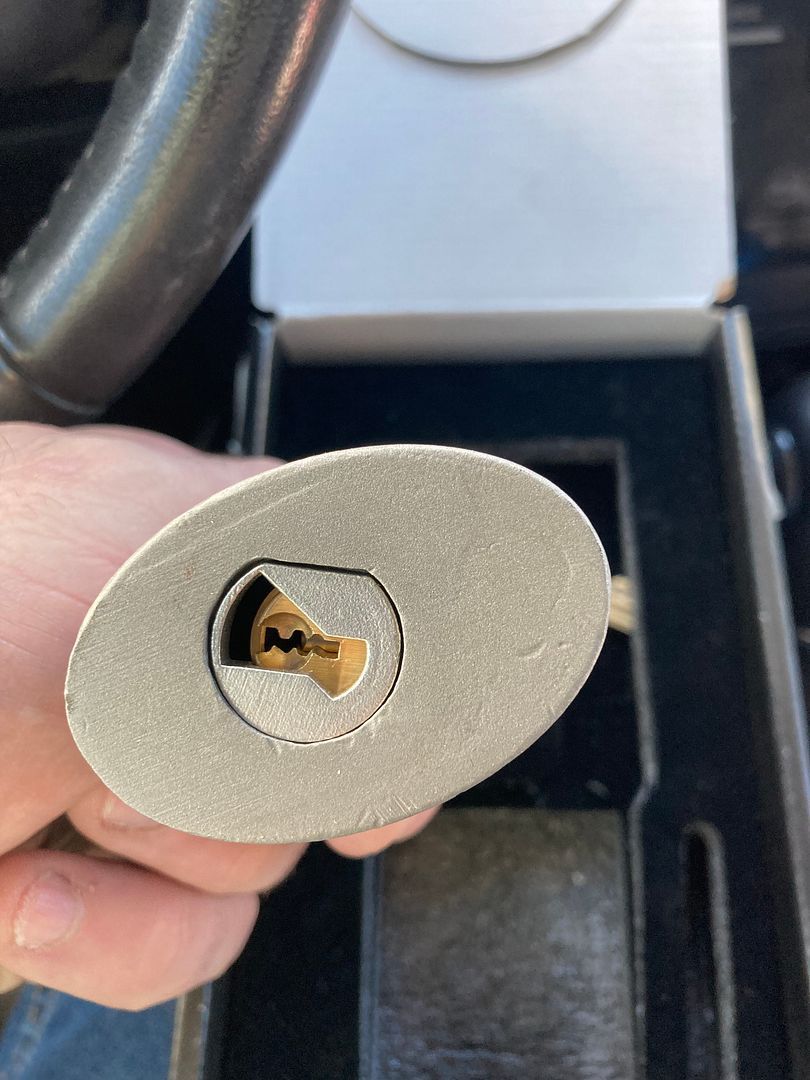
The bottom shows that the keyway protector is replaceable. Different ones are available for different keying systems including the XT electronic core, the Cliq hybrid lock system, and even different actuator so non-Medeco KIK cylinders can be used.
To disassemble, first unlock the padlock.
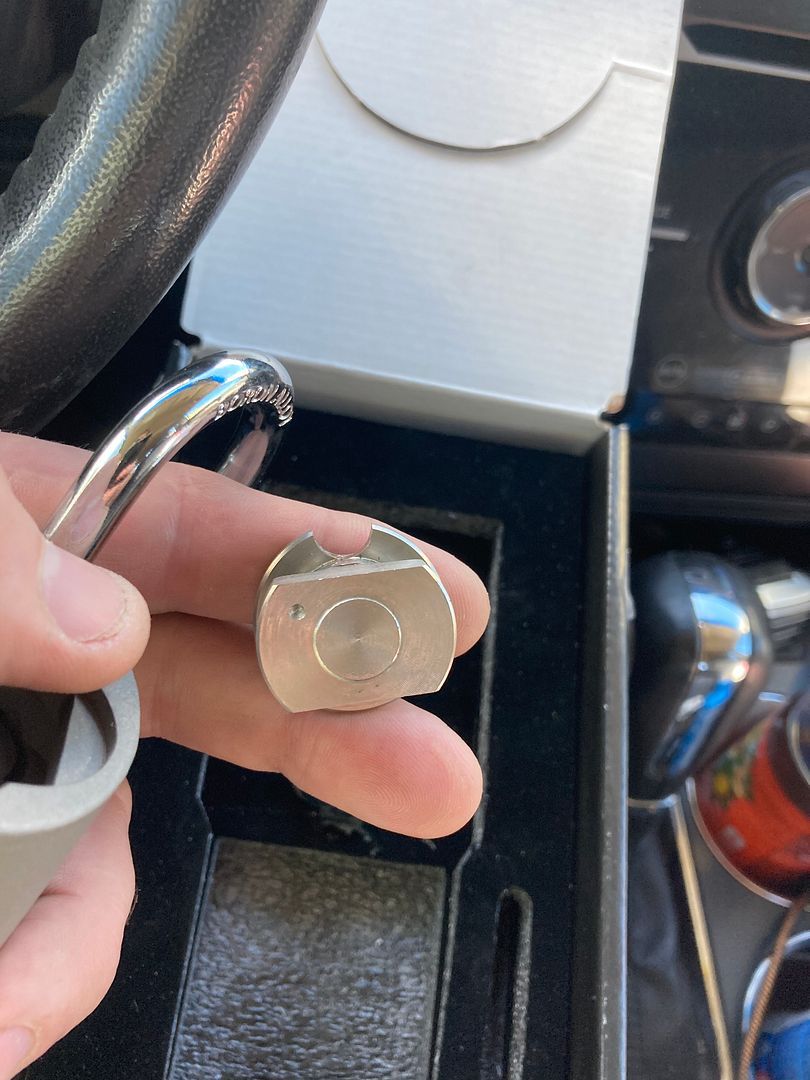
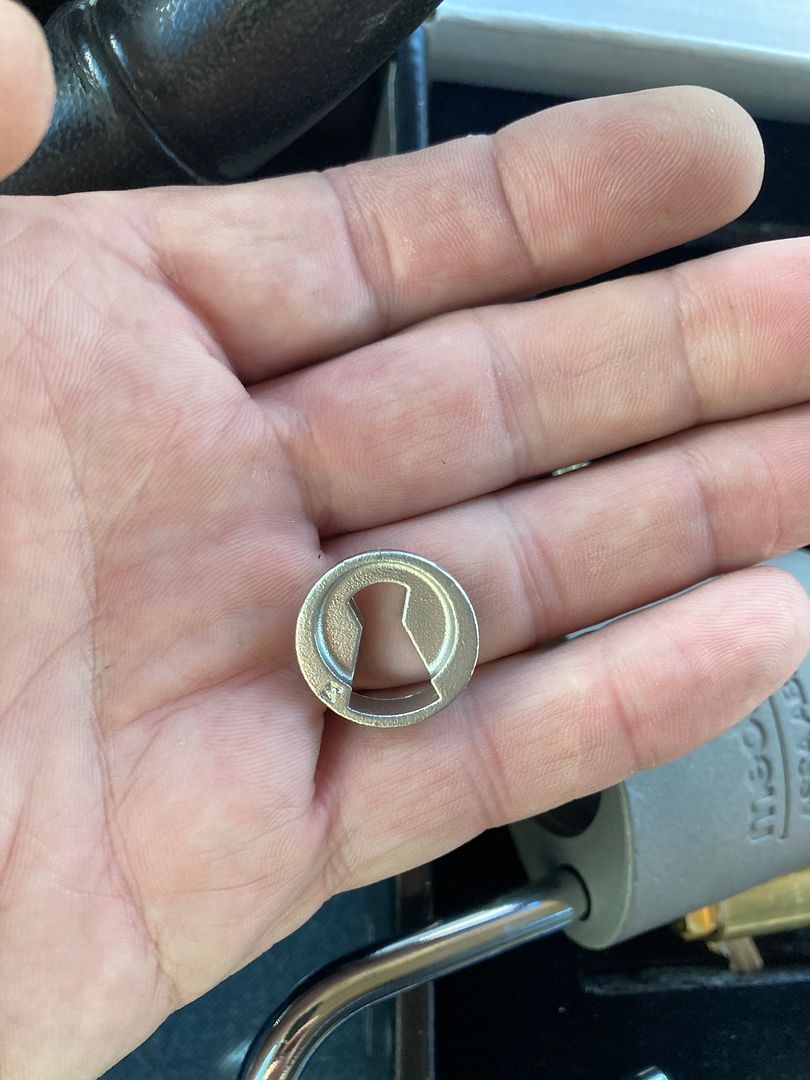
Turn the shackle to the side. Now look at that circle:
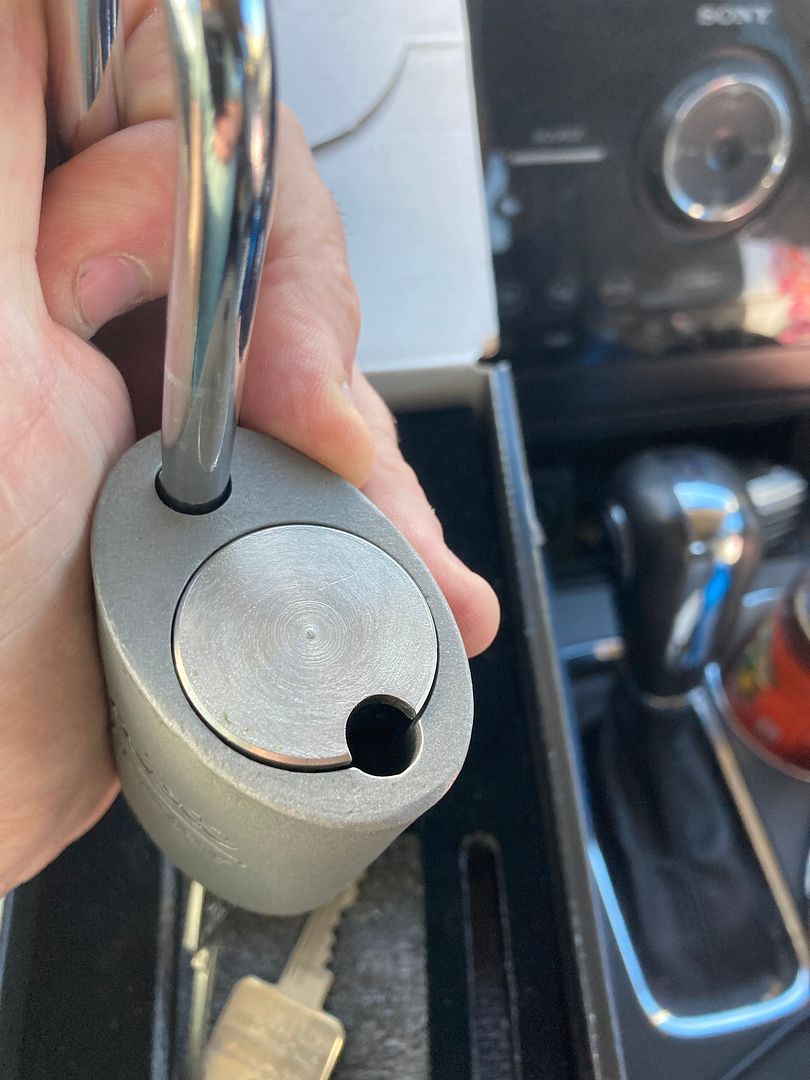
That circle turns easily to either side.

Keep turning it until it is 90 degrees to either side.
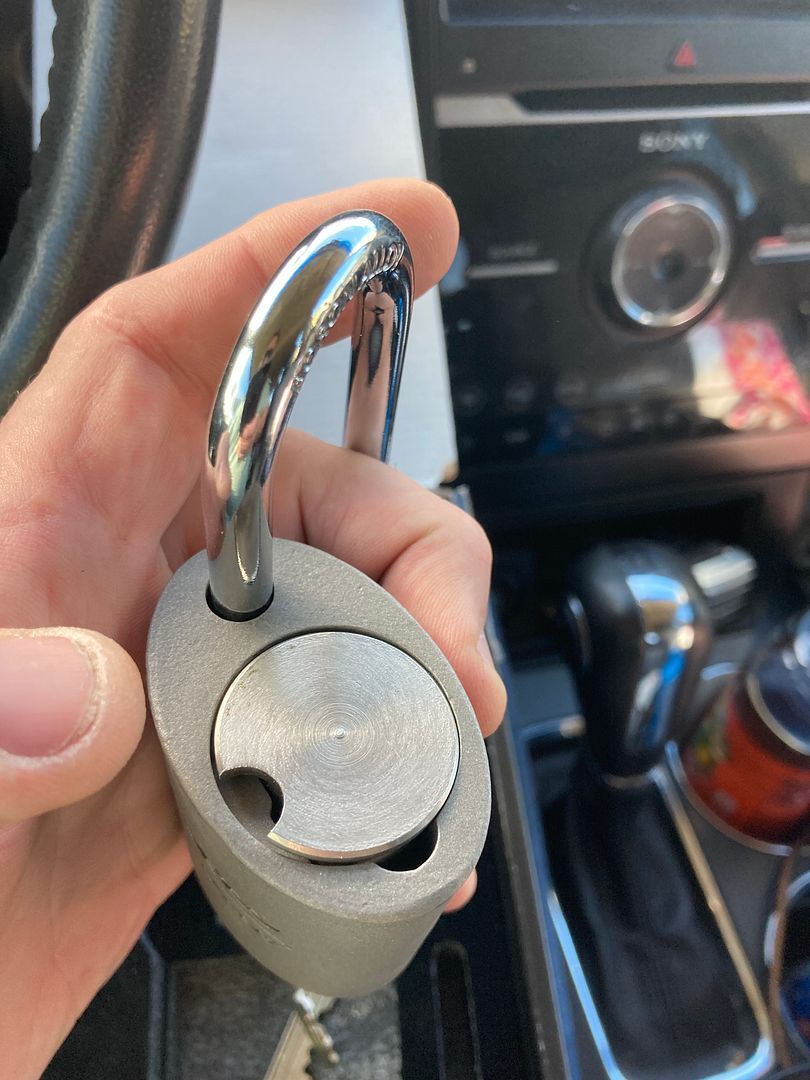
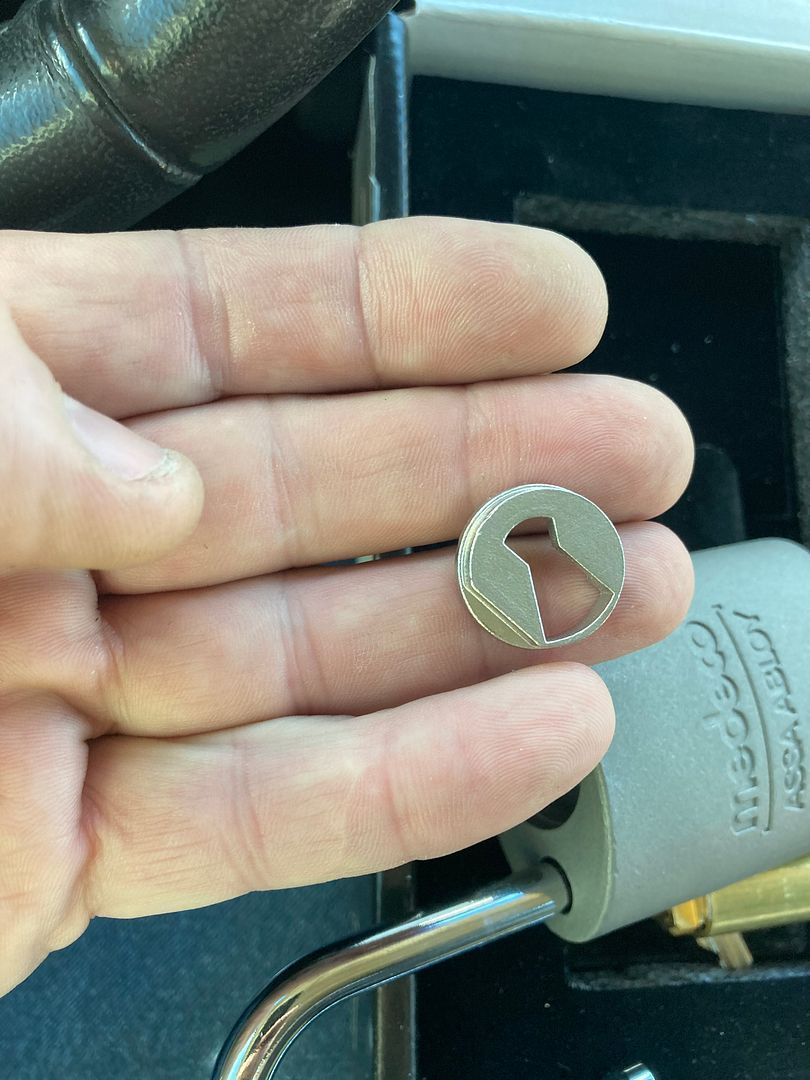
Now lift the circle part out.
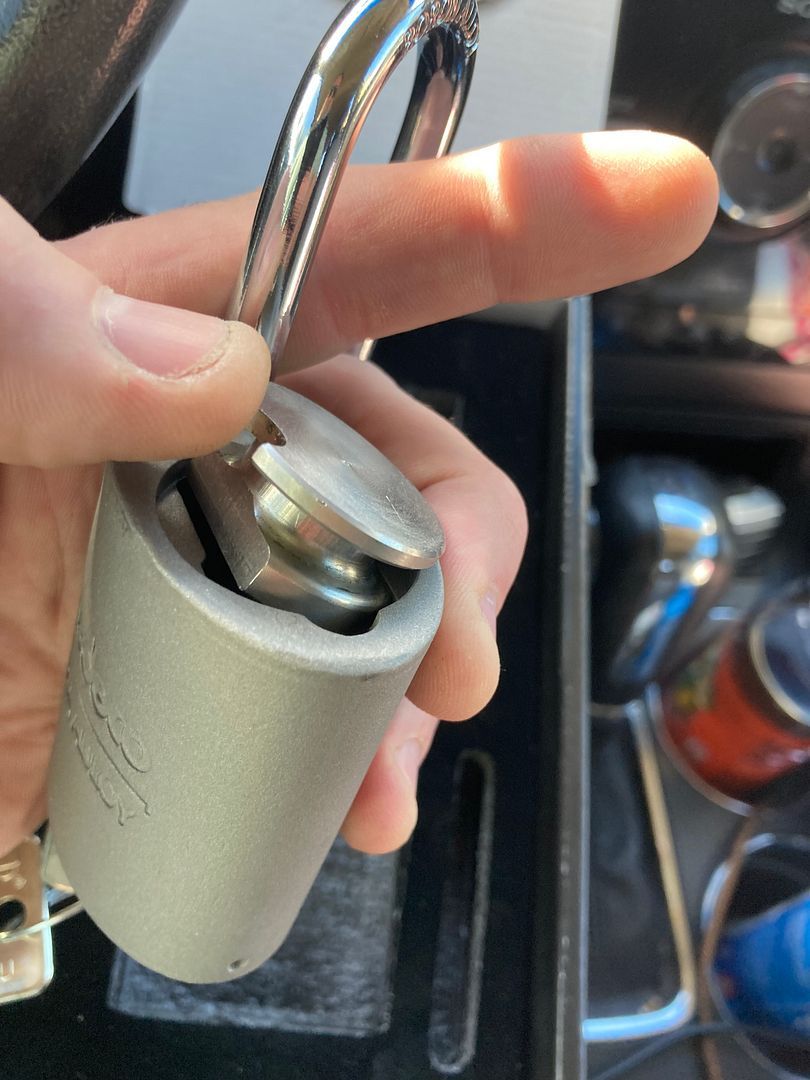
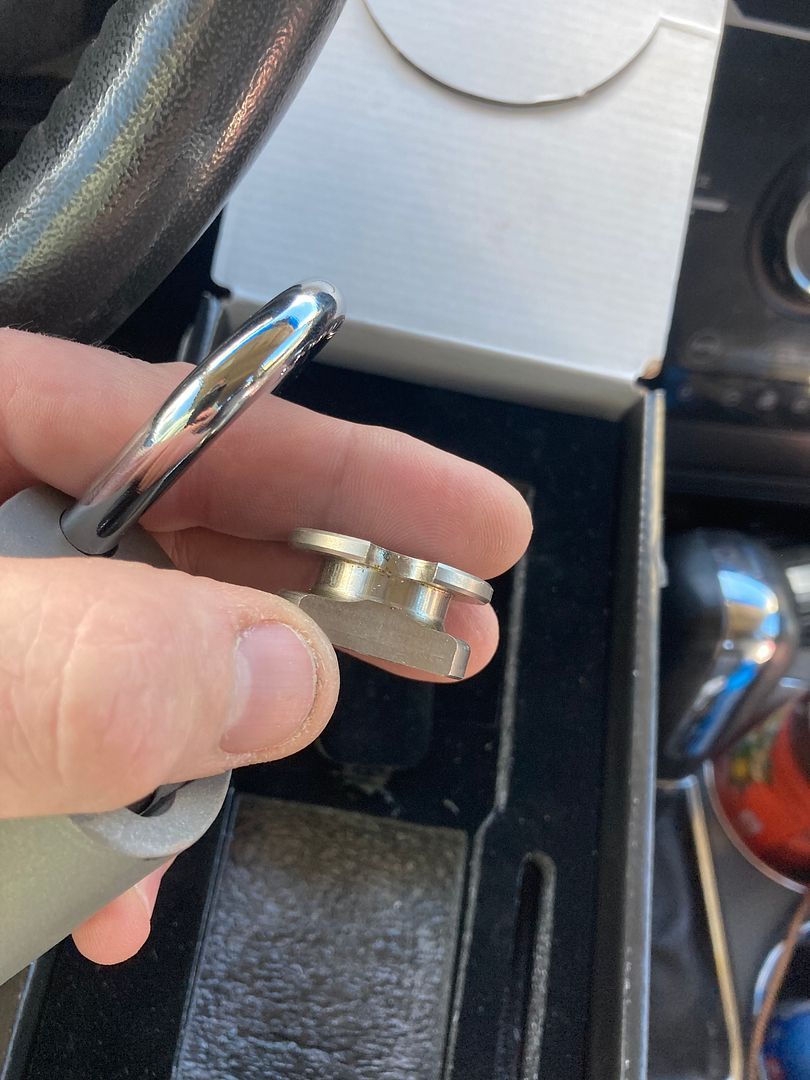
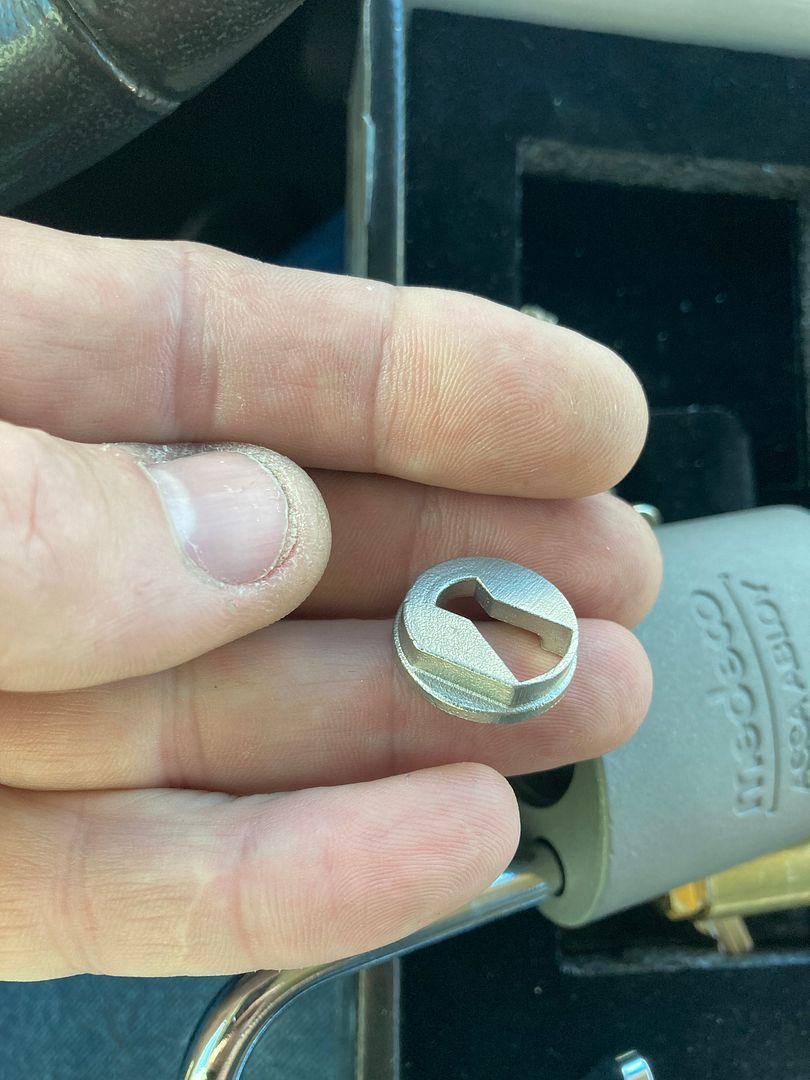
That part seen from the bottom:
Seen from the side, you can see that when the shackle is locked, the part is locked in position by some hefty metal.
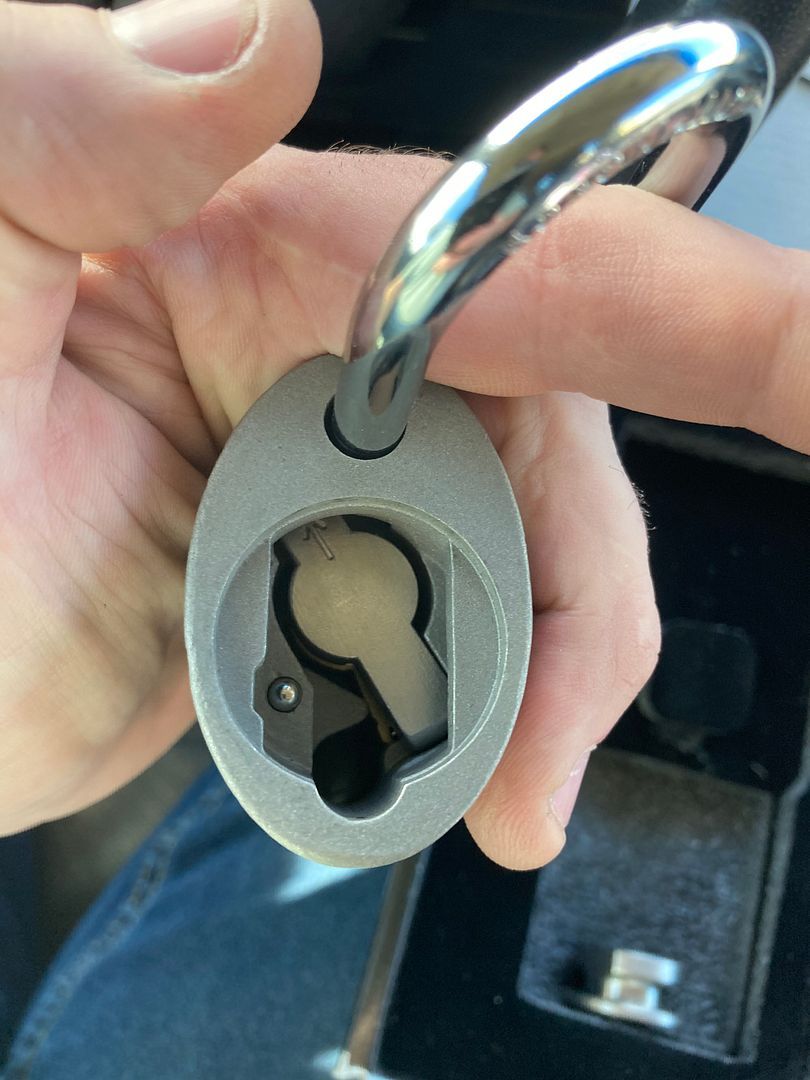
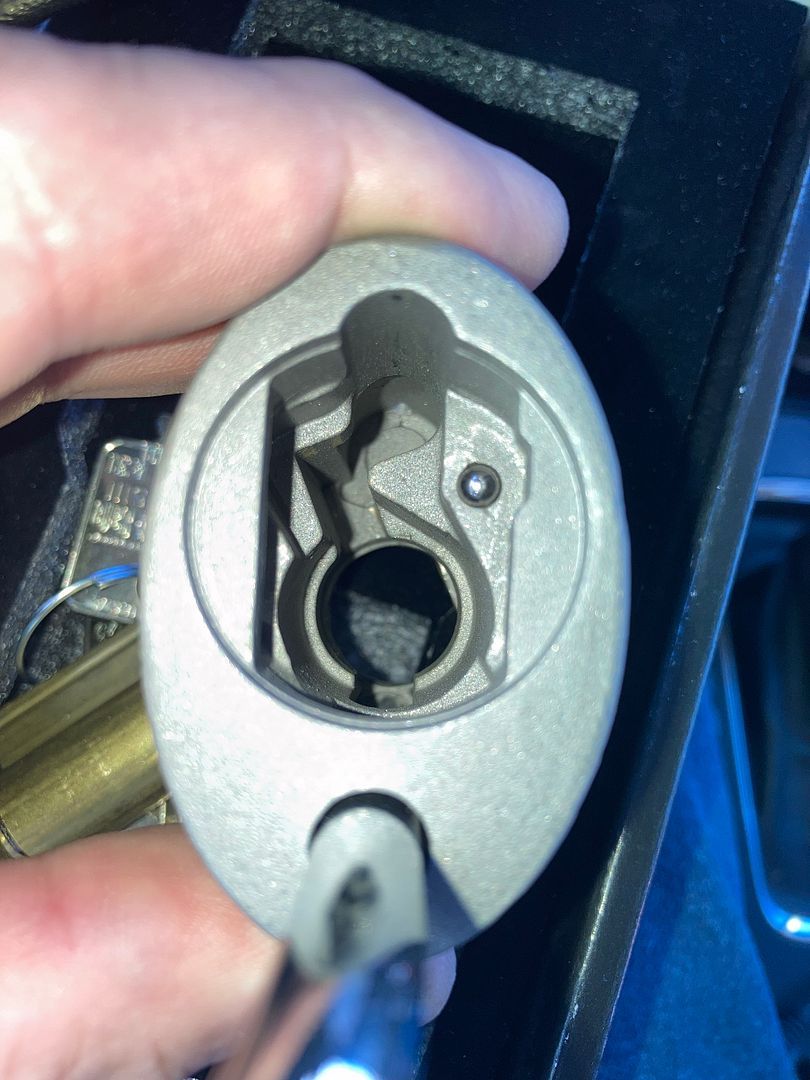
Looking into the hole, you can see the locking bar/cam.
If you are lucky, holding the padlock upside down at this point will allow the locking bar to fall out. Sometimes it does, sometimes it doesn't.
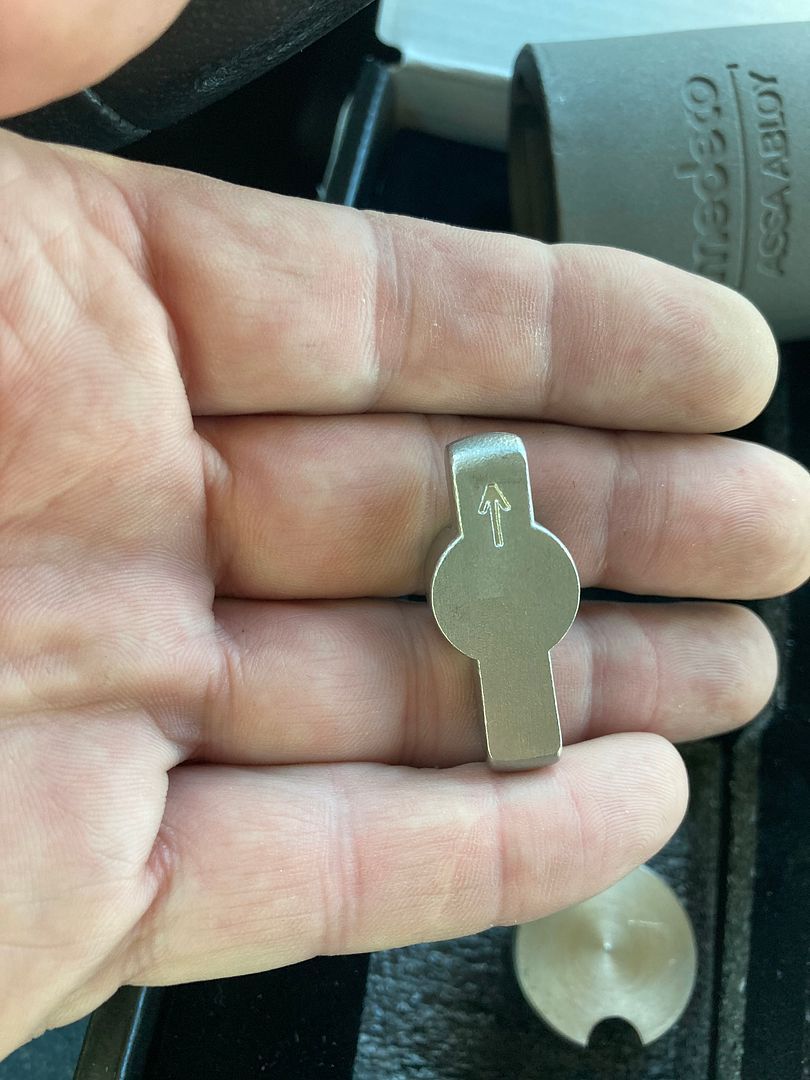
Well, not so lucky this time. You can shake it a little and wiggle the key. If not, then you can use needle-nosed pliers to grab one end of the locking bar and pull it out. Here is the top. The arrow points towards the end to be installed first when assembling the lock.
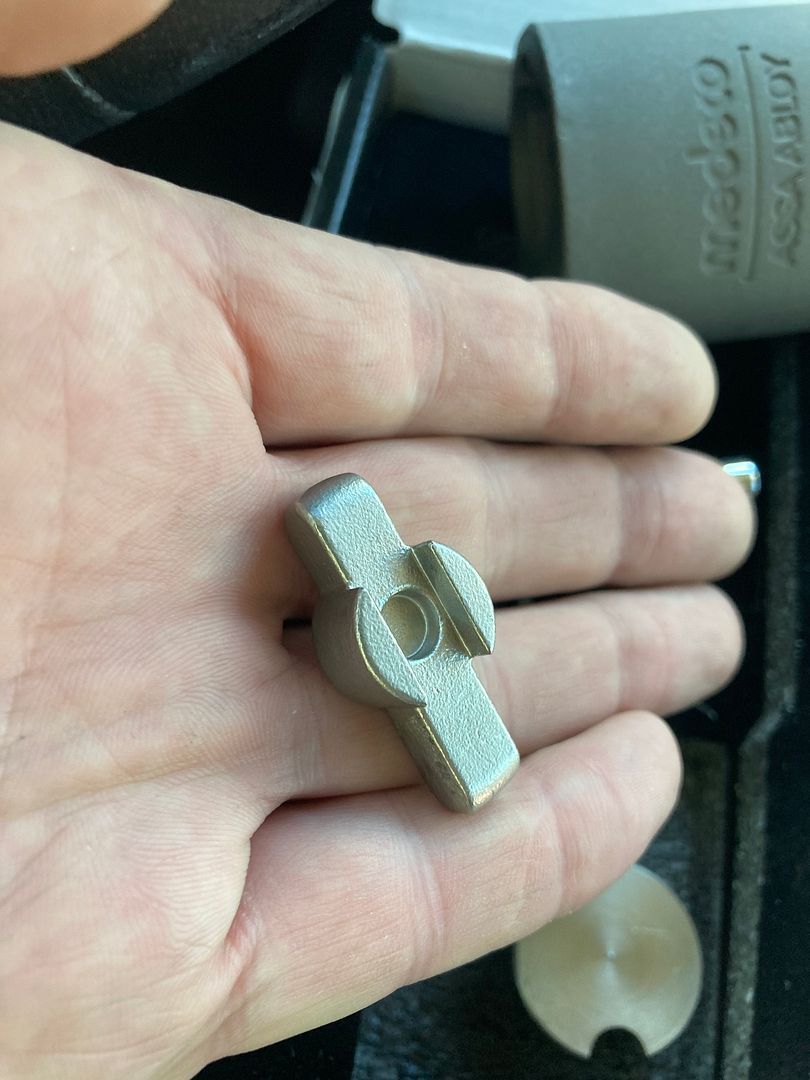
Here is the bottom. It sure looks familiar if you have taken apart some of the S&G military padlocks.
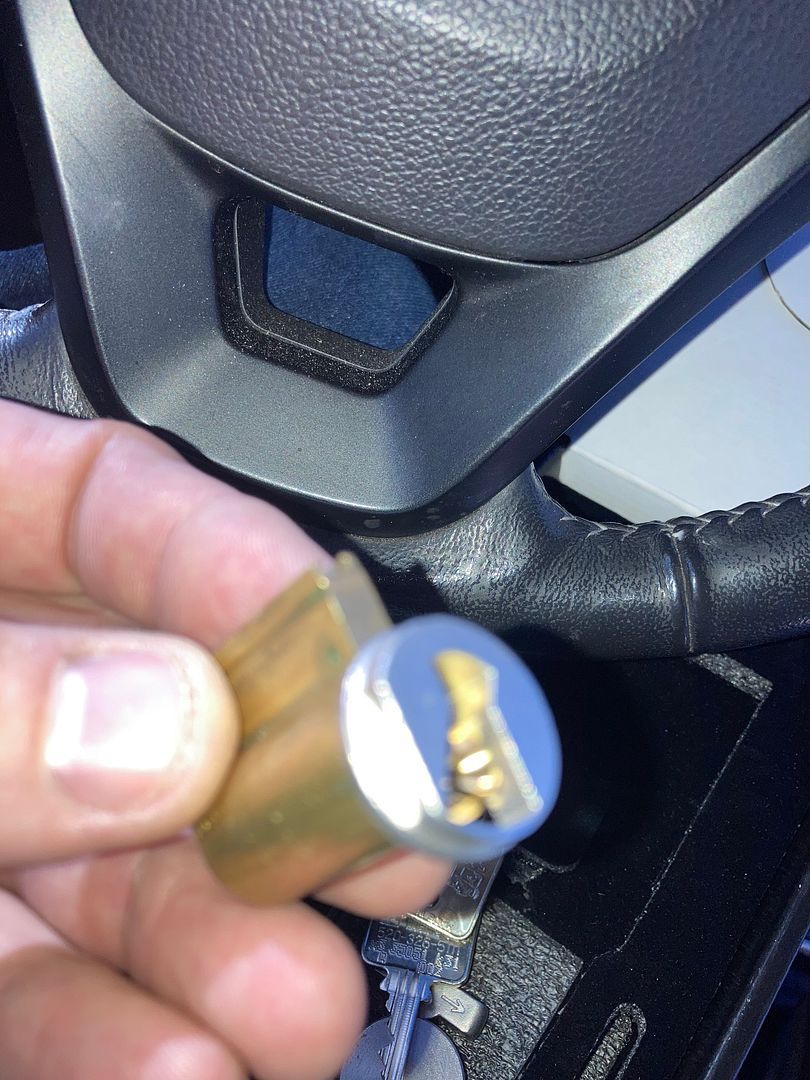
Looking back into the padlock, you now can see the back of the KIK cylinder.

Remove the key (this padlock is key retaining), then tip the padlock upside-down (or rightside up, if you are in Australia
The back of the core is identical to some of the latter S&G padlocks.
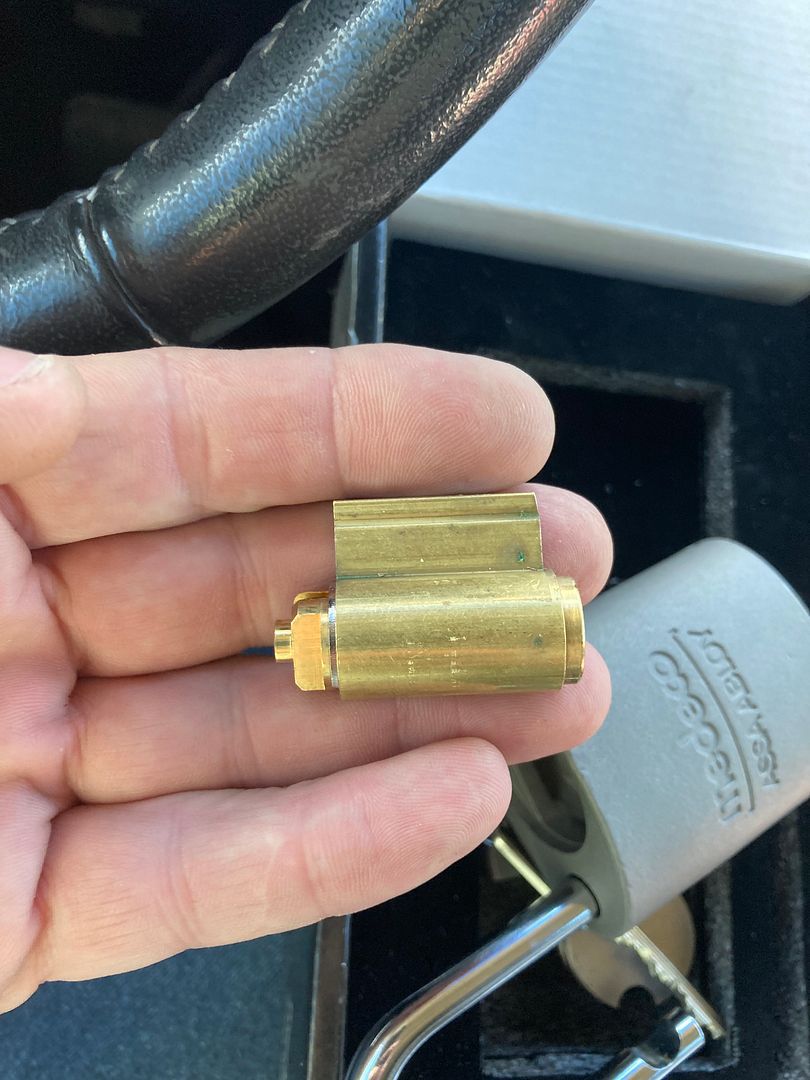
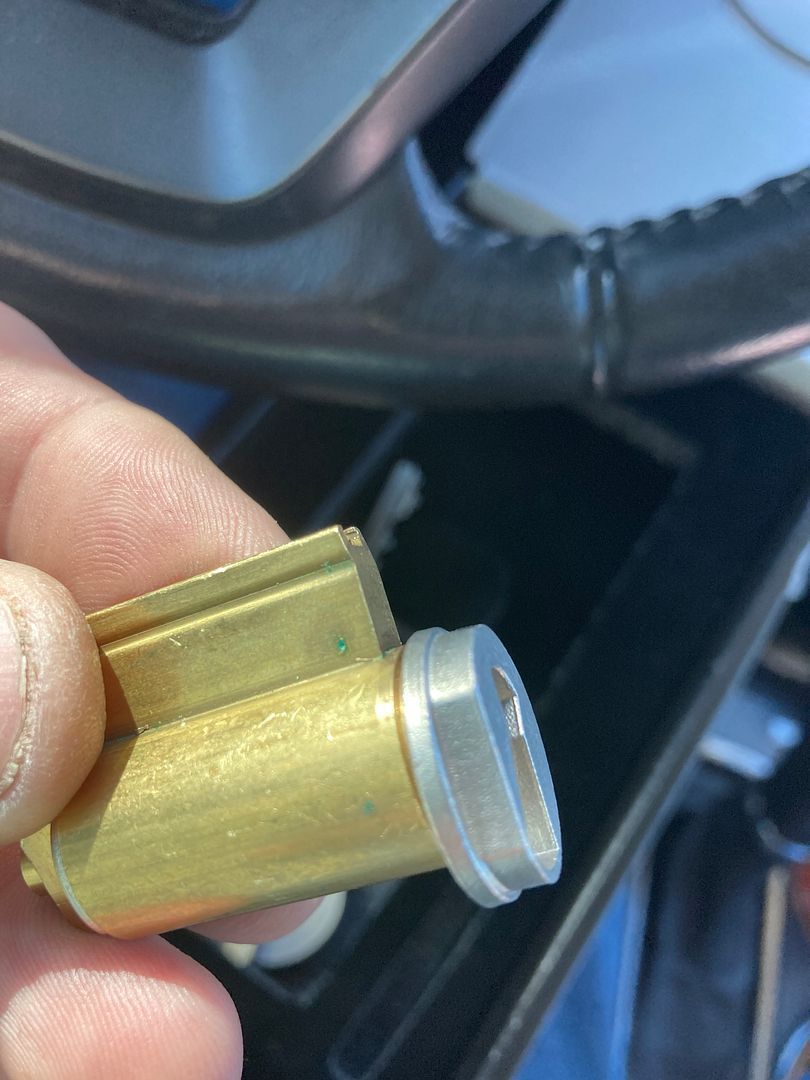
The final piece is the one that fits into the bottom of the padlock body, from the inside. This is the side that the KIK cylinder fits into.
This is the side that fits into the base of the padlock body. The flat side is to prevent the part from turning.
A final look inside the padlock body shows all sorts of exciting angles and cuts that the poor observers of the outside of the lock never get to see.
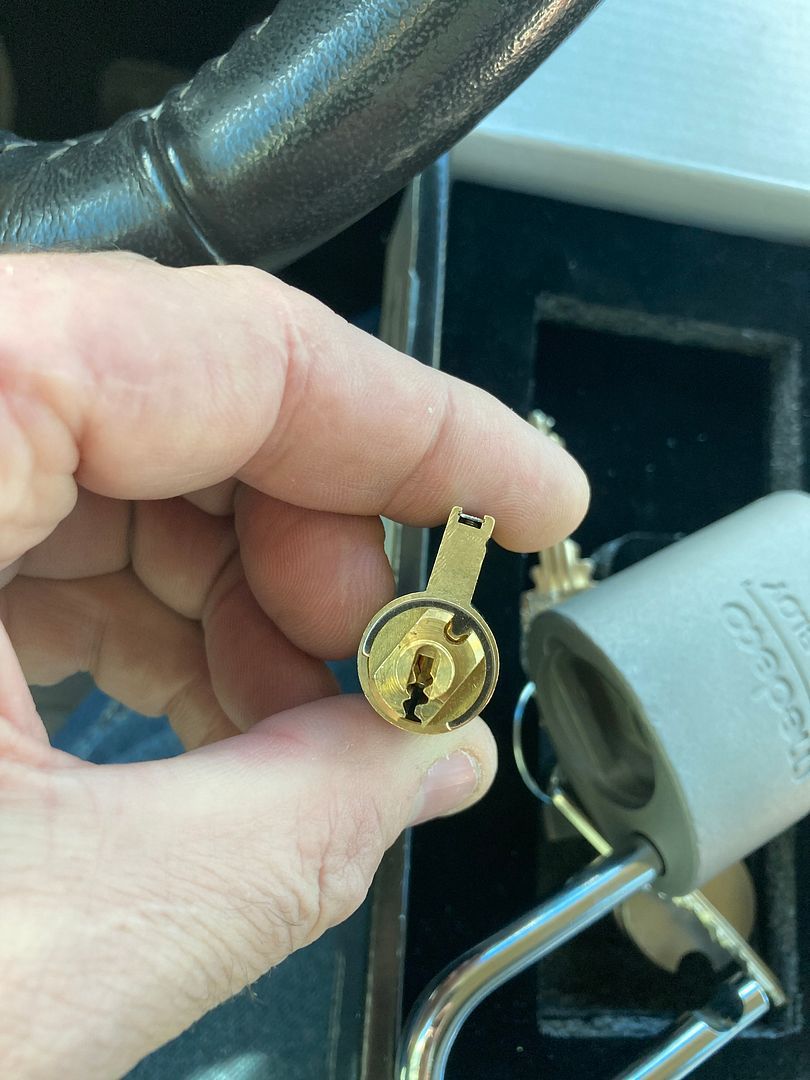
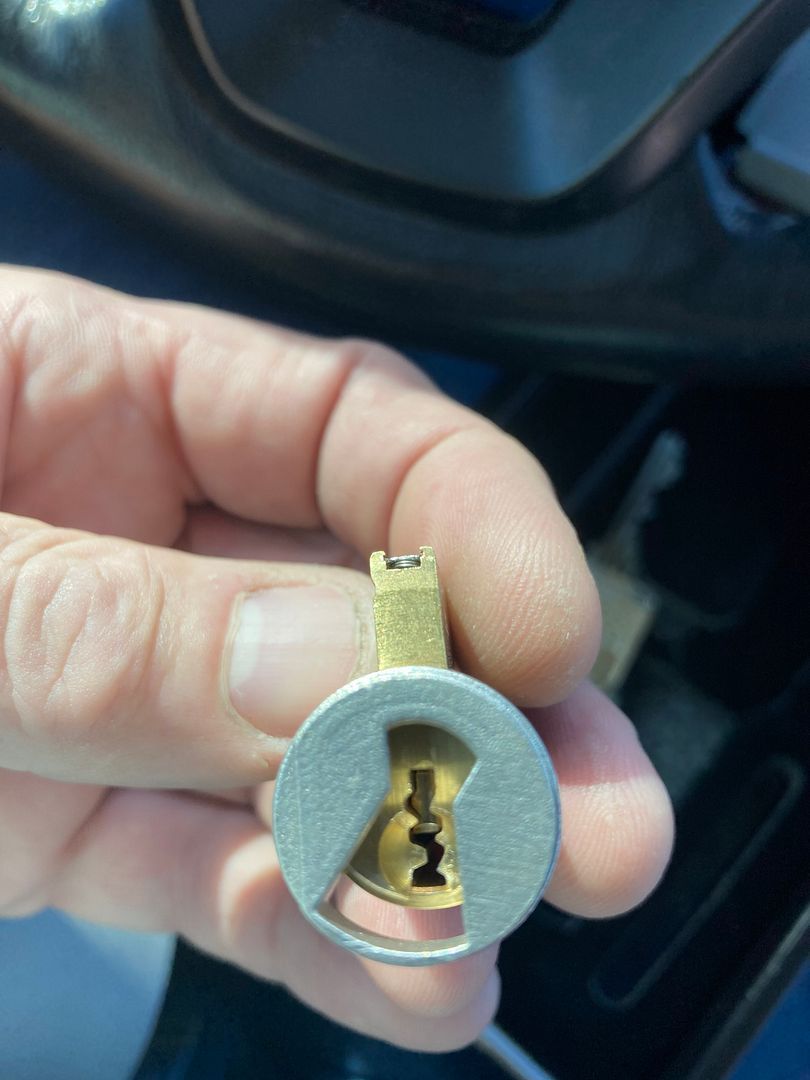
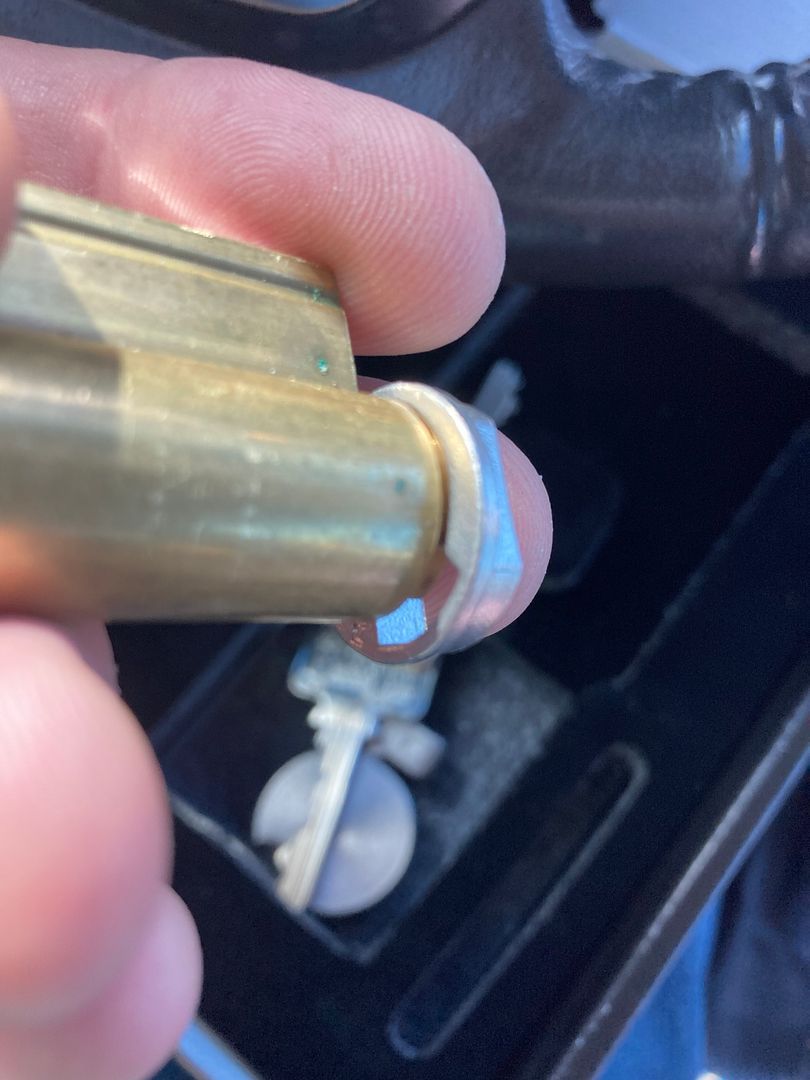
This is how the KIK cylinder fits into the end cap.

The shackle can be removed by first disassembling the padlock to this point, then using a small drift punch to drive out a roll pin in the base of the shackle heel. But in most cases, you would not remove the shackle.
For detailed reassembly instructions, read this post backwards, scrolling up as you go.
That about wraps it up. When I get the large version, I'll get it with the M4 core. That would have to be ordered, too. So not this time.
Have a good day!
Gordon


