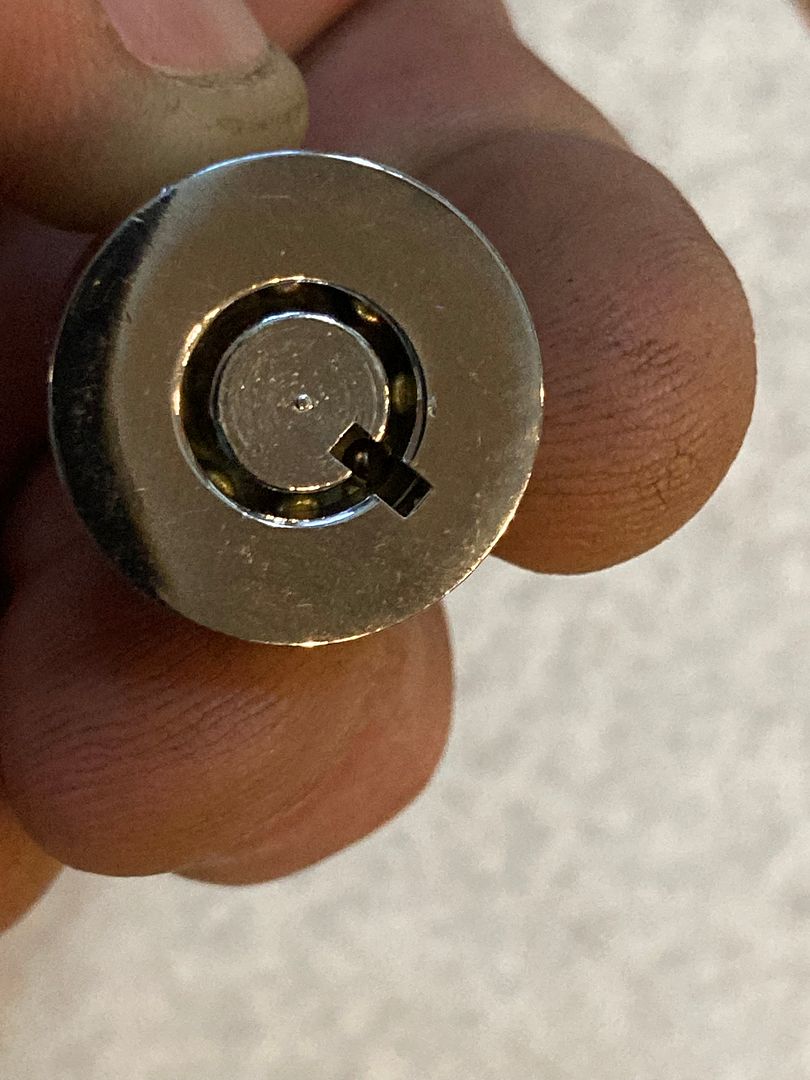
Yes, a key pin fell out of the pin channel and is was turned sideways. No manipulation of the pin could get it to go back into the pin channel so the lock could be opened.
After some loving work with power tools on the well hardened steel to get the pins out, used a key blank to open the shackle. A lot of soaking with rust penetrant, lovingly followed by some tender ministrations utilizing an oak board (AKA beating the tar out of the board) and an impressive multilingual display of colorful and descriptive language concerning the likely heritage of the lock's ancestors, got the core removed from the lock.
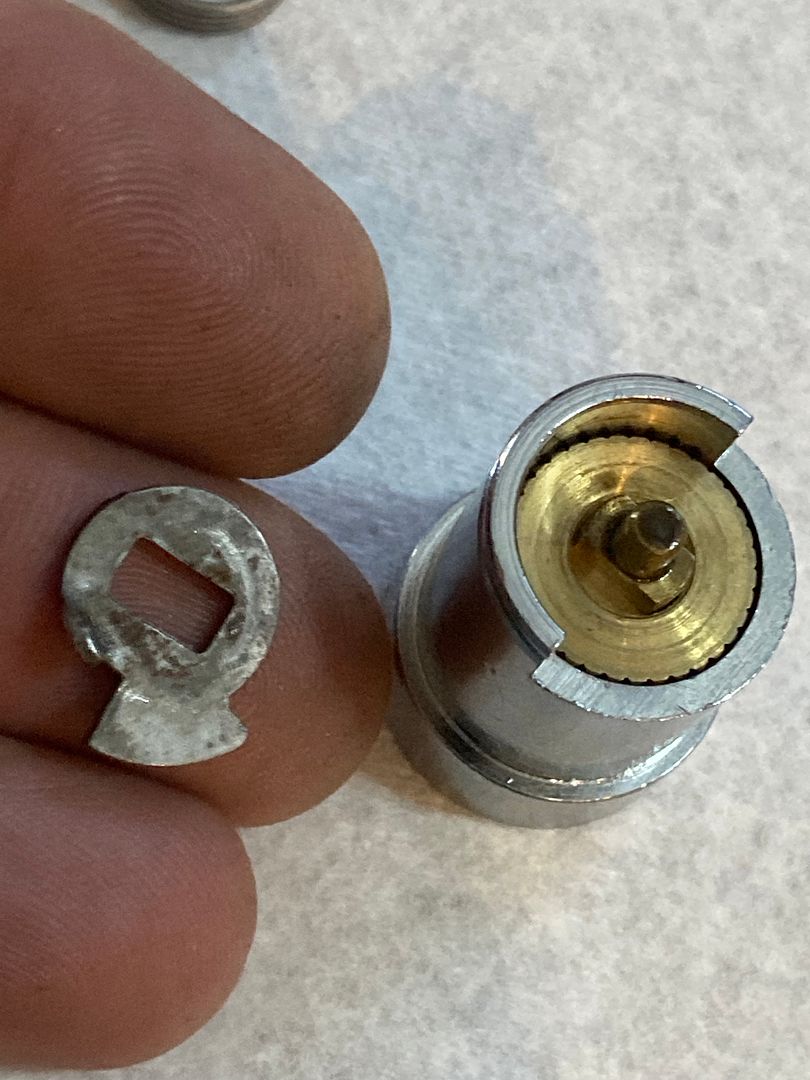
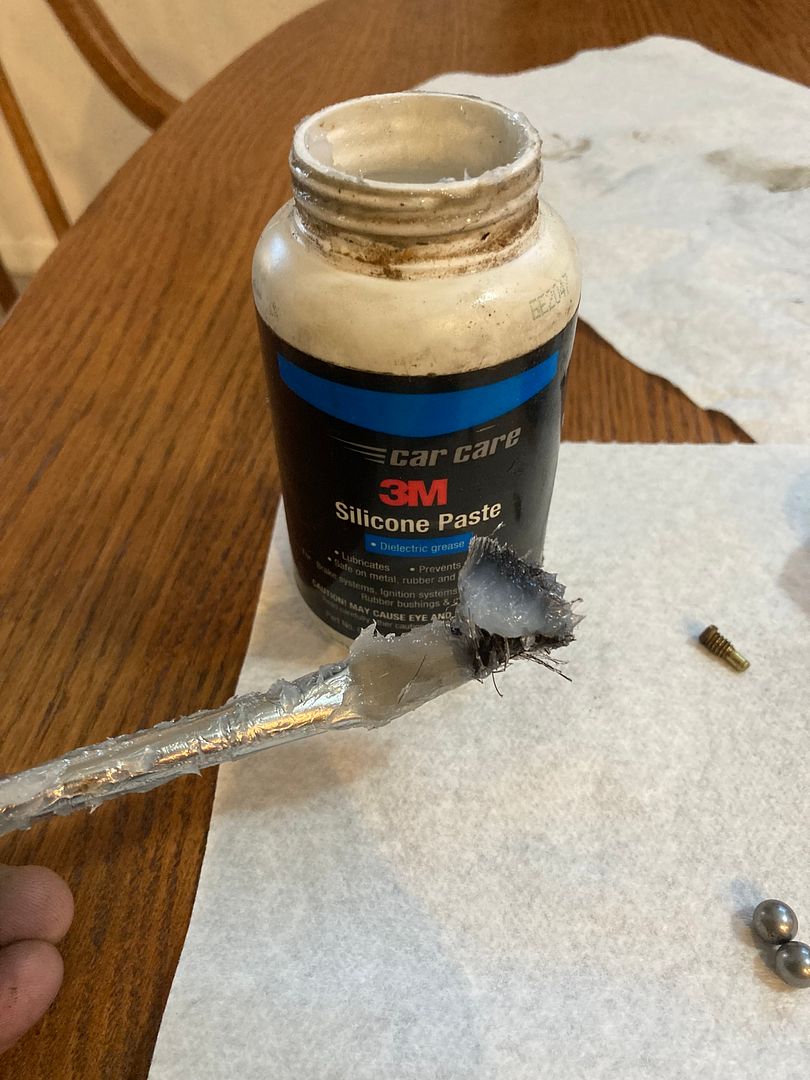
Cleaned all the parts and will be installing a replacement core. This is where we will start. Here are the parts:
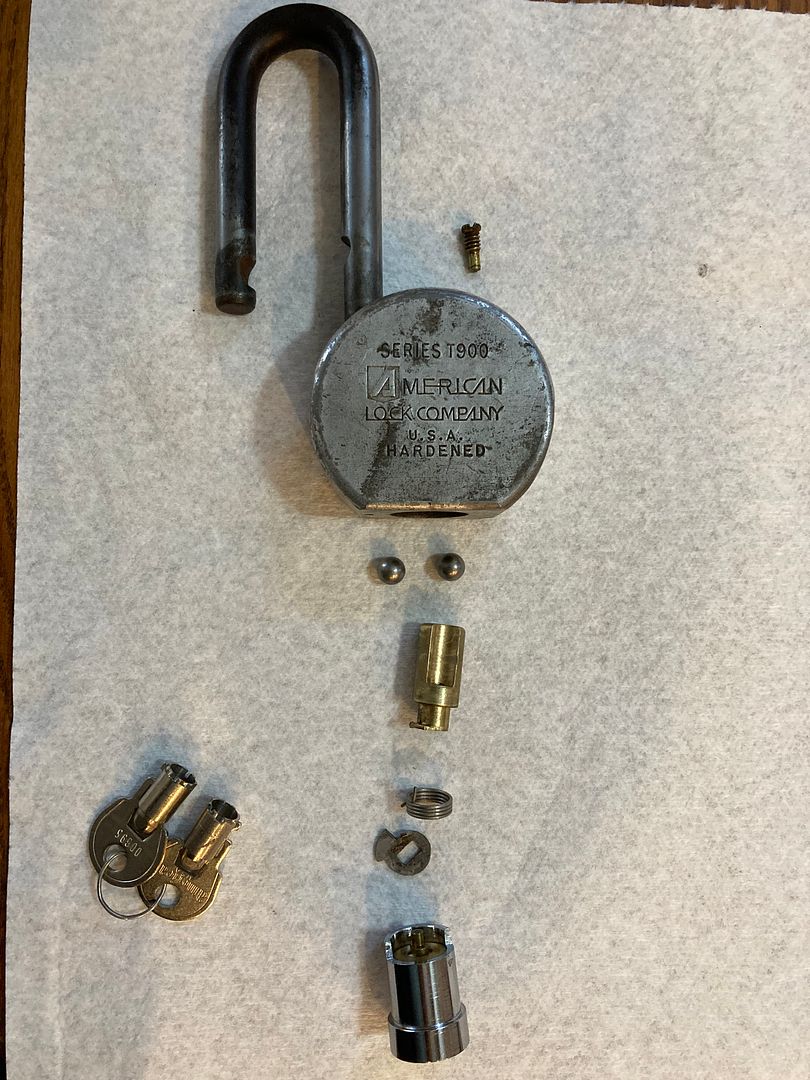
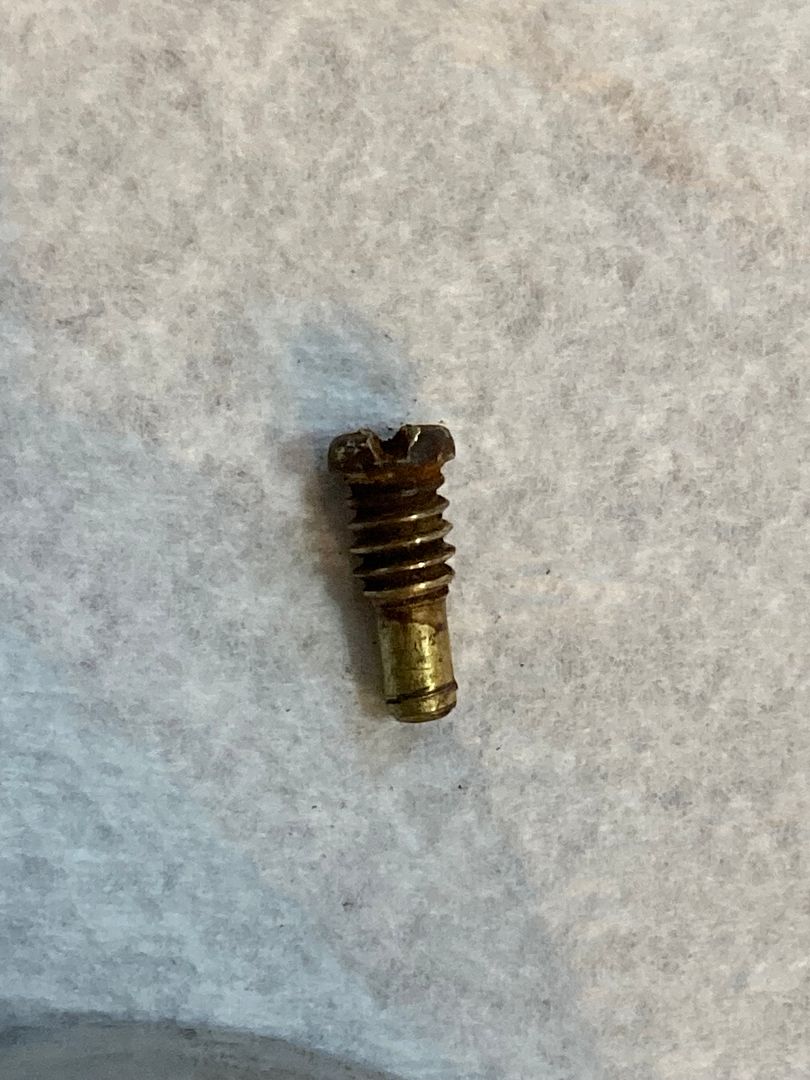
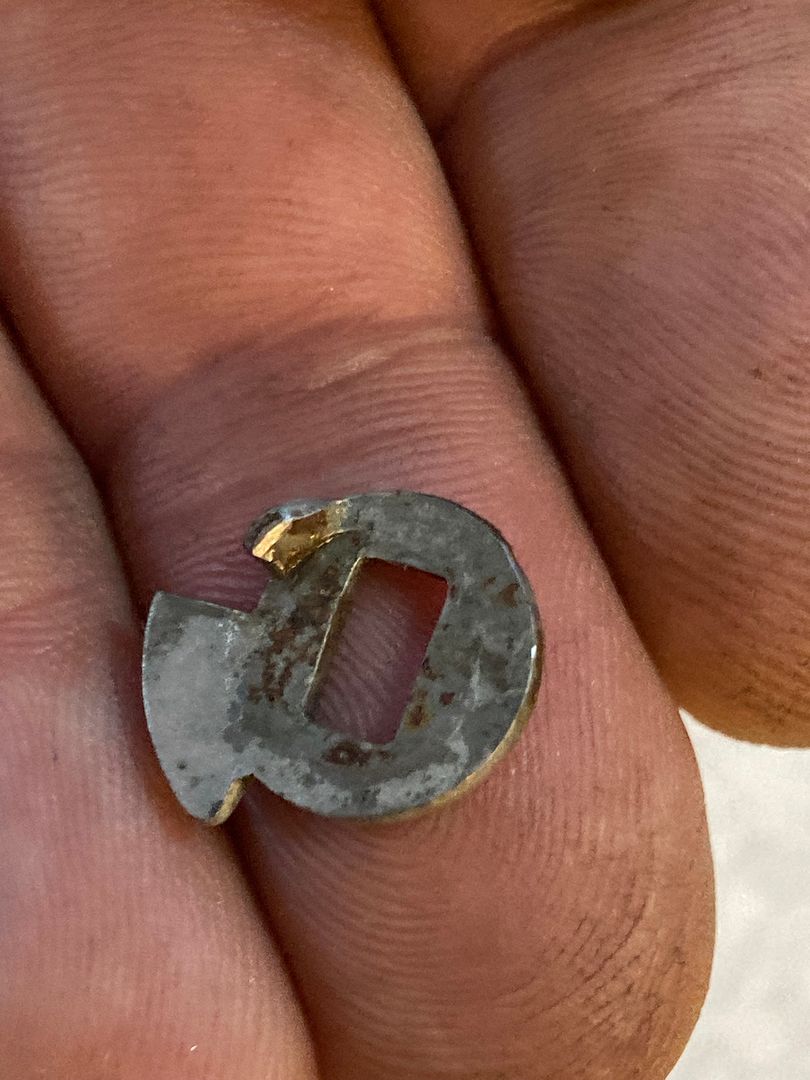
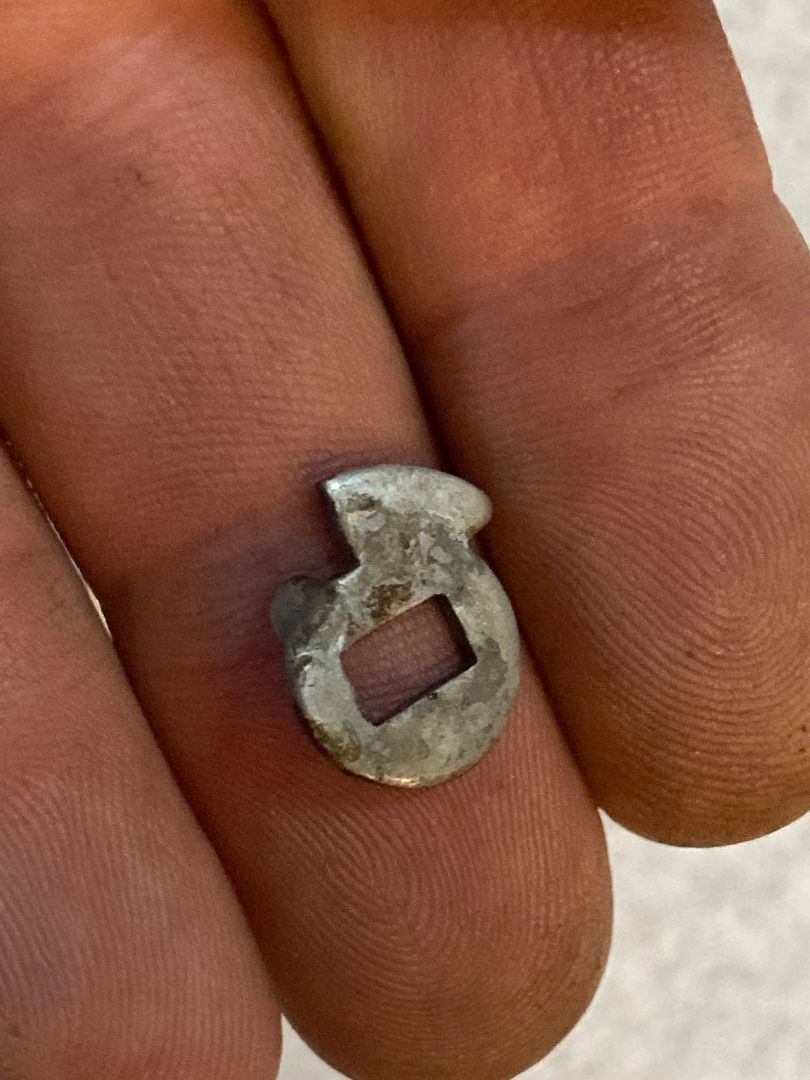
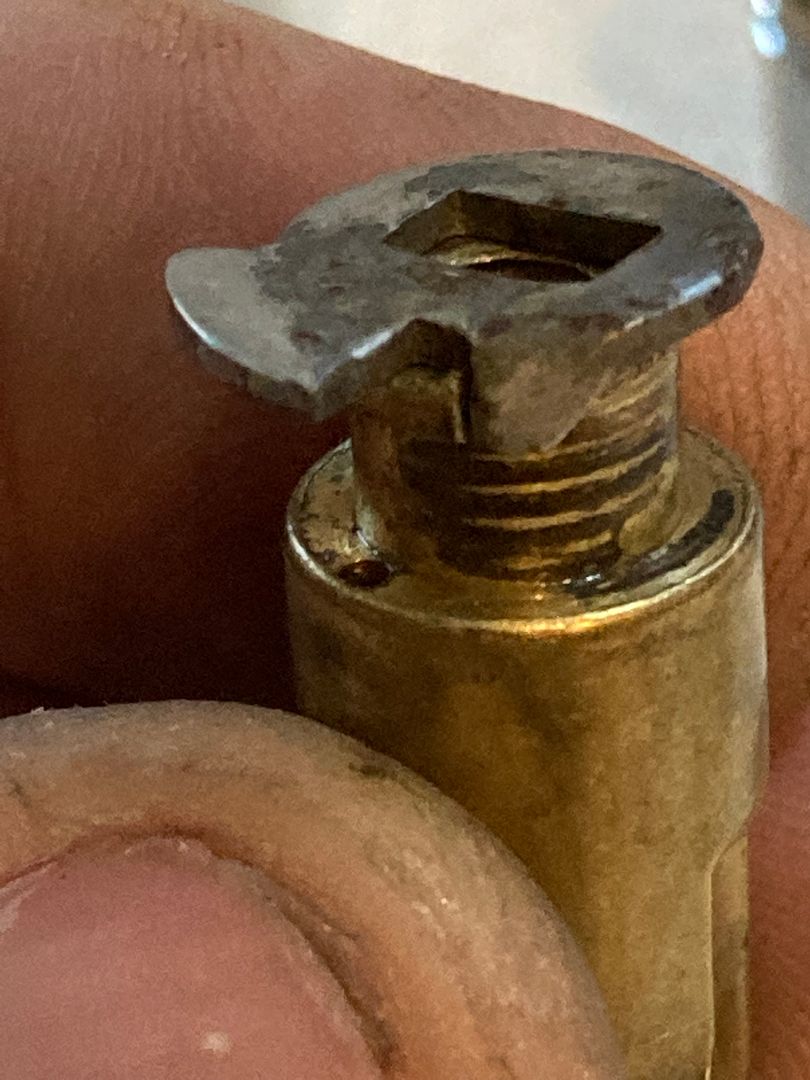
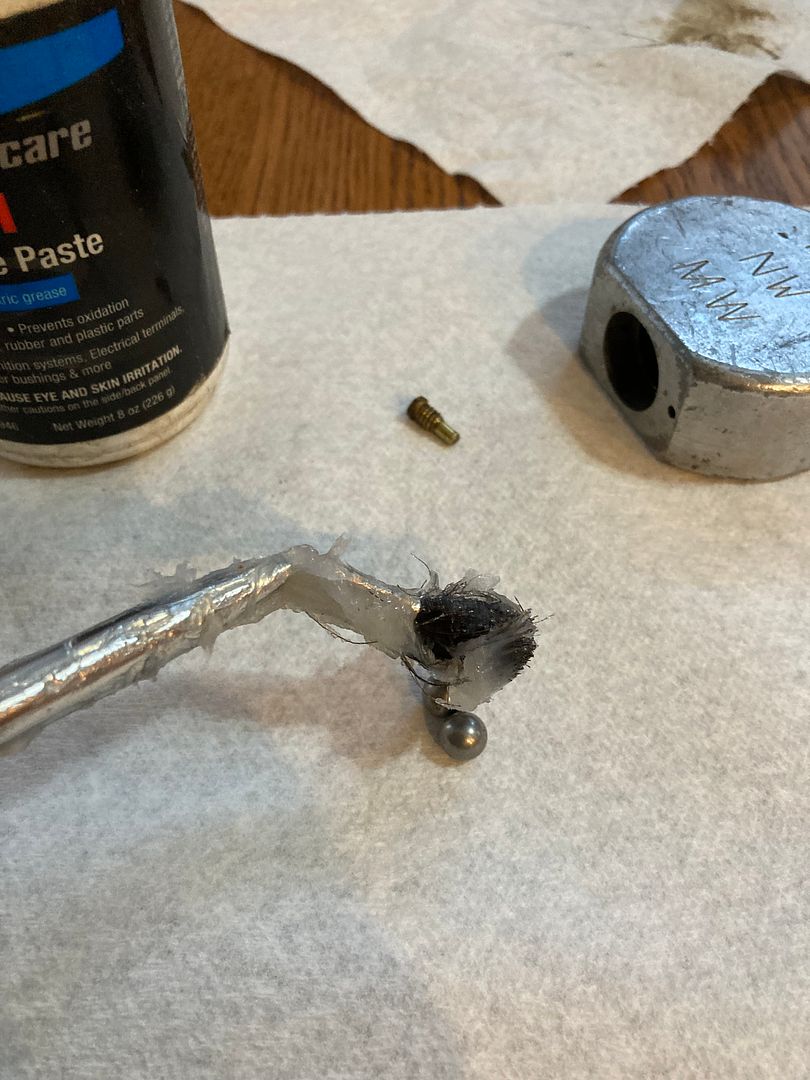
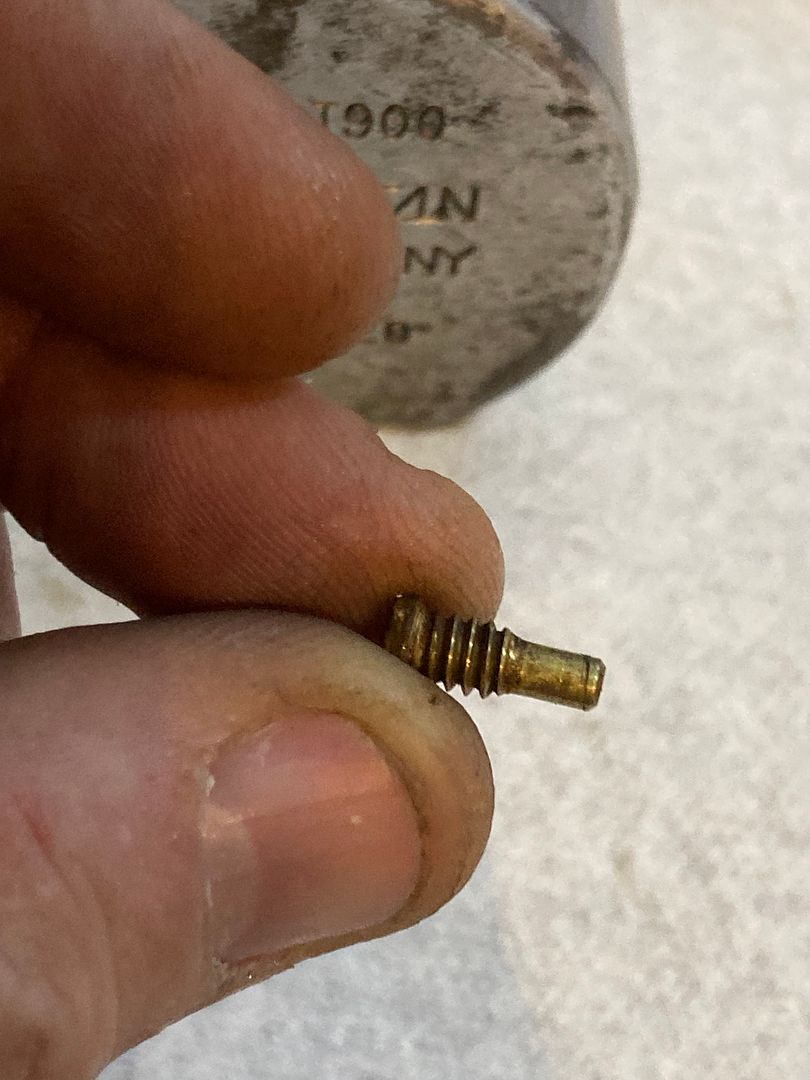
This is the screw that fits into the shackle toe hole to keep the cylinder retaining pin from sliding out of the cylinder.
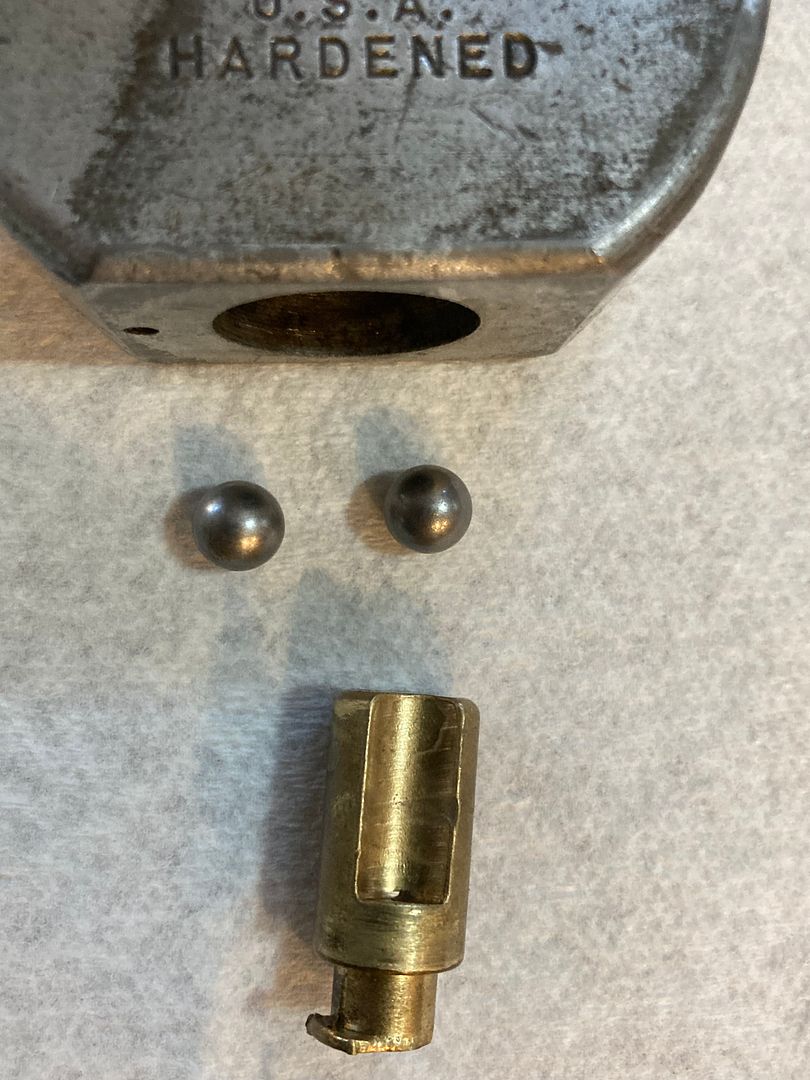
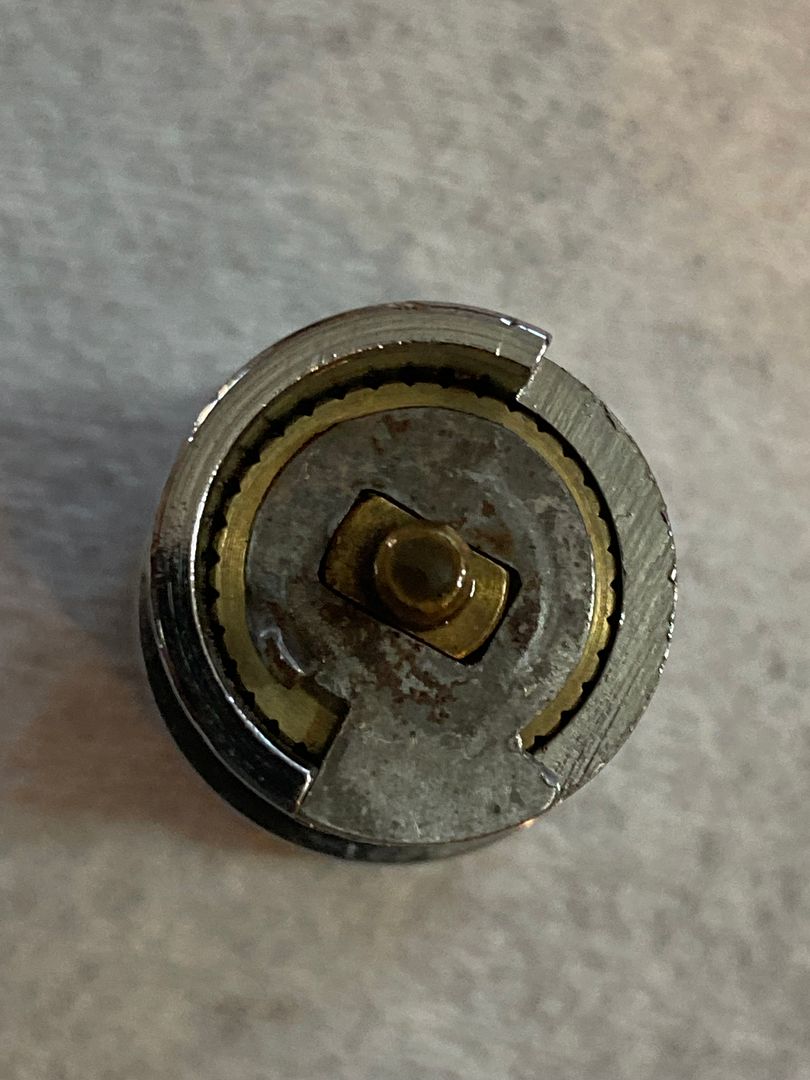
Here are the bearings and the cam...
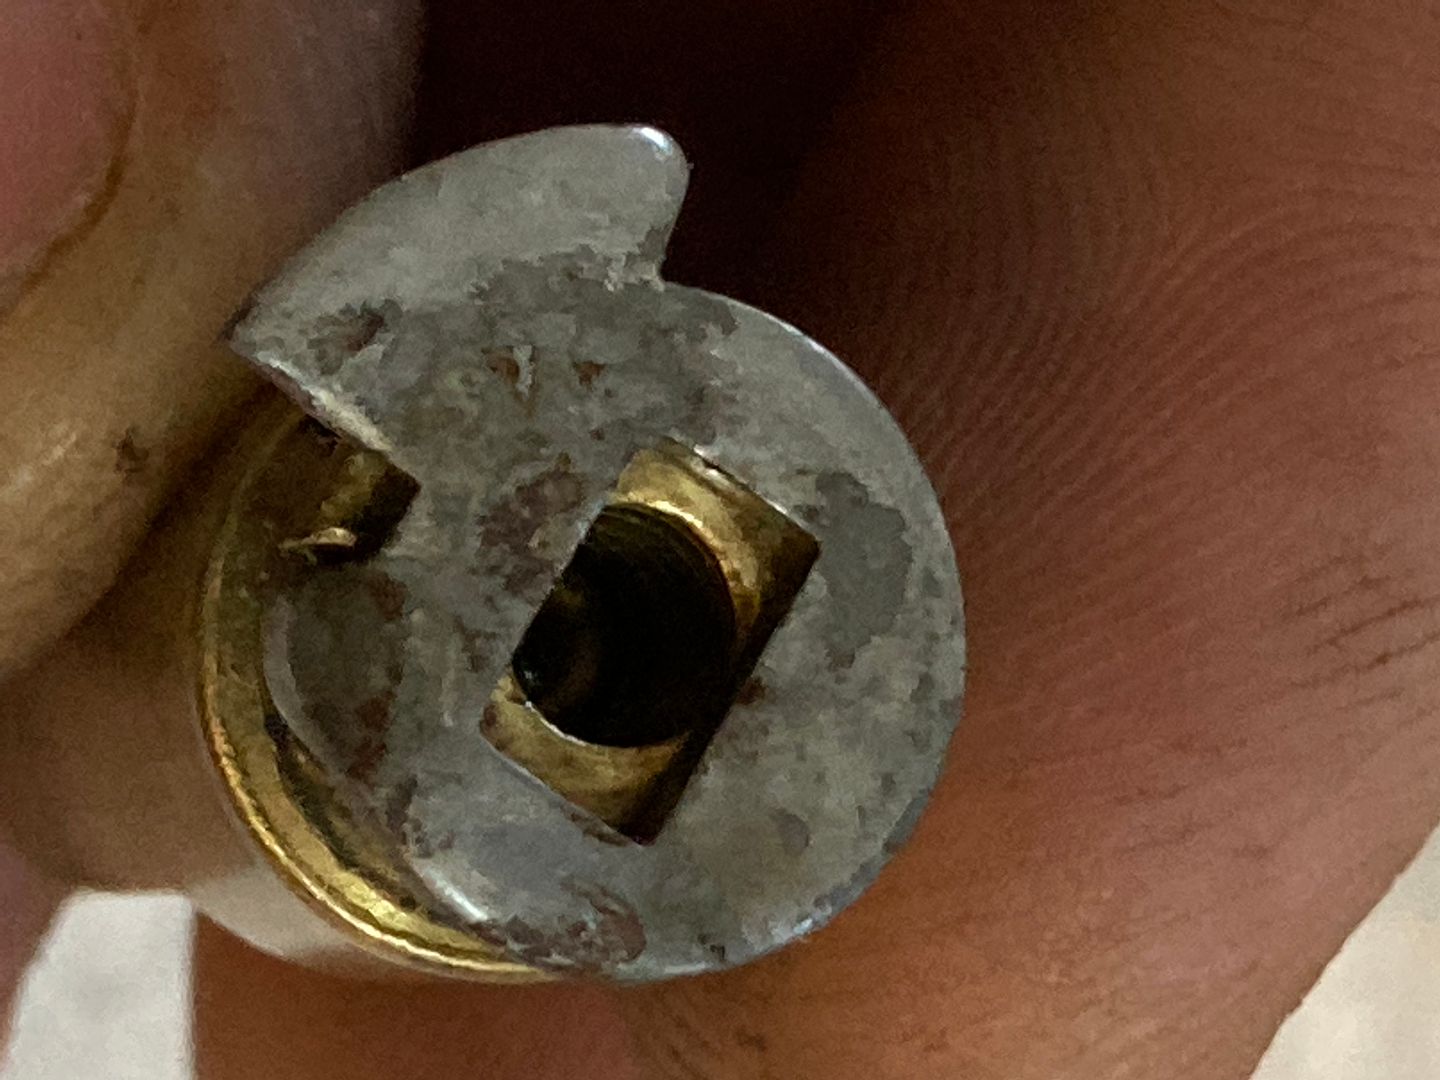
A few views of the cam. This is what either blocks the locking balls/bearings from moving inwards unlocking the shackle or blocks them, locking the shackle.
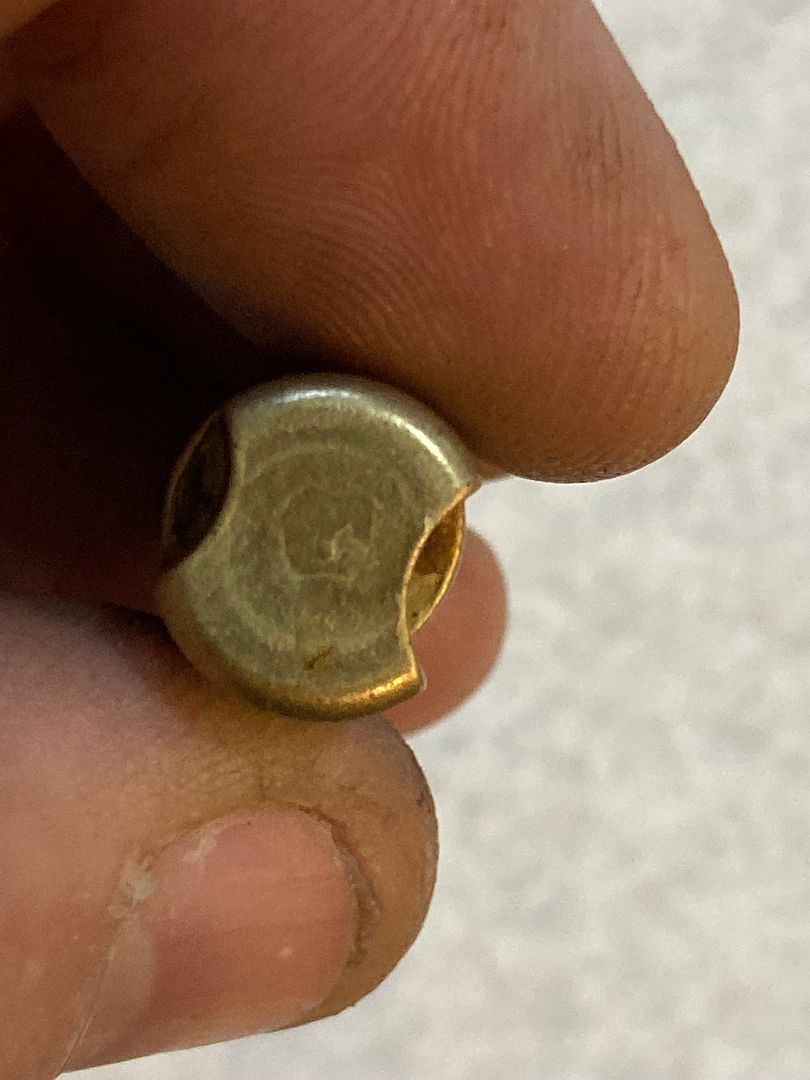
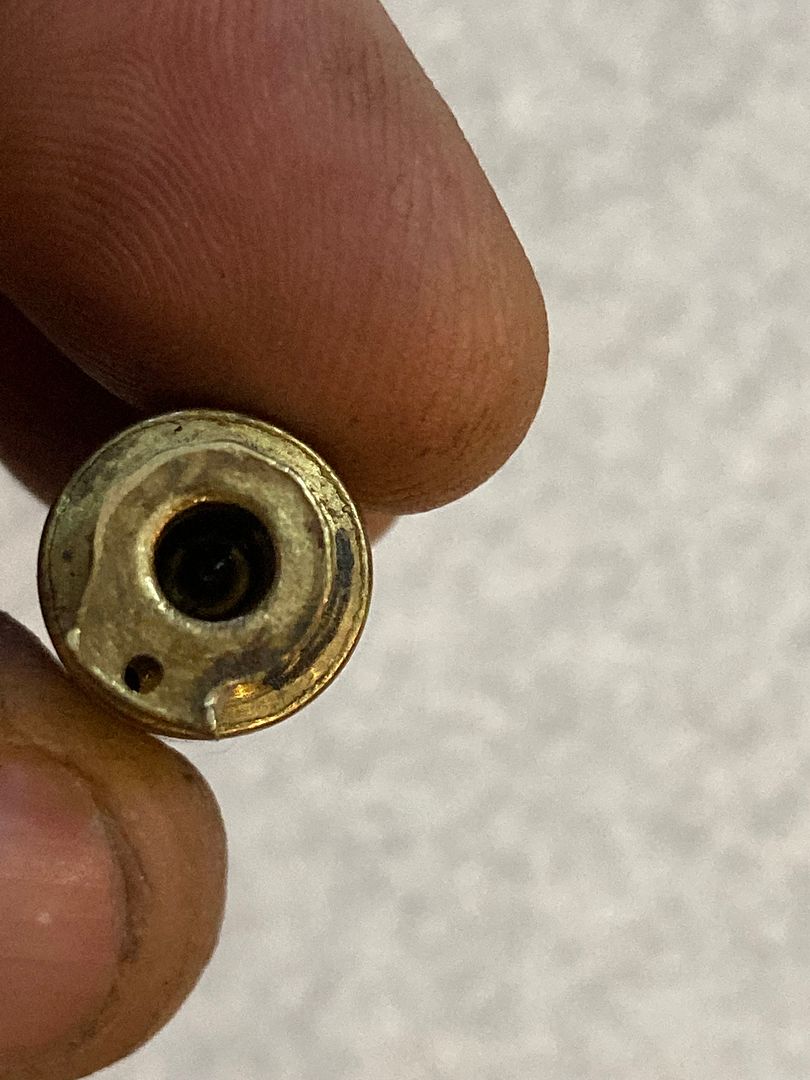
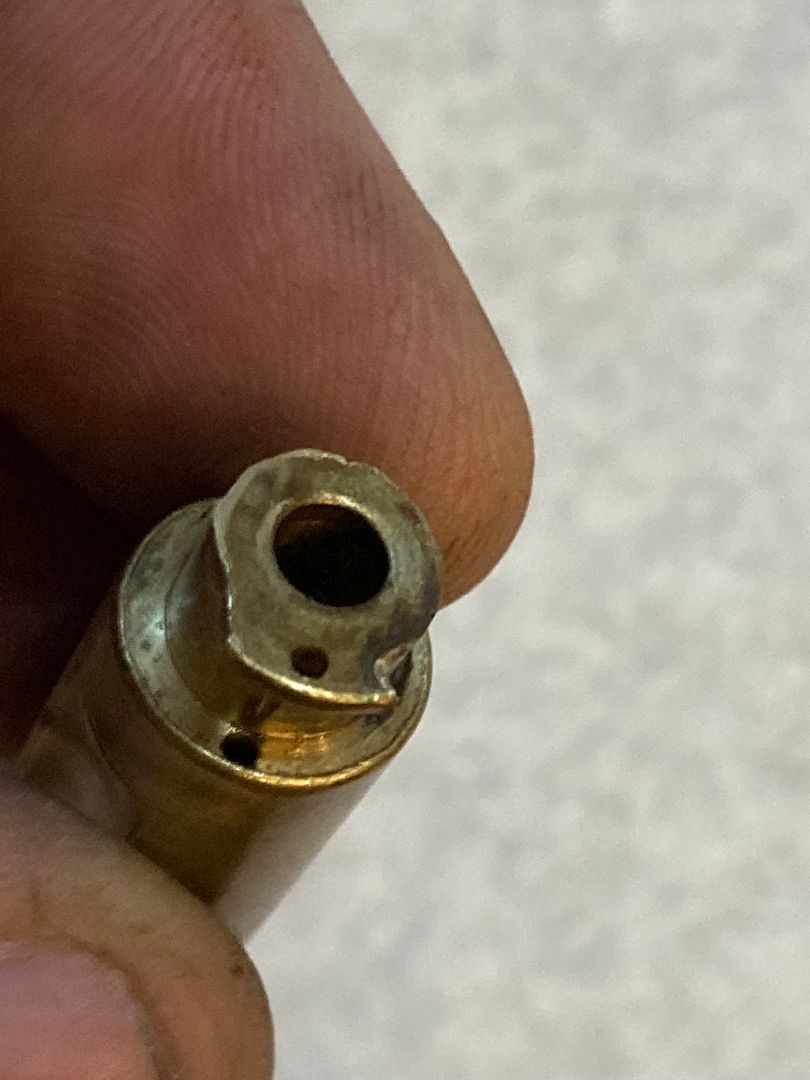
A slight angle shot of the above view, showing a very important hole under the lip. More on that hole later.
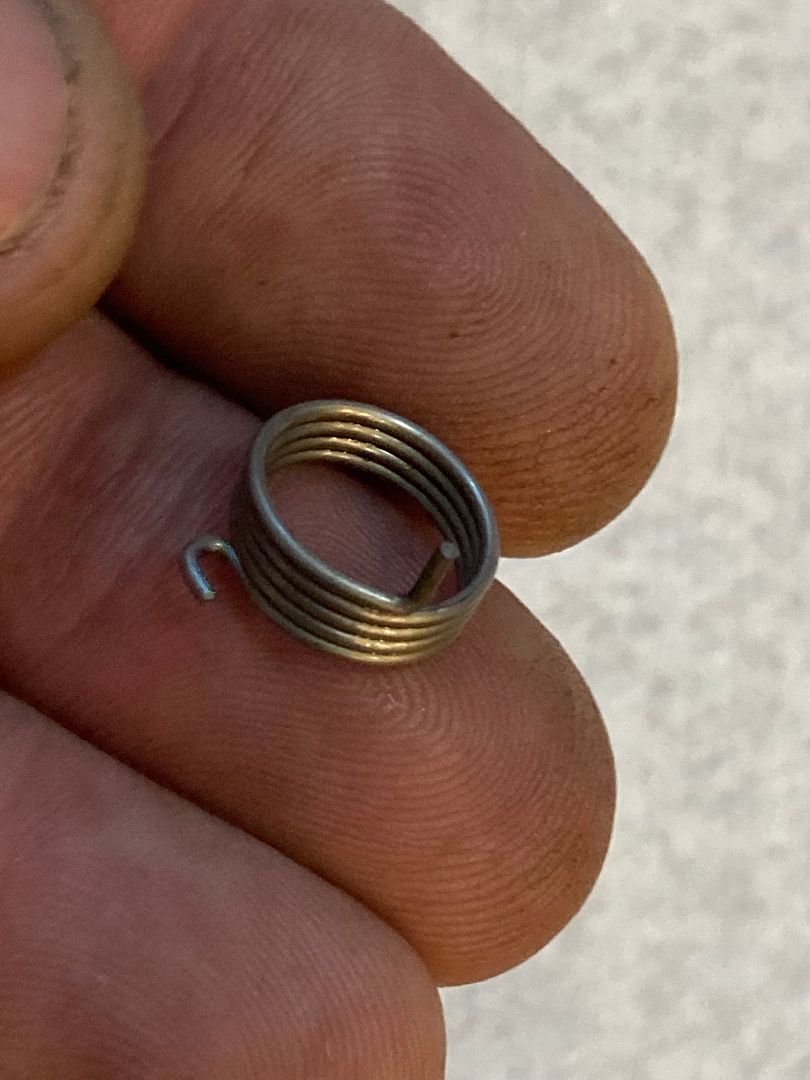
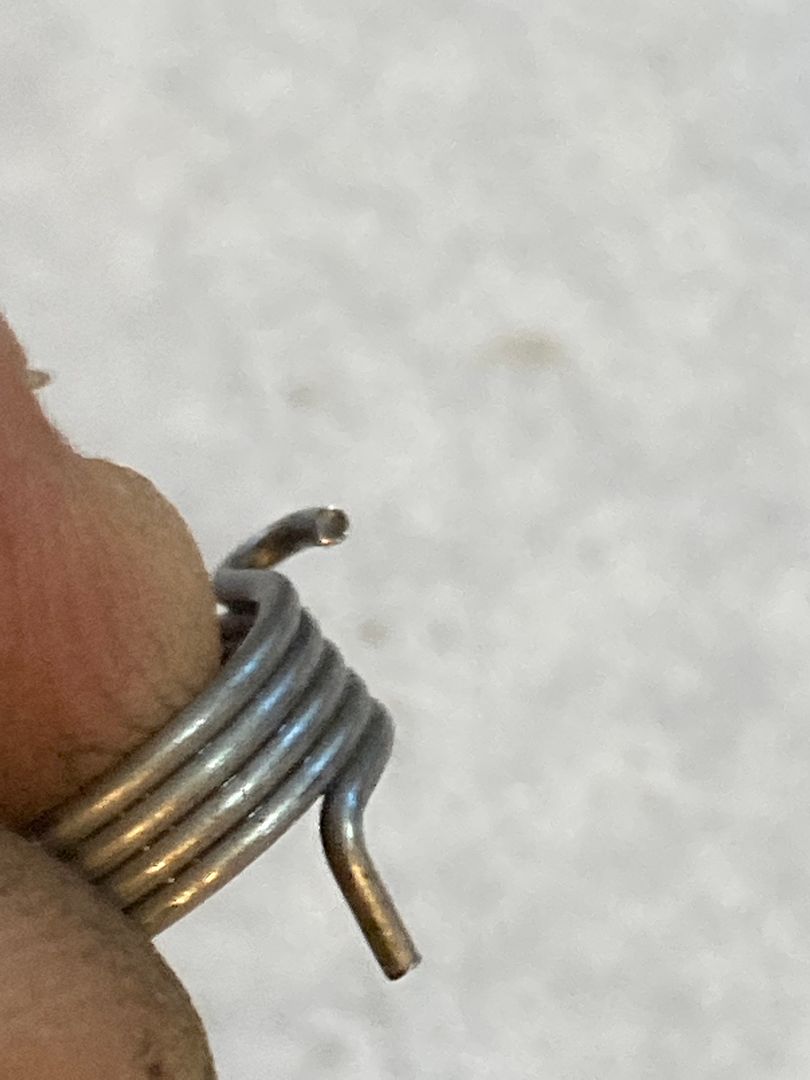
Next in the lineup is the cam spring.
Followed by the driver/washer. You may have seen a post I recently did on making one of these for another lock.
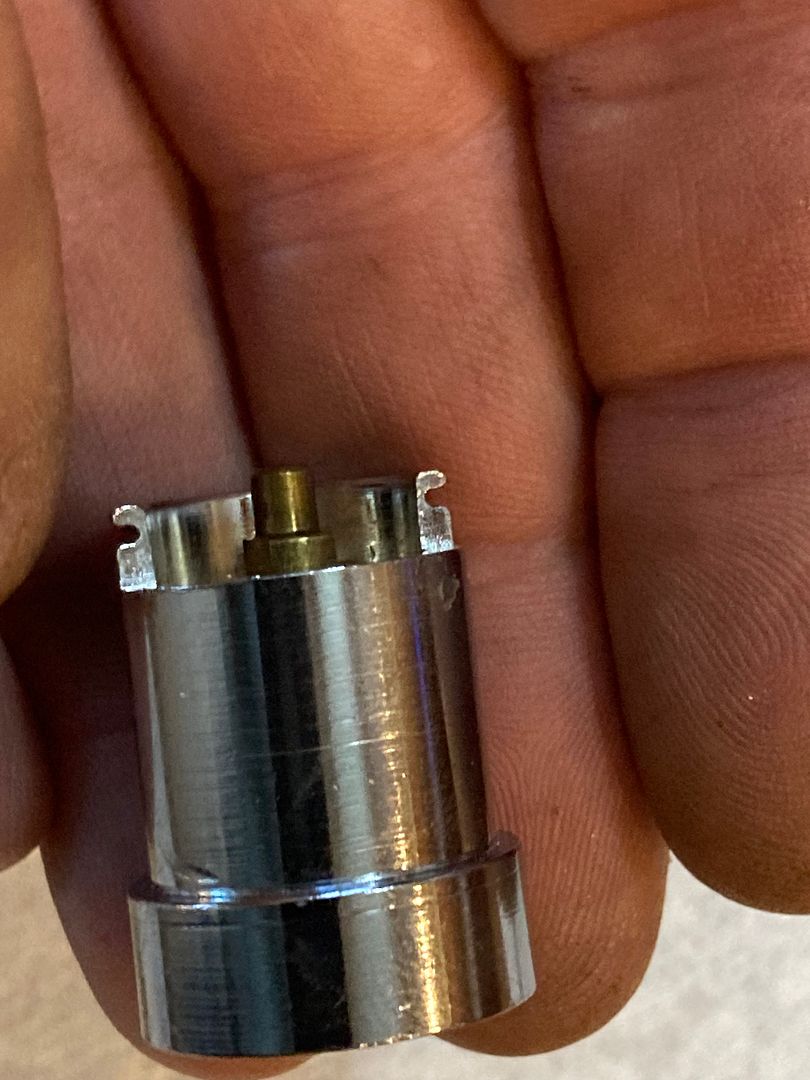
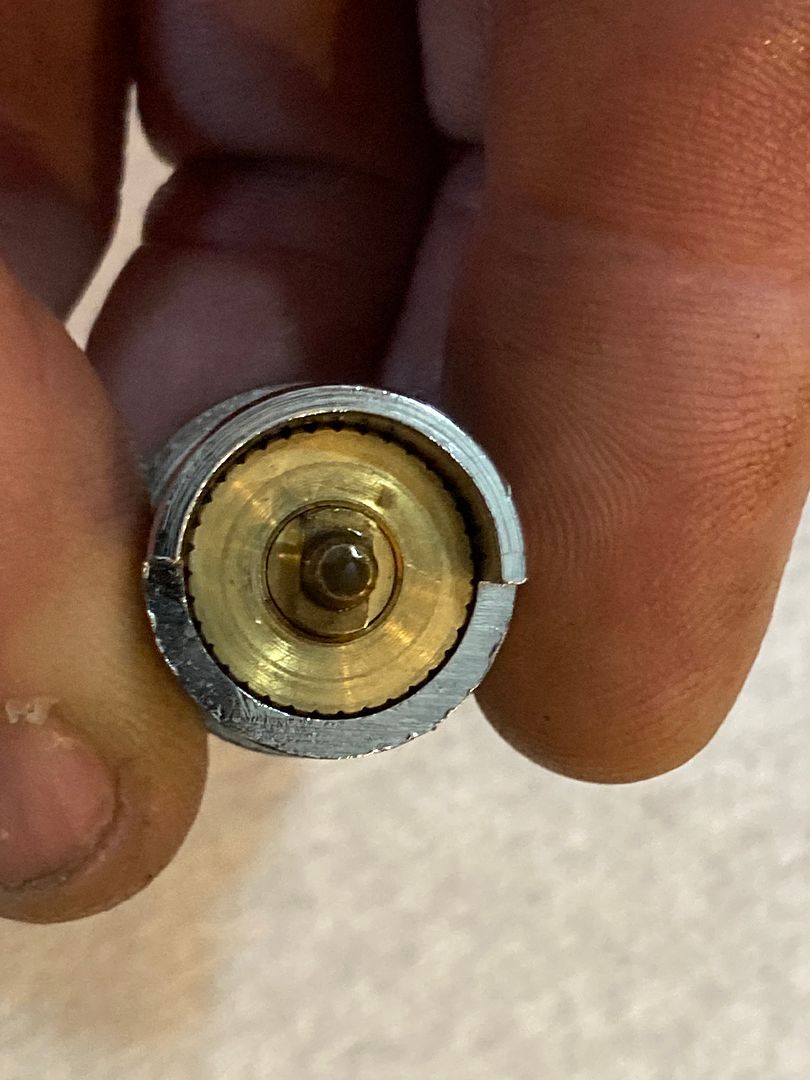
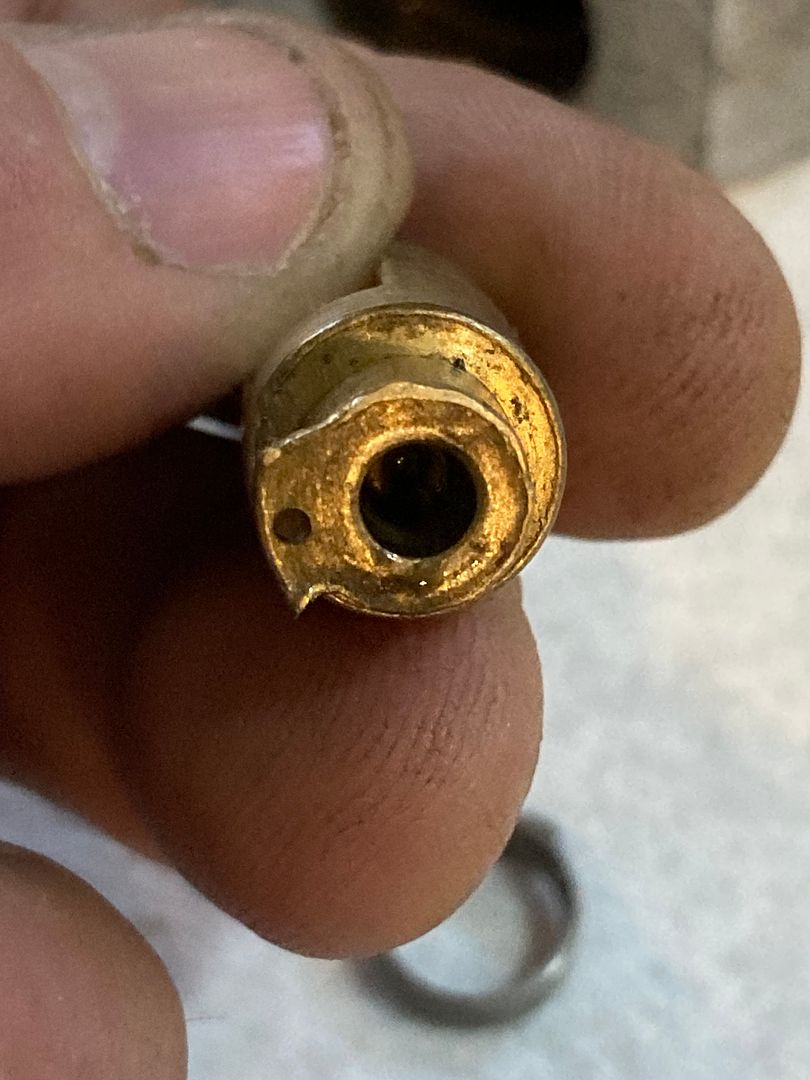
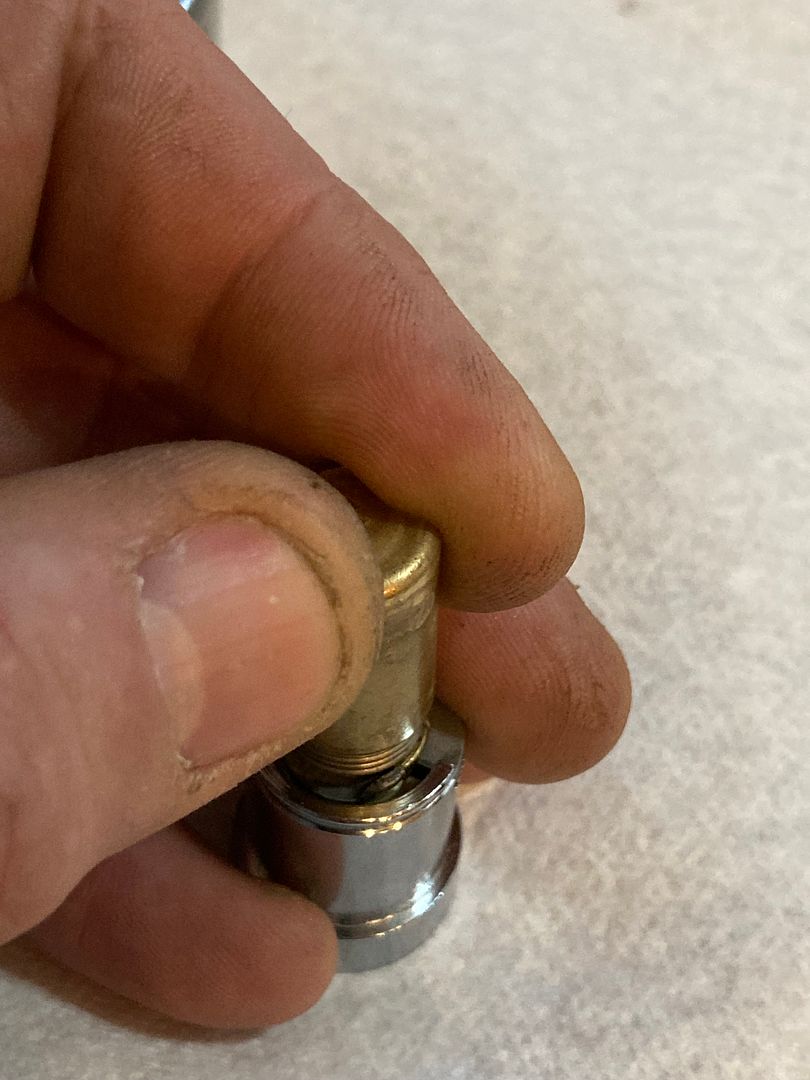
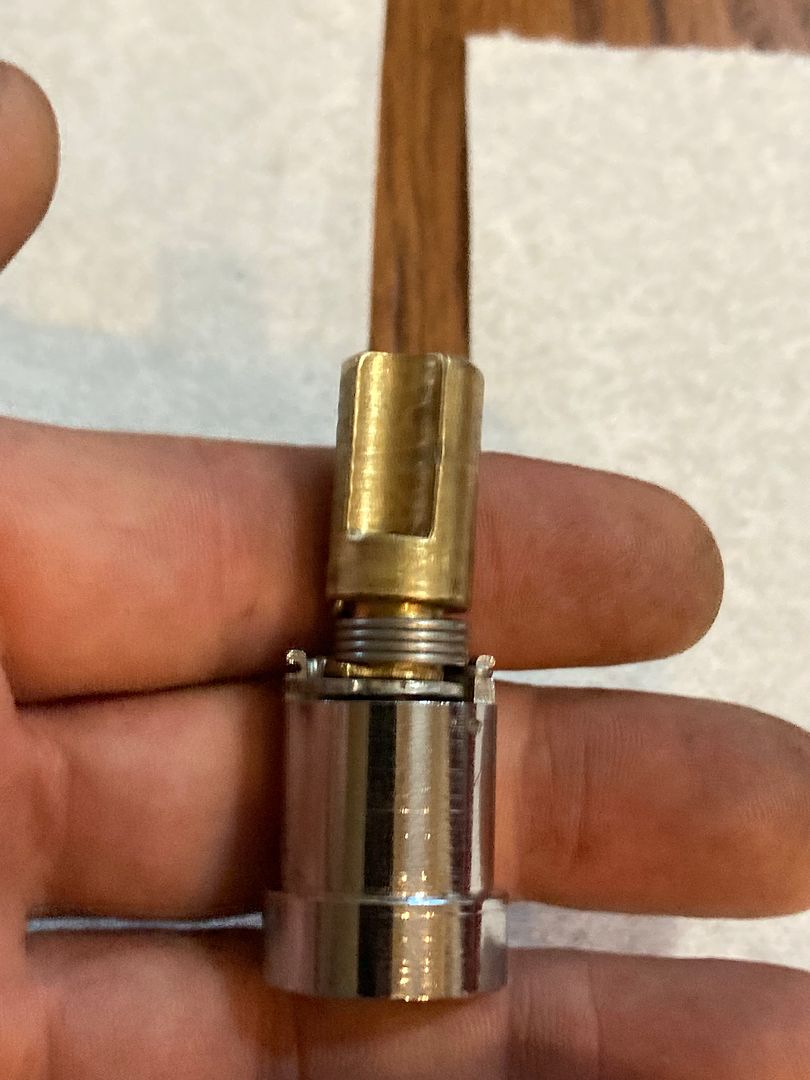
And a few views of the tubular lock cylinder itself. This is quite different from the cores for the modern American tubular lock cylinders.
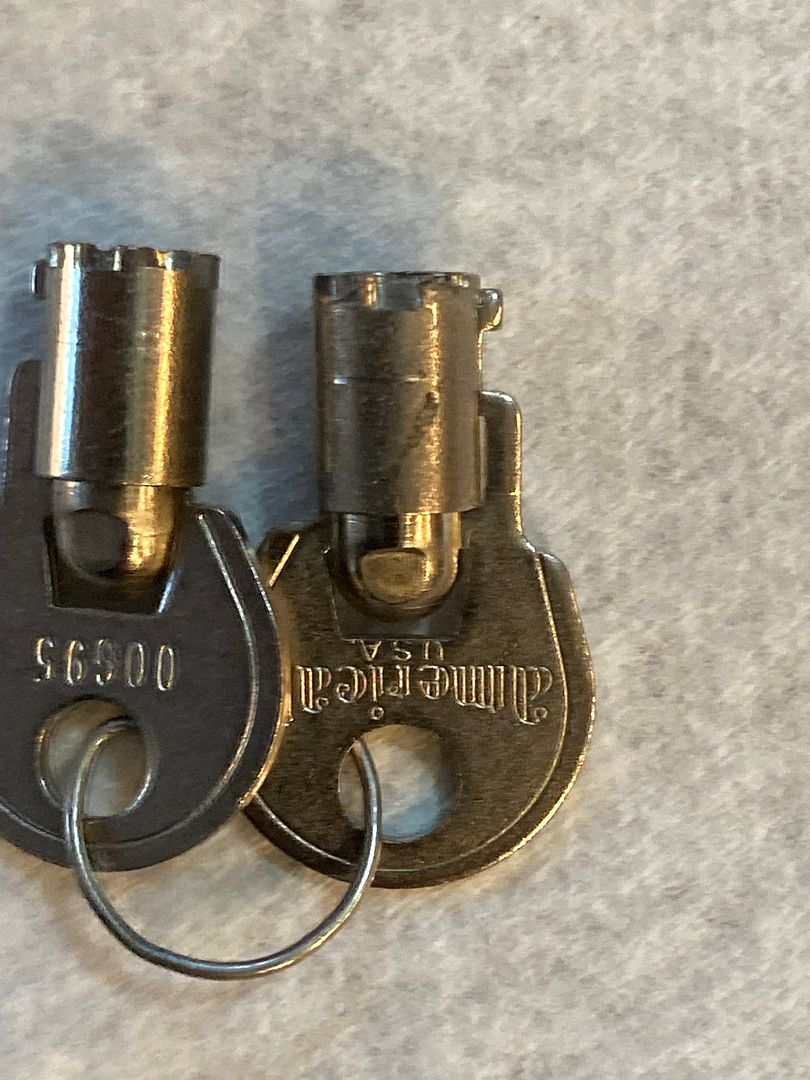
And, of course, the keys.
OK, on to assembly! Put the driver onto the back of the lock cylinder with the tab facing away from the cylinder. Have the outermost overhang up against the side of the cylinder as shown.
Before installing the spring and cam, maybe I should show you how the driver/washer fits and interacts with the cam. Here is the bottom of the cam (which will fit against the back of the lock cylinder when the lock is assembled...
The driver/washer will fit with the tab sticking up against the wide section of the cam.
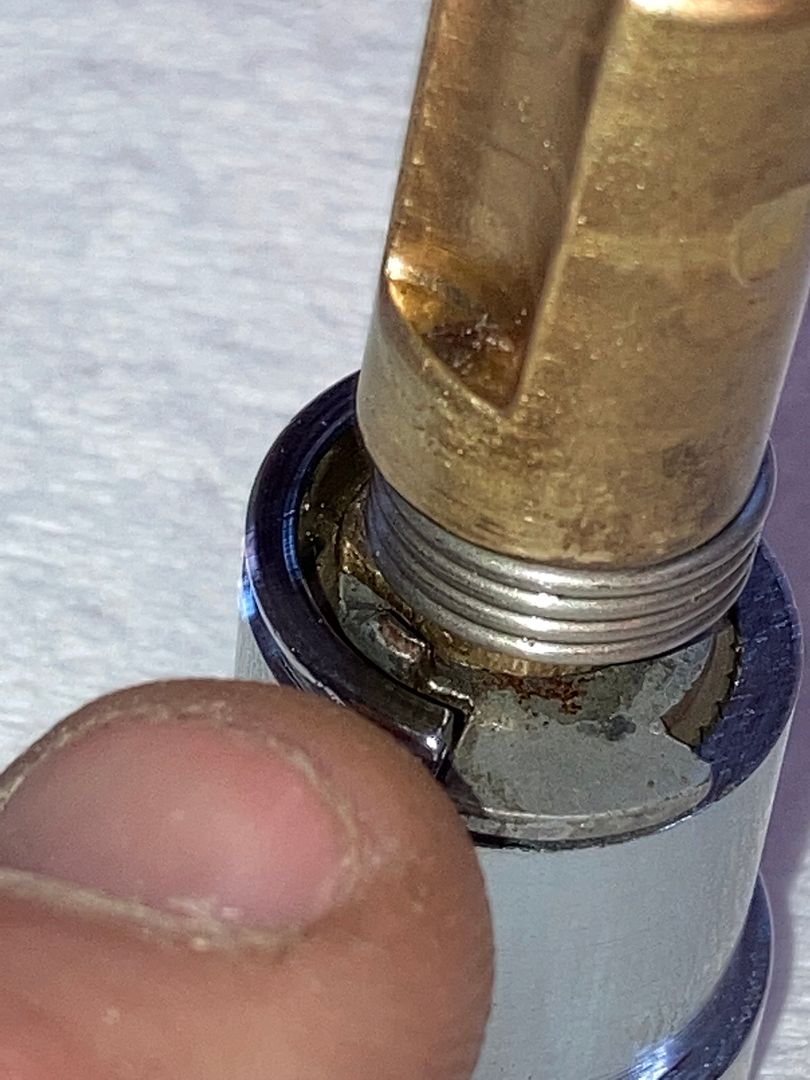
OK, back to your regularly scheduled reassembly. Remember the hole I pointed out in this picture?
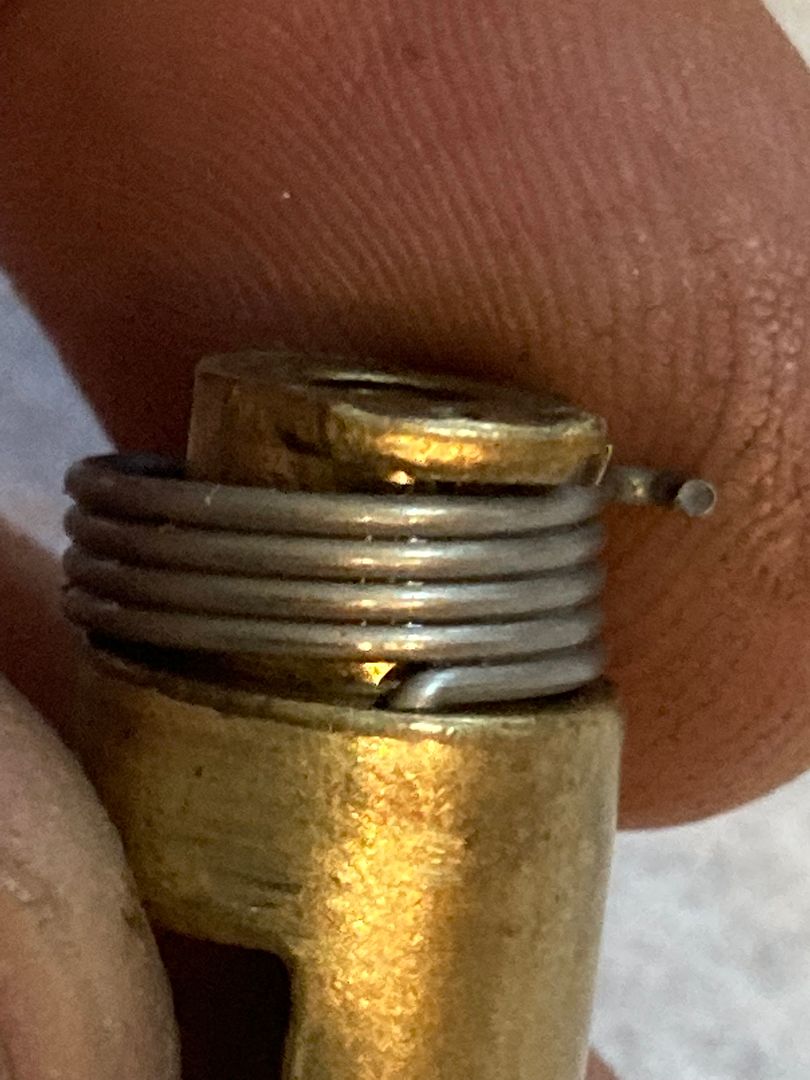
Stick the straight end of the spring in there, with the rest of the spring winding around the cam.
And slide it all the way down, being sure the rest of the spring fits below the overhang of the cam.
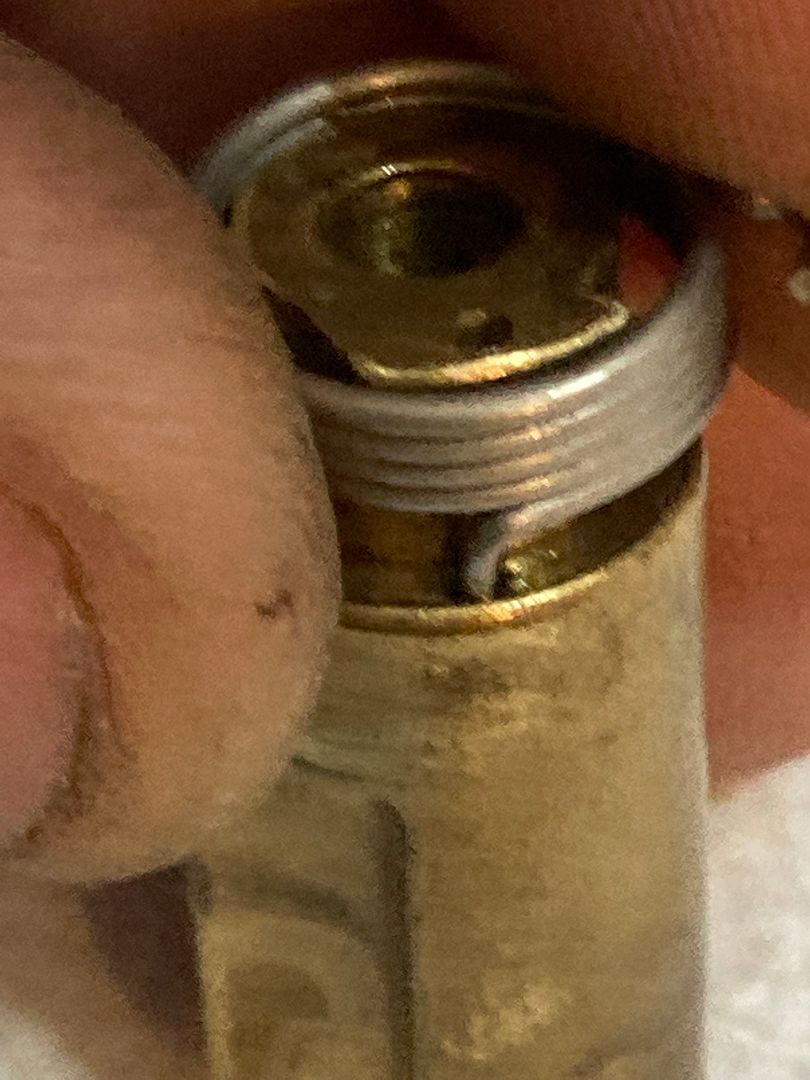
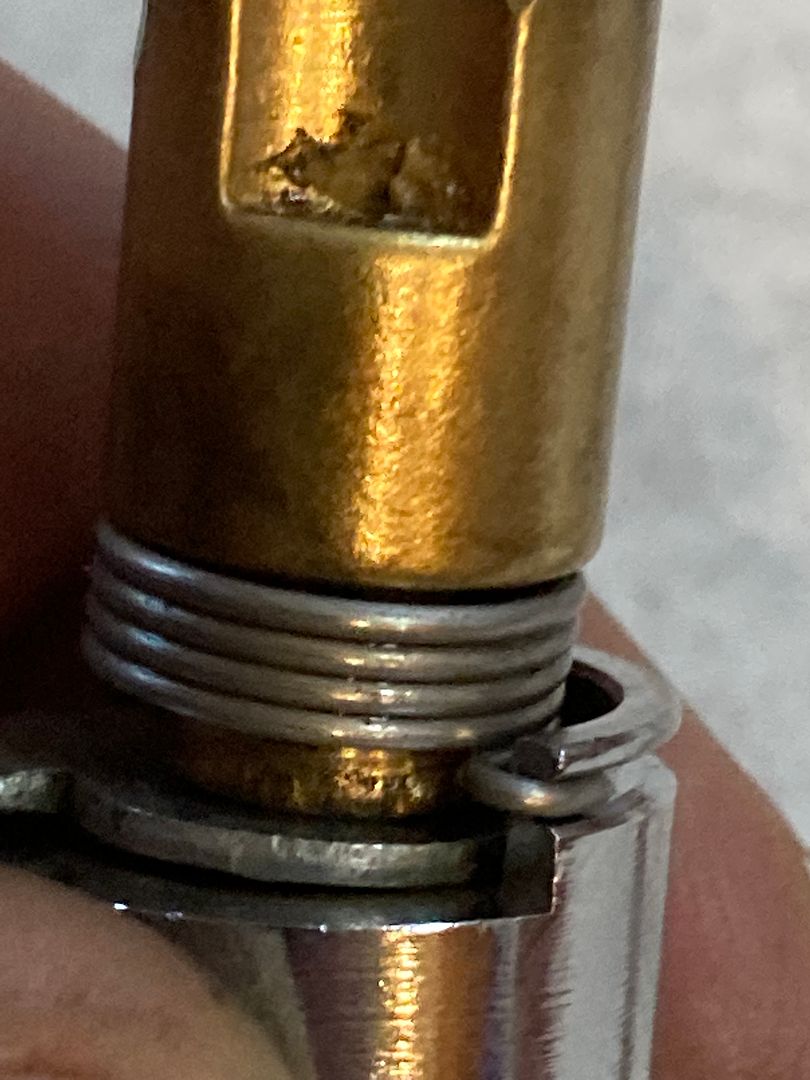
Now fit the hooked end of the spring...
...into the narrow groove in the side of the cylinder here.
Like so...
Now twist the cam, tensioning the spring as you go, until the cam fits over the tab on the driver/washer.

Once straightened up, the cam should now stay in place.
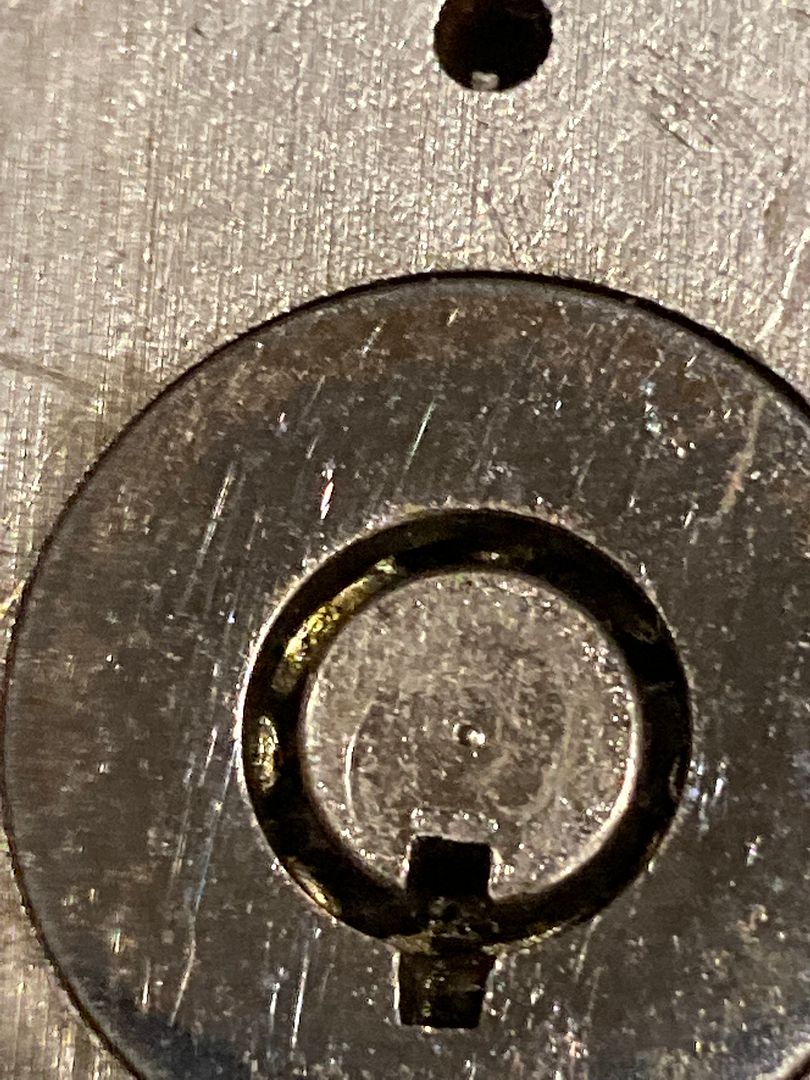
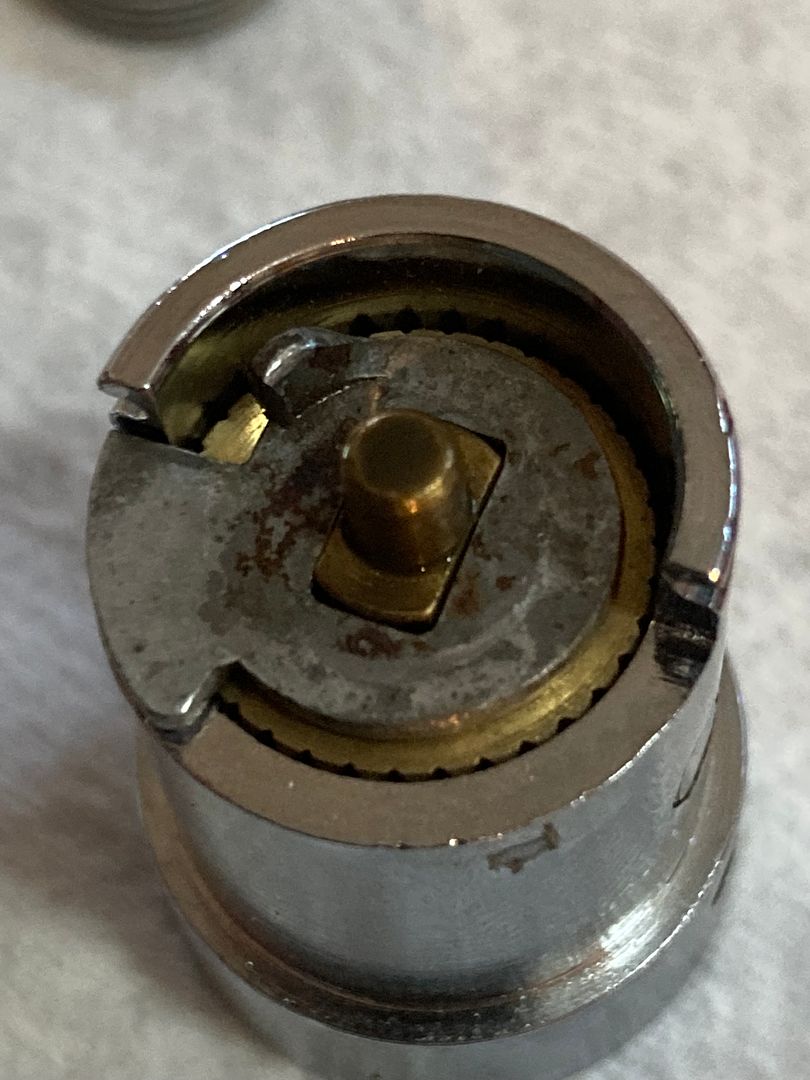
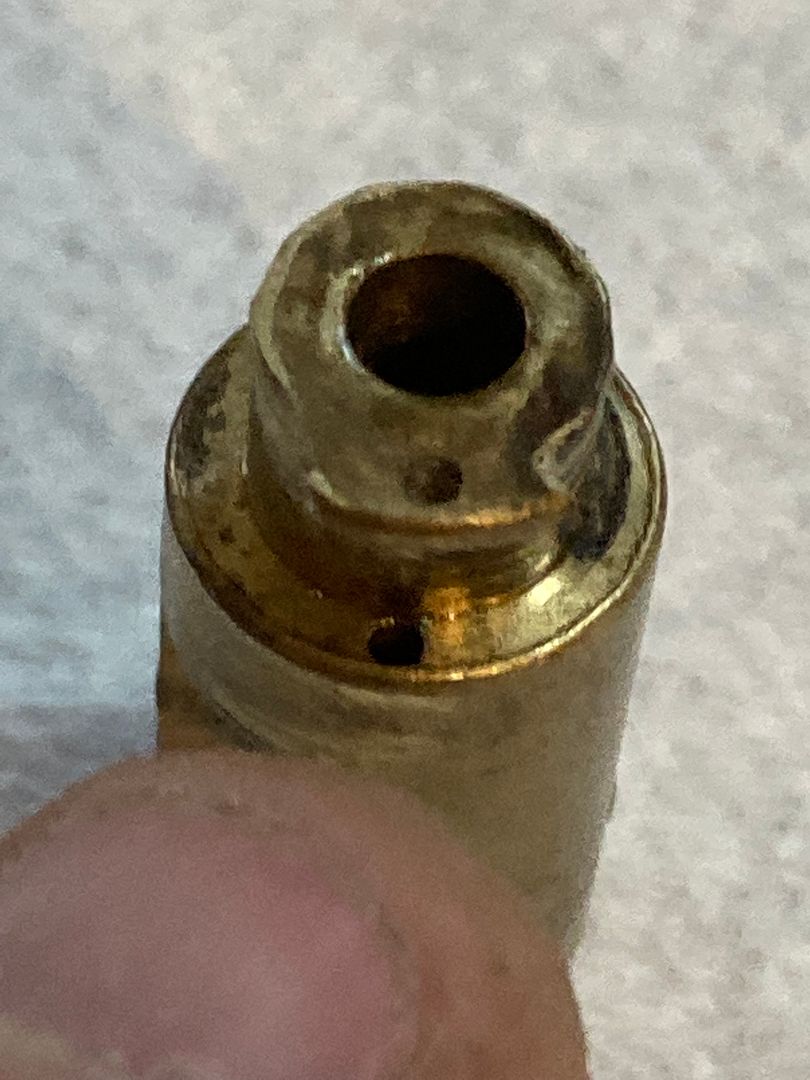
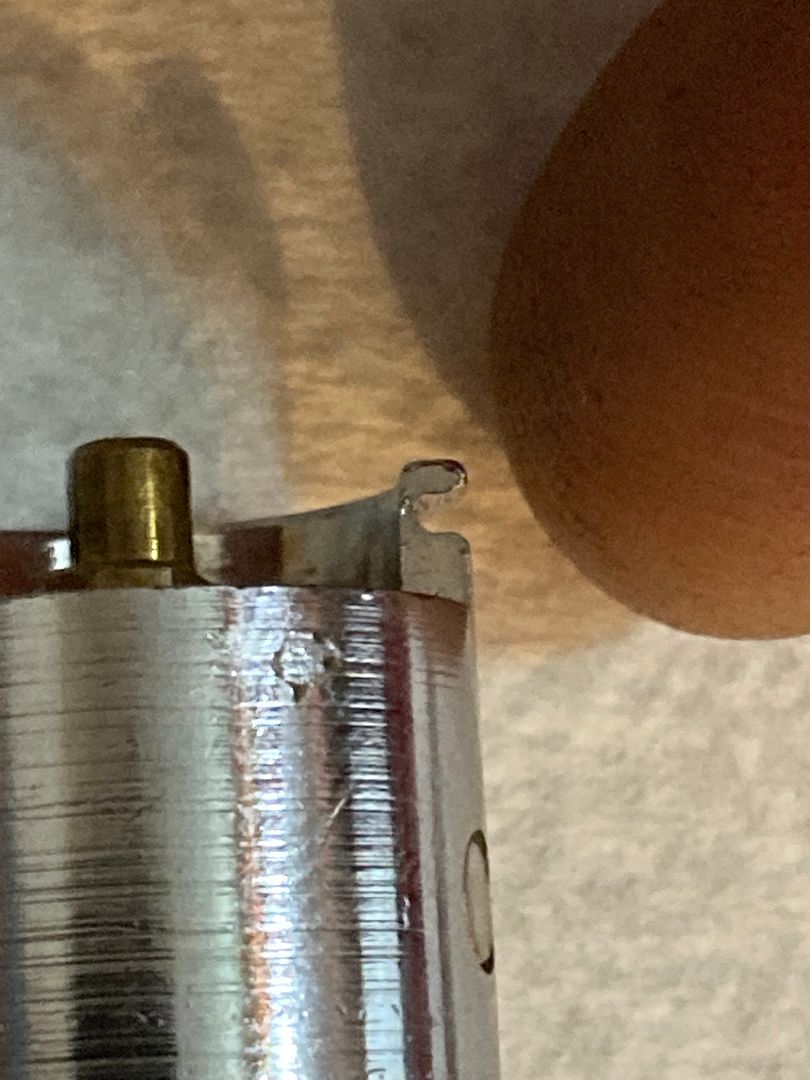
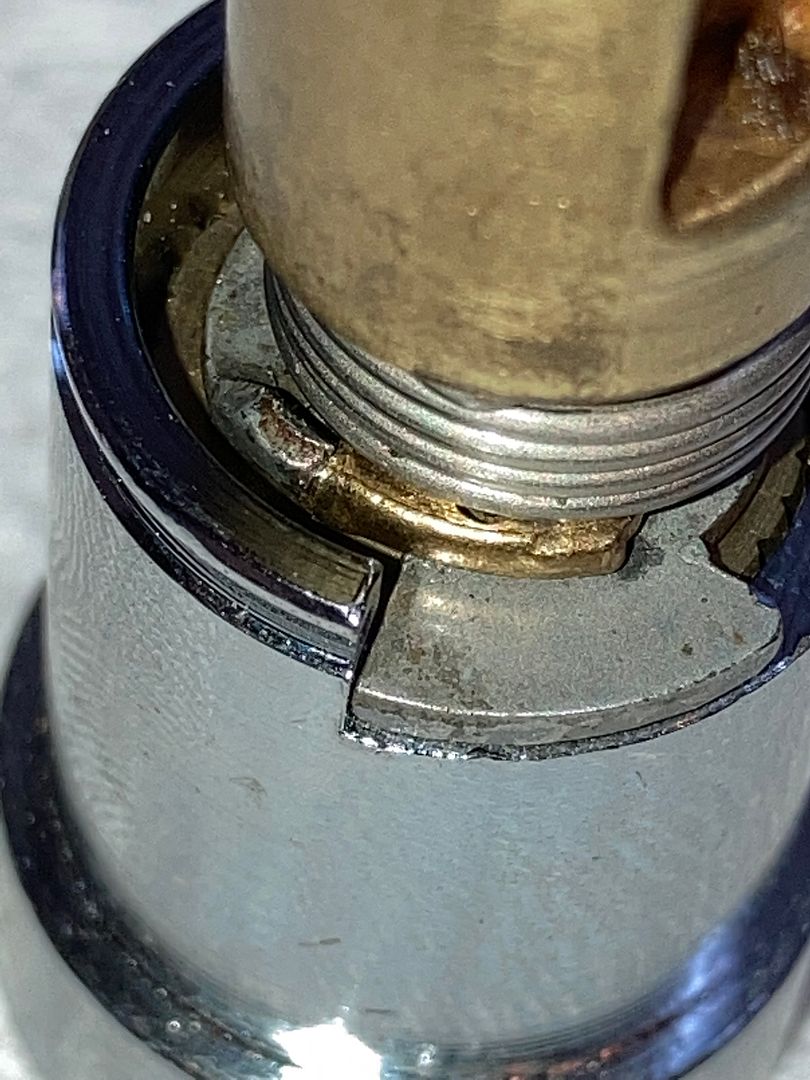
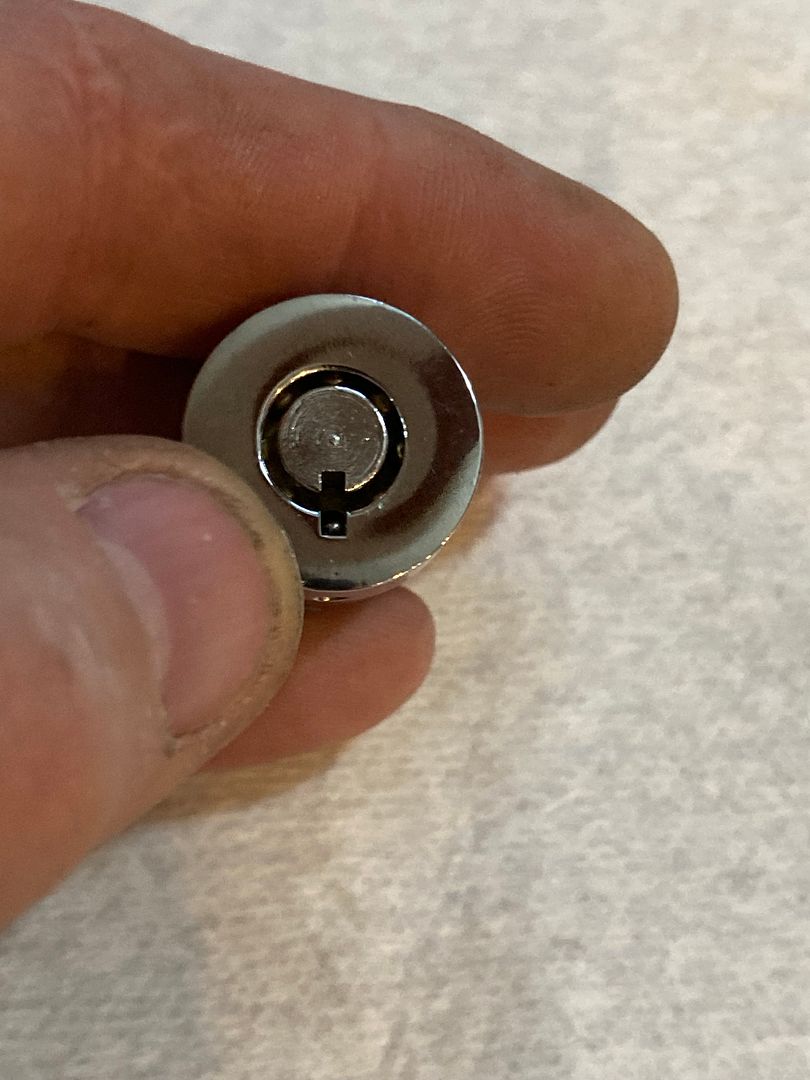
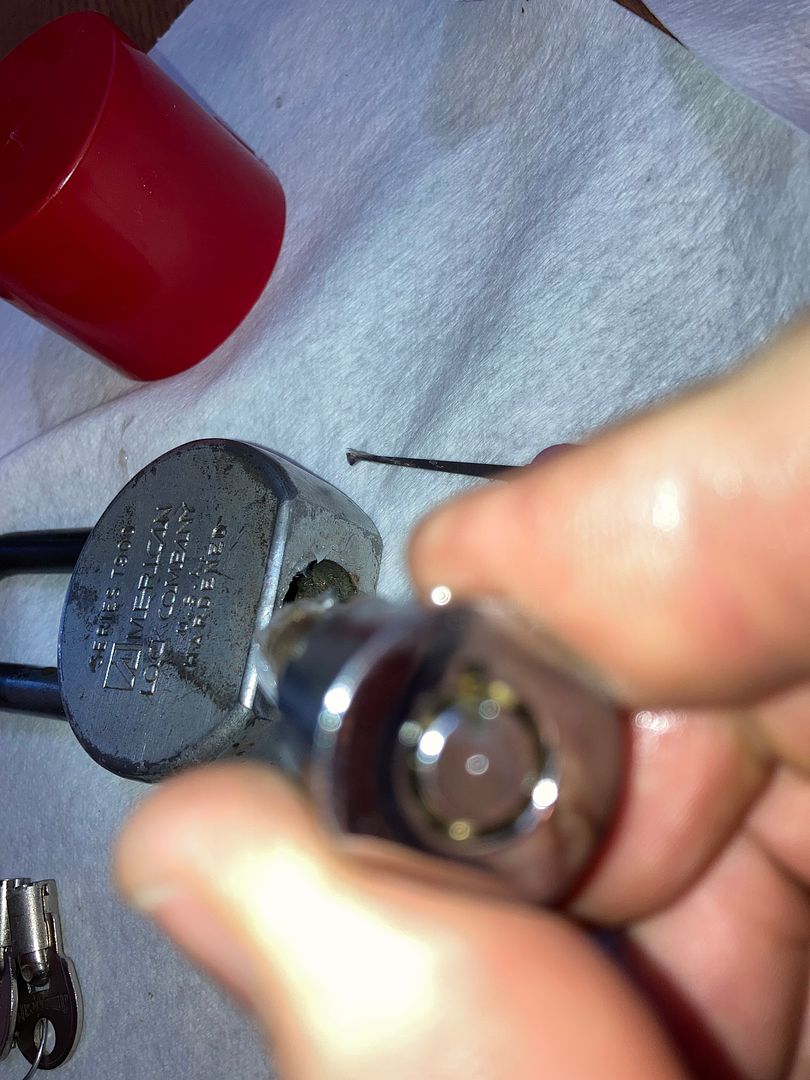
Now for the cylinder installation. Note the location of the key driver tab at the bottom of the keyway in this picture...
If you look at that spot on the side of the lock cylinder, you will notice a hole. This is where the cylinder retainer pin in the lock body fits to keep the cylinder in the lock body.

If you look in the lock body cavity where the cylinder will fit, you can see the cylinder retainer pin.

For this next step, I like to use silicone dielectric paste/grease. It will never break down due to normal environmental temperatures, and does not vitrify with age.
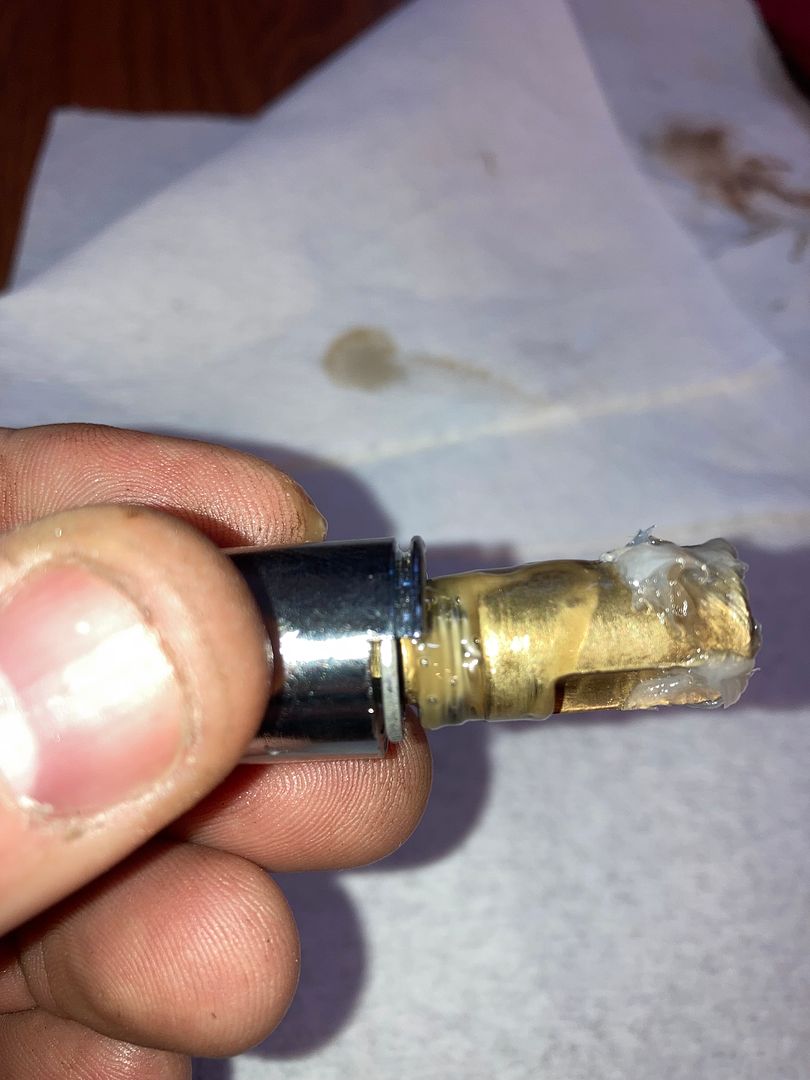
Coat the locking bearings with the grease...
as well as in the far end of the lock cavity and onto the end of the cam.

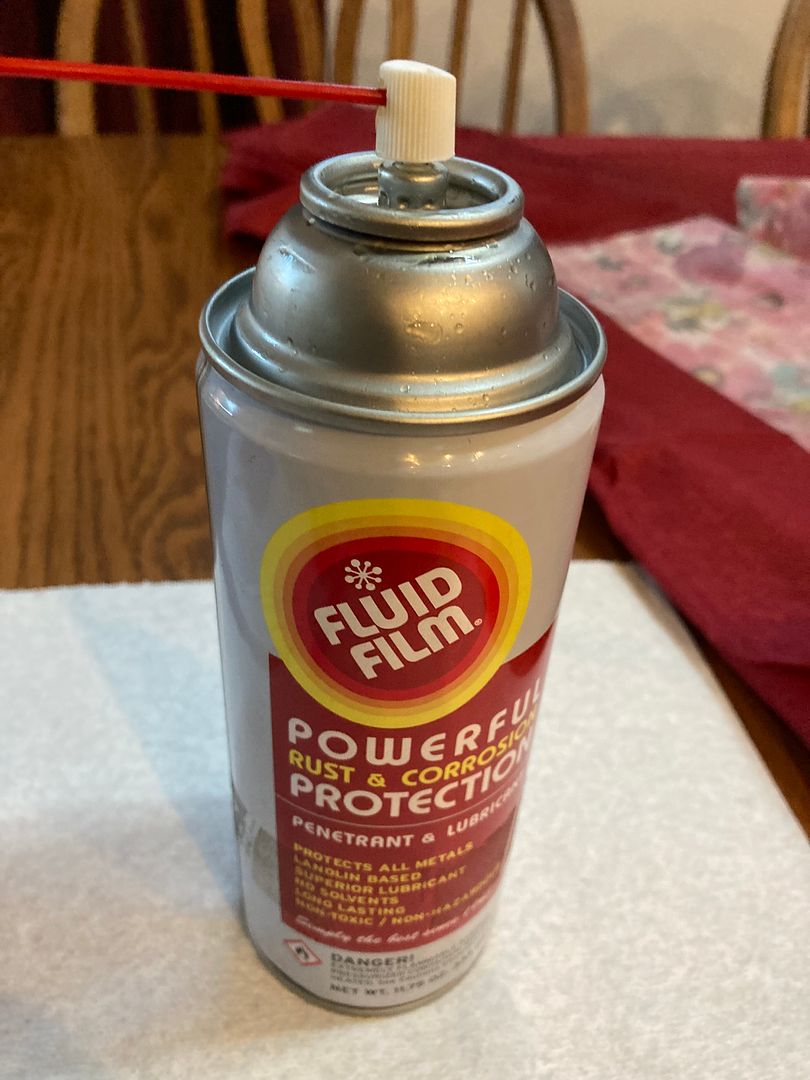
Spray a little FluidFilm lubricant onto the cam spring if you have some. If not, put a little grease there, too.
Now drop the bearings into the cylinder cavity.
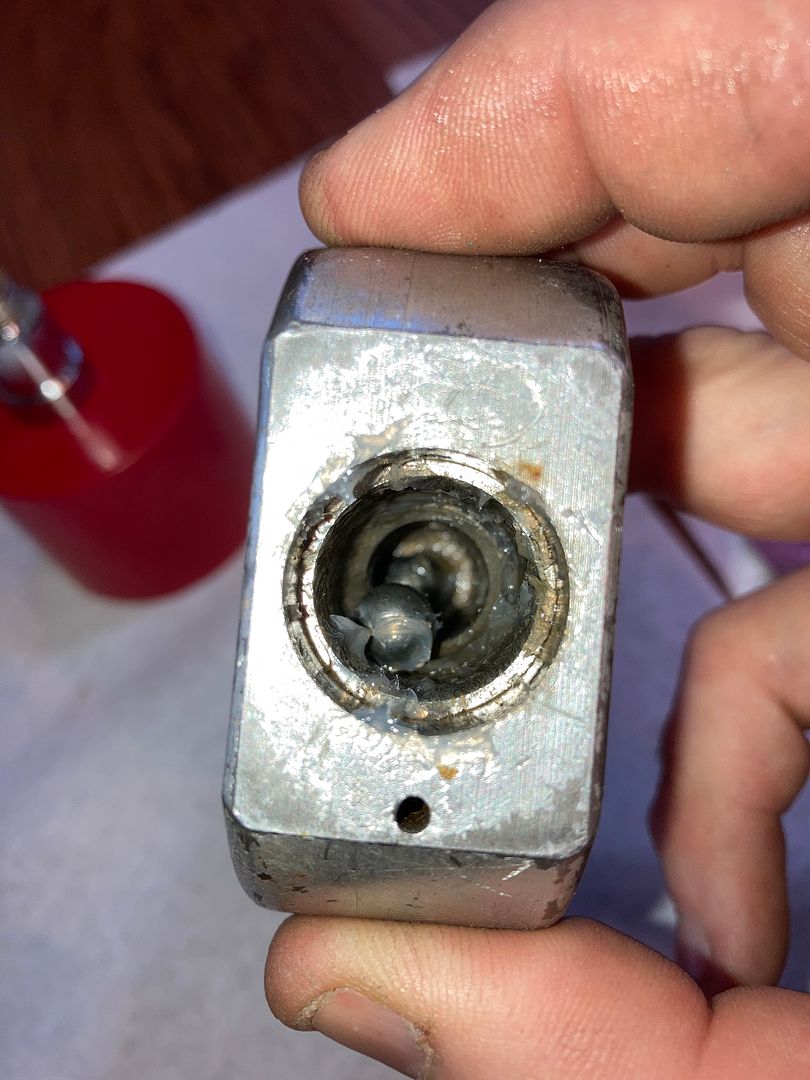
Use a pick to push the bearings into their holes in the side of the cavity. You will need to push the lock body down onto the shackle and hold it down so the bearings fit all the way into their homes. The grease here helps keep them in place without rolling out and into your way as you install the cam and lock cylinder assembly.
Now install the cam/cylinder assembly into the lock body, aligning the key drive tab part of the keyway with the shackle toe hole side of the lock body. That should line up the cylinder retainer hole with the cylinder retainer pin in the lock body.
Hold it down with your thumb.
This next bit is a little tricky. Try to keep the lock cylinder from spinning turning, and knock the HEEL side of the shackle firmly against a wood board so the cylinder retainer pin slides back into the hole in the cylinder. You may need to use a blank to turn the cylinder if it shifts before the pin slides into place. If this is successfully done, then a key blank turned (lightly) in the core will not cause the core to turn.
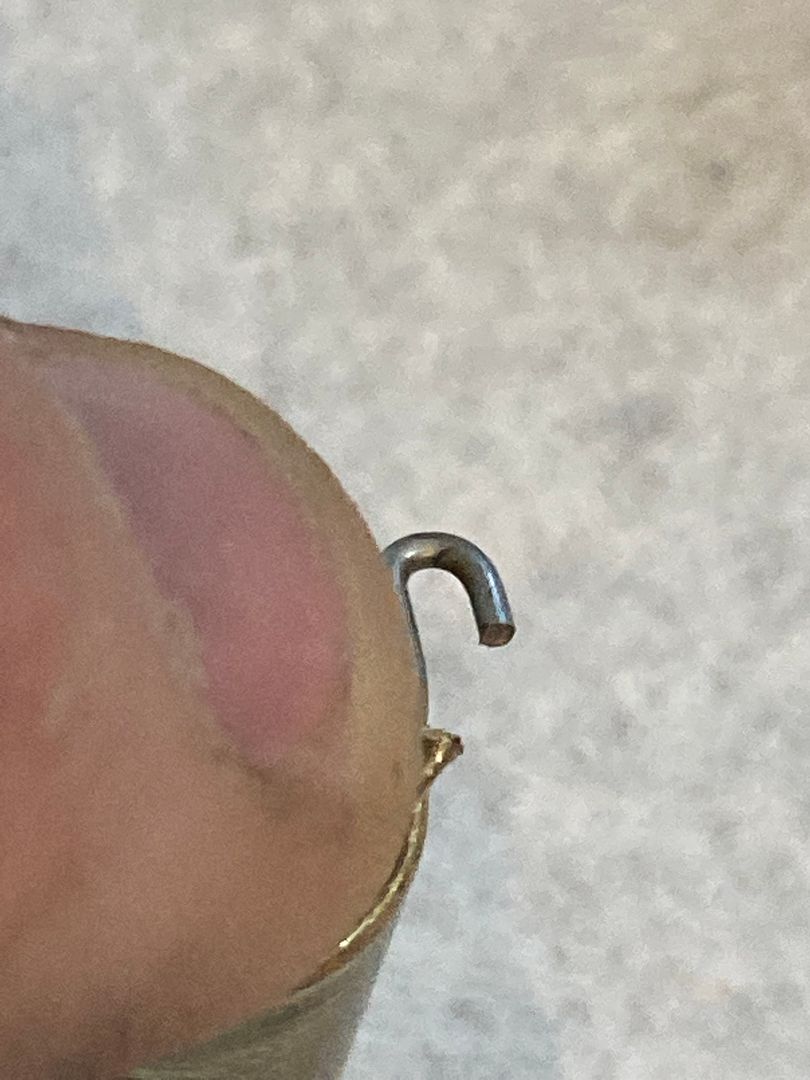
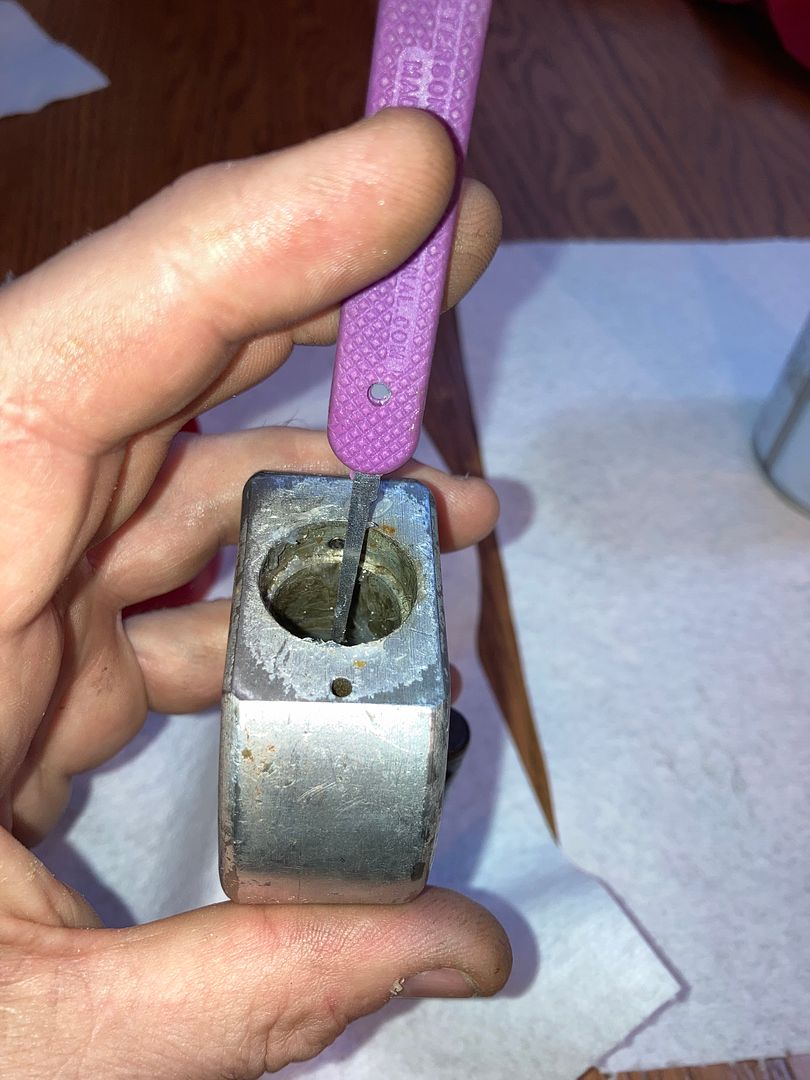
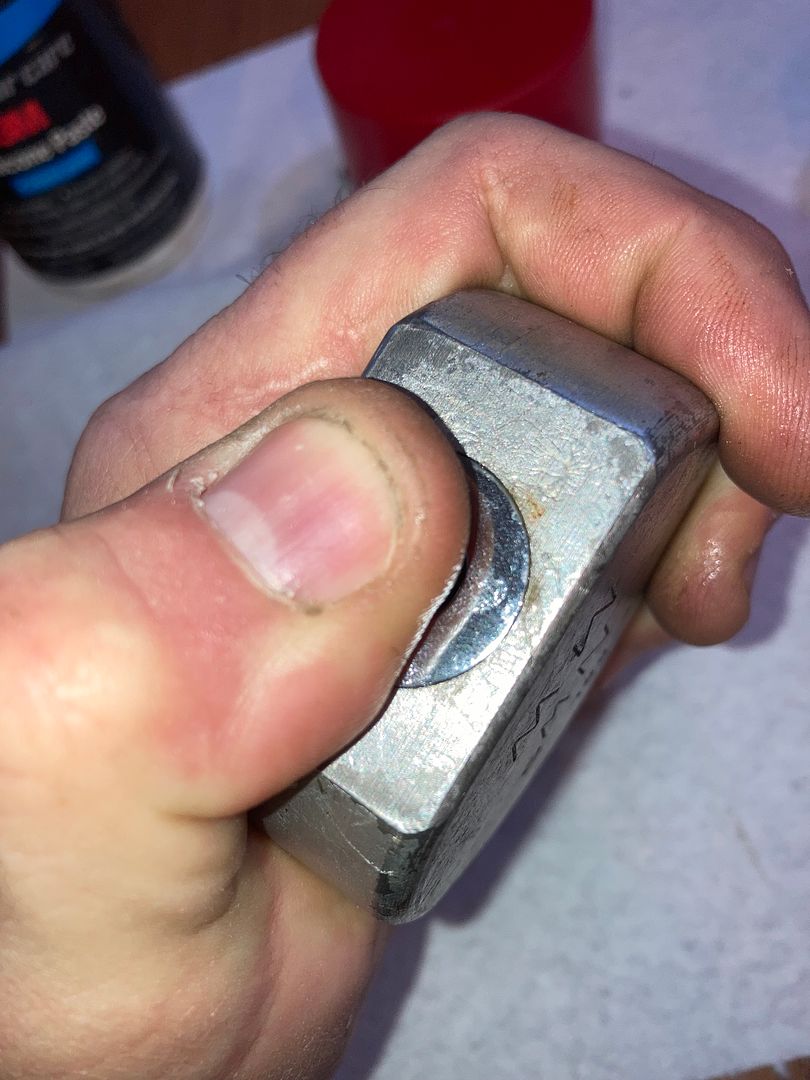
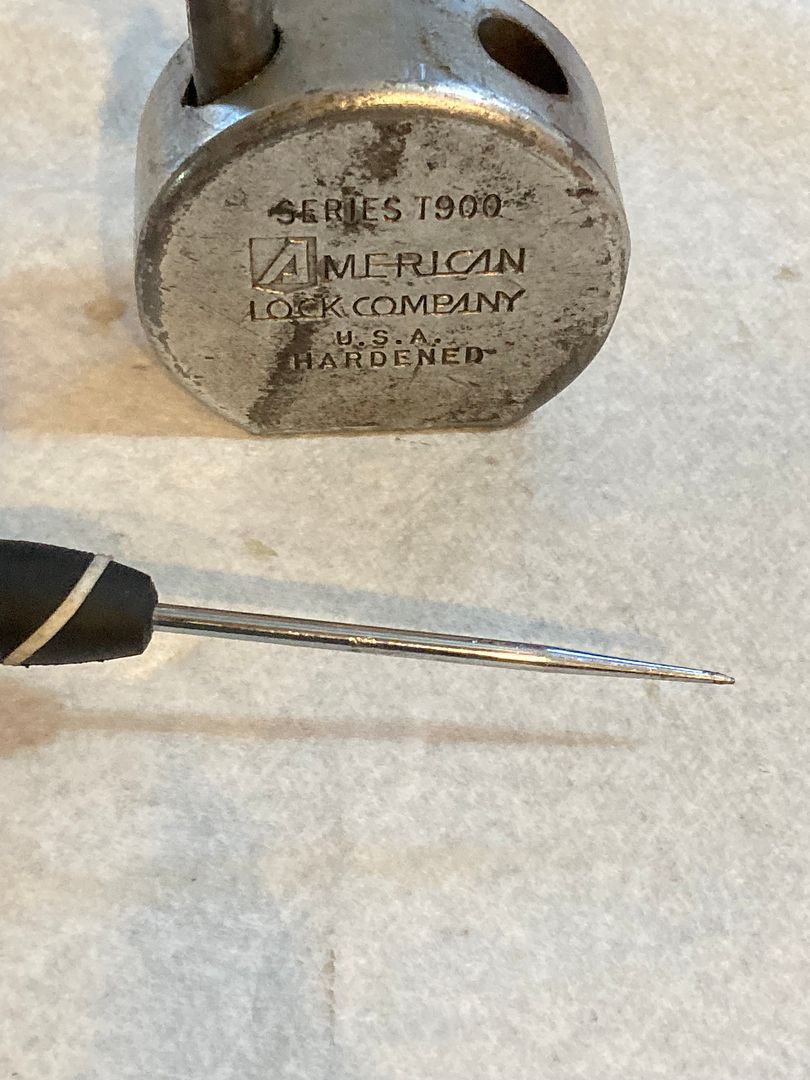
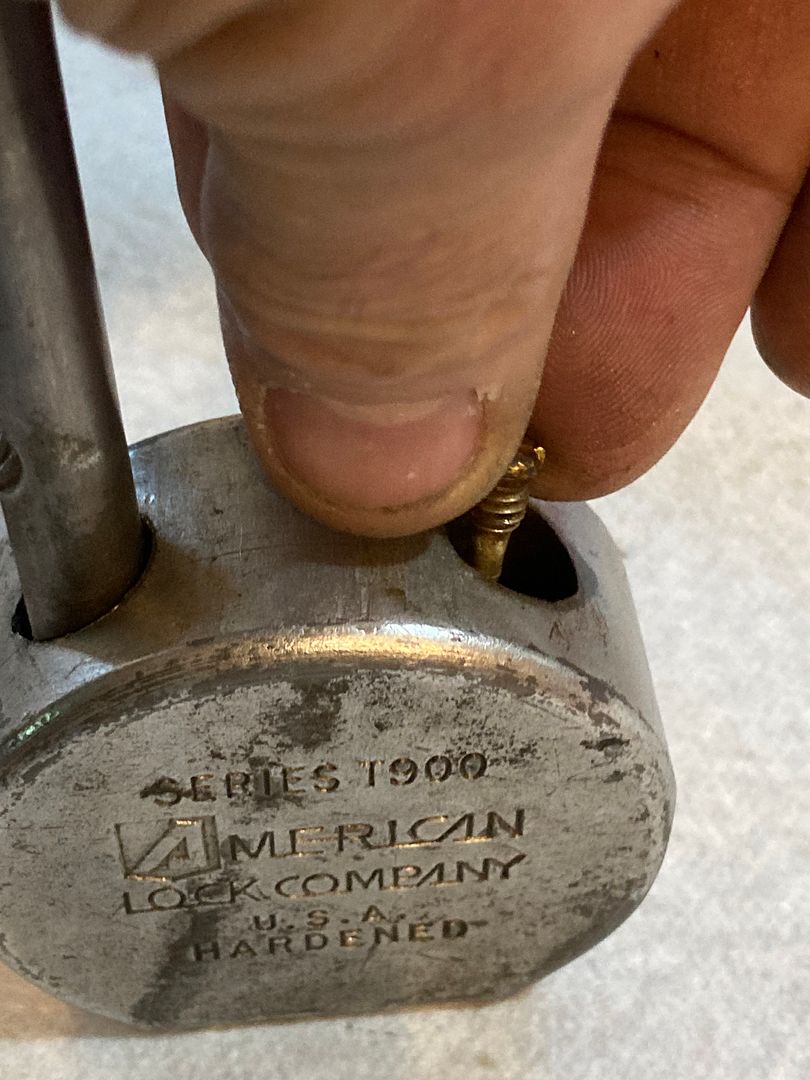
Once that is done, then use a key to unlock the padlock. Look into the shackle toe hole and look for the lock cylinder retainer pin and see if it is still sticking into the shackle toe hole.
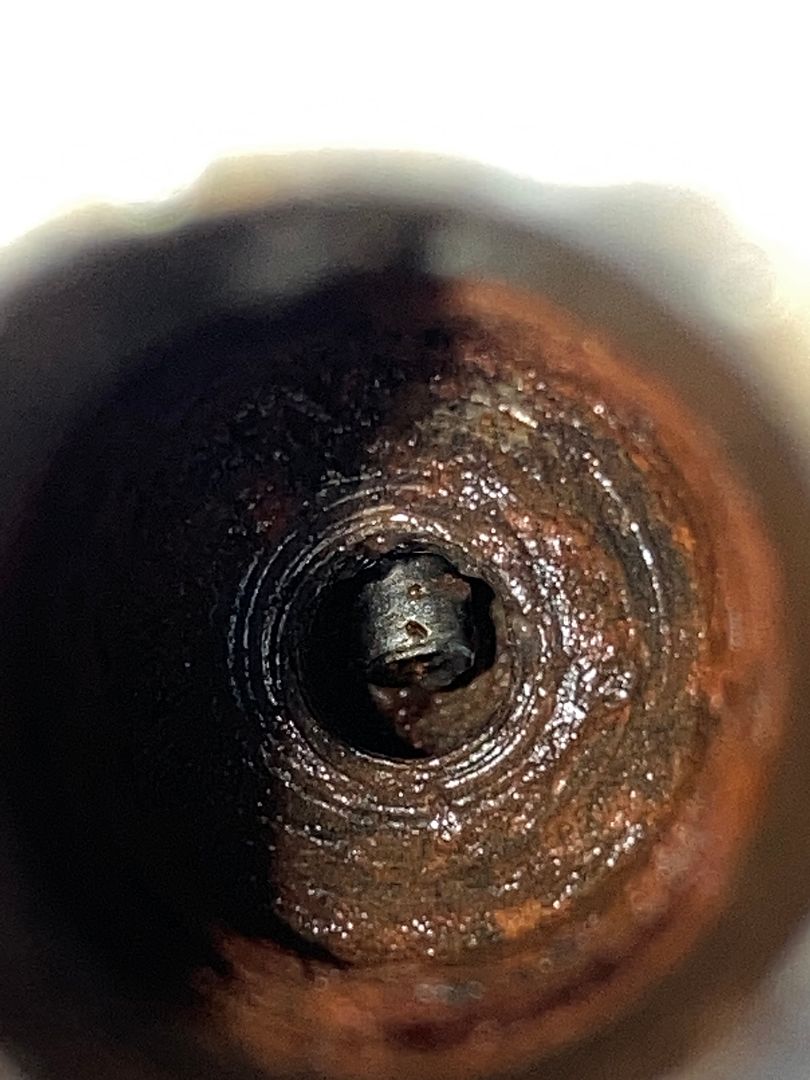
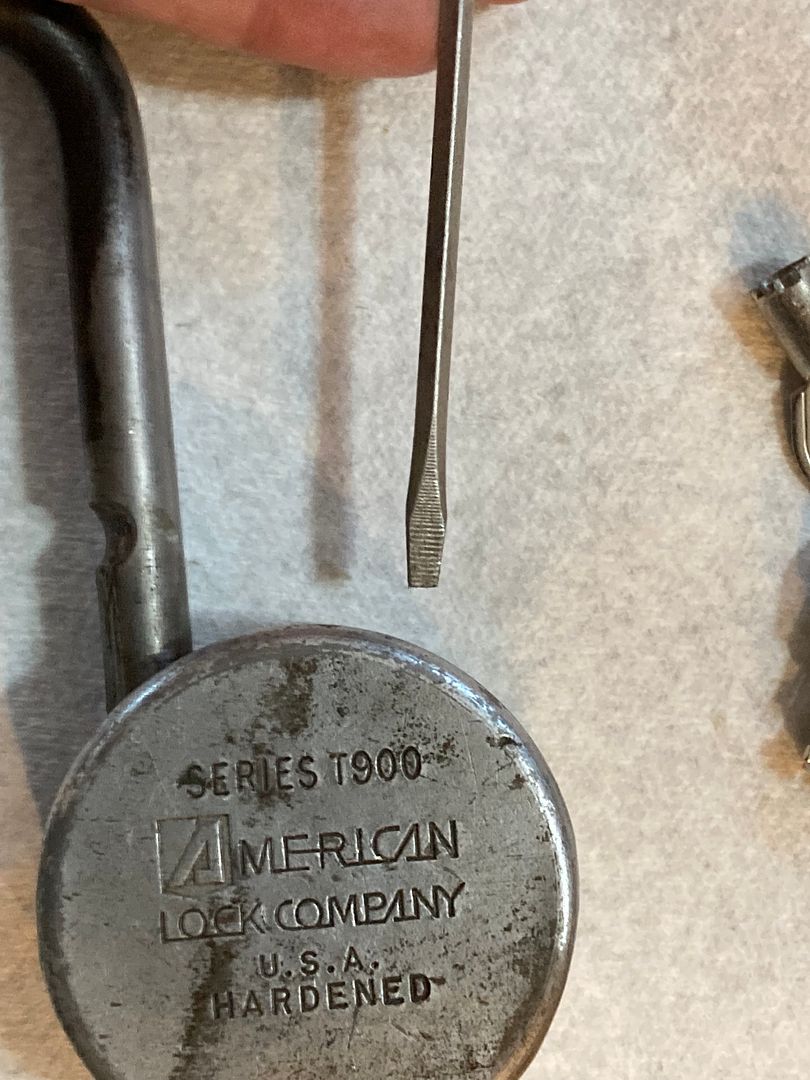
Now take a straight pick and use it to lever that pin fully into the cylinder and out of the hole.
Test the key and make sure it opens the lock BEFORE the next step. Does it work well? Great! You are ready for the next step. Does it not work well? Aren't you glad you had not yet installed the shackle toe screw, preventing disassembly of the core?
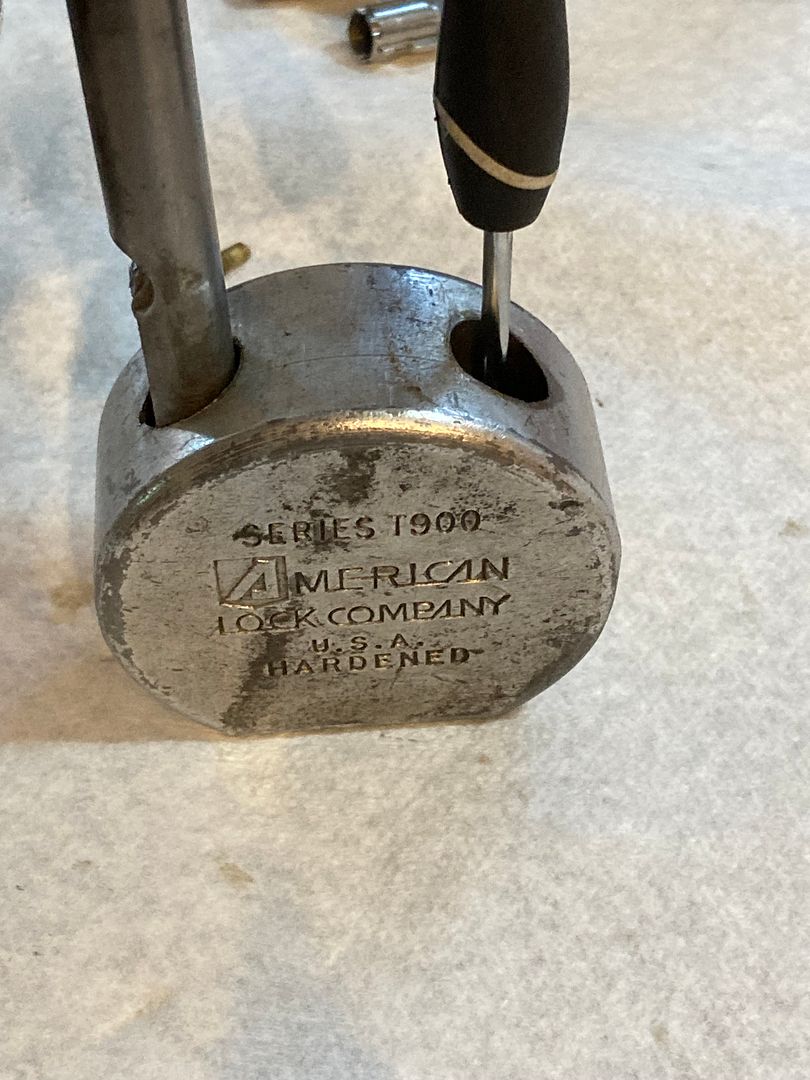
OK, now install the shackle toe screw. This screw prevents the cylinder retainer pin from backing out of the cylinder.
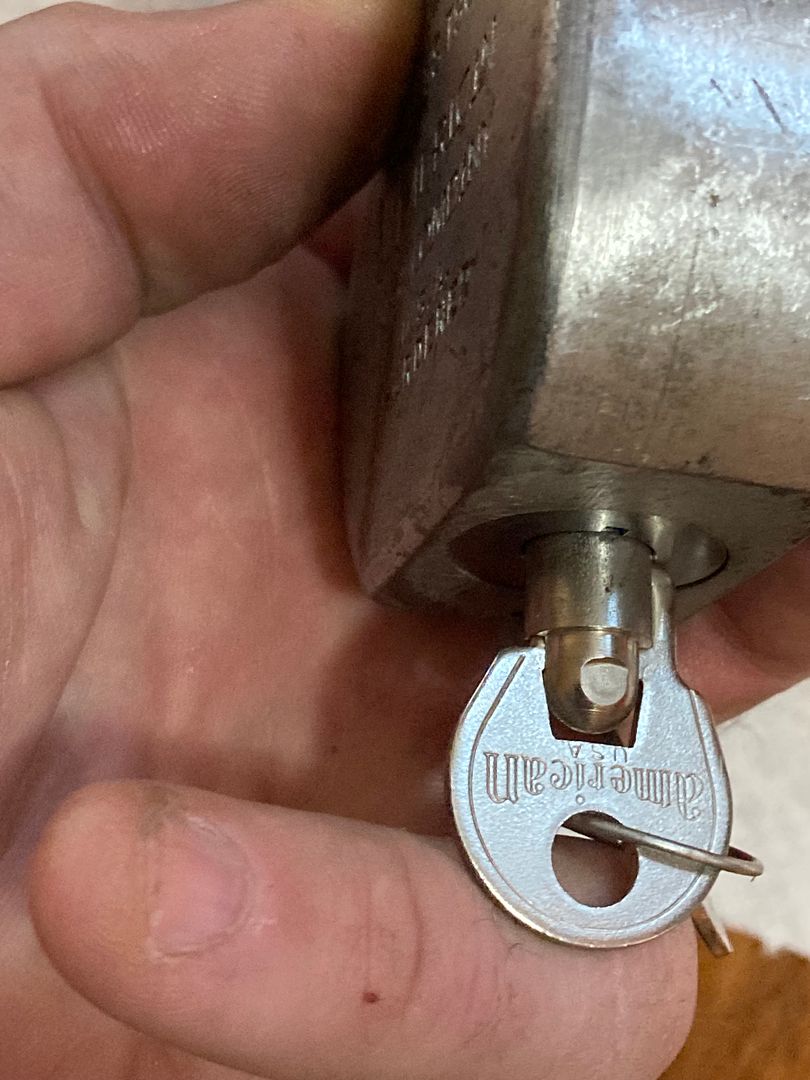
Again, test the keys.
Done!!!
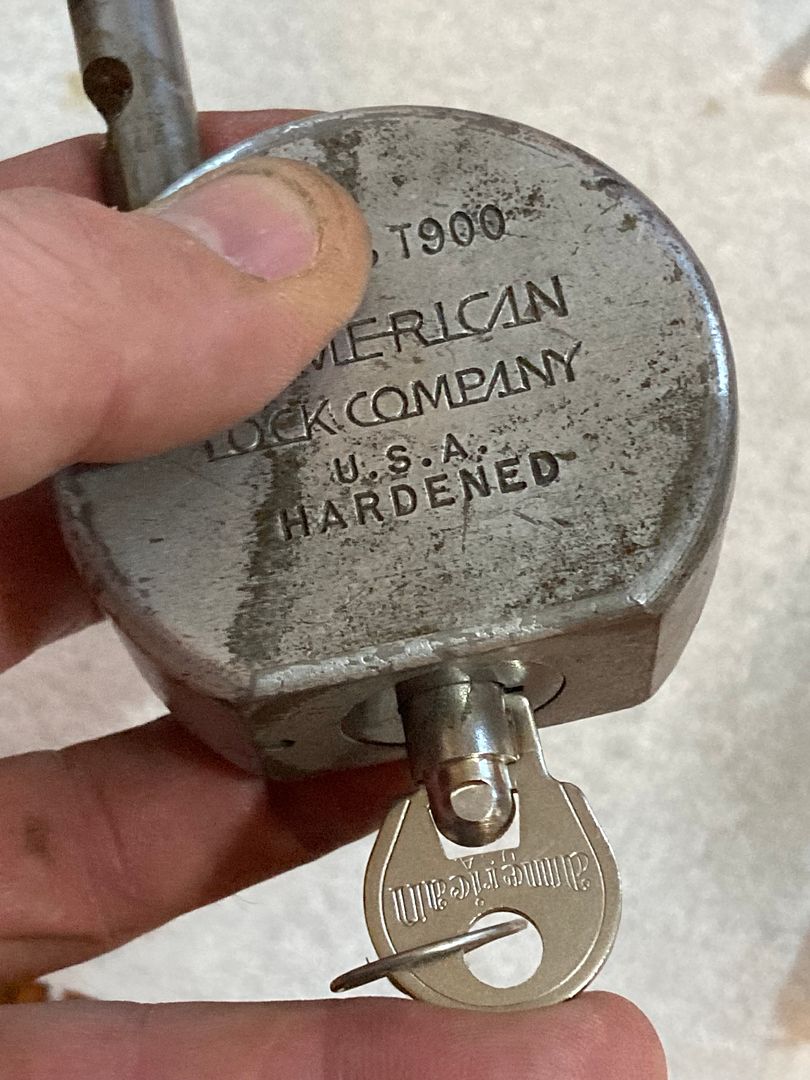
Jeff, your lock is done! And thanks to Raymond for the cylinder!
Gordon