


I recall that it was made by Falcon, but don't recall what they called it. If some of you old-time locksmiths know what Falcon called it, please post it below.
This lock was made so it was not necessary to disassemble the lock between each renter to change the key bitting. How that is accomplished will be explained below.
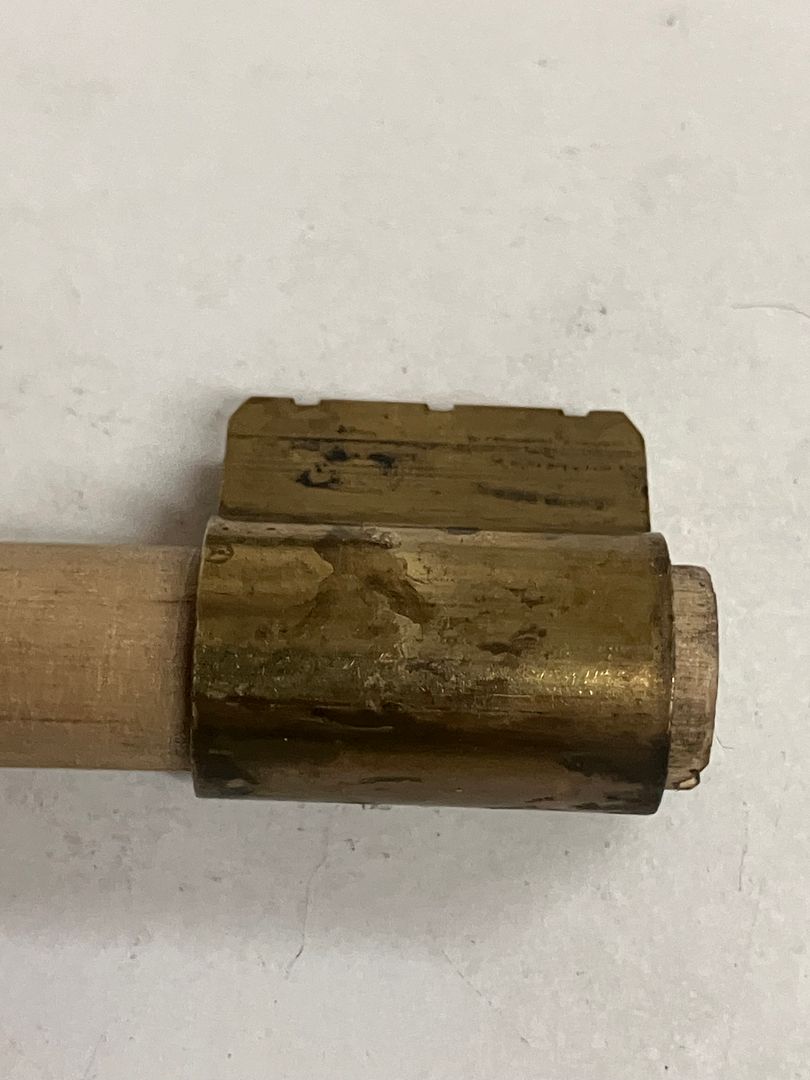
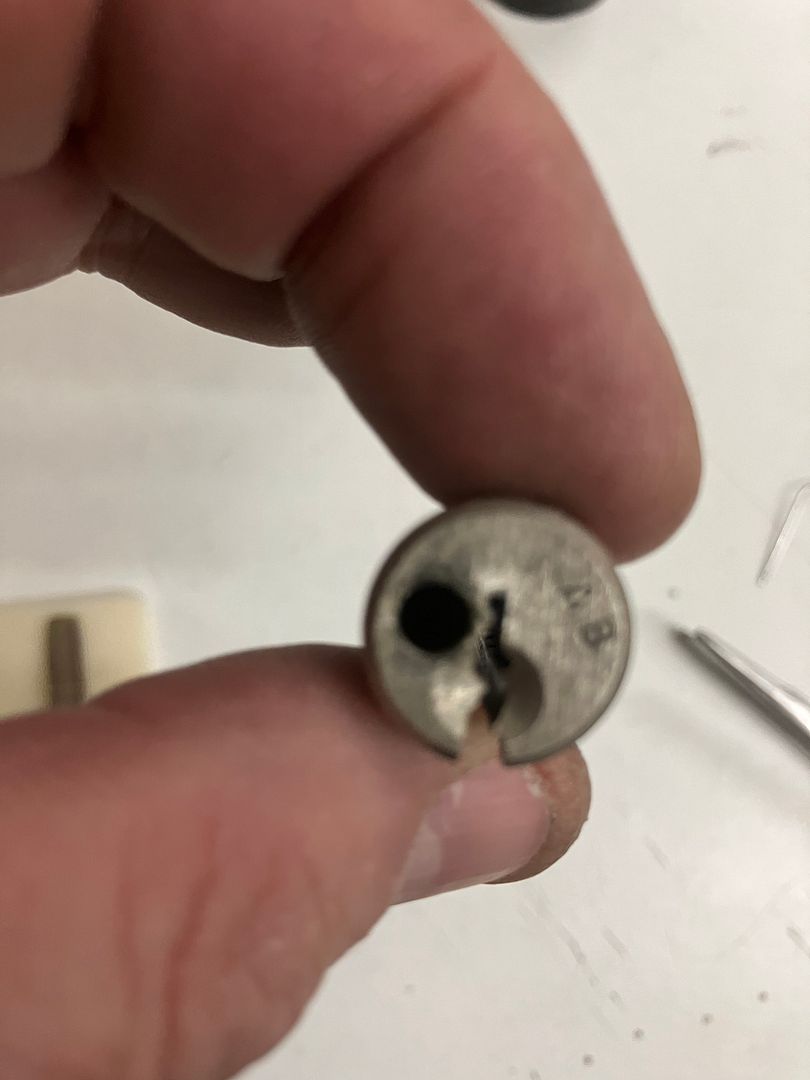
Here is your first look...
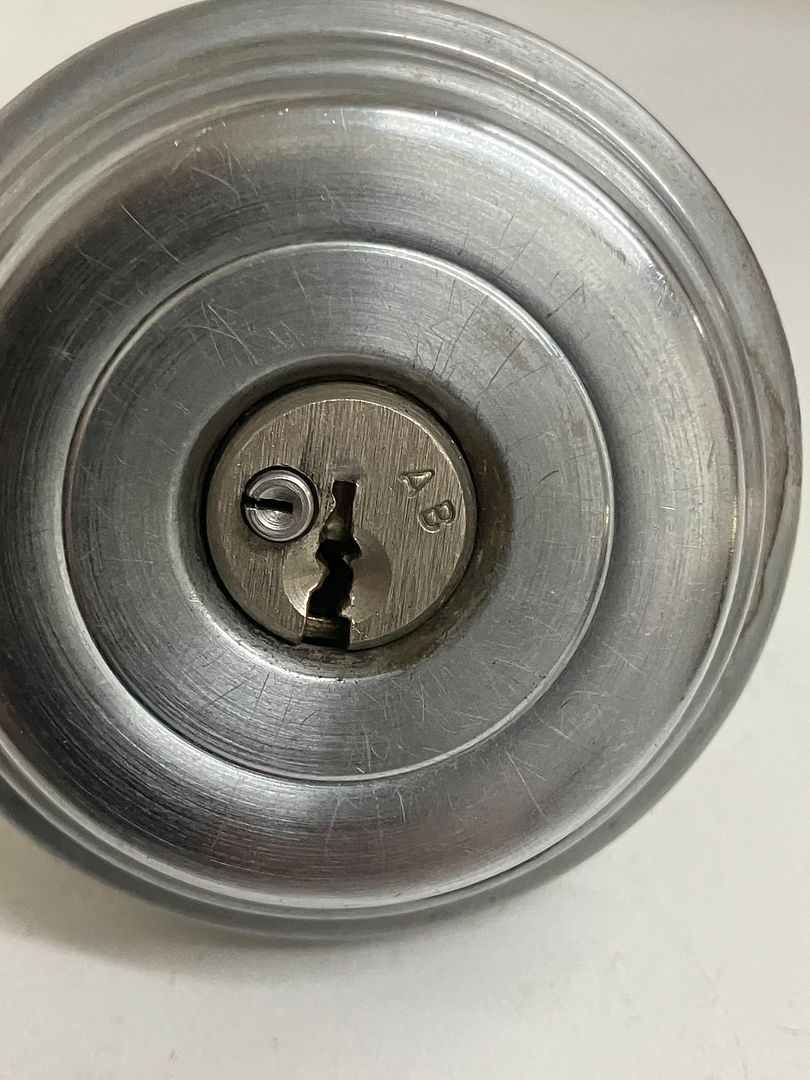
Yes, that is a button that sticks out from the front of the plug.
This particular example is a KIK cylinder installed in an Arrow deadbolt housing. So from this point on, the pics will be of the KIK cylinder.
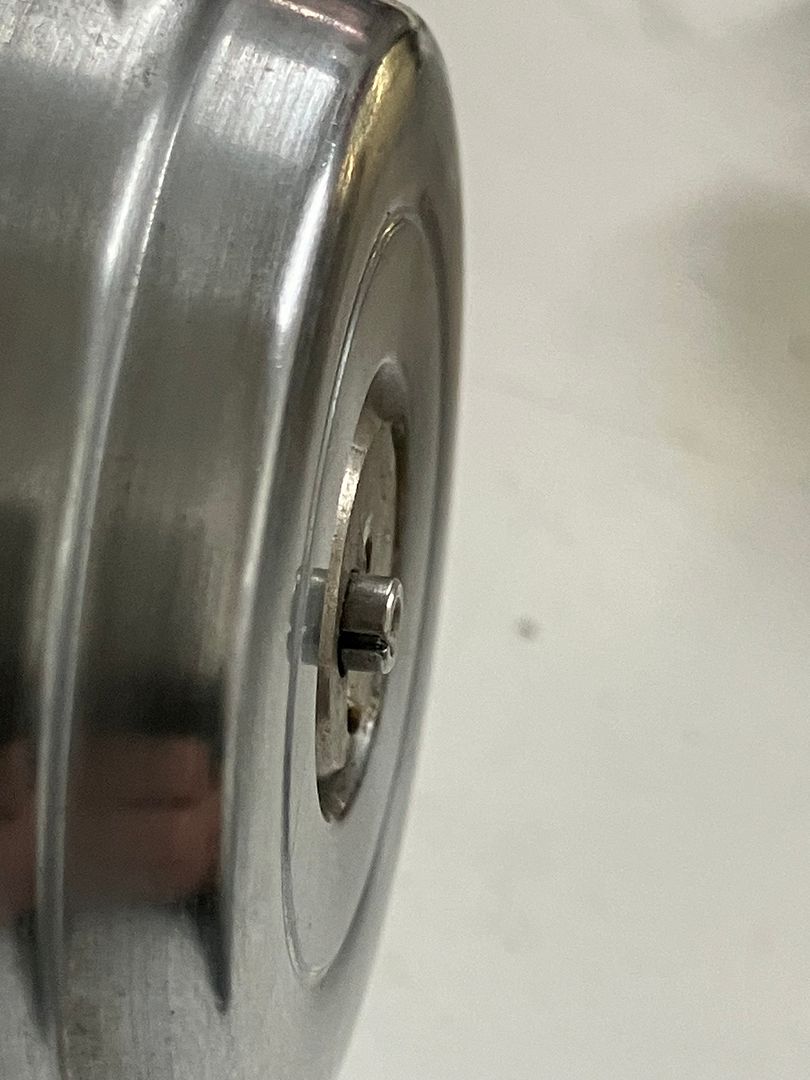
Here is that button. It presses in easily, though it does not do anything at this point. Will explain it further later.

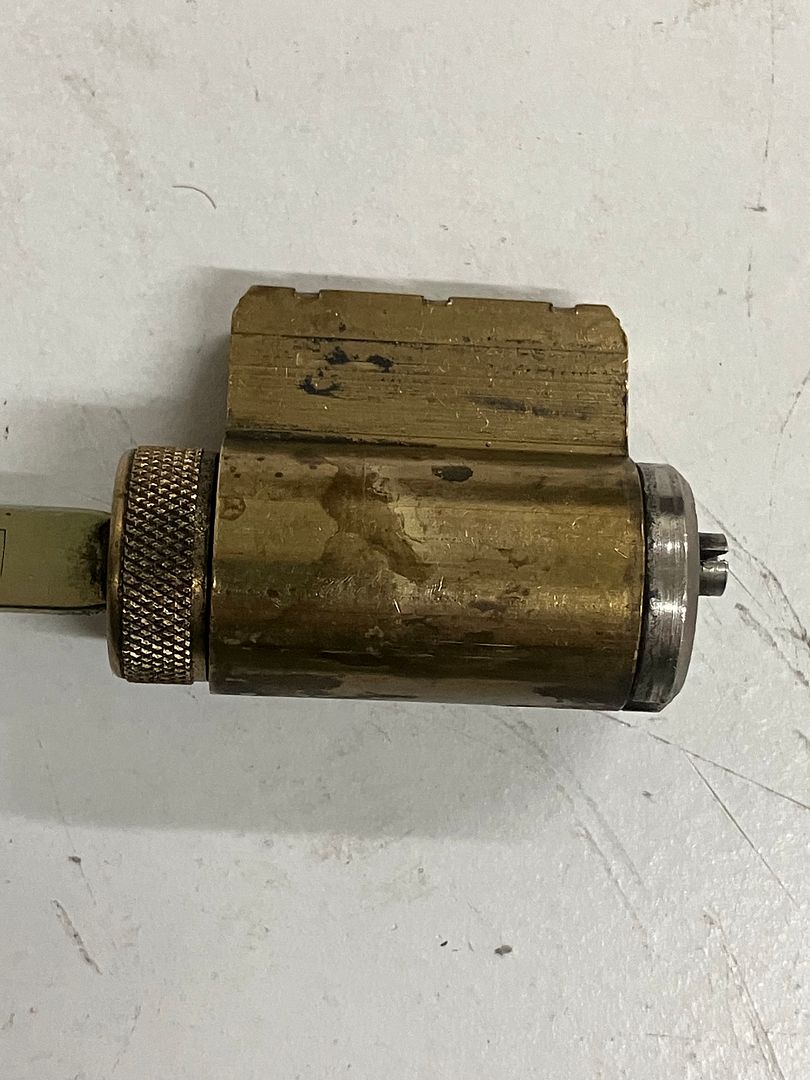
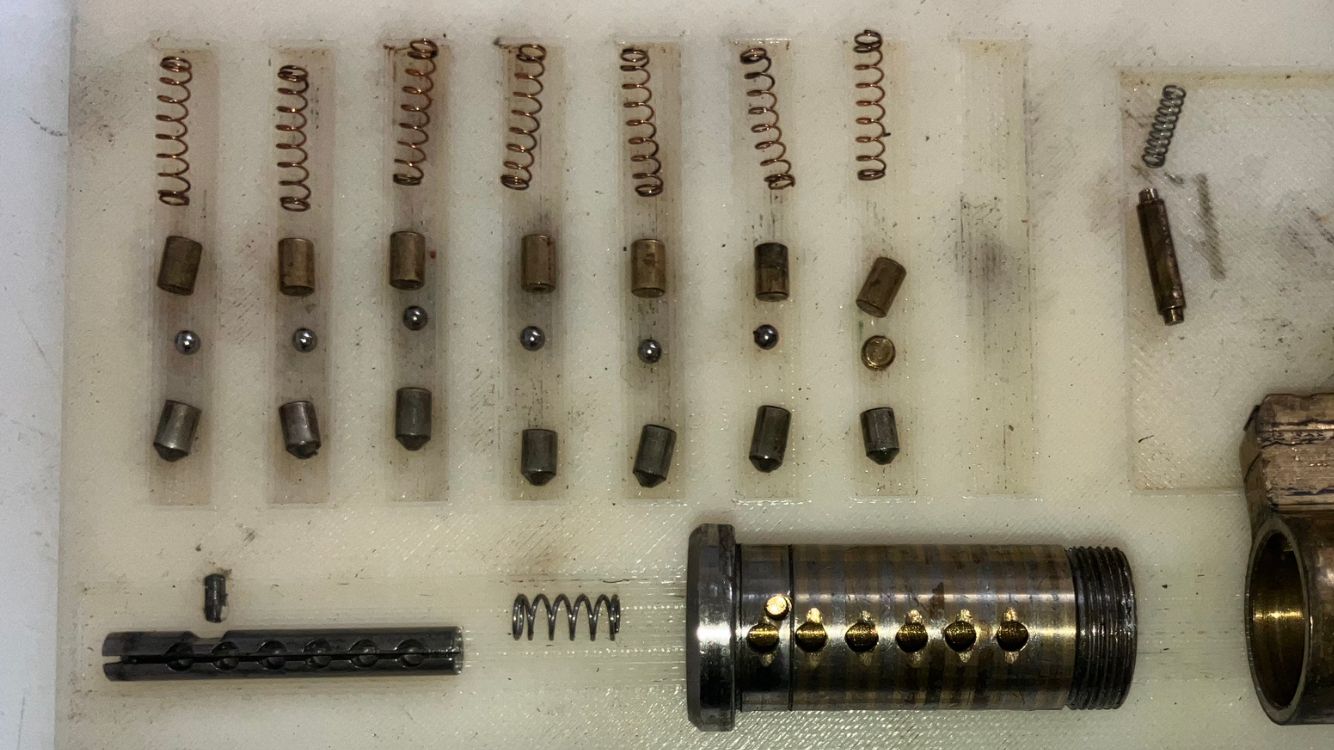
It comes apart like any other KIK cylinder with a screw cap. Everything about the bible is normal except that the bible is set up for seven pin channels.
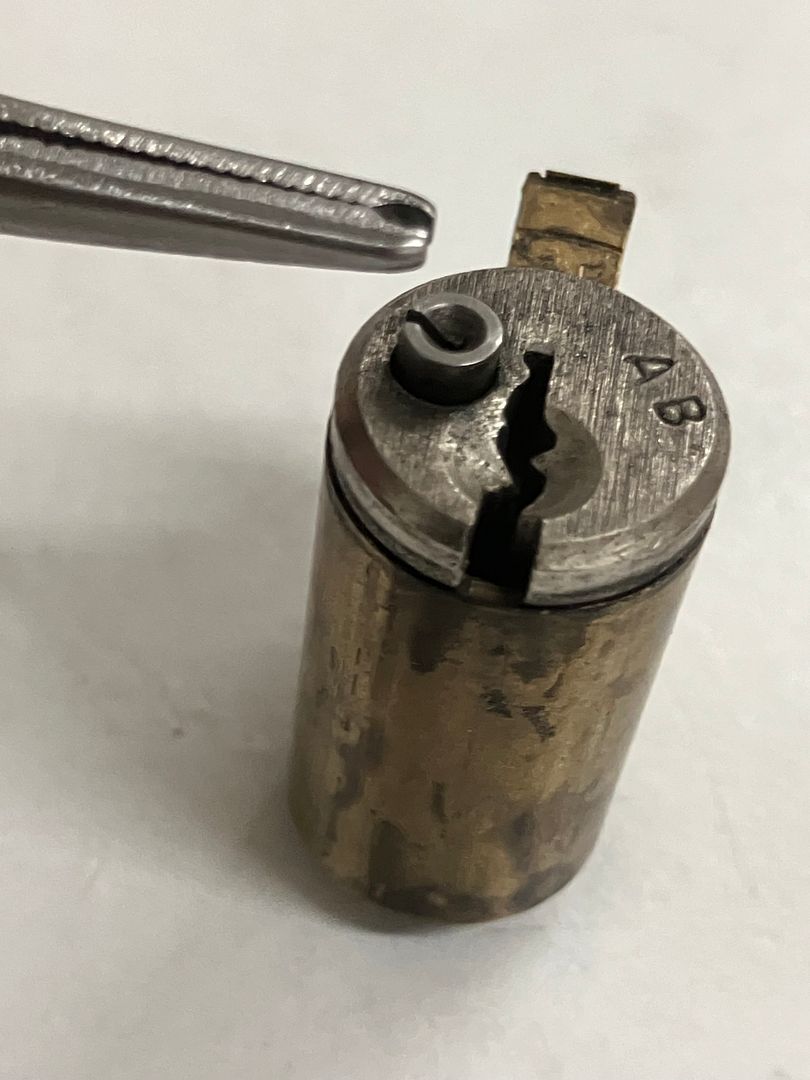
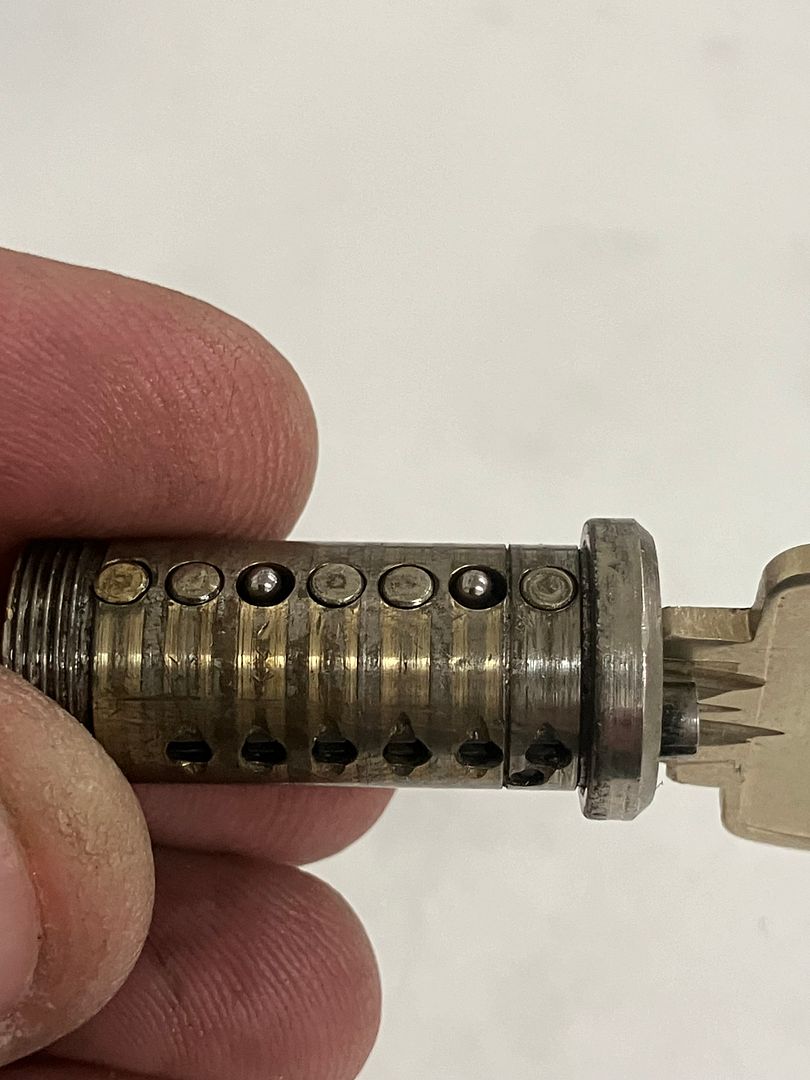
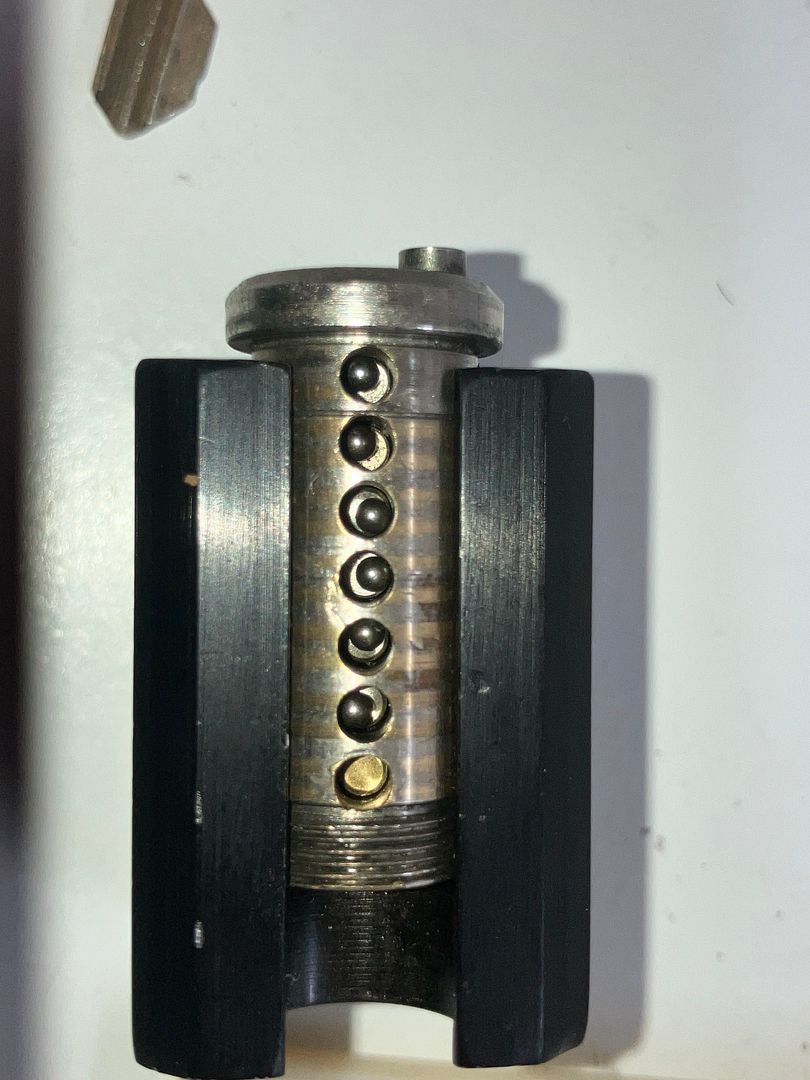
Looking at the plug, you can see that there are seven pins, with the second and fifth pins also having a ball bearing as well. Notice that there are six, not seven, smaller pin channels.
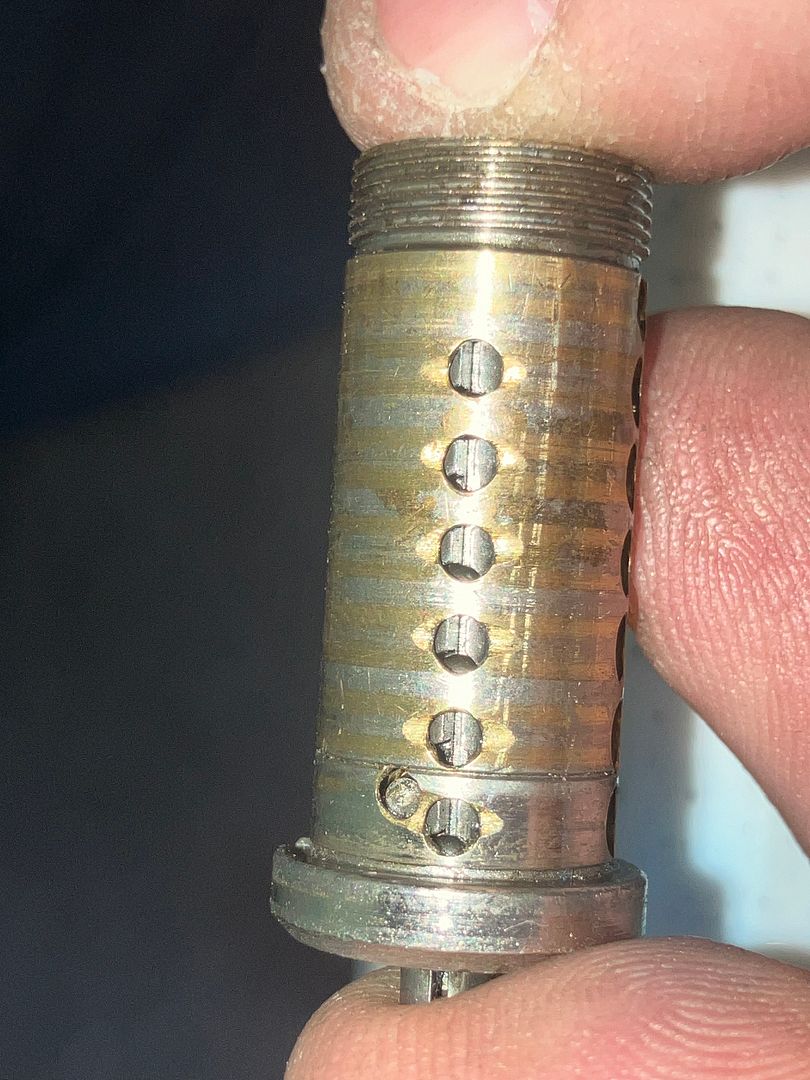
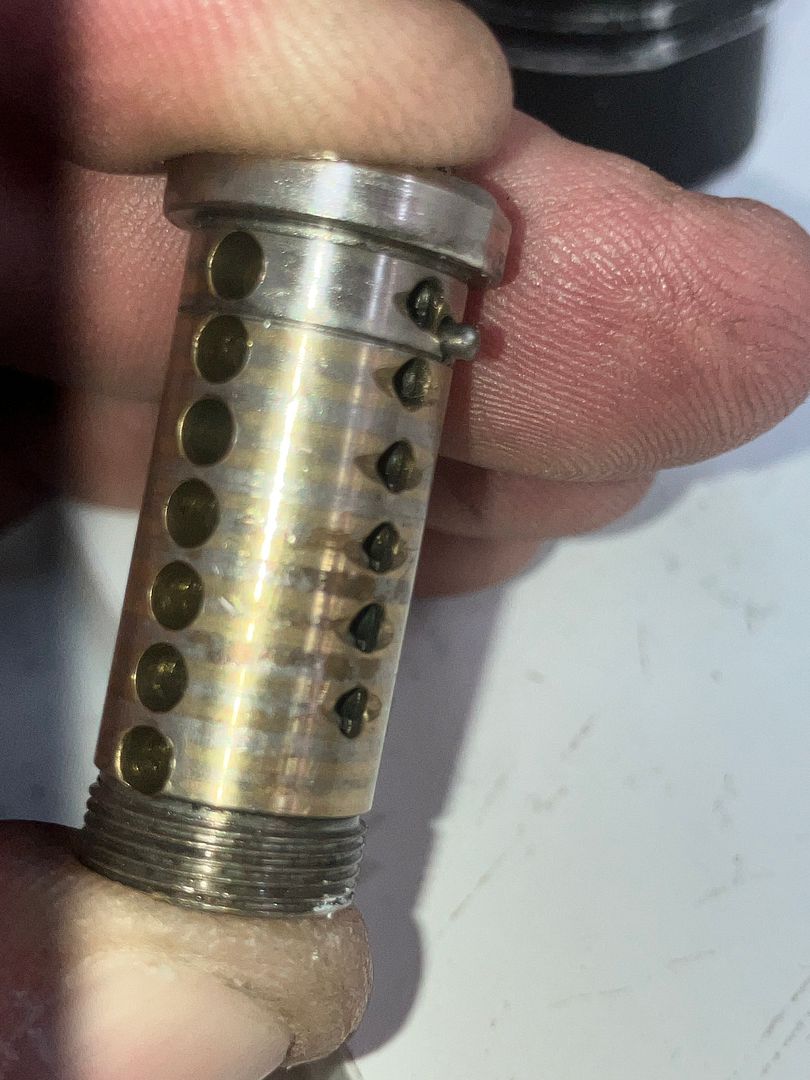
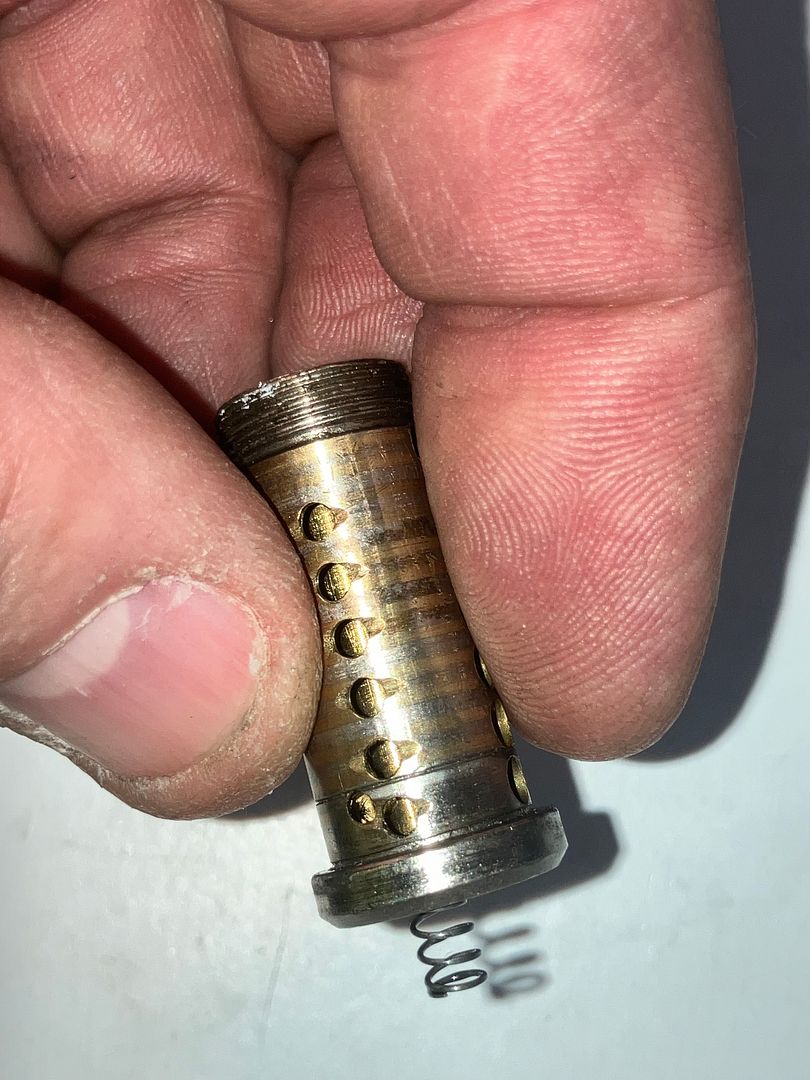
Here are the smaller holes you could barely see in the above pictures. Also, between holes 1 and 2, there is a smaller hole below the other line of holes. This is for a retaining pin you will learn more about shortly.

Now the front of the keyway is pointed down. These are the smaller holes . Inside them you can see that the button goes past all six pin holes. In this picture, the button is not yet pressed.
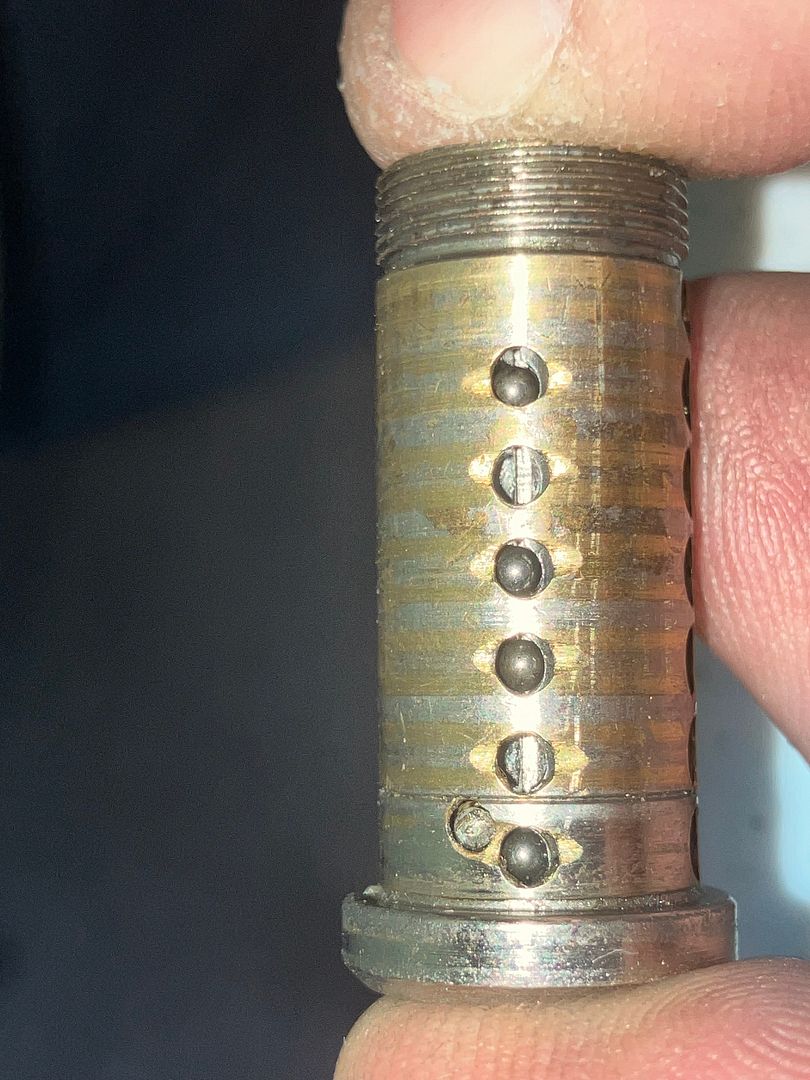
With the button pressed in, you now see that there are balls in the first, third, fourth and sixth of those holes (specifically, not the holes that still have balls on top of the key pins.
Even though the lock is nearly completely disassembled now, let us pause here. You have seen enough that I can explain how this lock functions.
There is a set of seven keys to each of these locks. The first key has the first six cuts three depths deeper than the depth of the key pins, IIRC. This is so all six of the balls stay on top of their key pins when the first key is used. Since no balls are above the shear line when the plug is turned, no balls can drop into the smaller holes.
After the first renter has left, the person in charge of the locks goes to the door with the second key from the set. Put in the second key, which has one of the six cuts with balls on the three depths SHALLOWER. This causes the ball in that cut location to be above the shear line. The key is turned clockwise 90 degrees, putting that button right below the bible.
When the button is pushed in at that point, it opens up the holes in the side, allowing the ball to drop into the opeing. When the button is released, it is spring biased to move forward, closing off the holes and trapping the ball in the hole. Now the first key will no longer operate the key.
Repleat for the third, fourth, fifth, and sixth renters. All without disassembling the lock.
Back to disassembly!
To get the trapped balls out of the side holes of the plug, simply point the plug with those holes down and push the button (have a tray or bowl below to catch the balls). Tap it a couple times as needed and the balls are removed. If you are only resetting the lock so you can get back to the first key, put those balls back onto the key pins in the plug and reassemble. Done! Easy.
If you still want or need to fully disassemble the lock, the key pins, driver pins and driver springs are removed as normal.
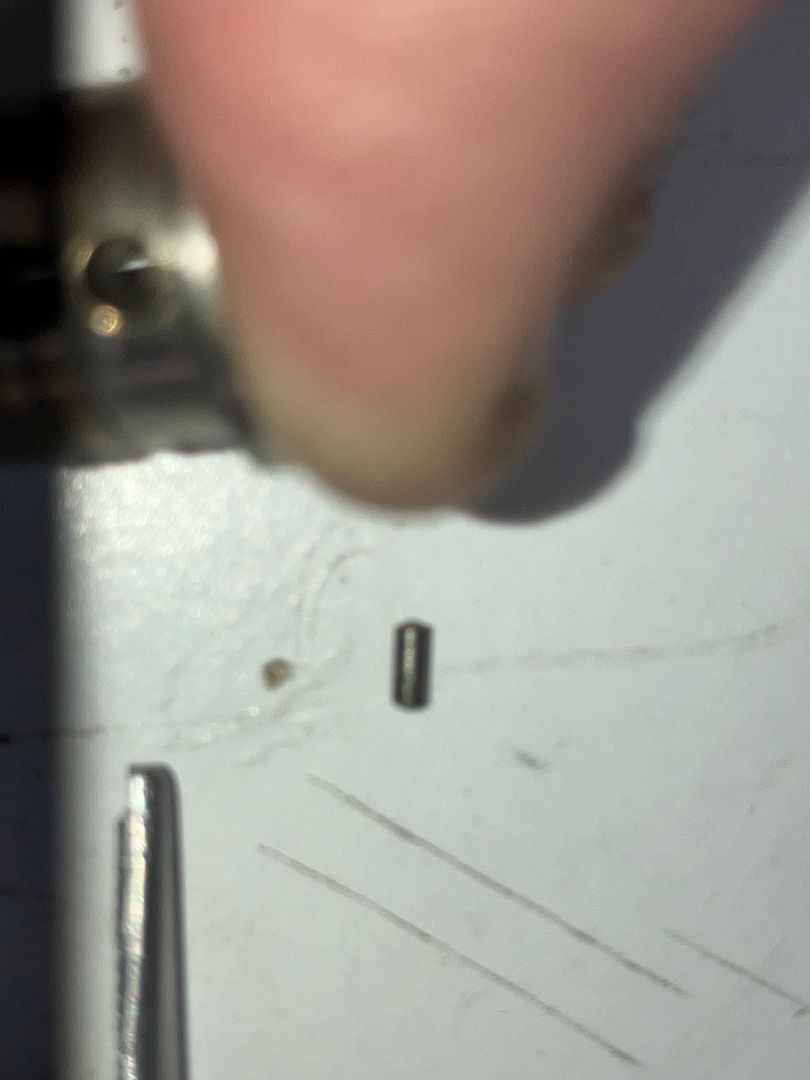
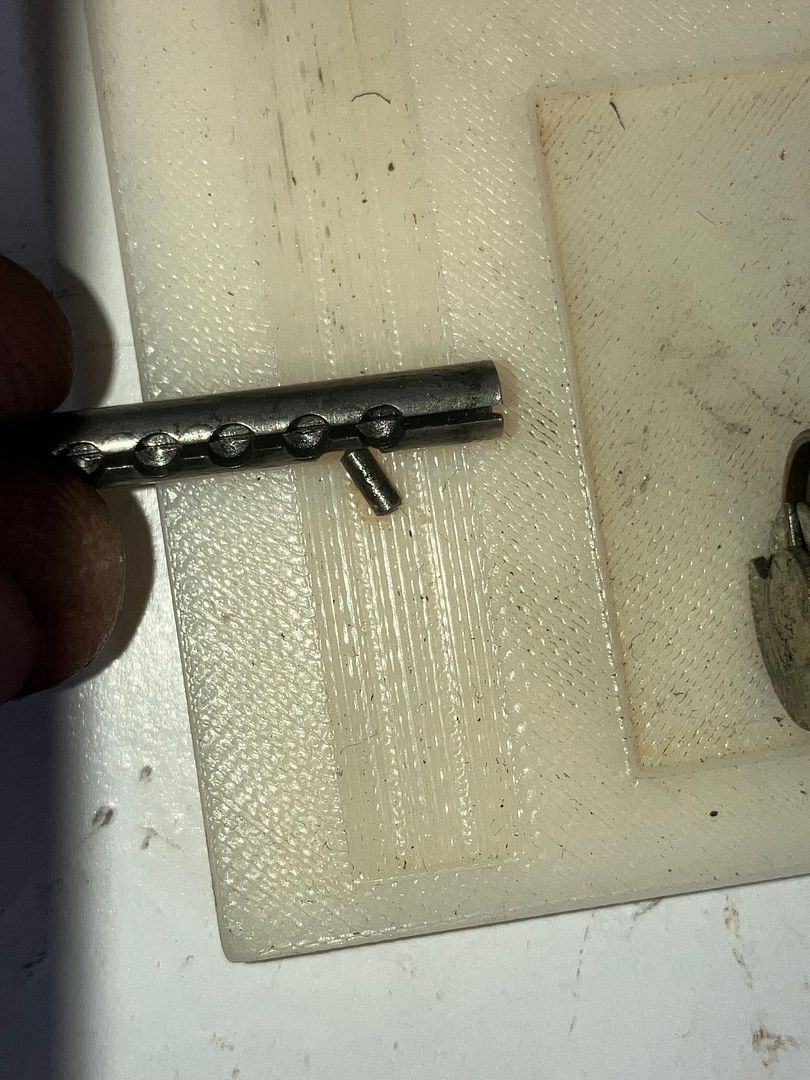
Turn the plug on its side with the button at the bottom and pressed in as you did to remove the balls. Tap the plug firmly on a piece of wood, and this pin will start to come out of the tiny hole below the first and second holes we mentioned way up near the top of this post.
You may need to use tweezers to grab the pin and remove it. It is not a tight fit, it will slide out, just not as easily as the balls.
Now when you release the button, it sticks out further than before.
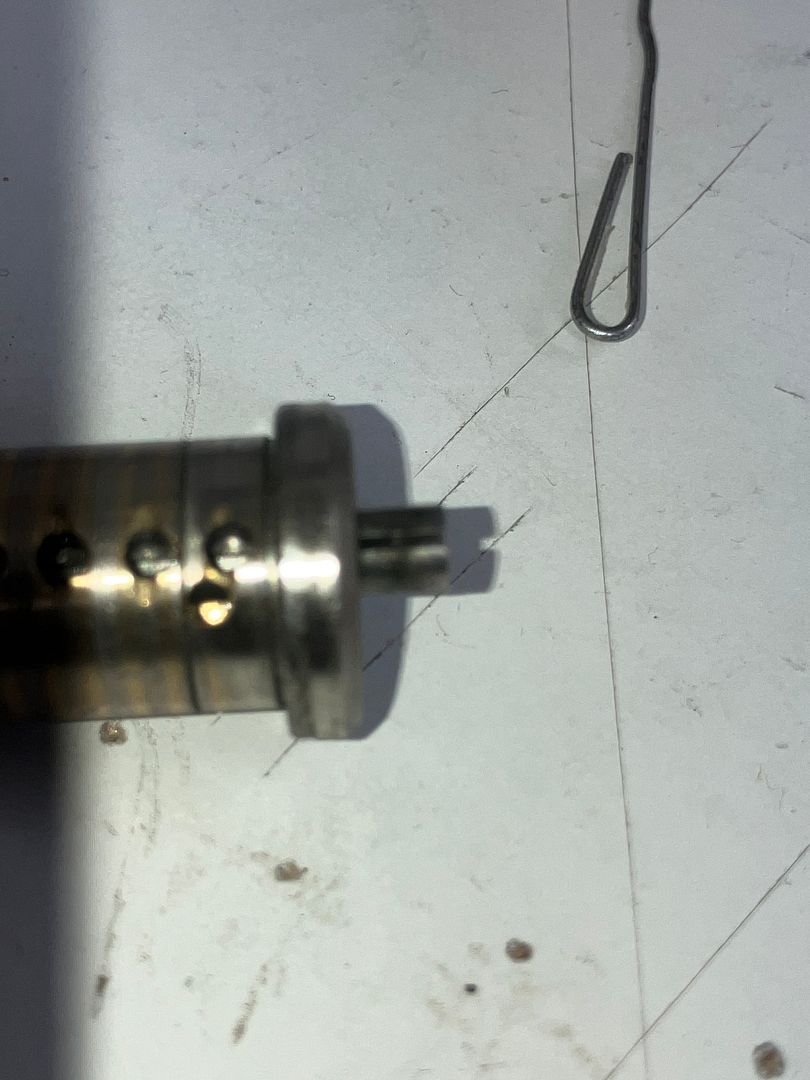
Go ahead and pull it straight out.
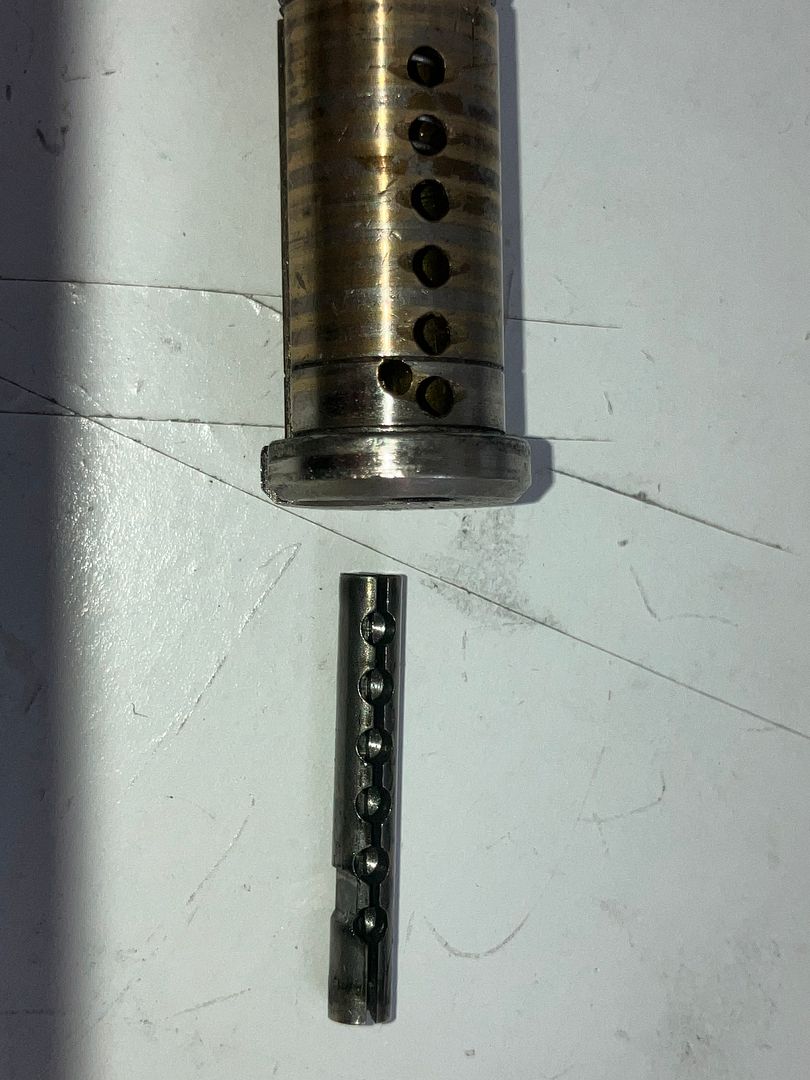
There is a notch on the bottom of the bar, and six holes for capturing the balls. The notch is used to limit travel of the bar, and the pin you (Well, OK... "I") just removed. It keeps the bar from launching out under spring bias and yet allows the bar to be pushed in.
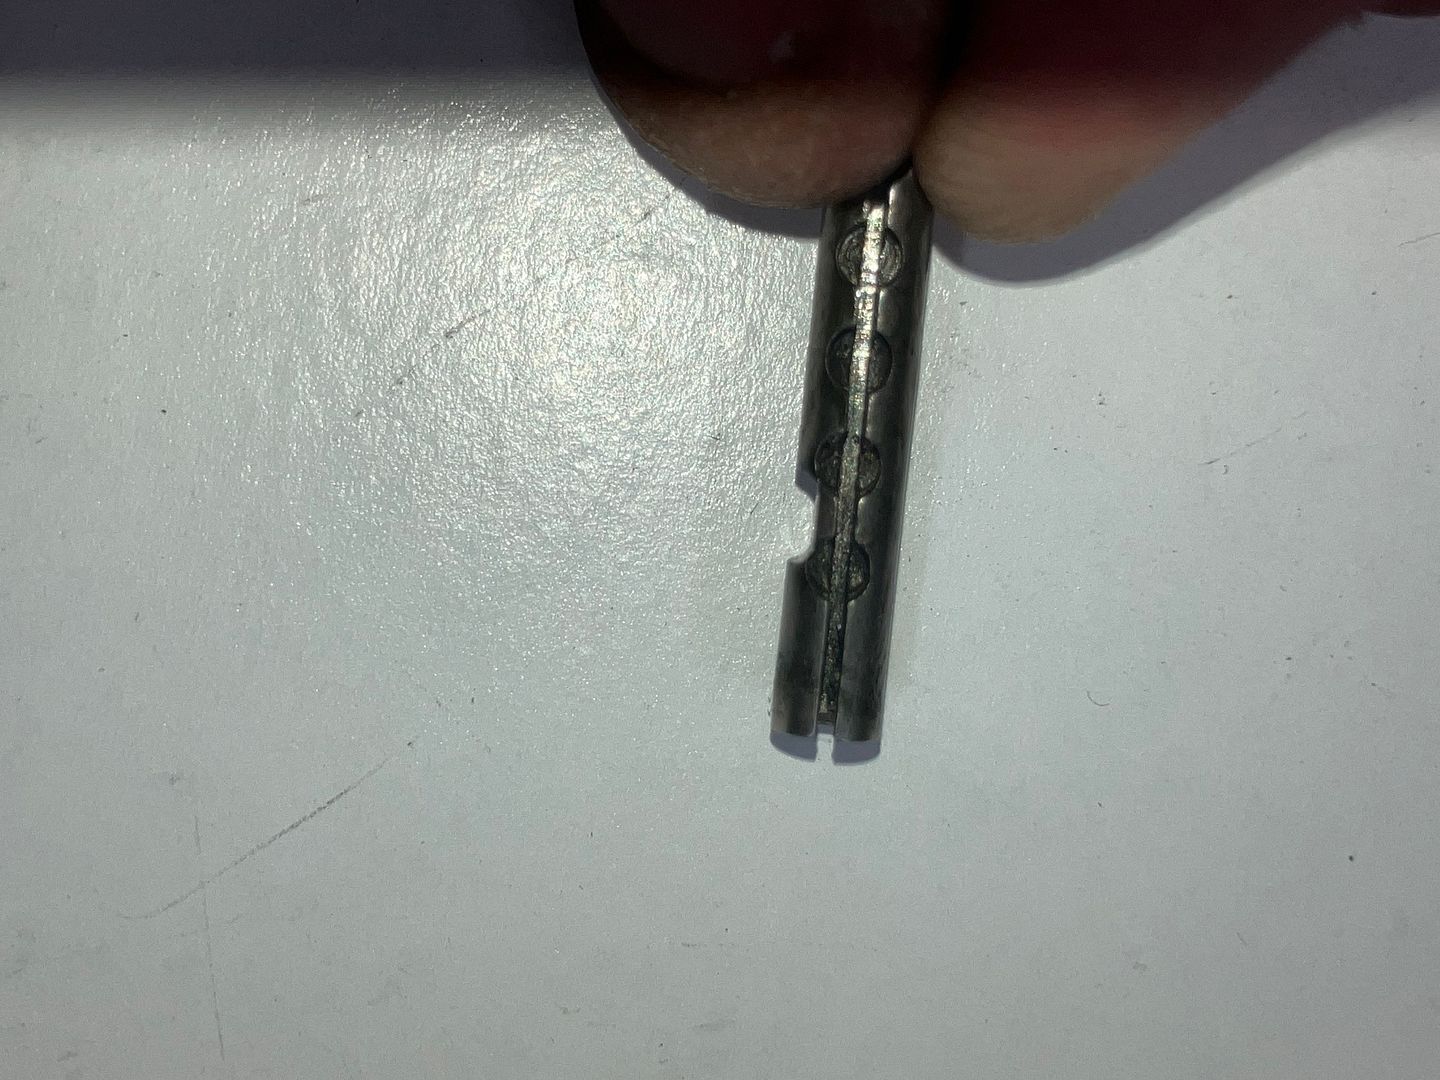
Now that the bar has been removed, you can remove the spring still in the hole.
Here is the front of the plug with the button removed.
And here are all the parts laid out on the pinning tray Blue60/Anarchy_Won made for me years ago. (Thanks again!)
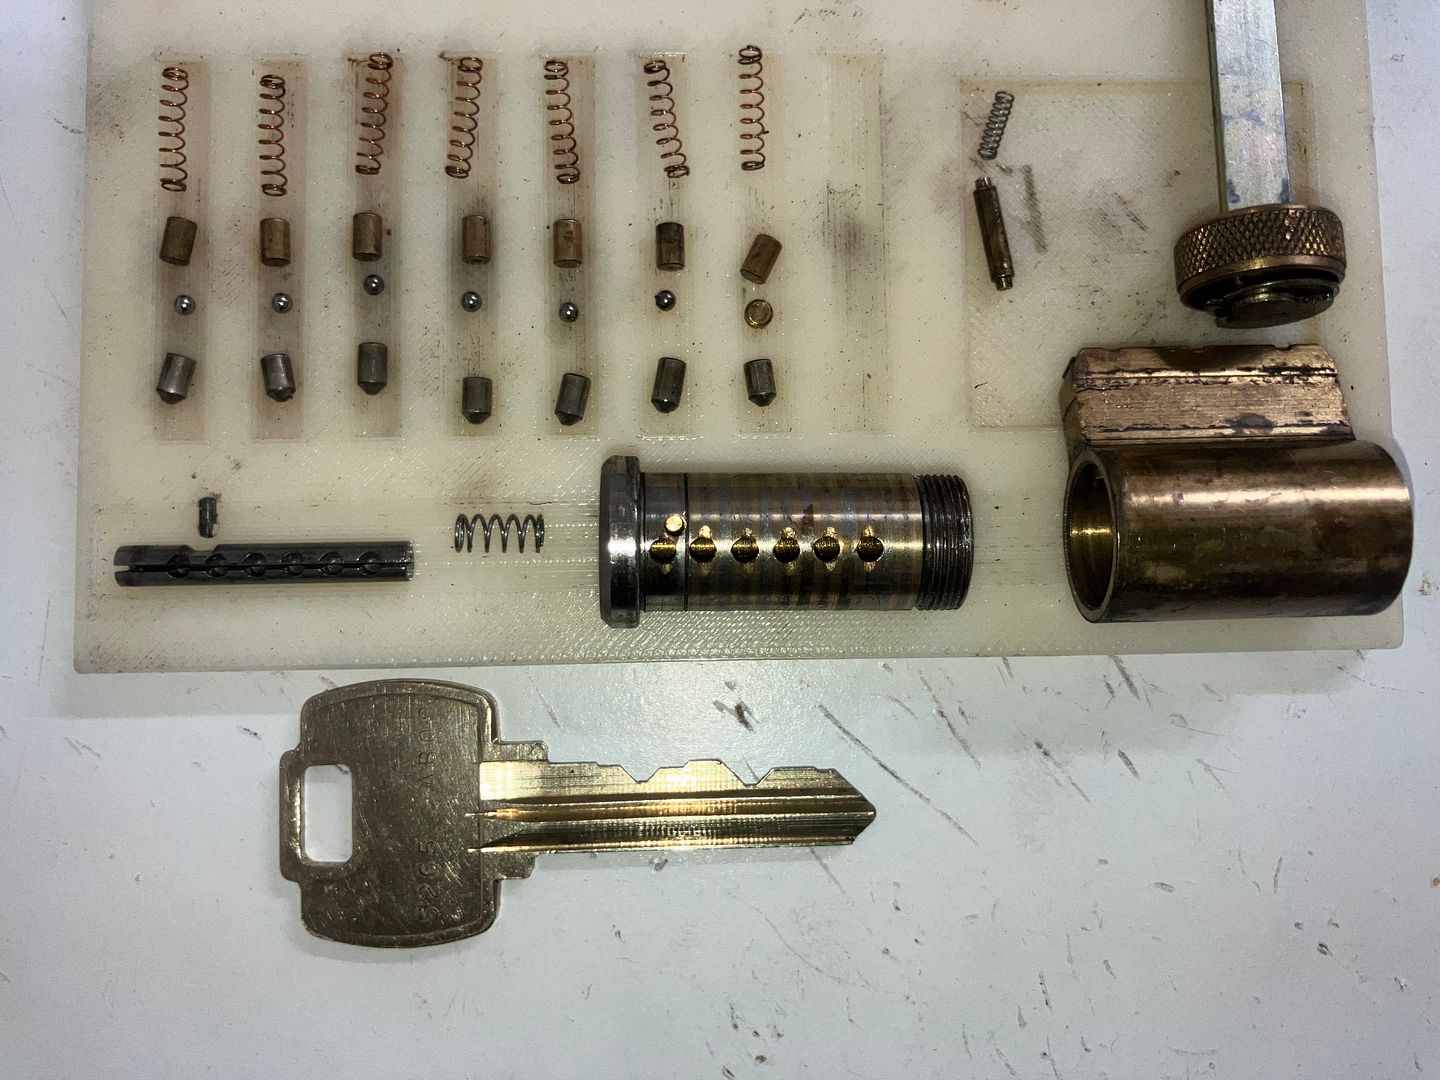
A closer look...
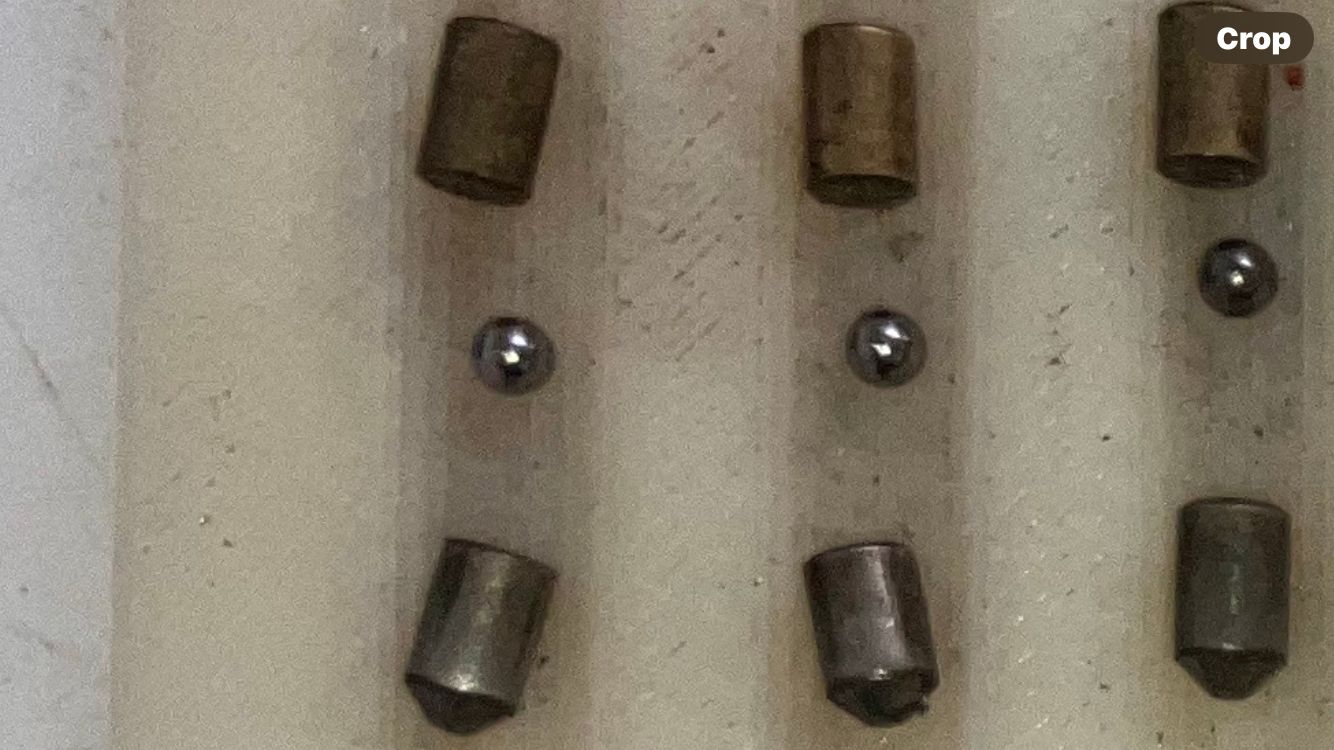
Closer yet so you can see the size of the balls compared to the pins.
So there you have it! This lock functions like a complicated version of construction keying using PK balls as is frequently done on new residential housing in the United States. It is nice that the balls are trapped rather than falling out and onto the table, floor, carpeting or wherever they can find their way when you remove the plug. It is a pain trying to find the ball once it has hit the table and bounced out of sight. (Though they are steel, so a magnet can help).
Hope it was worth the read!
Gordon

