Lock Picking 101 Forum
A community dedicated to the fun and ethical hobby of lock picking.
       

Lock Picking 101 Home
Login
Profile
Members
Forum Rules
Frequent Forum Questions
SEARCH
View New Posts
View Active Topics


Live Chat on Discord
LP101 Forum Chat
Keypicking Forum Chat
Reddit r/lockpicking Chat


Learn How to Pick Locks
FAQs & General Questions
Got Beginner Questions?
Pick-Fu [Intermediate Level]


Ask a Locksmith
This Old Lock
This Old Safe
What Lock Should I Buy?


Hardware
Locks
Lock Patents
Lock Picks
Lock Bumping
Lock Impressioning
Lock Pick Guns, Snappers
European Locks & Picks
The Machine Shop
The Open Source Lock
Handcuffs


Member Spotlight
Member Introductions
Member Lock Collections
Member Social Media


Off Topic
General Chatter
Other Puzzles


Locksmith Business Info
Training & Licensing
Running a Business
Keyways & Key Blanks
Key Machines
Master Keyed Systems
Closers and Crash Bars
Life Safety Compliance
Electronic Locks & Access
Locksmith Supplies
Locksmith Lounge


Buy Sell Trade
Buy - Sell - Trade
It came from Ebay!


Advanced Topics
Membership Information
Special Access Required:
High Security Locks
Vending Locks
Advanced Lock Pick Tools
Bypass Techniques
Safes & Safe Locks
Automotive Entry & Tools
Advanced Buy/Sell/Trade


Locksport Groups
Locksport Local
Chapter President's Office
Locksport Board Room
 

Home Made Key for M.O.W. Padlock

European hardware -lever locks, profile cylinders specific for European locks. European lock picks and European locks.

Home Made Key for M.O.W. Padlock

Postby GWiens2001 » 1 Jul 2013 16:21

Making a key for my Ministry Of Works (M.O.W.) lock. It took a bit of figuring out, but it works!

Image

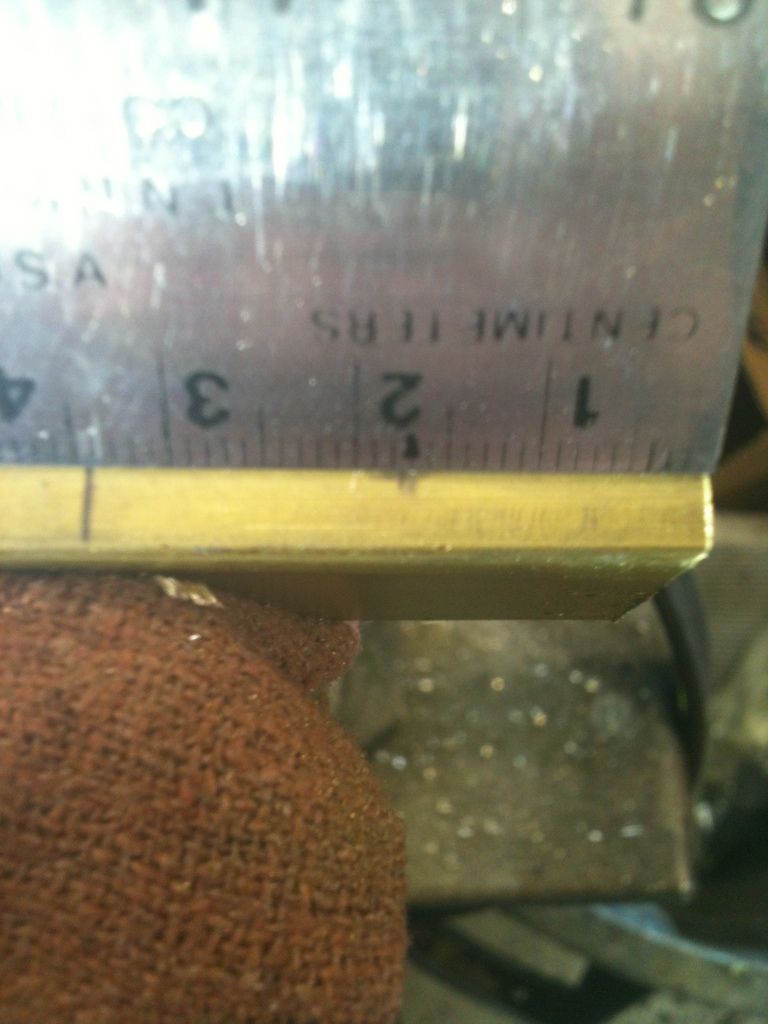
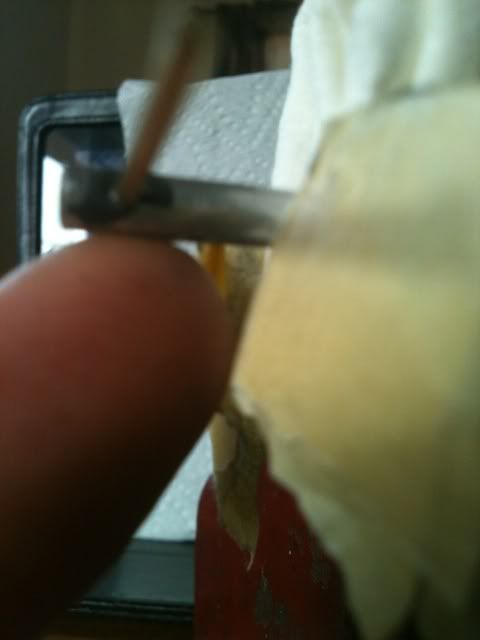
First, made a high tech measuring tool from a bobby pin.

Image

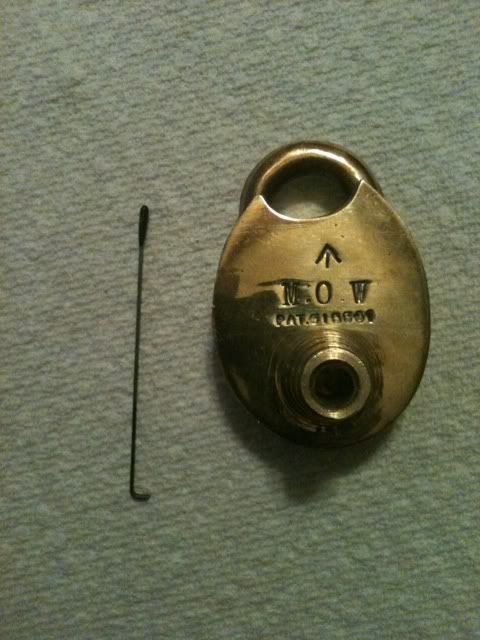
Slide the hook end down into the keyway. The measurements needed are the full depth of the keyway, the top and bottom of the slot at 9 o'clock and at 6 o'clock. When the hook gets to those measurement points, use tape level with the top of the keyway to mark the measurement.

Image

Image

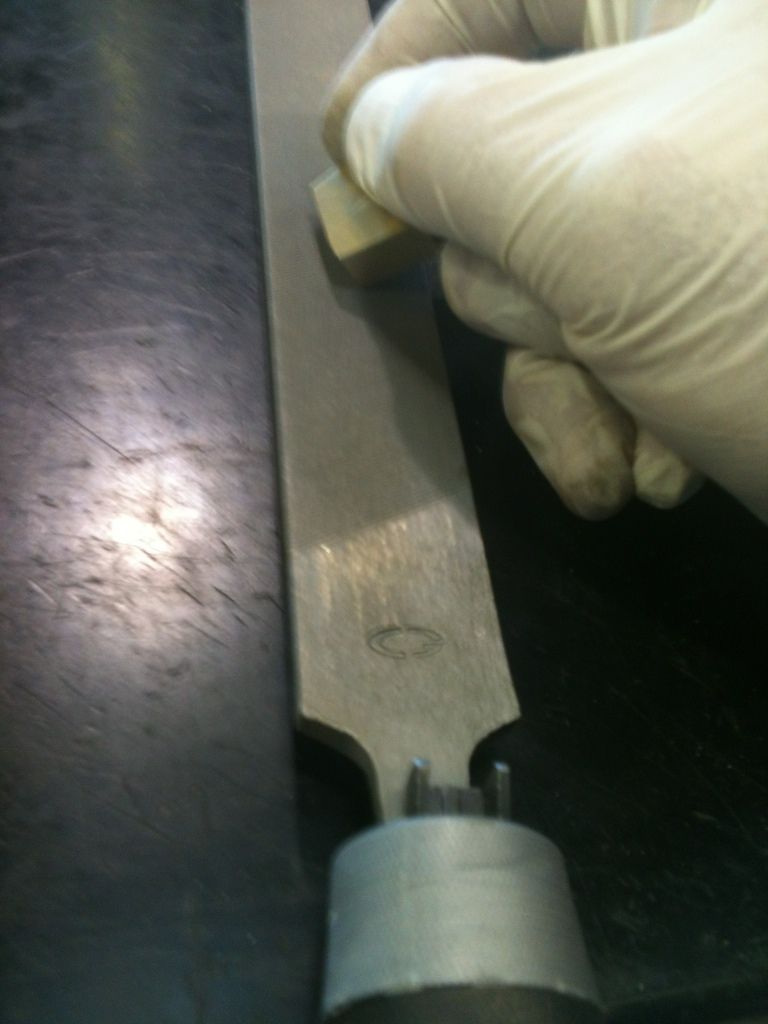
Then use a micrometer to measure it. If measuring the top of the groove, measure to the inside of the angle of the hook. If measuring to the bottom of the keyway or bottom of the groove, measure to the outside end of the hook.

Image

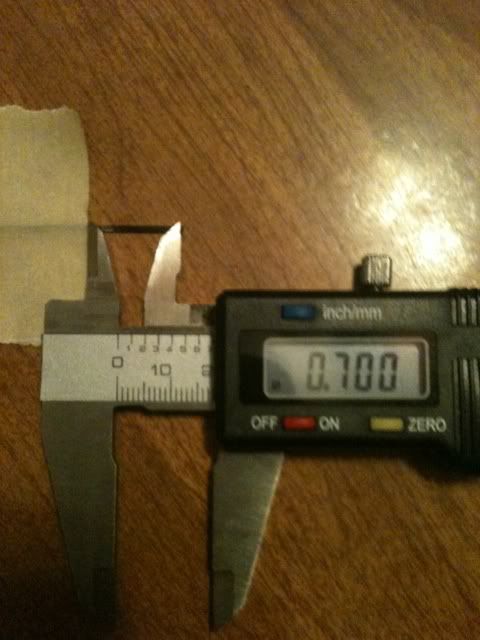
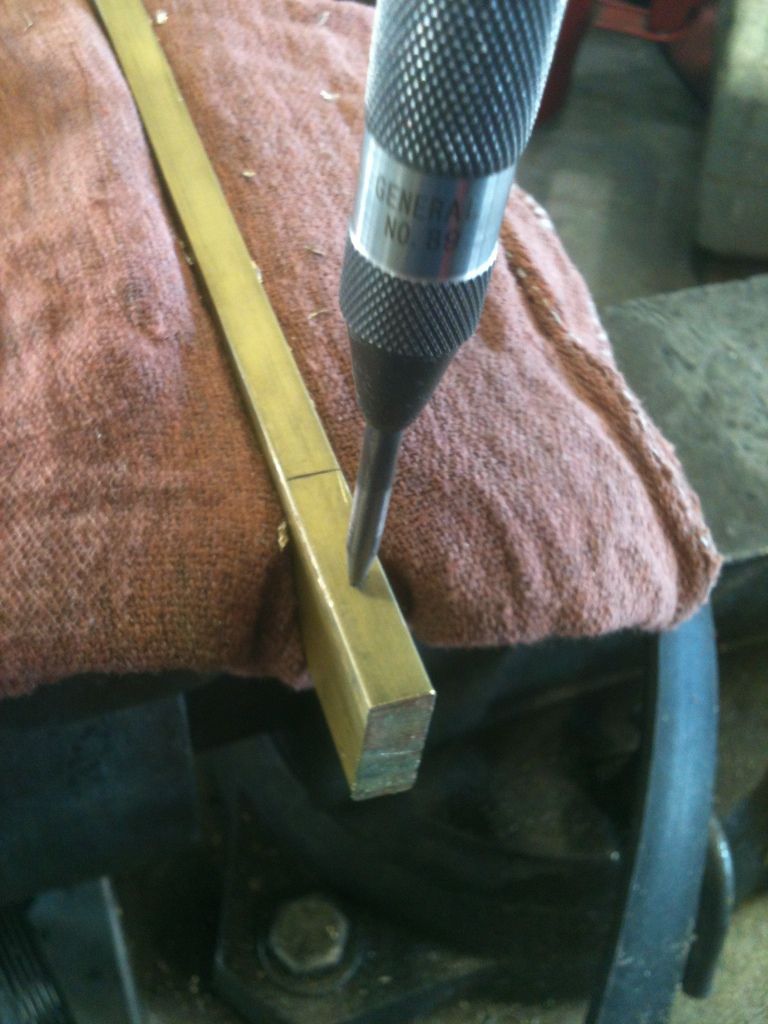
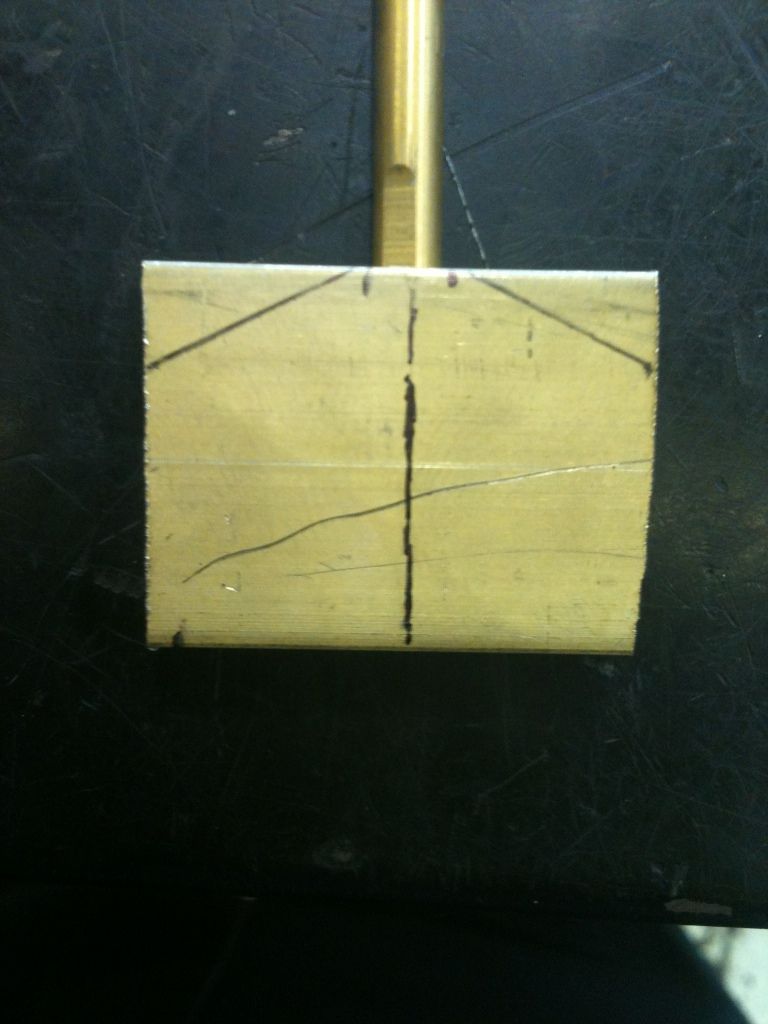
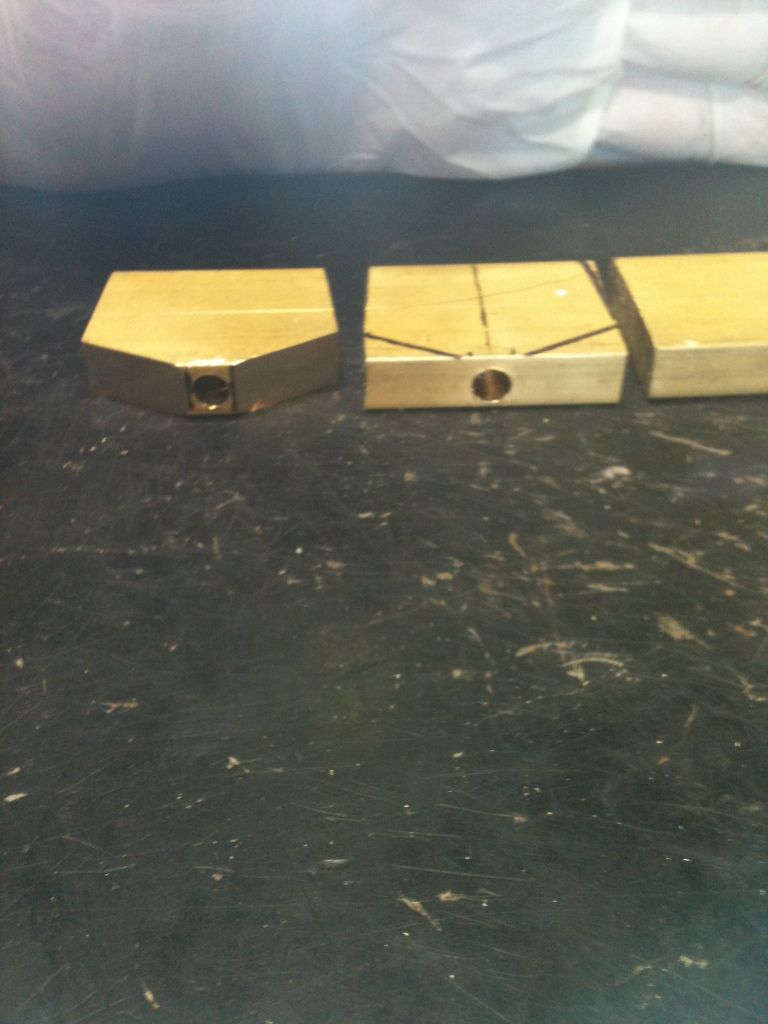
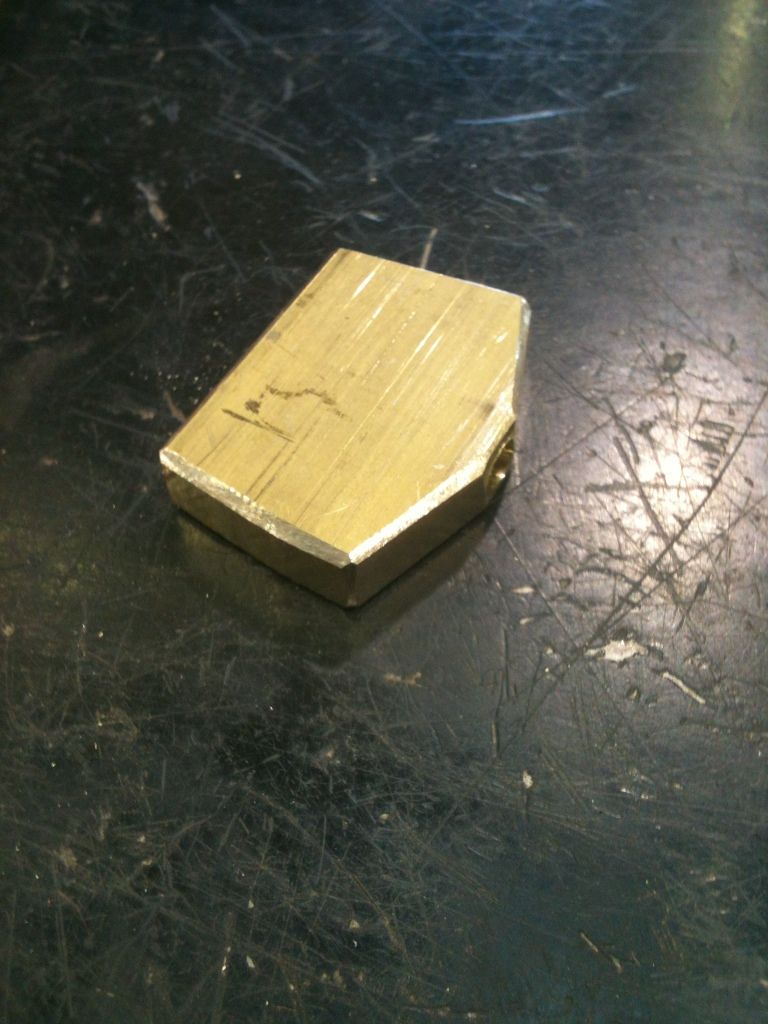
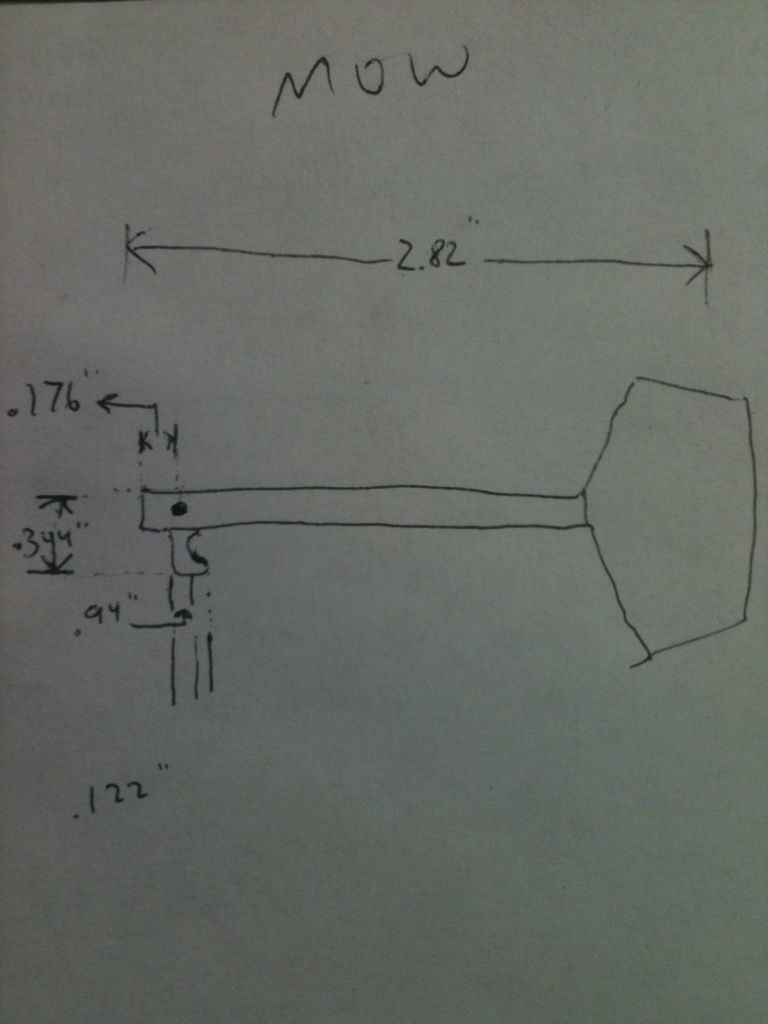
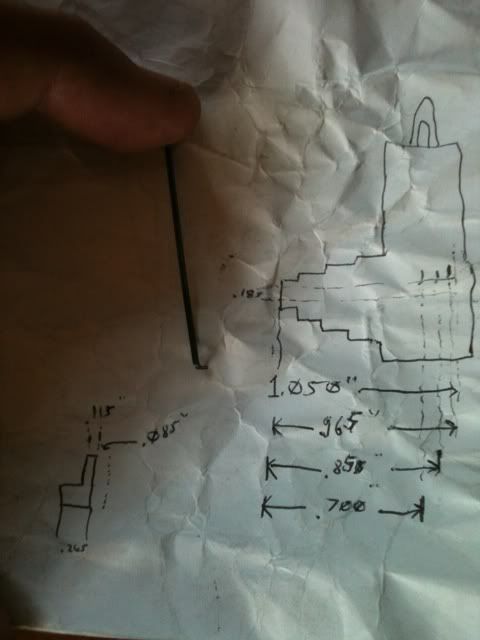
These are the measurements...

Image

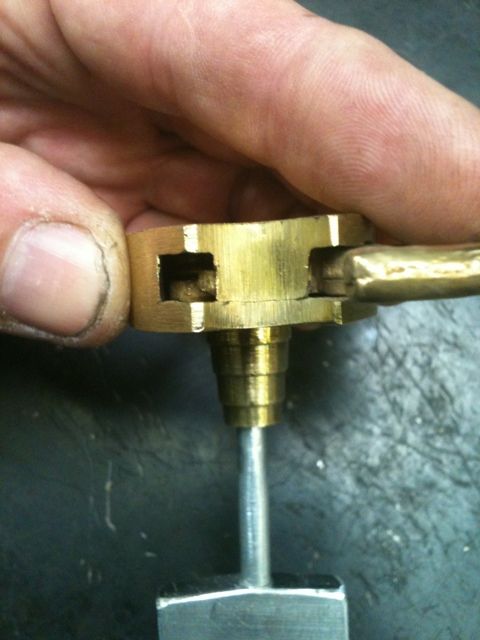
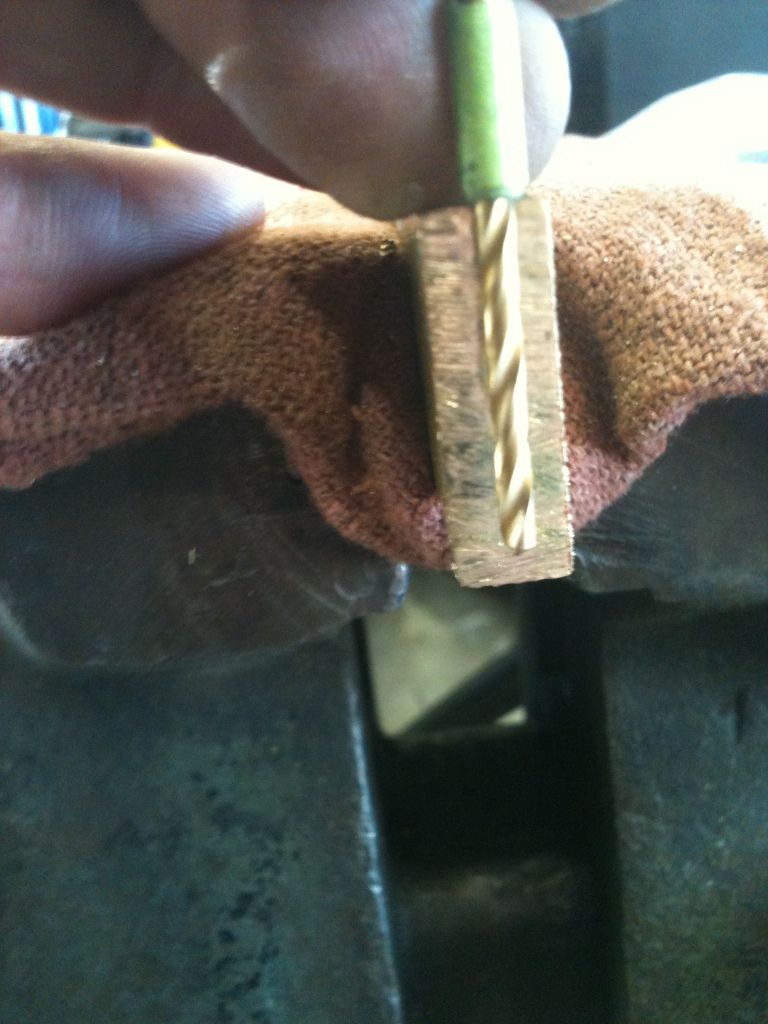
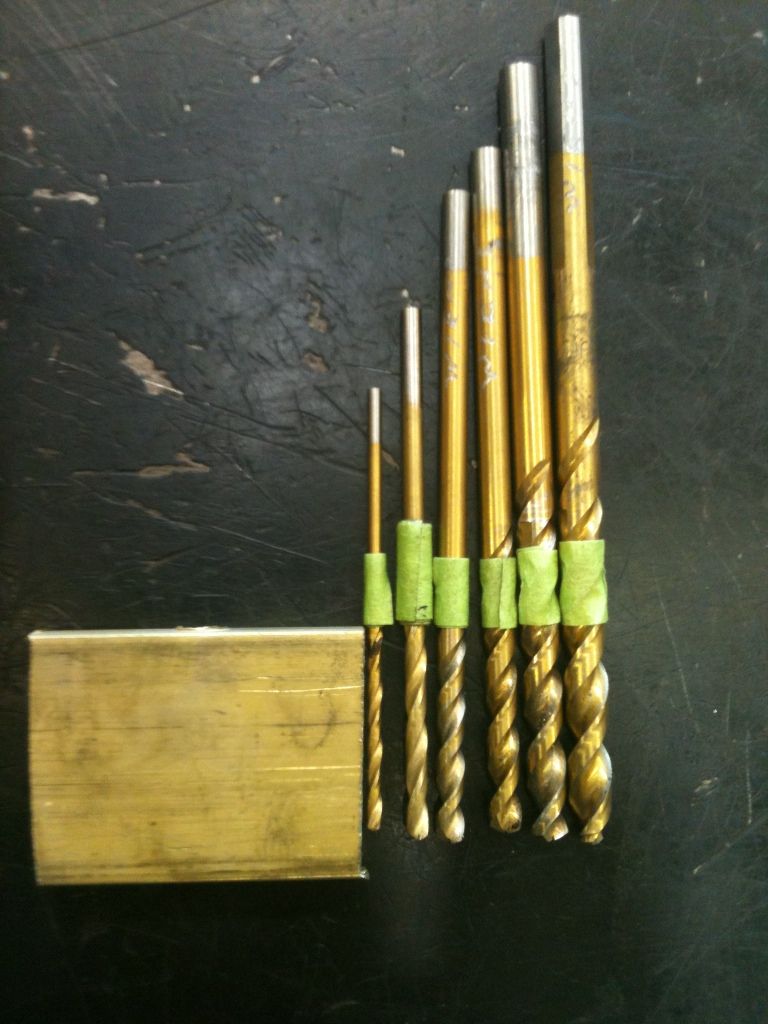
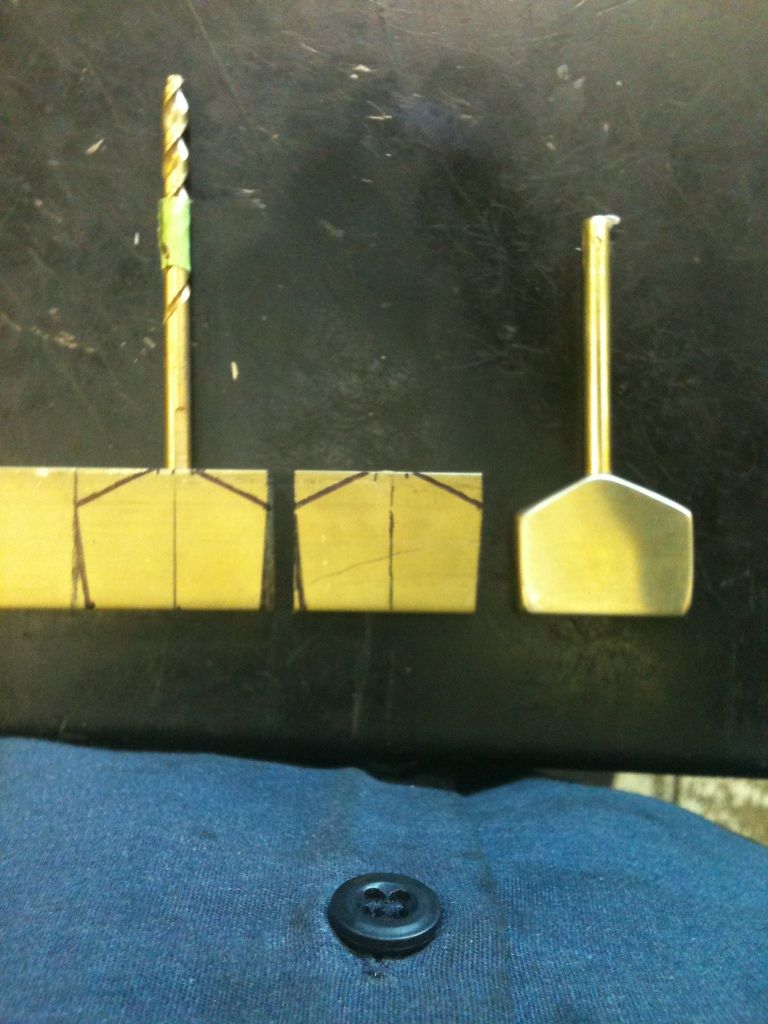
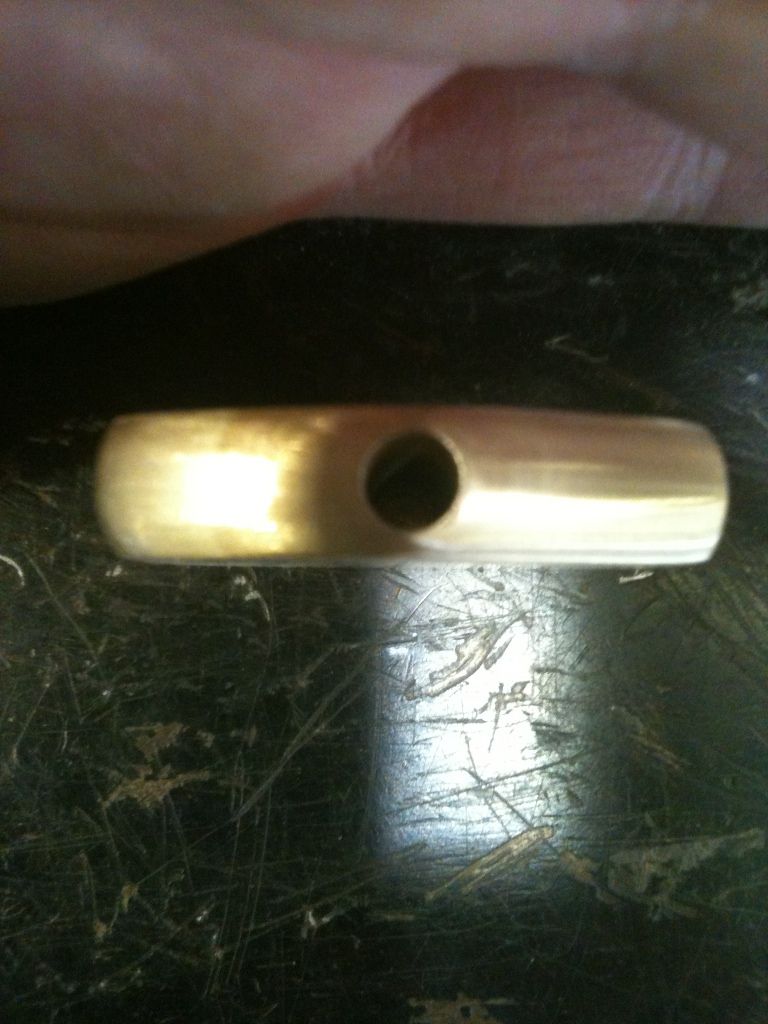
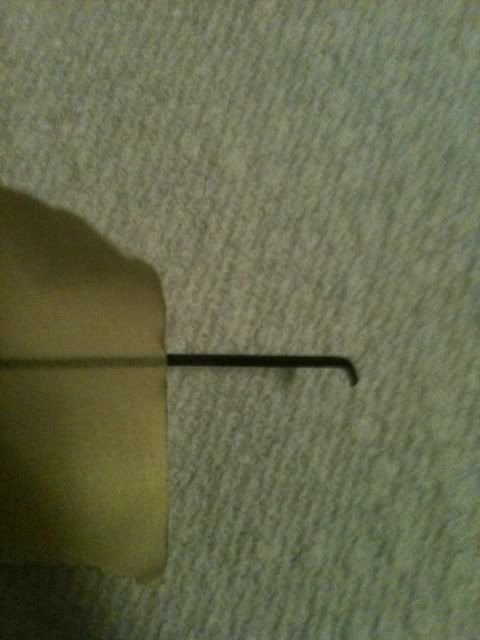
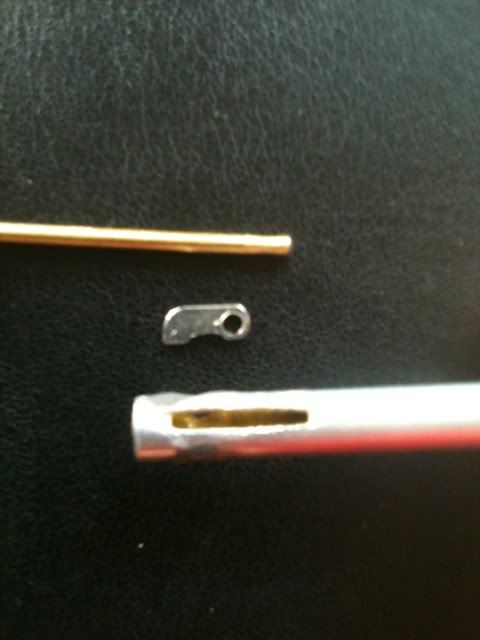
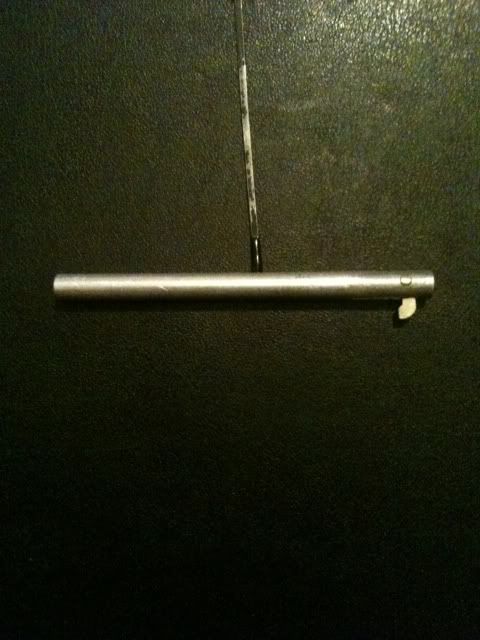
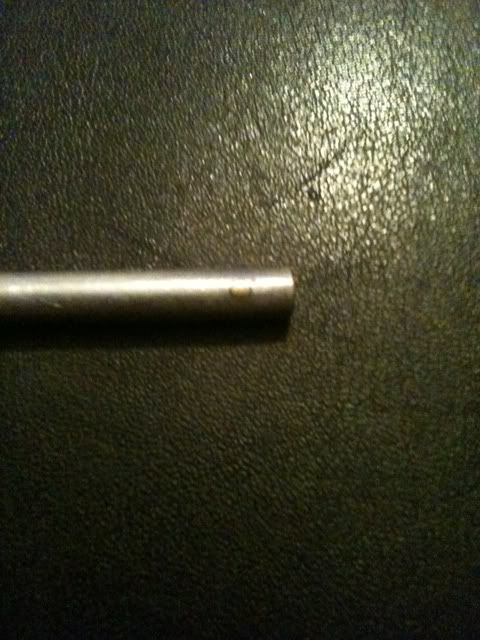
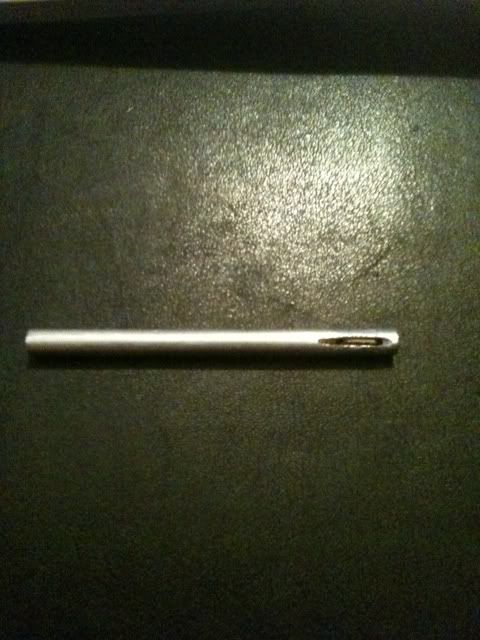
These are the primary components of the key. The shaft of the key is made of aluminum because that is the widest diameter tubing I had in my collection. And the inside of the shaft is brass tubing, because it needed to be stronger. Used epoxy to hold the inner and outer tubing together. The movable part of the key is made from windshield wiper spring. Drilled it with a diamond bit dremel bit to slightly over 1/16". The pivot pin is brass. Drill holes through the tubing for the pivot pin. Cut the slot in the tubing with a dremel tool, clean up the edges with a needle file.

Image

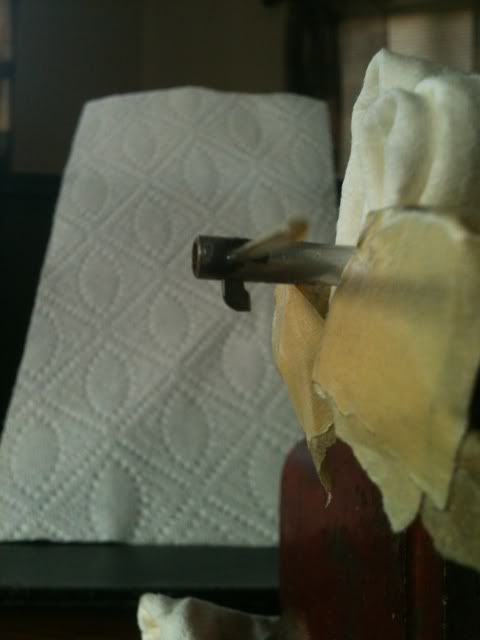
Trial fit the parts, and make sure that the movable part swivels completely freely. If it binds up inside the lock, you are screwed! So be sure it moves freely. When it moves freely, epoxy the pivot pin in place.

Do not hammer the pivot pin with a small hammer like a rivet - it will bend, and you will have to drill it out and make another pivot pin. This is experience speaking. :oops:

Before the epoxy dries, again make sure the moving part moves freely. This key moving element is gravity operated. Did not think it would work, but the patent drawings don't lie. So make sure it pivots easily.

Image

Image

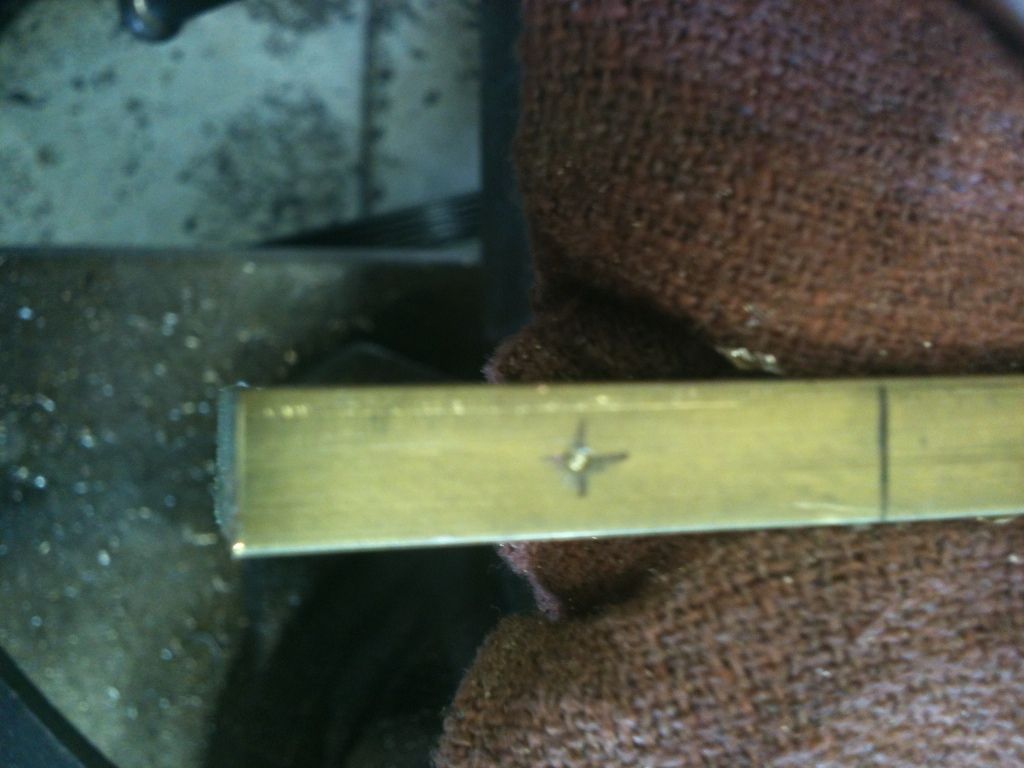
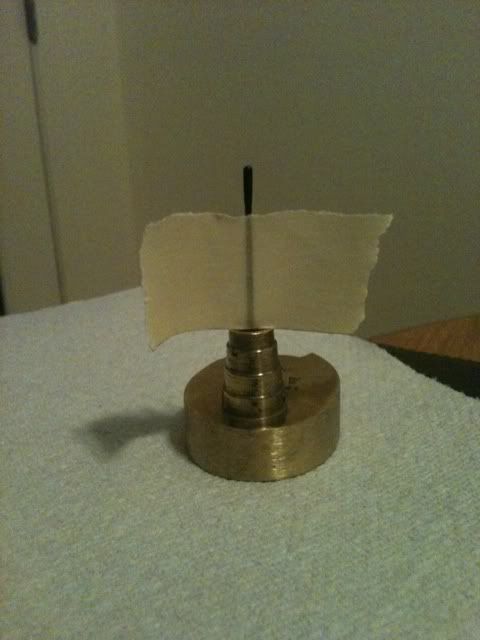
Once the epoxy (I used JB Weld) was dried and hardened, used a dremel with a cutoff wheel to cut the pivot pin off on both sides. Then used a needle file to clean up the sides. Then it should look like this...

Image

With the moving element inside the tubing... (fgarci03, get your mind out of the gutter!)

Image

Image

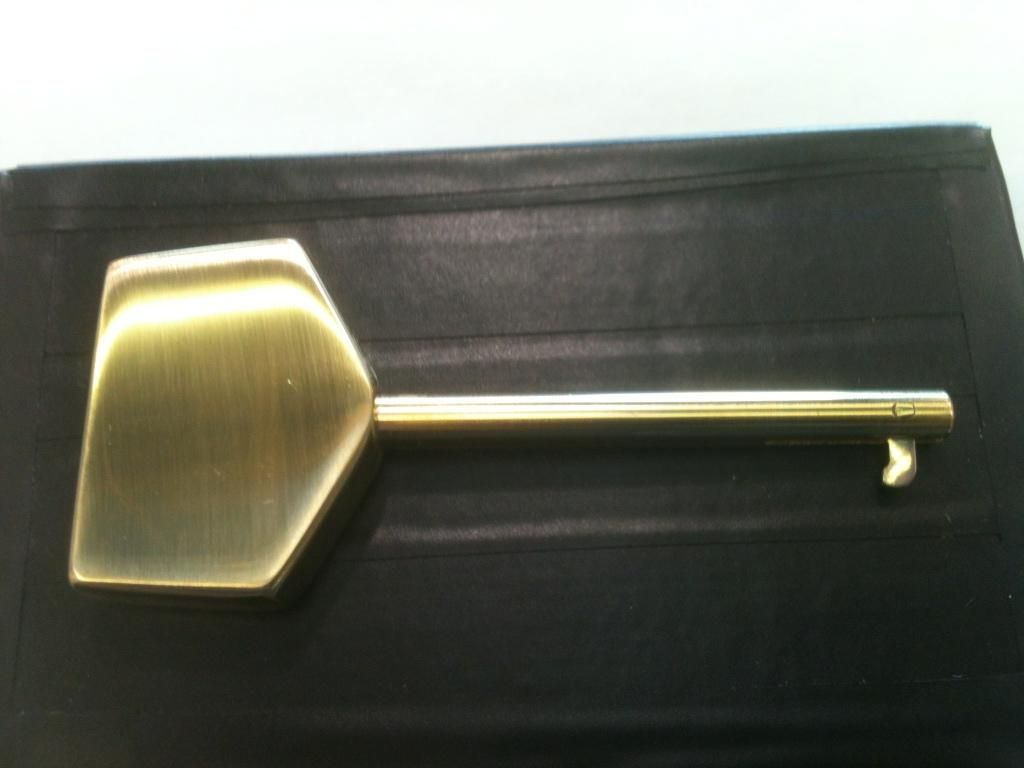
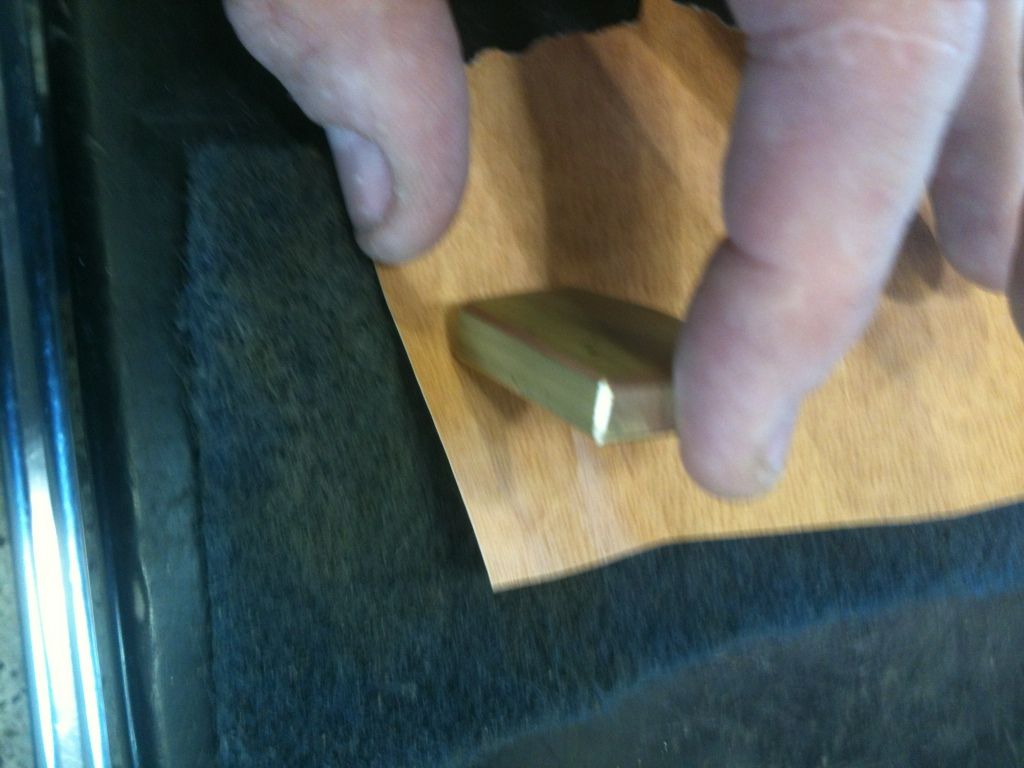
Sizing some aluminum stock for a bow.

Image

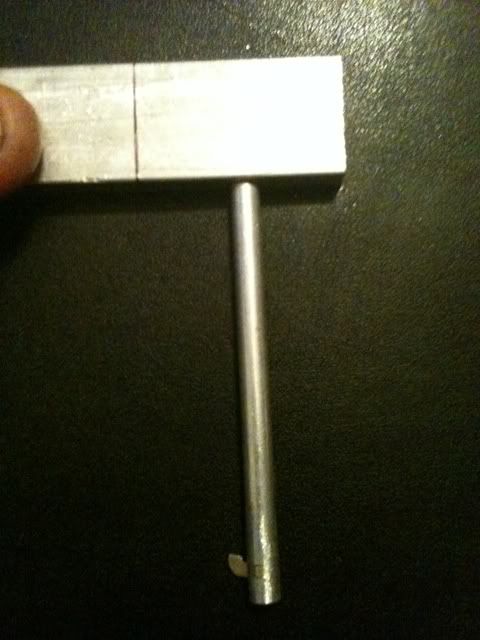
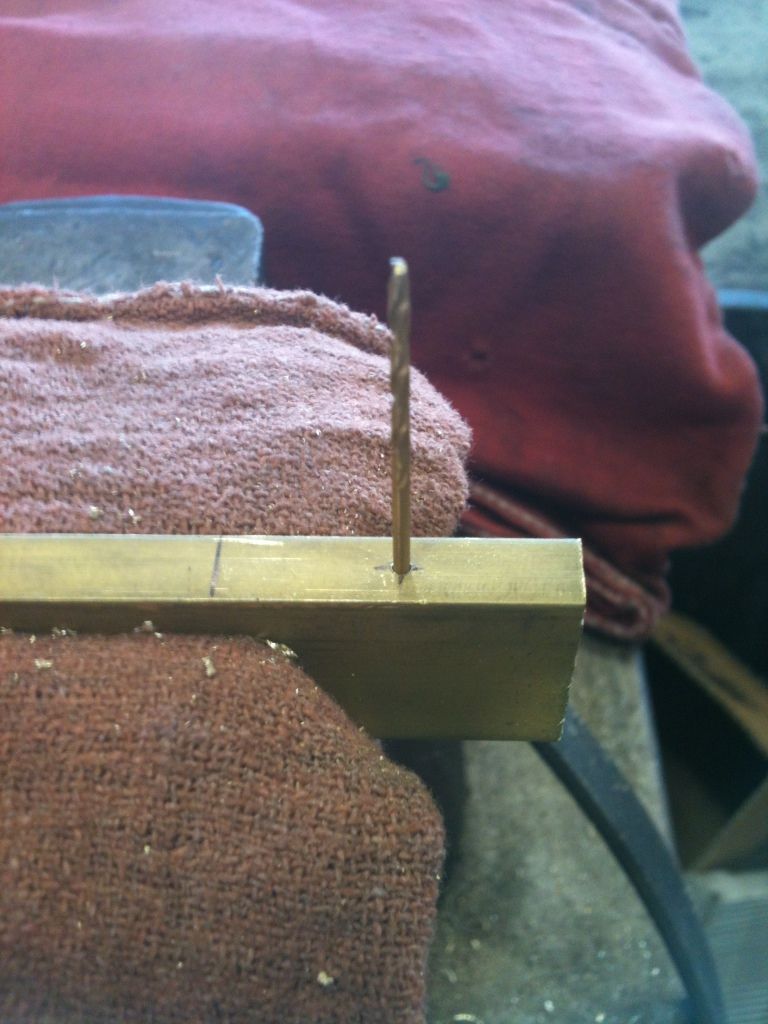
And marking for drilling to insert the key into the bow.

Image

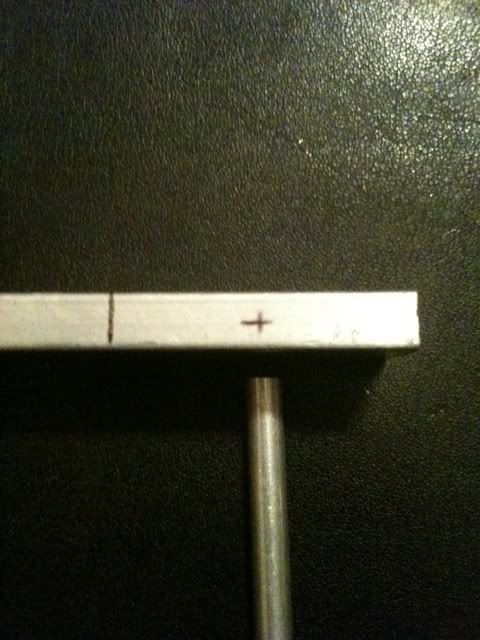
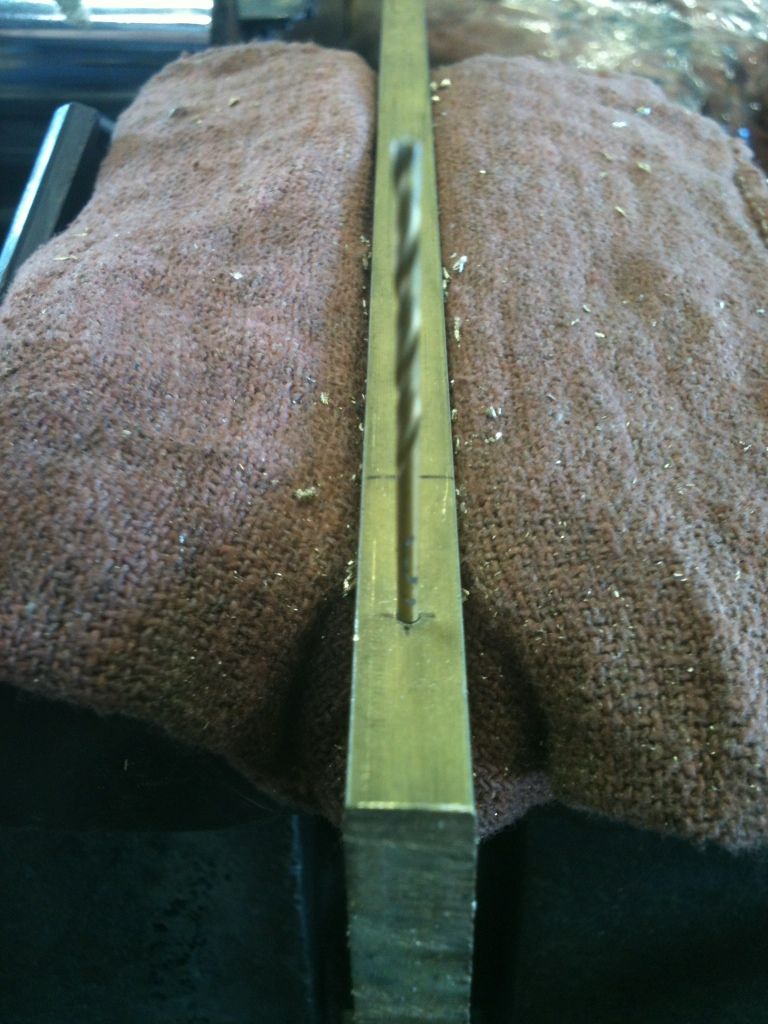
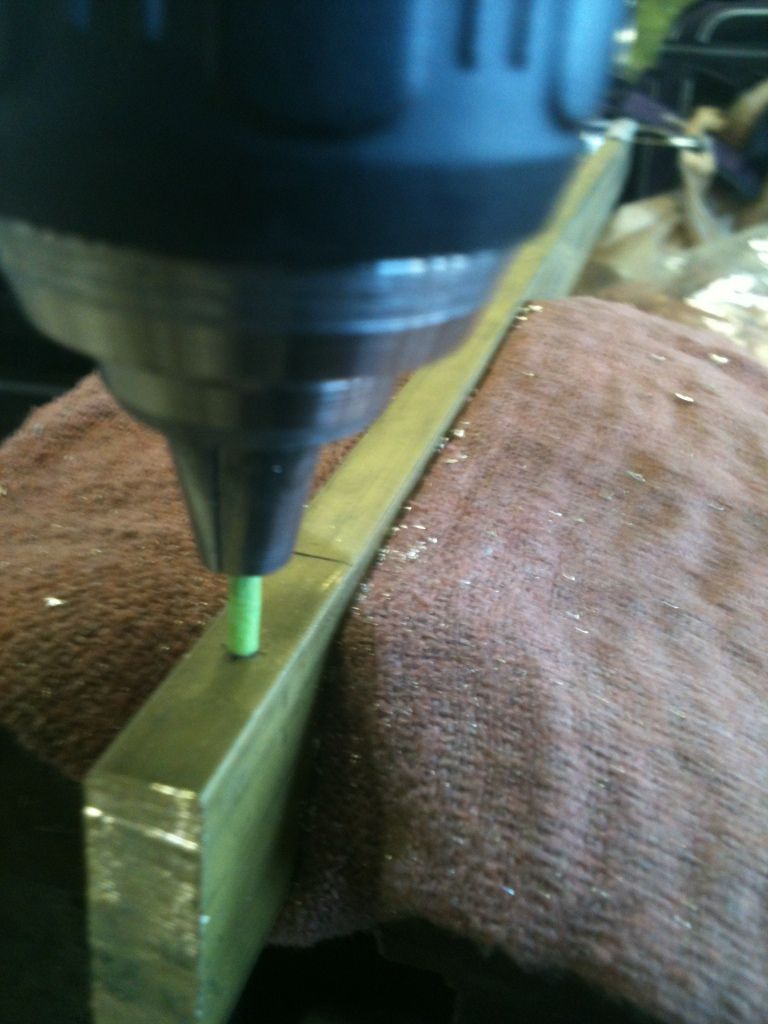
Drilled the hole - 1/16" for a pilot hole, then worked up to 3/16".

Image

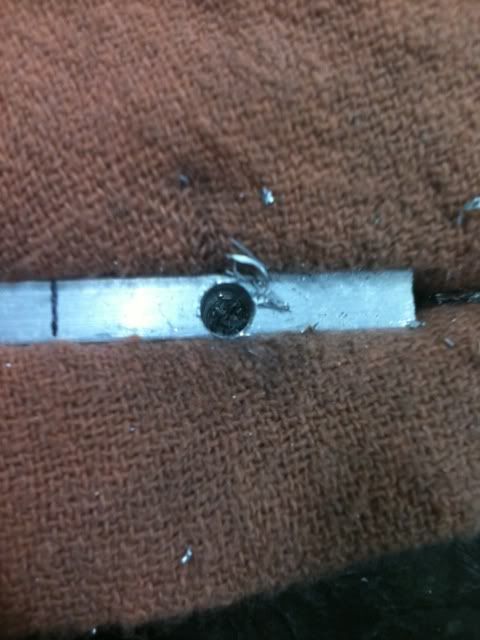
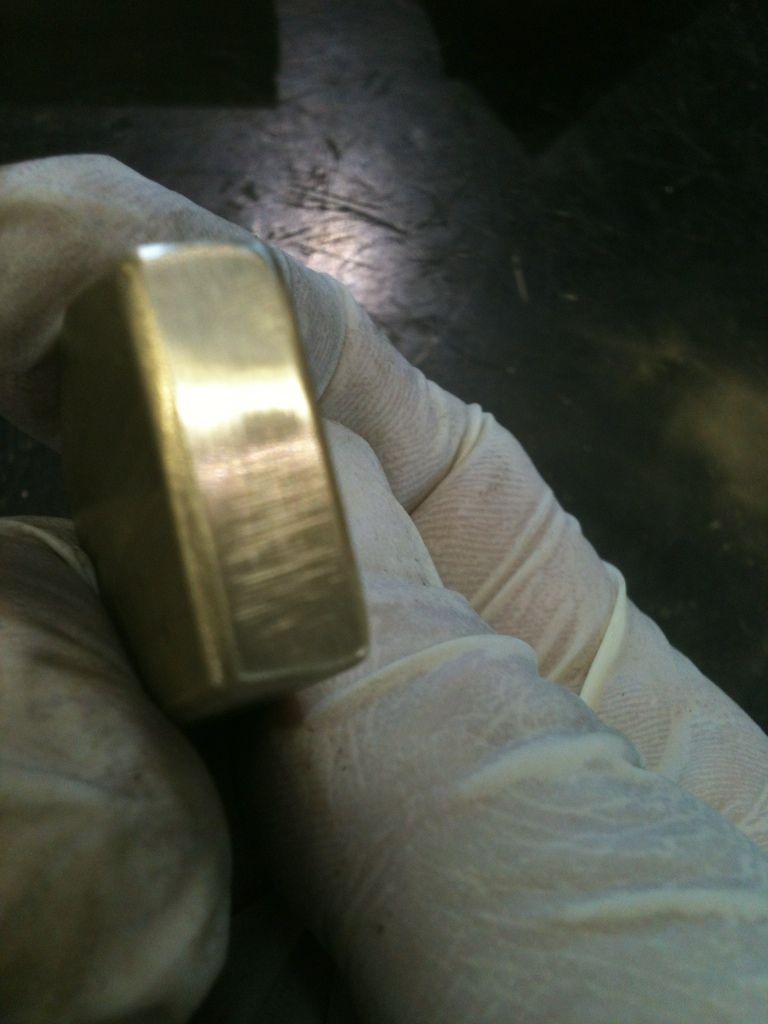
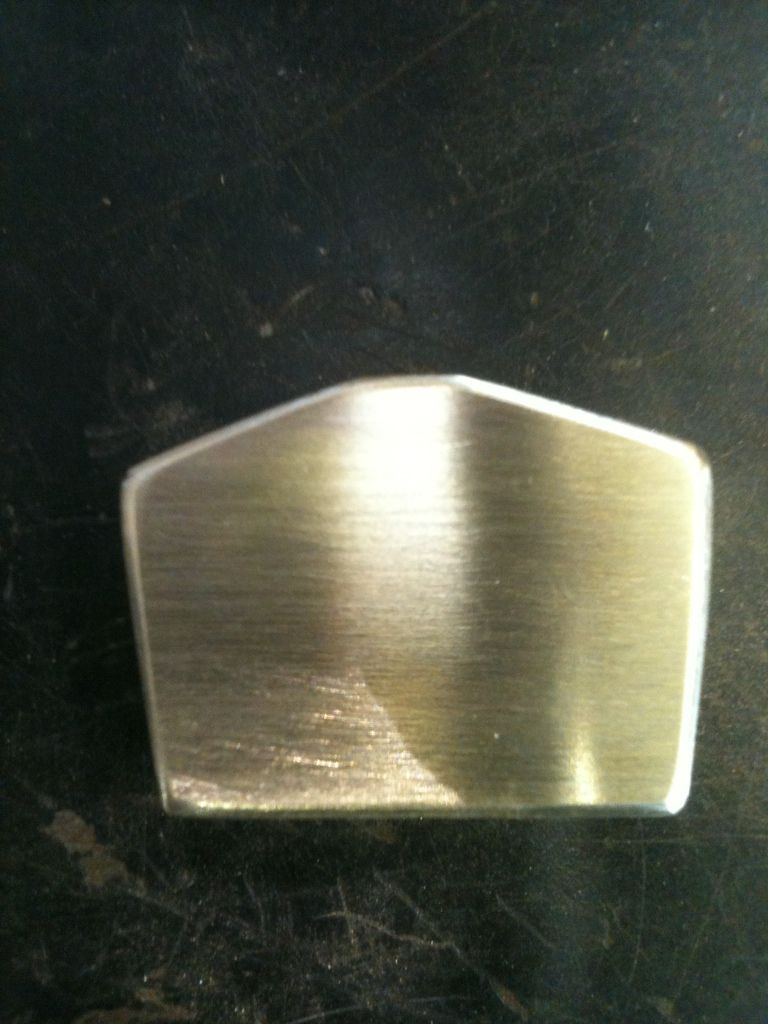
Shaped the bow, rounded the edges. Roughened the sides of the key shaft where it will be glued into the bow.

Image

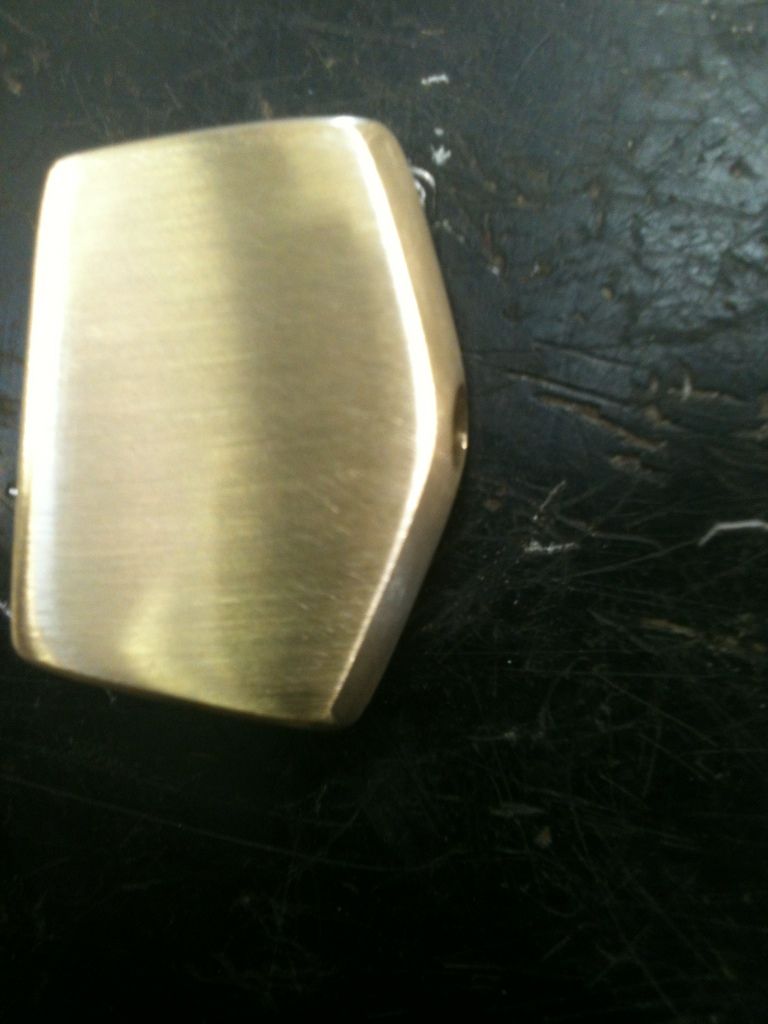
Used JB Weld epoxy to bond the bow to the shaft. Let it set overnight to cure the epoxy fully.

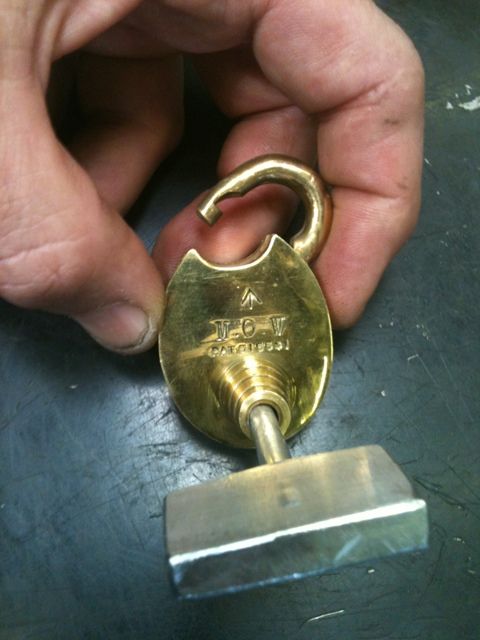
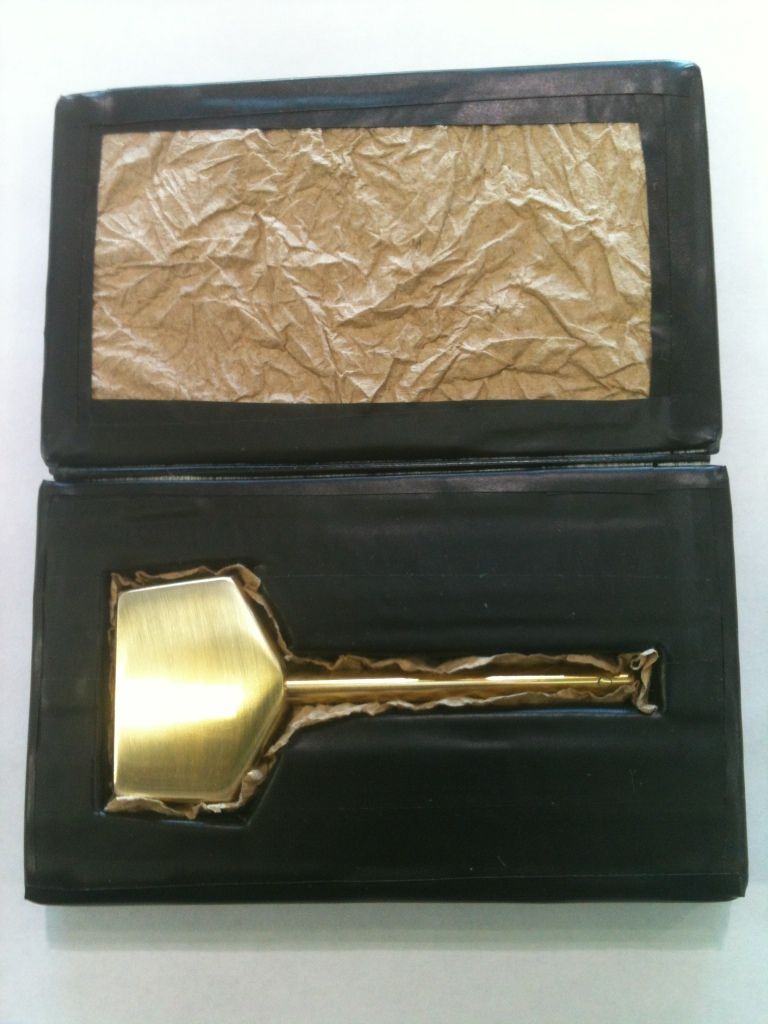
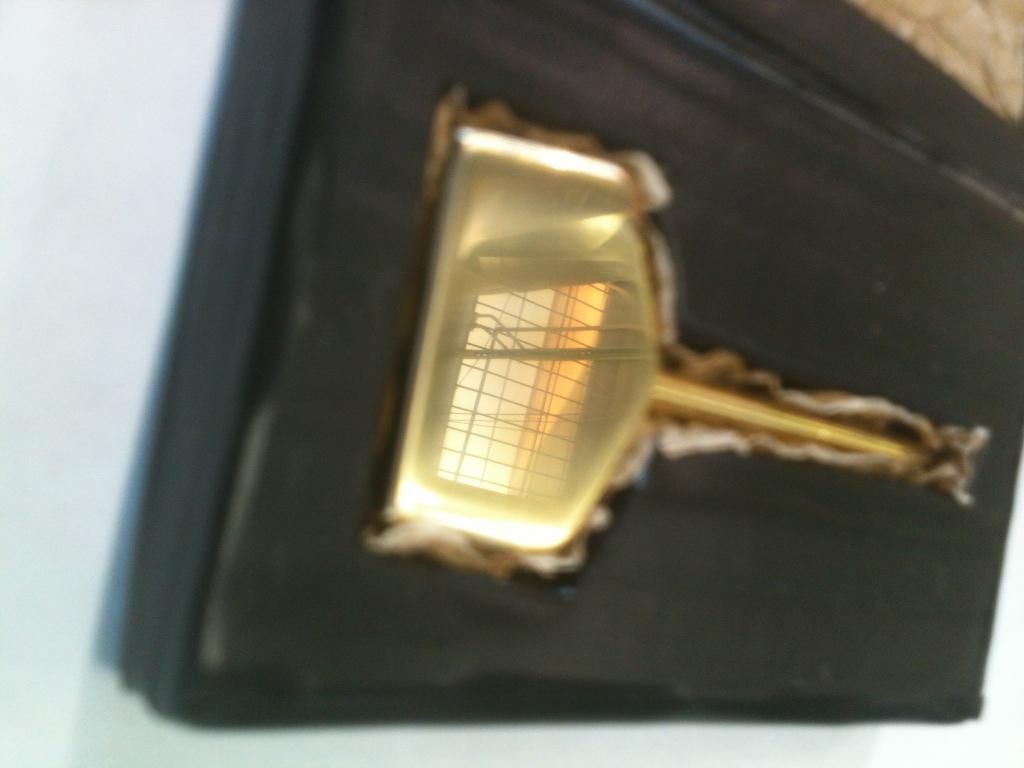
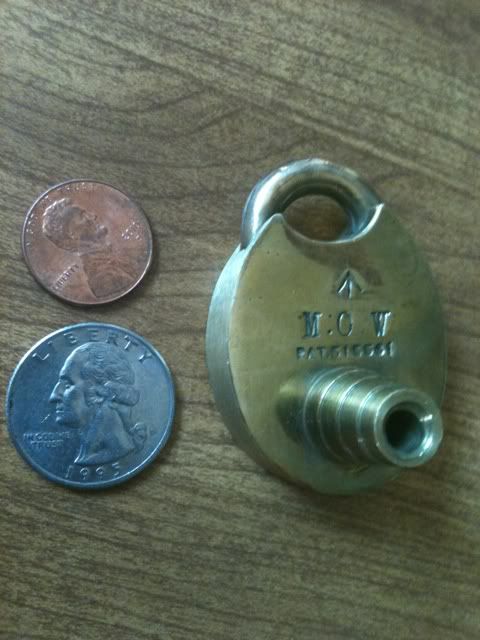
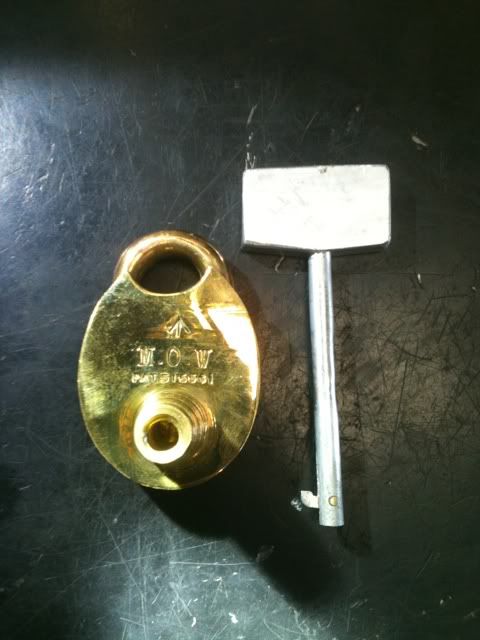
The resulting key and lock!

Image

Gordon
Just when you finally think you have learned it all, that is when you learn that you don't know anything yet.
User avatar
GWiens2001
Site Admin
 
Posts: 7550
Joined: 3 Sep 2012 16:24
Location: Arizona, United States

Re: Home Made Key for M.O.W. Padlock

Postby keysman » 1 Jul 2013 16:27

NICE WORK !
Have you seen a picture of a working key before you started this project ?


Once again .. NICE WORK !
Everyone who eats potatoes eventually dies. Therefore potatoes are poisonous.
keysman
Moderator Emeritus
 
Posts: 1174
Joined: 29 Dec 2004 5:09
Location: Las Vegas,Nv.USA

Re: Home Made Key for M.O.W. Padlock

Postby GWiens2001 » 1 Jul 2013 16:43

Thank you, Keysman.

No, had not seen even a picture of a working key. Looked at the patent drawings, though.

Also, I better post this picture, too. :-)

Image

Gordon
Just when you finally think you have learned it all, that is when you learn that you don't know anything yet.
User avatar
GWiens2001
Site Admin
 
Posts: 7550
Joined: 3 Sep 2012 16:24
Location: Arizona, United States

Re: Home Made Key for M.O.W. Padlock

Postby Squelchtone » 1 Jul 2013 17:57

I'm lost. Can you explain how the swiveling bit comes out of the key once you insert the key all the way into the lock? and how does it retract back into the key blade once you are ready to remove the key from the lock?

Thanks,
Squelchtone
Image
User avatar
Squelchtone
Site Admin
 
Posts: 11307
Joined: 11 May 2006 0:41
Location: right behind you.

Re: Home Made Key for M.O.W. Padlock

Postby GWiens2001 » 1 Jul 2013 18:49

Squelchtone wrote:I'm lost. Can you explain how the swiveling bit comes out of the key once you insert the key all the way into the lock? and how does it retract back into the key blade once you are ready to remove the key from the lock?

Thanks,
Squelchtone


Good questions. The swiveling part opens by gravity, and falls out the bottom of the key into a taller slot at the bottom of the keyway. The narrower neck on the swiveling part allows the key to be turned in the thinner slot which goes all the way around the keyway.

Once the lock is removed, turn the key so the swiveling arm is at the bottom of the keyway again, and flip the key/lock so that the key is pointing straight up. Gravity then pulls the arm back into the key shaft, allowing the key to be removed.

The lock is not key retaining, nor does it require the key for relocking.

Now it can be seen why I emphasized the need for that arm to pivot freely. If it binds in the lock, there are problems.

Here is a picture down where the shackle locks. The brass lever/locking dog is angled, and also attached to the other side of the shackle. As you close the shackle, you can see that lever retracting until the moment the shackle is fully closed, when it releases and locks with a stout SNAP. The spring is surprisingly strong.

Image

Gordon
Just when you finally think you have learned it all, that is when you learn that you don't know anything yet.
User avatar
GWiens2001
Site Admin
 
Posts: 7550
Joined: 3 Sep 2012 16:24
Location: Arizona, United States

Re: Home Made Key for M.O.W. Padlock

Postby MacGyver101 » 1 Jul 2013 20:28

That's fantastic: thank you! I've got a locked one of those, and making a key has been on my "to do" list for a long time... those measurements help a lot!
Image
User avatar
MacGyver101
Moderator Emeritus
 
Posts: 1560
Joined: 21 Jun 2006 14:40
Location: Toronto, Canada

Re: Home Made Key for M.O.W. Padlock

Postby GWiens2001 » 2 Jul 2013 0:33

Per request by PM, here are the materials used in making this key:

Key Bow
* 3/4"x1/4" (19,07mm x 6,37mm) Aluminum bar stock
* Cut to length and desired shape

Key Shaft
* Outer 3/16" (4,76mm) Aluminum tubing
* Inner 5/32" (3,92mm) Brass tubing

Pivot Pin
* 1/16" (1,57mm) Brass rod

Moving Arm
* .125" x .032" (3,16mm x 0,76mm) Spring Steel (wiper insert)


Clear Epoxy
* Bonding Inner and Outer Key Shafts

JB Weld (Metal Epoxy)
* Bonding Pivot Pin ends into Key Shaft
* Bonding Key Bow onto Key Shaft
* Filling keyways to prevent damage to pins while shipping to ARF-GEF


As MrWizard pointed out, now that we know that there are no moving parts in the key aside from that arm, if I were to make one of these again, it would be easier to make the key shaft from solid 3/16" (4,76mm) brass stock, and dremel out a groove long enough for the moving arm to fit.

Gordon
Just when you finally think you have learned it all, that is when you learn that you don't know anything yet.
User avatar
GWiens2001
Site Admin
 
Posts: 7550
Joined: 3 Sep 2012 16:24
Location: Arizona, United States

Re: Home Made Key for M.O.W. Padlock

Postby kerti » 11 Jul 2013 14:24

Exellent work !
kerti
 
Posts: 178
Joined: 6 May 2013 12:17
Location: Ukraine, Russia

Re: Home Made Key for M.O.W. Padlock

Postby kilae » 15 Jul 2013 14:06

Wow, nice! Thanks.
This is now on my list.
So many projects on my list, but only so little free time to do it! :cry:
Mess with the BEST, die like the REST!

I search: All magnetic locks (Miwa Magnetic, MagLok, Mottura MC), Trioving locks, Xylok, S&G 951, ...
I have: Swiss locks like Sea, Kaba and Keso, magnetic locks and some more :D
kilae
 
Posts: 58
Joined: 23 Nov 2005 7:24
Location: Switzerland (SG)

Re: Home Made Key for M.O.W. Padlock

Postby GWiens2001 » 15 Jul 2013 18:34

kilae wrote:Wow, nice! Thanks.
This is now on my list.
So many projects on my list, but only so little free time to do it! :cry:


Same here, kilae. That is one of the hazards of browsing here. Keep finding more locks I want, more projects to attempt, but can't seem to find more time to do them all. :-)

Gordon
Just when you finally think you have learned it all, that is when you learn that you don't know anything yet.
User avatar
GWiens2001
Site Admin
 
Posts: 7550
Joined: 3 Sep 2012 16:24
Location: Arizona, United States

Re: Home Made Key for M.O.W. Padlock

Postby GWiens2001 » 23 Nov 2013 22:40

Updated MOW padlock key.

Have finished trying various things and finally come up with a 'final version' of key for the Ministry Of Works padlock.

Image

The first key I made for this thread - an aluminum, steel and brass key used tubes and whatnot due to my trying out various ideas to make a key. Now that I understand how the key is supposed to work, the final key is much simpler.

The shaft of the key is 3/16" (about 4,5mm) diameter solid brass stock. The key bow is made from 5/16"x1" (8x26mm) rectangular solid brass stock. The pivot pin is 1/16" (1,5mm) diameter brass rod and the flag is a wiper insert.

First measure for the location of the hole in the key bow.

Image

Use a center punch to make a divot so your drill bit will not wander when starting to drill.

Image

Image

Use tape to mark the depth of hole.

Image

Image

Now start to drill the hole. Use your smallest drill bit at the start - unless you have a drill press, the drill bit will want to grab and pull the soft brass, throwing off your hole and distorting your metal. Drill the hole only about 3/16" (4,5mm) deep to start...

Now put in a drill bit the same size as the hole you are drilling. This is how you check that the hole is straight. You don't want to drill and get to the last size drill bit and find yourself drilling out the side of the key bow. If it is a little off, it is easy to fix at this stage.

Image

Use the length of your metal stock to check how straight the hole is, too.

Image

Perfect! Now drill until you reach the tape using the smallest drill bit:

Image

Work your way through all the sizes of drill bits until you reach the final diameter.

Now check the fit and straightness of the hole using the key shaft stock.

Image

Both ways...

Image

Draw your key bow shape and start to cut it out with a hacksaw.

Image

Image

Image

Use a file to clean up the shape and bevel the edges. NOTE: Do not use a file to bevel the edge directly around the hole for the key shaft. That will be taken care of later.

Image

Image

Now for the sandpaper. This is used for final shaping, rounding edges, and yes, polishing. I used 220, 320, 400 and 600 grit sandpaper.

Image

Work on sanding the edges and corners first. It helps to place a pad or piece of cloth under the sandpaper to help make smoother curvature on the edges.

Image

Sand in the same direction with a single grade of sandpaper. Change sanding direction with each change in sandpaper grit because it will make all the previous sanding marks stand out until they are entirely gone.

Image

After the corners and edges are done for each grit, sand the flat edges. Then you are ready for the next grit.

Image

Remember to change sanding directions with each grit change.

Image

Image

Each side on either side of the hole are sanded with a different grade, and you can see the different directions.

Image

Ended with 600 grit sandpaper, but looks fairly decent.

Image

Let us change the angle so you can see one of the sky lights in the shop.

Image

Use the same methods to make the flag from wiper insets same as the first key.

The case the key is in is not really that fancy. But not bad for cardboard and electrical tape, with paper towel lining to keep the key from being scratched.

The measurements are in standard, not metric measurements, and too tired now to convert. Or even to type them out.

Image

Gordon
Just when you finally think you have learned it all, that is when you learn that you don't know anything yet.
User avatar
GWiens2001
Site Admin
 
Posts: 7550
Joined: 3 Sep 2012 16:24
Location: Arizona, United States

Re: Home Made Key for M.O.W. Padlock

Postby fgarci03 » 24 Nov 2013 8:10

Gordon,

Thank you for posting this!
I really enjoy reading yout tutorials and the advice they generate. Your tips about using a cloth to sand, or the tape on the drill bits is very ingenious!

Now check the fit and straightness of the hole

Do I need to say anything?? :twisted:
Go ahead, keep plugging away, picking on me! You will end up on bypass or with rigor mortise.
- GWiens2001
fgarci03
 
Posts: 1009
Joined: 18 Dec 2012 21:38
Location: Porto/Portugal


Return to European Locks, Picks and Hardware

Who is online

Users browsing this forum: No registered users and 6 guests