OK, here goes...
First, as promised - the rivets:

These pictures are from the making of these picks:

First, make the picks how you normally would. You don't have to get a super fine finish on them at this point.

Drill some holes in them:

I drilled 4 equally spaced #40 holes.
For the next couple steps, you will need some clecos. You could use clamps, but clecos are better since they actually go inside the hole - they will make sure the holes stay lined up.
Cleco pliers:
http://browntool.com/Default.aspx?tabid ... uctID=1902#40 (3/32) standard length clecos:
http://browntool.com/Default.aspx?tabid ... uctID=1881#30 (1/8) standard length clecos (they show a #40 cleco in the picture, don't worry about that):
http://browntool.com/Default.aspx?tabid ... uctID=1882#30 (1/8) 1/2" grip cleco:
http://browntool.com/Default.aspx?tabid ... uctID=1894I have a bunch of 1/2" grip #40 clecos too, but it doesn't look like the sell them there. The 1/2 grip ones come in handy when you're working with thicker metal. The standard ones will be fine for about 5/16" and under thicknesses.
Clecos are color coded for their diameter:
3/32-Silver, 1/8-Copper, 5/32-Black, 3/16-Gold, (then the colors start over) 7/32-Silver, 1/4-Copper, 5/16-Black, larger than that and they're pretty much always black.
Drill the holes into your aluminum, then trace the outline of the pick:

Repeat for the other side.
Cut that out on the band saw.
After you have the rough cut done, cleco it together:

OK, I got on a roll or something after that and forgot to take pictures of the next few steps. Next time I make a pick, I'll get some pictures of these steps, because they are probably the most important ones.
You'll need some sort of grinder now. What I do is grind the aluminum down to the pick, but only at the end where the pick shaft sticks out. Grind it down till you get to the pick material, then take it apart, cleco it back together without the pick in there. Now sand the end down and round it off - you don't have to get it super smooth, you're just making it so that both sides are even where the pick protrudes.
Now, I countersink the holes on both halves of the handle. Countersink the 'outside', and deburr any holes that aren't countersunk. Actually, it's easier if you countersink it before you cut them out on the band saw.
My deburr:

My countersink (microstop):


You can use a bedurr to countersink too, it's just not as precise. With the microstop, you can adjust the depth of the countersink in .001" increments.
Now, I shoot everything together. A hammer and some sort of steel block/anvil will work fine for this. The rivets don't have to be pretty - just make sure that the bucktail (the end you will be hitting with the hammer) fills the countersink. When you countersink the aluminum, make them so that the head will be a little high, not perfectly flush. That is just to make sure that the head markings (to identify the material it's made from) are completely removed when the whole thing is sanded down.
Now you're basically just going to do a ton of sanding - it'll get hot, so you'll want something to quench it in nearby. I sand the edges down first, till you get to the pick material all the way around. Once you have the edges even with the pick, start rounding all the corners off and shaping everything.
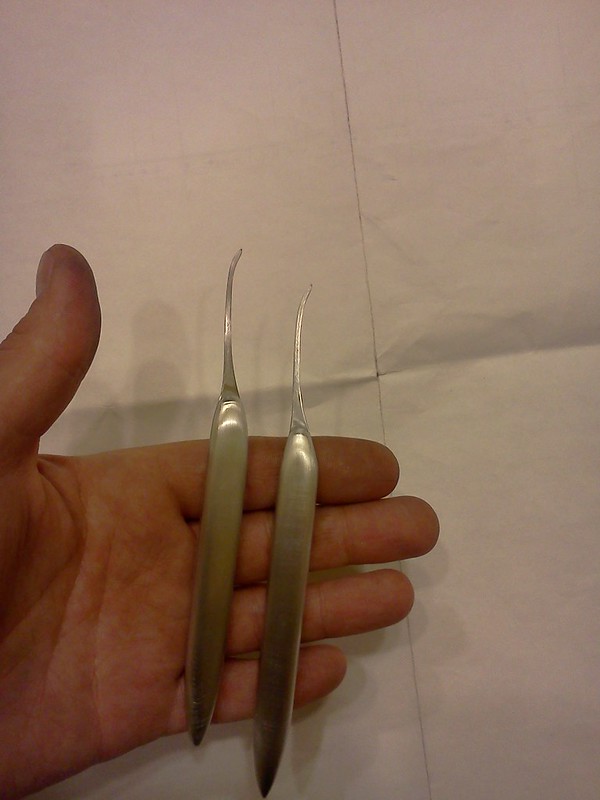
Just keep rounding everything off, after a while you'll get to a point that you can switch to sandpaper by hand. After a while, you will have this:

Here, they are pretty much ready for polishing. For the polishing, I start out with a Dremel and a buffing pad with some polishing compound on it. I do that till all the scratches and stuff like that are gone. Once I'm happy with that, I polish by hand. I prefer Flitz polish.
I'll try to remember to get the missing pictures next time I make a pick.
