


A little slow at work this afternoon, so thought it might be good to make a quick tutorial on impressioning a warded padlock.
A simple warded lock is the easiest impressioning job you can try. The parts that will make the marks will not move. Either they are there or they are not.
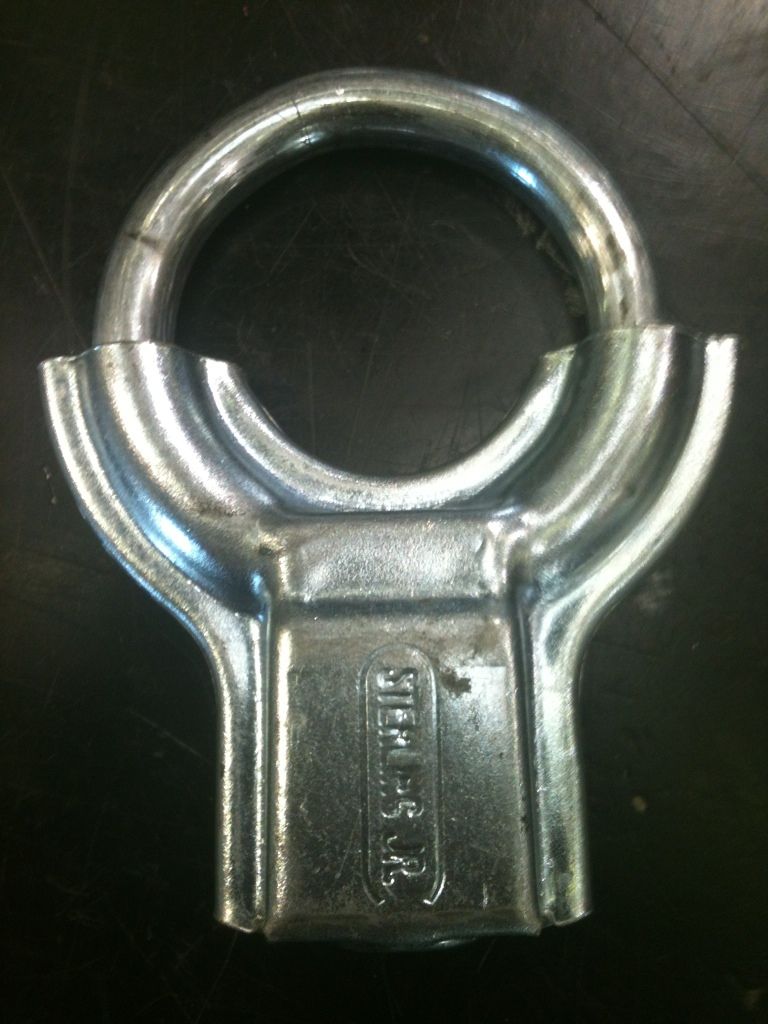
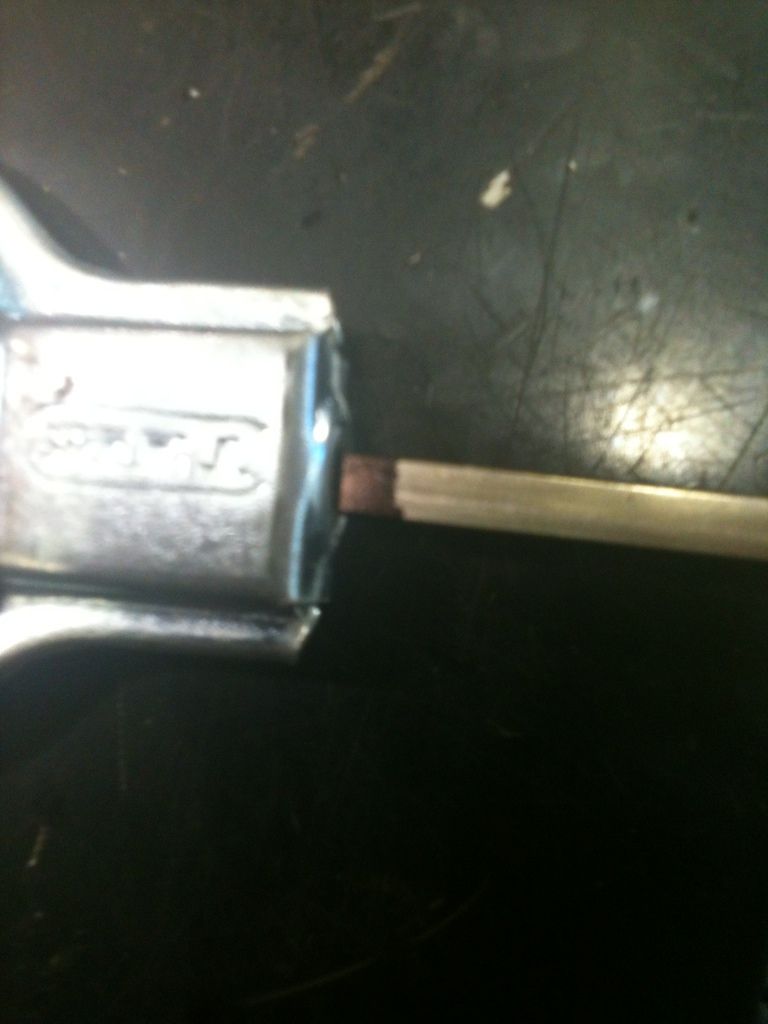
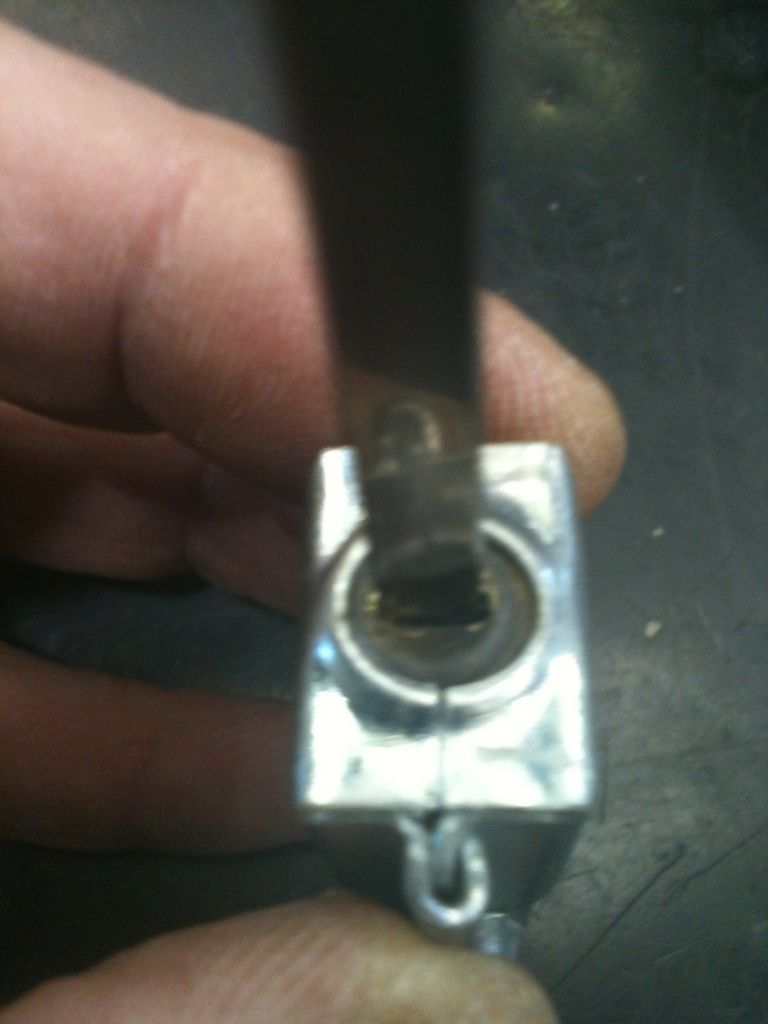
Using a Sterling Jr padlock, as had one handy.
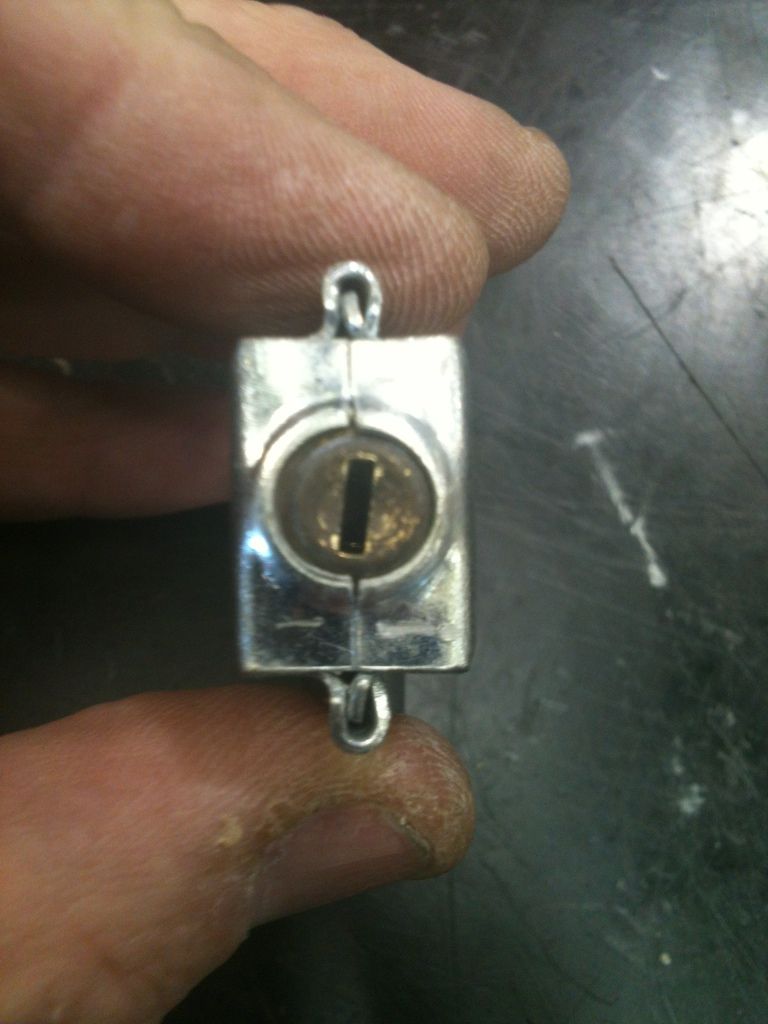
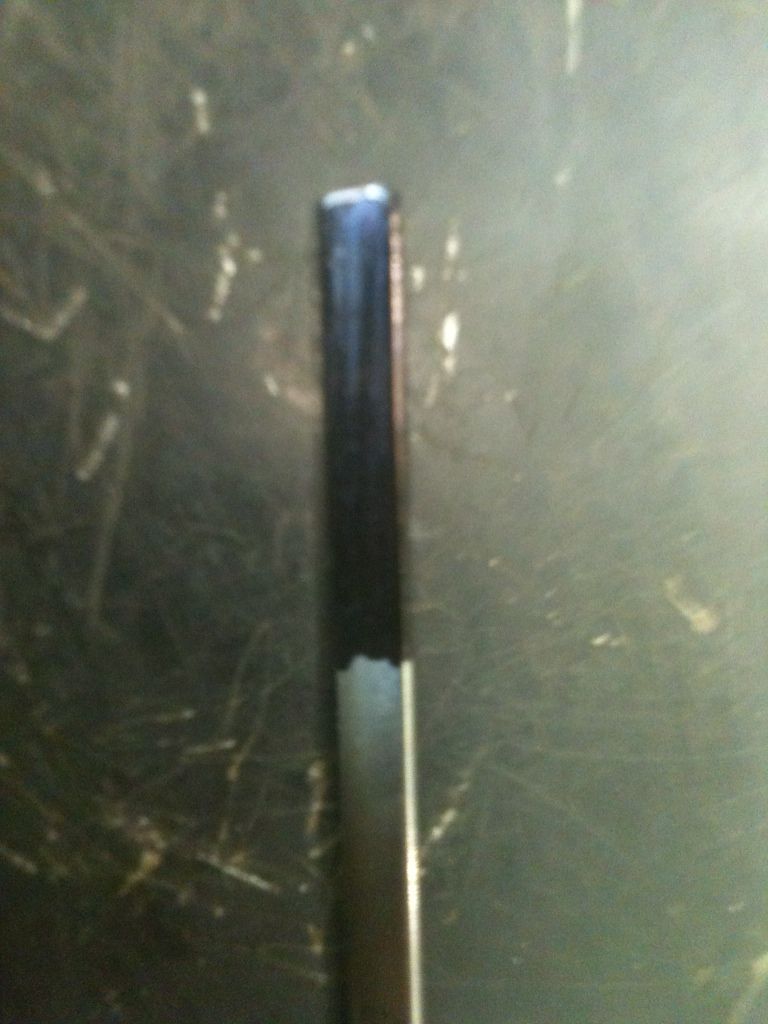
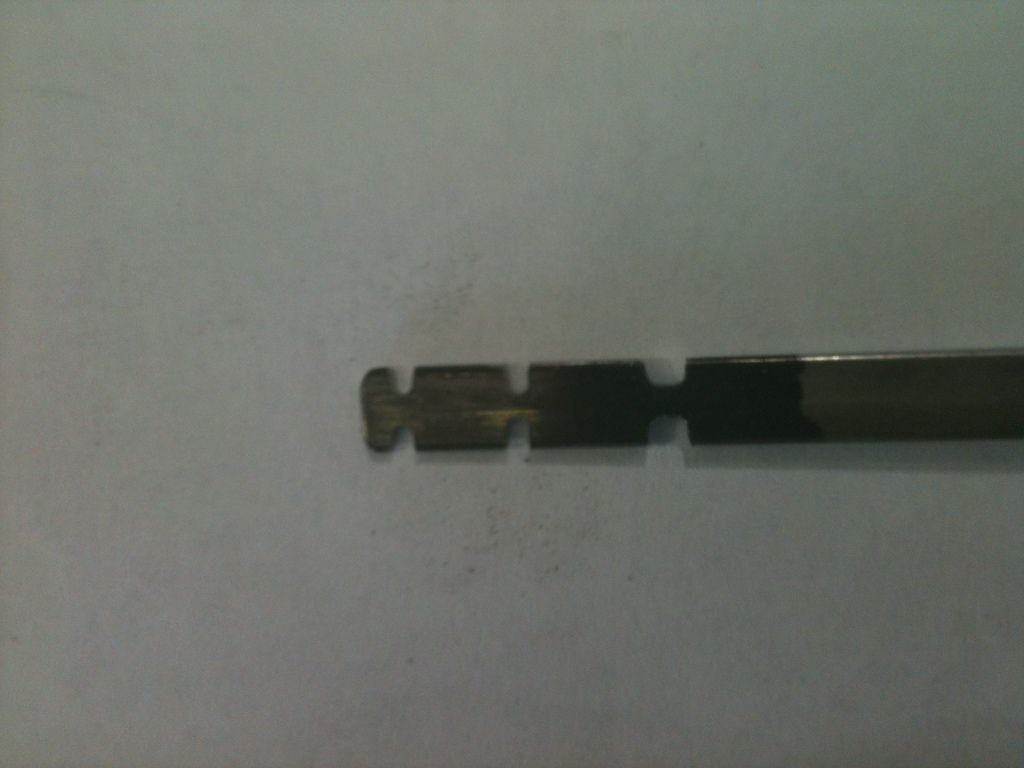
The key is just a flat piece of steel, so it will be easy to show the marks. Here is the keyway:
The parts and tools needed are few. Flat steel of the appropriate width and thickness (in this case, a wide wiper insert spring), a marker, and a file that can cut with the edge.

You can speed things up a little if you like:

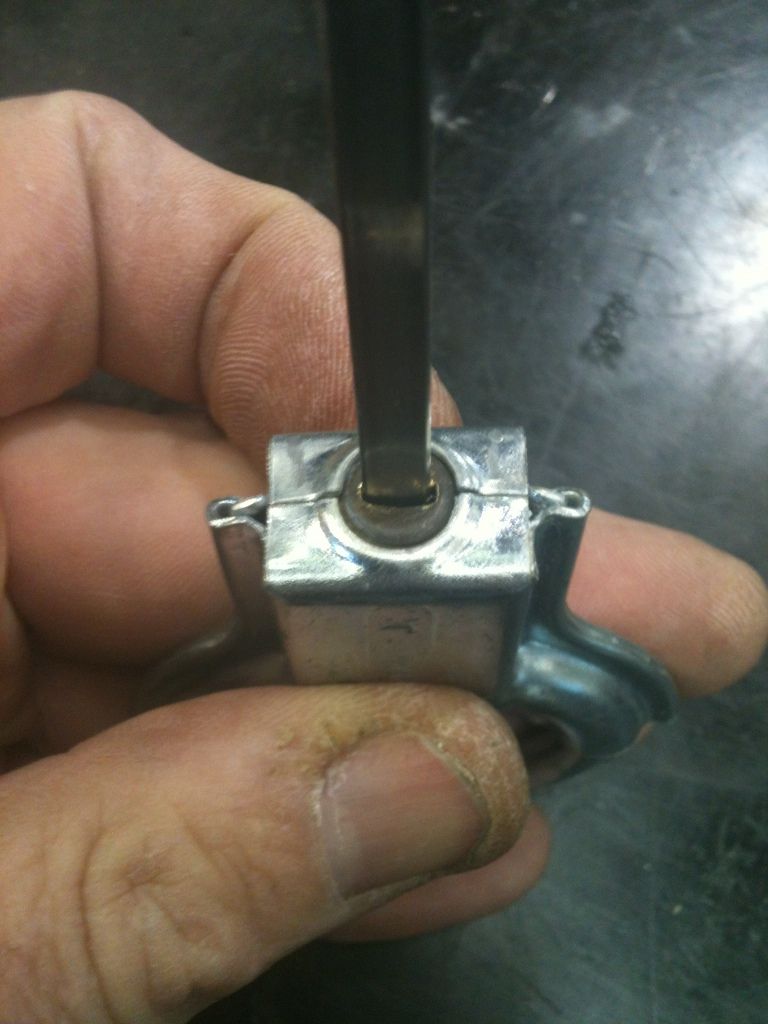
Make sure your key blank fits.
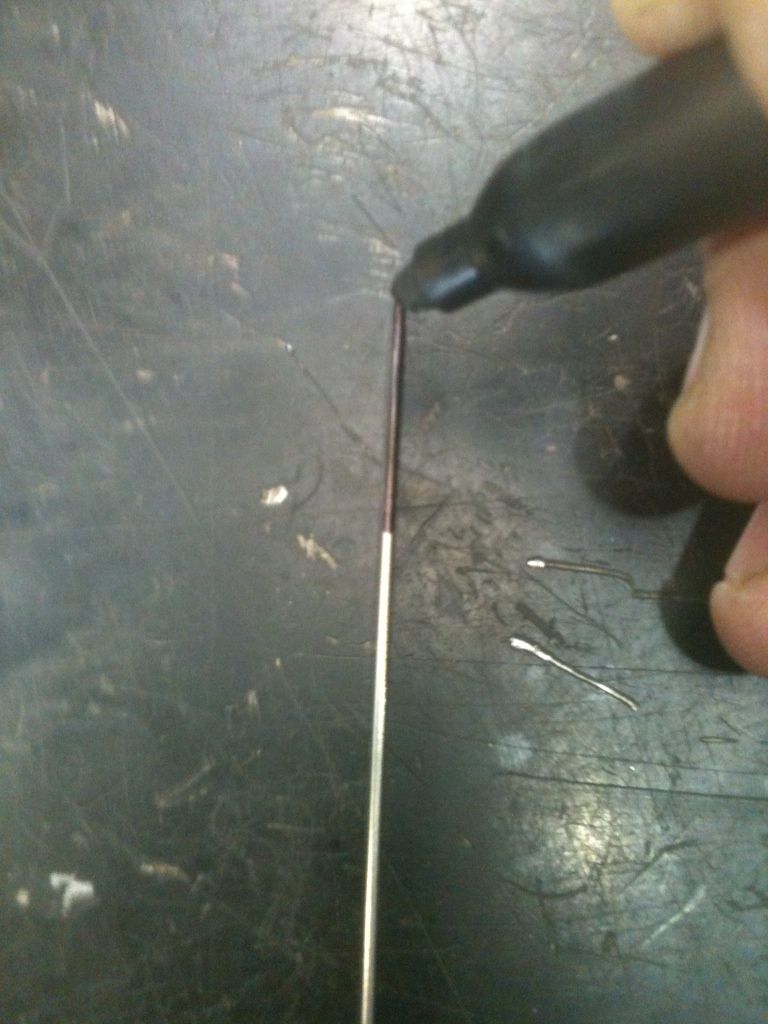
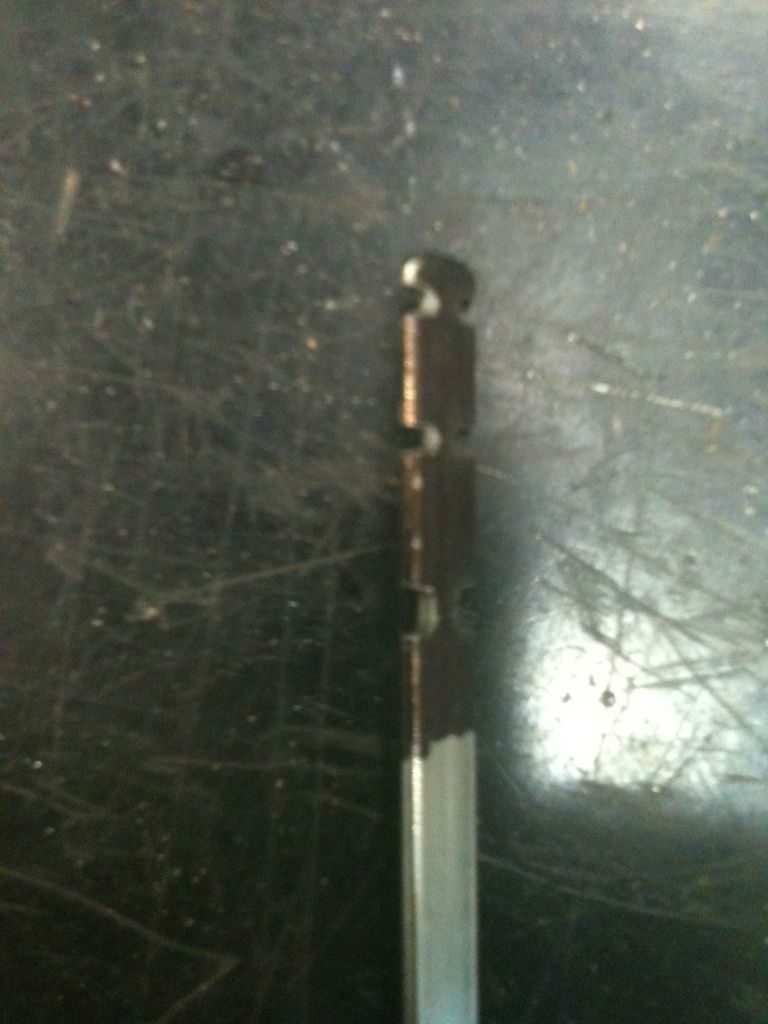
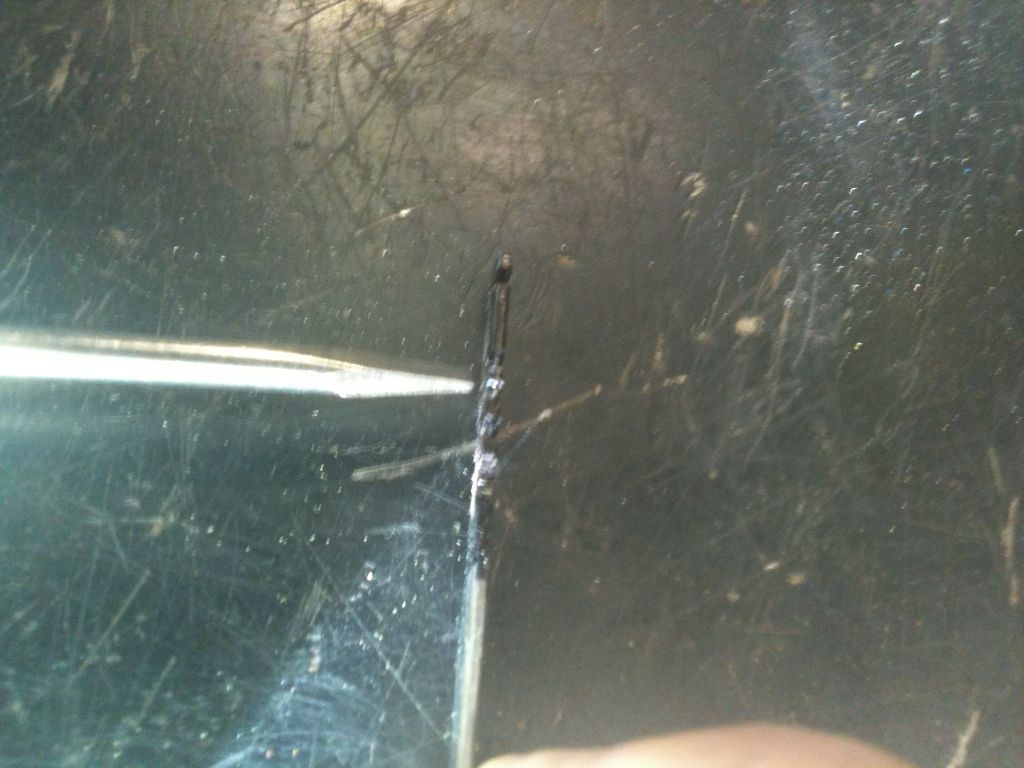
Use the marker to darken the entire part of the blank that fits into the keyway that might possibly encounter a ward. Since this is a dual sided key, will simply mark all of it.
Put the blank into the lock, turn it until it stops turning. Keeping tension on the blank, move it up an down (in line with the keyway, not in and out) a few times.
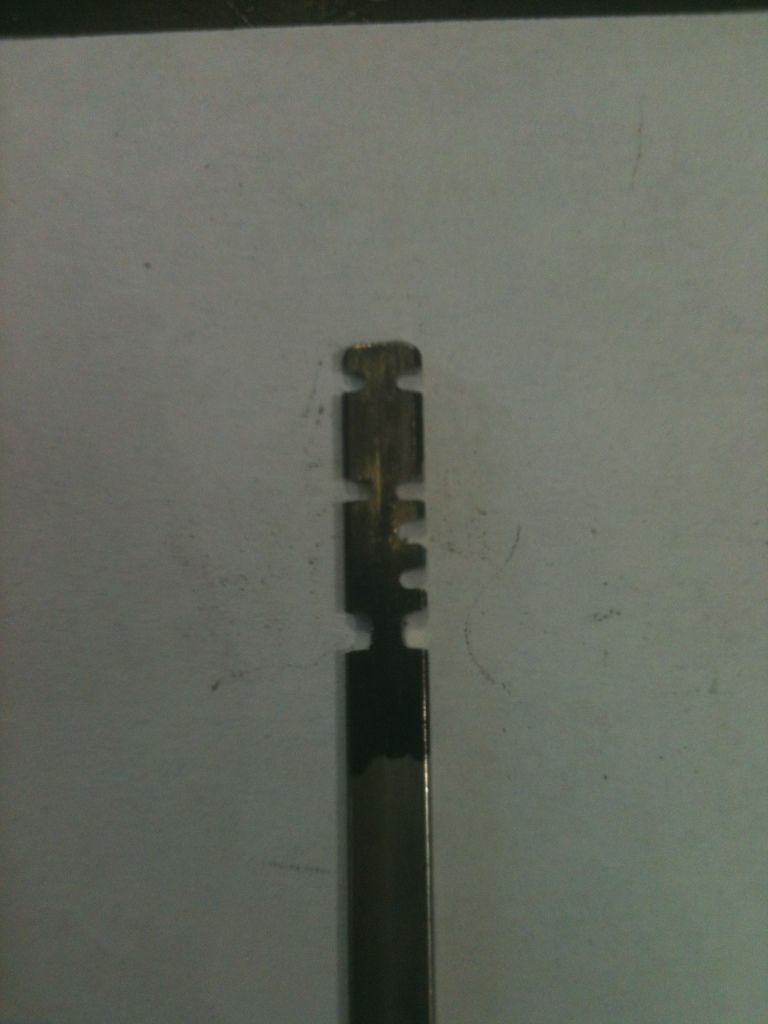
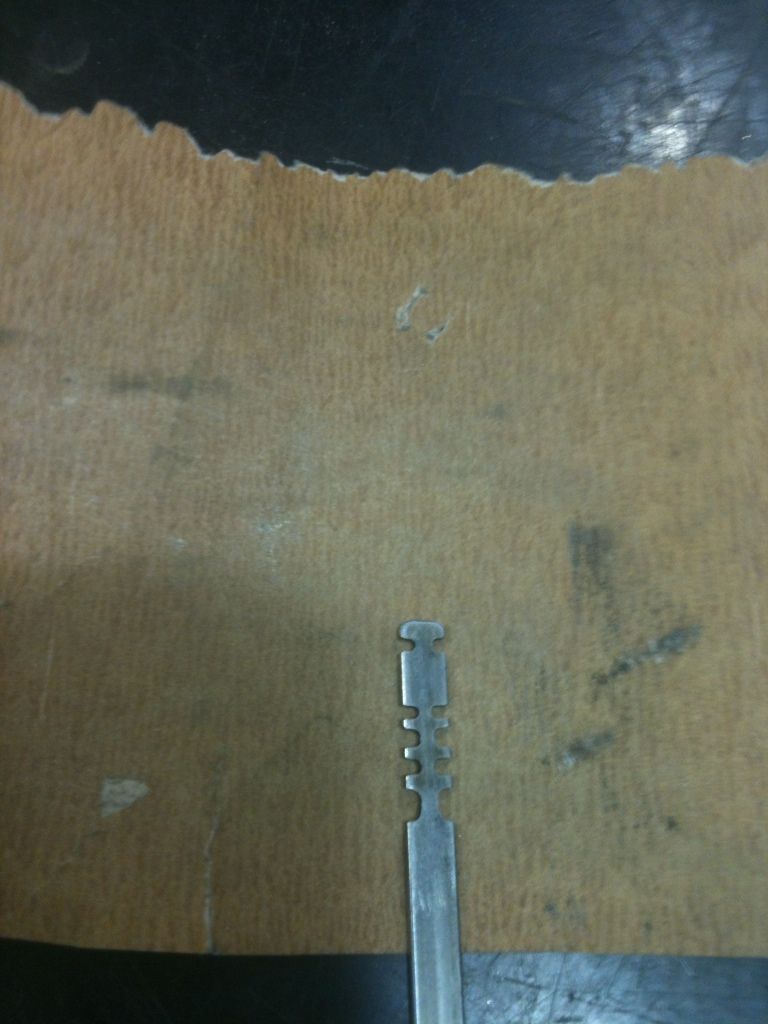
Remove the blank and examine for where the wards have rubbed off the ink. Fast forwarded here and made a key, then made a second blank, so with the finished key alongside the blank just marked, you can see the marks more easily.
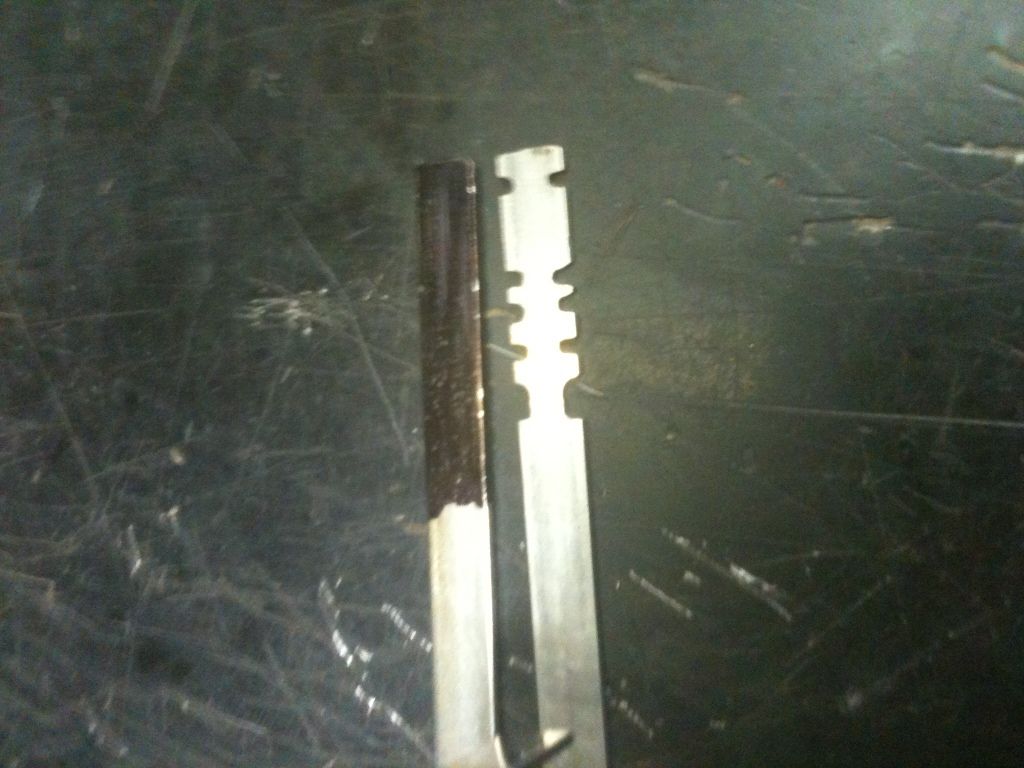
Note that not all of the wards left a mark. This is normal. File down where you see marks.
Since this is a dual sided key, copy the cuts on the other side.
Re-ink the key blank, insert, turn and wiggle, remove and re-examine. (fgar... oh, never mind.
Two more in the lower middle section.
Duplicate your cuts to the other side.
Retest...
So close, but not quite. Only one tiny bit to go. File and retest.
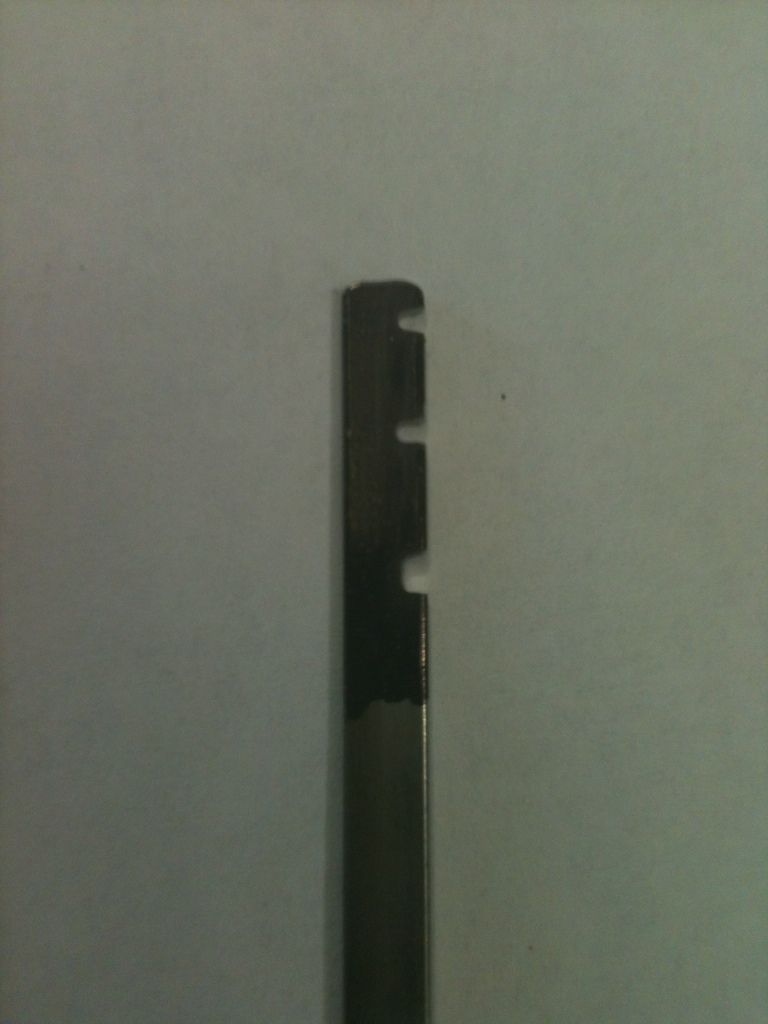
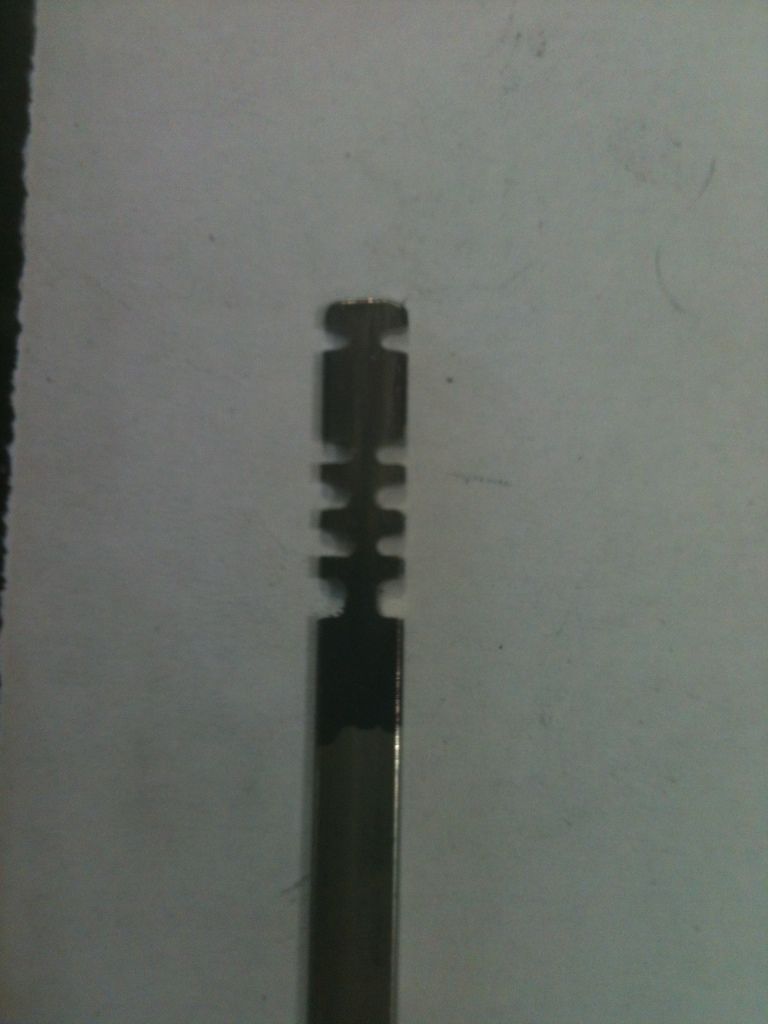
Success!
Clean off the ink and lightly sand the cuts to remove the sharp edges. Just like sanding your picks to remove sharp edges, this will help the key work a bit more smoothly.
Finally, good luck!
Gordon


