


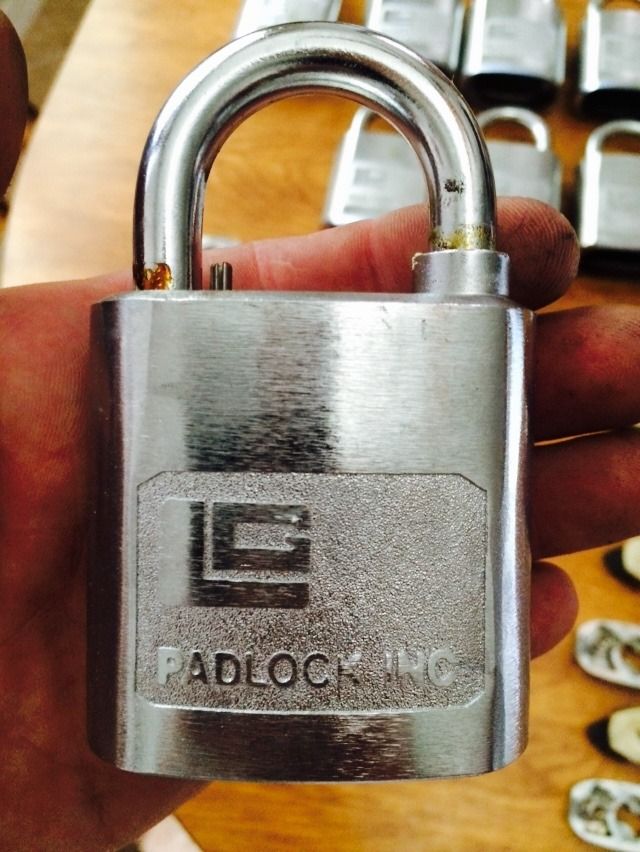
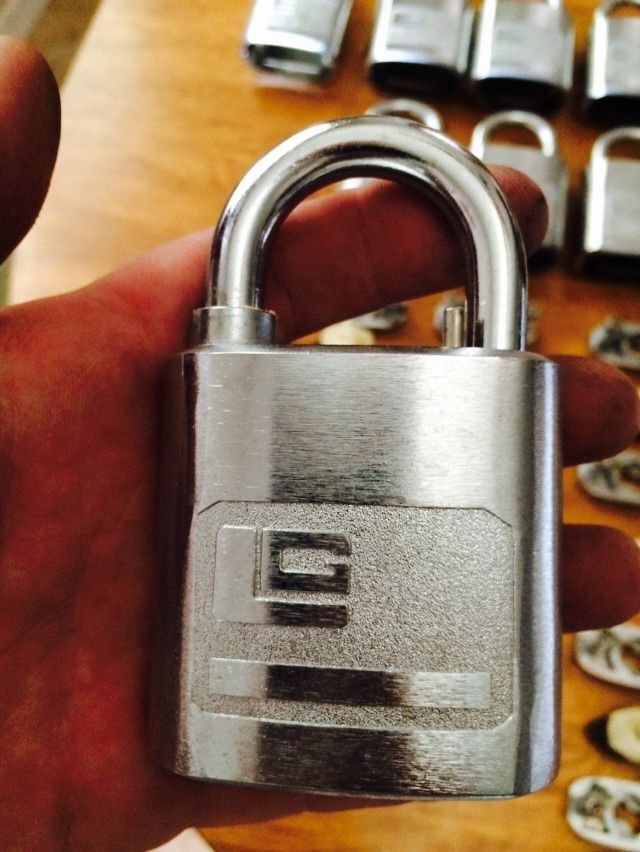
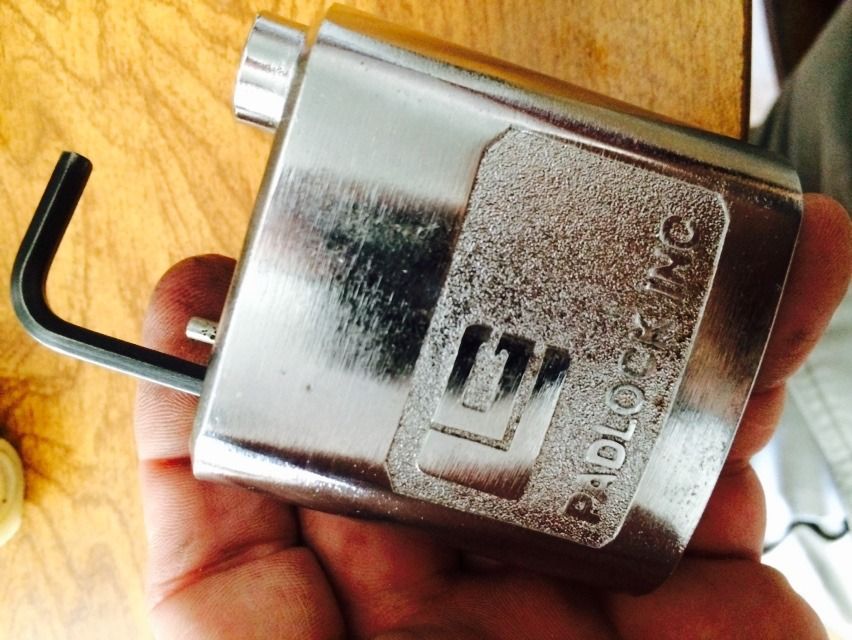
Here is what they look like.
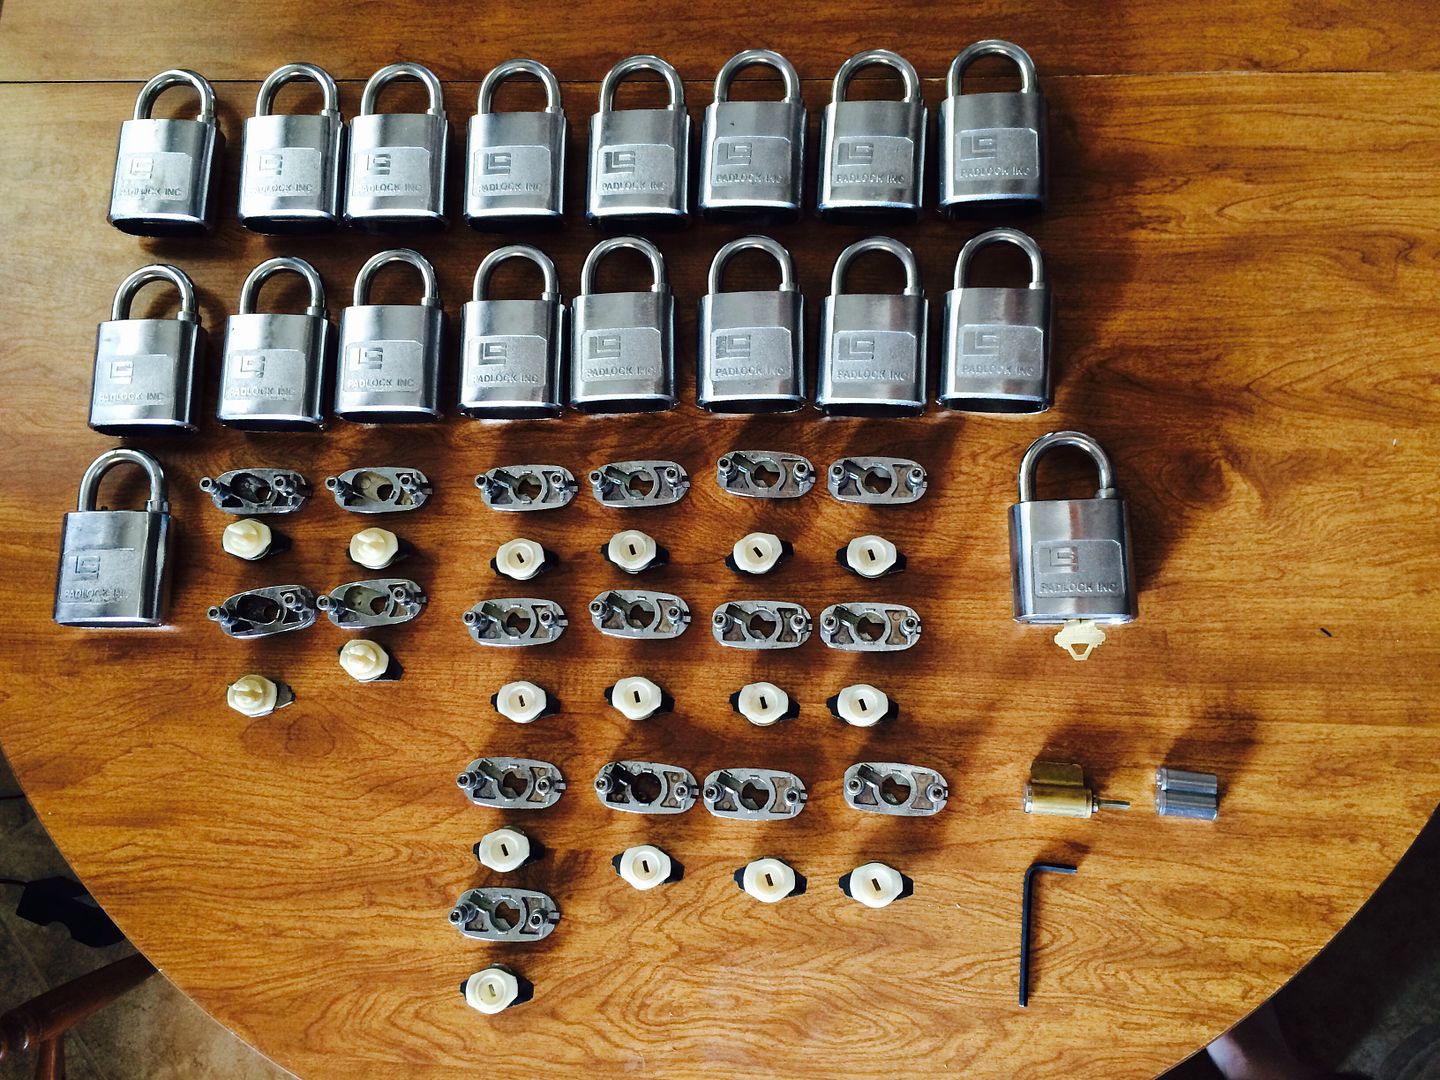
There are two versions of this lock, but the lock bodies and shackles are all the same.
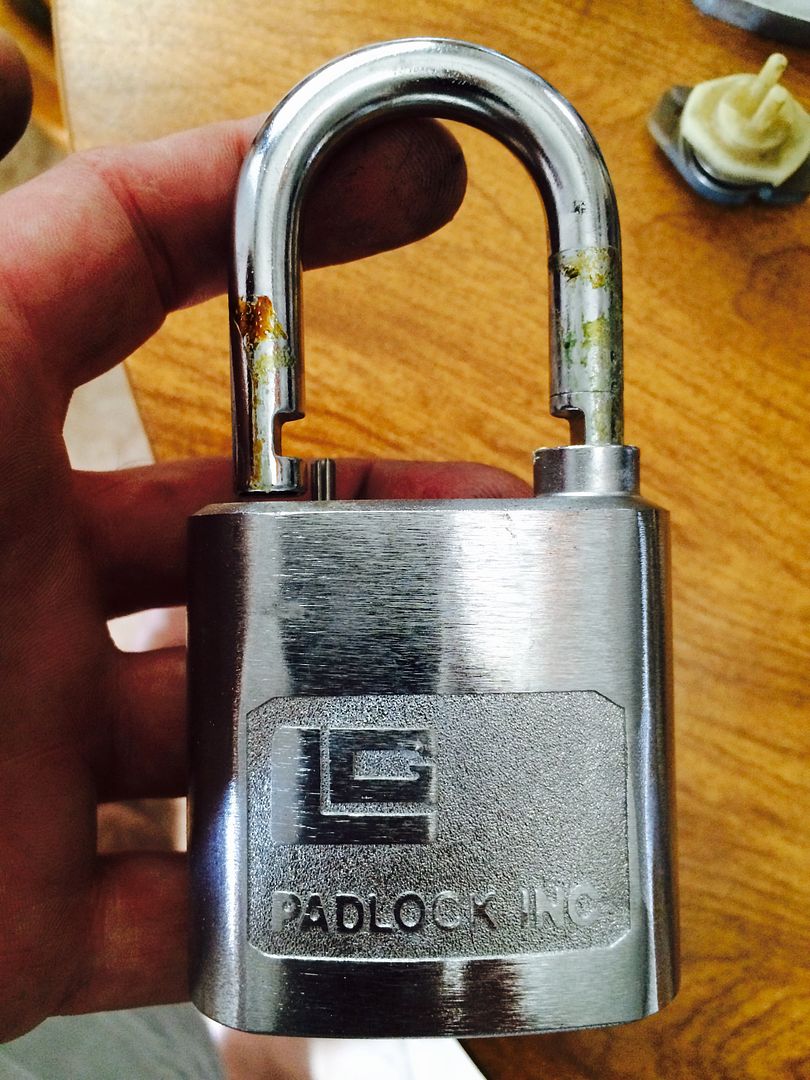
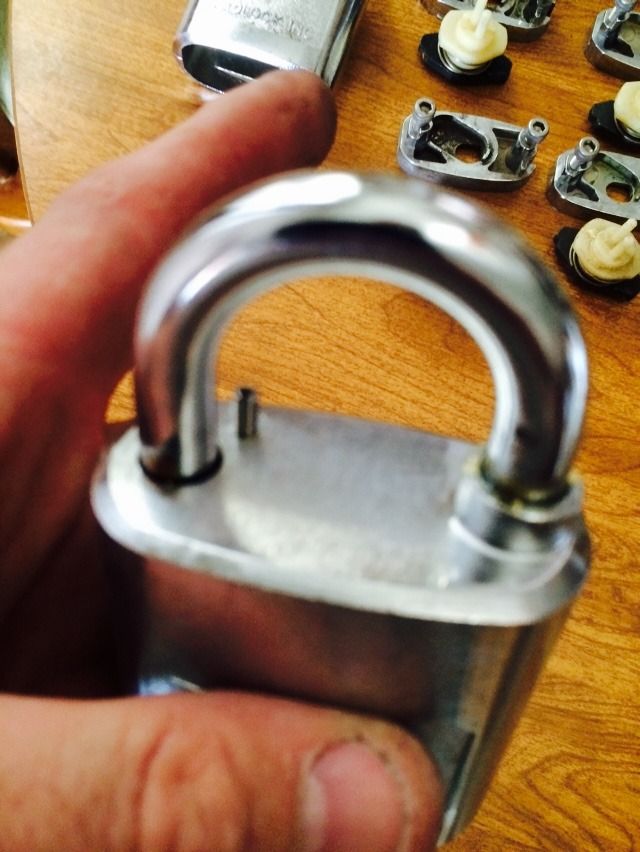
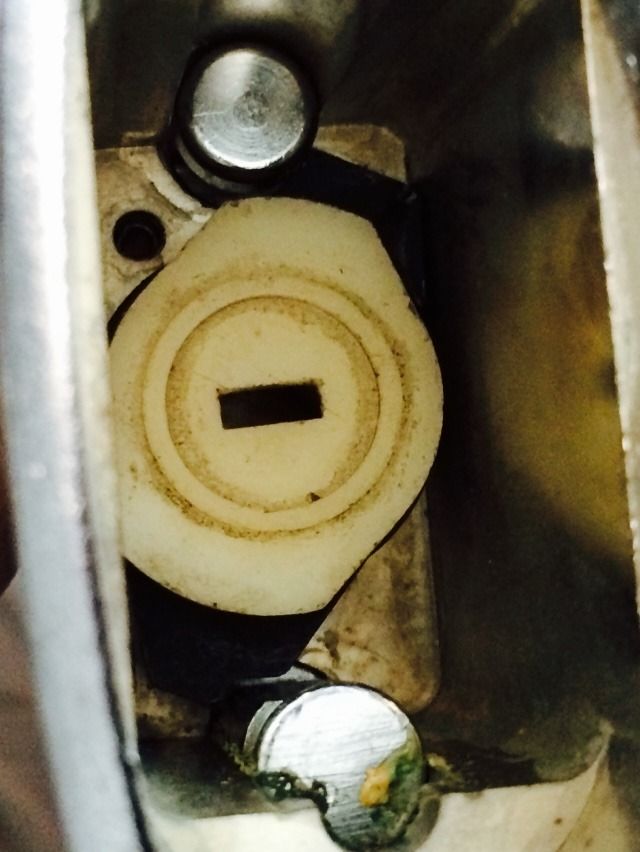
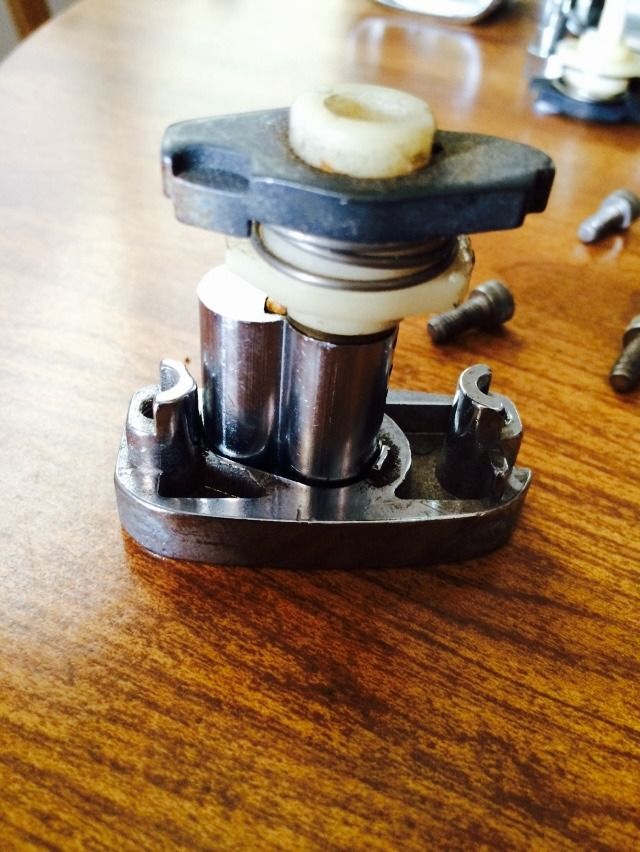
View of the top. Note the roll pin that is up on the upper left, next to the shackle. We will cover the purpose of the roll pin later.
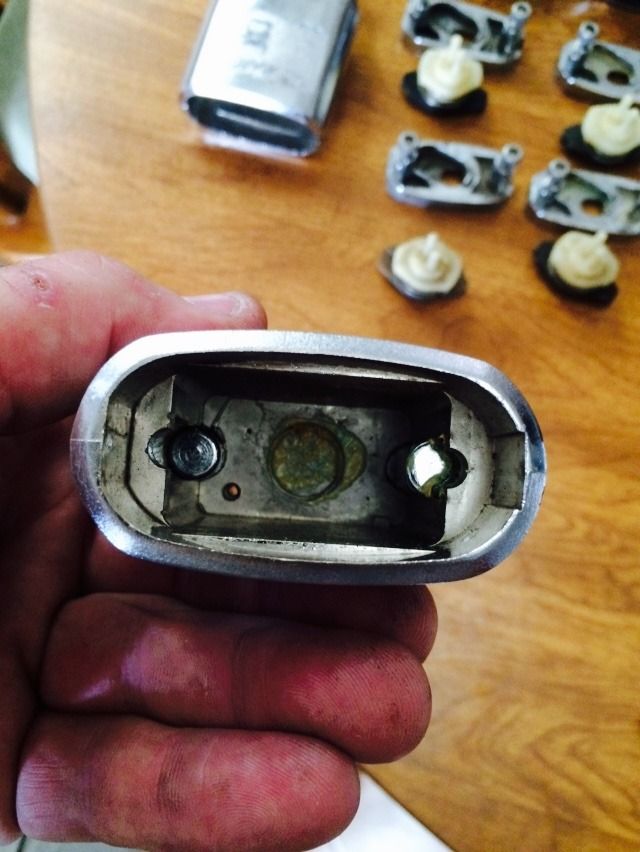
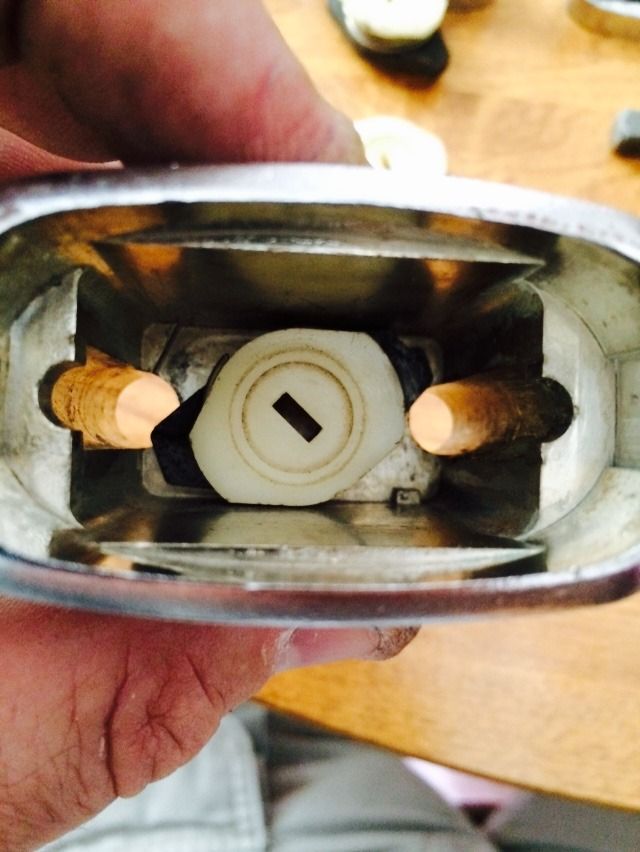
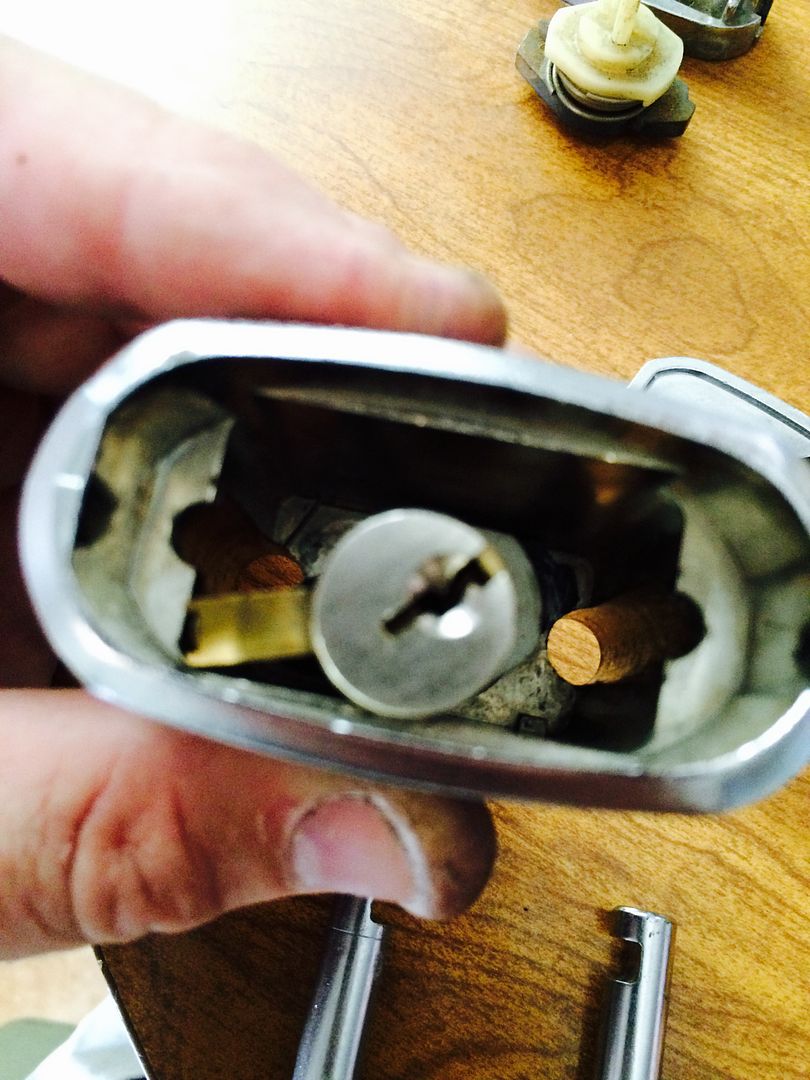
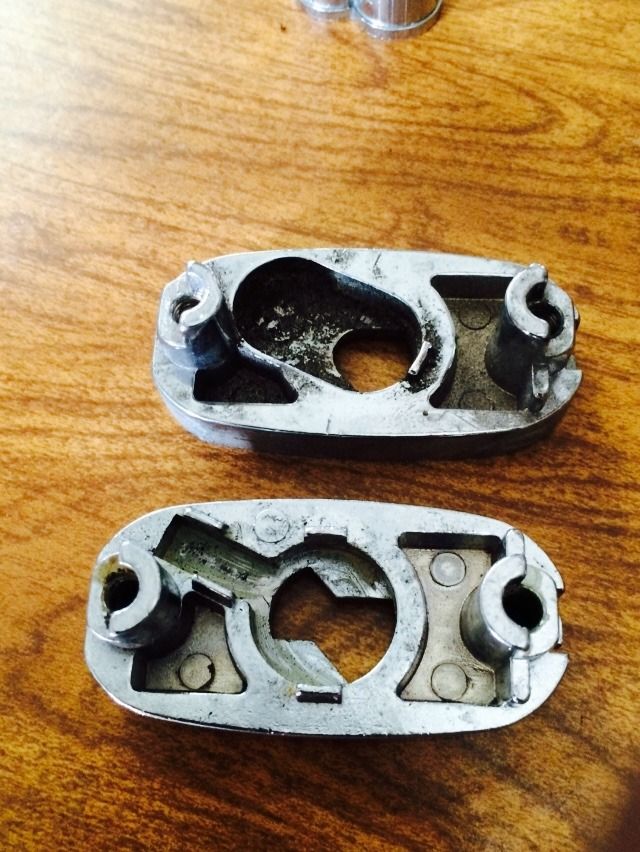
Inside the lock body:
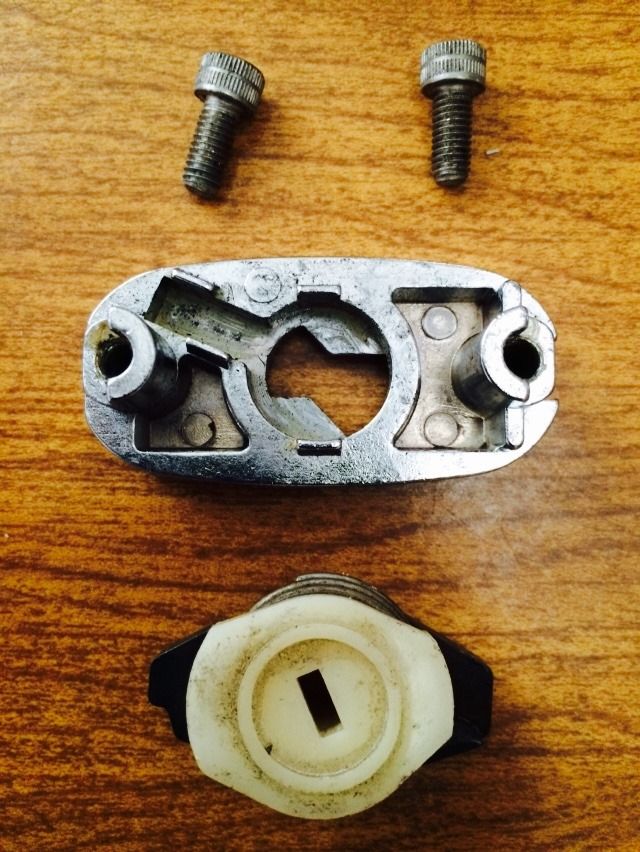
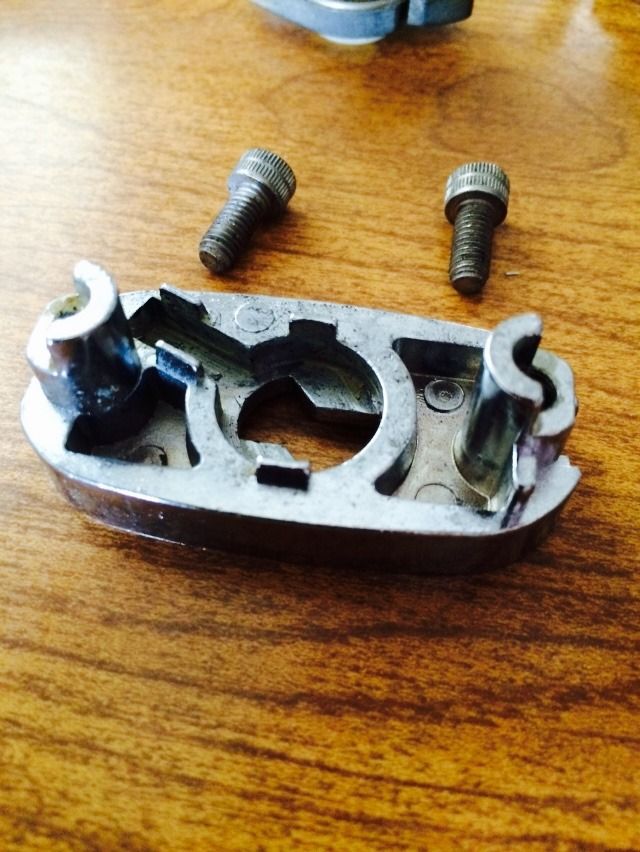
Here we have the remaining parts of the lock. The screws that hold the bottom plate, the bottom plate, and the cam/actuator.
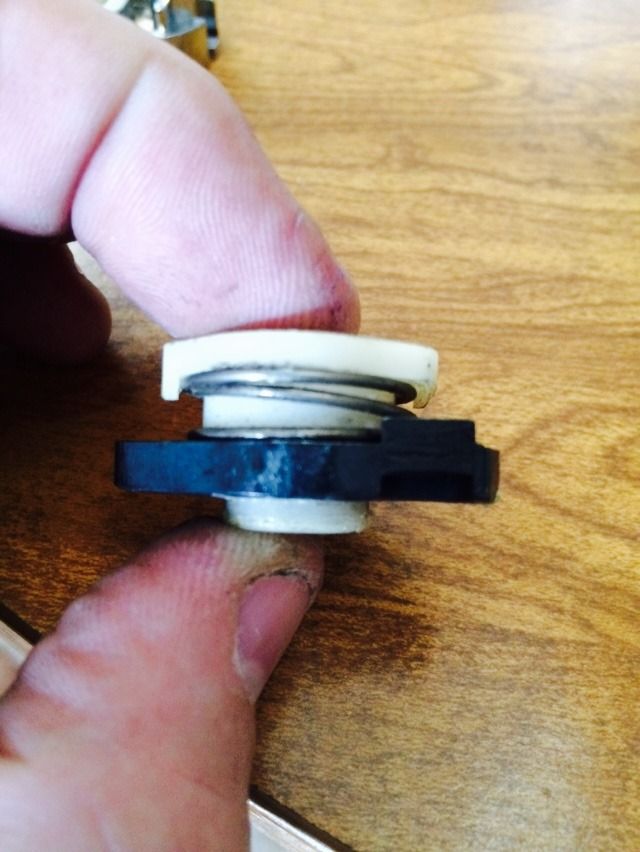
The side of the actuator (which also locks the shackle in place).
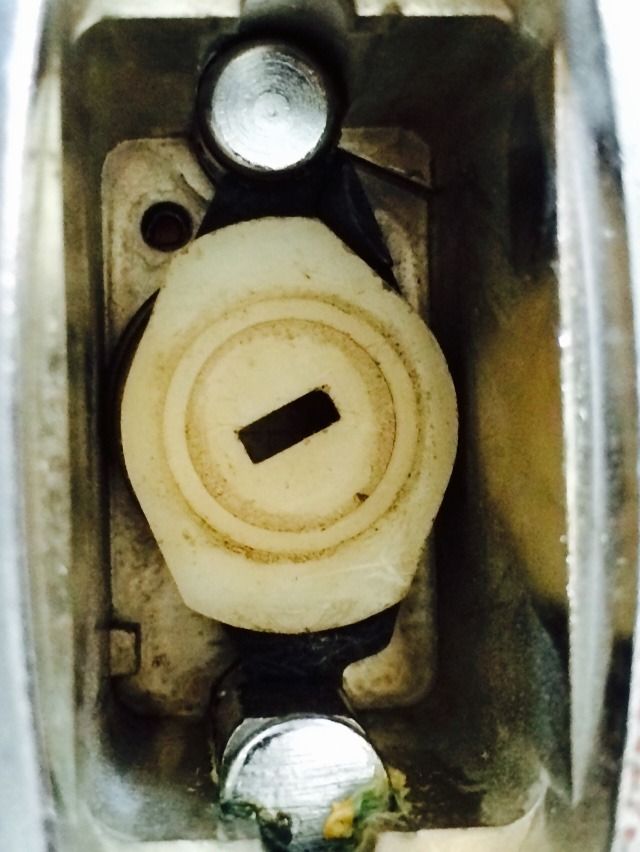
Seen from the top, you can see that this lock can not be shimmed open.
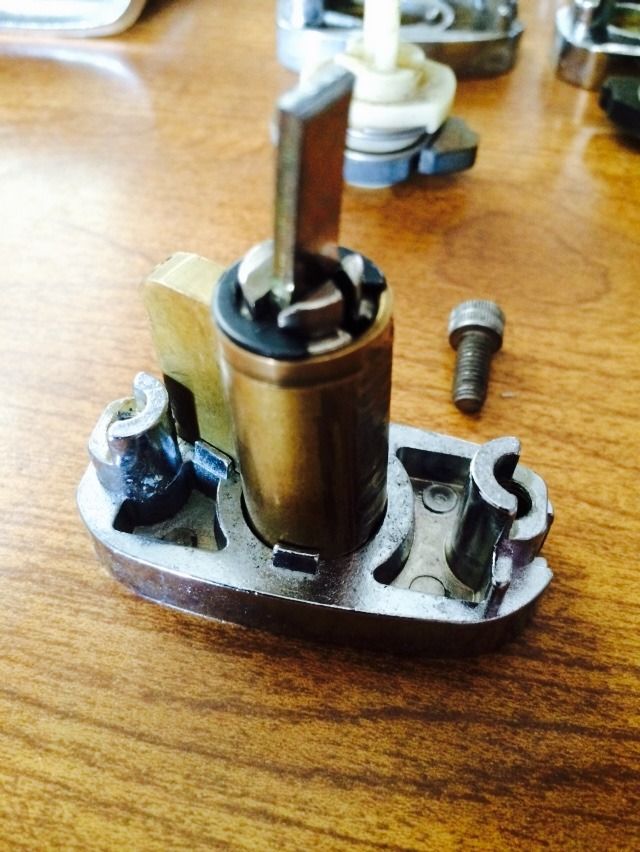
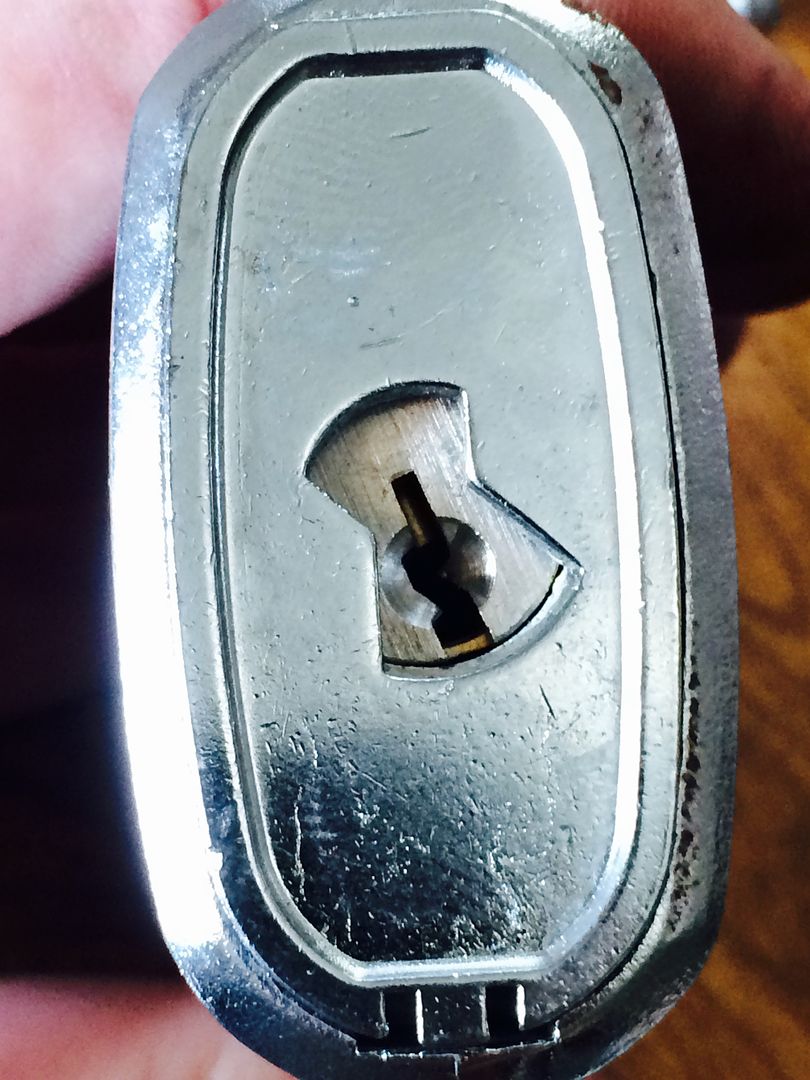
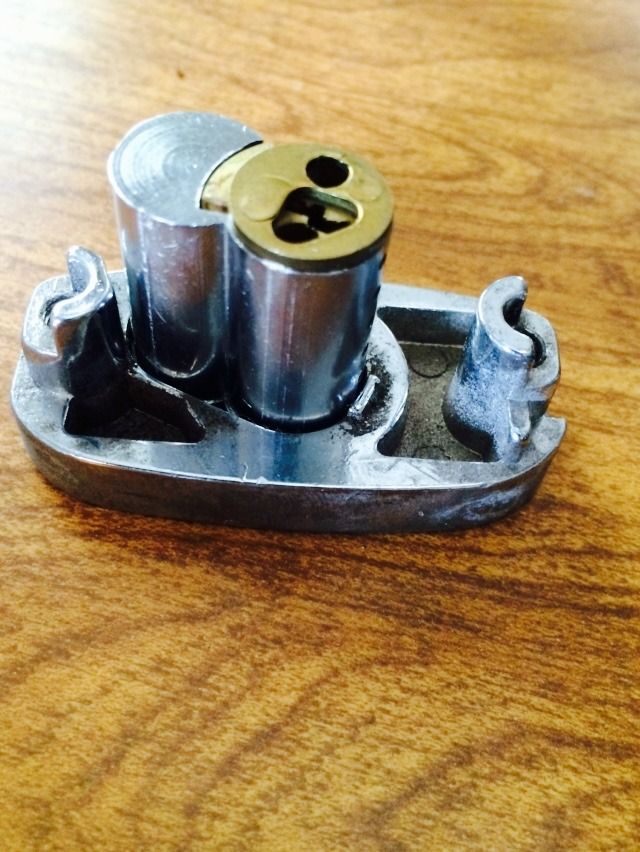
But there is one thing that is undoubtedly being asked by by all of you. Where is the lock cylinder? The answer that... YOU provide the lock cylinder. Here is the bottom plate.
Put in any KIK cylinder you happen to have handy.
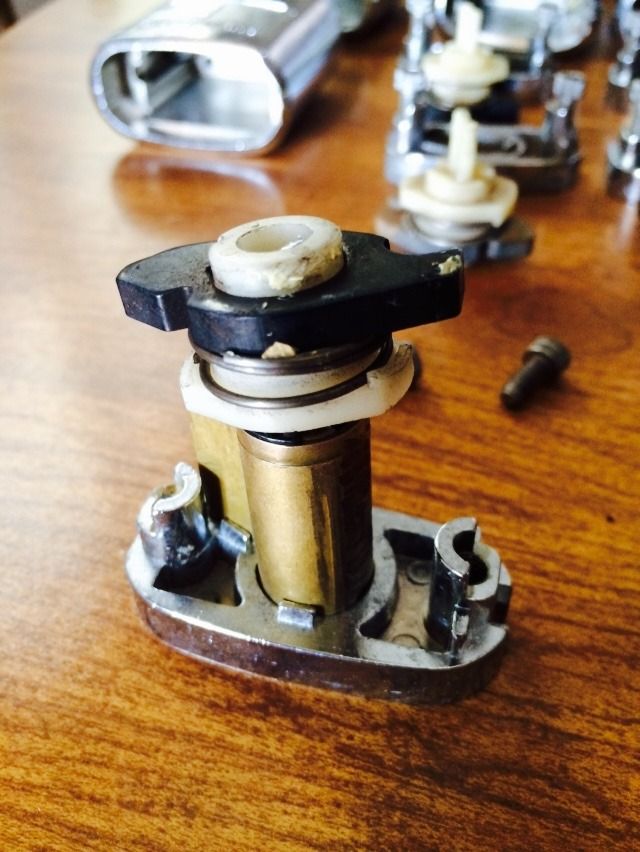
The cam/actuator then fits on the tailpiece of the KIK cylinder.
Inside the lock body, here is how the actuator looks in the unlocked position.
And in the locked position
OK, you likely are now impatiently wondering how to put this lock together. Well, suppose it is time to get with it before there is a riot.
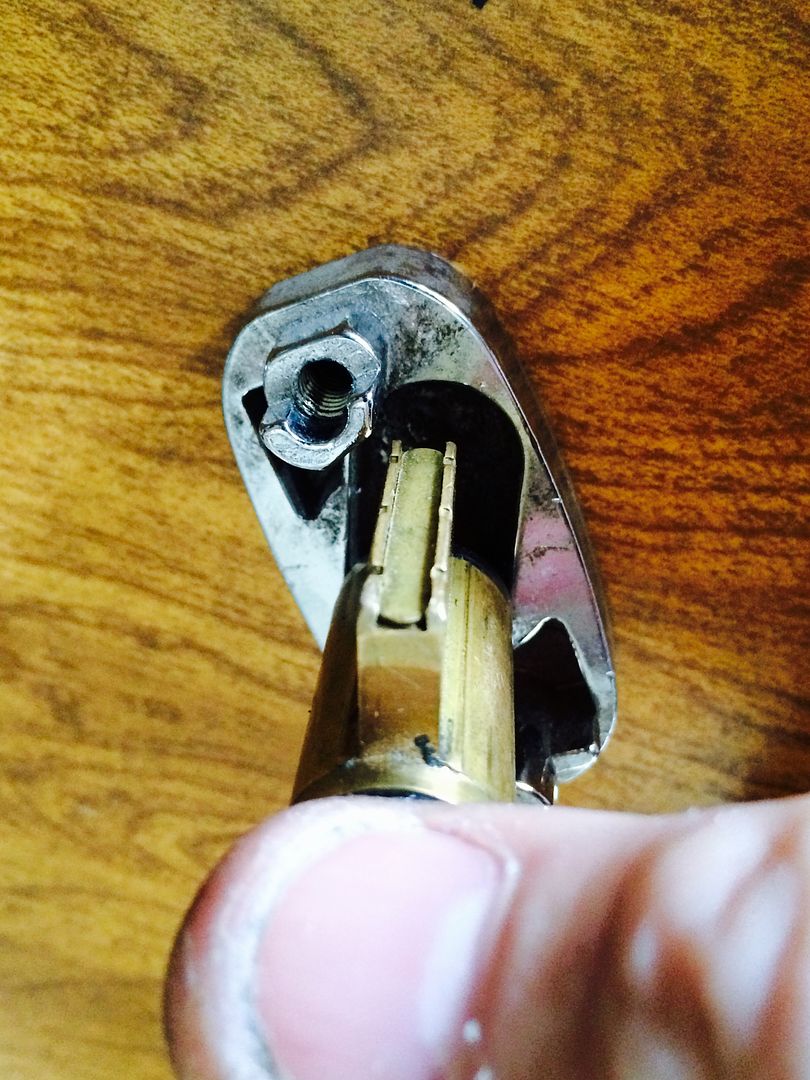
Here is the actuator set next to the lock body. Notice the notched area on the top right of the actuator. That will be located on the shackle heel side of the lock. The view you have of the actuator is the way it will be facing inside the lock body.
The lock actuator placed correctly in the lock body. The hole for the roll pin is covered by the actuator, but is located at the bottom left. The only clear shackle hole is on the right, and this is where the shackle heel will be installed later.
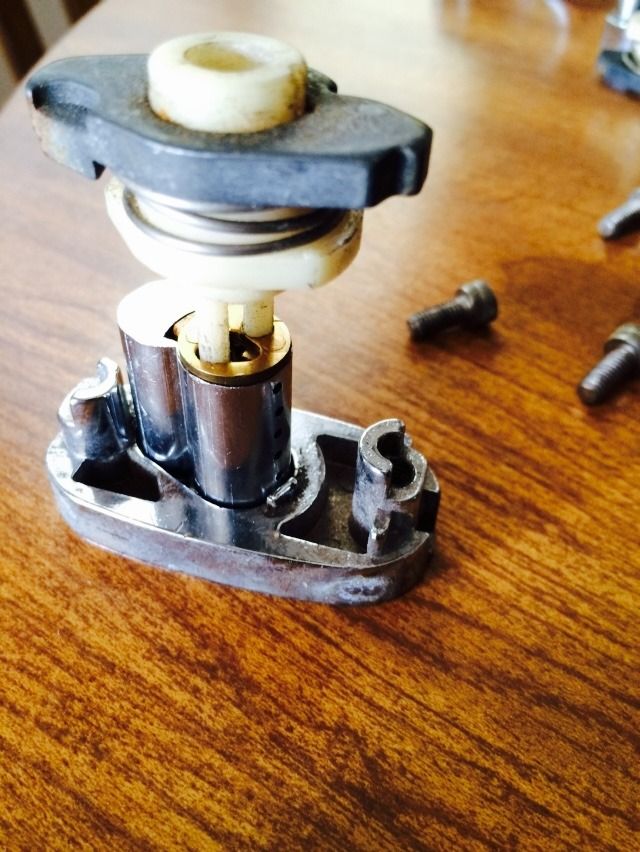
Install the KIK cylinder with the bible facing towards where the shackle toe will be located.
Put on the bottom plate. You will need to shift the KIK cylinder around as you install the bottom plate so it fits into the slot made for it in the bottom plate.
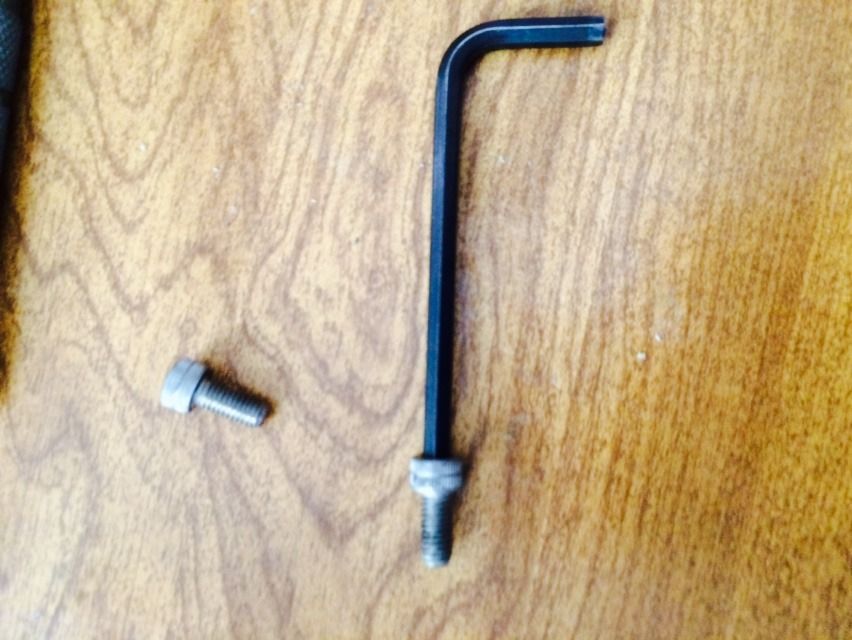
Now take a 4 mm allen wrench to install both of the screws through the shackle holes, securing the base plate, which in turn keeps the KIK cylinder in place.
You usually use the key to turn the plug back and forth as needed to position the KIK cylinder. You will also need to turn the plug/actuator once the shackle has been installed.
What??? You assume that the closest KIK cylinder to me at the time these pics were taken has a key?
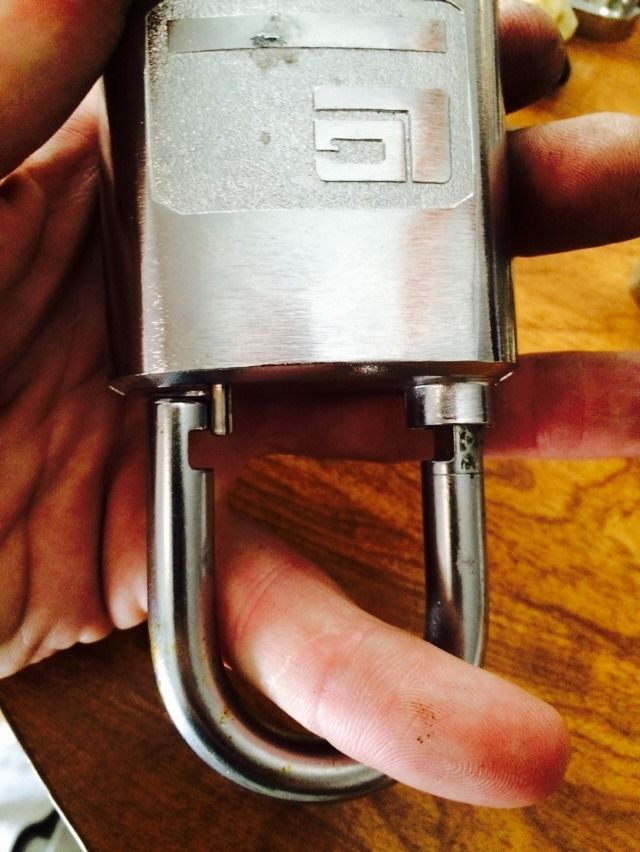
OK, time to put the shackle in place. Here is the shackle.
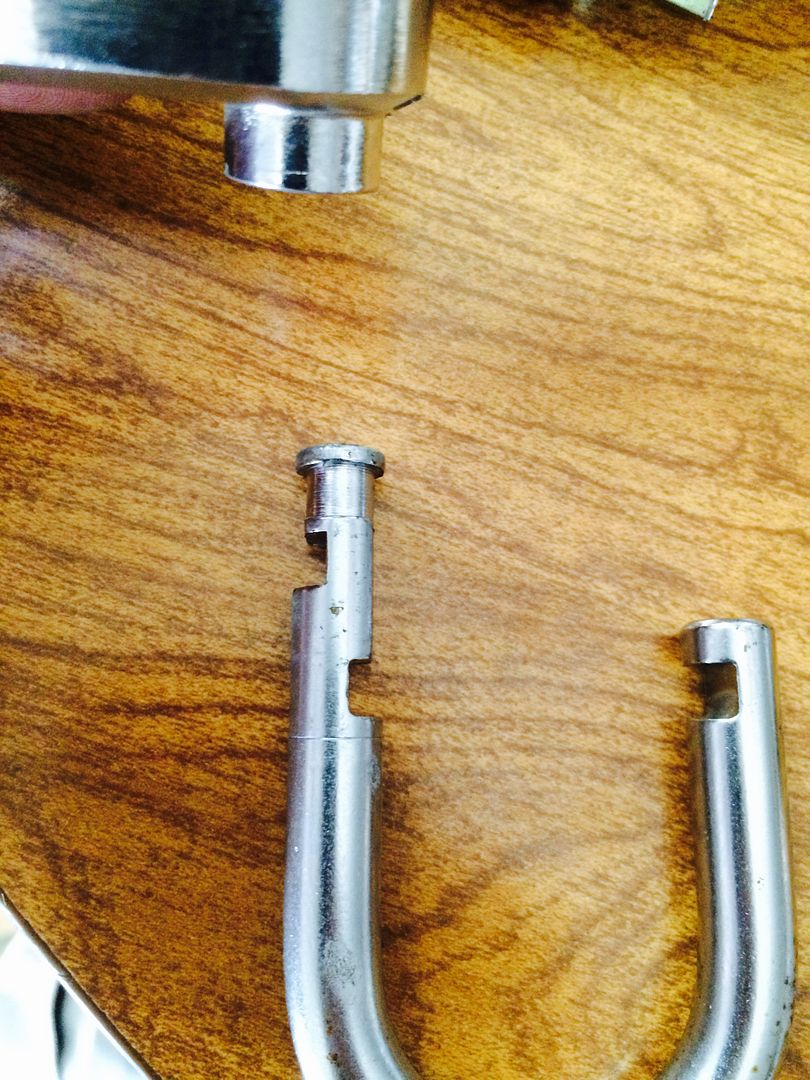
See the groove the pick is pointing at? That is to mark how far you put in the shackle for installation.
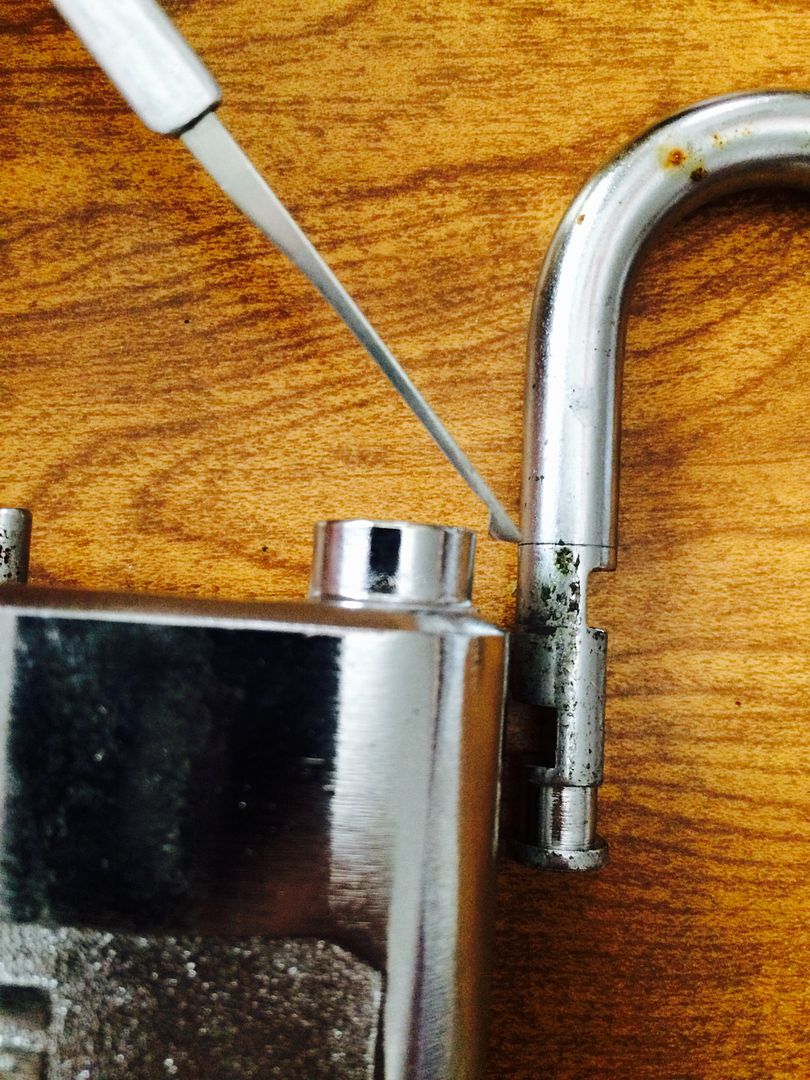
Put the shackle heel as far as that line into the shackle hole with the raised section.
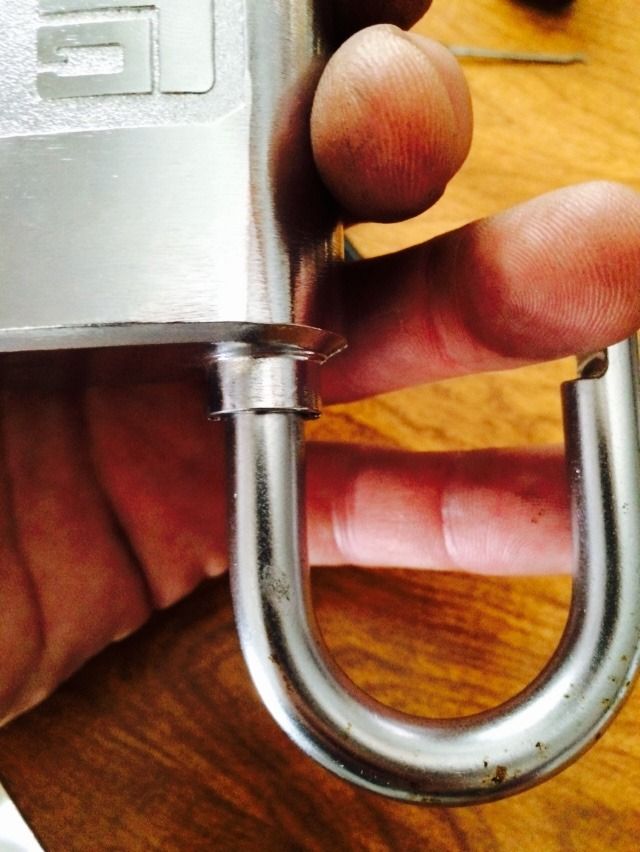
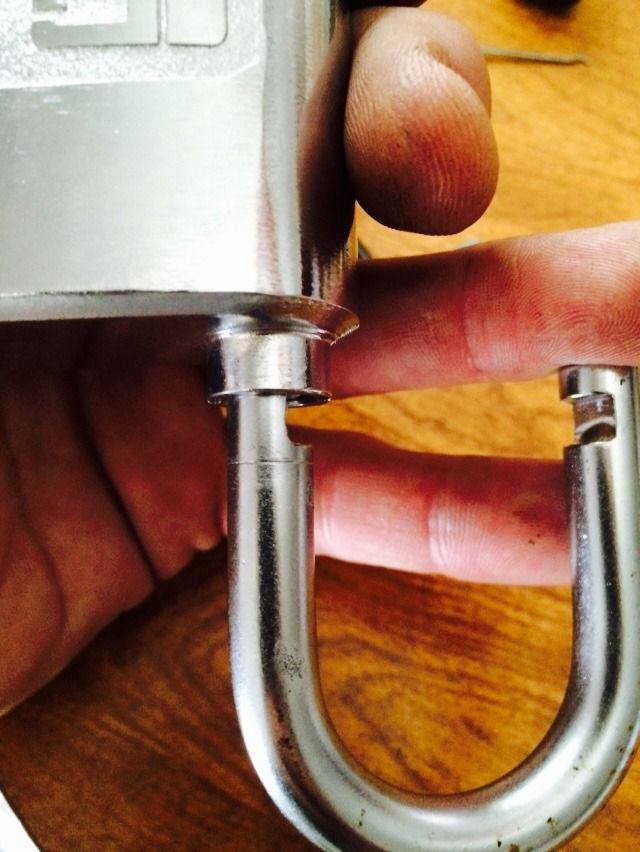
Turn the key (heh heh) to the other direction. The shackle will not fall out now. The lock is now able to work.
Except for one last step for final assembly. Remember that roll pin?
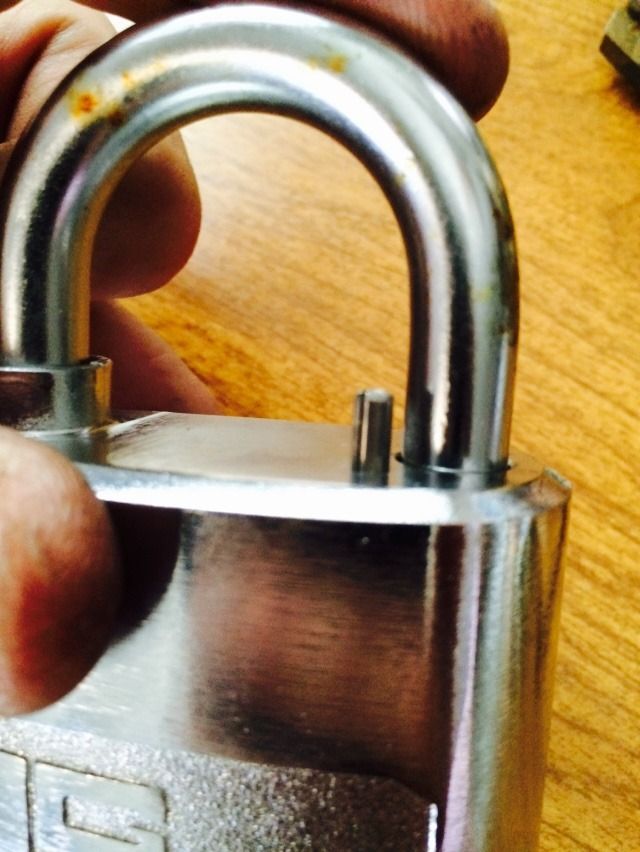
Tap it down.
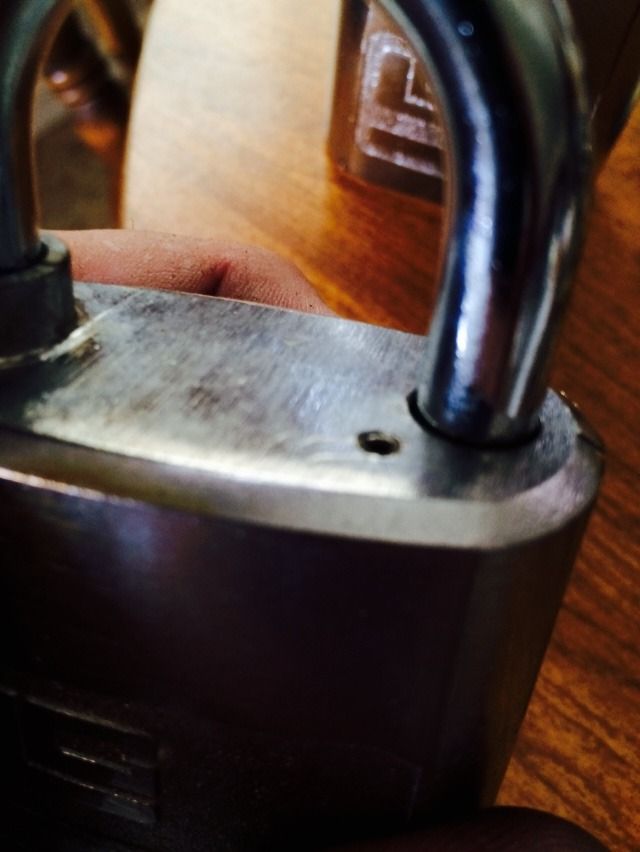
Now the lock can not have the actuator turned the wrong way, causing the shackle to fall out.
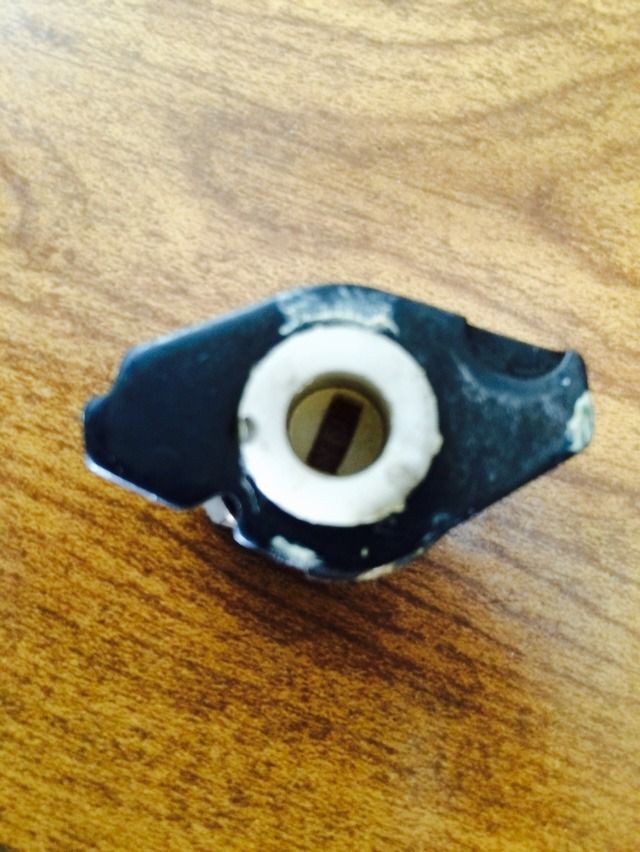
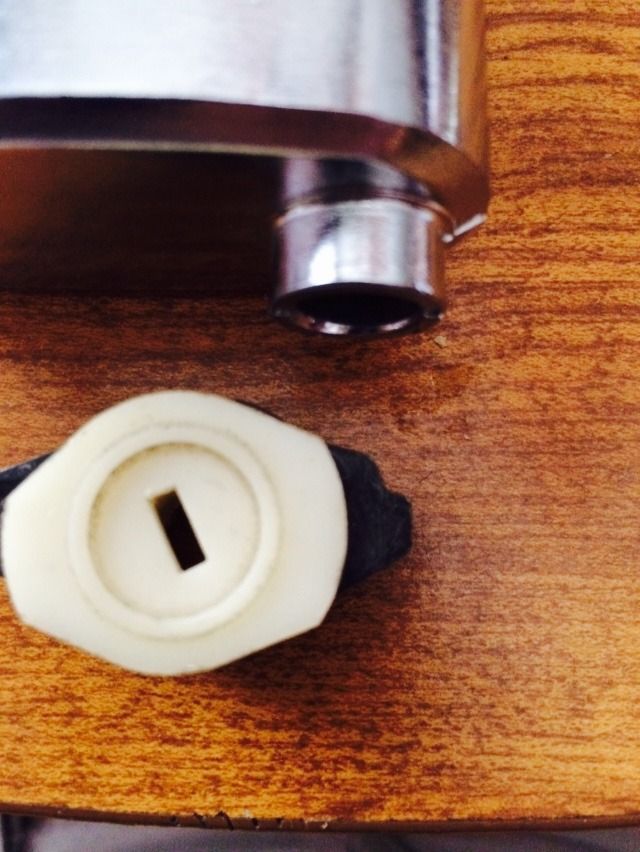
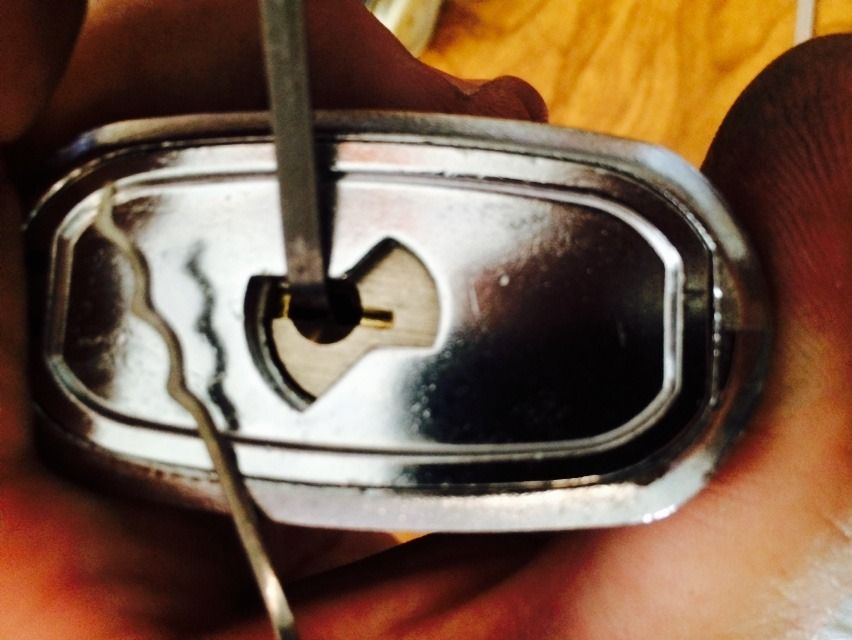
Note that the keyway is centered in the cutout.
Turn the key clockwise, and the shackle opens. (This lock is key retaining). If the roll pin is removed, the key can be turned counter-clockwise allowing for disassembly of the lock. That is why the roll pin is there.
So that is the lock. Except for one thing. The different bottom pieces.
The KIK cylinders are not fitting in there correctly.
Hmmm. What fits there? SFIC!
The SFIC version requires a different tailpiece/actuator.

Line up the tailpiece.
And put it together. (It may take a little force to do so).
OK, that covers the lock. Except for one thing... AverageJoe has the KIK versions for sale at $20 each (without a KIK cylinder) while they last. Send him a PM.
Hope it was fun for you!
Gordon


